

Project JASPER: It's alive!
Part 5: WoUlD yOu LiKe To PlAy A gAmE?

Over the last couple of weeks, I decided to build a budget PC that would run SteamOS, picked out a processor and graphics card, picked out the rest of the parts (while blowing the budget), and put it all together.
And now it’s time to turn it into a gaming rig.
Link in BIOS
Before anything else, I have to take care of a warning that pcpartpicker was giving me when I picked out the motherboard — something about needing to update the motherboard’s BIOS to make sure it supports the processor. (The BIOS is the motherboard’s firmware that basically allows everything else to work.)
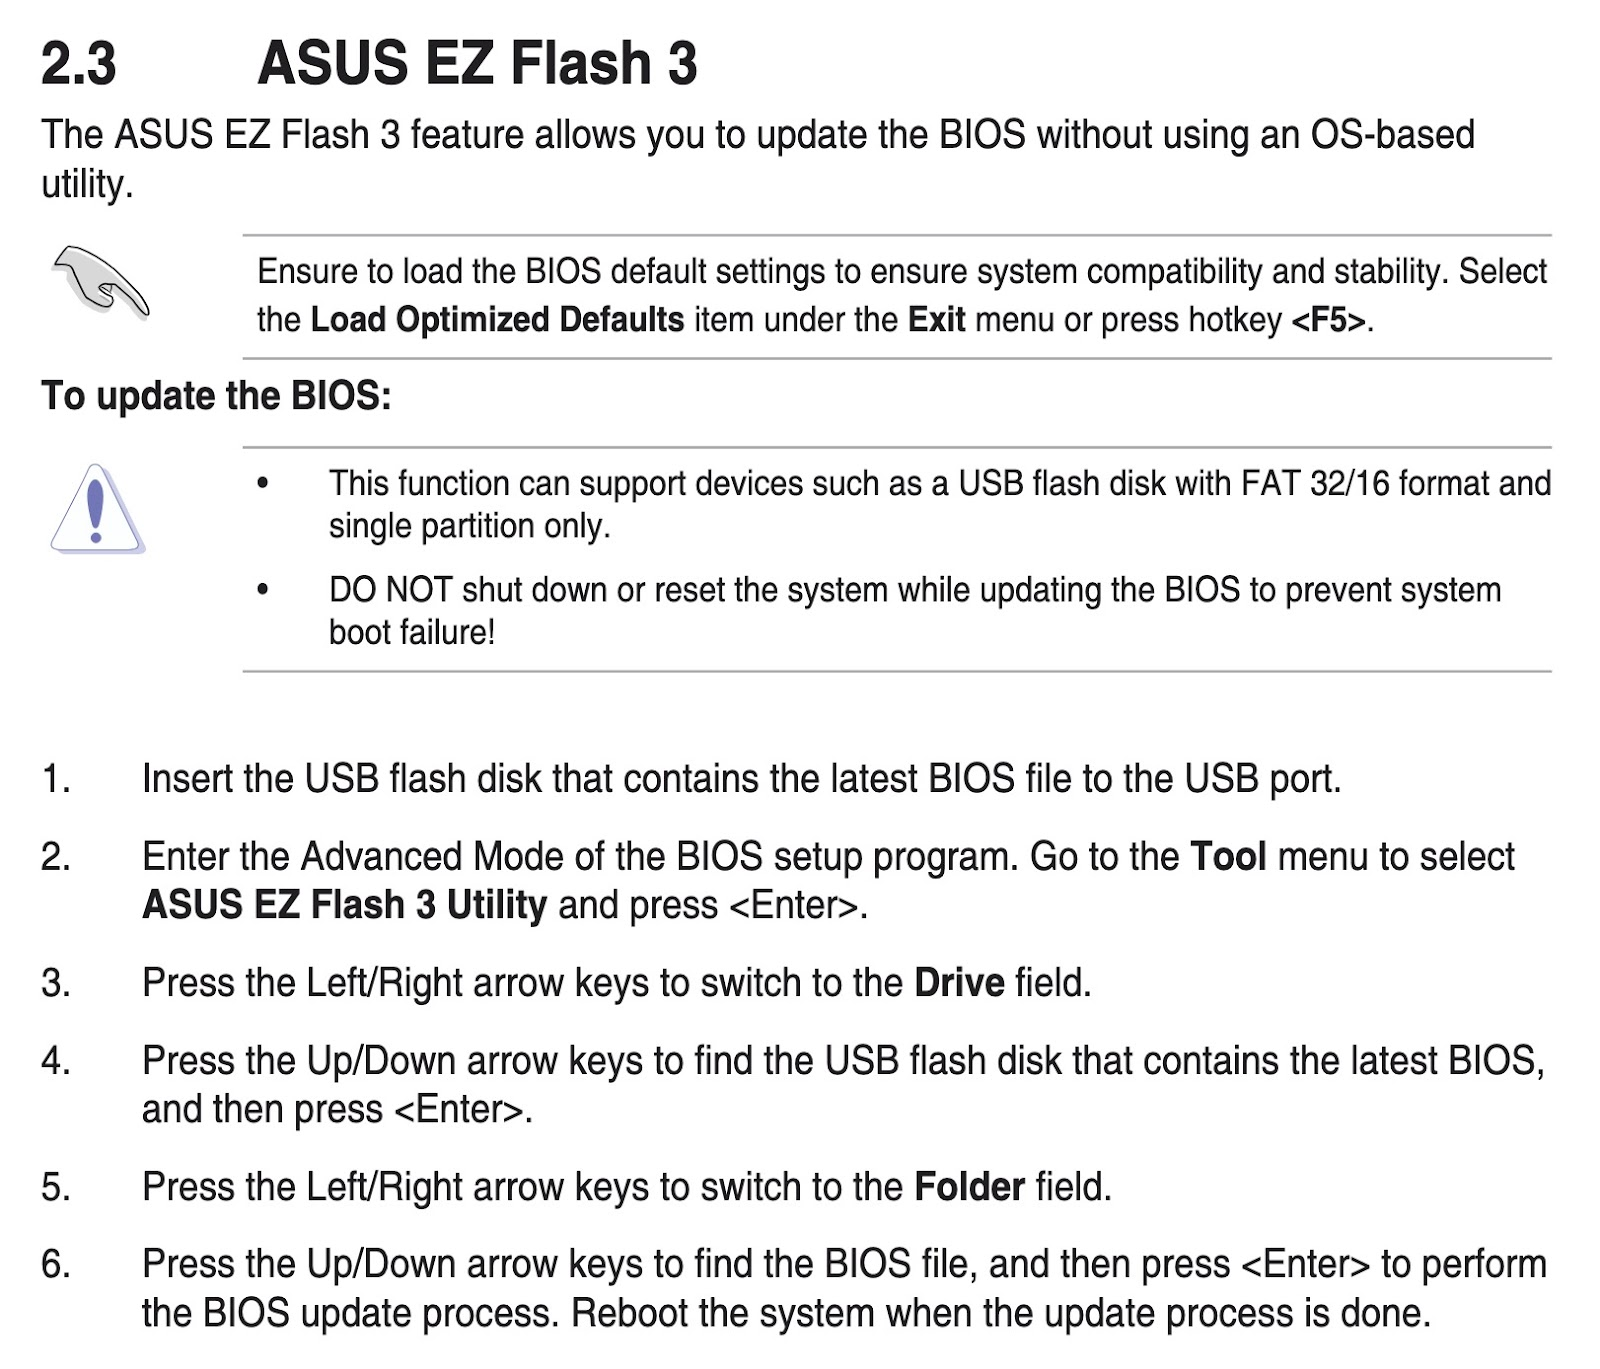
The motherboard’s instruction manual has us covered again. The big thing to note was that the USB drive had to be FAT formatted. I did that with the erase tool on my Mac, dropped on the file I downloaded from the support page, and plugged it into JASPER.
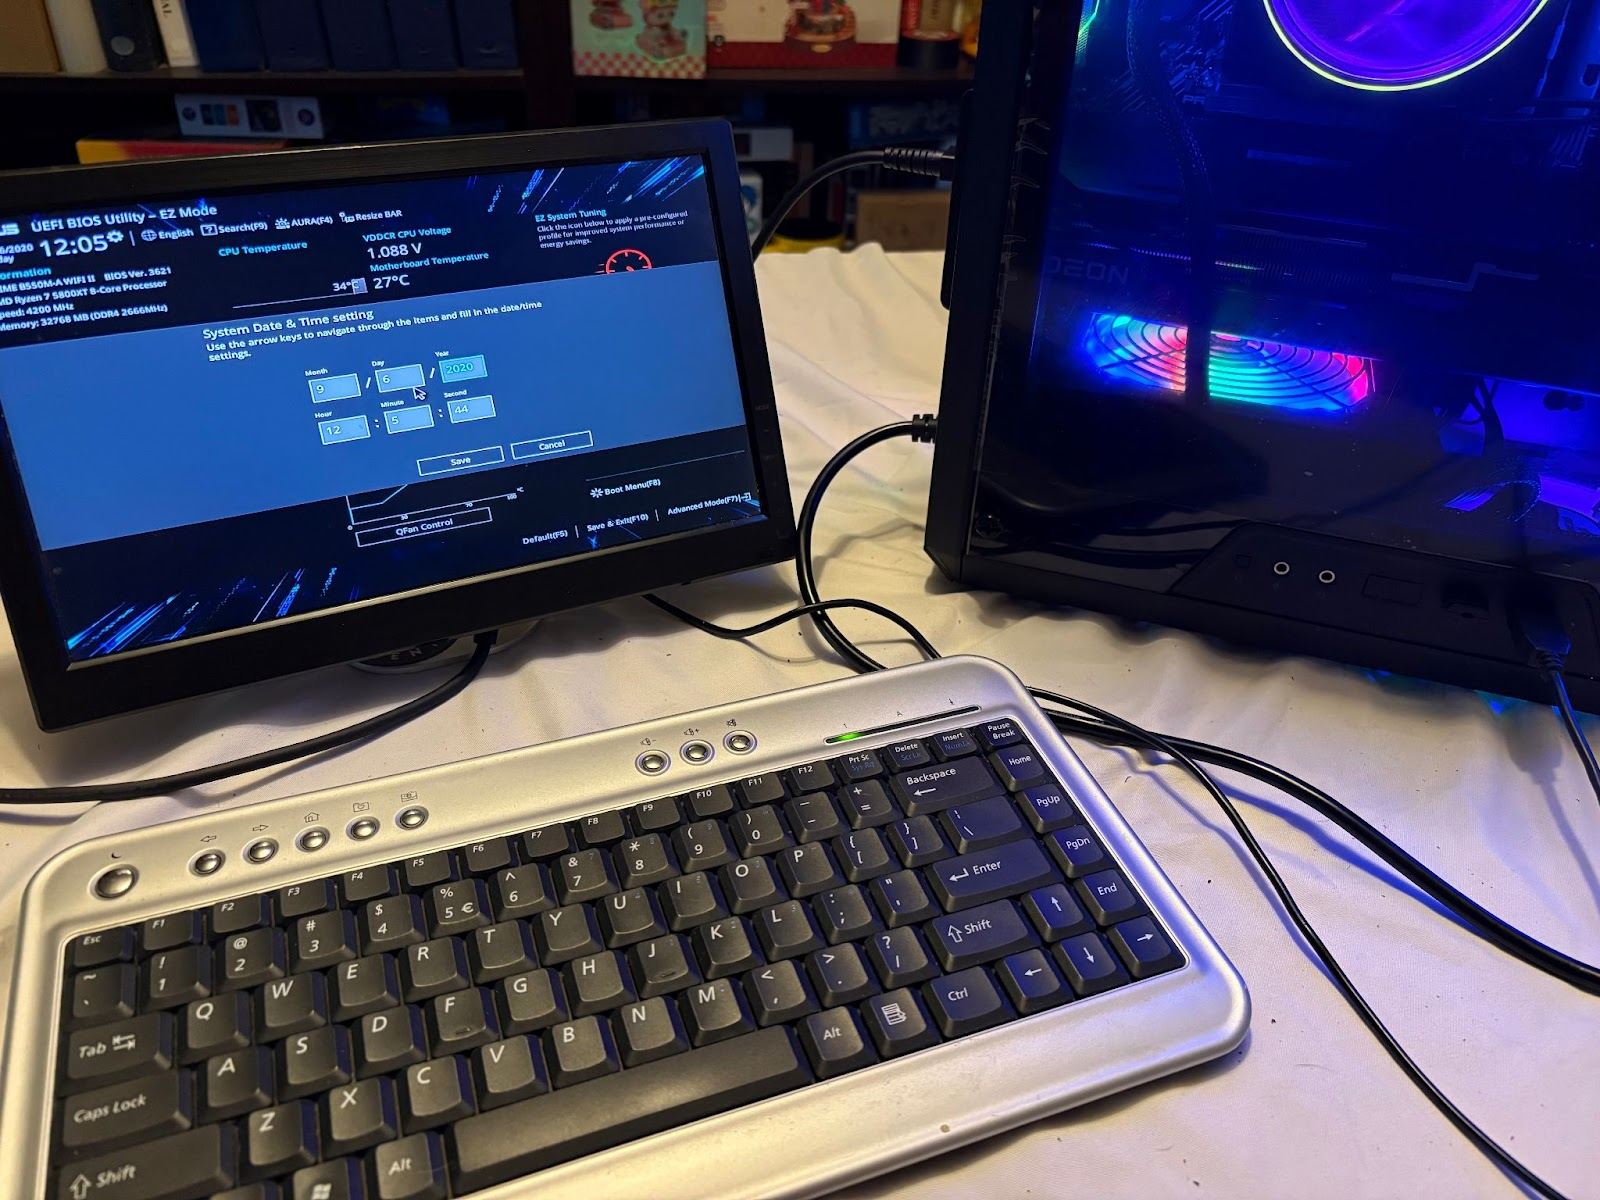
A quick note on inputs: You can only use USB-connected things while working in the BIOS, so a Bluetooth mouse or keyboard isn’t going to cut it. Luckily, I had both in my ever-expanding bin of electronics that I refuse to throw out.
From there, I just followed the directions until I got everything updated. (I did have to figure out how to turn off the Num Lock on the keyboard in order to get the 0 key to work, though, but that was a user skill issue.)
Installing SteamOS
Over in Steam’s support, I found the instructions for installing SteamOS.
Right at the top, there’s a link to download the SteamOS image — basically the OS installation file. They suggest using Balena Etcher to turn the USB drive into an installation disk, so I downloaded that, too.
Once I redownloaded it because I grabbed the wrong version, it was easy enough to grab the image and click the button …