

Donkey Kong Bananza Lagoon Layer (and Ingot Isle) Banandium Gem locations
There are so, so many Banandium Gems in Donkey Kong Bananza. Let's get started with the game's intro on Ingot Isle and then the Lagoon Layer.

There are so, so many Banandium Gems in Donkey Kong Bananza. You'll find a lot of them just by playing the game. Others are a reward for the game's numerous challenge dungeons. Still others (but very few of them, honestly) are buried in the terrain.
You'll get a skill point for every five Banandium Gems you find, so they're almost always worth your while.
Let's get started with the game's intro on Ingot Isle and then the Lagoon Layer.
Ingot Isle (SL1) Banandium Gem locations

There are only three Banandium Gems to find in the first area and they're all along the main path.
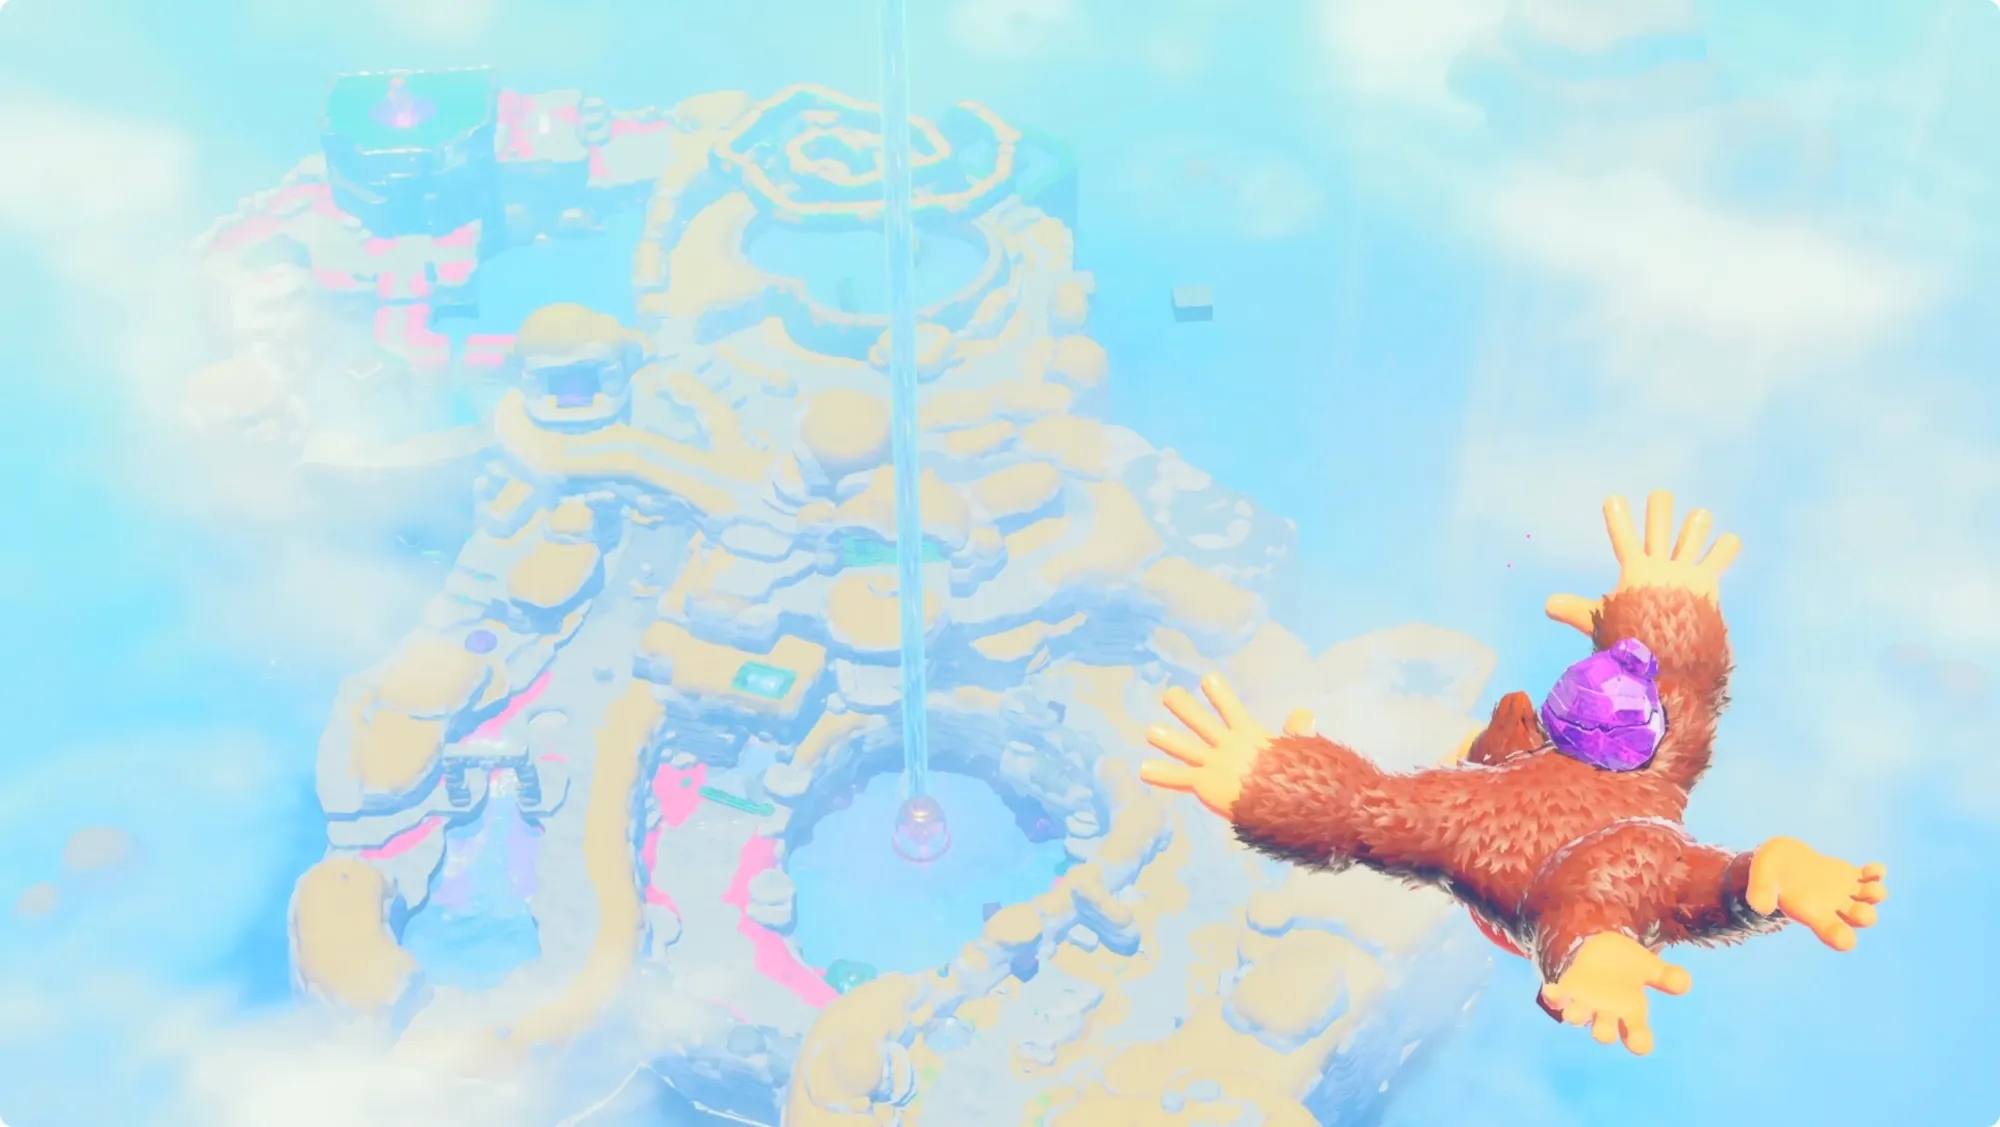
The First Banandium Gem

The first Banandium Gem, appropriately named The First Banandium Gem, is at the end of the tunnel when you first take control of DK.
Through the Banana Mining Belt

Smash through the wall behind the first gem, and you'll enter the mine. At the end of the conveyor belt ahead of you is the second gem.
Digging up a Snack

The third and final gem in just past the first checkpoint in the mine. It's buried in a pile of dirt.
Keep heading the way the game is leading you and you'll climb up a gold-lined tunnel. When you smash any of the Banandium Gems at the top, however, you'll get the opening cinematic (and no Banandium).
You won't pick up any more until after you defeat the first boss and drop down to …
Lagoon Layer (SL100) Banandium Gem locations
There are 23 Banandium Gems on the Lagoon Layer. You might notice that the list goes to 24. That's because the game skips #3 for some reason.
1. First Crockoid cracked

When you land in Ape Cape on the Lagoon Layer, the first Banandium Gem (bunch) is right ahead of you.
2. Cave by the Cape

When you talk to the first Salvager Monkey you meet, take a right and drop down — there's a tunnel that runs through the island below you. In the middle of the tunnel, take a left (back the way you came) and smash through the dirt wall to find the next gem.
4. Bathing Banana

Right after the Reservoir Bank checkpoint, you'll listen to a couple monkeys talk about Boom Rock and Boom Bombs. If you look across the canyon from them, there's a cave with a dirt wall blocking it. Smash through, and you'll drop into a small pool with the Banandium Gem inside.
5. Shifty Smash: Beyond the Wall

Just past the Reservoir Bank checkpoint, you start learning about Boom Rock. In that canyon, climb up the wall on the right side. In a small cave at the peak, you'll find a shiny, morphing pyramid-thing. Before you punch it, use the nearby Boom Rock to blow a hole through the back wall. Punch the pyramid thing to start the Shifty Smash challenge, and then go punch (or Boom Rock) 100% of the shiny stone that appears. You'll get a Banandium Gem as a reward.
6. Battle: Stoney, Grassy Goons

A little farther along the canyon, you'll see a monkey on the right wondering how to get into some ruins. Stand on the pad and punch down to enter this next challenge. Inside, take out the three Crockoids to earn your Banandium Gem.
7. A Nook Behind Concrete

A little later, the main path will lead you to some spinning concrete walls with some Boom Rock outside. Use the rock to blast through the spinning walls, and then grab an extra piece of Boom Rock. On the other side of the spinning walls, there's a concrete wall above you and to the right. Hit it with a Boom Bomb to reveal the next Banandium Gem.
8. Battle: Both Sides of the Bridge

A little to the right (toward the edge of the island) of the Reservoir Hills checkpoint, there's a challenge pad. Sing to remove the ViodCo tape and then punch down into it. Take out all six of the Antickoids to claim your Banandium Gem.
9. Smash Through The Floor

When you get out of the tunnel, take a right and climb straight up the rock wall you just exited. At the top, look for an open cave with a bug on the ceiling. Grab the Boom Bomb it drops, and use it to blow open the floor. The Banandium Gem is underneath.
10. Cranky's Lagoon Rant

All the way on the other side of the island, up above the canyon where you first learned about Boom Rocks, you'll spot Rambi. Cranky is off on a smaller, floating island nearby. Grab a handful of stone and toss it at the shimmering block between you and Cranky — these shiny blocks become a big chunk of whatever you throw at them. Hit the second one as well, and then go listen to Cranky's rant. When he's done, you'll get a Banandium Gem.
11. A Real Mouthful

As soon as you come out of the tunnel where you found gem #7, turn to the left. You'll meet a monkey there who will point you to this layer's boss. But above him and to the left, you'll see a ledge. Climb up to it and smash through the dirt wall to find this Banandium Gem.
Hanging on Roof Road (3x)

After the tunnel for #7, turn right and start climbing. You're looking for a very obvious cave at the top of a peak — it's basically the highest point on the island and there's a path leading to it. Sing to get rid of the VoidCo tape, and then punch your way into the ruins to start the Lagoon Layer Challenge Course 1.
12. Rest Stop on Roof Road

You'll be able to see the first (and third) Banandium Gem as soon as you finish the first hanging section.
13. Hidden on Roof Road

The other is harder to get to. In the second hanging section, get to the far side, and then look to the left. There's another pathway of grating that leads to the source of the stone walls. Hang from the ceiling and punch as fast as you can to smash holes in the walls. You'll make progress once you punch through and then get pushed back by the next. Eventually, you'll make it to the island. Smash through the stone on the left to find the Banandium Gem.
14. At the End of Roof Road

The third gem in Roof Road is named At the End of Roof Road and you'll find it at the end of Roof Road.
15. Lakeside Low Road

From roof road, look down along the outside edge of the island. There's a small canyon there with a couple of green barrels inside it. Smash through the wall behind the barrels to find this Banandium Gem.
16. Battle: Swarms Among the Pillars

On the back side of the island, look for a VoidCo-taped platform. Sing to open it, and then smash through 50 Peekaboopoids to collect your Banandium Gem.
17. Follow the Voided Terrain

Just past the pipes and the pool in the corner of the island, look around on the back side for a small ledge and a cave below you. On the left, there's a chunk of Boom Rock. Grab some and use it to blast a hole through the end of the cave on the left. This will lead you into a tunnel where you'll find a Banandium Gem covered by Void-stuff. Follow the Voided Terrain through a couple of walls to find the source. Sing and smash it, and then go back to the Banandium Gem.
18. Fishin' for Bananas

Back at the ledge where you landed, take a right this time and you'll see a Banandium Gem in the water below a couple of fishing monkeys. Swim out and use a few Dive Punches to break the banana.
19. Rise and Rinse

In the pool below the snarl of pipes, look for a blue balloon on a small platform. Punch it a bunch until it raises a Banandium Gem into the stream of water in the center of the pool.
20. Placed in a Pipe

From the pool below the pipes, look for the one vertical pipe. Climb up it and follow the top of the pipes around until you come to a broken pipe sticking off to the side. Head inside the pipe, take a right, and follow it to this Banandium Gem.
21. Shifty Smash: Atop the Pipes

On top of the pipes, follow the spiral to the center. There's a Shifty Smash pyramid there. Punch it to start the challenge, and then use the barrels to shoot your way through the stone and back around the spiral. Hit 100% to collect this Banandium Gem.
22. Battle: Wings and the Wobbly Disc

Back outside of the water reservoir, you'll find a monkey who'll explain what the tank is for. Look to the left to find a dirt wall to punch through. Sing to remove the tape and enter the battle challenge. Destroy the three Buzzoids inside either by catching the rocks they throw or just by jumping and punching them (if you're careful).
23. Beyond the Cloudy Platforms

Along the edge of the island over by where you found Cranky Kong, follow the cliffs toward the pipe snarl. Over on the right, you'll see a pair of shimmering blocks and a moving block with this Banandium Gem buried in it.
24. Blasting for the Banana

Around the middle of the island, you can talk to a monkey that will tell you about a Banandium Gem that was buried in a landslide. The camera will zoom in on one of the Dive Punch platforms in a cave. Head there, hit it, and collect your final Banandium Gem.
Lagoon Layer SL101 Banandium Gem locations
There are an additional 15 Banandium Gems on the second level of the Lagoon Layer. They continue the numbering of SL100 (skipping 25).
26. Landed in Salvager's Landing

In roughly the middle of the layer, you'll find the Salvager's Landing checkpoint. If you've unlocked the Voided area above you on SL100, you'll find this bunch of Banandium Gems waiting for you.
27. Shifty Smash: A Wall Hanging in the Air

From the Salvager's Landing checkpoint, turn around and look off the edge of the layer for a Shifty pyramid on a cantilevered metal platform. Jump into the water and climb the closest side of the support to reach it. To get 100% of the wall fast, grab some of the nearby Boom Rock and aim for about the middle of the wall vertically and about a third of the way from either edge. You should be able to get it in two throws.
28. On the Ceiling of the Floor

Just past the Salvager's Landing checkpoint, you'll spot a challenge ruins entrance on the left (those are next). If you've got the water level raised all the way (pulled all three plugs), jump off into the water and look under the platform you were just on to find this Banandium Gem.
Thorn-Choked Conveyor Challenge Course

Just past the Salvager's Landing checkpoint, you'll find the entrance to the Thorn-Choked Conveyor challenge. There are three Banandium Gems inside.
29. Over the Thorny Path

Start grabbing stone chunks of the conveyor and smashing the thorns. This Banandium Gem is right along the main path.
30. Into the Thorny Nook

The second conveyor is made of Boom Rock. Follow it along until you come to a thorn wall on the the left side (it's actually two layers thick). Get through to claim this Banandium Gem.
31. Through the Thorny Walls

Just keep following the conveyor to the end while blowing up thorn walls with chunks of Boom Rock. The next Banandium Gem is waiting at the end.
32. The Salvager's Stash

A little past there, you'll find this layer's Style Shop. Just to the right of there, there's a small platform with two green barrels next to it. Loop around the platform to find a shaft. Jump down to find this Banandium Gem.
33. Battle: Concrete-Wall Clash

This one's a little weird to get to, but it's easy to spot from the map. From Salvager's Landing, turn a little left. There's a battle challenge pad on a path between this rock plaform and the next (on the way toward the Elder). Take out the two Crockoids for this Banandium Gem.
34. Up, Over, and Across

Use the ceiling grates to hang and make your way to the bottom corner of the map — about as far away from the Elder as you can get — to find this Banandium Gem.
35. Within the Fast-Growing Grass

Underneath gem #34, you'll find some more ceiling grates. These grates are timed and will fill with grass (that turns to stone?) if you stay in one place too long. Move quickly around the path to reach this Banandium Gem in the center.
36. Hangin' on Orangu-Hang Highway!

This is the bunch of Banandium Games you'll pick up when you first reach SL101 along the main story path.
37. Concrete Wall on the Moving Floor

This one is easier to get once you've talked to the Elder and unlocked Kong Bananza. Starting back where you first dropped into SL101, look for a concrete wall above the ceiling grates (the ones you used to reach gem #34). Use a double jump and then Kong Bananza to smash through. There's another concrete wall on your right. Smash through that (and ride the moving platform) to collect this Banandium Gem.
38. Outskirts of the Fishing Village

Over by Salvager's Landing, turn to the right to find the giant whale fossil (or where the whale fossil was if you collected it). Swim over to it and climb all the way to the top — it's a little finicky, but you can do it on the back side all the way over to the left. At the top, you'll find another ceiling grate path. Follow it to the end to collect this Banandium Gem.
39. Crossed to the Kong Elder's Court

Once you knock out two of the drain plugs, you'll be able to cross the floating bridge to the Kong Elder's Court. You'll pass this banana along the way — just before the Elder Court checkpoint.
40. The Ship Stern's Snack

After talking to the Elder, head toward where the game wants you to go. Instead of heading into the tunnel, climb onto the shipping containers. Work your way around the right side of the cube and follow it all the way to the back side of the island. You'll find this Banandium Gem on a ledge on the back side.
Lagoon Layer SL102 Banandium Gem locations
After you talk to the Elder, the next layer down has four more Banandium Gems to collect. Yes, the numbers jump to 50. We don't know what's going on there yet either.
51. Dipped into Chimpy Channel

Once you're through the tunnel behind the Elder, you'll drop down to SL102. These are the first bananas you find there.
Kong Bananza: Pop Party

Just past the first bunch of Banandium Gems, you'll find the entrance to some ruins along the left side of the tunnel.
52. Pop and Destroy

You'll get the first Banandium Gem (it'll appear back at the entrance) for popping all five balloons. The first four are attached to Crockoids in the maze and the fifth is under the floor of the turntable in the back left corner.
53. Atop the Concrete Roof

Use any of the walls to climb to the top of the maze cube. You'll find this Banandium Gem on the roof.
54. Hung From the Ceiling

When you first enter the maze, take two rights and you'll find a wall that you can climb. At the top, there's a ceiling grate you can climb across. Follow it to the back to find the Hung From the Ceiling Banandium Gem hung from the ceiling.
55. Shipwrecked Treasure

When you exit the Pop Party challenge ruins, cut straight across the hall to the suspiciously blank wall. Punch through it and you'll find a shipwreck on the far side. The final Banandium Gem is in the wreck.


This post originally appeared on BigFriendly.Guide
Please pardon any formatting weirdness