

Lost in Random: The Eternal Die beginner guide
Lost in Random: The Eternal Die is a new action roguelite game set in the Lost in Random universe. Here are some tips and tricks to get you started.


Lost in Random: The Eternal Die is an action roguelite set in the Tim Burton-esque world of Lost in Random. Where the original game was more of a third-person action game, The Eternal Die has gotten the isometric treatment, and takes on gameplay that's more similar to something like Hades. Obvious comparisons aside, the game is a delightful jaunt through multiple floors of foes, and has some pretty interesting systems (like how its relics work) for you to discover.
In this Big Friendly Guide, we'll walk you through some big tips for your first few hours in Lost in Random: The Eternal Die.
Practice and test your perfect cards before swapping them

Cards are a massive boon to any run, and can drastically change your combat style. They effectively operate like spells that you need to charge up by dealing damage with your weapons, and they all have different ranges, effects, and ammo counts. Normally you can't use a Card without any juice (Energy Charges), but on the Card altars where you'll find new cards to equip and use, you'll see an aura ring if you look closely enough. The aura will recharge all of your Energy Charges quickly, which is great to get you ready for the next engagement. But it's also especially good for allowing you to test out a new Card before you take it into combat.
Use altars to help you get a good sense of what you'd be trading your current Card for so you don't accidentally pick up a much less useful spell before a big boss fight.
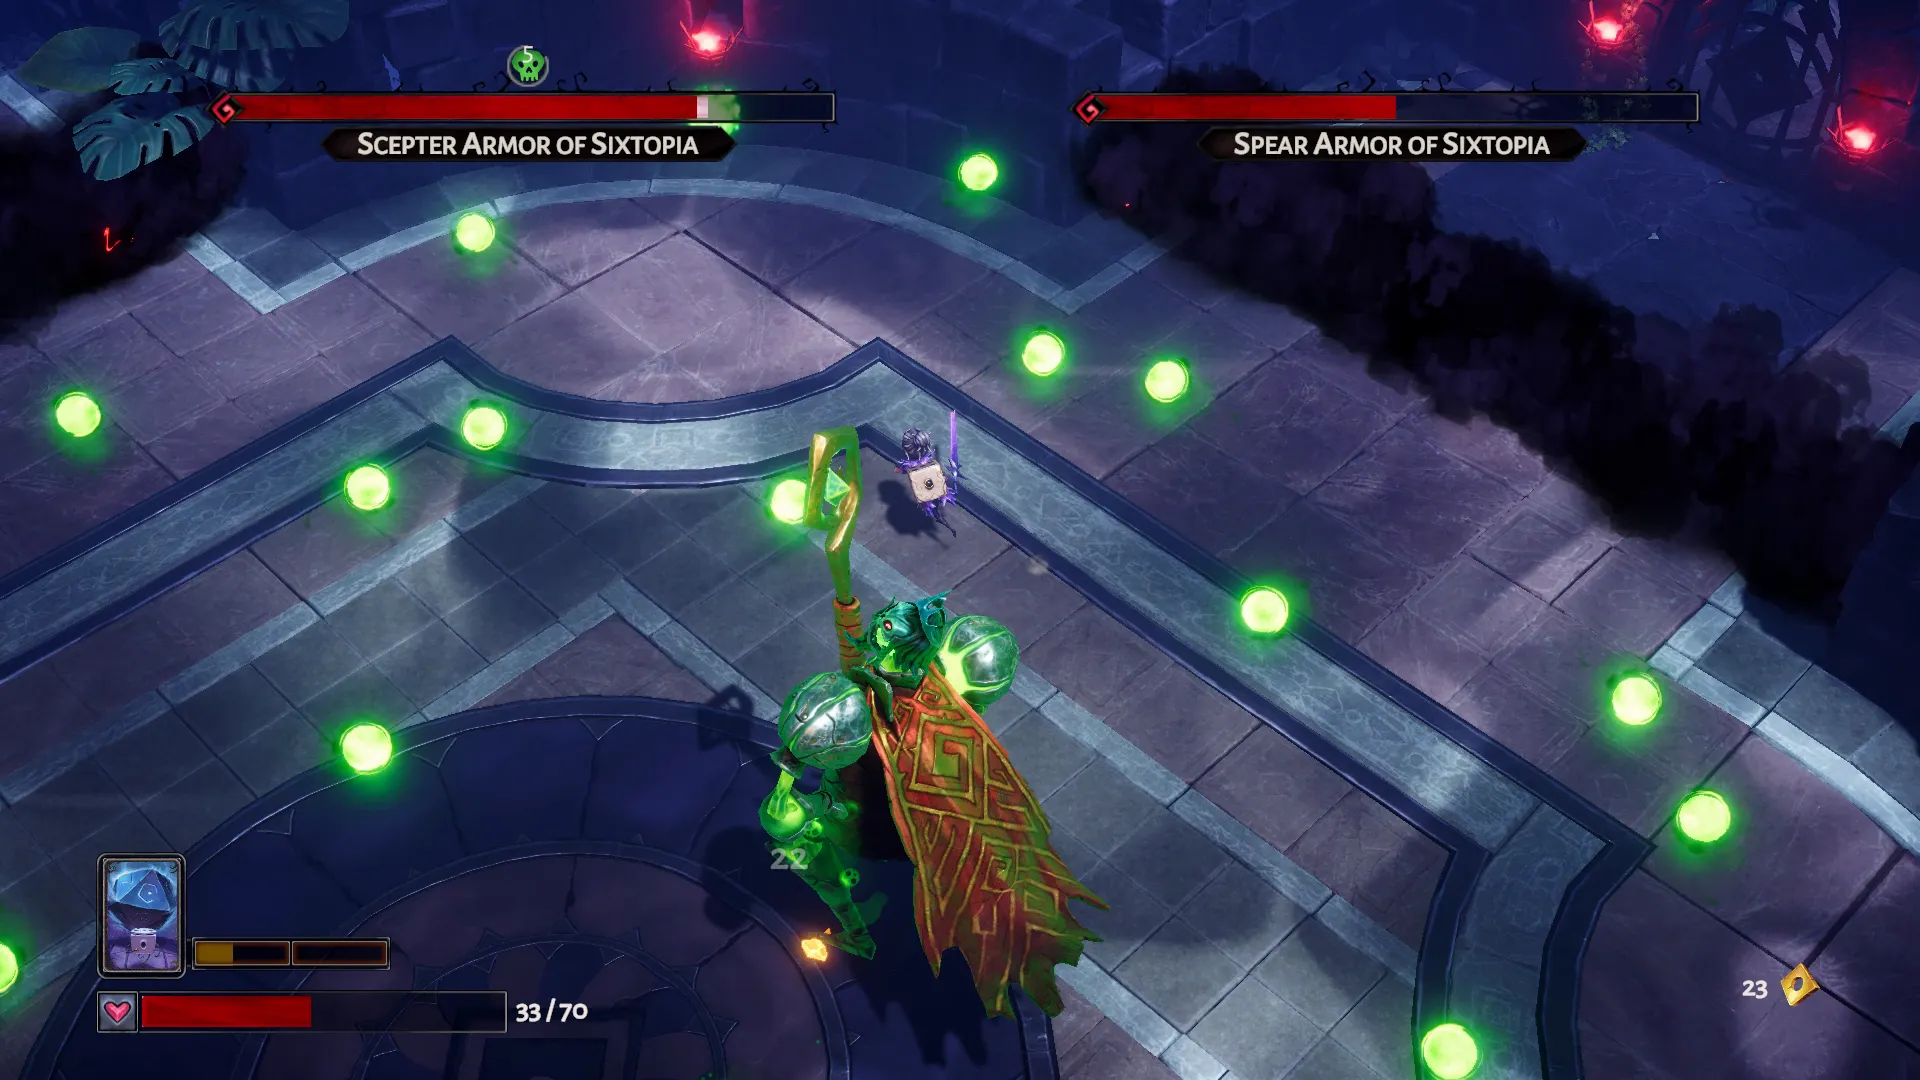
Find your window in combat
There is a rhythm to The Eternal Die that you'll understand more as you play. But until you get there, you should be looking for a window to deal damage. The Eternal Die isn't a bullet hell game, but it's not not a bullet hell either. Many enemy attacks involve shooting out waves or big projectiles you need to dodge, and dealing with that successfully involves staying on your toes. Because of this, you can't really just stand behind a boss or a mini-boss and combo them until they die. Instead, you need to observe, wait for an attack to finish, and then deal some damage.
With how Fortune (more on him below) works, a huge portion of your power involves throwing something that you then need to pick up after. You will burn a ton of health if you don't do this carefully. So learn the dance The Eternal Die is trying to teach you and bob and weave out of combat. I personally find the spear weapon to be very helpful for learning the timing here, as it attacks very quickly and with a bit of extra range, giving you a shorter window of exposure and a longer positioning window to stay safe.
A lot of power — and luck — lies in the die

Throwing Fortune (your little die companion) has a very familiar feel to using the Cast in Hades. You throw him, and you'll need to run over to where he landed to retrieve him. If you're a Hades fan, you've maybe conditioned yourself — like I did — that you don't really like the Cast system, so you're better off focusing on other avenues of damage. That would be a mistake in The Eternal Die, as Fortune can be extremely powerful… if you're lucky. Being that Fortune is a die, his damage is amplified by 10 damage for every number he rolls when you throw him. Sure you could roll a meager 1 and only drop 10 damage on an enemy, but you could also roll a 6 on a die and obliterate your target with six times that damage.
You want to throw Fortune whenever you can, as many of the powerful Relic abilities give potent effects depending on what you roll when you throw him.
Don't lean fully into one idea
You can create some very powerful builds and skill combos in The Eternal Die, but it's important not to lean too heavily into one idea. Take Relics that ask you to hold onto Fortune, saying it'll shoot a freezing missile or something while you have him on your person rather than on the ground. You might think that you don't want any throwable Fortune Relics if you take the freezing power, as you'll have reduced downtime on your effect. While that is technically true, there are different degrees of success and failure there. Throwing and rolling Fortune is a big part of your power, so giving up using him altogether for the freezing missile isn't worth it. The way the power really wants you to play is to make sure you still use him, but pick him up quickly. This allows you to both use Fortune to damage foes and gain a benefit during downtime.
Instead of avoiding all Fortune Relics on a run where you're incentivized to hold onto him, instead try to avoid Relics that incentivize you to leave Fortune on the ground. Some of the Relics are extreme (keep Fortune on you for an effect, or leave him on the ground), so you just want to avoid having two Relics on either side of that extreme.
Plan out your relics and pearls and paints

Speaking of Relics, The Eternal Die has a fascinating system for gaining new skills and upgrades. Your Relics go into a 3x3 grid (which actually is 4x4 across the central vertical and horizontal lines). The Relics and their associated skills are active the moment you put them on your board, but they come with a kind of background on them that represents a stat that you have on your character. By matching three backgrounds of the same color together in a row, you'll gain a huge, permanent influx of the stat the color represents. Matching yellow backgrounds will increase your Card damage, red for weapons, etc. The cool thing here is that you don't just do this with Relics, as you can drop in colored pearls that disappear once consumed by the match, or even find paint to use on an existing Relic to make even more matches.
However you end up matching, the important thing here is that you plan where your early Relics go. Whenever you place down a new color, make sure that you have three empty spaces in a straight or diagonal line (making an L-shaped Tetris-style block won't work) so that you can eventually make the match. Eventually, as you get more Relics, this will become impossible. But, keep in mind that you'll be able to paint Relics later, so you can get really creative with your placements.
Dodge is your most important ability
Dealing damage in The Eternal Die is obviously important — you have to clear out the enemies in each room to progress. But, especially early on, dodging is just as important.
There’s no jump in The Eternal Die, so your dodge is how you’ll get across gaps. It’s also how you’ll avoid getting hit by enemies. Every enemy has a windup animation and a clear signal that they’re about to attack. Use that as your cue to dodge.
Just don’t dodge too early — enemies are really good at turning around quickly and hitting you anyway. While you’re dodging, though, watch out for those fucking environmental traps. The retracting spike tiles are especially nasty. There’s not really any advice here beyond the fact that they suck and you will accidentally land on them while avoiding enemies. They're much faster than you think they are.
Even lowly enemies can ruin your day

Your attacks are really good at interrupting enemies’ windups, but only if you’re quick and keep after them. Along those same lines, enemy attacks are really good at interrupting your combos. Especially the fast, low-level enemies.
When you’re focusing on the harder hitting, beefier enemies, don’t let the low-level mooks sneak up on you. Not only will they interrupt your attacks, but that interruption might open up the enemy you were attacking to land their hit.
And taking hits is a problem because…
Health is still your best economic investment
In the opening hours of any game like The Eternal Die, it's important to remember that health upgrades — no matter how boring — are your window to success. Eventually you will get very good at dodging every attack a normal enemy or boss throws your way (although The Eternal Die does do a very good job of telegraphing most attacks, so they're easy to learn), but as you explore the various floors, you will absolutely get hit a bunch. Health is not a sexy upgrade, but running out of it will send you back to the very beginning. Now this will give you some good opportunities to level up your gear (and, coincidentally, pick up some upgrades that will net you bonus healing or additional health), but do you know what's better than dying and getting upgrades: not dying in the first place.
By investing in health, you can see more of the game more quickly, which will actually allow you to purchase better informed upgrades back in the Sanctuary. Stay healthy, buy potions out in the field instead of bonus powers, and you'll learn the game much quicker.
Read the fine print before picking your Blessings

Blessings are passive upgrades that will persist as you play the game. You can upgrade them as you go for better results, but each Blessing also has a companion Blessing that exists in the same spot. You need to choose between the two Blessings before you leave the Sanctuary, as only one can be active at a time. Most of these choices are pretty straight forward, like "do you want more damage to minor enemies or bosses," but some require a bit of a closer look before you invest. You not only need to read the effect, you also need to see how many levels you can upgrade it.
Mocking Death and Repelling Revivals are the perfect example of what I'm talking about here. Mocking Death allows you to revive however many times you upgrade the skill, and you get a good chunk of HP when it happens. Repelling Revivals ... also gives you a revive with a big chunk of health, AND you take reduced damage for the rest of the encounter you died on. So how isn't Repelling Revivals just better all the time? Well, because Repelling Revivals only offers two total upgrades before you max out the skill, whereas Mocking Death offers three if you fully invest in it.
In order to avoid investing too many resources in a choice you don't want, be doubly sure to check all of a Blessing's facets before you spend.


This post originally appeared on BigFriendly.Guide
Please pardon any formatting weirdness