

Metroid Prime 4: Beyond walkthrough pt. 1 (Chrono Tower & Fury Green)
Find the first Master Teleportation Key


After Metroid Prime 4: Beyond’s opening sequence and prologue-slash-tutorial level, you’ll face off against the giant space pirate Aberax. (We're not doing a tutorial for that part because it's pretty simple and there's nothing to miss.) After the fight, in a series of events no one could have possibly foreseen, Samus gets blasted by a mysterious alien artifact and deposited on a planet that looks nothing like where she started.
Chrono Tower

Oh yeah, and all of your powerups are offline now.
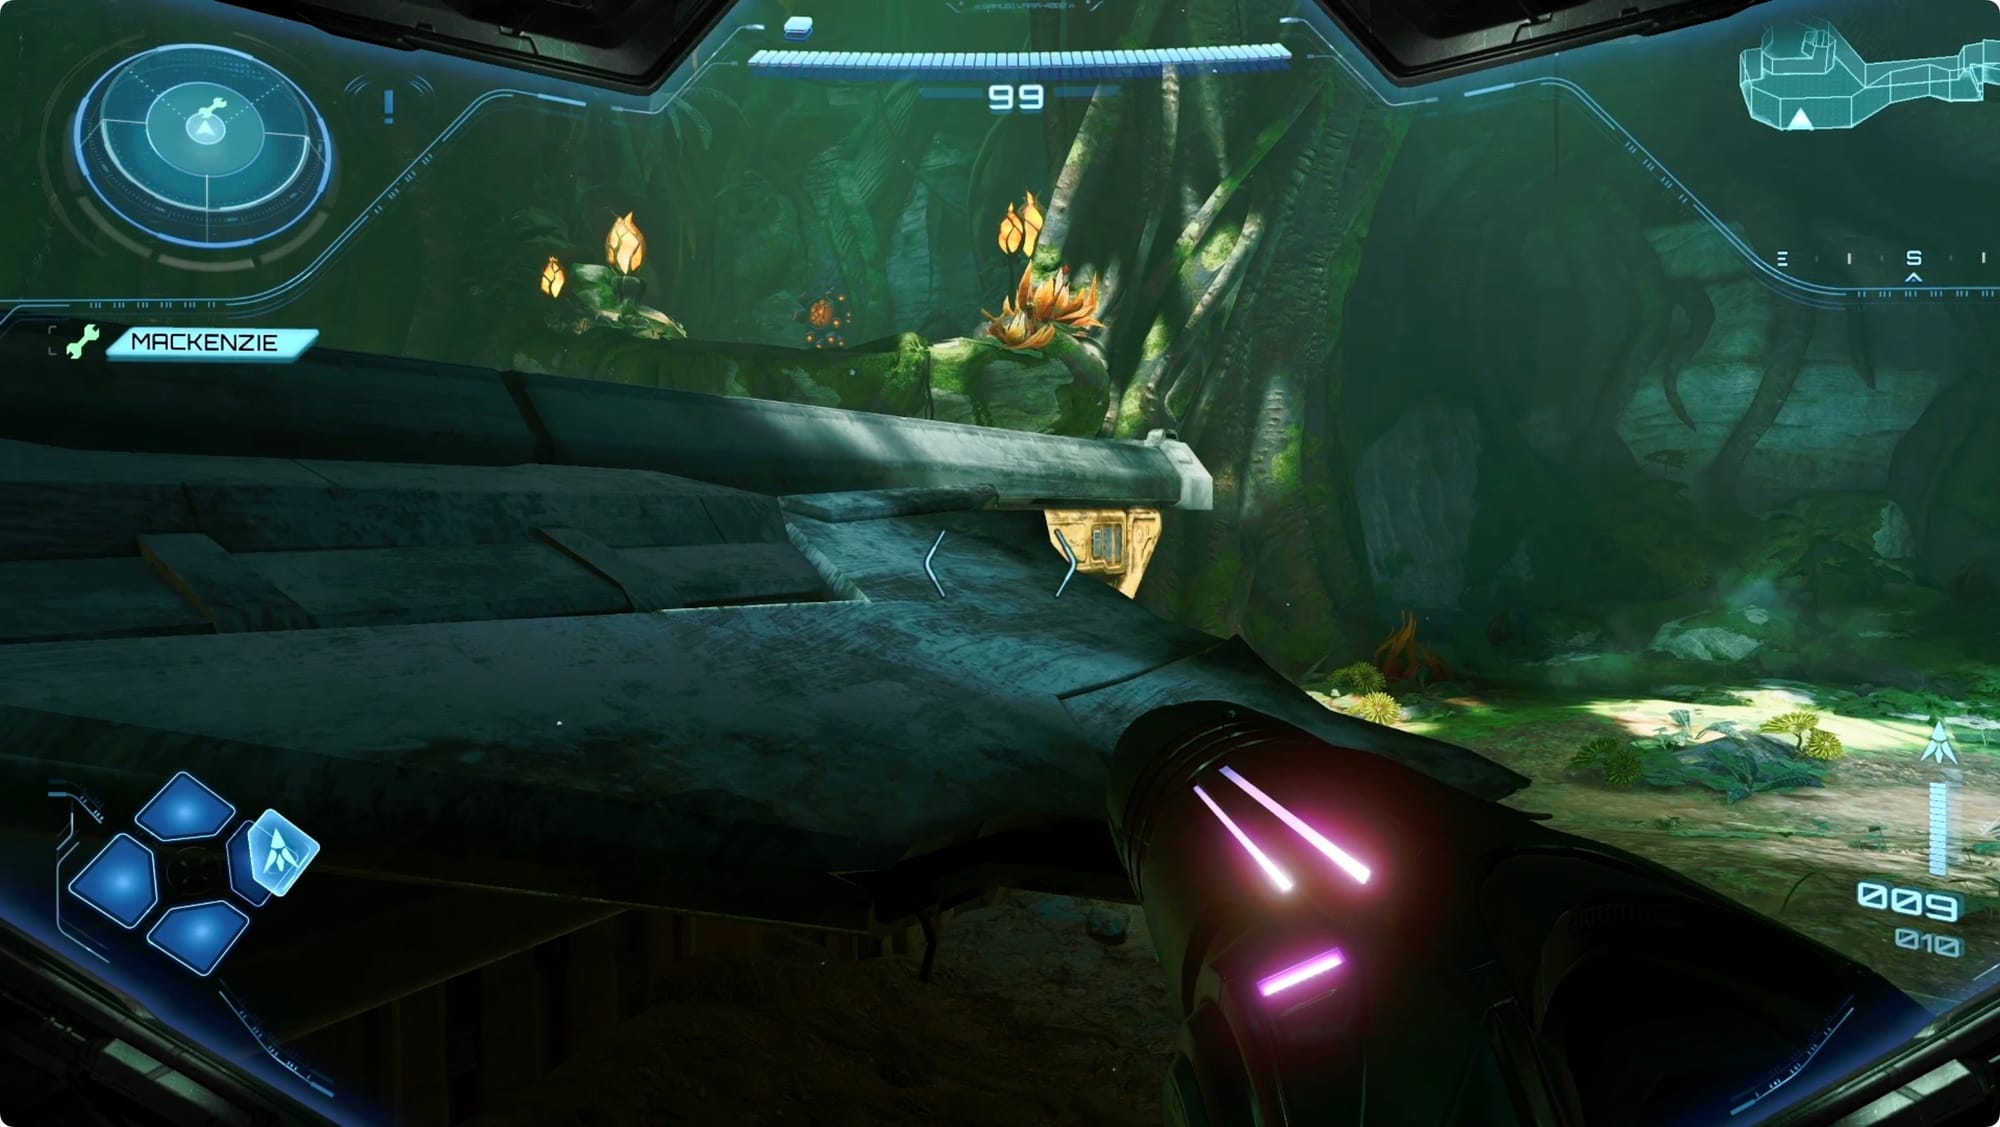
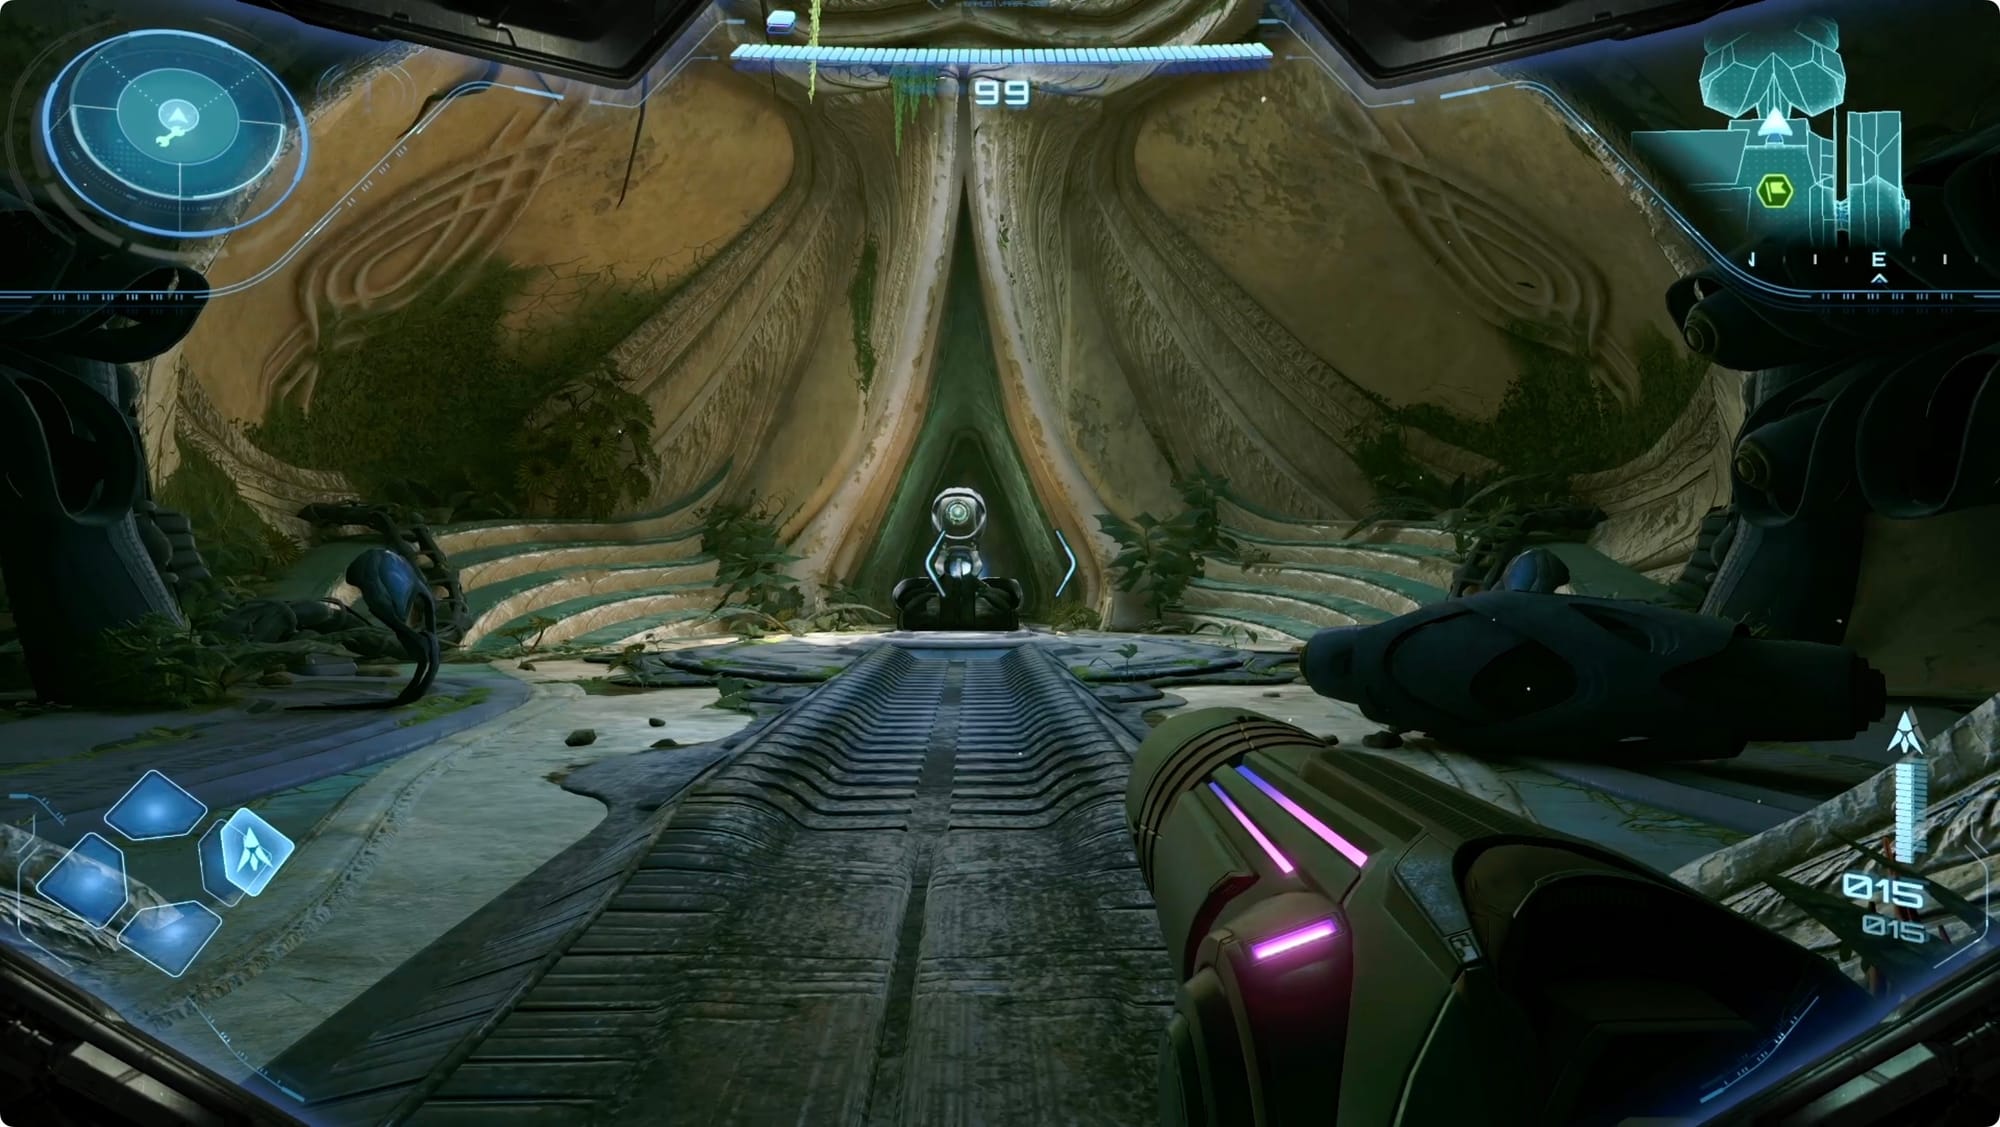
Follow the cool little Mechanoid dude through the Chrono Tower. There’s no trick to anything here, you might just have to wait for it activate the next bridge or door — it seemed a little finicky (or maybe I was just antsy to get into more Metroid Prime).
When you reach the round room with all of the robots standing around, wait for the Mechanoid to turn on the stairs. Head up on either the right or the left to find hallways leading down. Follow the ramp down to a room under where you just were to find your floating friend again.
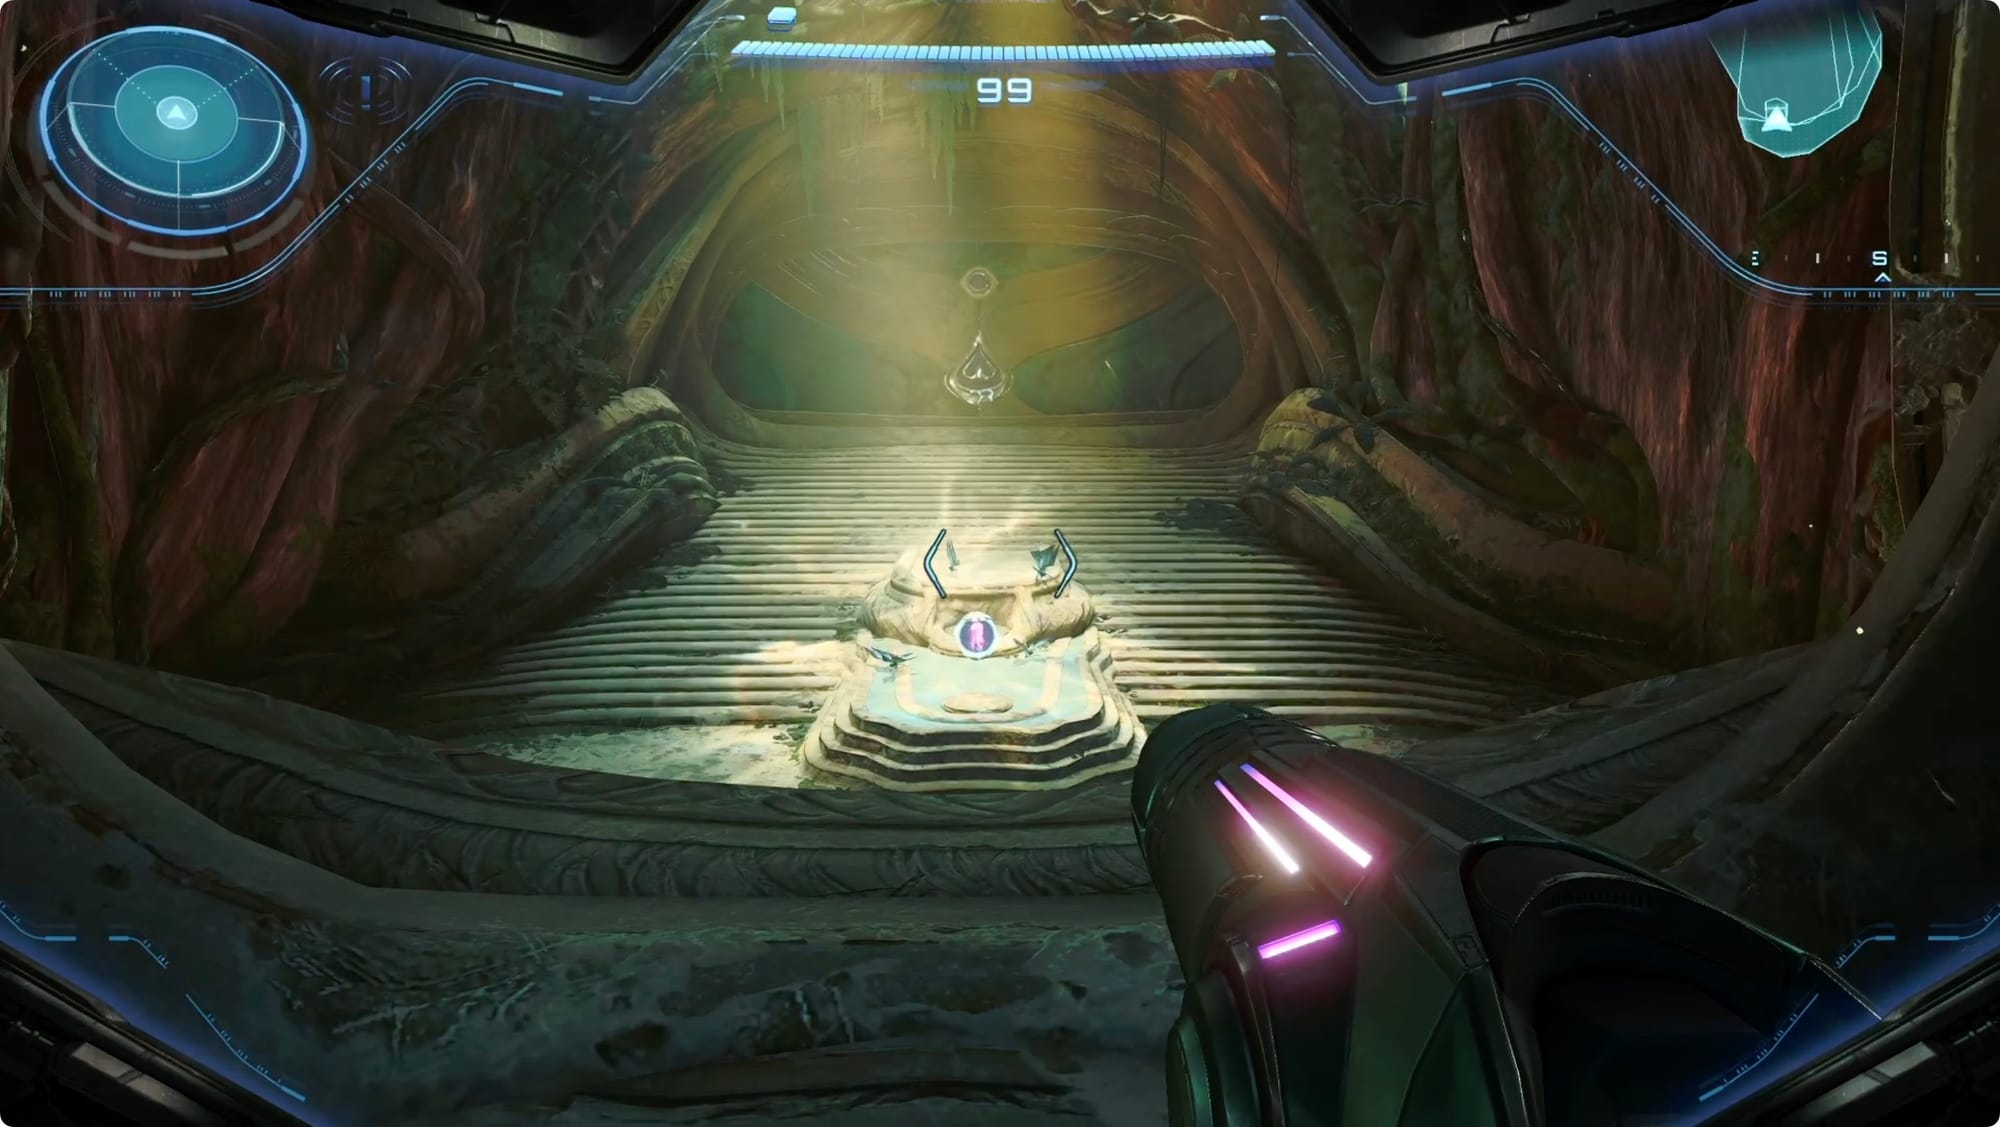
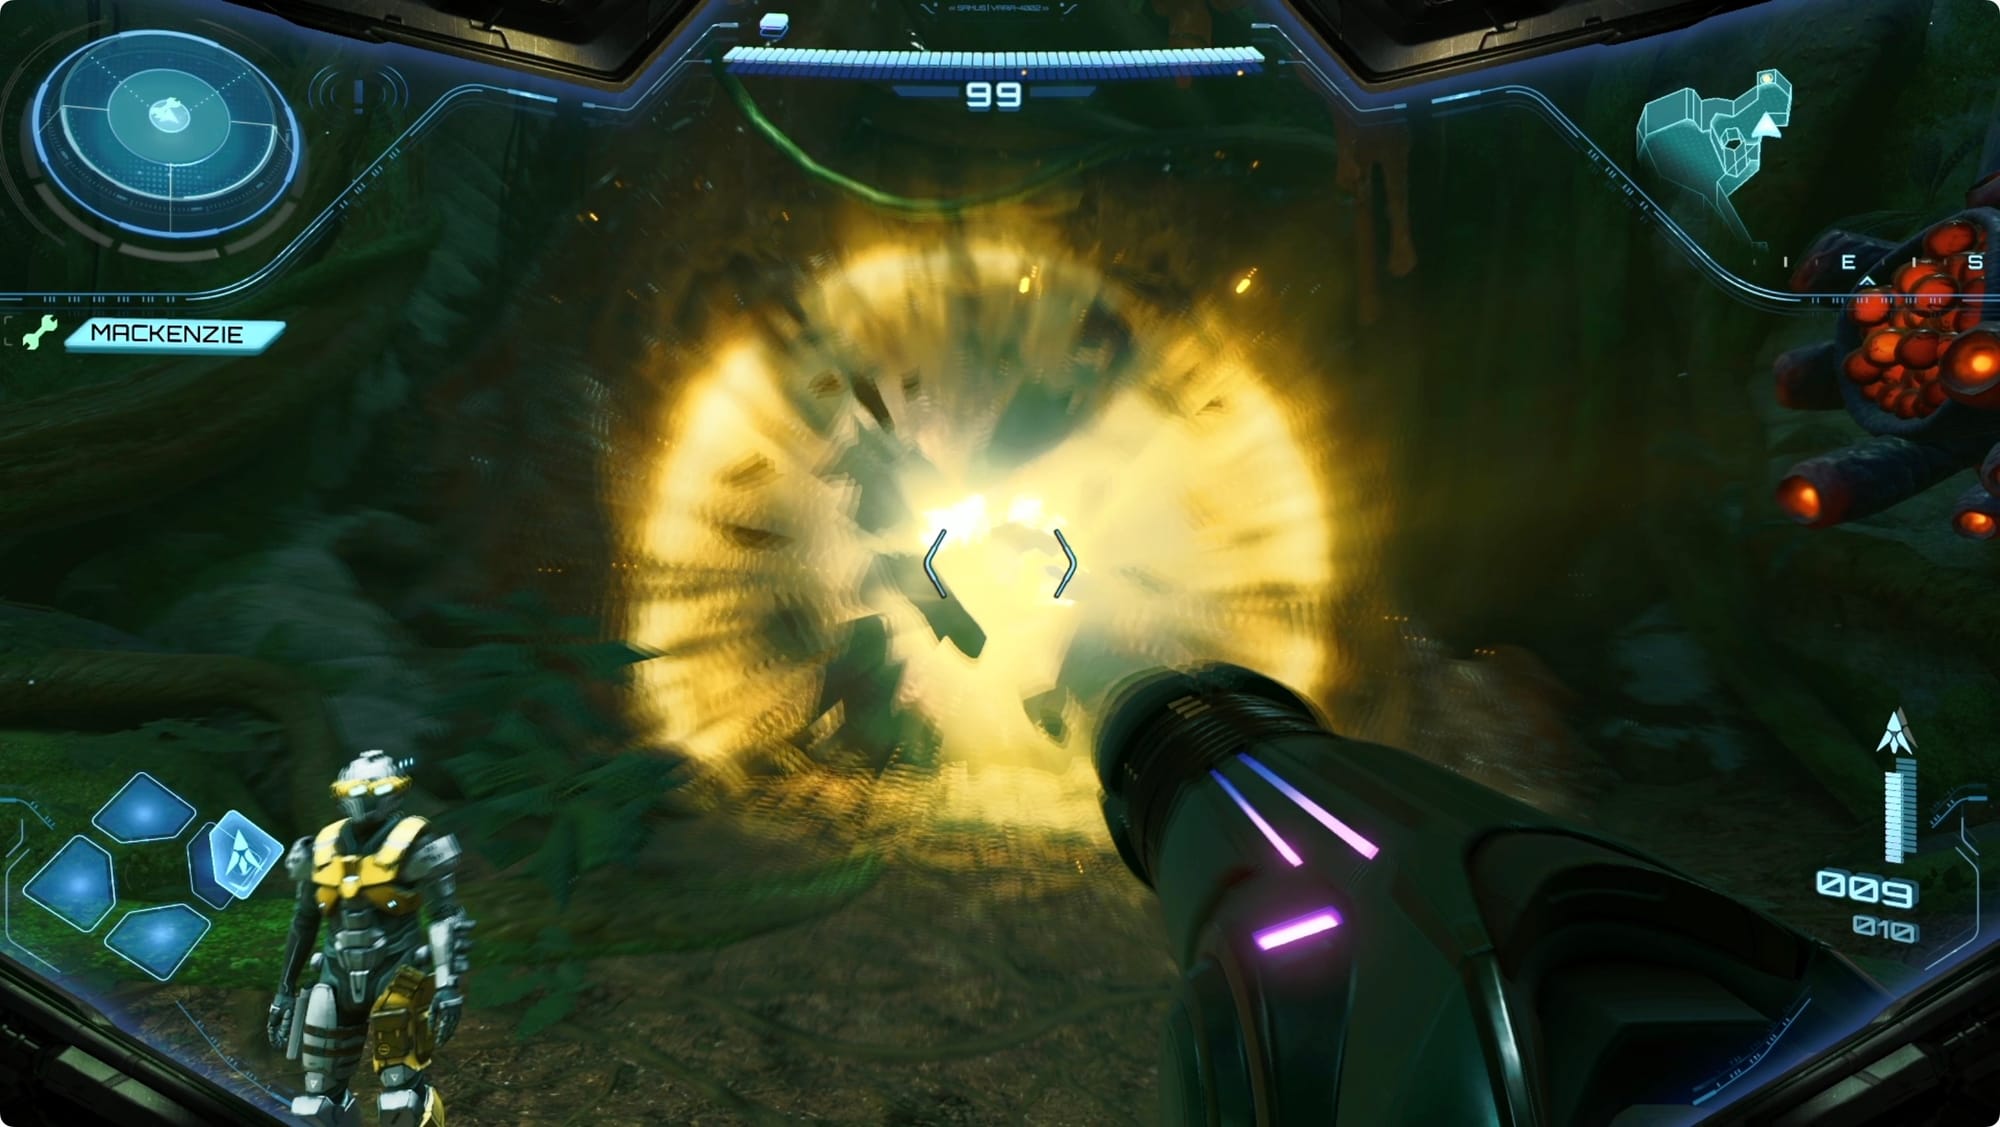
Follow it back upstairs and just keep following it until you get transported to an alternate dimension (it’ll make sense when you see it) where you pick up the Psychic Crystal — which gets you the Psychic Beam and Psychic Visor.
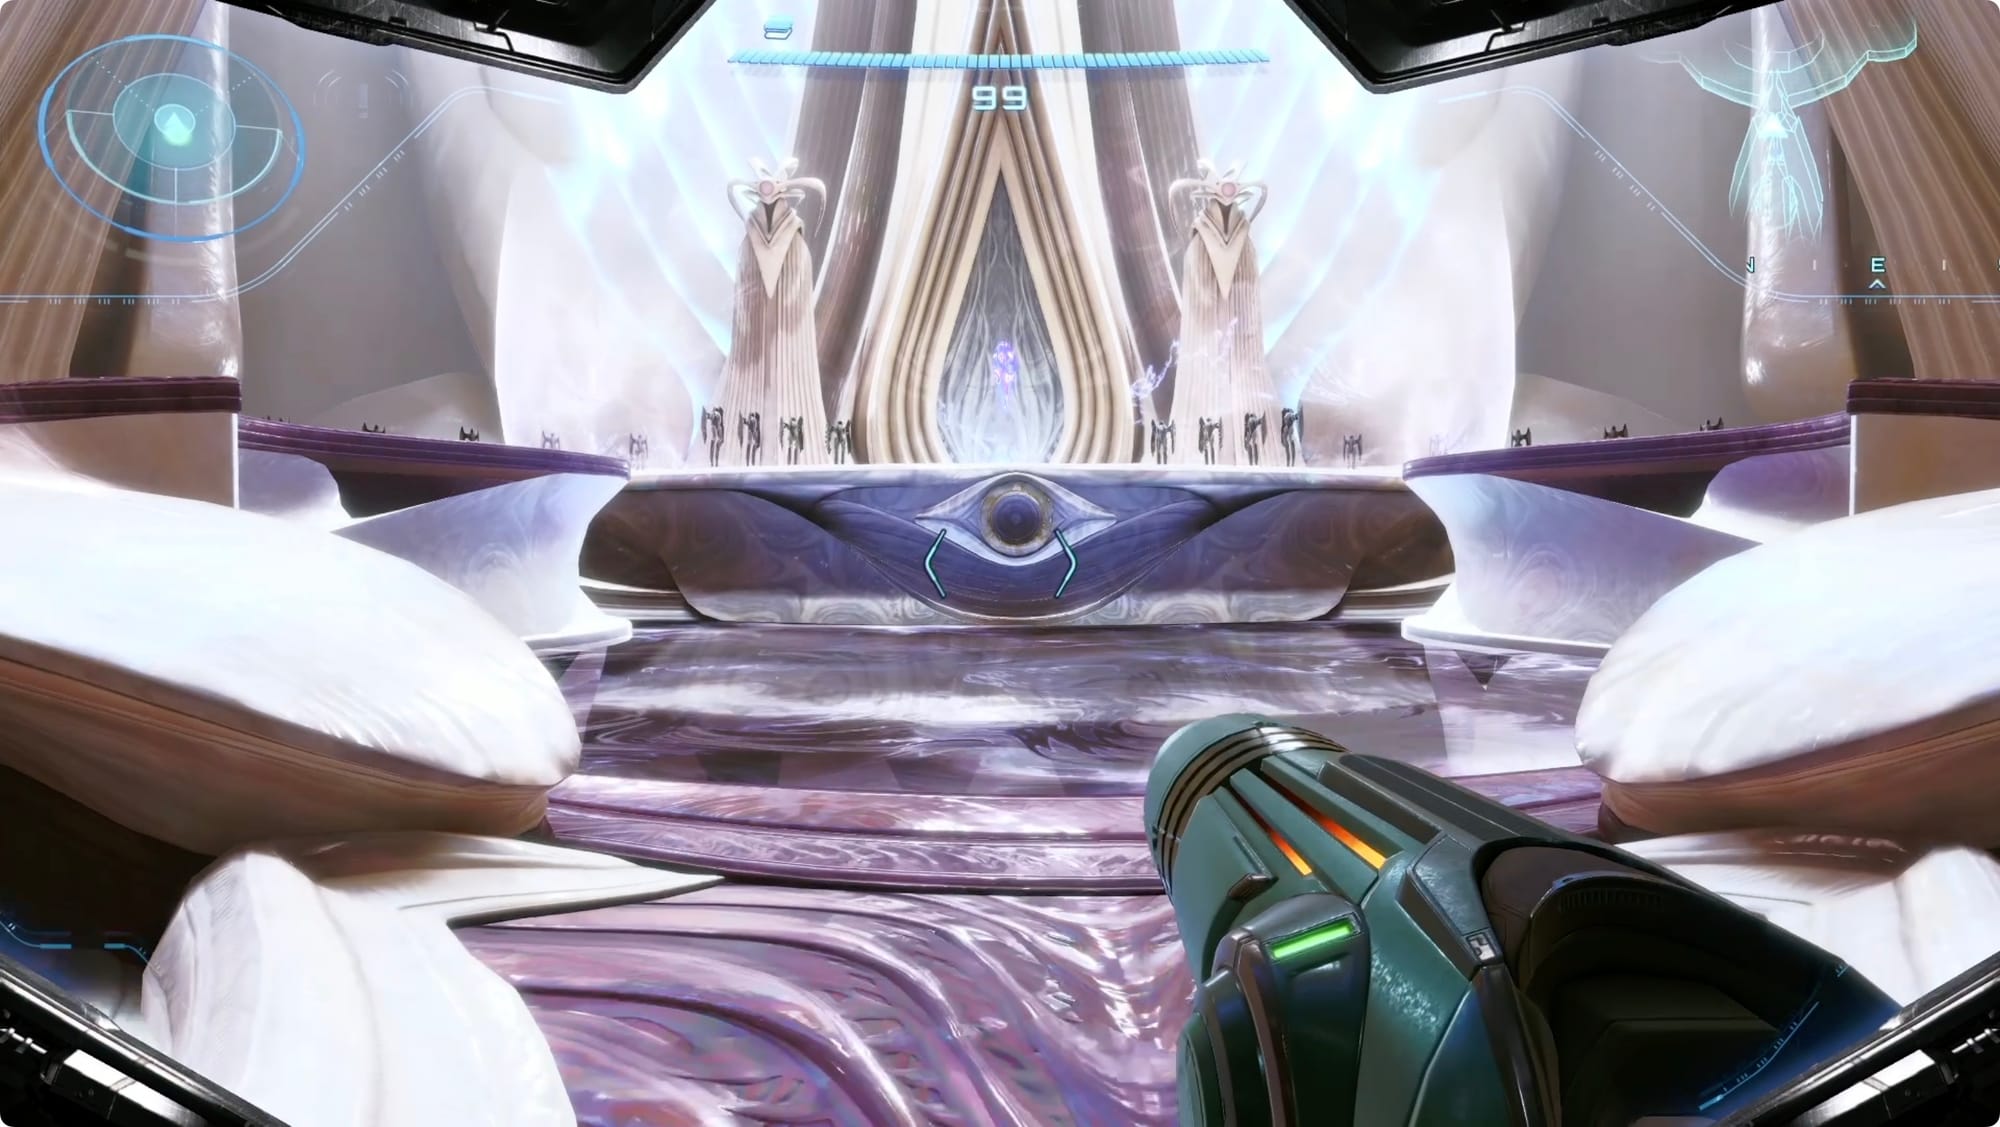
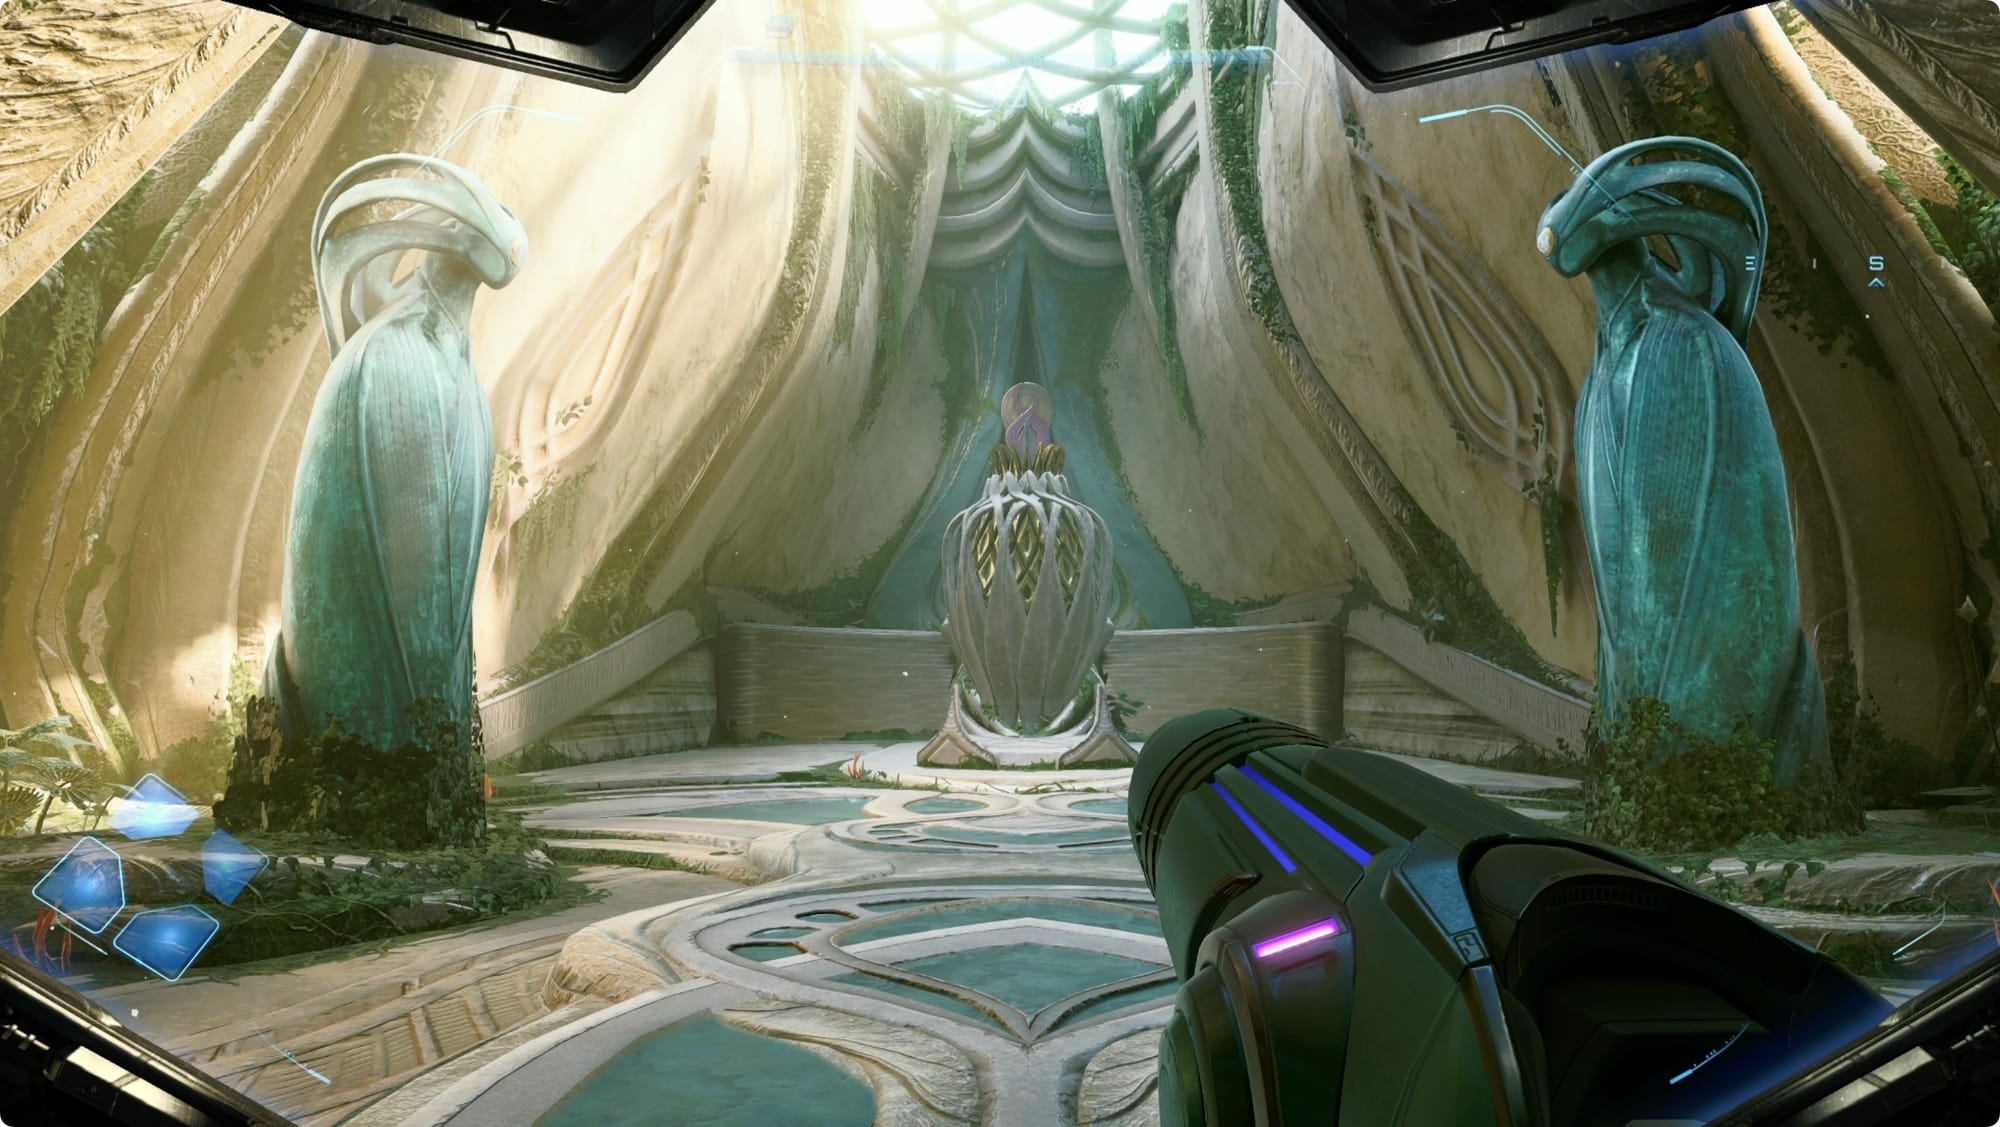
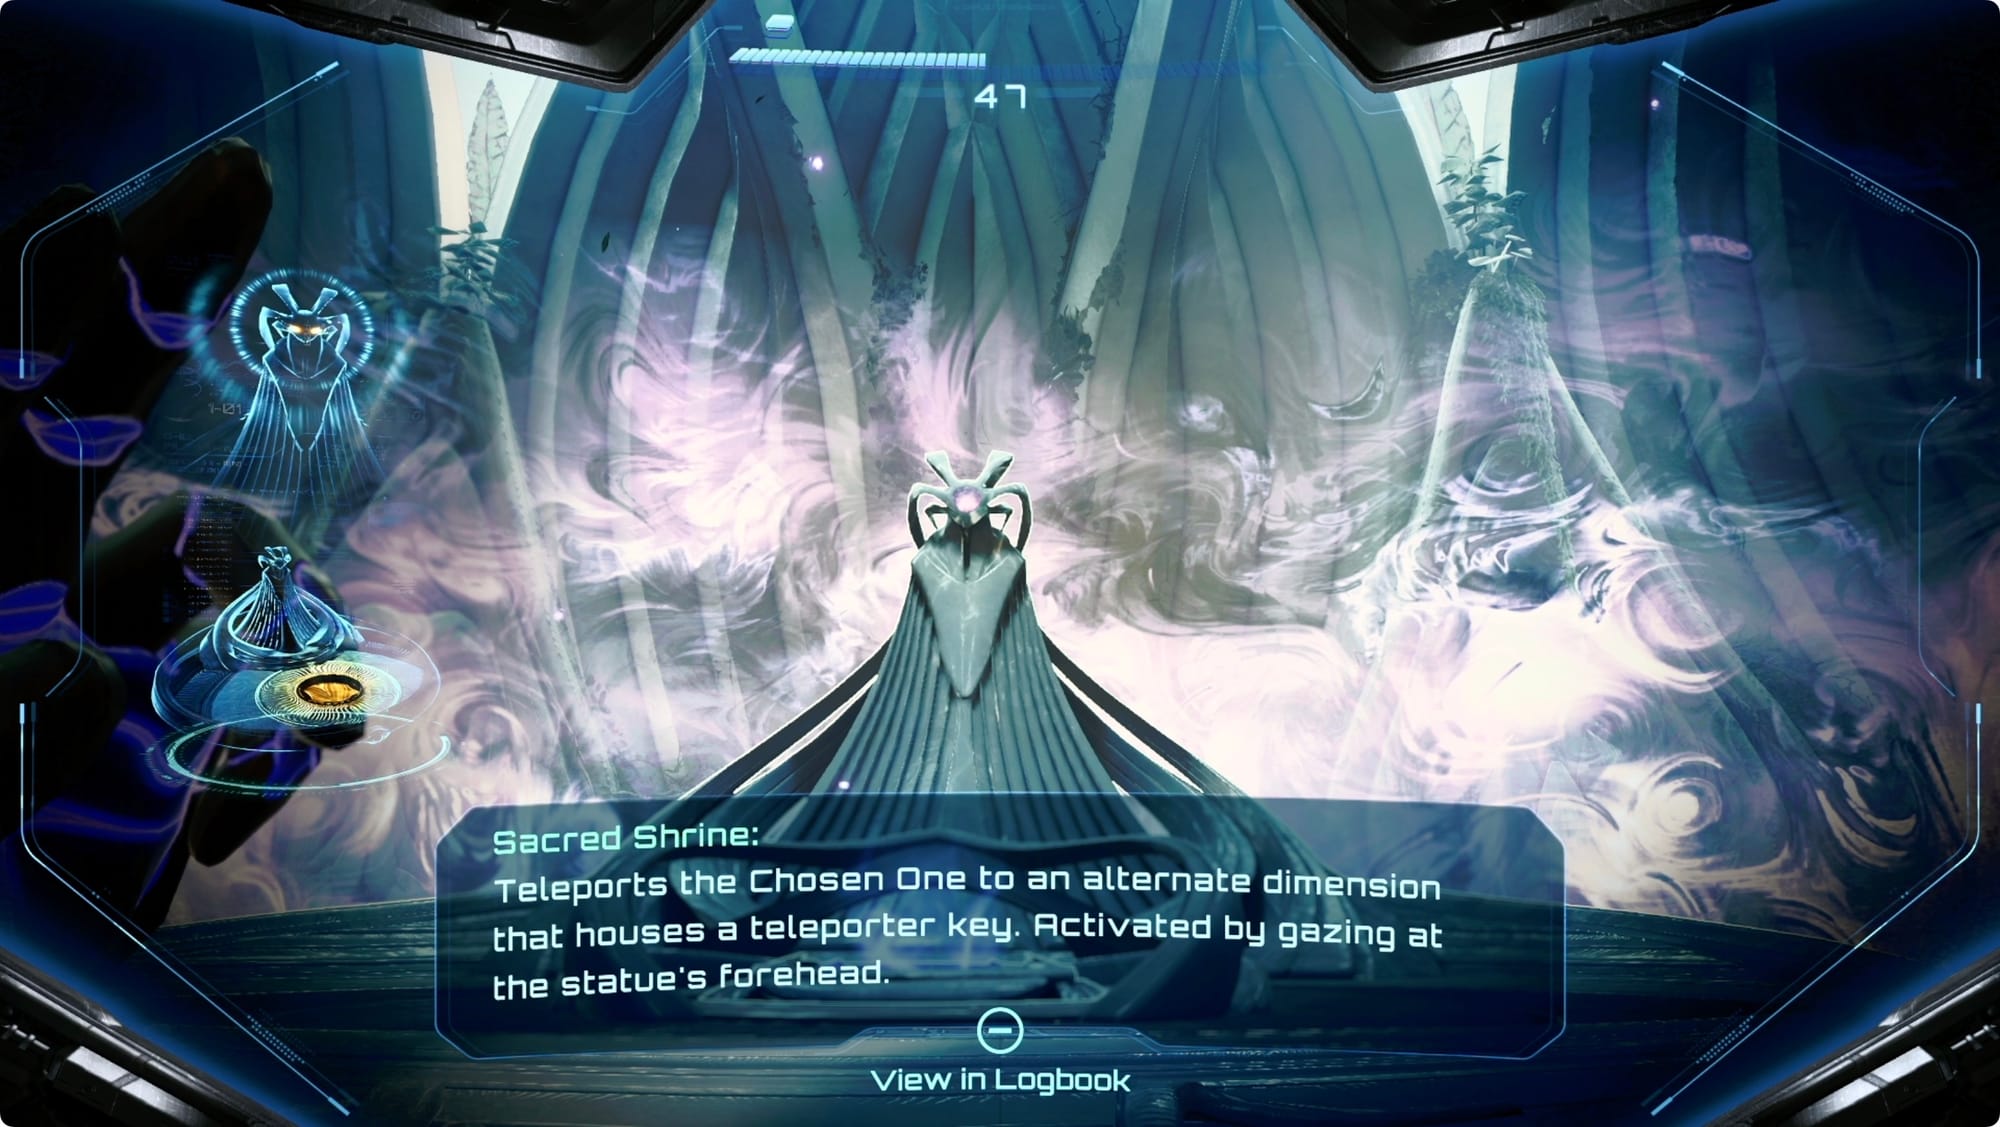
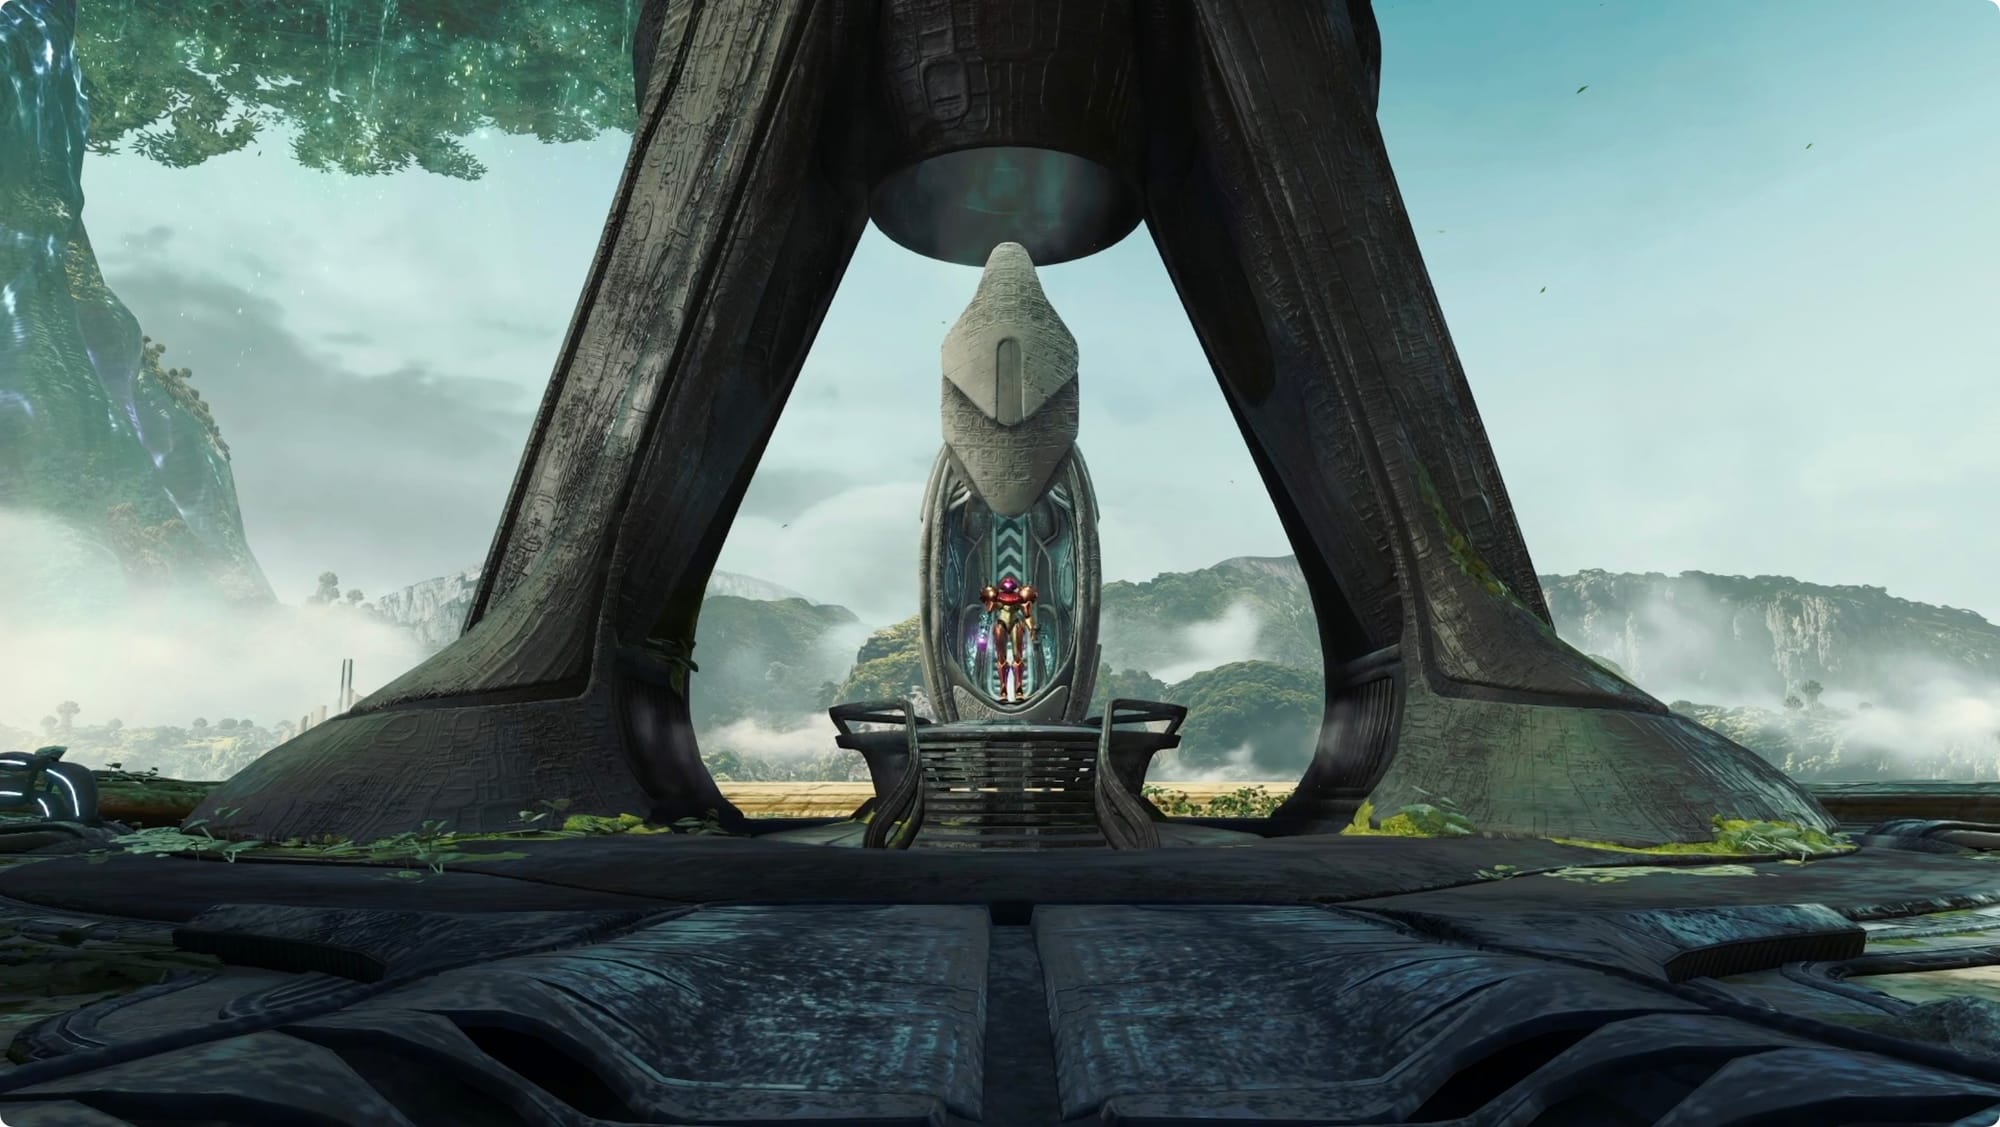
With your new powers, scan everything to make your way back to the round room. In the middle, use the hologram to ride the elevator to the top of the tower. Scan the statue you find there to get a message (and mission) from a Lamorn priest named Chatoyant Vooloon. Chosen One, doomed civilization, new planet, five keys, yadda yadda.
He(?)’ll leave you with a teleportation orb that will start your journey once you interact with it.
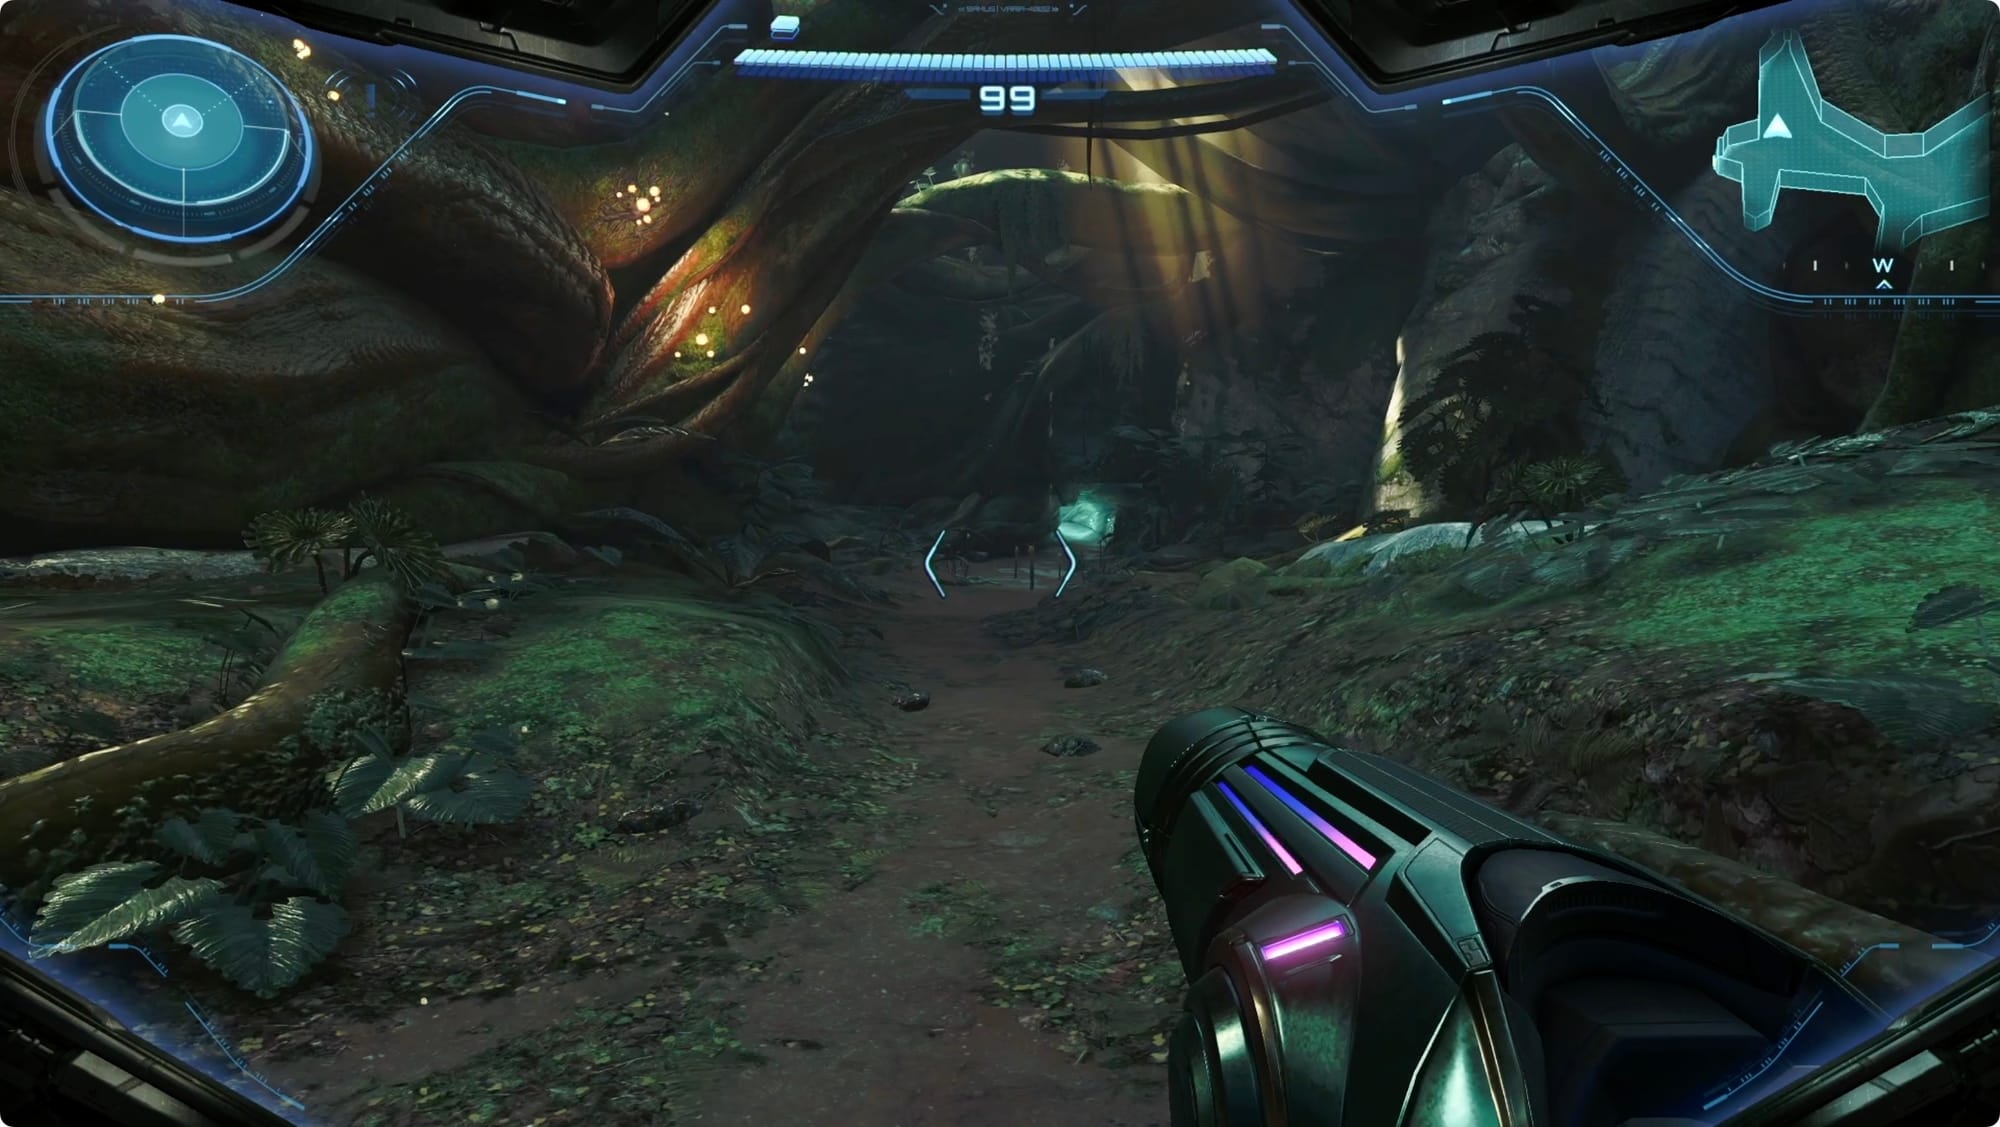
Welcome to Fury Green
The orb will warp you to Fury Green.
Start working your way along the path and scan everything you can (you’ll get a few logbook entries and, if nothing else, there’s usually hints about how to kill enemies).
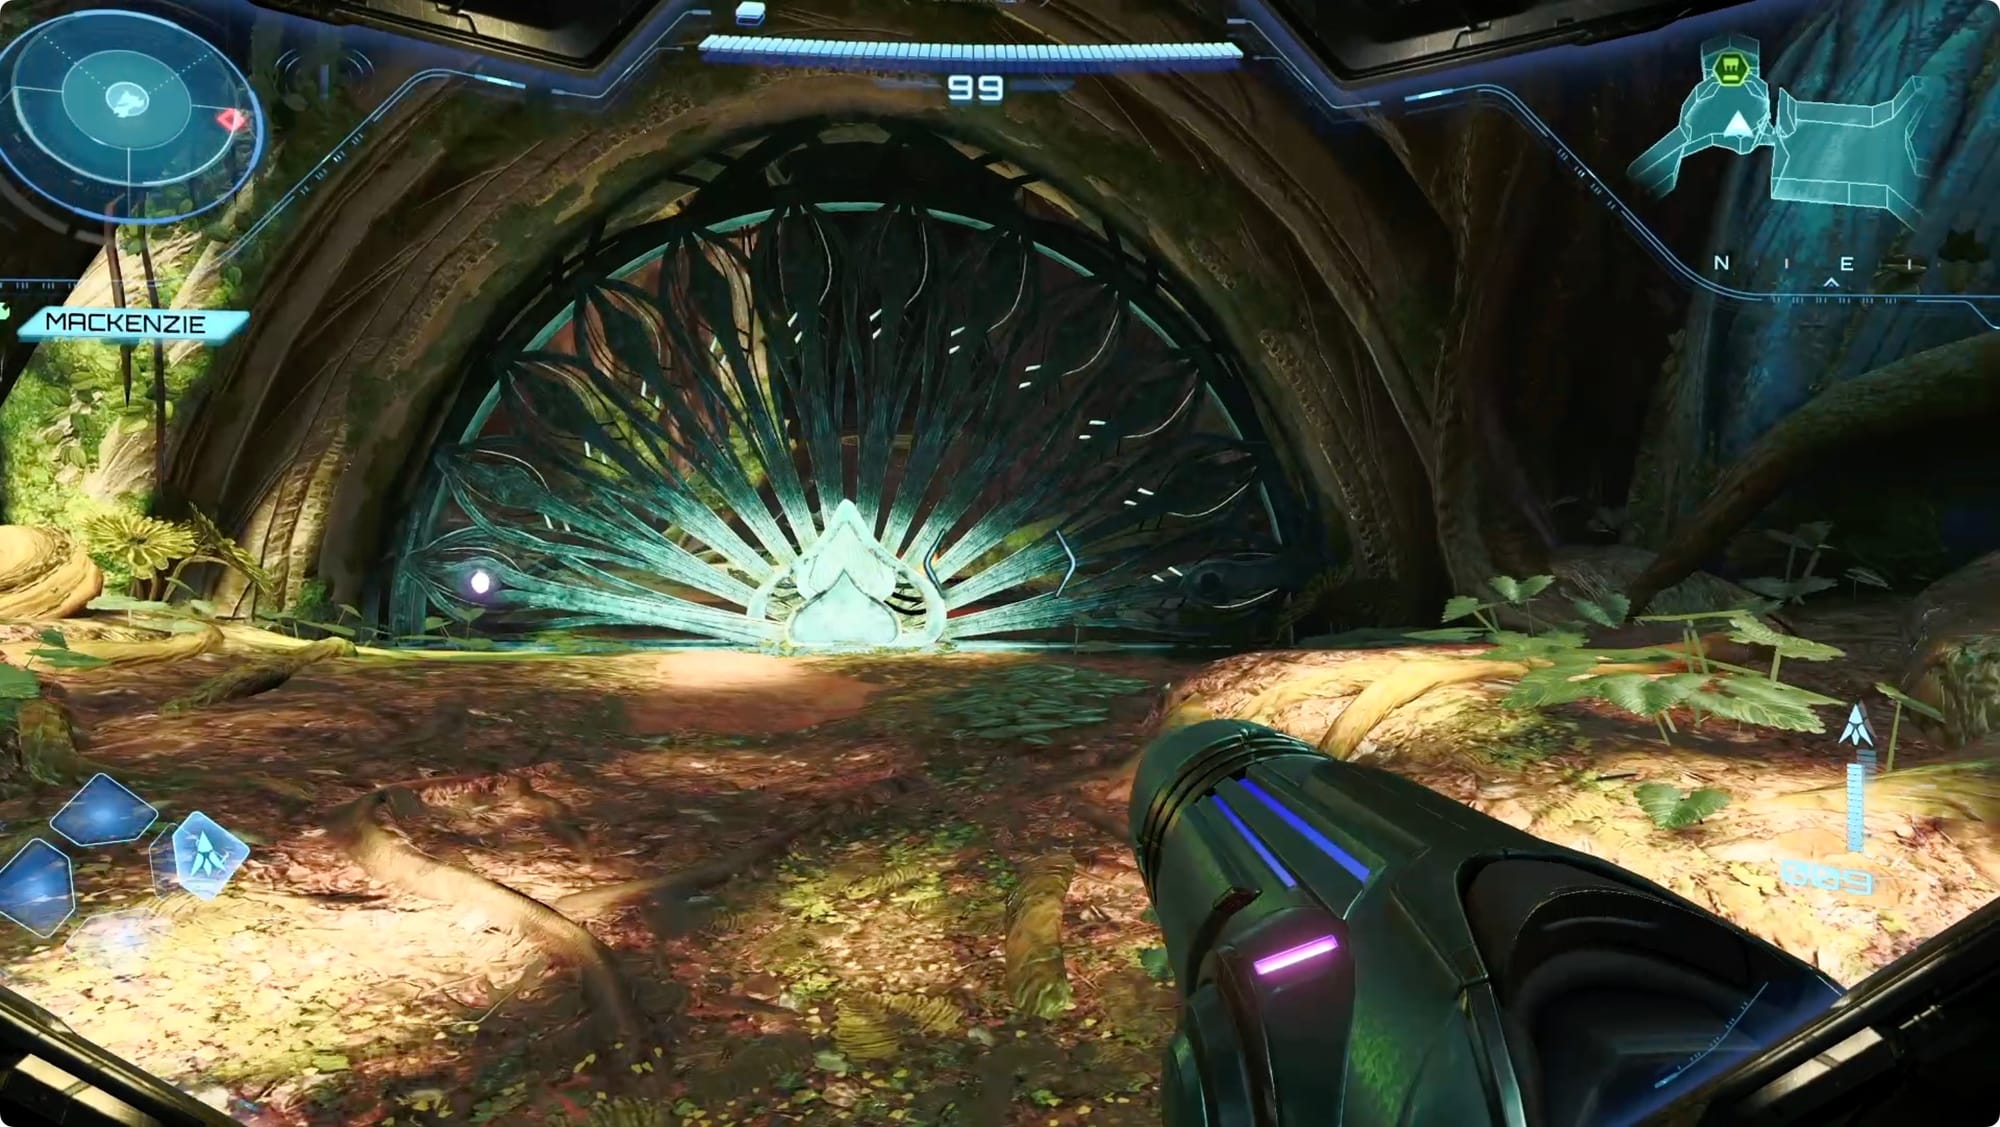
Just keep following the path until you reach a round, glowing door that I’m definitely not tempted to call a magic butthole. Keep heading forward until you get the Fury Green title card.
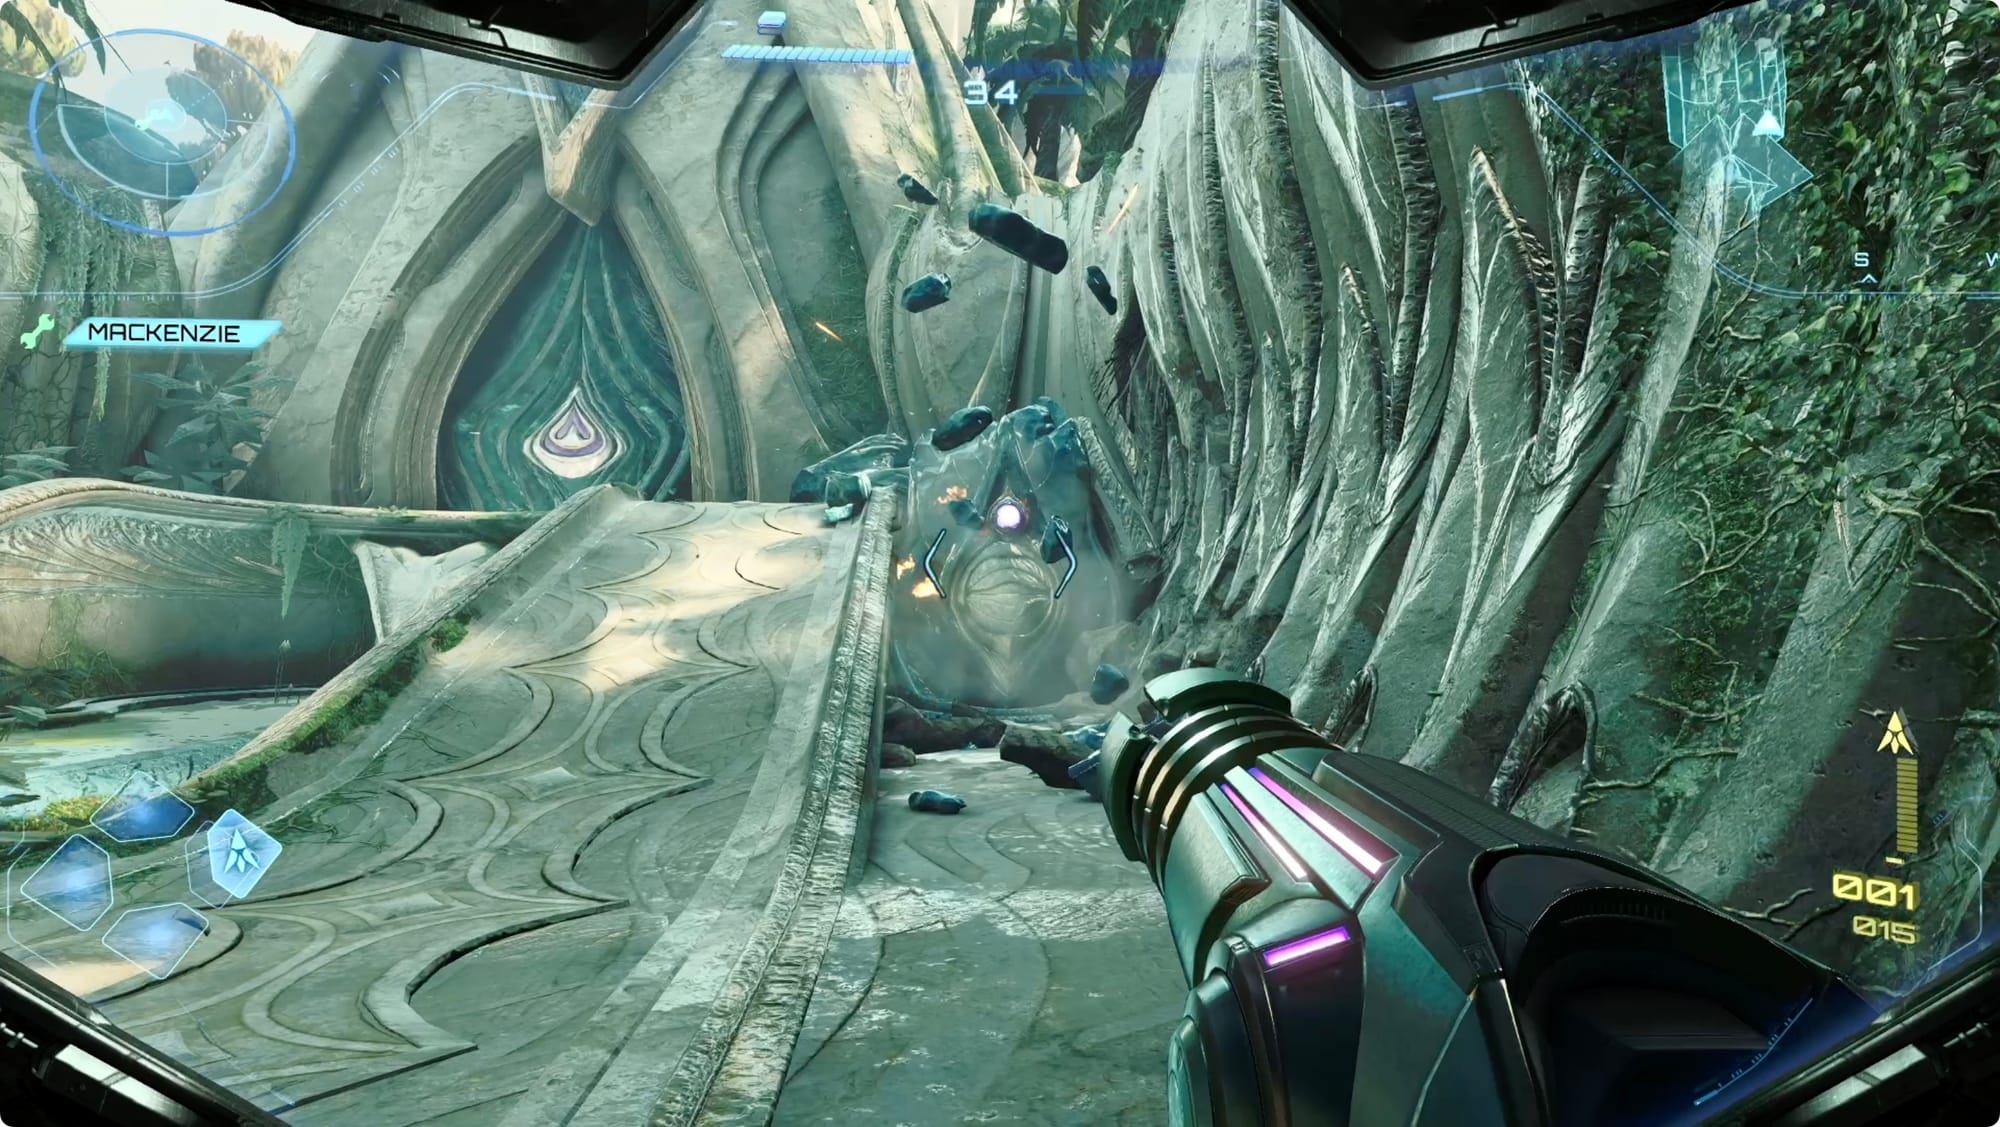
To the right, you’ll meet some Glottagroppers to shoot followed by a Rootspur in the next area. Just keep following the only path you can until you reach a locked door with two keyholes and a pair of Lamorn statues on either side.
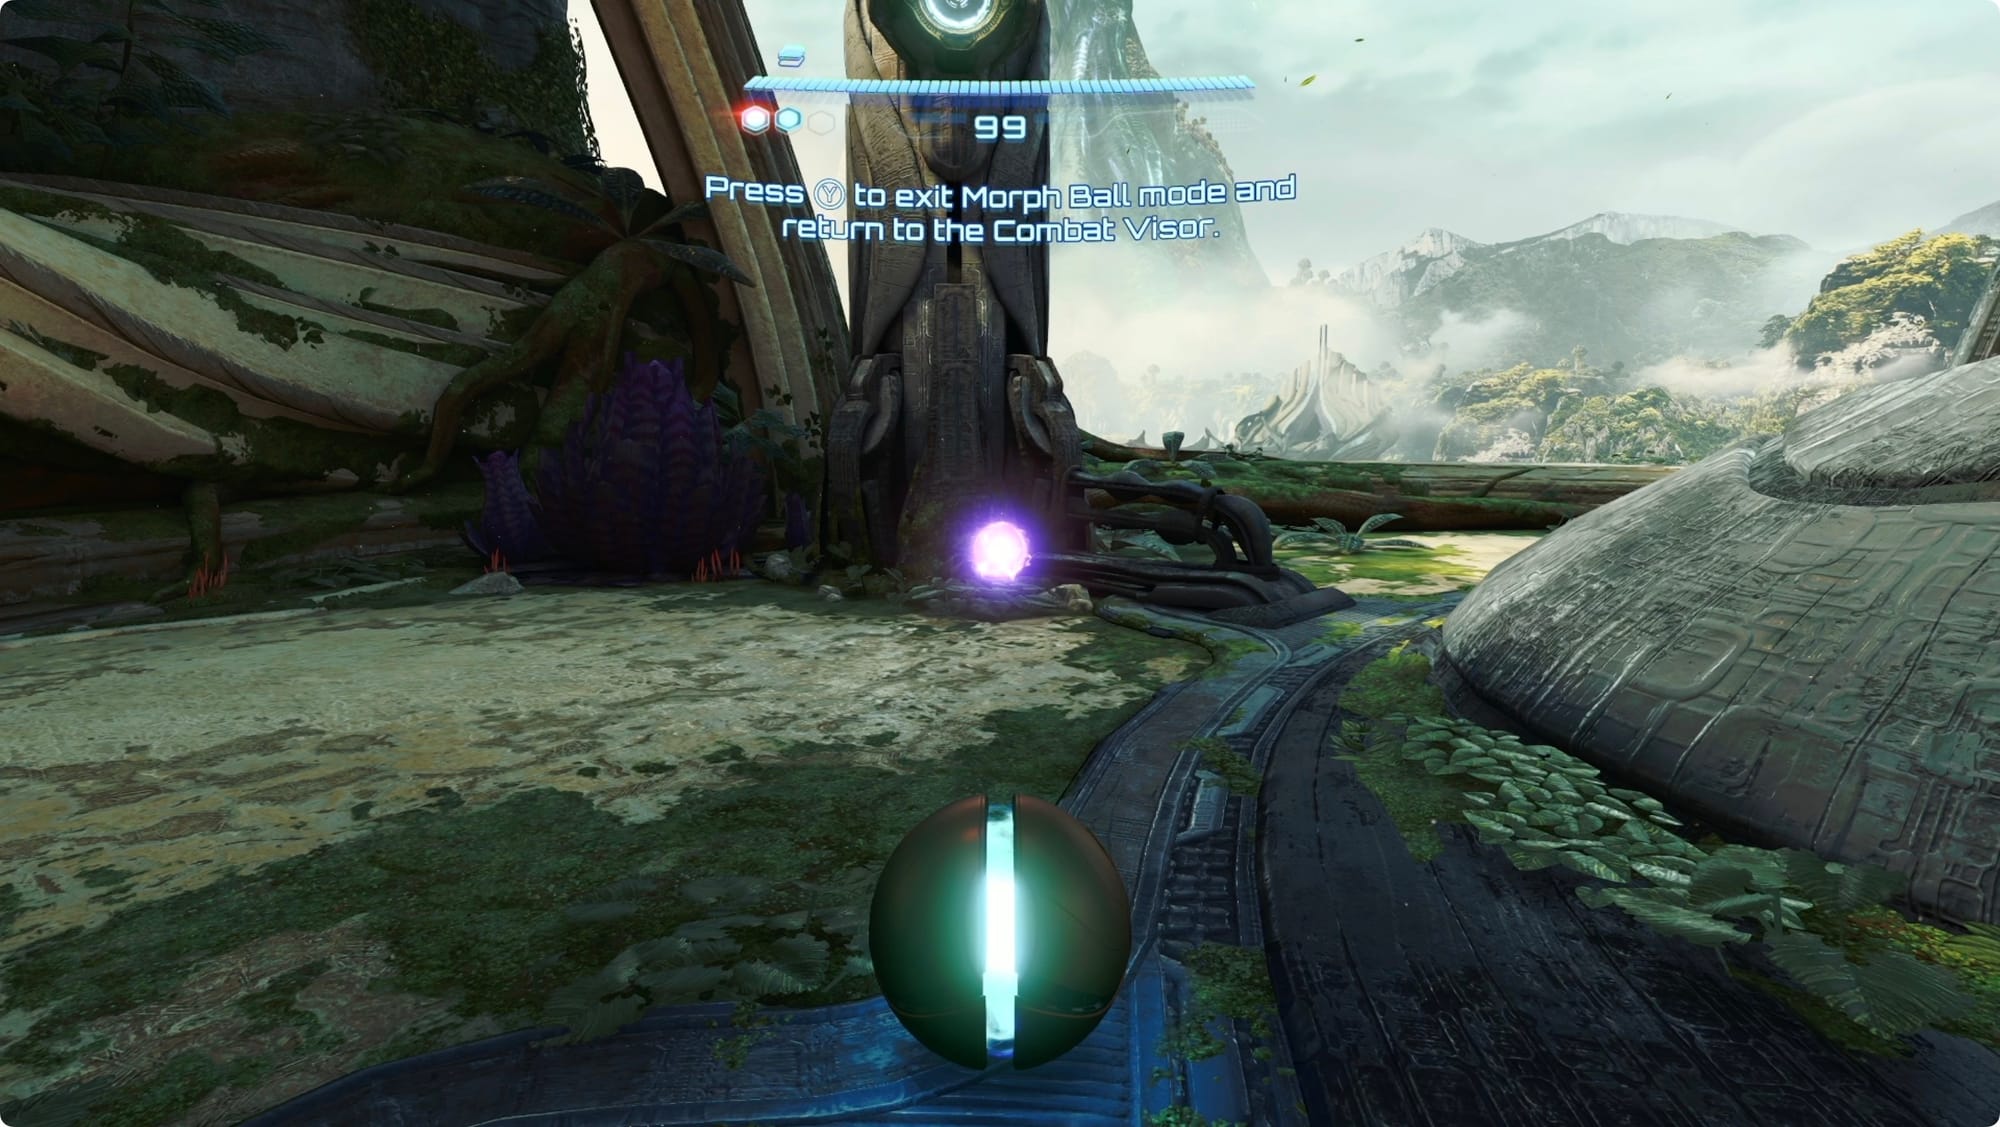
Take a right from the door and shoot through a non-butthole door. You’ll find a Scout Bot, but you can’t do anything with it yet (mark it on your map for later). Keep going past it. You’ll hit another Psychic Lock door in the next area. Take a left and Morph Ball (Morph Ball is Metroid ducking) through the low tunnel you find.
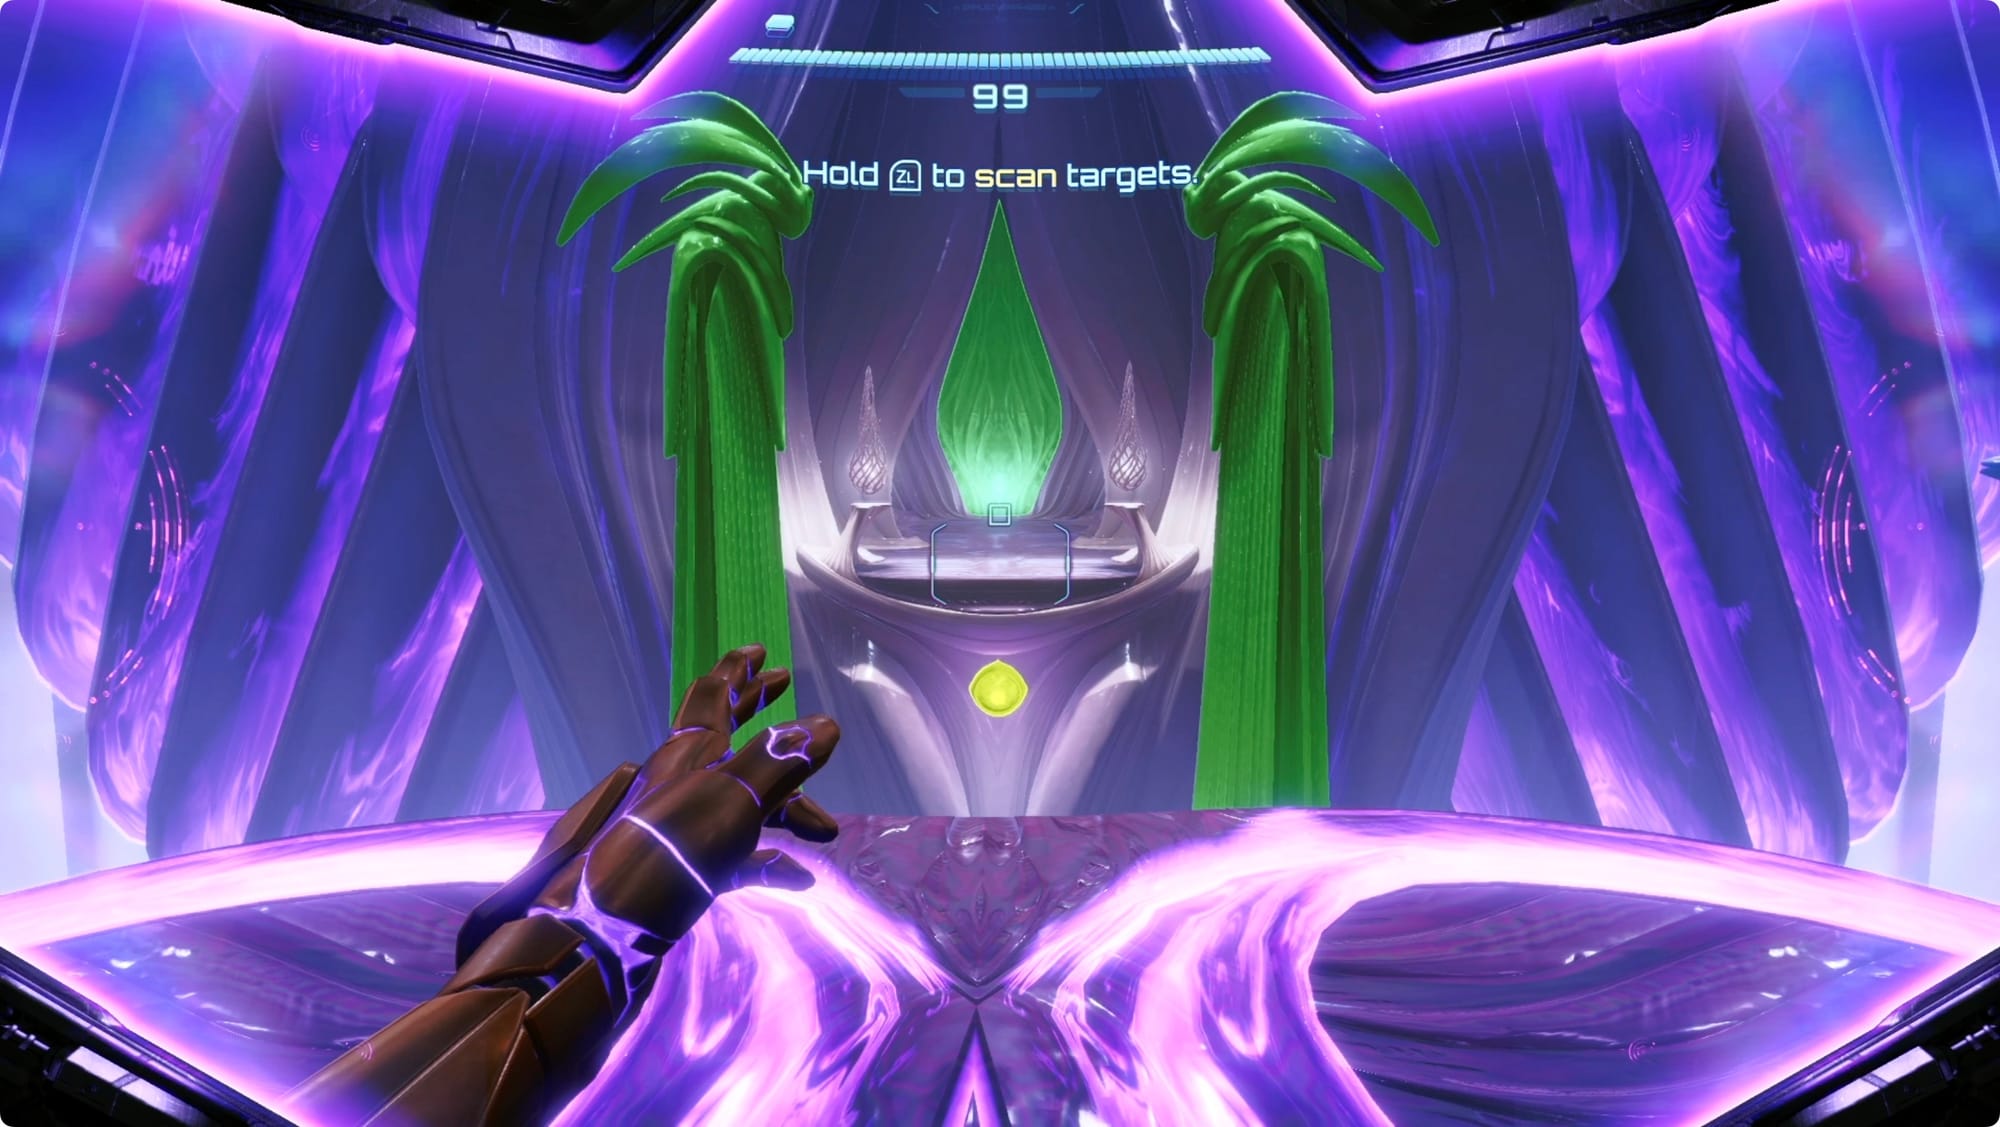
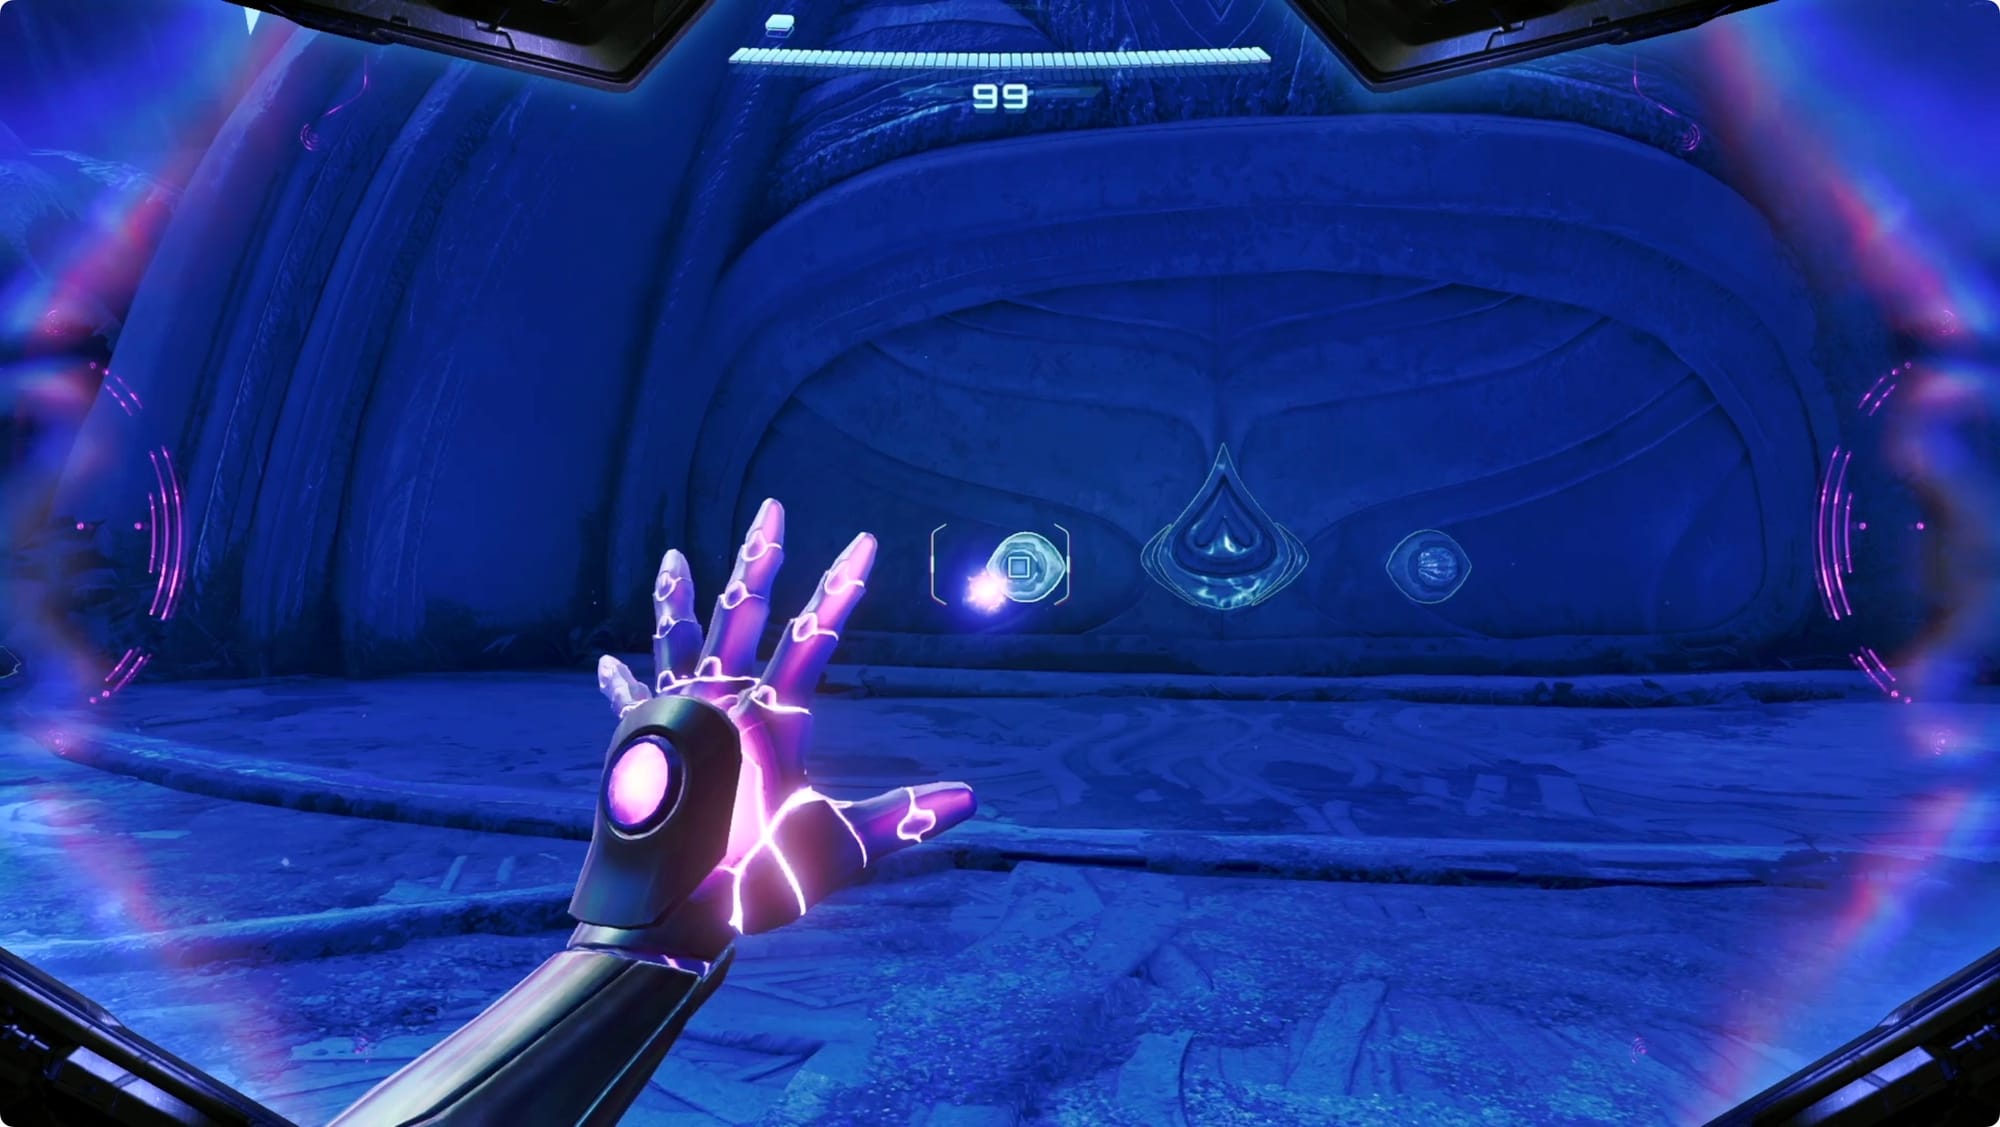
At the end of the next path, you’ll find a Psychic Sensor-locked door. Scan the sensor and drop into the next room to pick up the Psychic Glove.
A statue will come up out of the ground. Switch to the Psychic Visor and use your new glove to yank the Psychic Mote out of its forehead. Launch it into the door’s keyhole to get out of this room.
Backtrack to the door with the two locks and statues. Pull the motes out of the statue heads with your glove, shoot them into the locks, and head through the door.
Find the distress beacon
Skip past the Psychic Container — you can’t open it yet — and head through the next door.
Hi, future Jeff here to say I'm dumb. You can, in fact, open the container. Switch to your Psychic Scanner and use ZL to focus on the glowing orb part. With the left thumbstick, move the orb along the pink path until the vault unlocks. Inside, you'll find an Energy Tank.
With the tank collected, head through the door.
You also can’t destroy the Shren Hives yet, so just keep going forward.
Through the next door, you’ll get a Galactic Federation distress beacon notification and it’ll pop up on your map. You’ll also get a choice to go right or left.
Head right first. Through the door, you’ll find a weird green door. Unlock it by using your Psychic Glove to move the lever from left to right, and then head through to the Save Station.
You can’t go any farther because of a new kind of obstacle, Viewros Amber (basically, a door only a missile can unlock), so back up to the previous area.
Off to the left, you’ll find more amber. Continue along past the amber until you come to a Morph Ball-sized tunnel.
Keep following the tunnel and the glowing isopod creature until you get a quick cutscene. Just past there, you’ll find a Beetle Nest door. Charge up your Psychic Beam to blast through it, and then do it again in the next room.
Through the next door, you’ll find a skewered isopod. Don’t worry about it.
Blast through the spiky Fern Roots to reach the next door.
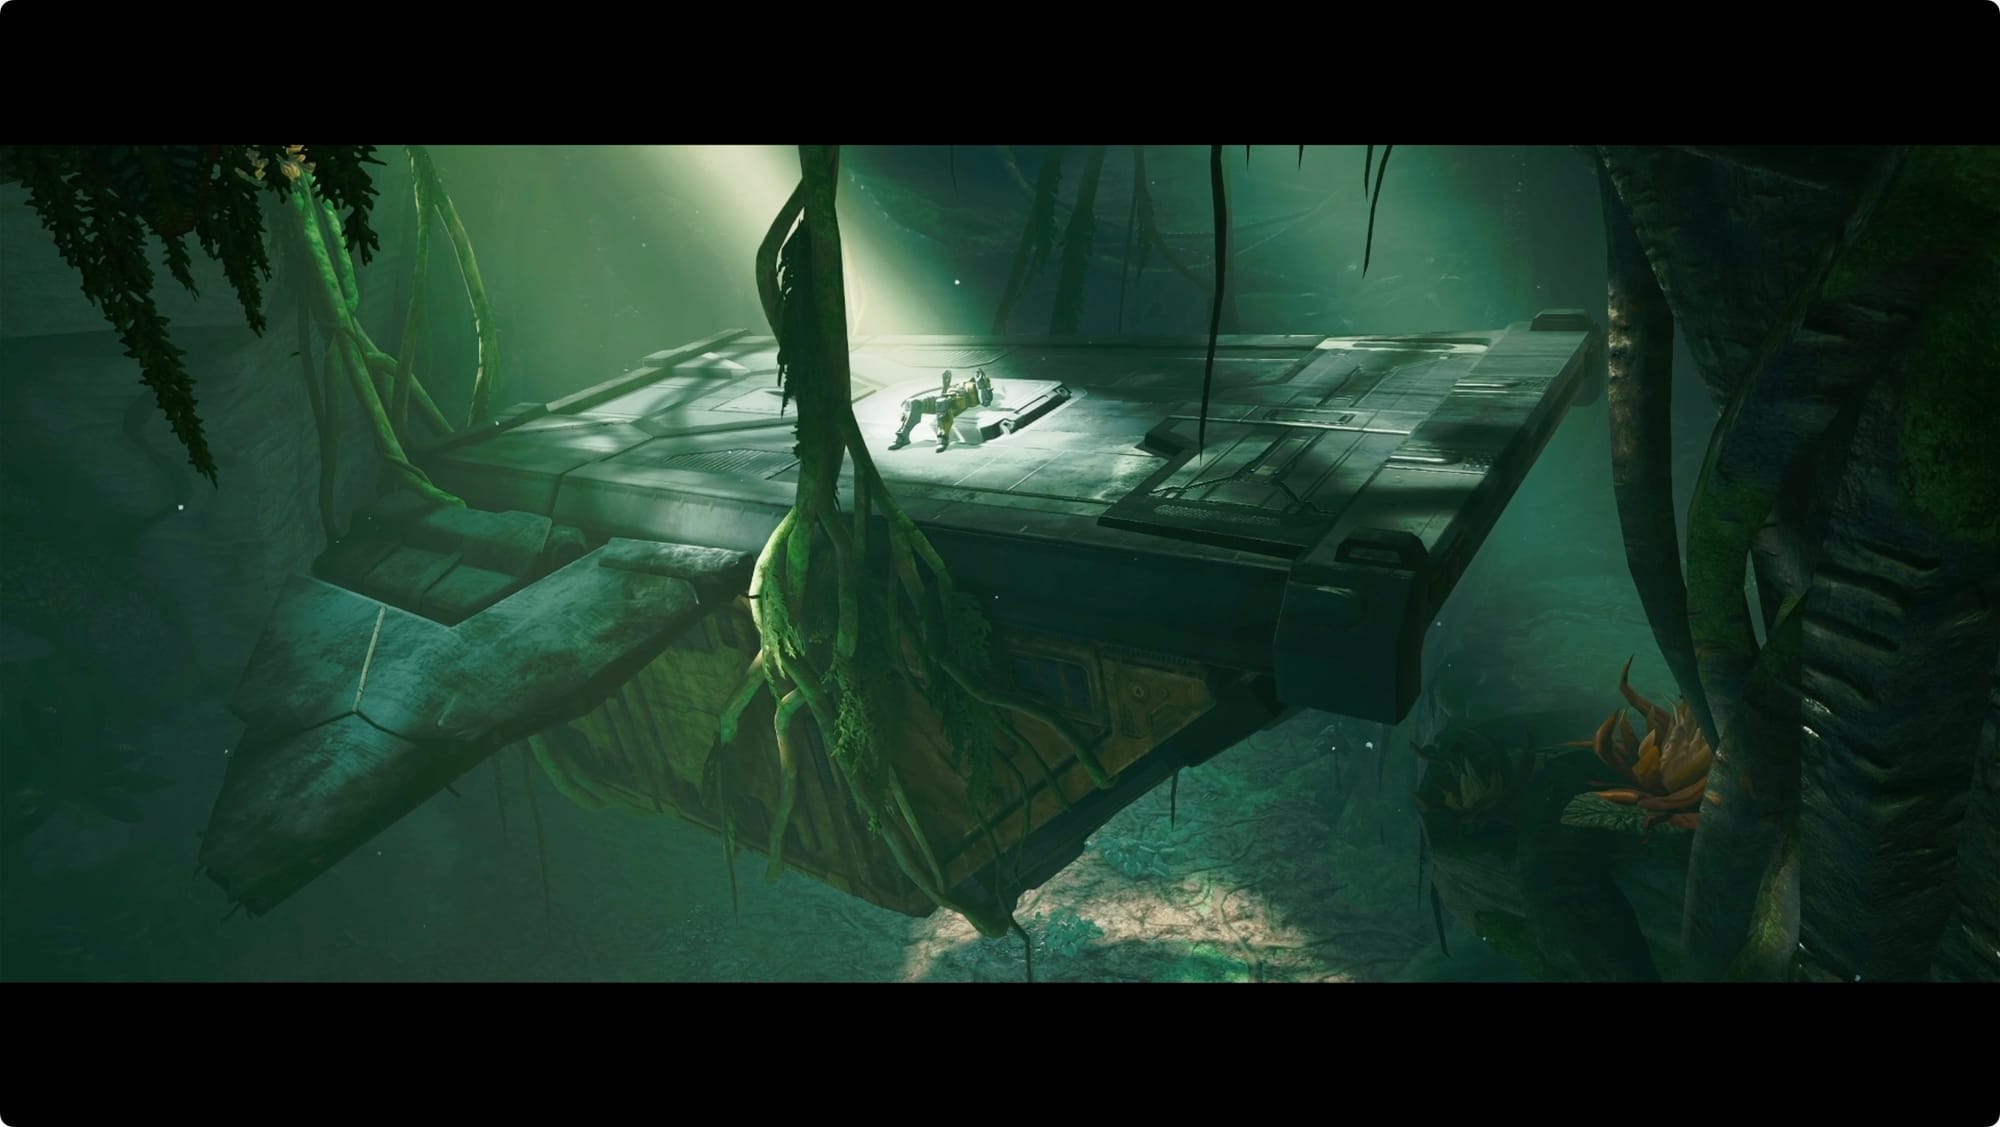
Drop off the ledge you come to and keep heading forward until you meet a Galactic Federation Technician — the source of the distress beacon. He’s stuck on top of his transport, but the vines holding it up have explosive growths on them. How convenient.
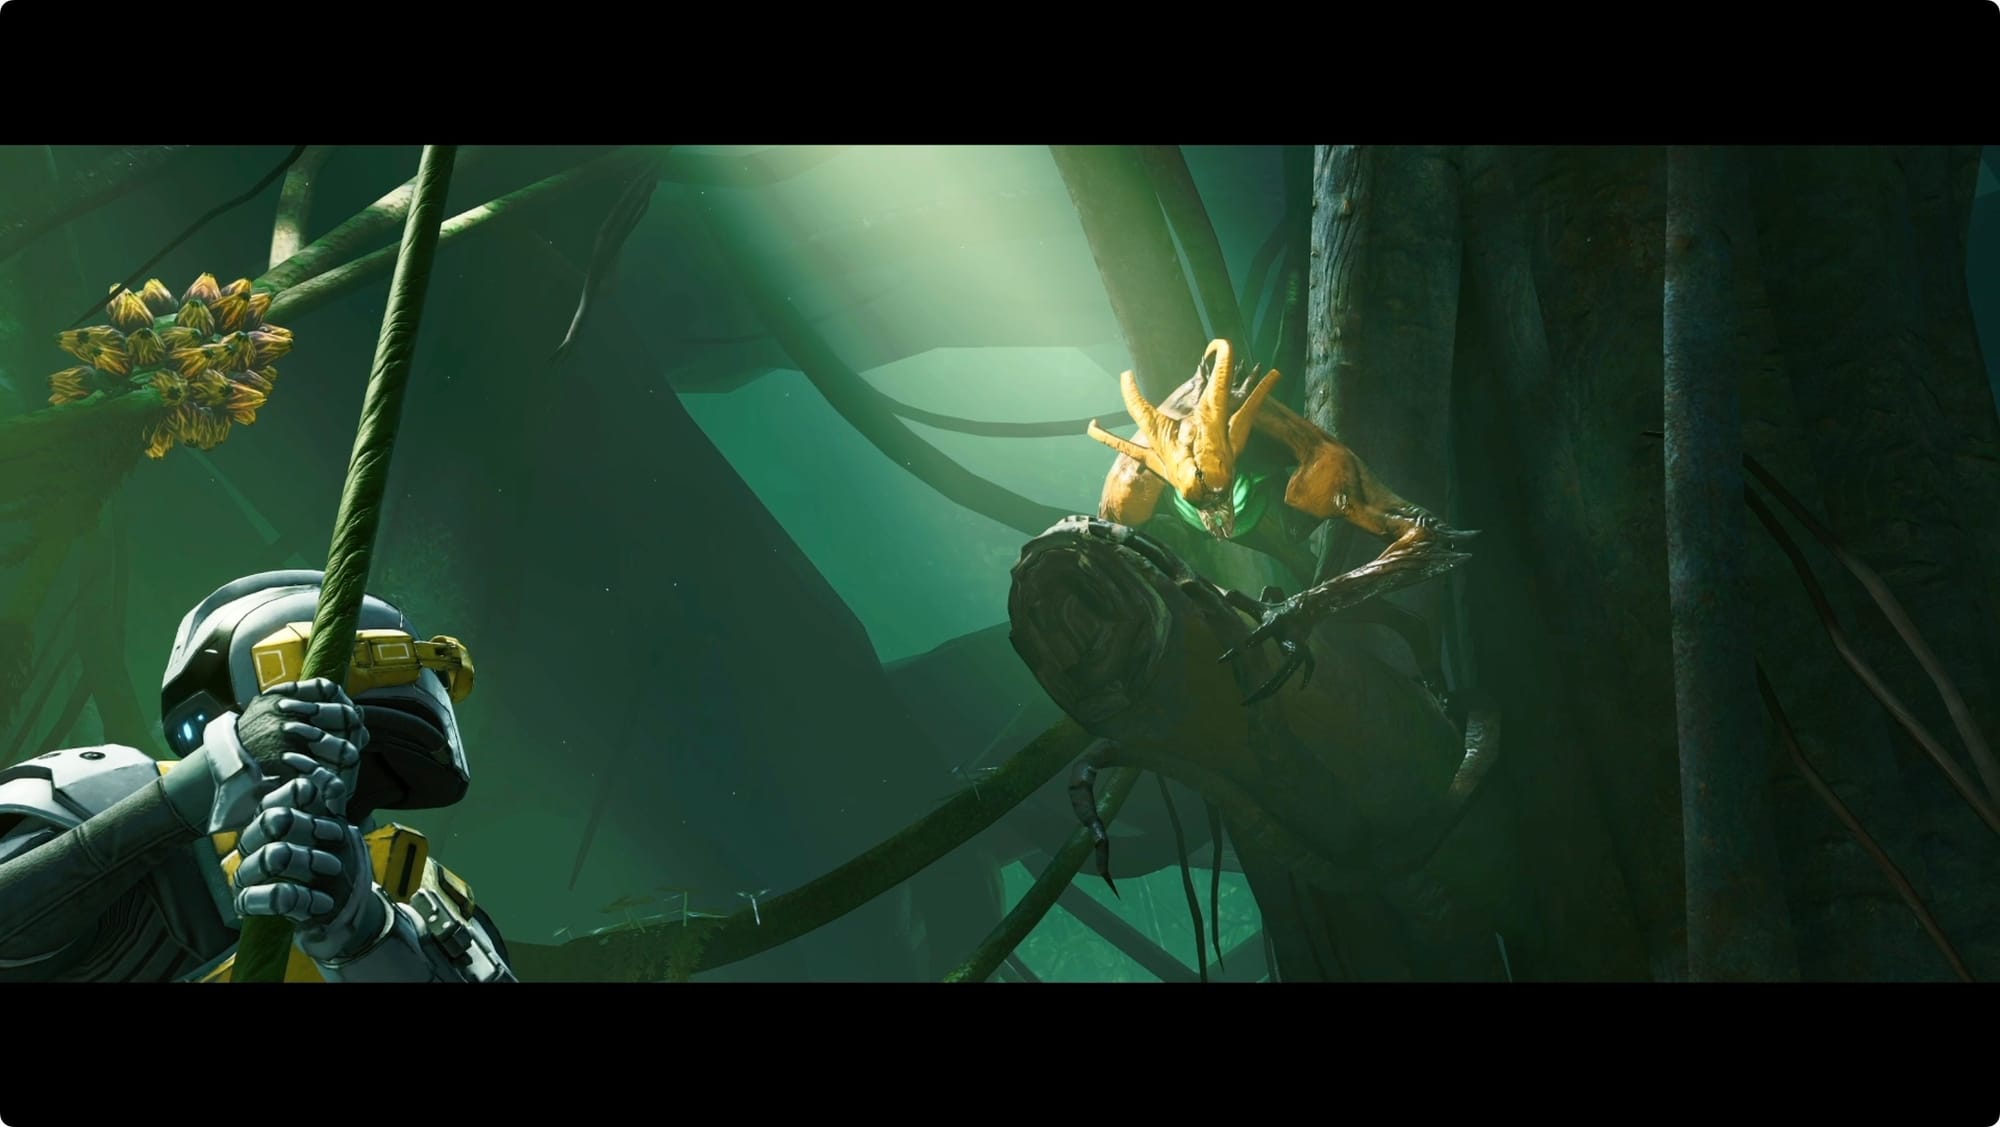
Ignore his protests and start shooting them. After two, a mob of Grievers will show up. They’re fast and growly, and have a tendency to sneak up behind you, but they don’t like getting shot in the face. After you shoot so, so many of them, turn your attention back to the vines.
After Myles introduces himself, he’ll tell you he’s got a present inside the transport. Help him open the door by shooting the latch, and then head inside for the Missile Launcher.
Find the Control Beam
Use the wing of the transport to climb on top, and then hop across to the ledge. Keep following the tunnel out until you reach the Save Station you visited earlier. Save again, and then head back to the room where you first picked up Myles’ beacon.
Use your missiles to blast through the amber that was blocking you earlier. The first nook you come to has a Missile Expansion behind the amber. The second has a door.
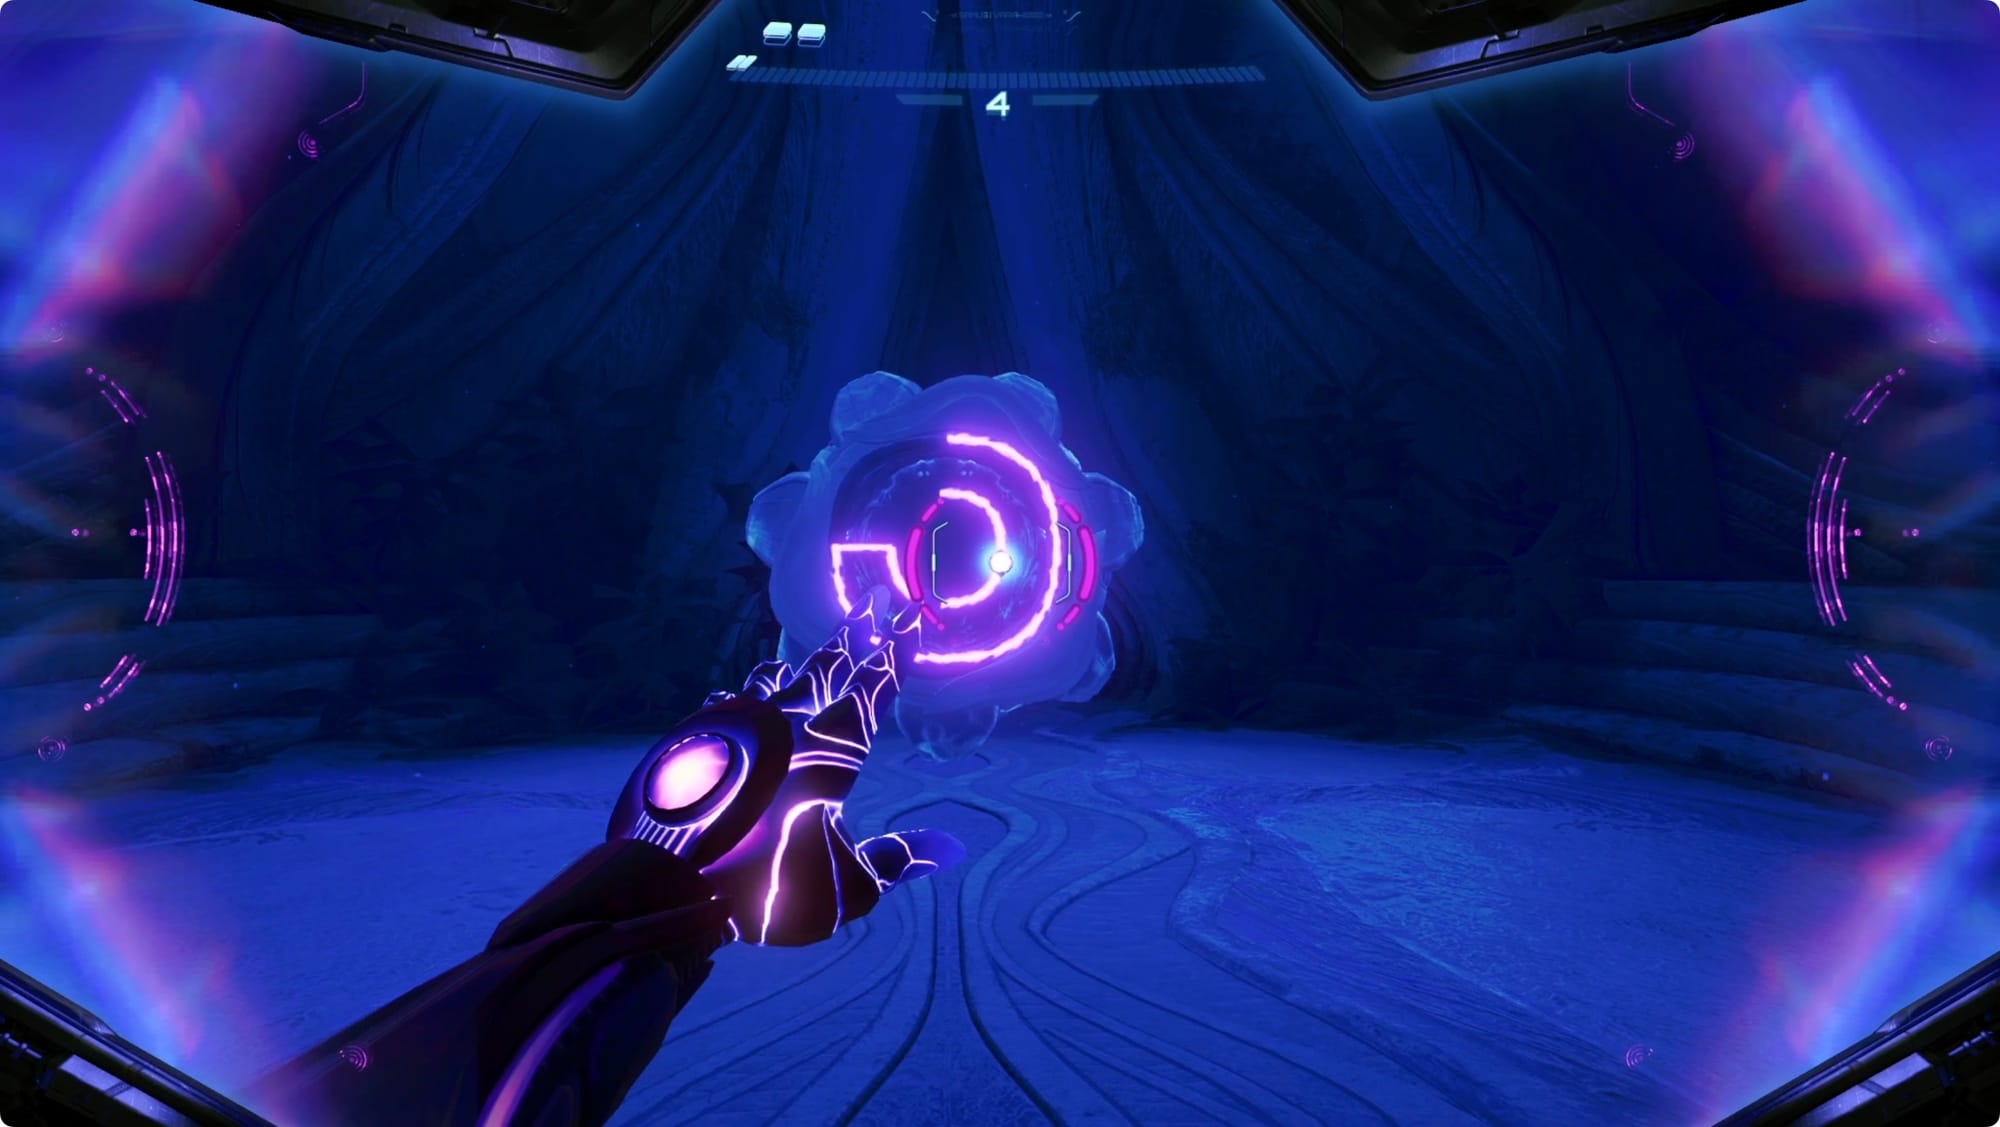
Head through it and continue along until you reach a new kind of psychic door. For this one, use your Psychic Glove to drag the sensor from the top to the middle, and then shoot it.
You’ll get another cutscene on the bridge and then more Grievers will show up. Fight your way along the bridge, but make sure you don’t leave any Grievers alive — if you do, Myles will get stuck and you’ll have to backtrack.
Head through the next two doors and you’ll hit another lock mechanism.
On the left side, psychically scan the sensor to open the box for the first mote. Pop it into the statue in the center of the room. On the right side, missile the rubble to reveal another Psychic Box. Scan it, grab the orb, and shoot it into the statue.
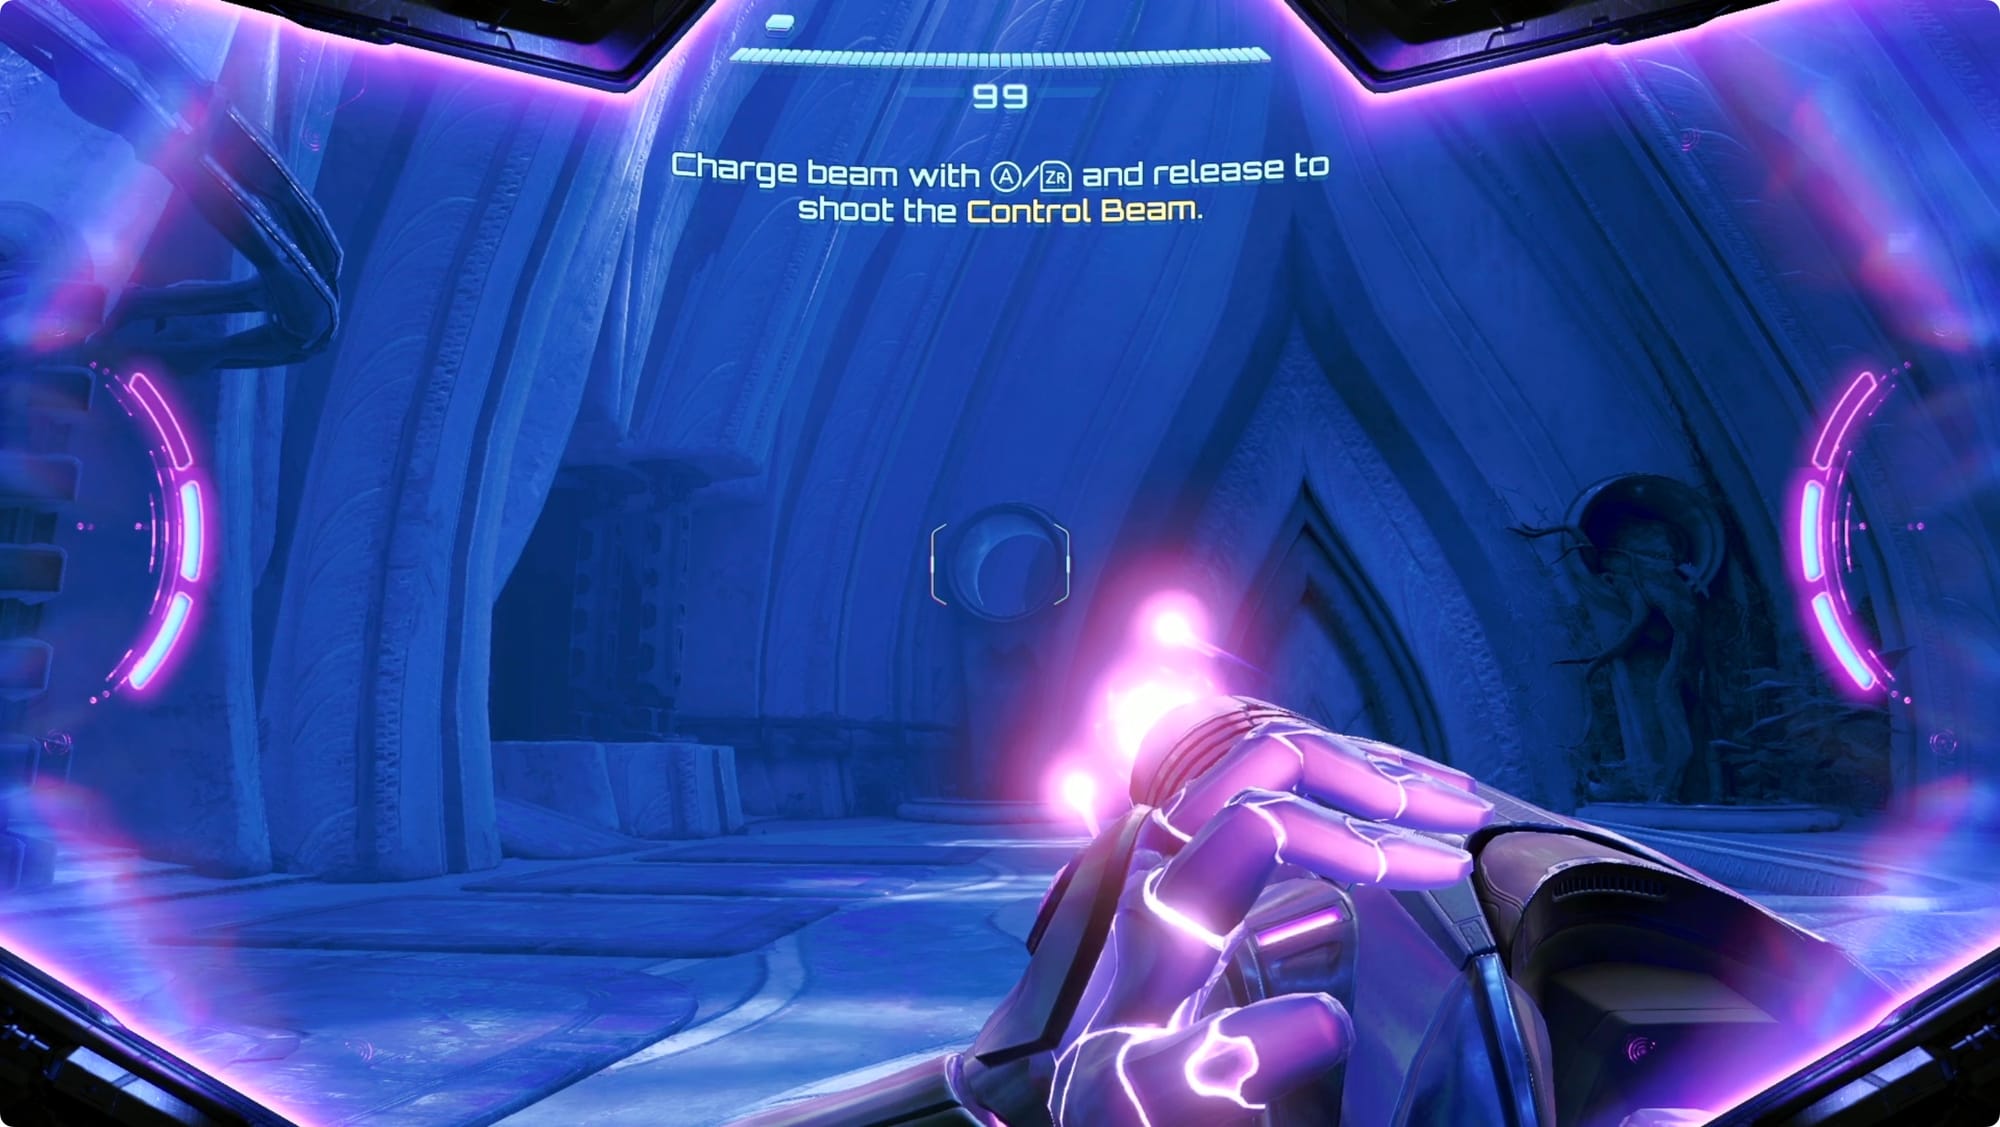
It’ll reveal the Control Beam.
Reach the Green Crystal Altar
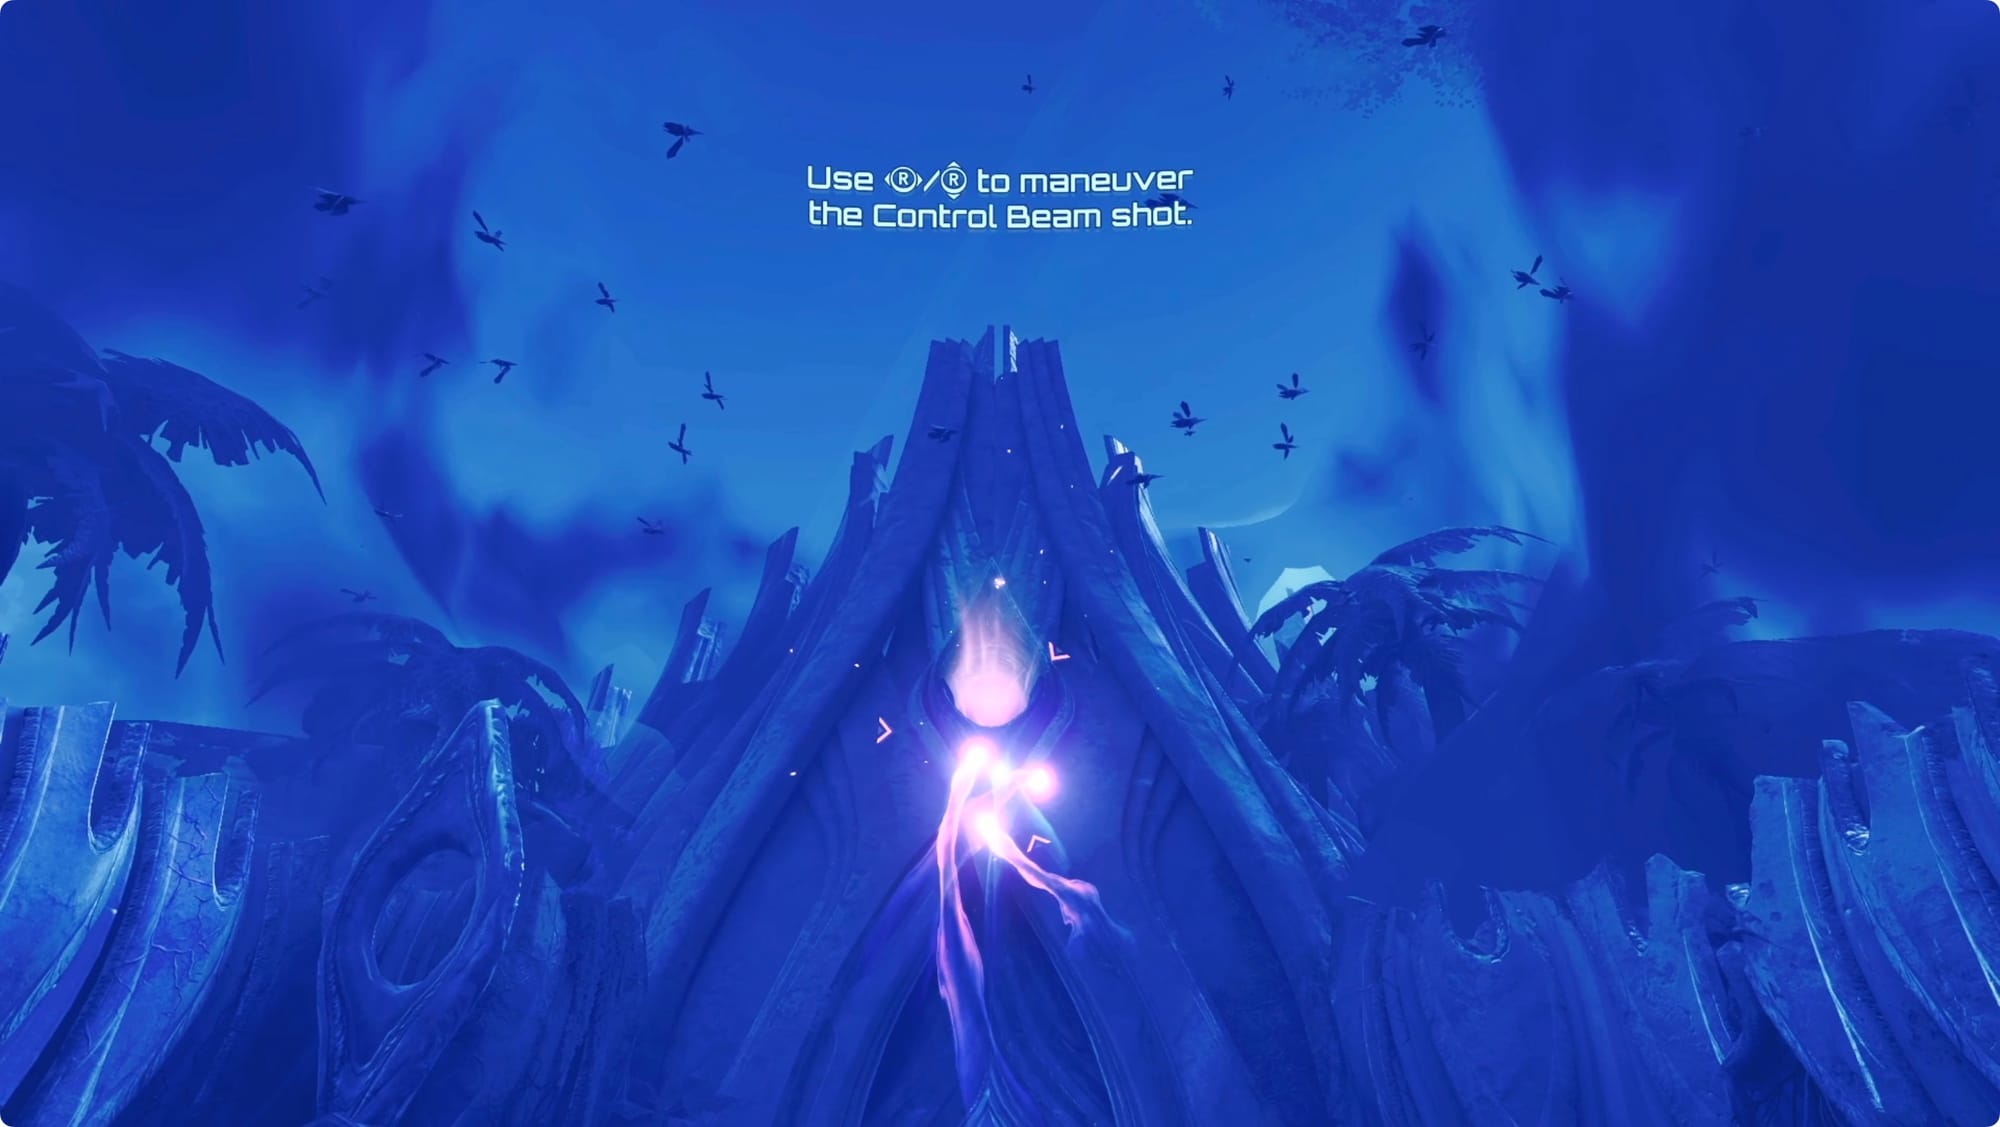
Use the Control Beam to shoot the lock on the door. (Quick note: the setting to invert the controls on the Control Beam are separate from the camera settings — it’s under Settings > Misc > Flight Invert Y.)
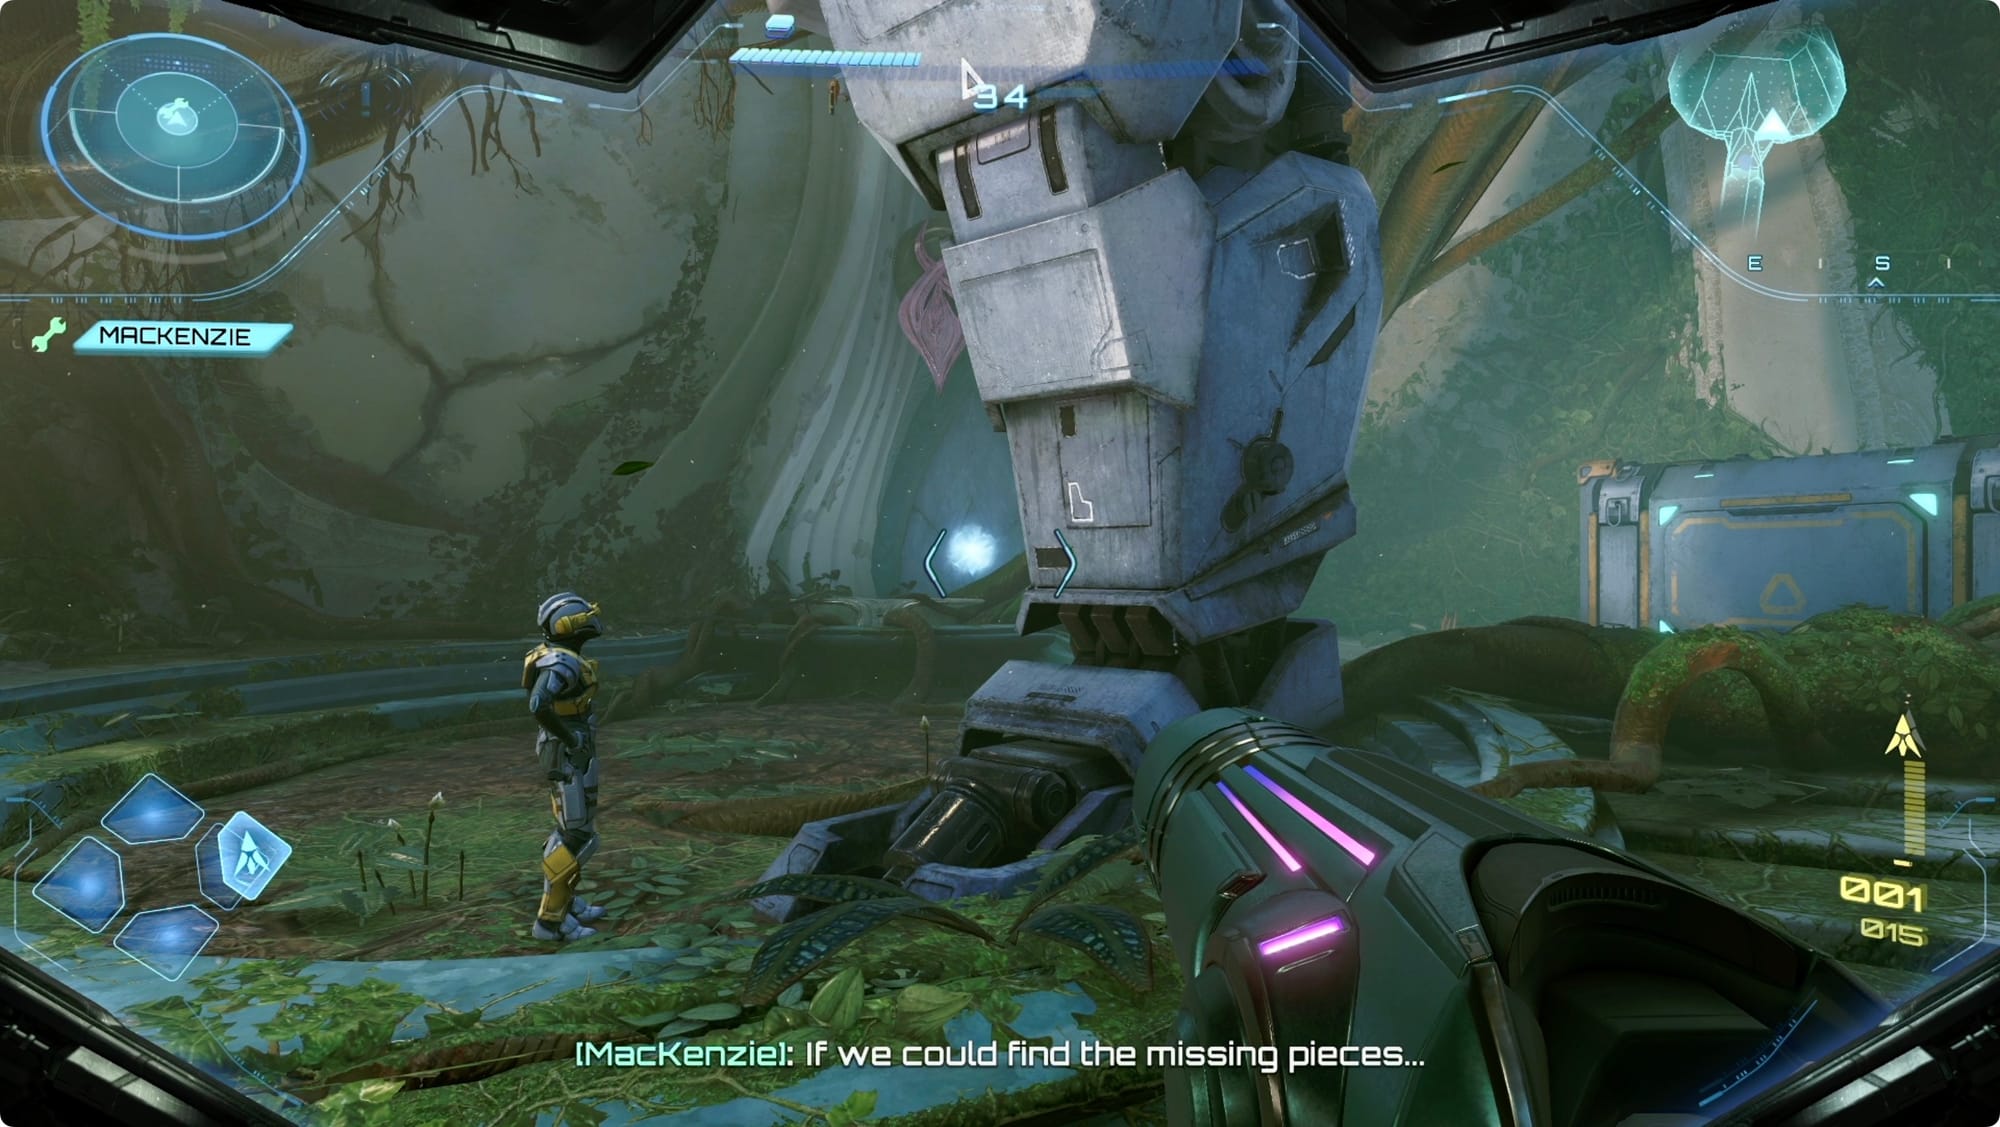
Head through the doors until you find Betsy the Chekhov's gun … er, Chekhov’s mech.
You can’t open the container behind Betsy, so ignore it for now. Head through the next few doors until you come to some weird machinery. Once Myles turns on the computer, interact with it for a cutscene that restores power to one of the doors.
Once it’s done, head through the door on the right to find the next Save Station.
Back in the main room, fire a Control Beam through the open ventilation hole to the left of the door. Loop the beam around to hit the back side of the door. Missile through the amber, shoot the next door, and then switch to Morph Ball to continue forward.
When you reach the end of the Morph Ball tunnel, scan the two Lamorn statues for some exposition and another collection mission (this is already the third simultaneous collection mission by my count). Head through the door behind the Green Crystal Altar.
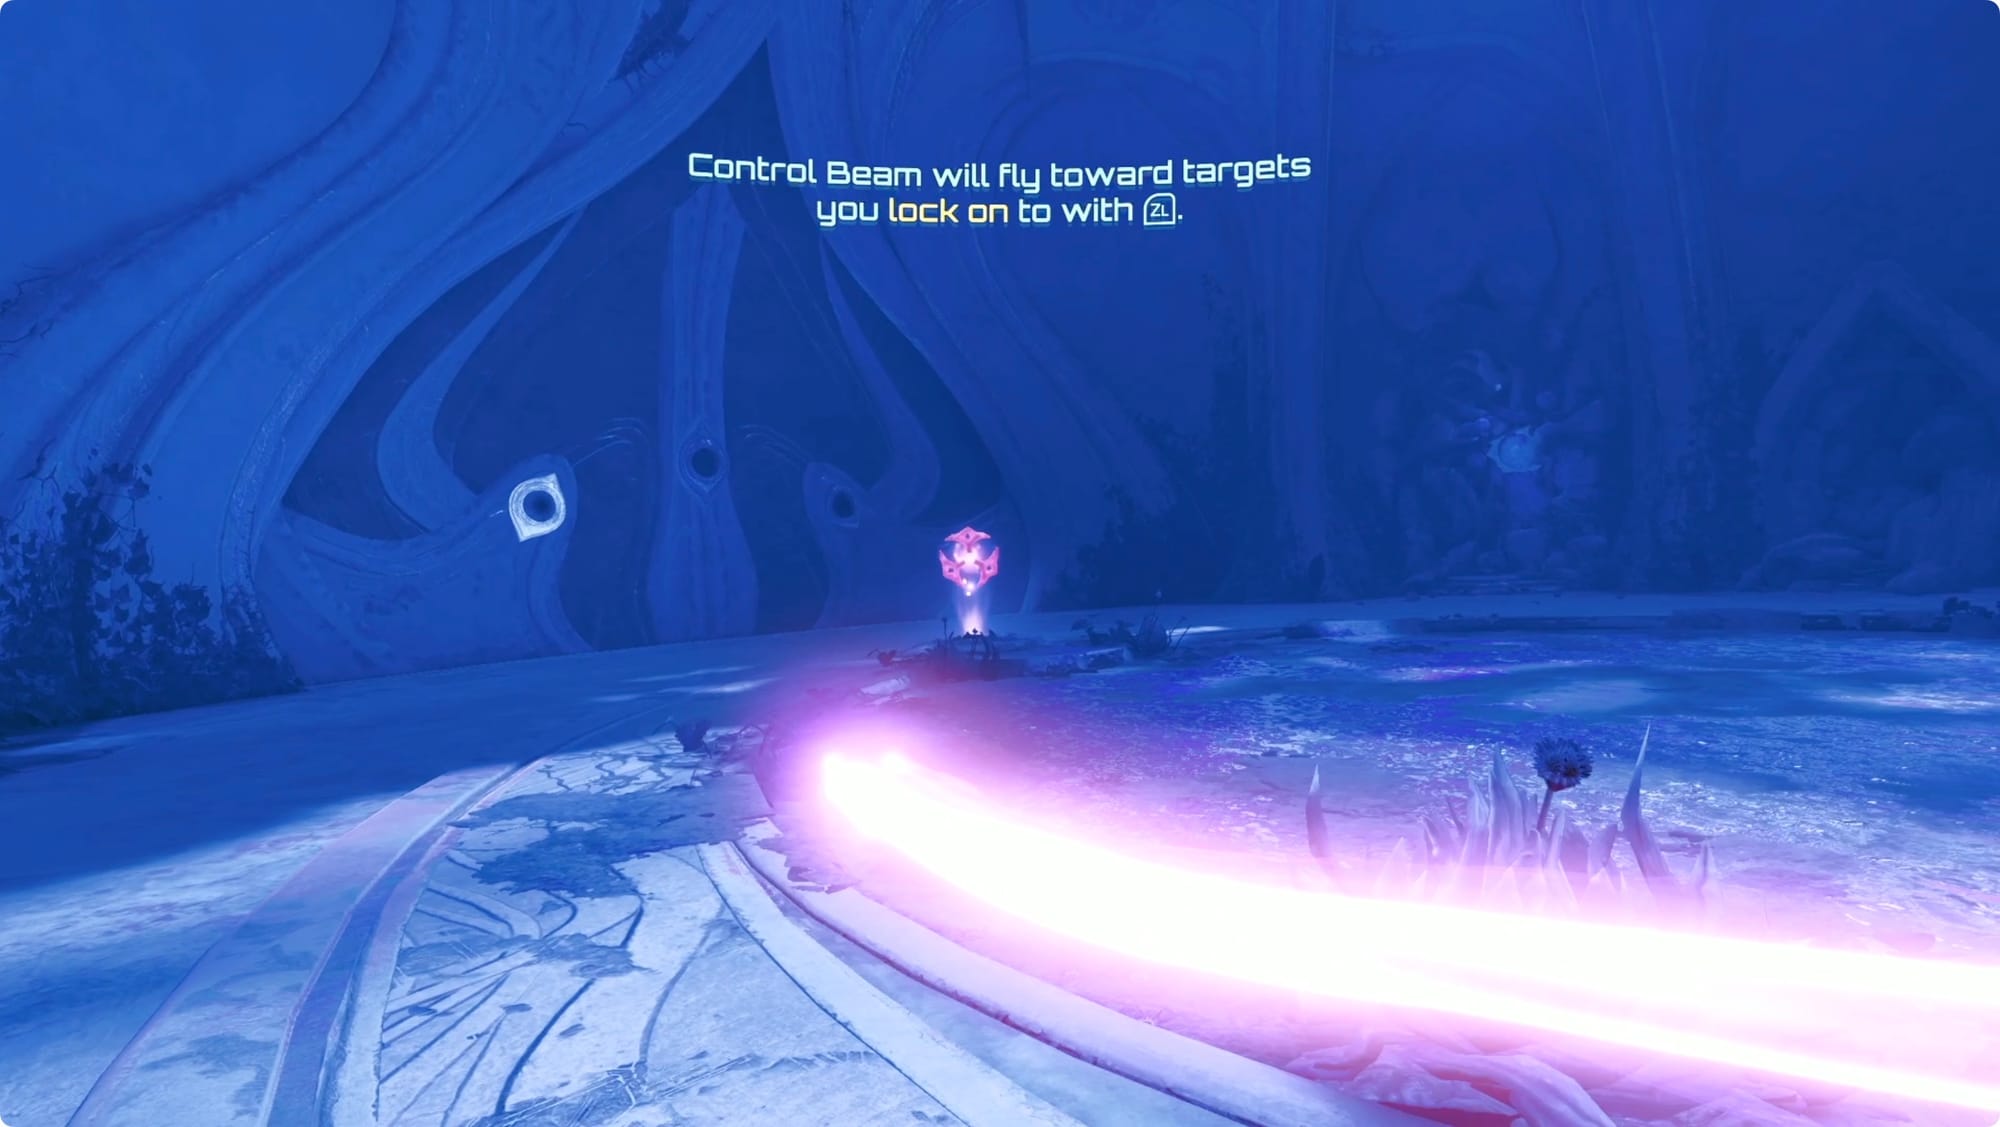
In the next room, stand on the platform to activate three Control Beam targets. Fire a Control Beam and use ZL to lock on to each consecutive target to save yourself some trouble.
There’s a door to the left that leads to a puzzle you can’t do anything with yet. Go check it out and fiddle with the controls, but don’t waste too much time there for now. There’s also a tantalizingly ‘splodey-looking growth to the right of the door, but you can’t do anything with that yet either. Instead, head through the main door you opened.
Keep following the path forward.
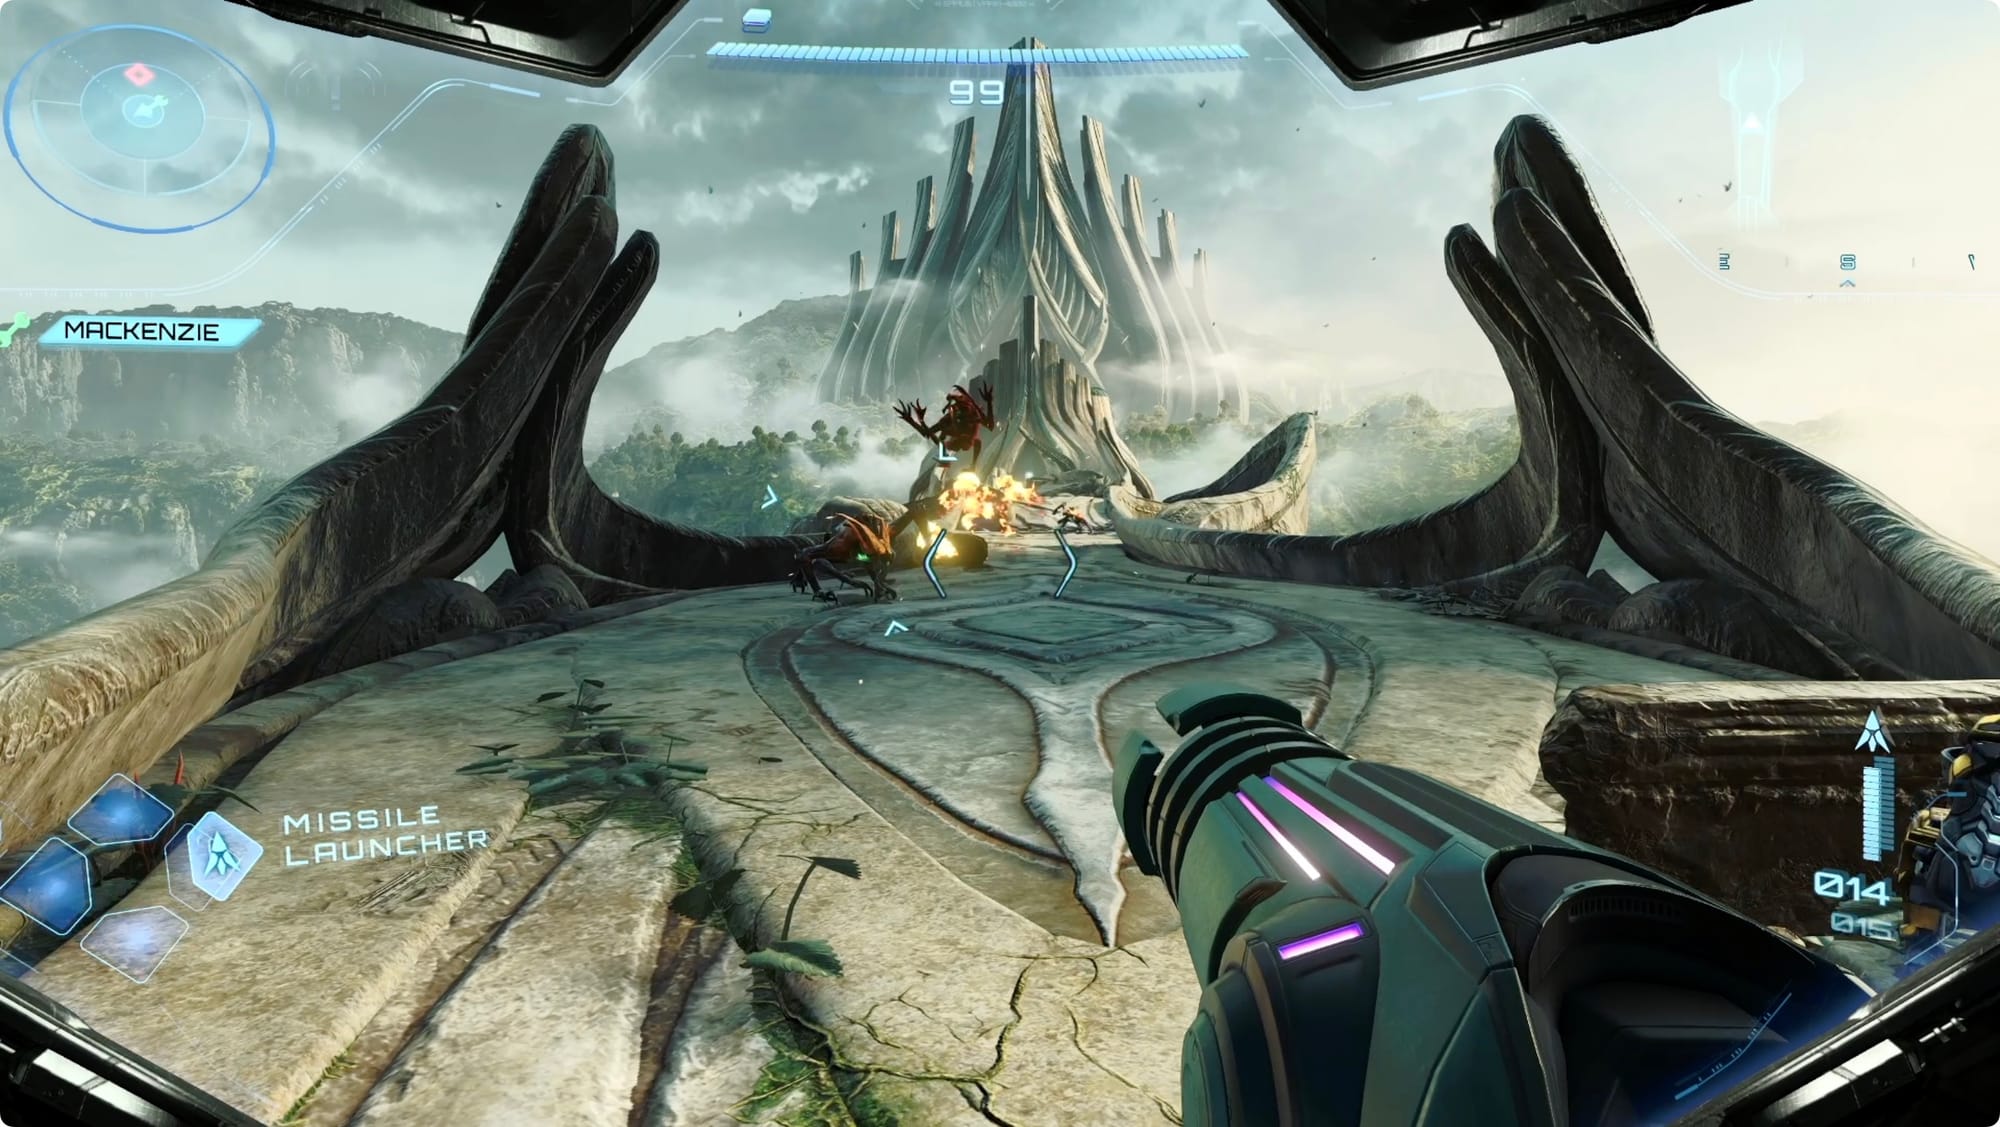
Garden of Remembrance // Carvex boss fight
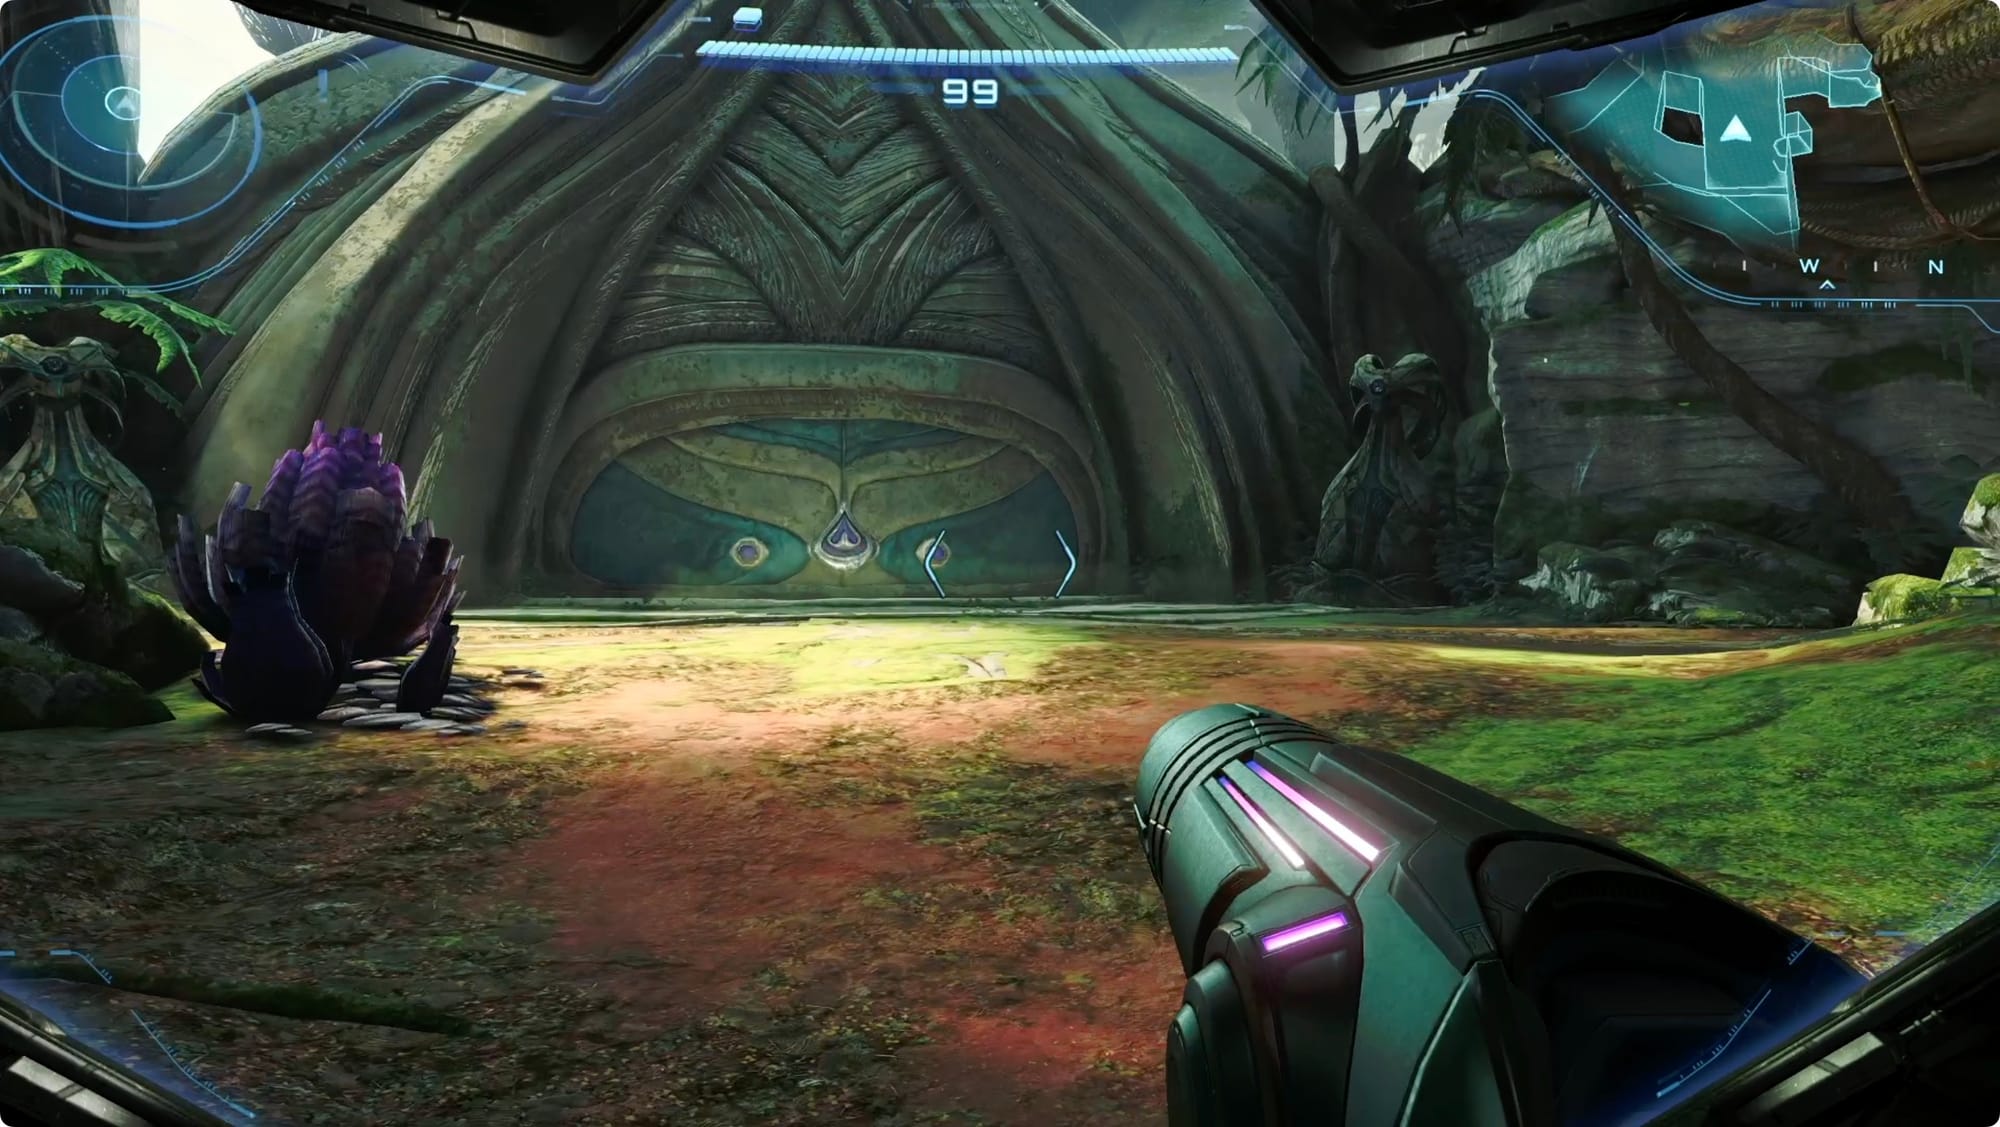
Through the next door, you'll spot a giant armored plant monster in an arena. Walk forward and you'll get a boss fight where you have to fight said giant armored plant monster.
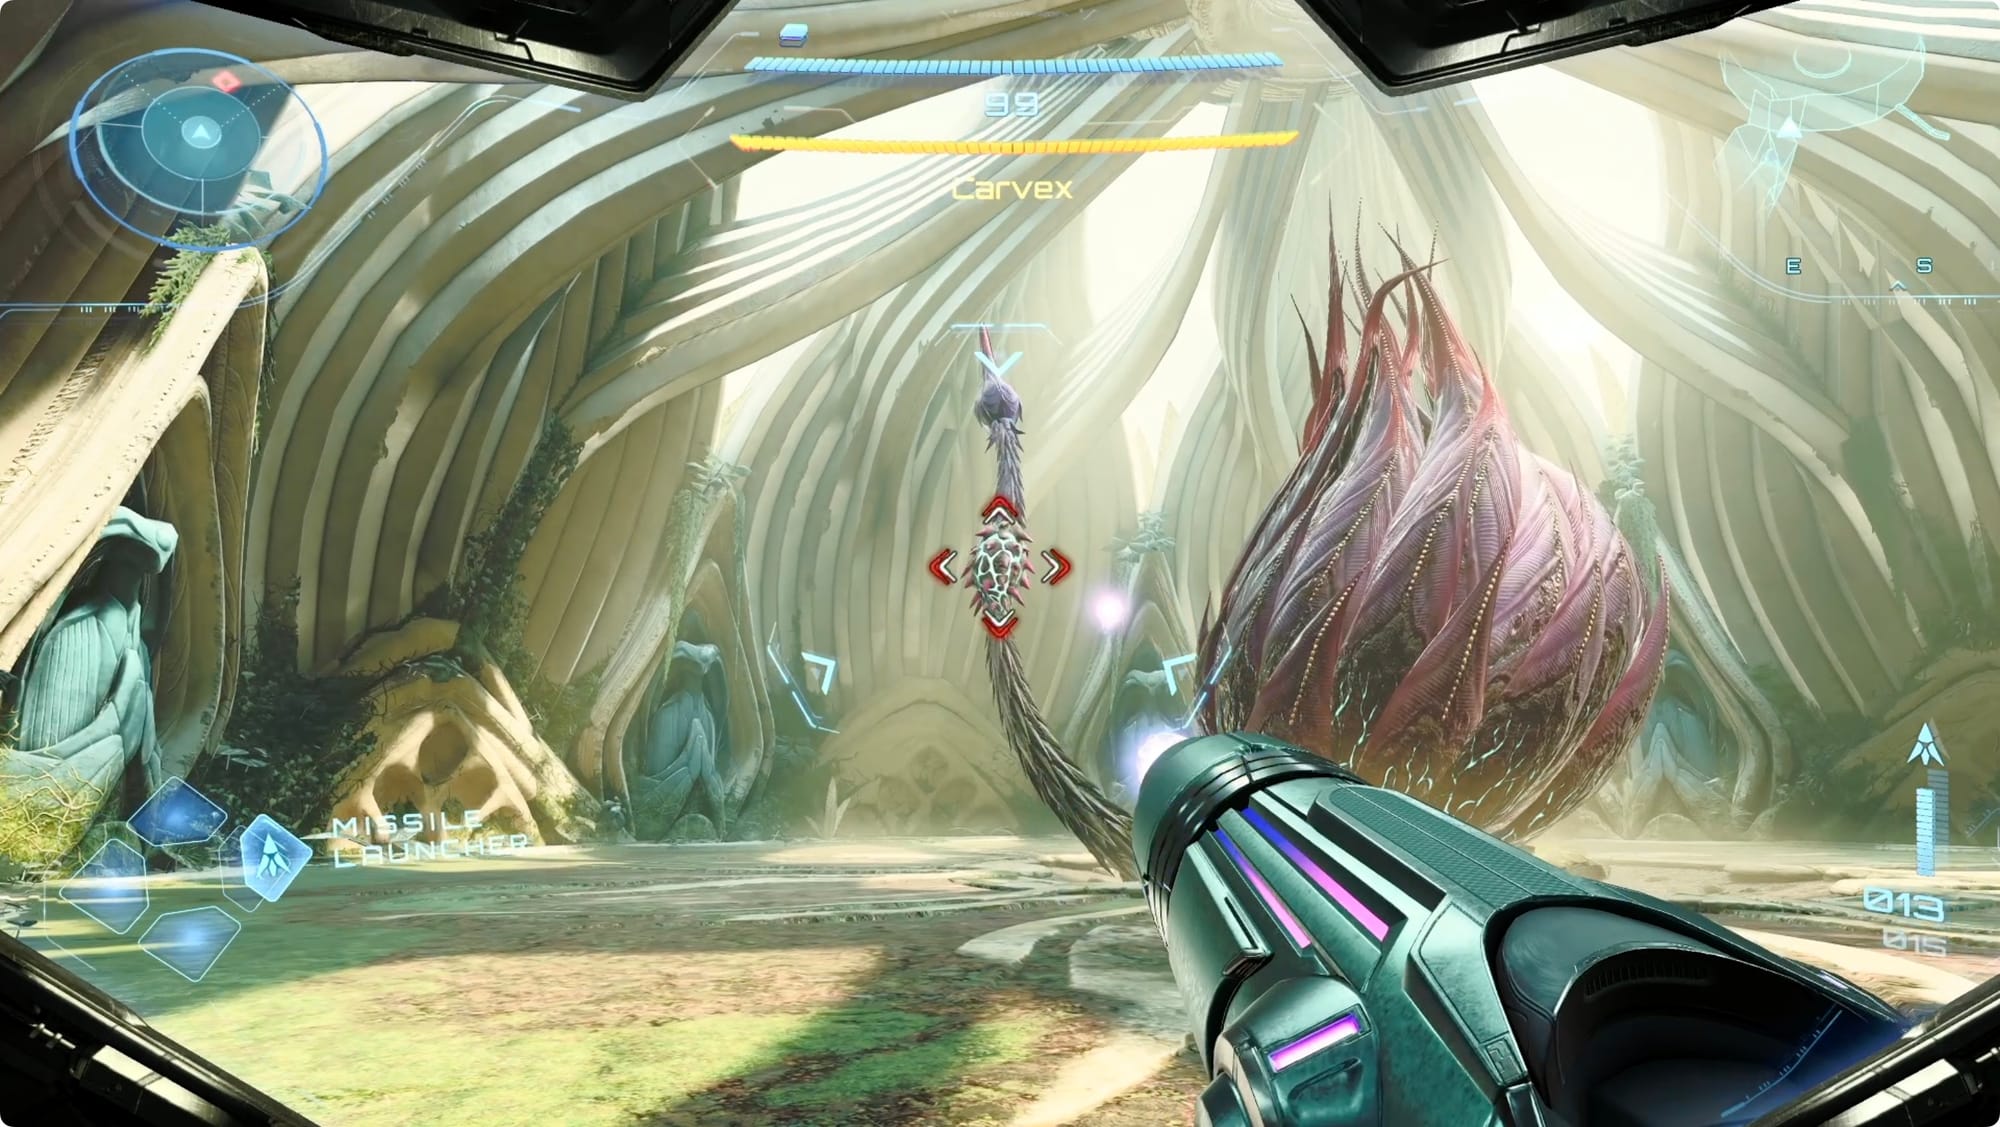
The first phase of the fight is pretty straightforward. Shoot the spiky protuberance on Carvex's tentacle to reveal a weak spot, and then shoot that until the tentacle (temporarily) disappears.
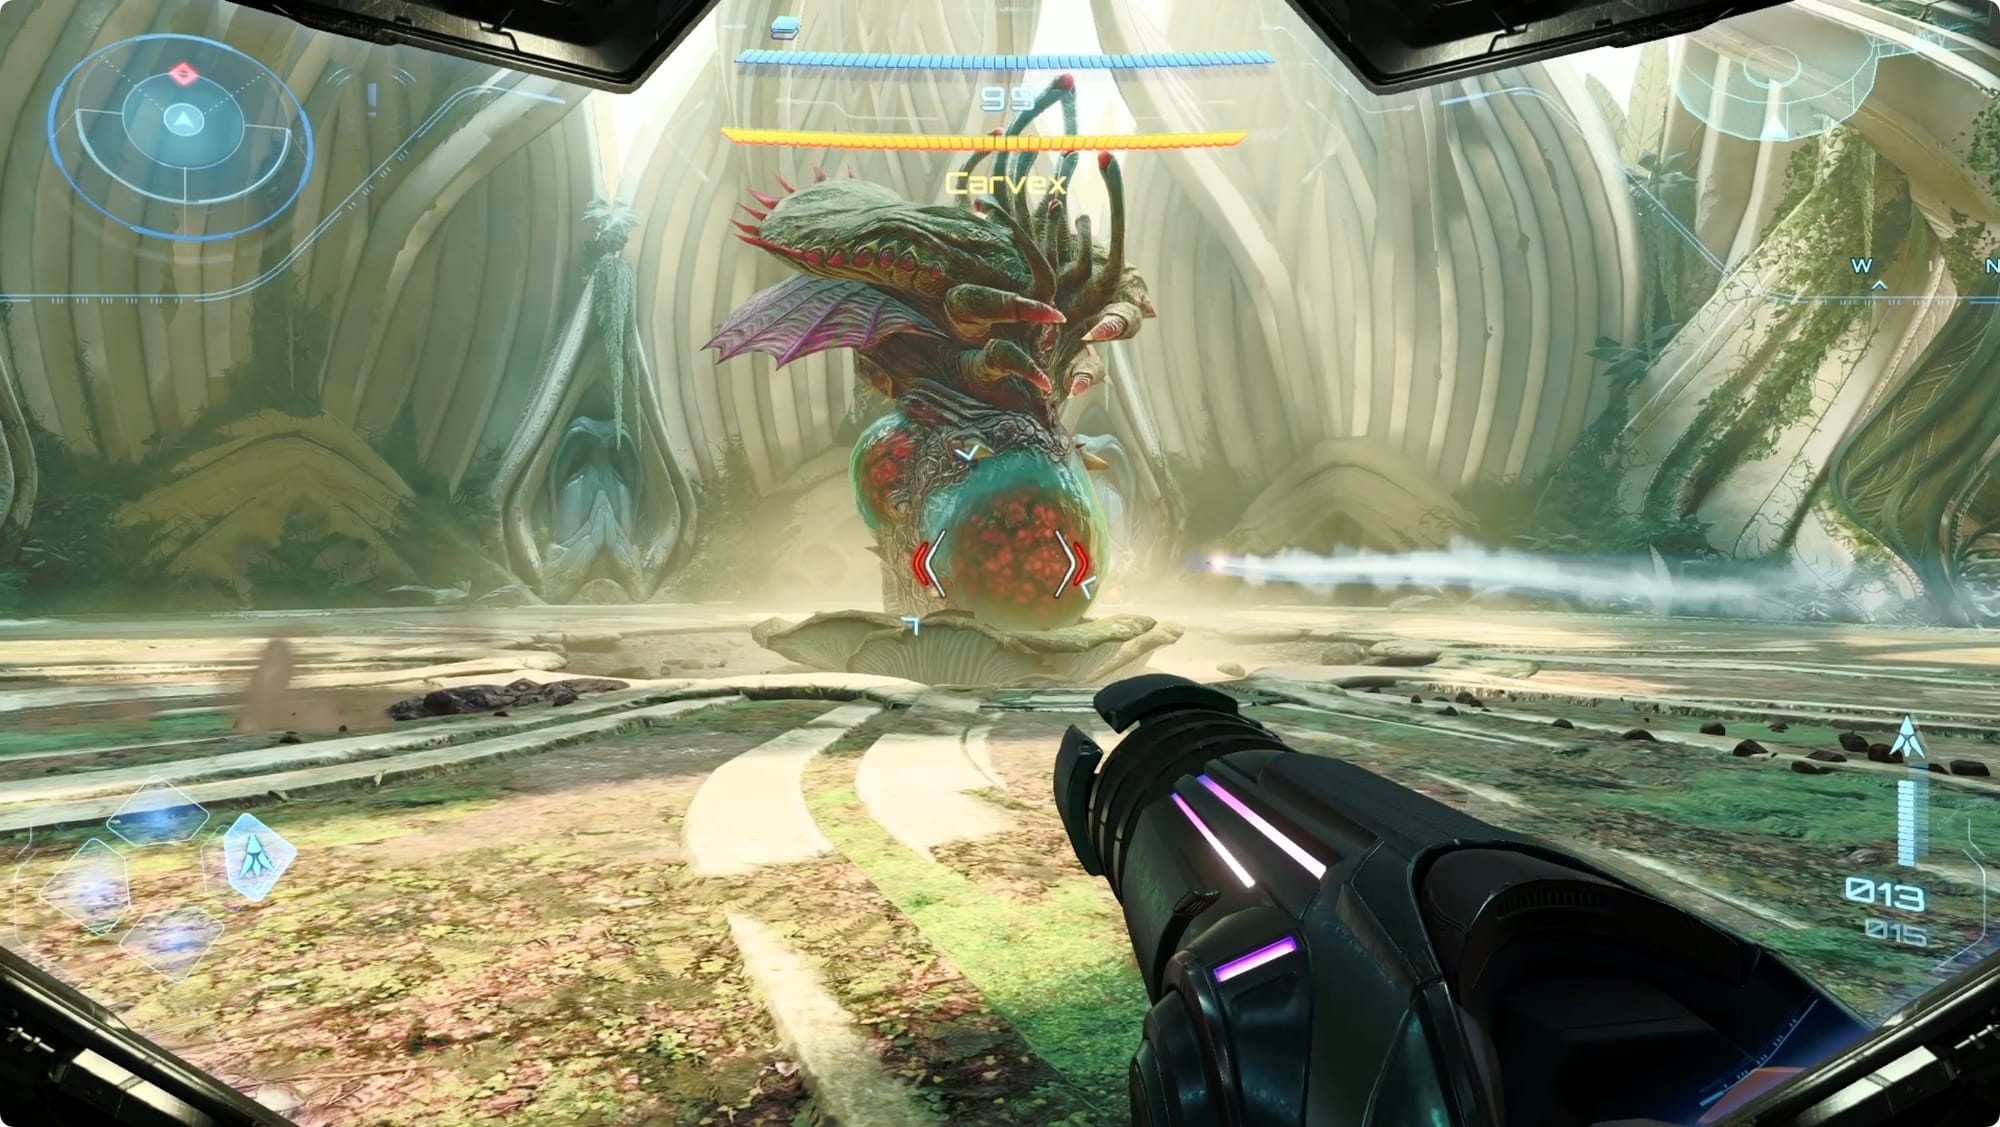
This will drop the armored petals around it's main body(?) and you can shoot the hell out its obvious-weak-spot tummy (do sentient plant's have a tummy?).
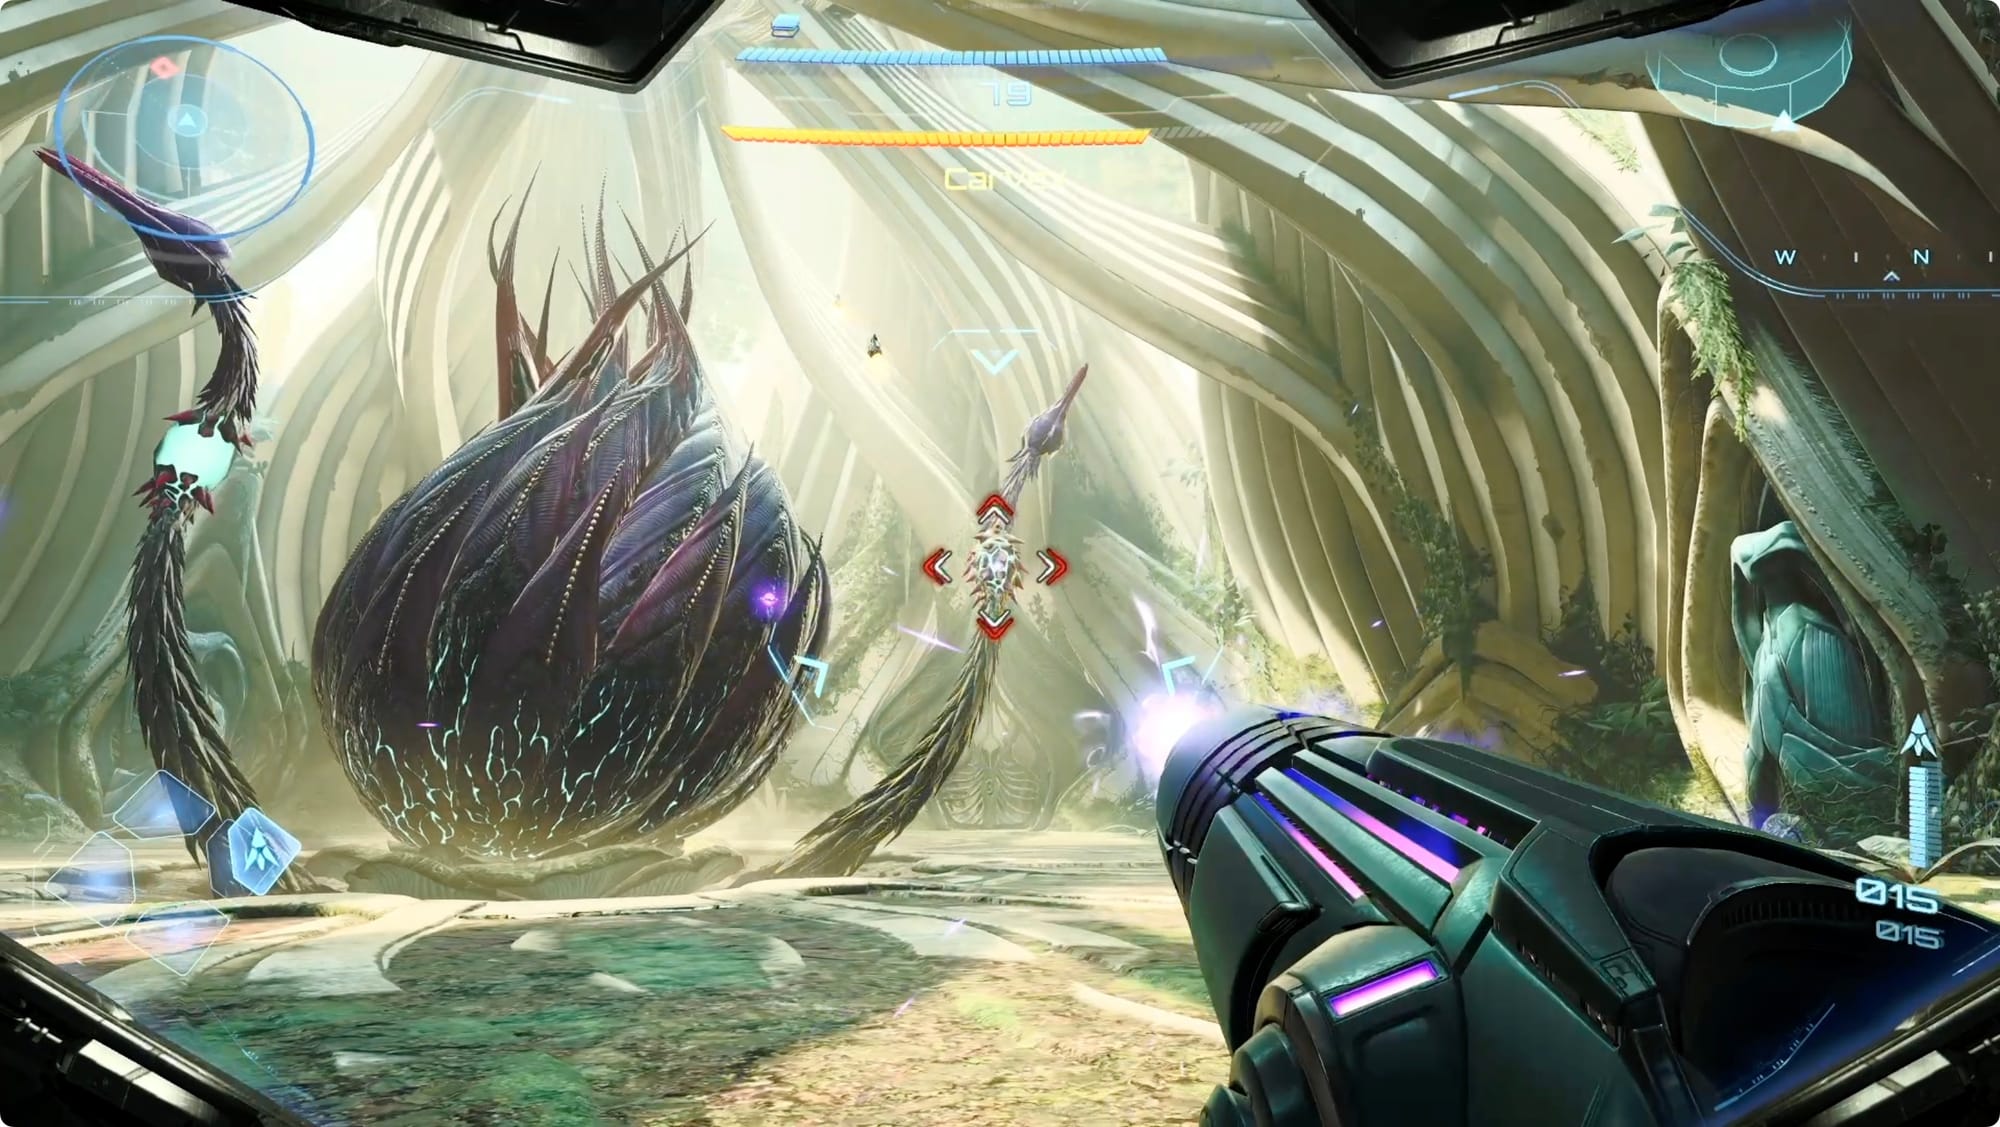
The other phases are where it gets tricky. The basic idea is the same — destroy the tentacle(s), shoot the belly — but there are multiple tentacles now. And there's not enough time to shoot the spikes off and destroy them all before they start regenerating.
The trick is to shoot them only enough to get the spikes off, but don't destroy the tentacle. Once all of the tentacles' weak spots are exposed, switch to the Psychic Visor and fire a Control Beam that you guide through all of the tentacles at once. (The first Control Beam puzzle trained you for this.)
After a few rounds of this process, you'll defeat Carvex and pick up the Psychic Bomb as your reward.
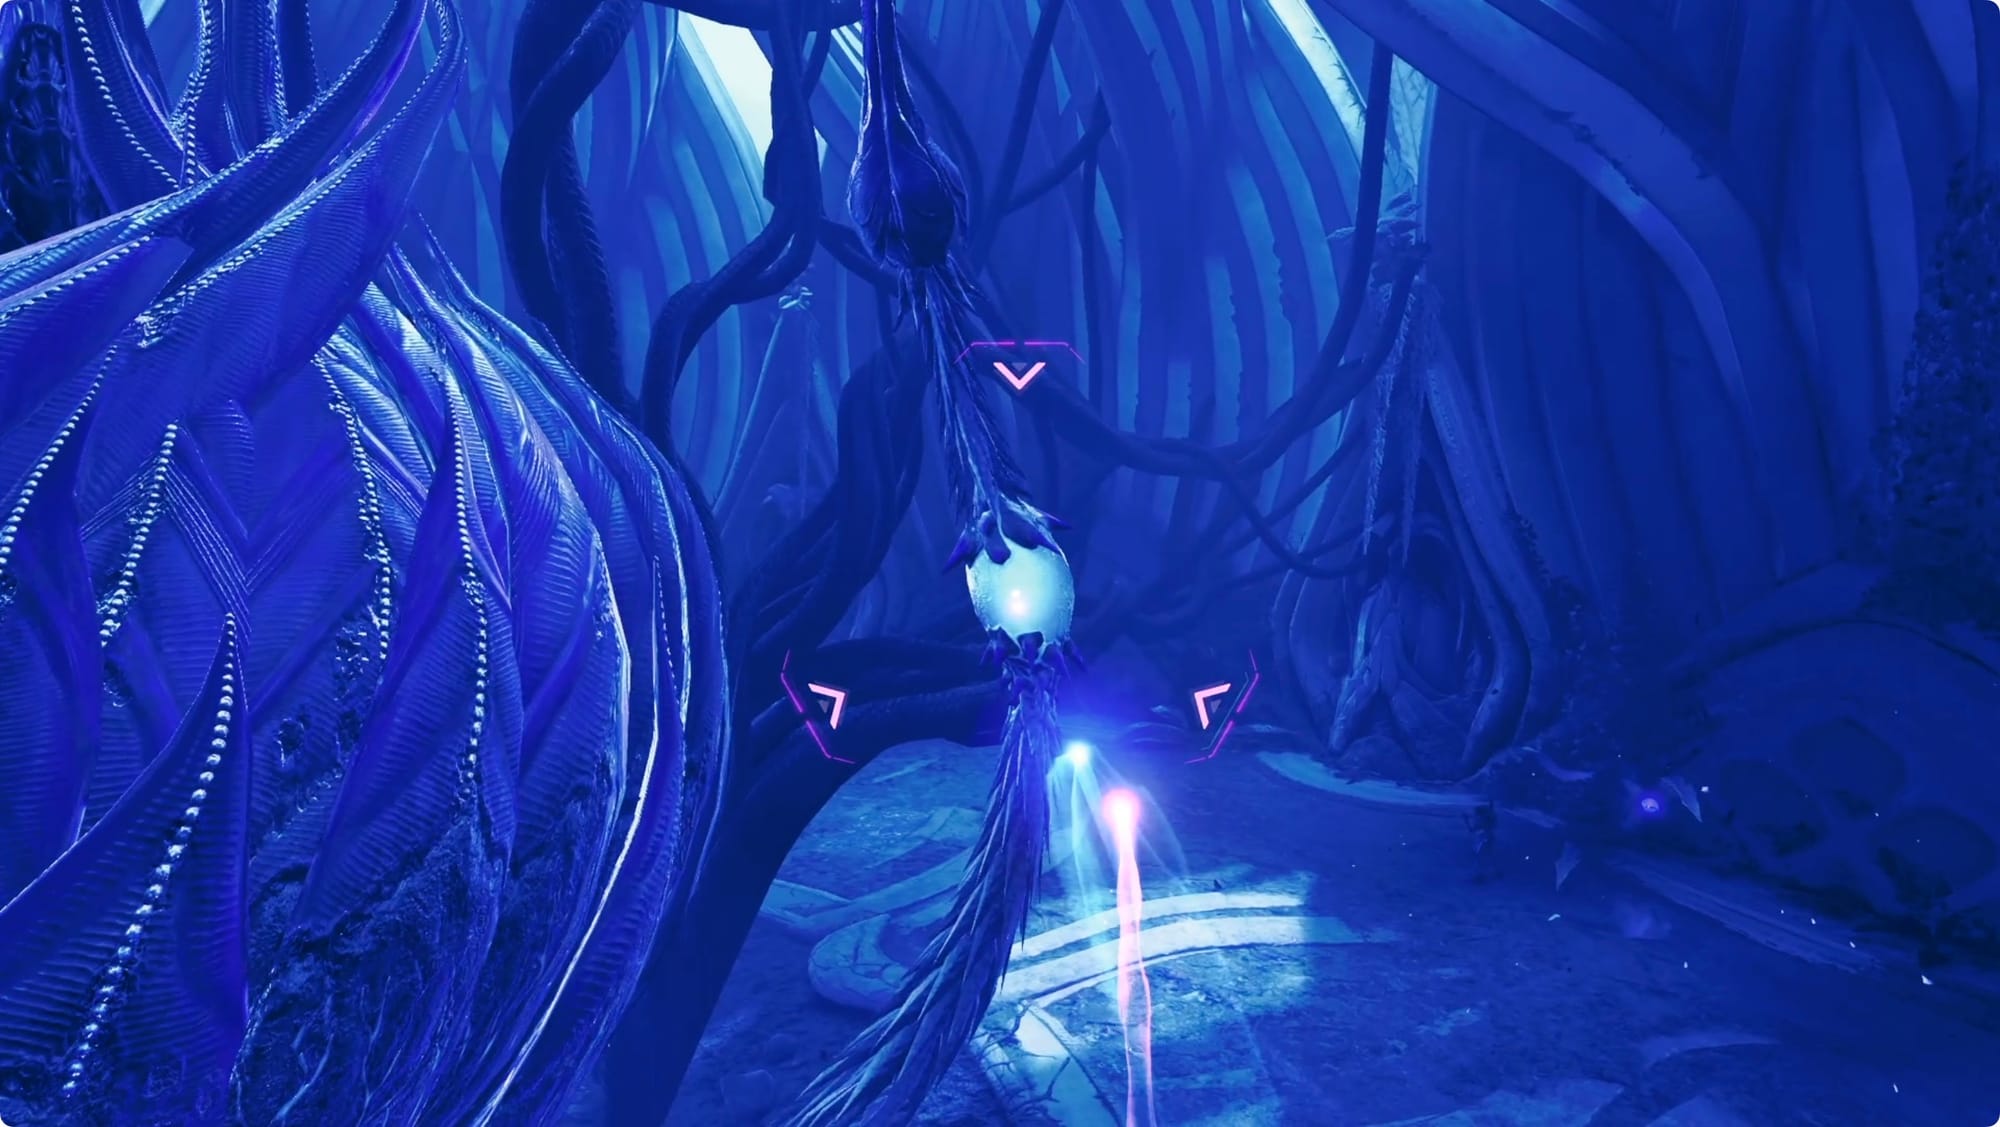
Master Teleporter Key
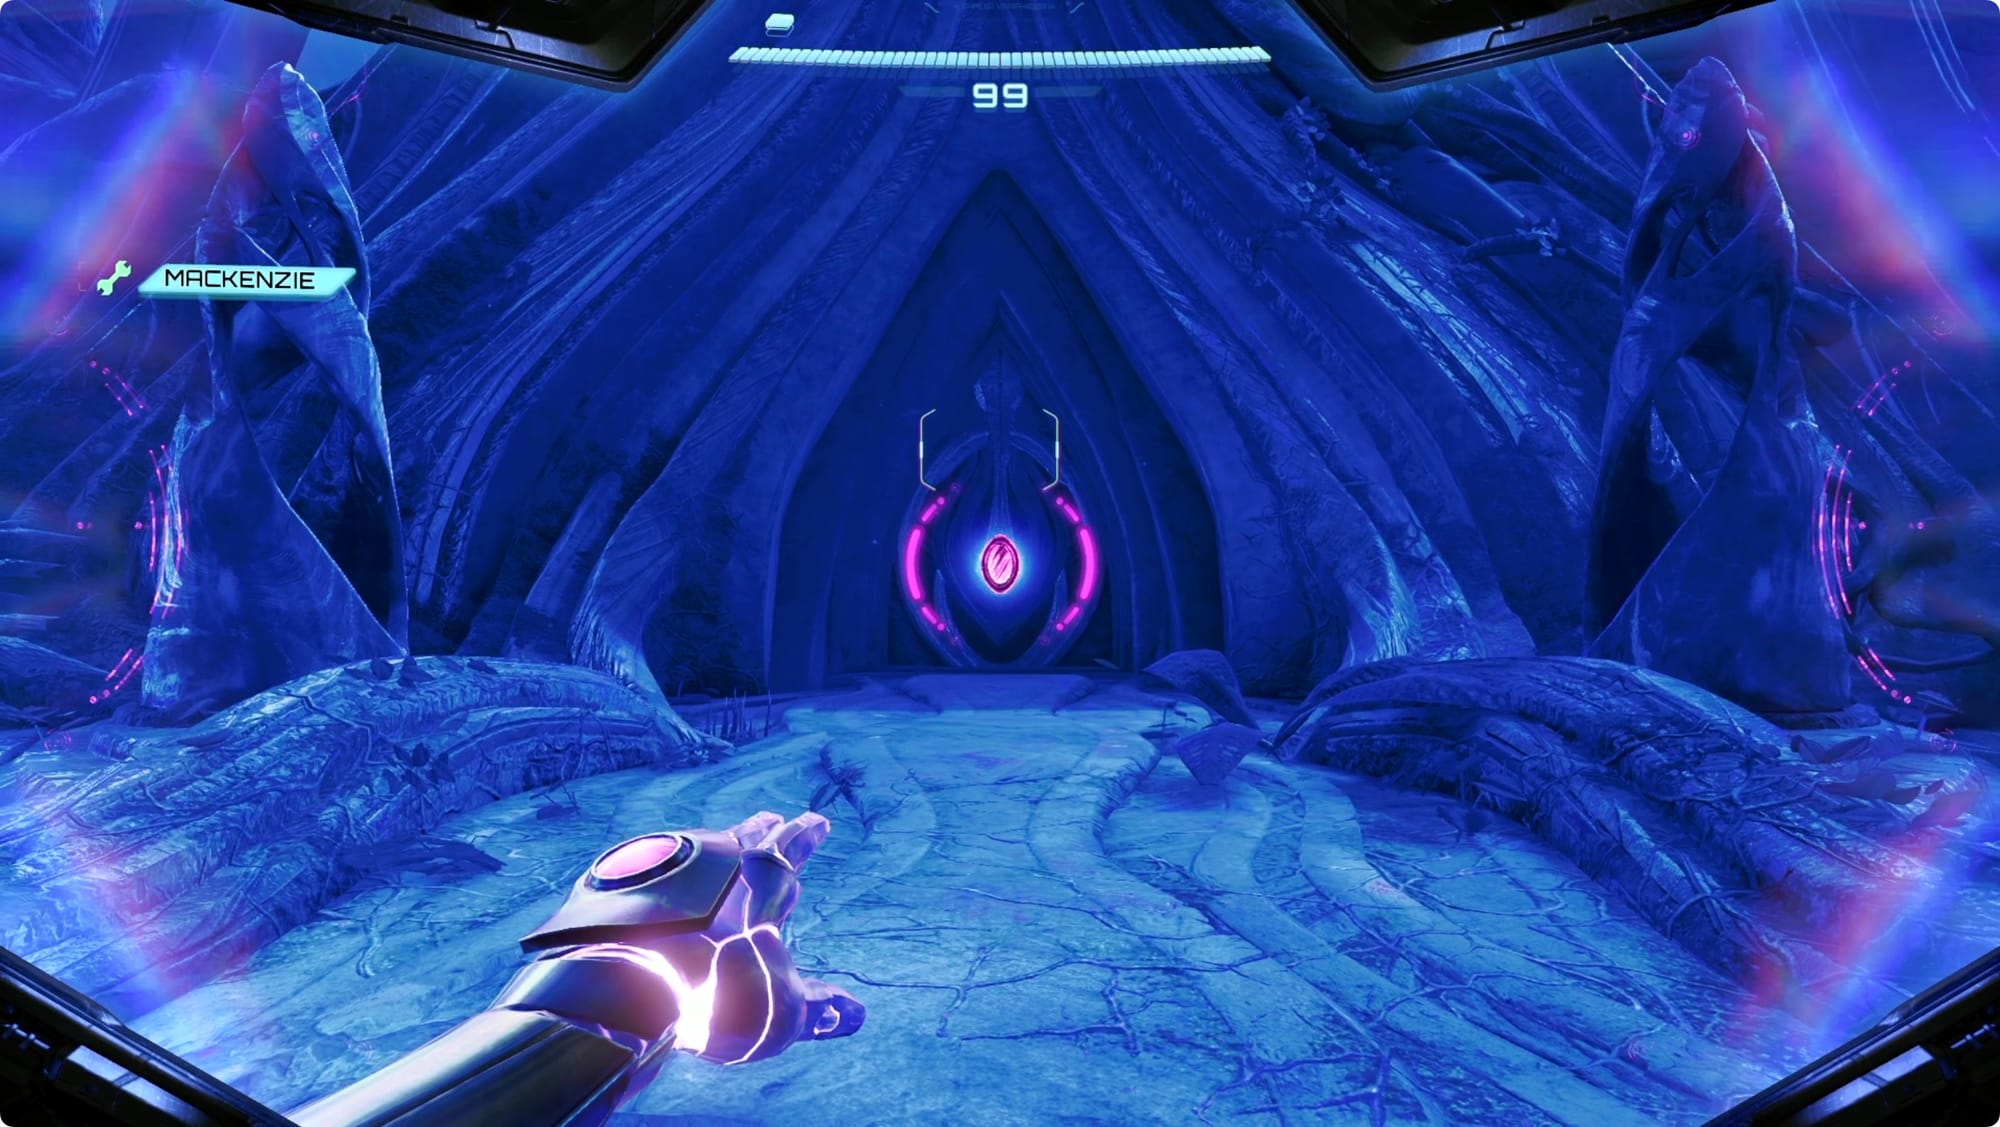
Use your new Psychic Bomb to lower the platform that appears, and then “gaze at the statue’s forehead” to get teleported to an alternate dimension where you can pick up the Master Teleporter Key. That is a real sentence I just wrote.
Back to Base Camp
The door leading out is locked, but there’s a tunnel to the left. Use a Psychic Bomb to blow up the glowing growth blocking it, and then make your way through the tunnel (chute?).
When you pop out, you’ll be in a new area. Use missiles to destroy the Shren Nests, and blast through the amber wall ahead of you.

In the next room, Morph Ball into the tunnel behind the roots to the right. You can use X to jump in Morph Ball form now. Jump and bomb your way to the top, and then push through the wall to take the tunnel back to that pond room you were in earlier.
Backtrack all the way to Base Camp and Myles.
After you talk to him, hit the Save Station.
Activate the Cargo Launcher
Now you can open the door on the left with the Psychic Bomb. Jump up to the socket and place your bomb to open the door.
In the next room, skip the console and continue forward. The next area has a door with a "Lock Unit - Heat" on it off to the right that you — you're not going to believe this — can't open yet. Head to the left.
When you reach the Cargo Launcher, you’ll get a series of tips across the top of your HUD that you shouldn’t ignore (like I did). Triggering the activation switch on the left takes some doing and those tips are trying to help.
Switch to Morph Ball and then hold ZR or A to float a Psychic Bomb. Switch back to your human form and then go straight into Psychic Visor mode. If you’re quick, you can use the Psychic Glove to shoot the bomb at the switch. It might take a couple tries to get the timing right.
Climb into the Cargo Pod. It's time for the next area – and the next walkthrough (pt. 2, Volt Forge).