

Metroid Prime 4: Beyond walkthrough pt. 2 (Volt Forge)
Find the second Master Teleport Key

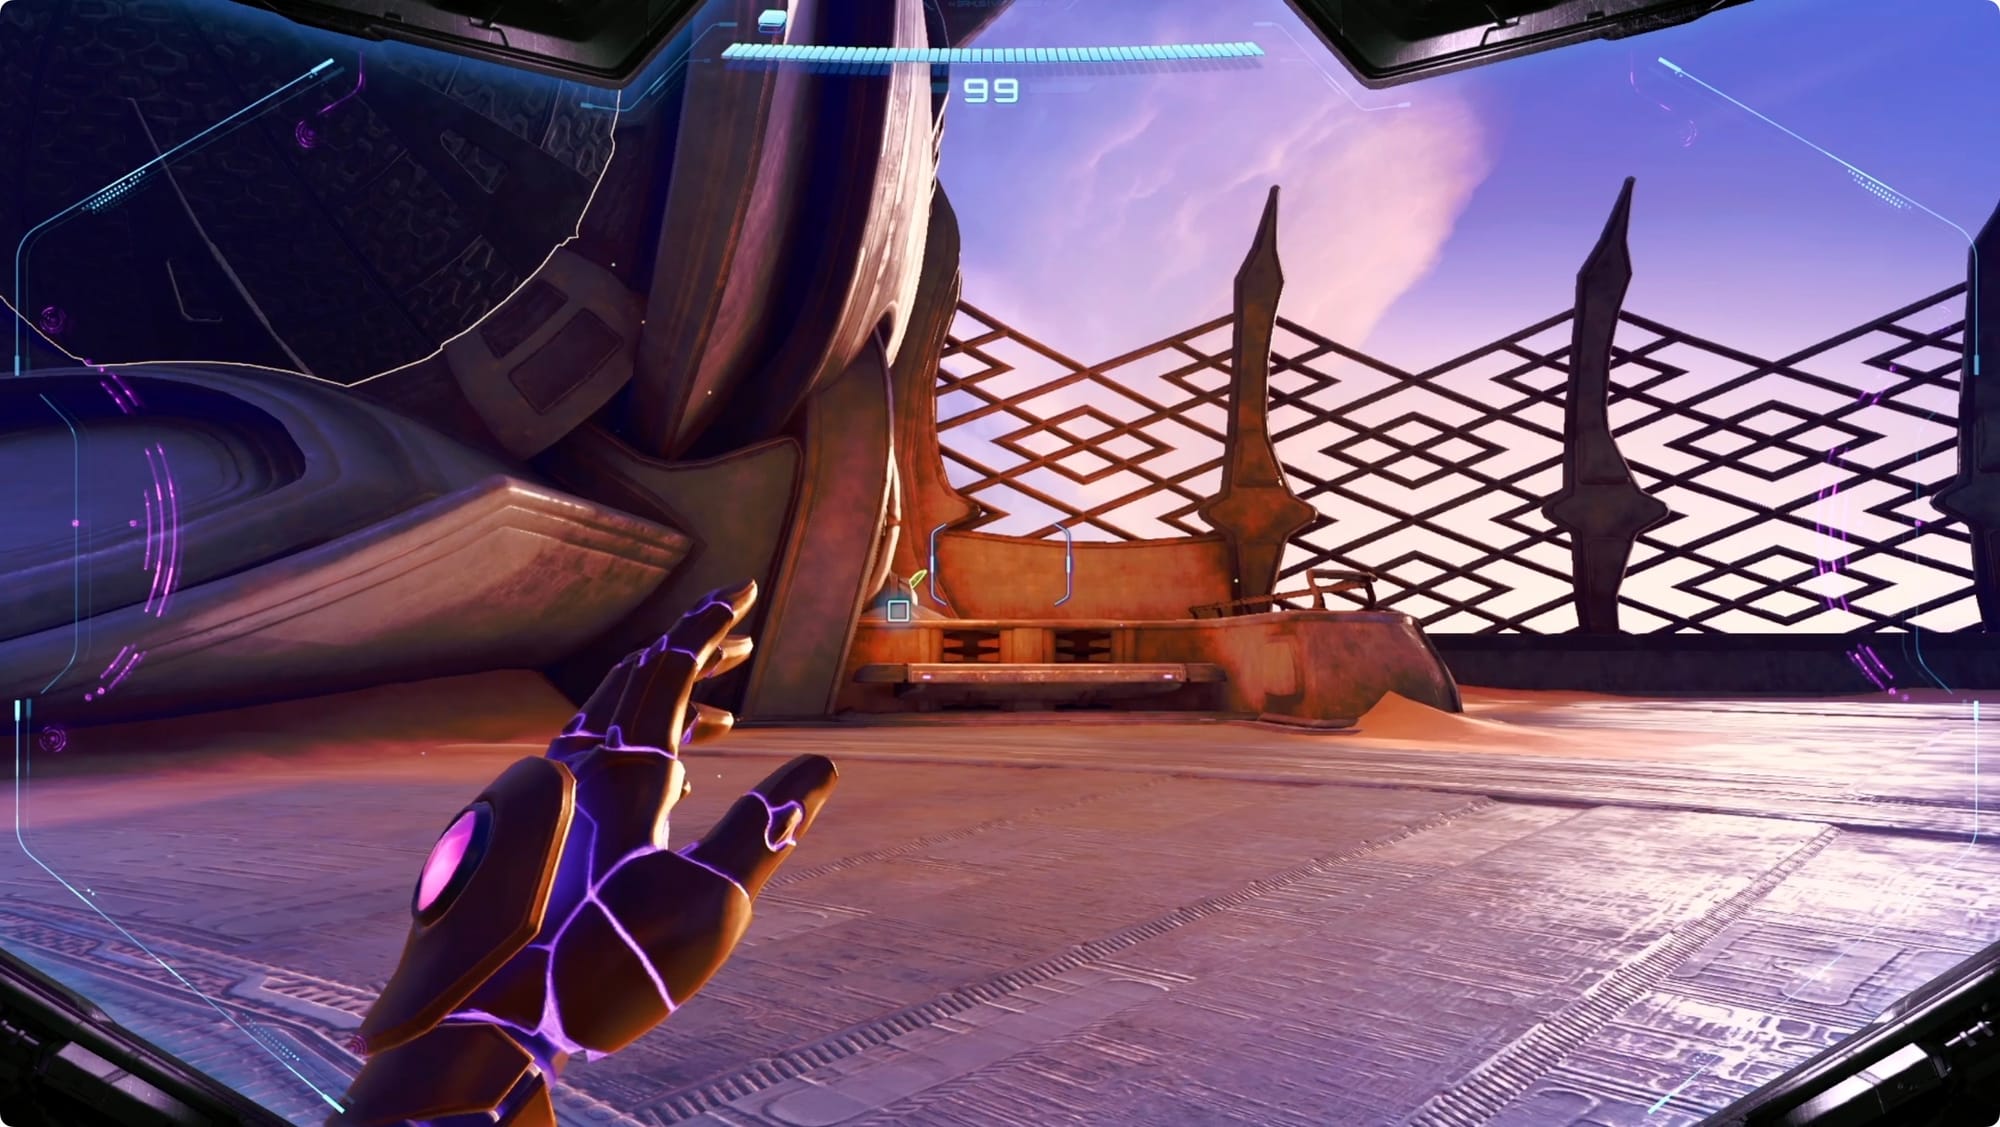
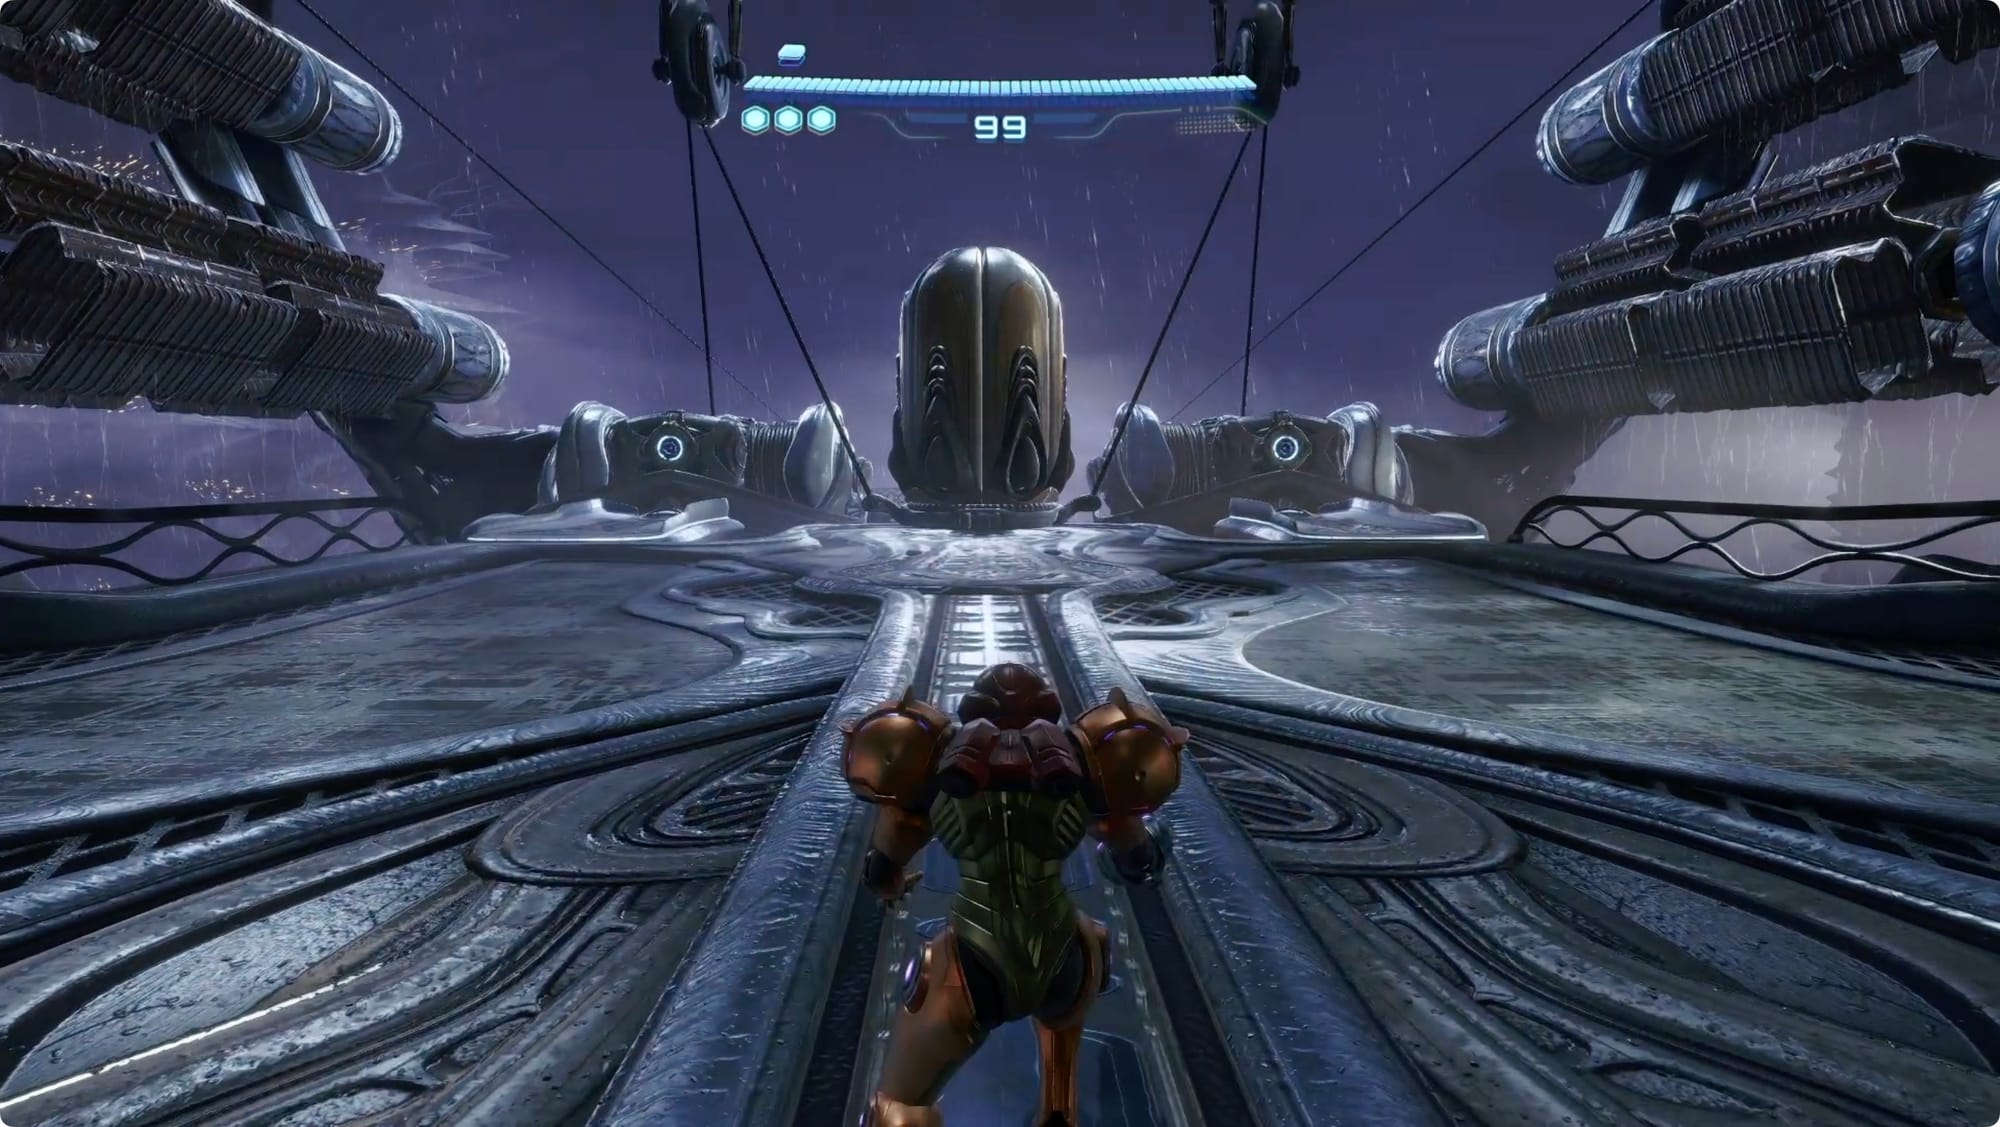
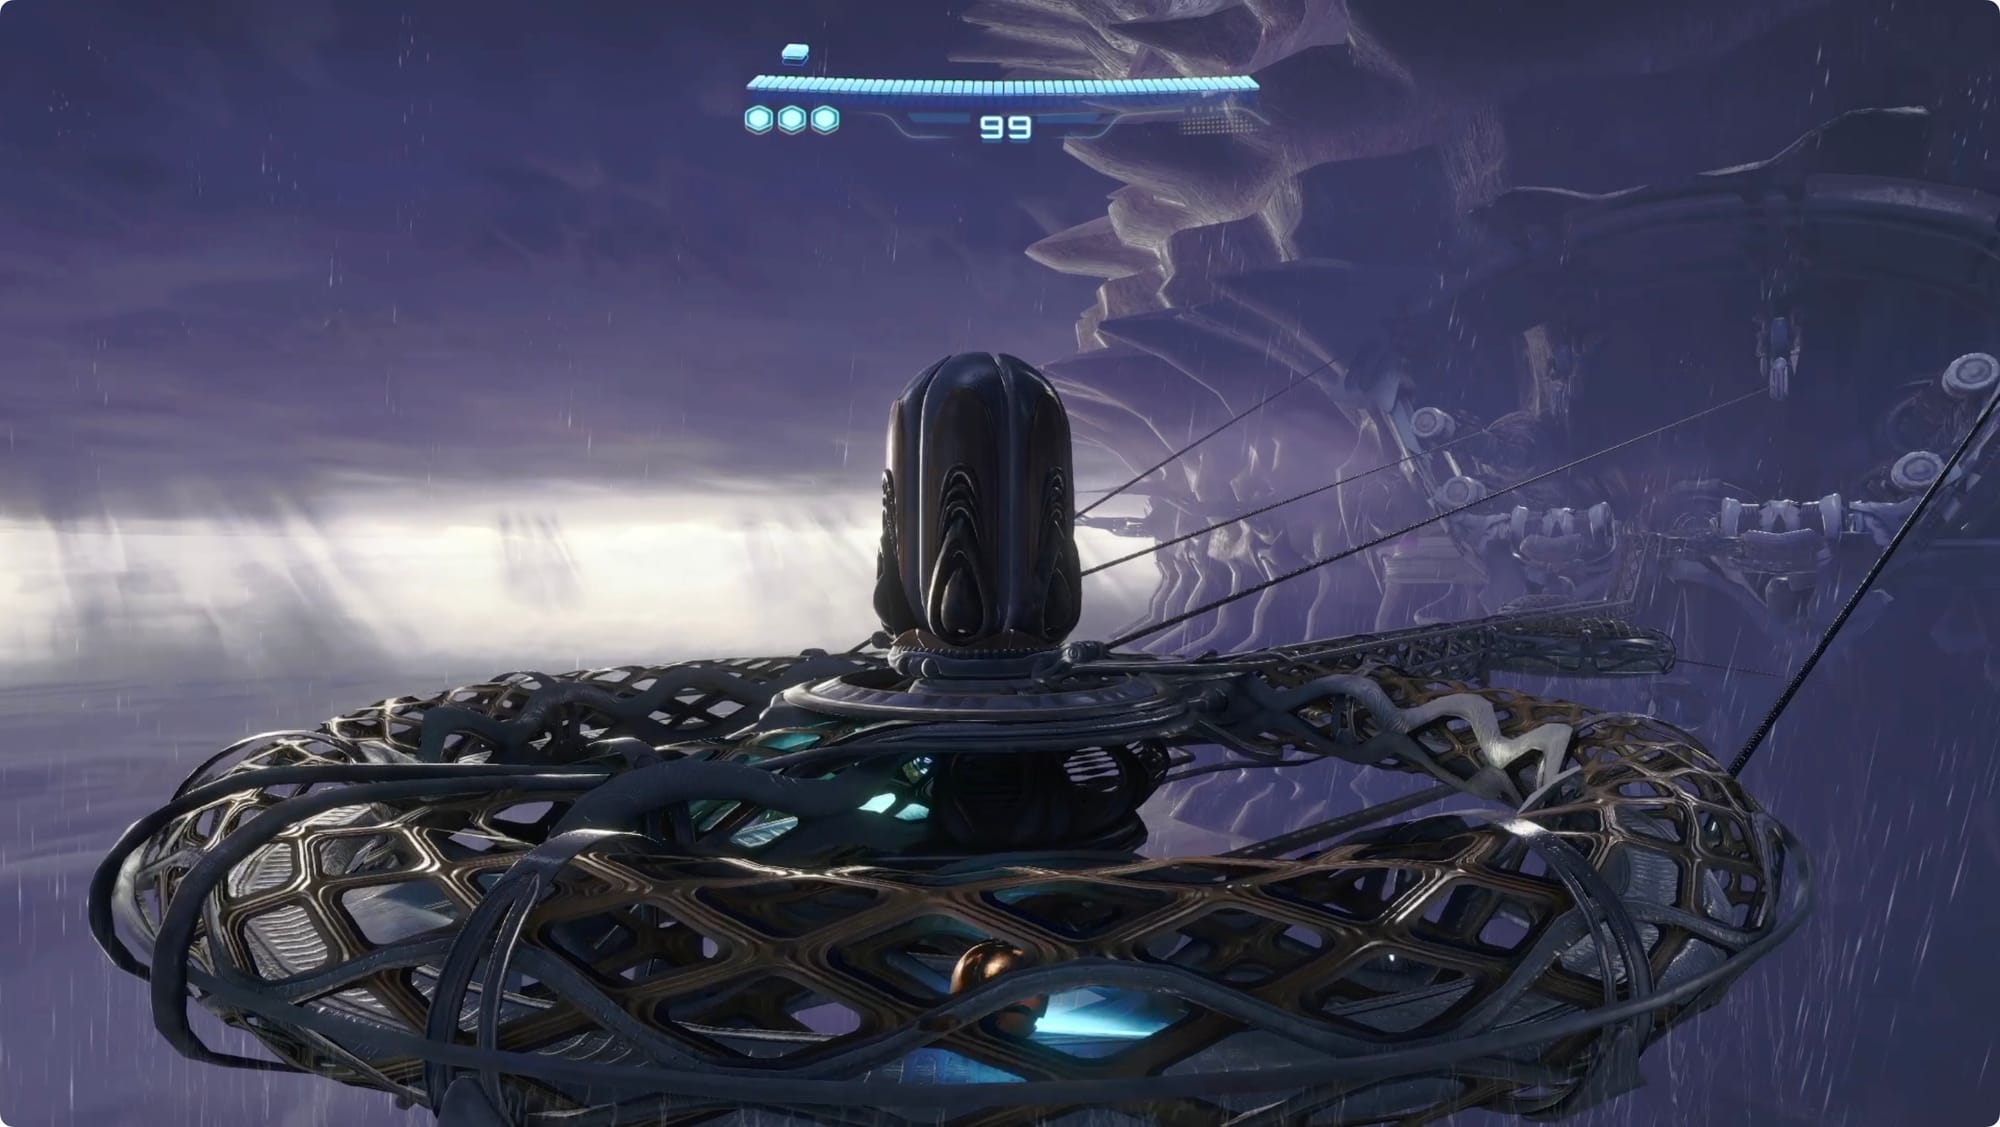
After your vaguely ovipositor-like railgun trip out of Fury Green (walkthrough pt.1), you’ll land in a mostly featureless desert. There's really only one thing nearby, so head toward the huge structure to the south (hey look, there’s a compass on the minimap in the upper right!).
Facility Entrance
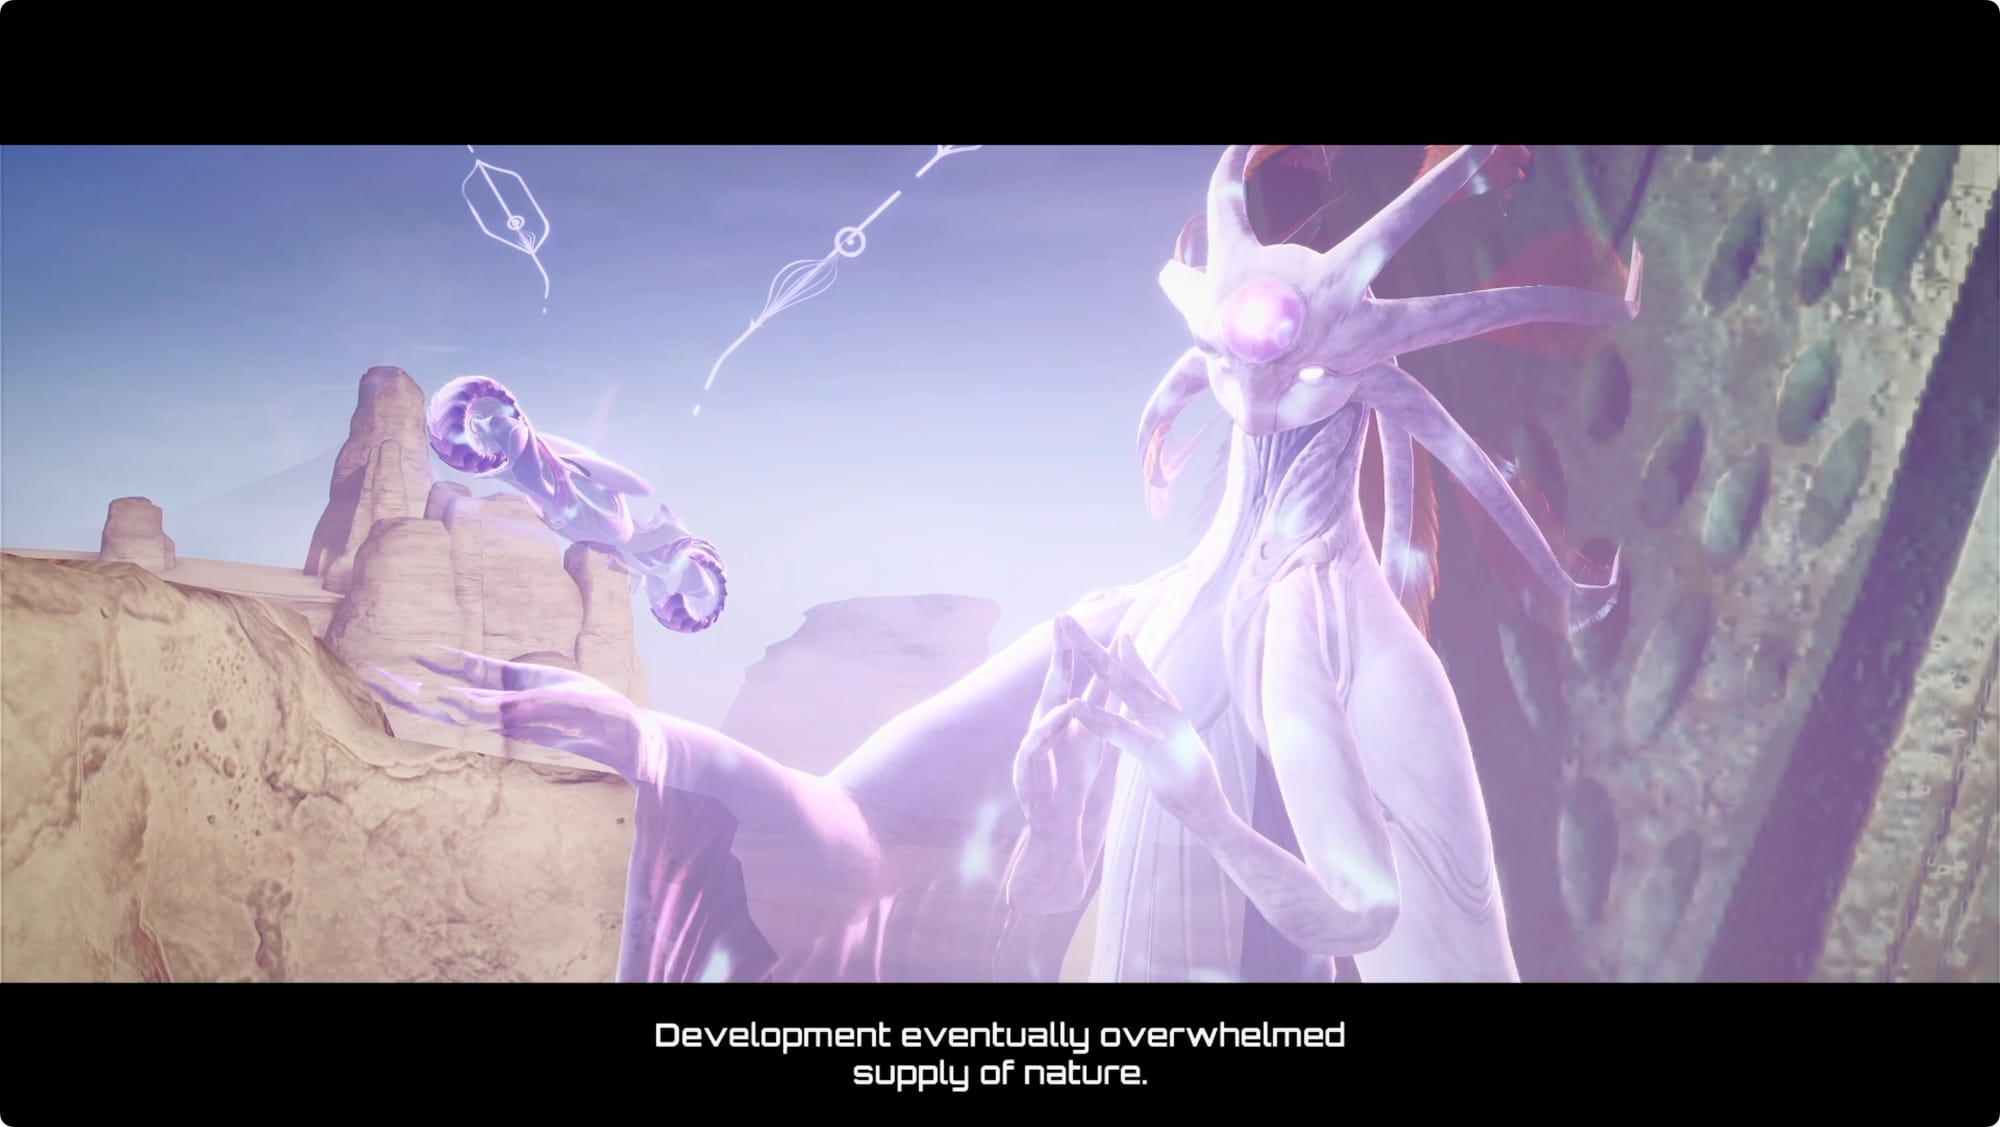
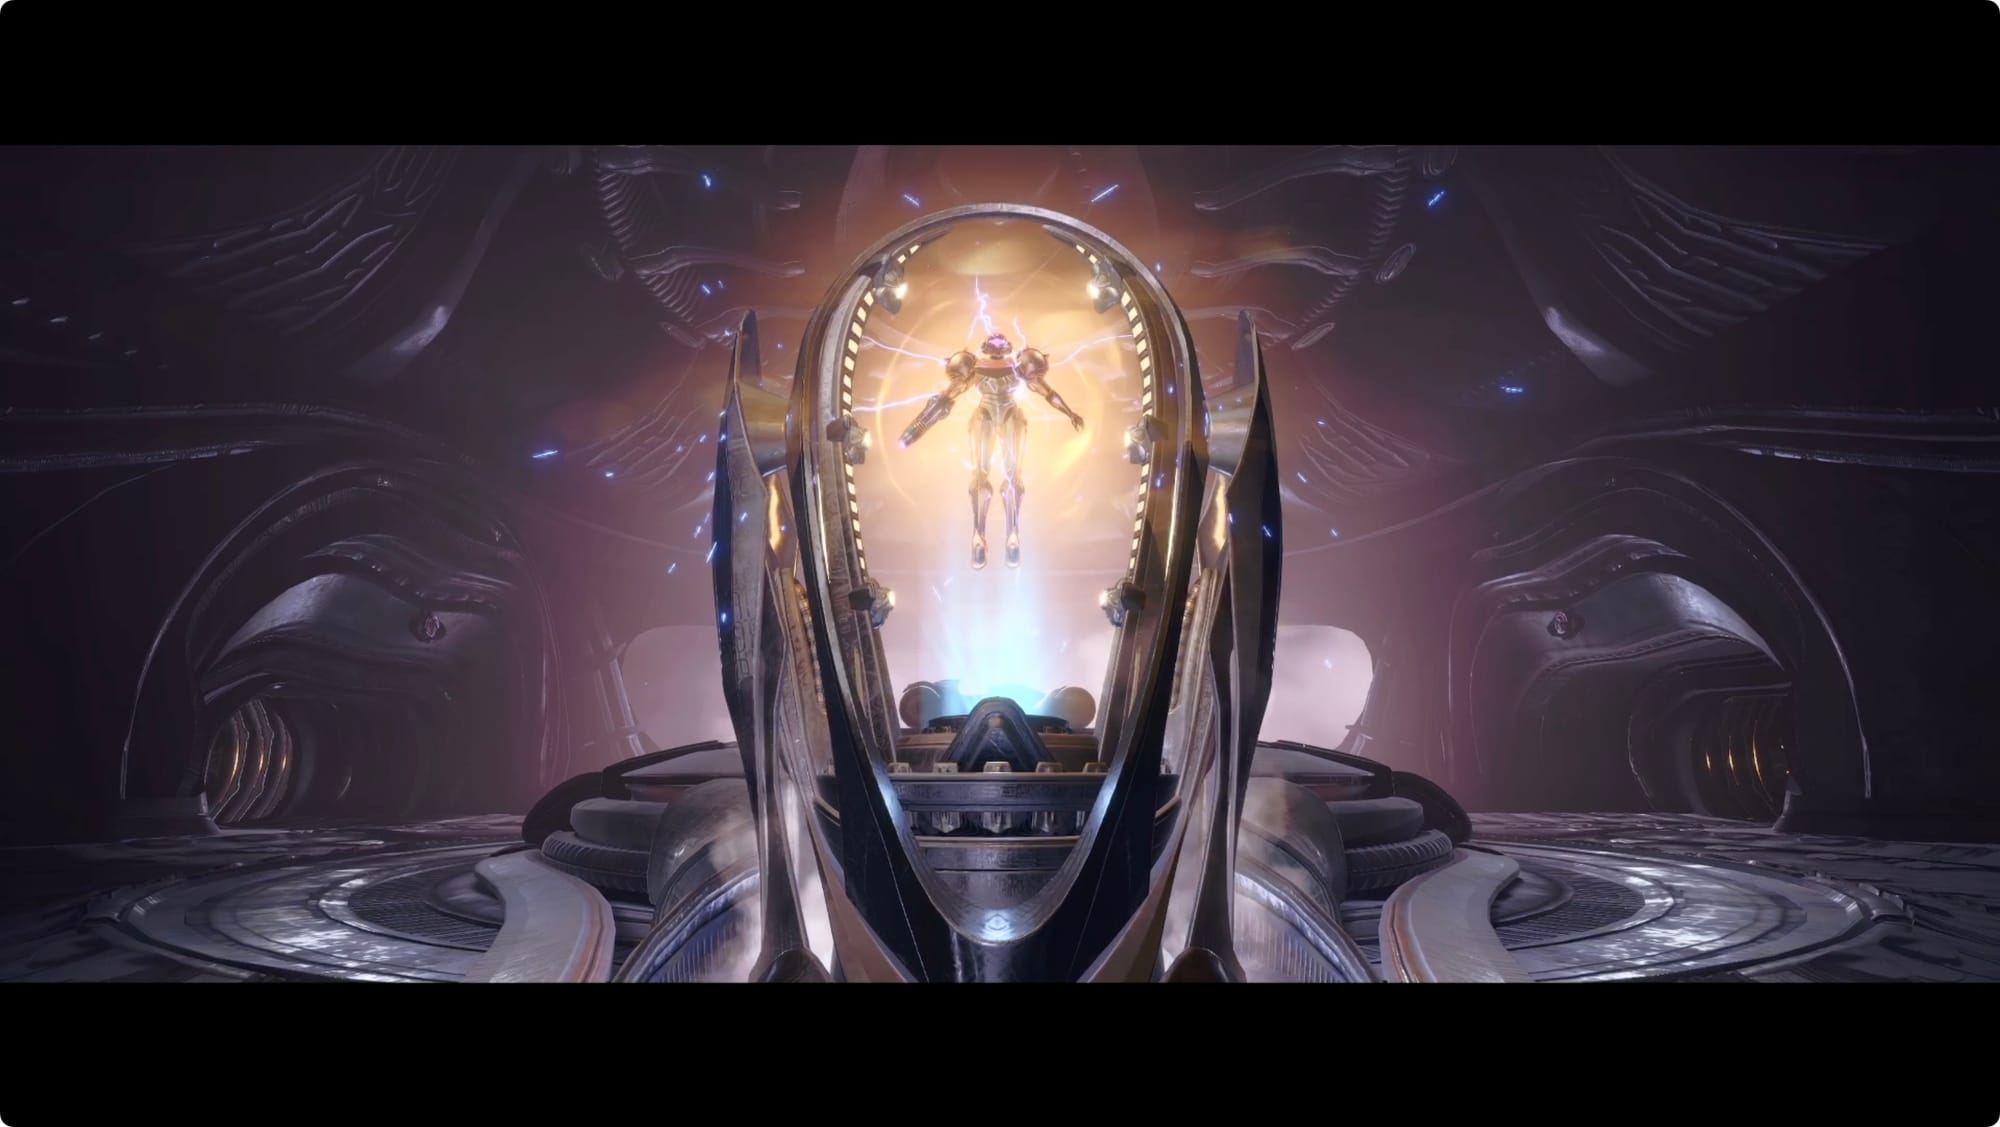
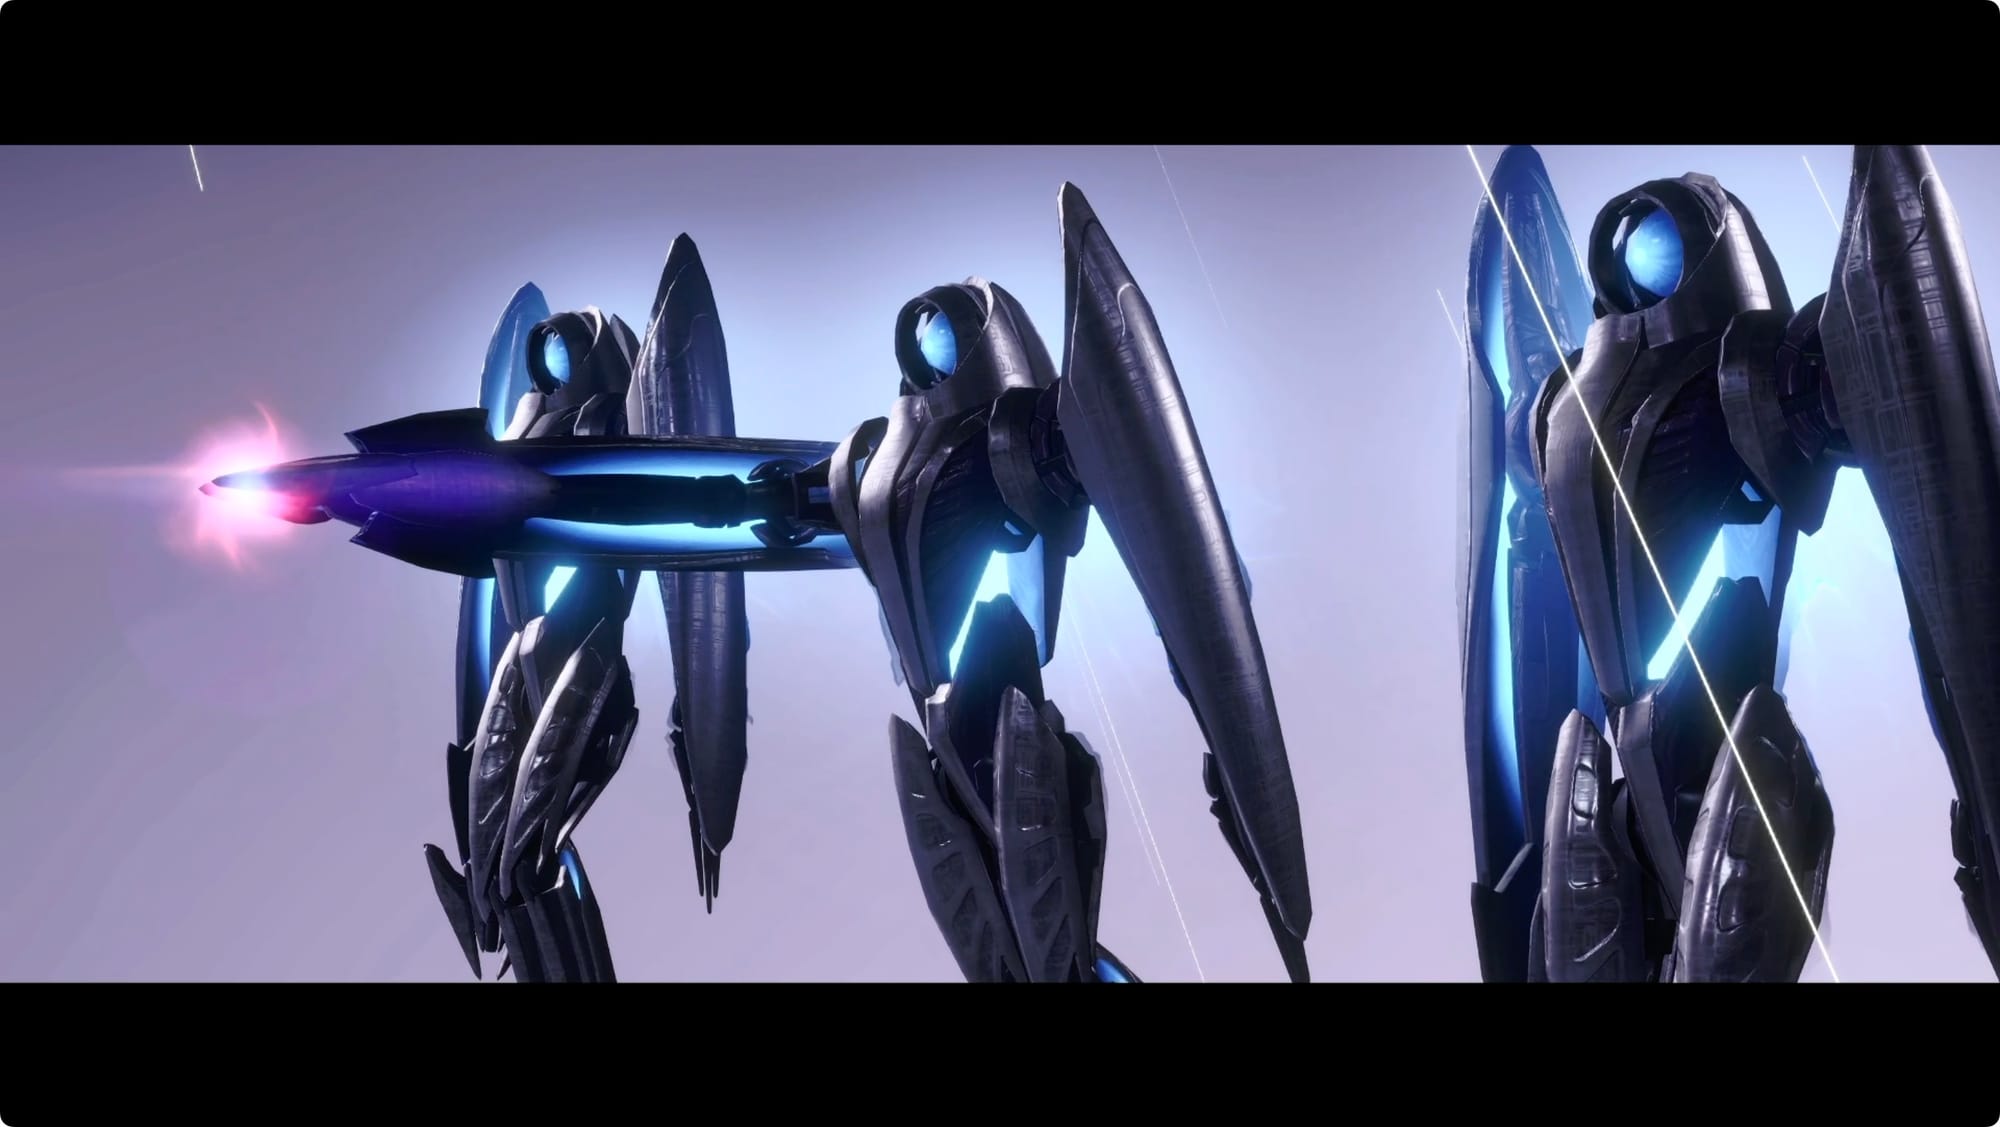
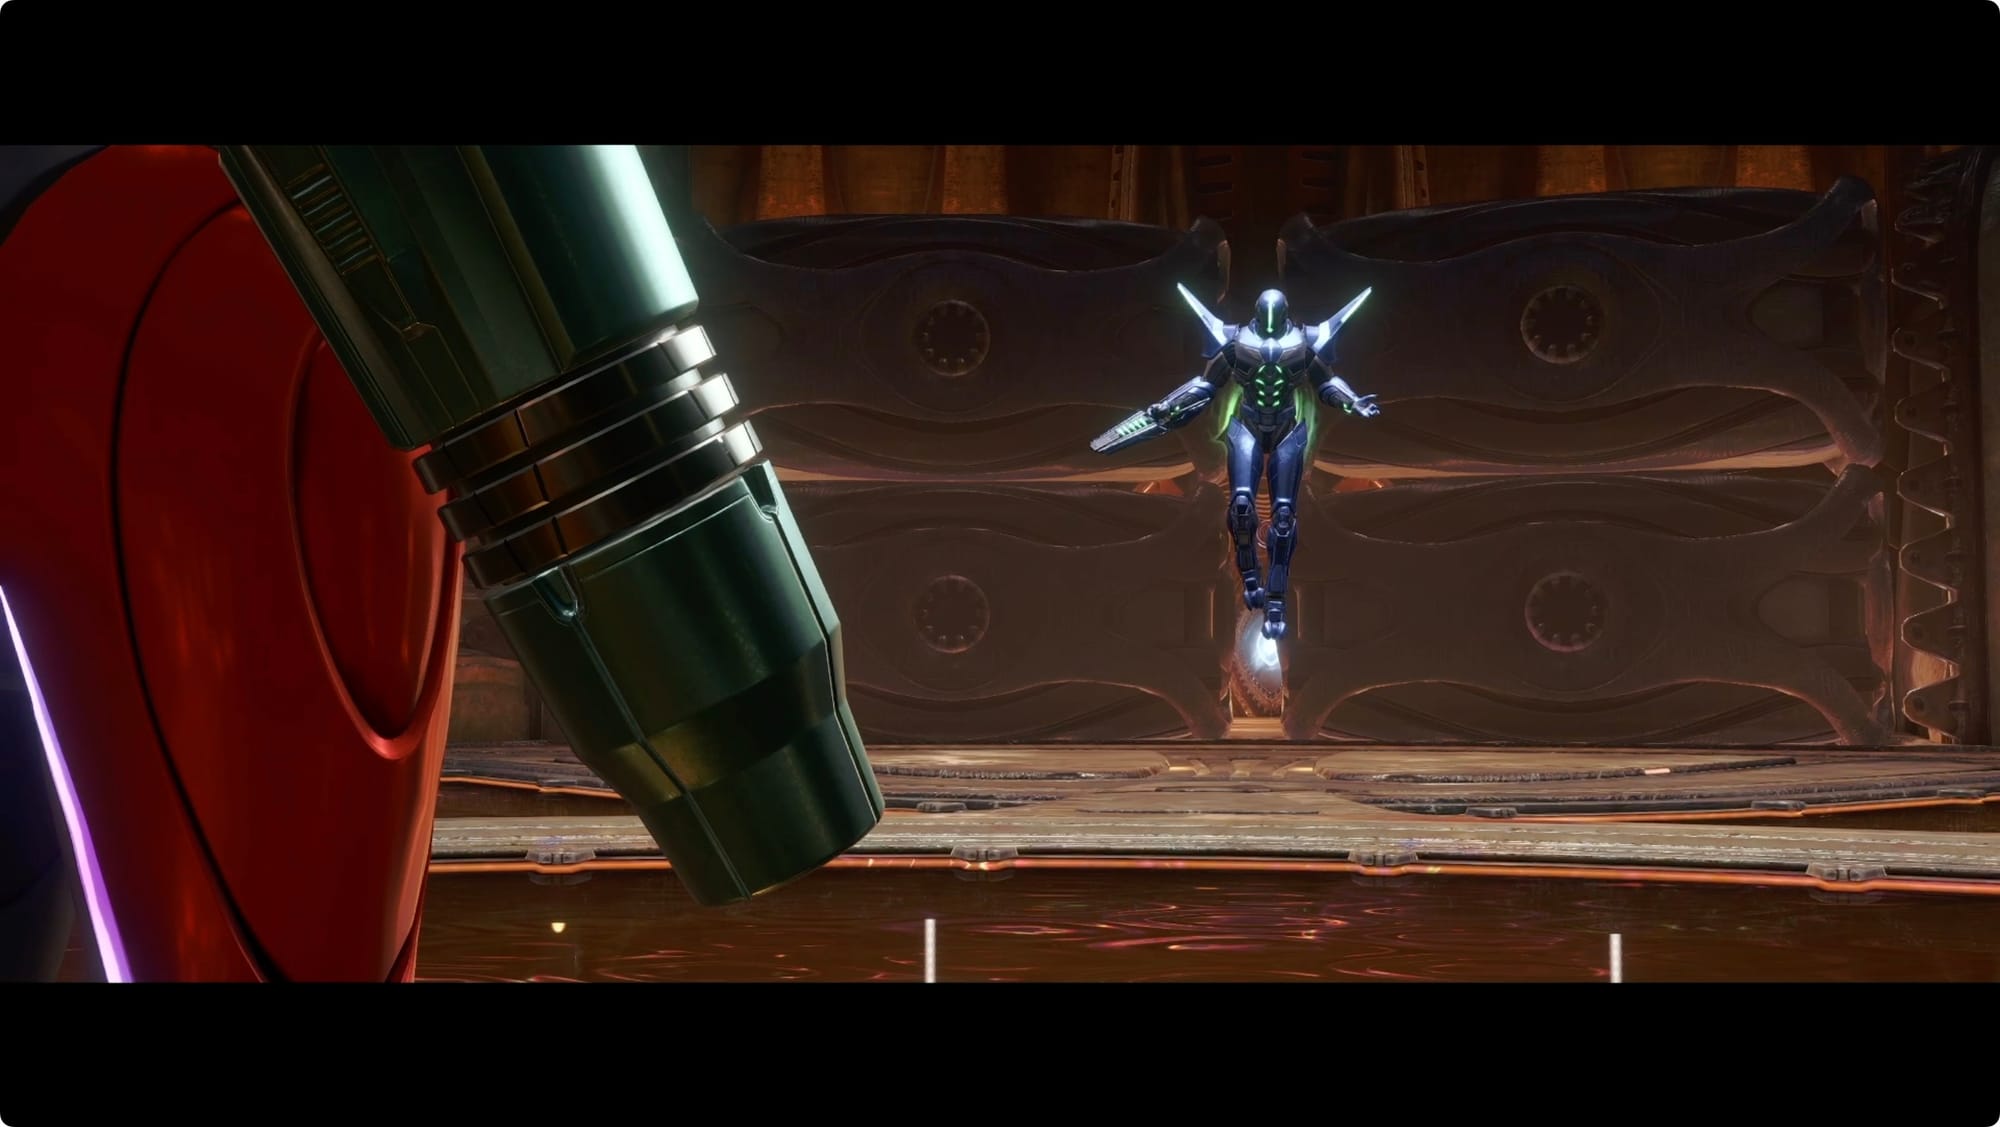
As you approach the entrance, look to the left for another Lamorn statue to scan. You’ll get a cutscene that teases (oh hell yeah) the Vi-O-La. There’s also an Energy Tank behind a lock you can’t open yet.
Head down the ramp and into the structure.

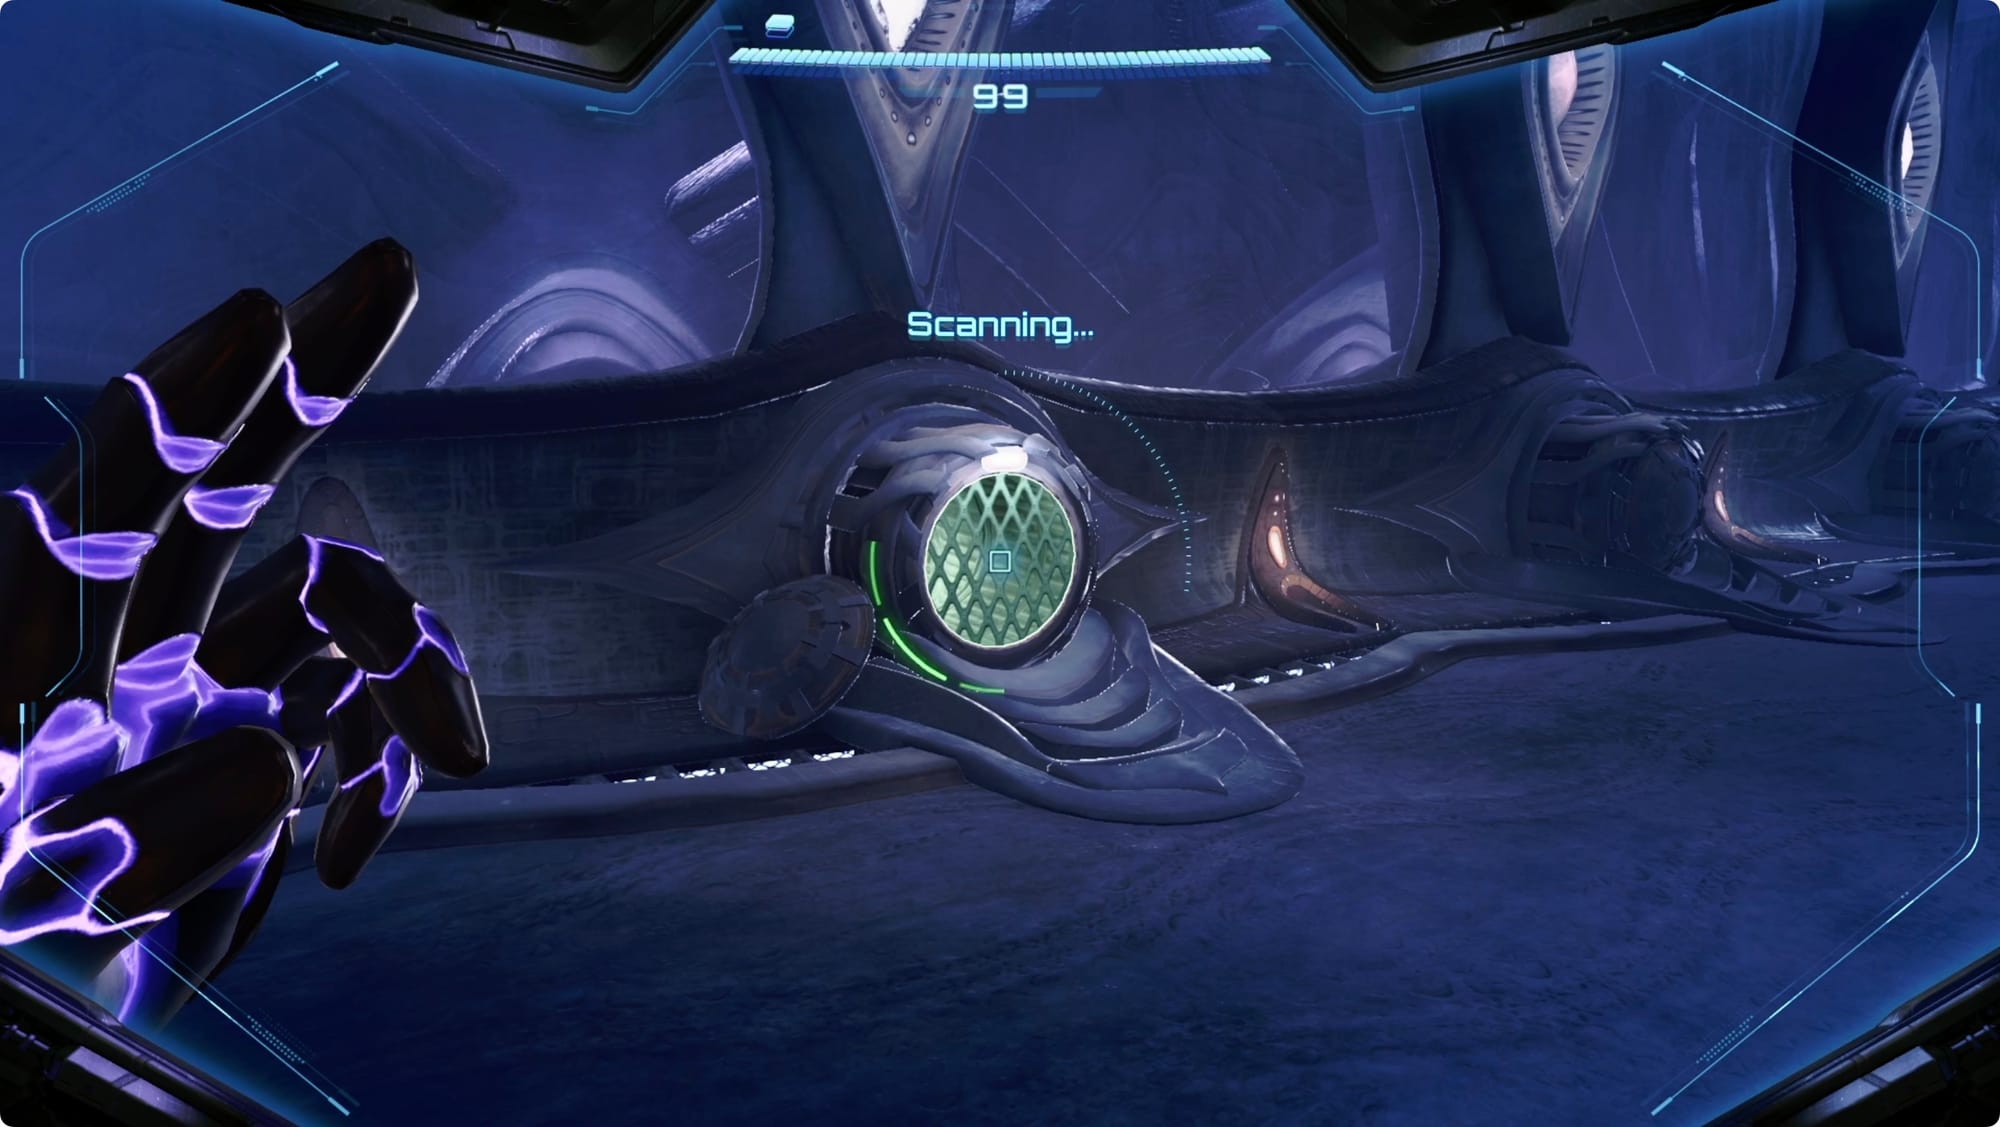
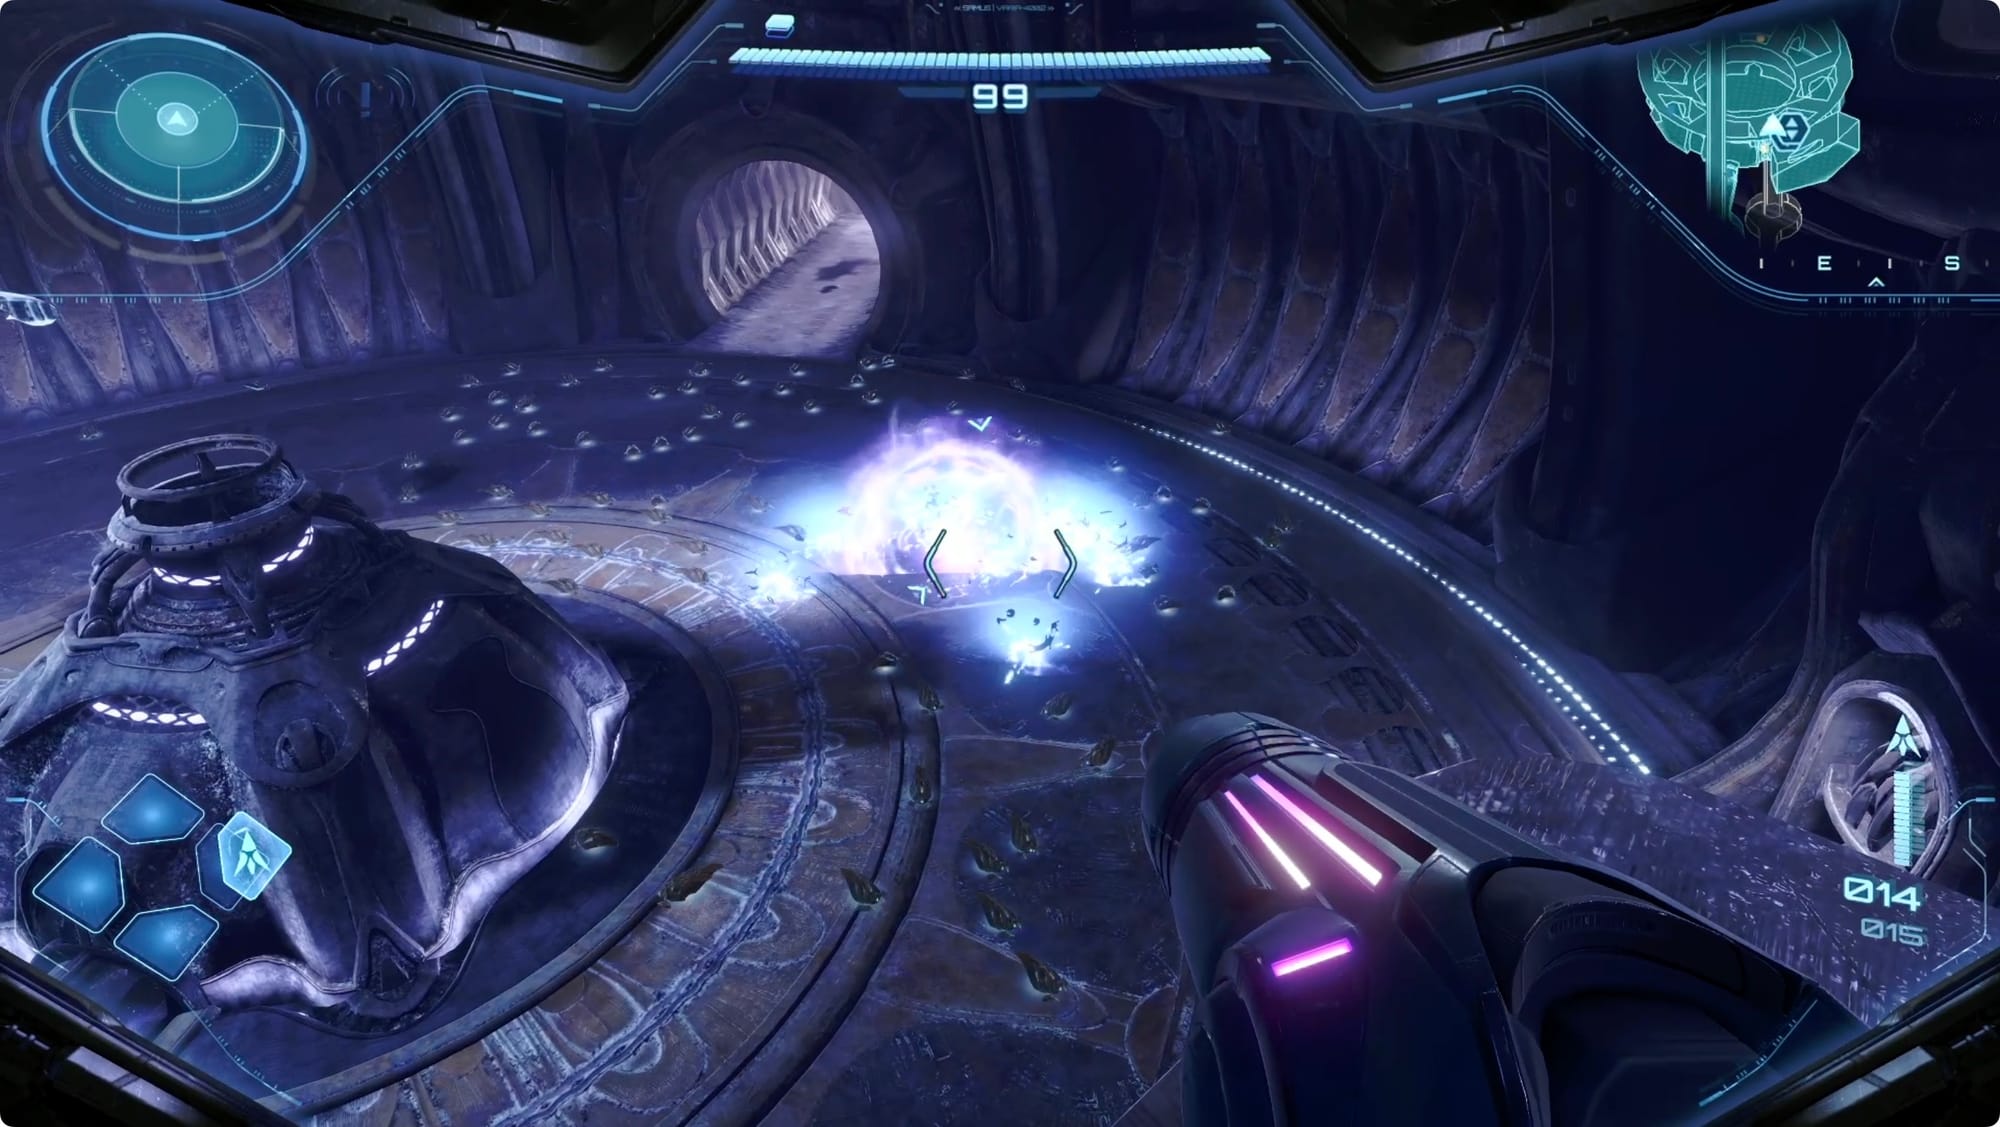
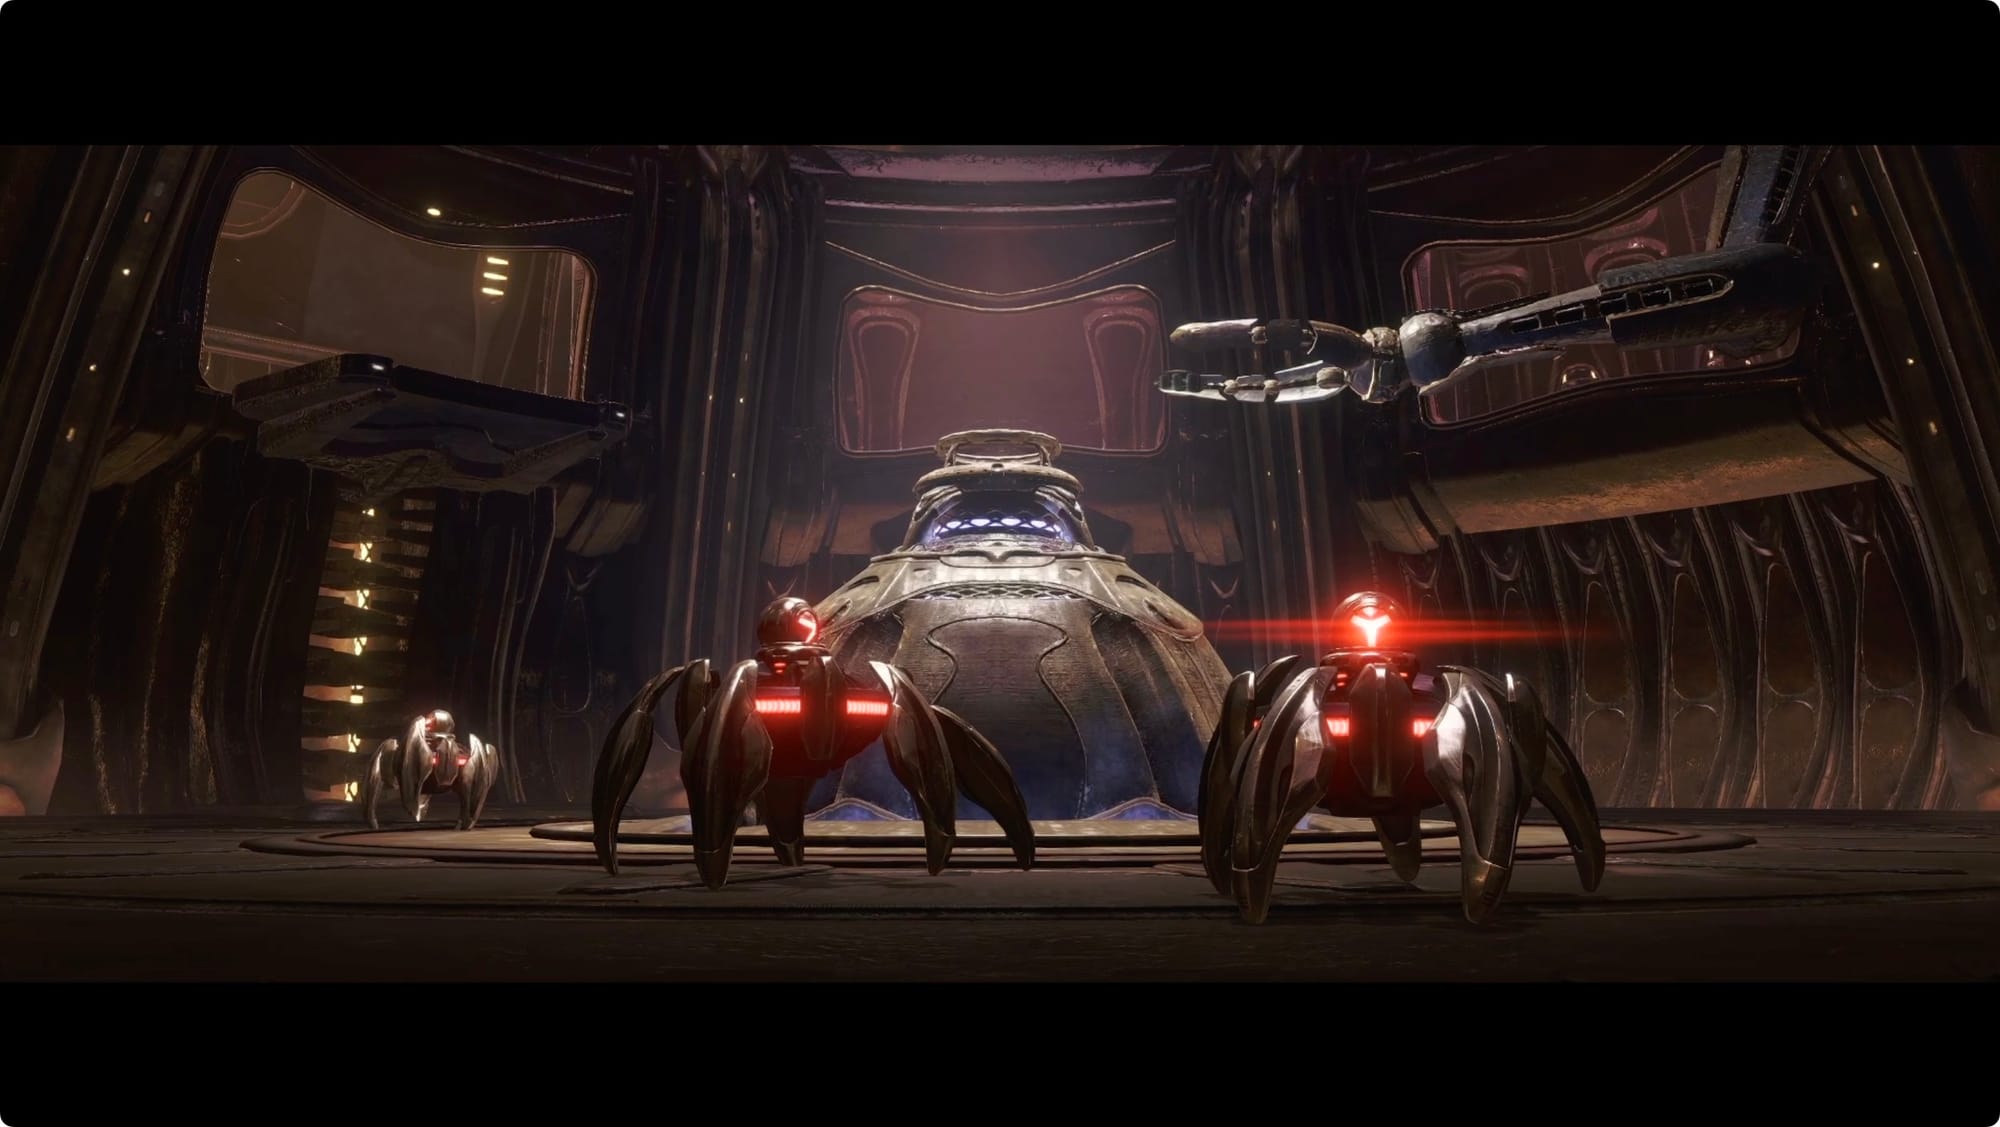
Once you get inside, the Chrono Tower will go into lockdown and launch a swarm of Psy-Bots at you. Take them out, and then start scanning everything.
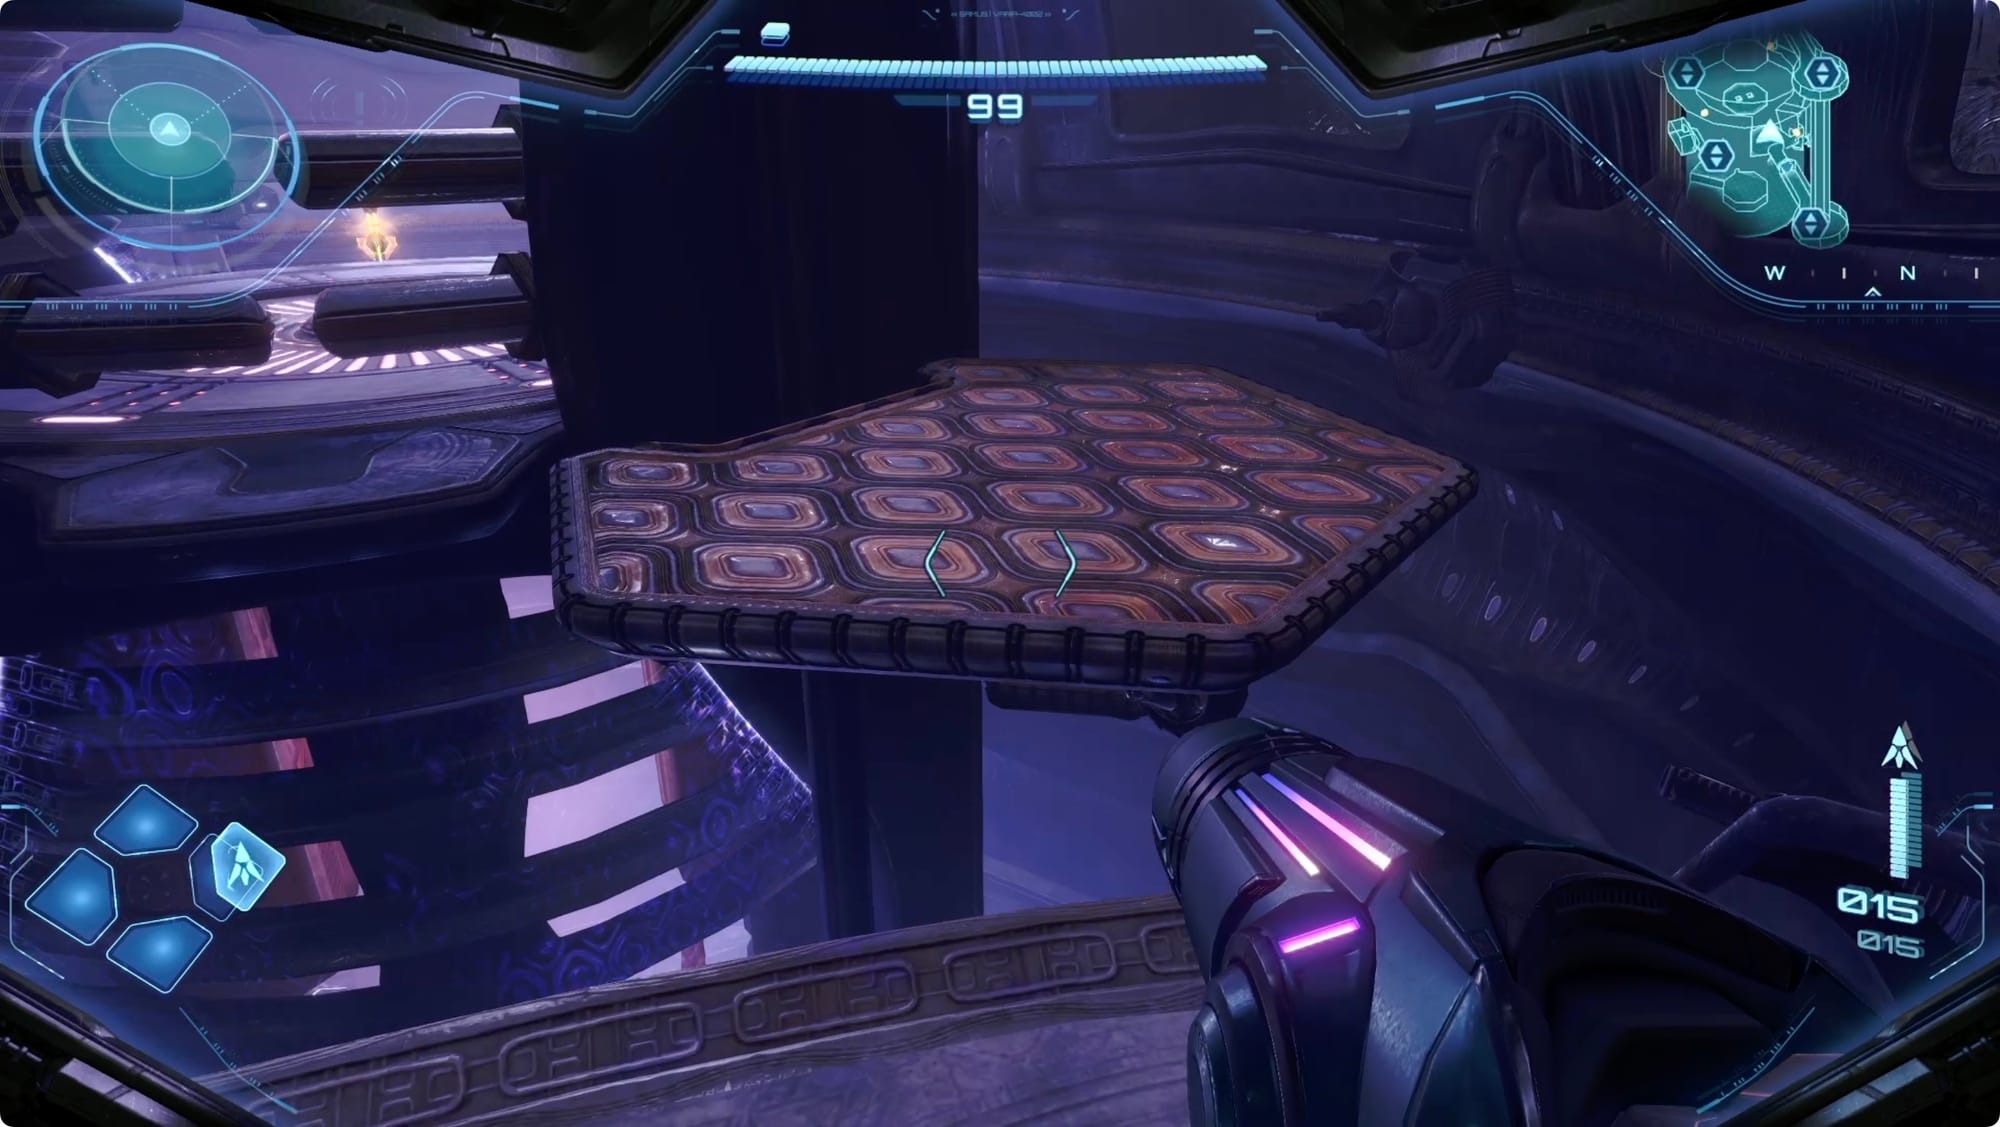
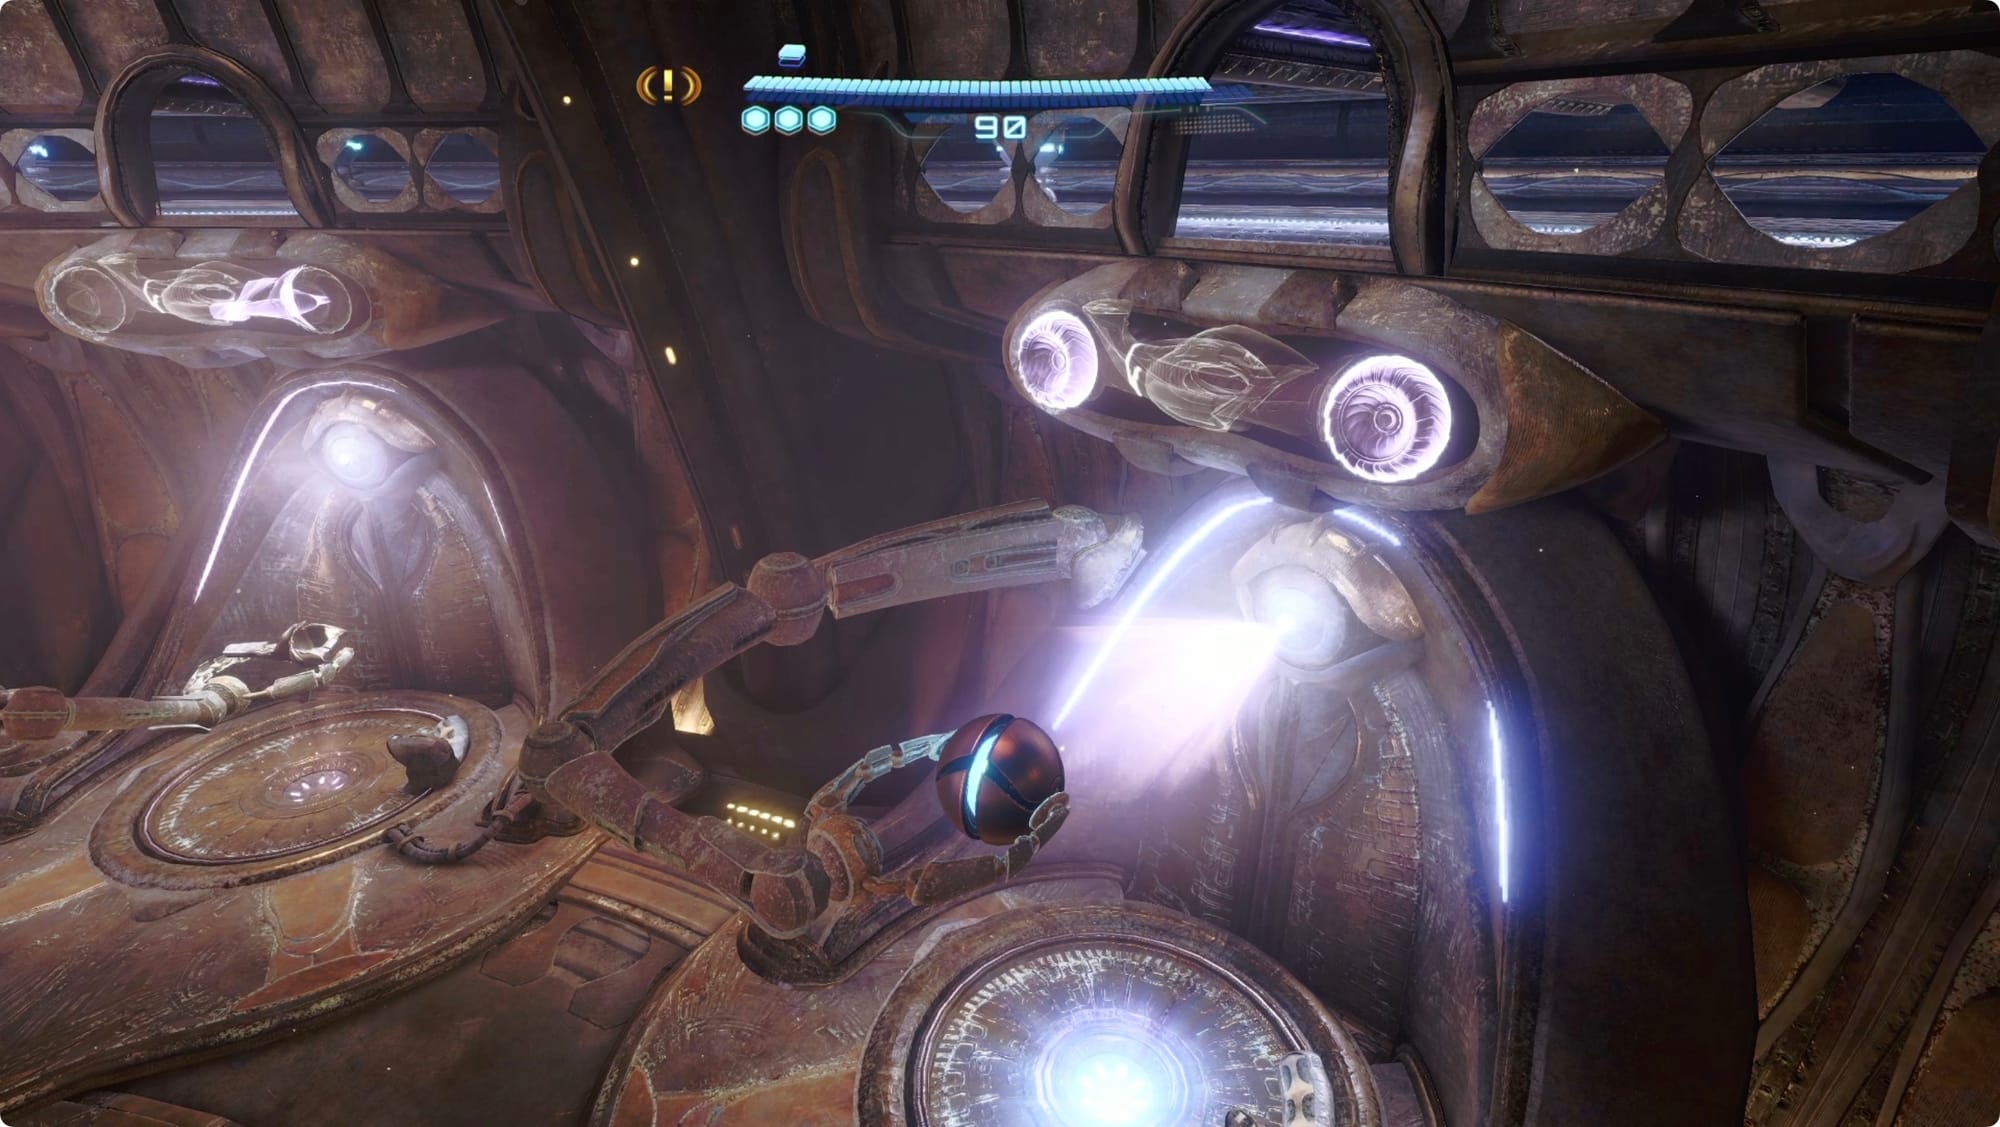
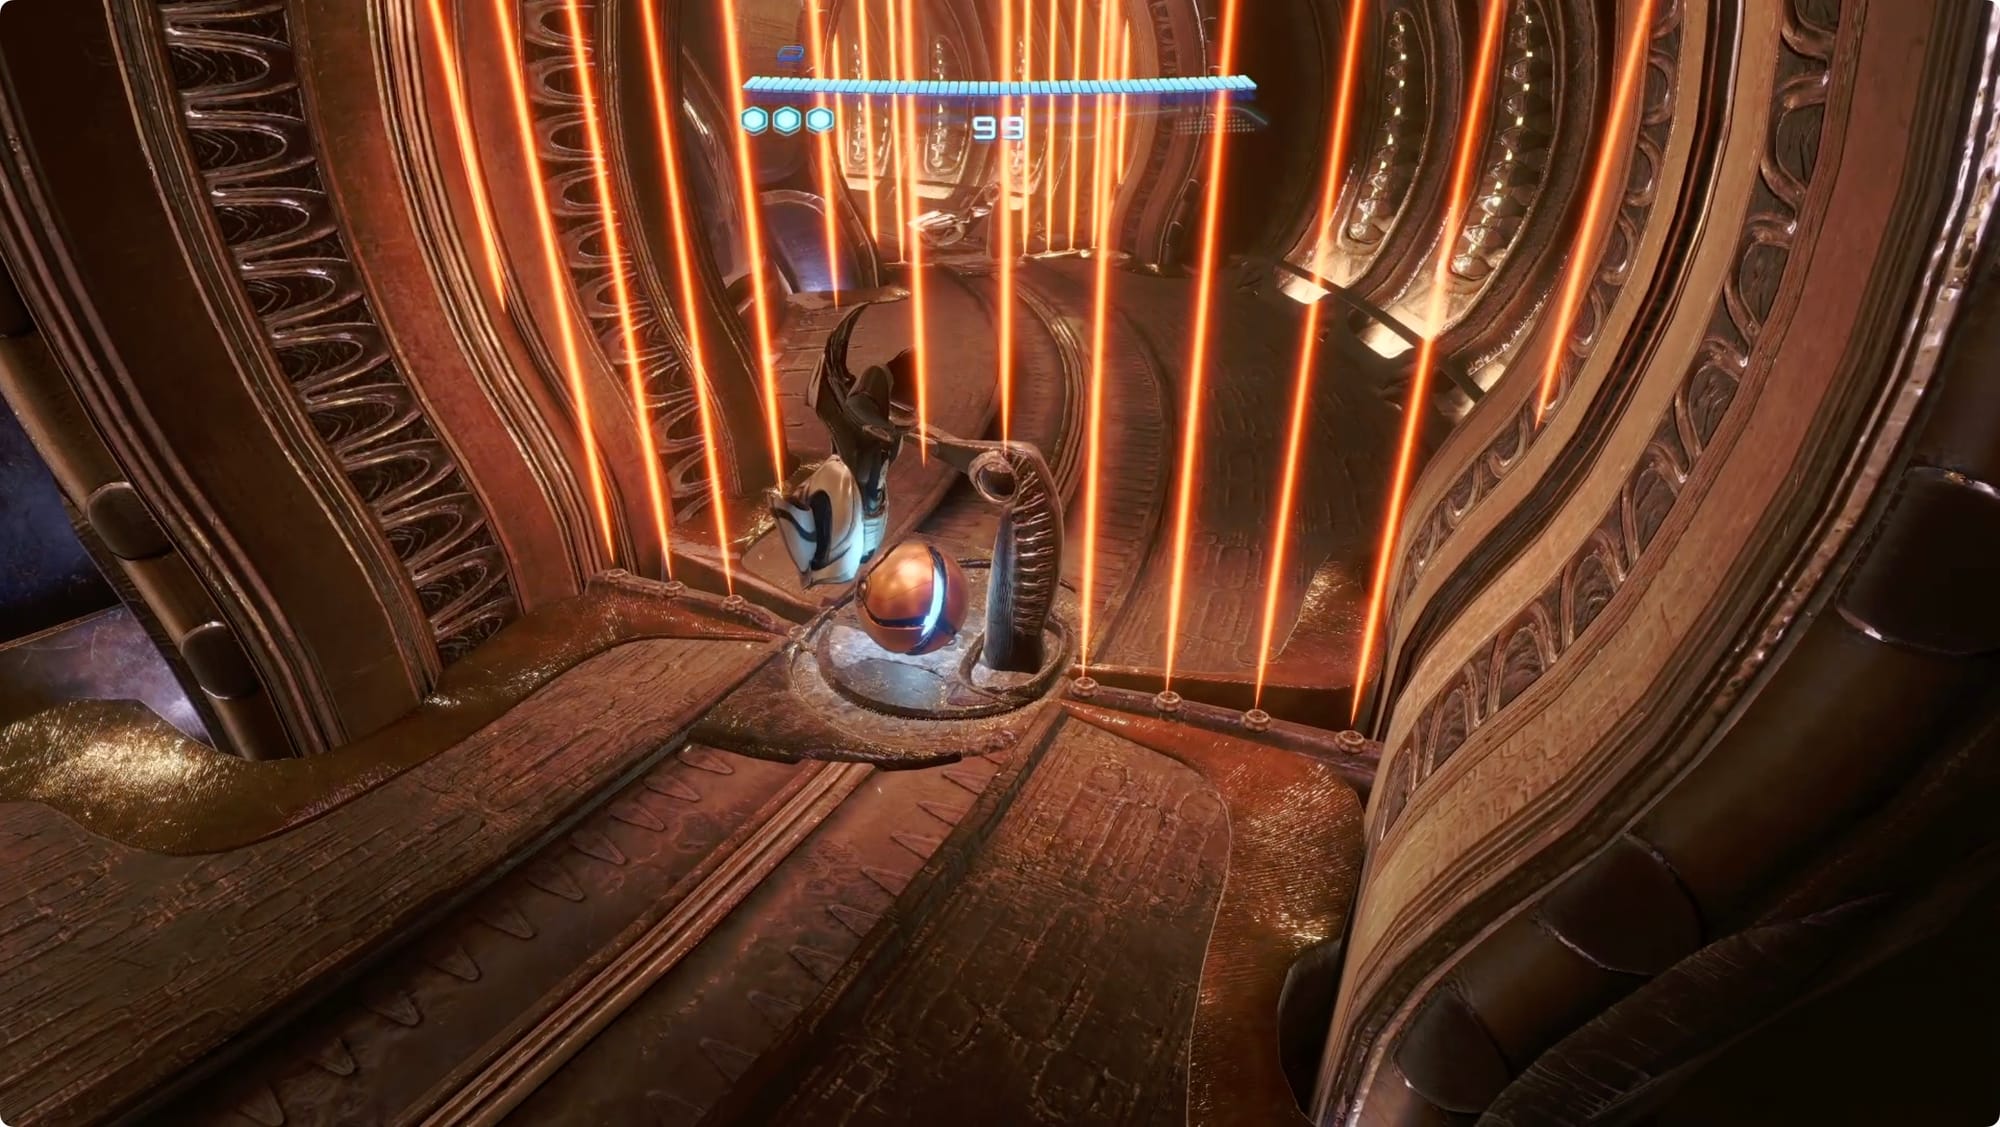
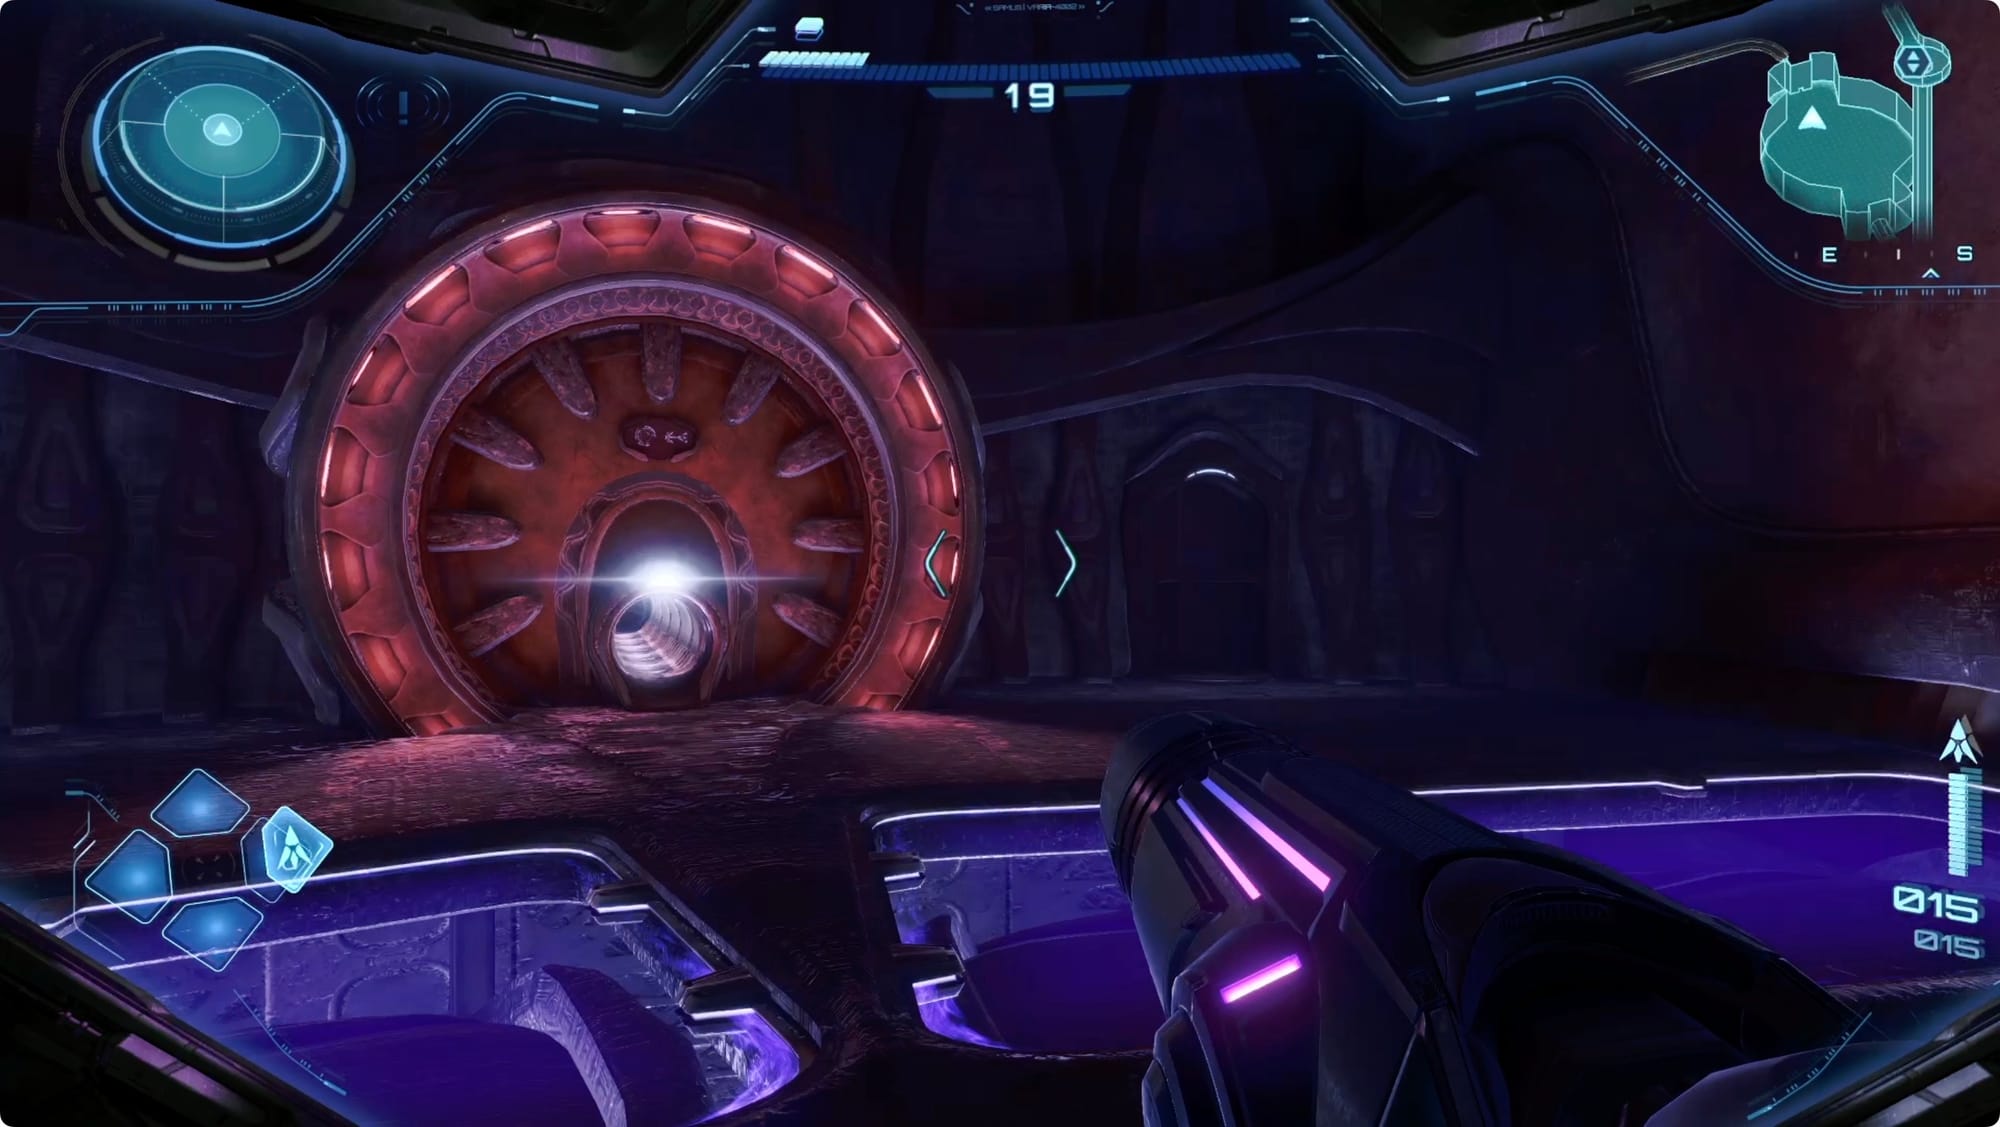
The platform in the ground is a Vi-O-La Spinner that opens a Vi-O-La Hatch. Head around to the right to find an open access hatch that’s conveniently Morph Ball-sized.
Drop a bomb to launch yourself inside.
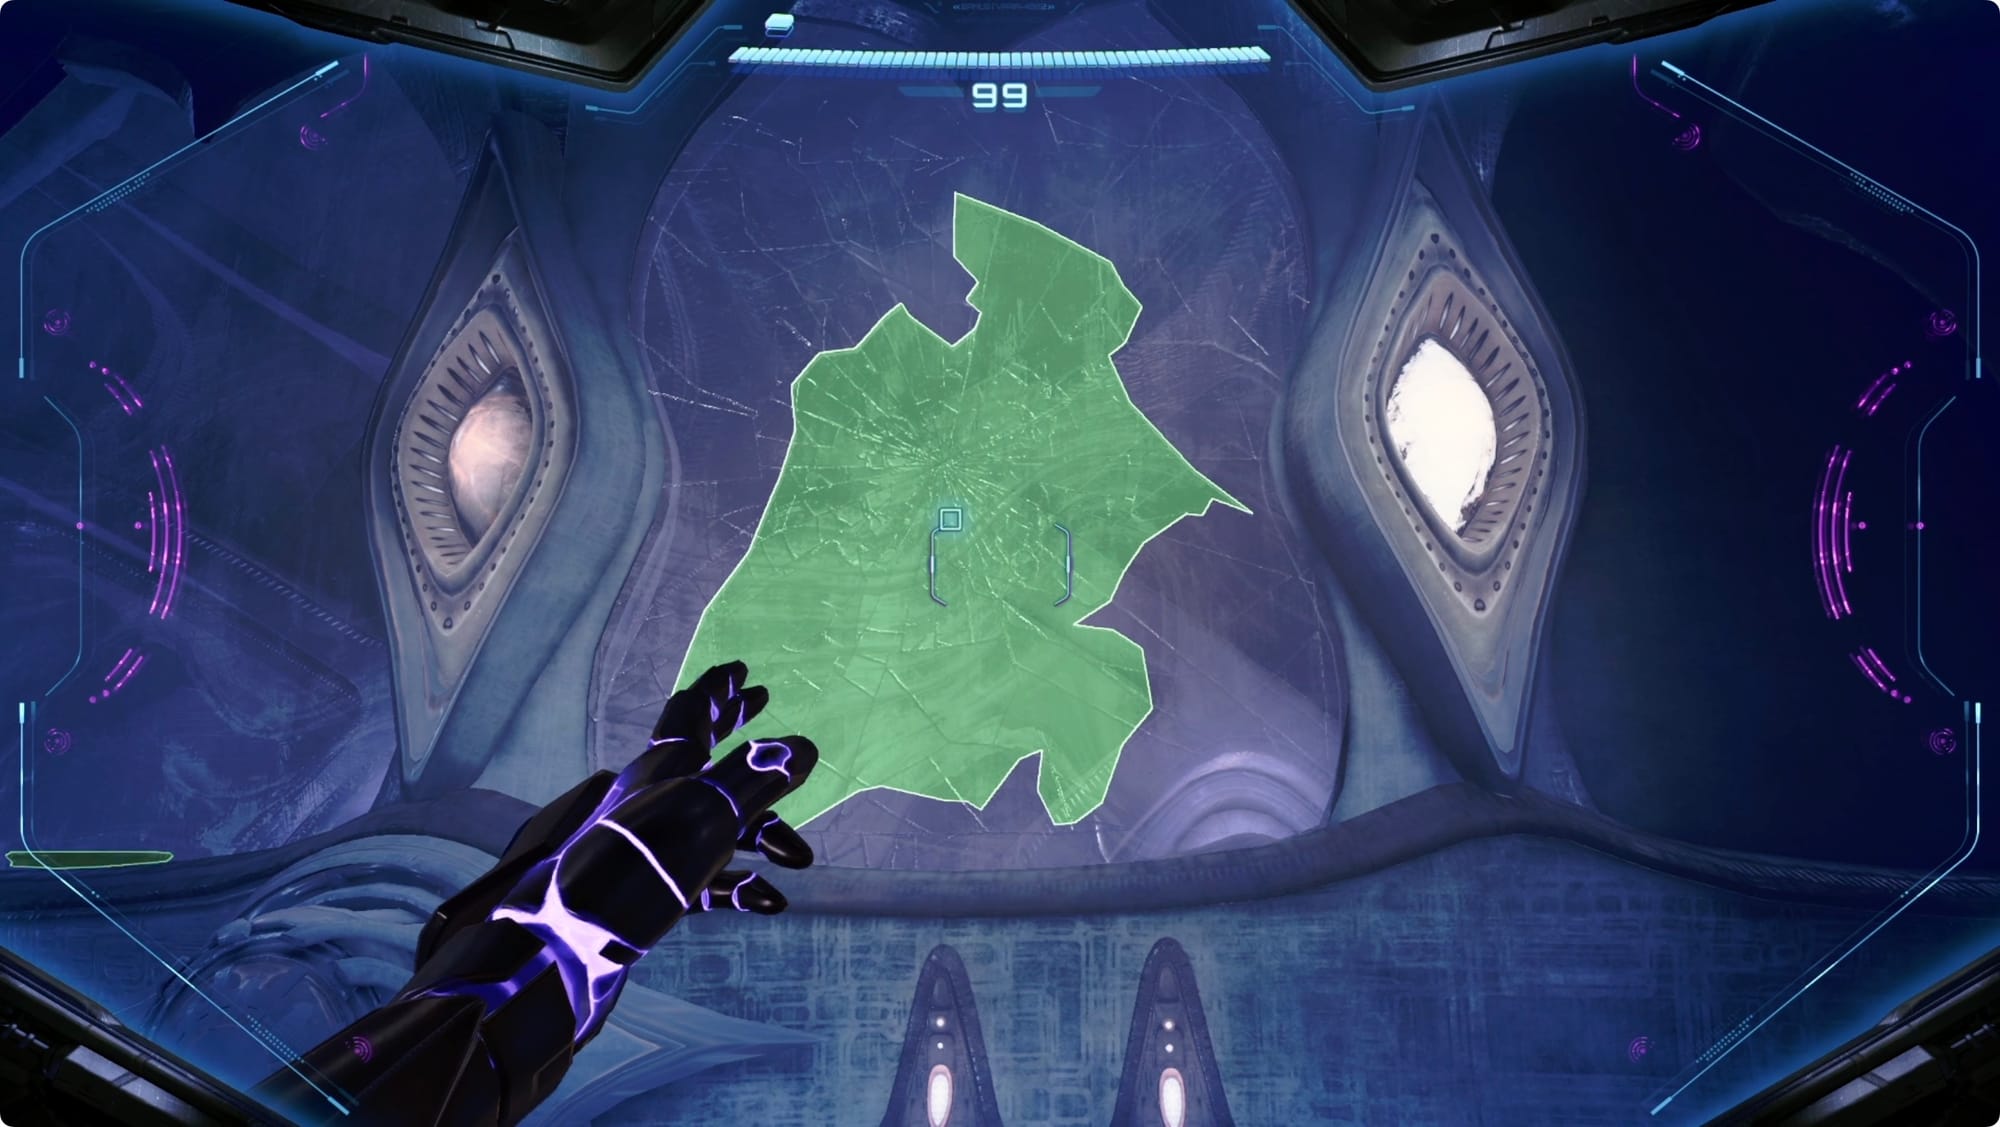
At the end of the hall, look to the left to spot some cracked glass in the windows. Charge beam through it.
Turn left, and look for an open hatch on your left — it’s the second one. It’s got a grate across it, but you can clear it with a single shot. Morph Ball into the tube.
When you land, the short end of the hallway behind you leads (I think) back out through the Vi-O-La Hatch you scanned earlier. The long end is the way we’re going. At the far end, hop into the alcove on the left.
Blast the crates out of the way to reveal another Morph Ball tunnel.
Tower 1
Head through the next door to find a room full of stuff to scan and new creatures to shoot. Continue through the door at the back to find a Vi-O-La showroom.
The Vi-O-La Suit Printer in the middle is obviously offline because nothing is ever easy and this is a video game. Scan the room’s various doors, and then head to the large window and scan the terminal to download the Area Map.
Back in the main room, head through the second door on the left (the first door on the right when you entered) to find a Save Station. Around this point, Myles will call with an explanation of where you’re going and what you’re doing.
Go through the other door and scan the terminal to activate the elevator. Take it down.
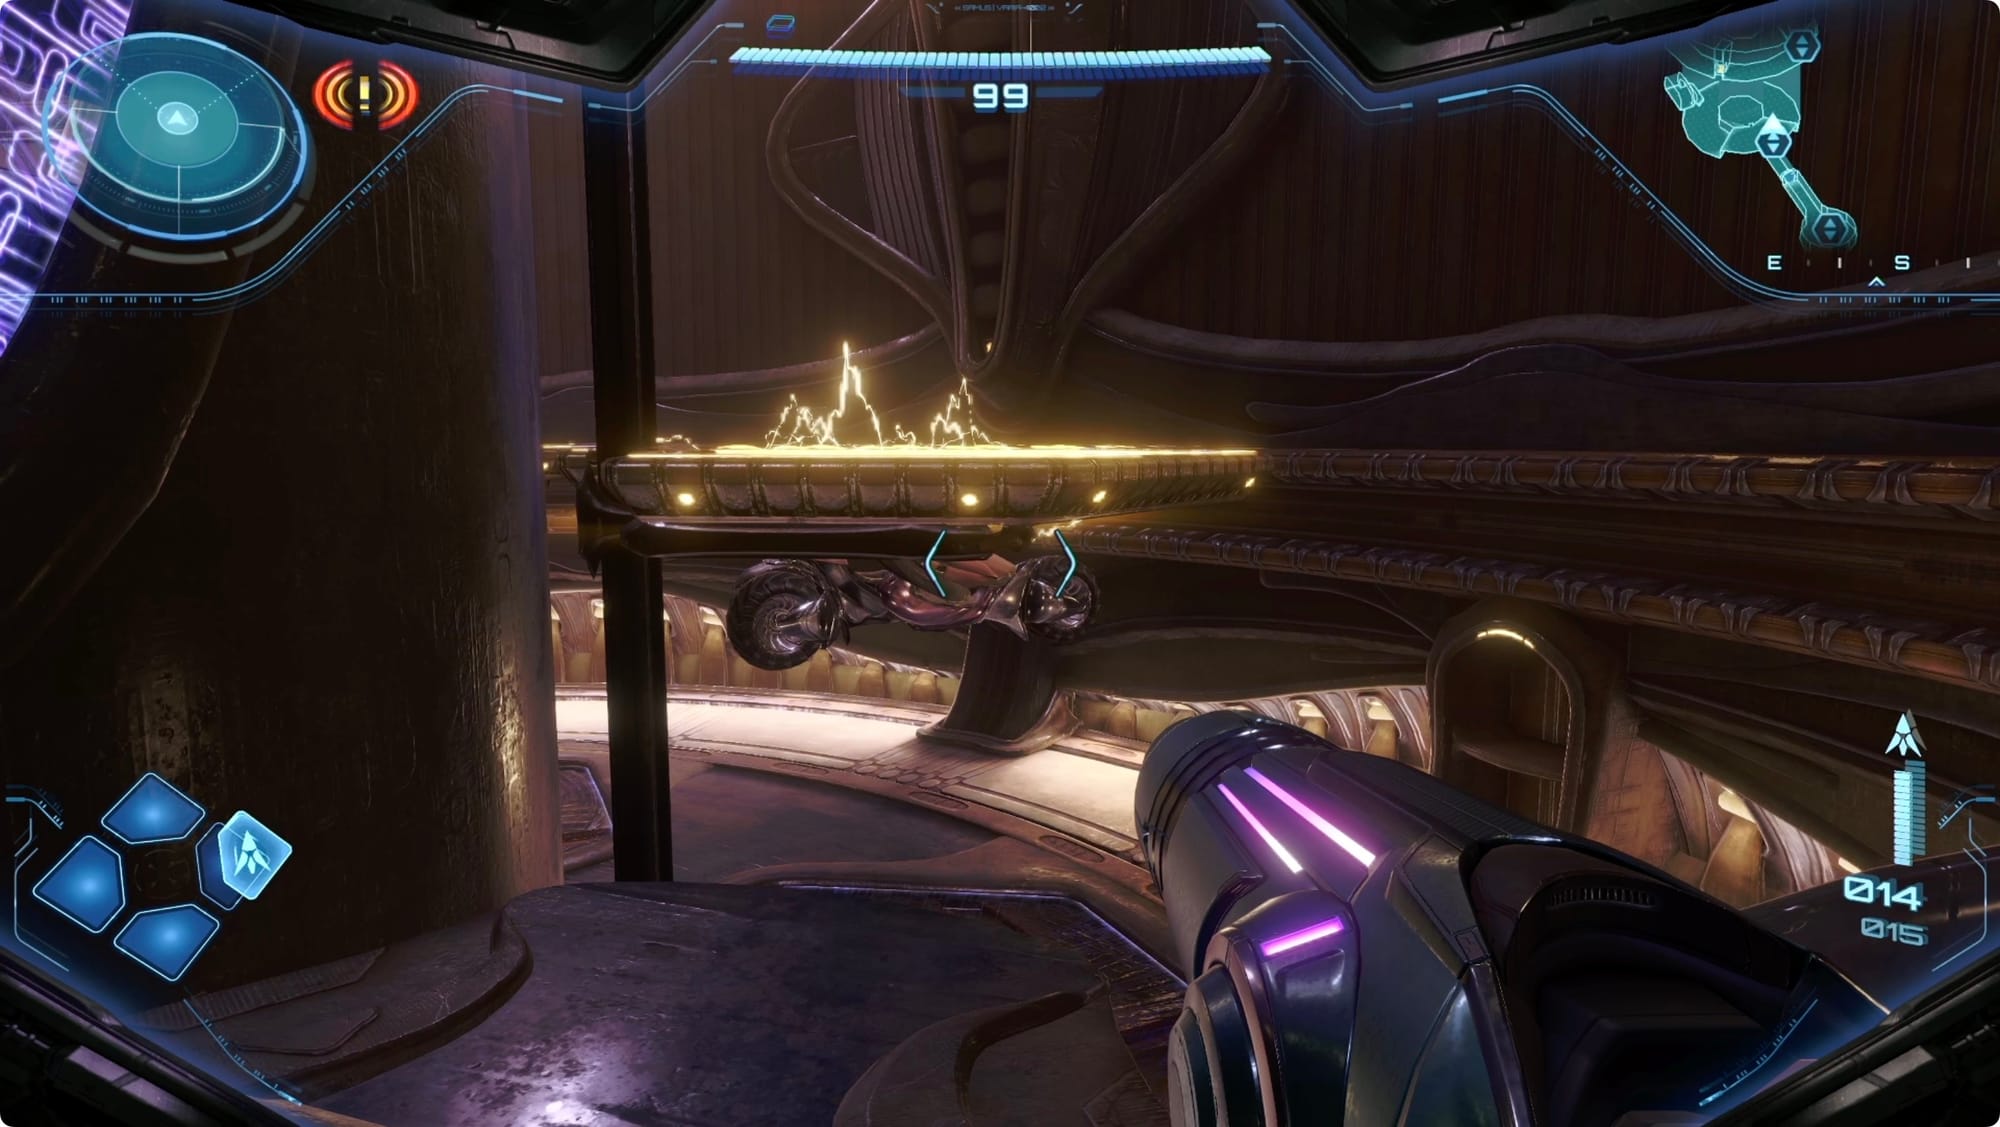
The next room has a lot of locked doors. Drop all the way to the bottom (or just miss the very first jump and fall all the way to the bottom like I did). On one side, you’ll find a Backup Power Socket. On the other side, there’s a gap in the railing you can’t quite reach.
Stand on the platform closest to the railing gap and pilot a Control Beam shot to charge the power socket to make the jump. Head through the next door to find another elevator. Take it down.
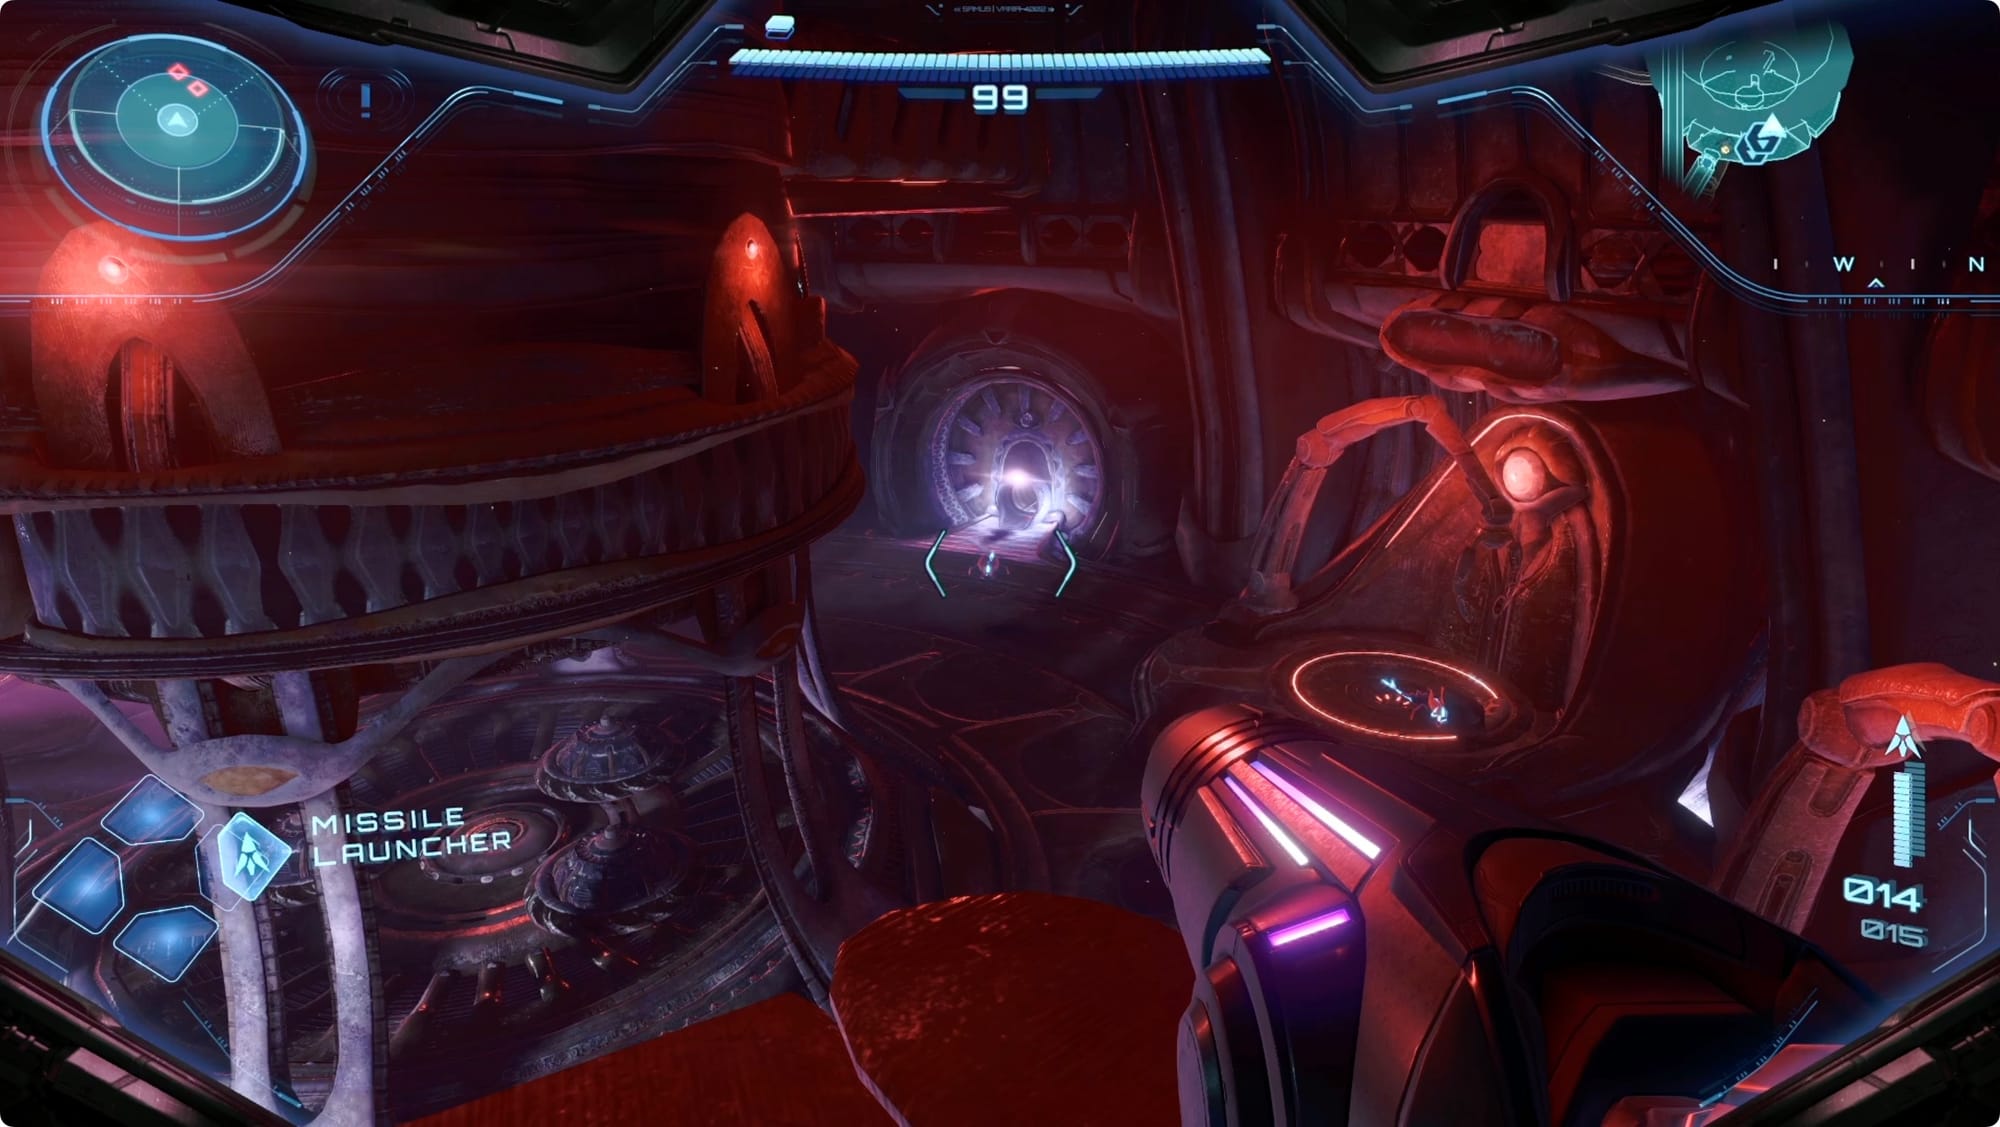
In the next room, take a right and missile the lock off the door. Head through.
Work your way around the assembly line until you come to the other end. Take a right through the opening. Clear out the Mecharats below you with a bunch of charged shots, and then drop down to the floor.
To the right of where you entered, there’s a Bomb Slot, but it’s offline. Head into the tunnel instead. Take another elevator down.
In the next room, clear out the Denzards and Morph Ball into the tunnel — you’ll have to take a quick break to Psychic Bomb some more Denzards. At the other end, you’ll come out on a walkway leading to the Tower 1 Generator.
The Generator is (of course) offline, but there’s a pair of Bomb Slots to the left and right. Hop onto the platforms and place your Psychic Bombs in Morph Ball form. The Generator will deploy and reveal a tunnel.
Follow it to the end and loop around the generator to place one more bomb to turn it on.
The trip back is a lot more dangerous. Wait for the gaps between electrical discharges to start, and then pause in each of the rooms(?) along the tunnel to avoid getting zapped.
Backtrack to the Manufacturing Floor and scan the terminal there to turn on all of the Tower’s 3D printers. There’s a missile-locked door here, but it leads to a room we can’t cross yet.
Switch to Morph Ball and place yourself in one of the printers — the one printing wheels makes sense since you’re mostly wheel-shaped. Avoid the electricity on the track you land on, and work your way around to the exit. Take the elevator up.
When you reach the Assembly Floor, you’ll meet some grumpy robots. Shoot them a lot until they stop shooting at you. When you’re done, use the Morph Ball > float Psychic Bomb > Psychic Visor trick to throw a bomb into the now-activated Bomb Slot. Roll through the tunnel to get inspected. You won’t pass this time, but the robotic arm will throw you to the next area of your return trip.
On the assembly line, wait for Vi-O-Las to block the laser beams and pass through them by walking, Morph Ball-ing, and jumping. At the far end, use the terminal to open the emergency shutters, and then take the elevator up another level.
Wait out the electricity on the platforms around the Irradiation Floor central cylinder, and then hop across them as they lift you up. At the far side, hop into the room to wait out another blast of electricity.
Repeat that process until you get to the top.
We still can’t get that Missile Expansion, so use the terminal to open the shutters on the left. Follow that hall to the end and scan the terminal to activate another elevator (that we’ll come back to later).
Keep backtracking all the way back to the map room. This time, you can use the terminal to get the Vi-O-La Suit. Hit the Save Station before you grab your new bike. If you do hop on because you were too excited, + will dismount (you won’t get that tooltip right away), but we’re also headed to another Save Station almost immediately.
Another side note: If you want to invert the camera controls on the bike, that’s another setting — Settings > Controls > Vi-O-La > Camera Invert Y and Vehicle Invert Pitch.
Tower 2
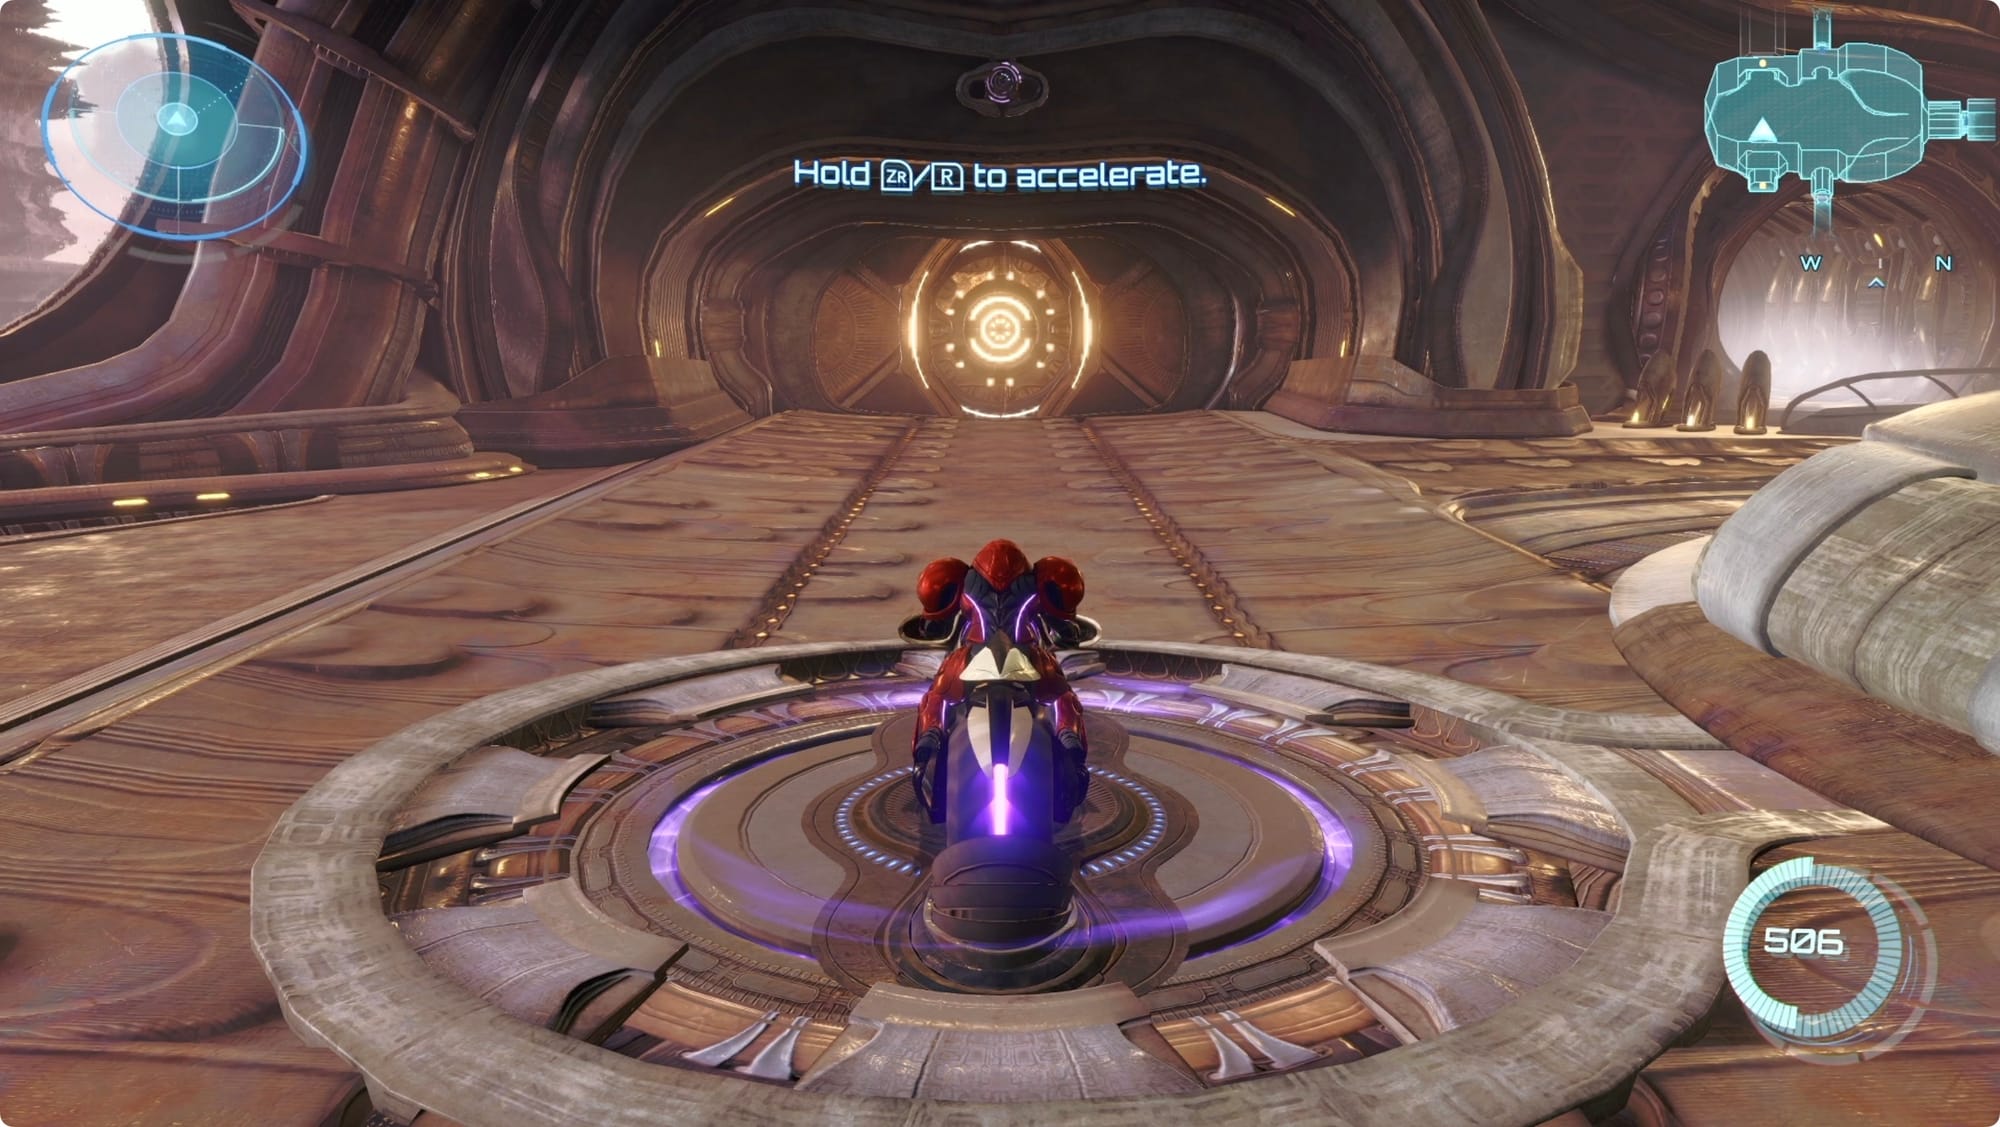
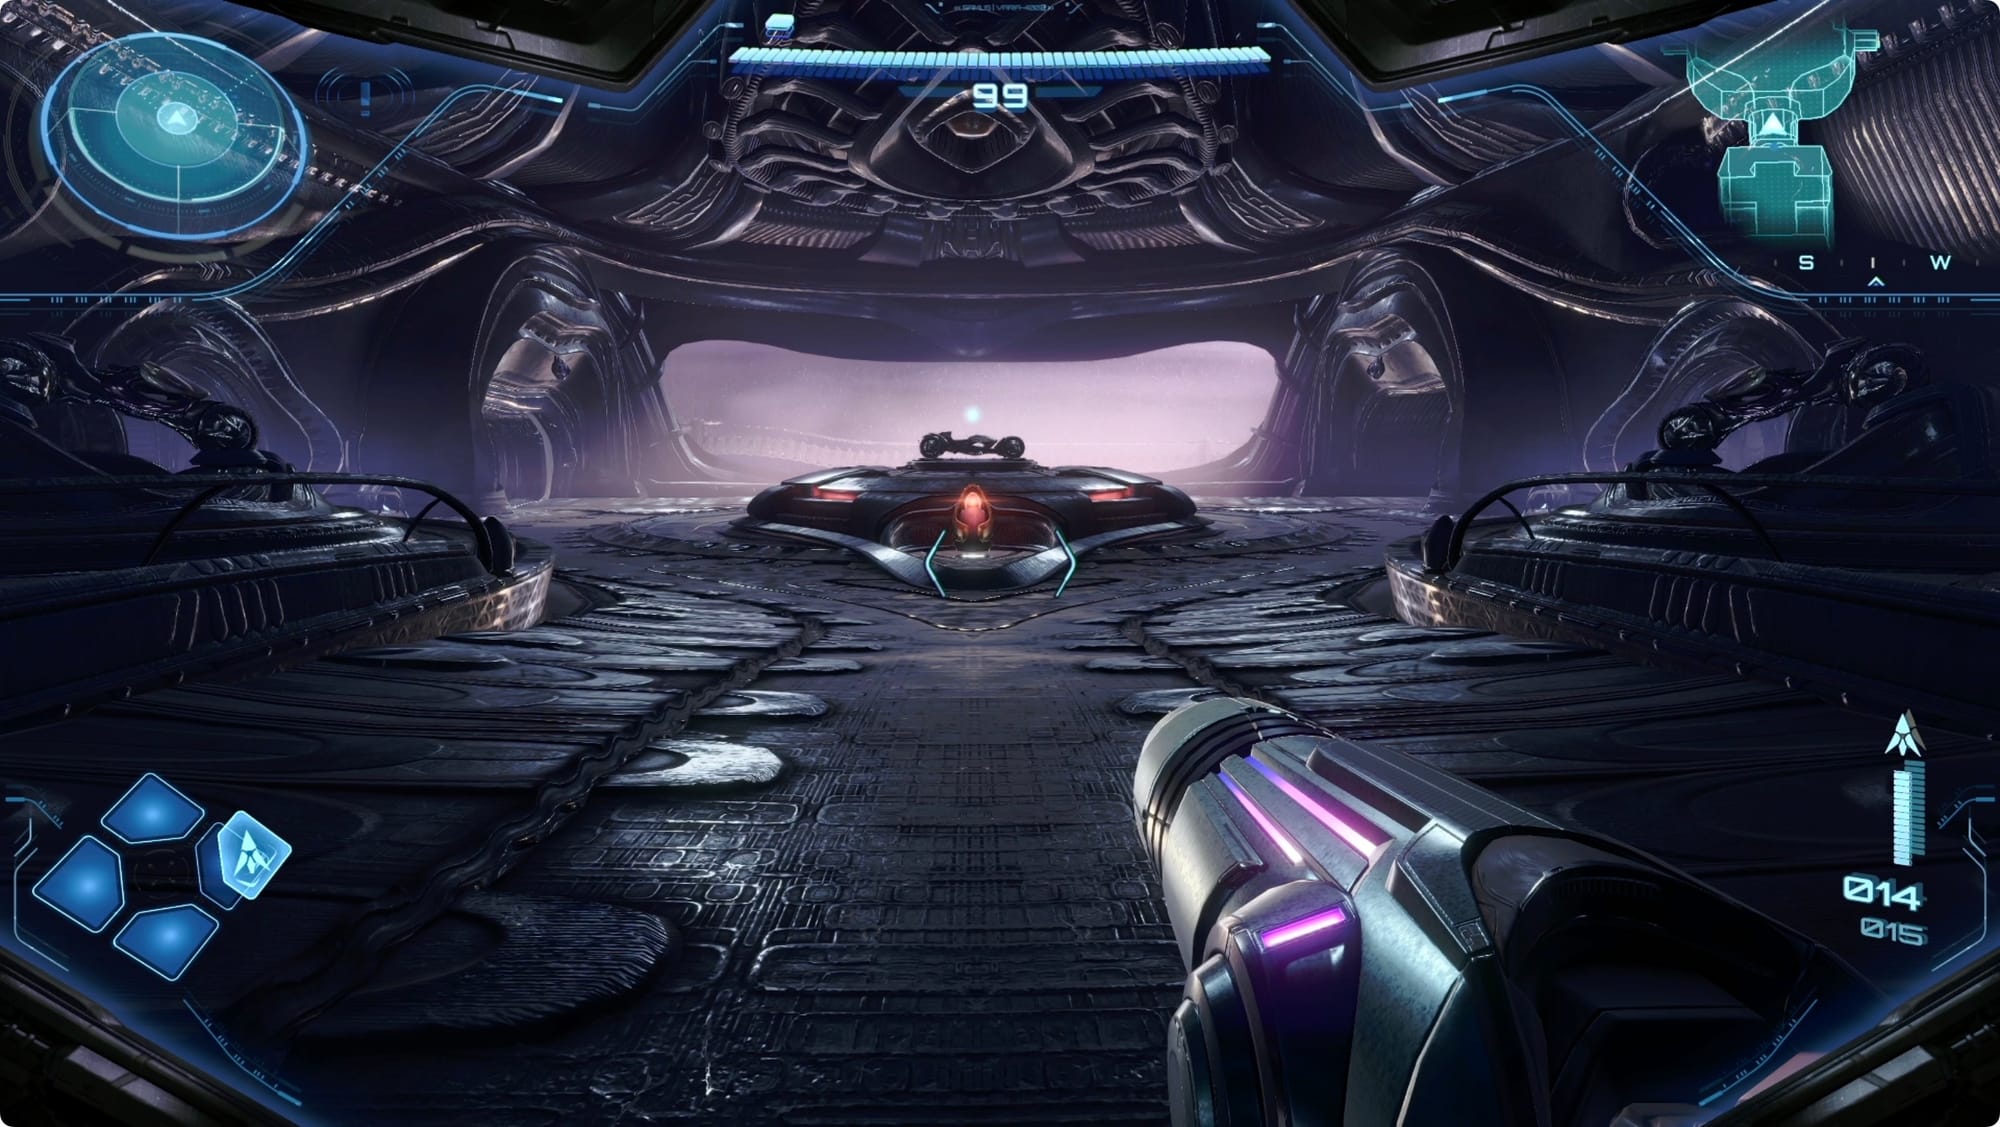
When your new bike is placed on the spinner, just hold ZR to power up the door. Follow the road to Tower 2.
In the first room, scan the terminal for the Area Map. Loop around to the room on the northeast wall to find another Save Station.
Head through the tunnel to the northwest to find the first elevator. Scan the terminal to activate it.
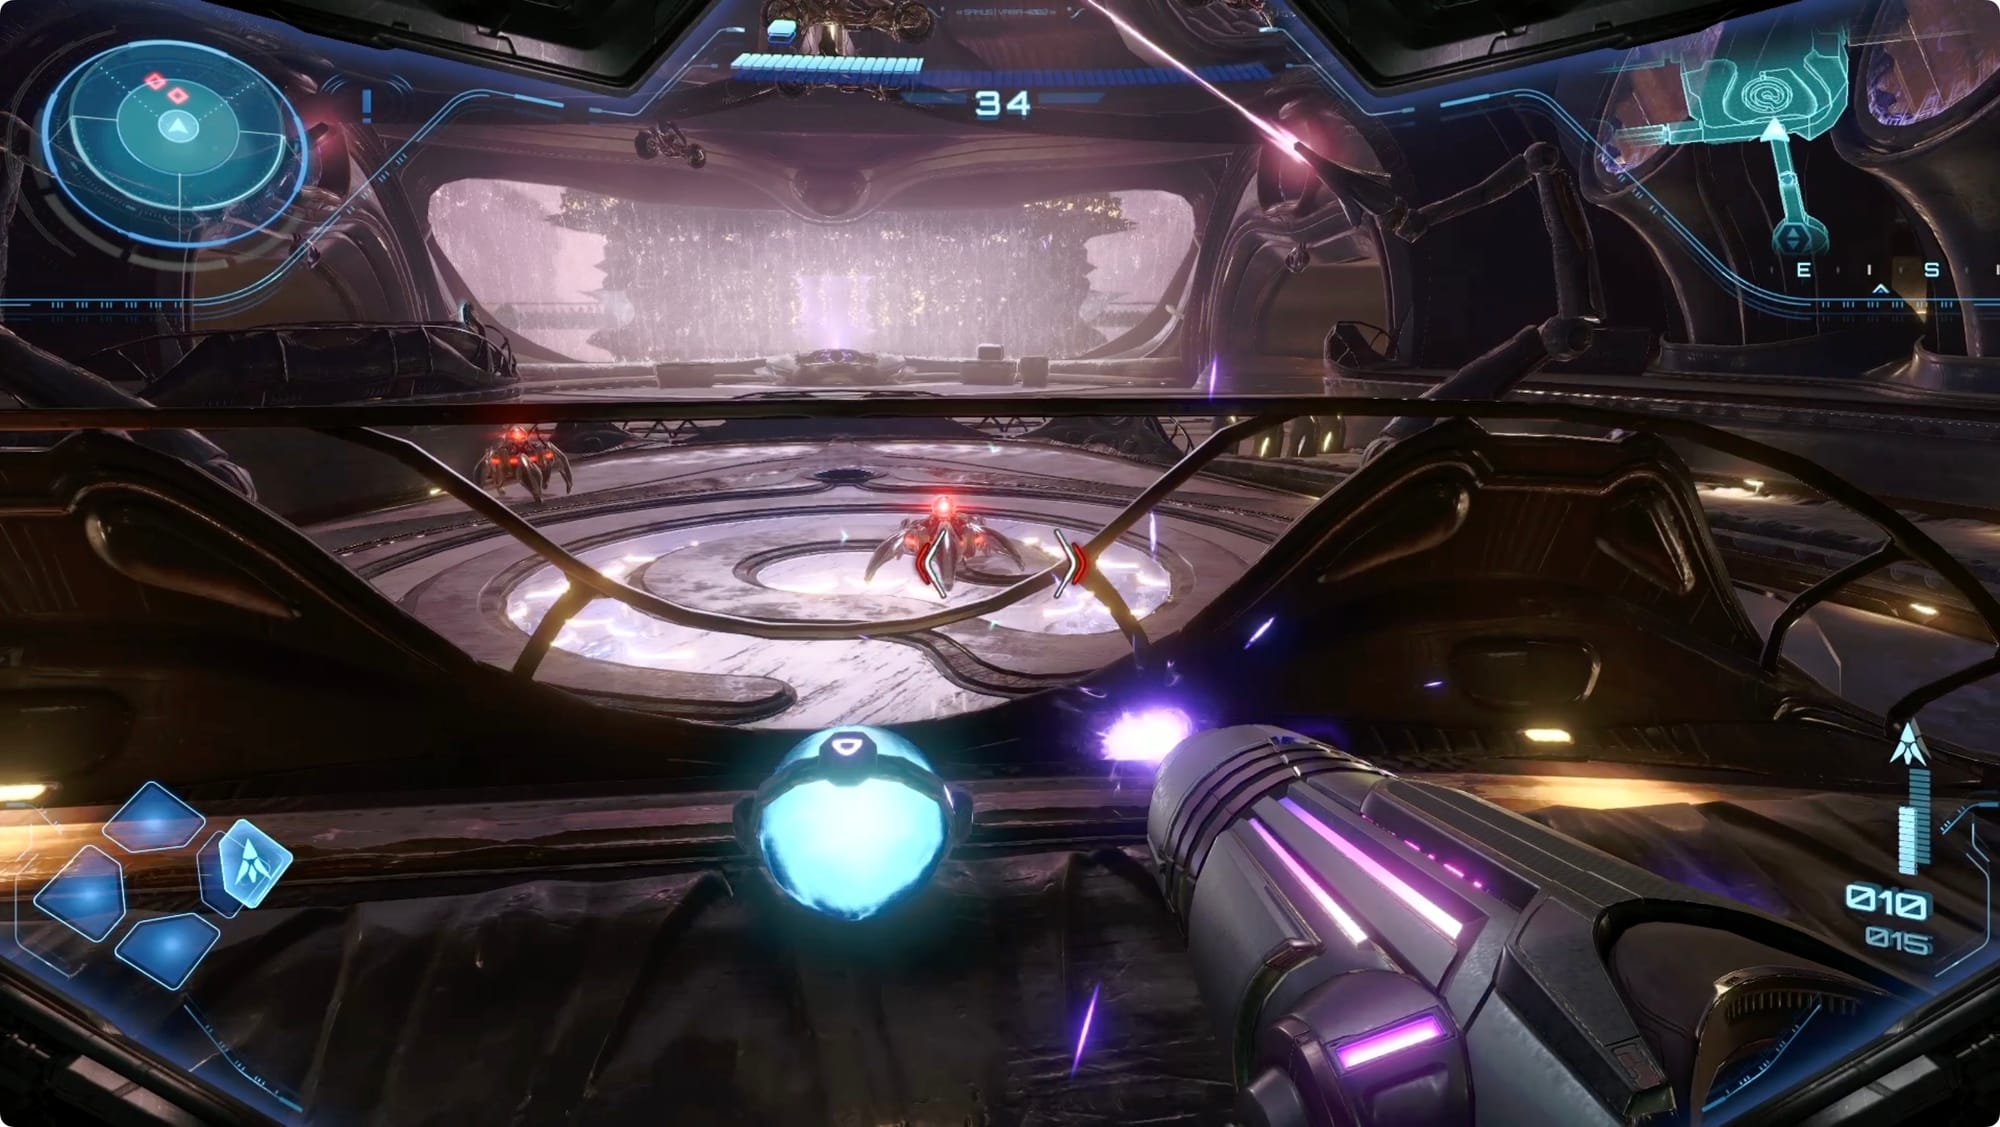
Blast through the crates in the hall to reach the Processing room. When you try to leave, you’ll get attacked by two trios of Psy-Bots. Just keep moving around and watch for their beam attacks.
Take the next elevator down. In the Storage room, you’ll get jumped by a Psy-Bot Teleporter. The first thing it’ll do is spawn a bunch of Maintenance Tanks. Take them out, and then use a Control Beam (it kind of freezes time) to knock down the Psy-Bot Teleporter.
Once it’s defeated, head to the next elevator — this one’s got a jump scare.
At the bottom, cross the Archives and Morph Ball into the tunnel. After a 2D section, continue through to the generator.
The process is mostly the same this time, but you’ll have to Psychic Glove the left bomb into the slot. When you activate the generator this time, there’s only one turnoff on the way back, so the timing’s a little tighter.
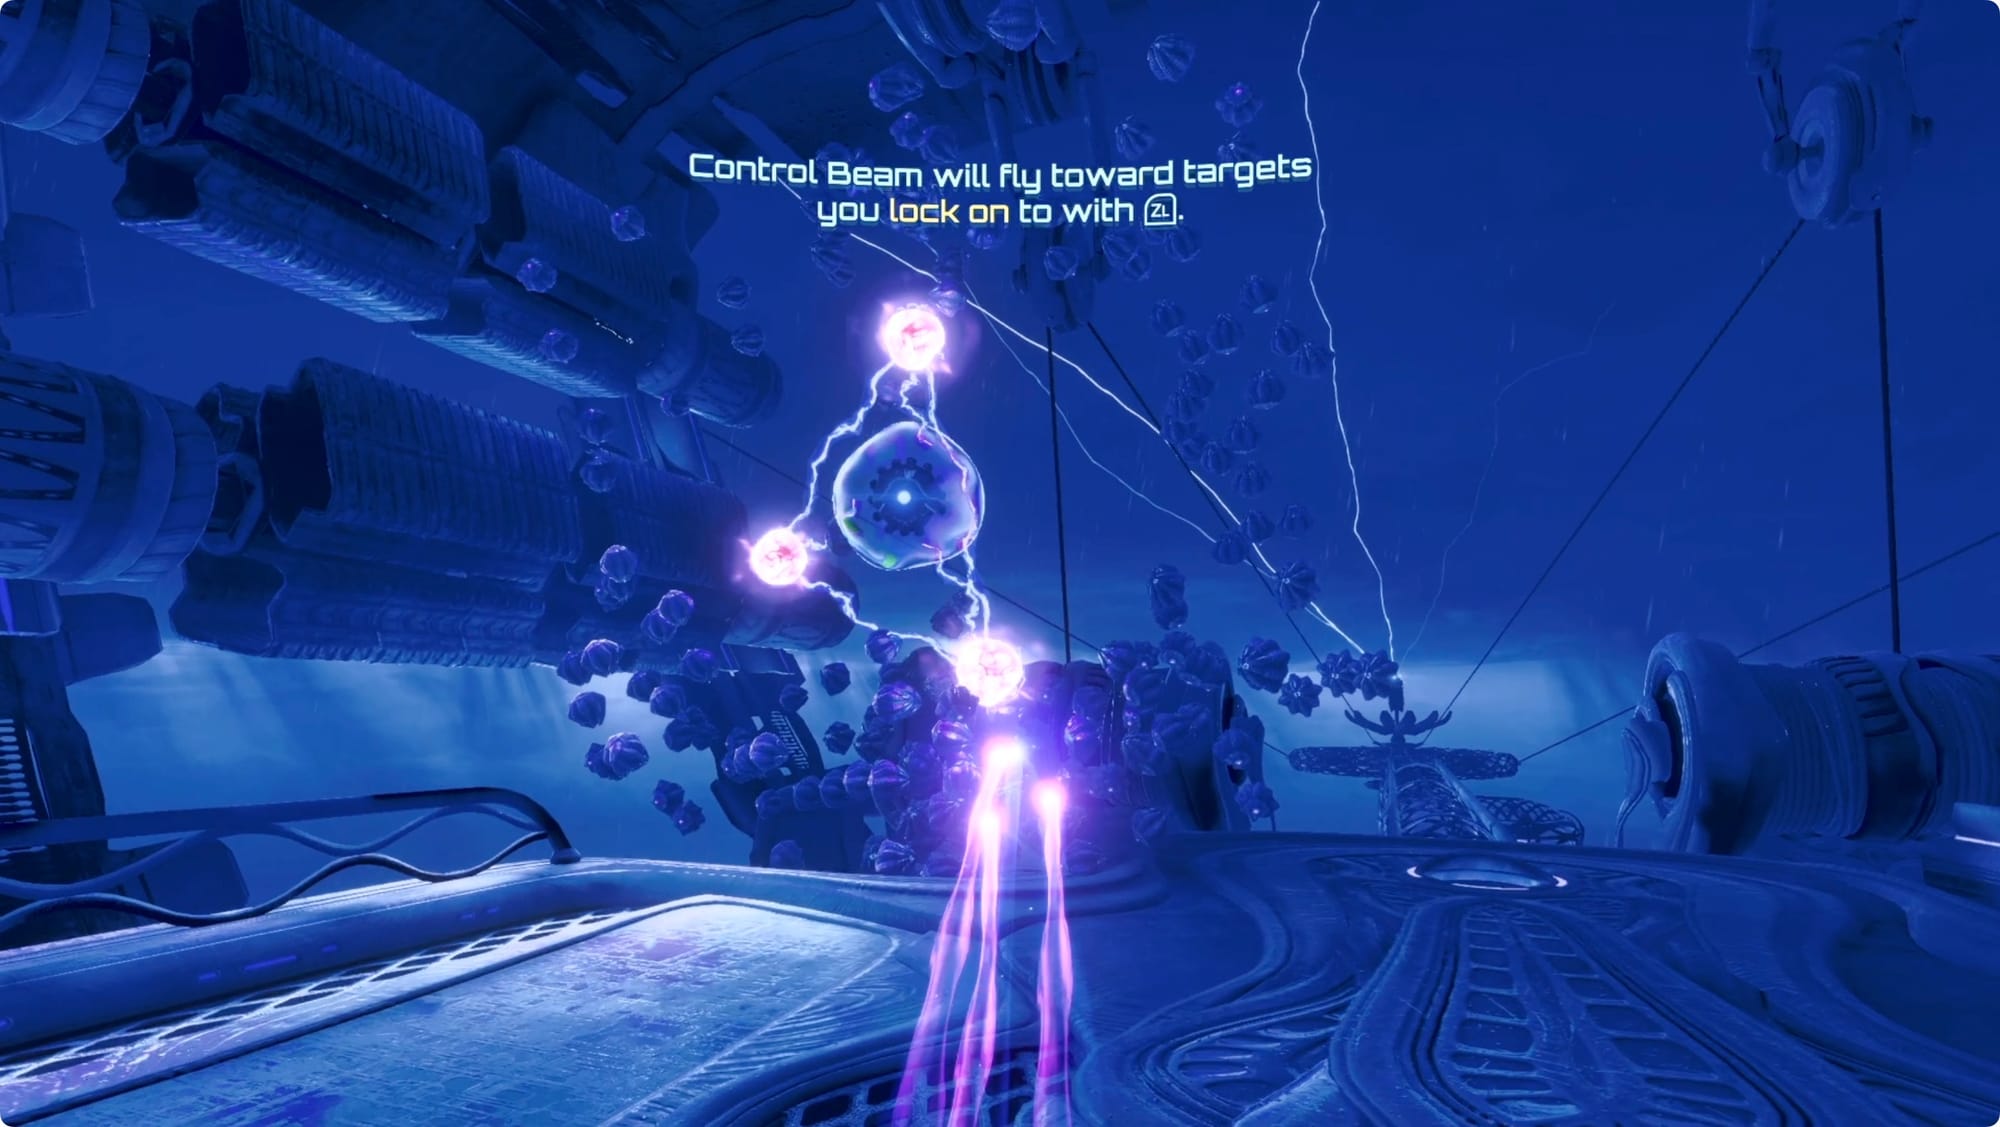
As you leave, you’ll get jumped by a Flight Drone Mechanoid swarm. Use a Control Beam to take out the glowing orbs around the central drone, and then missile it as fast as you can while its shields are down.
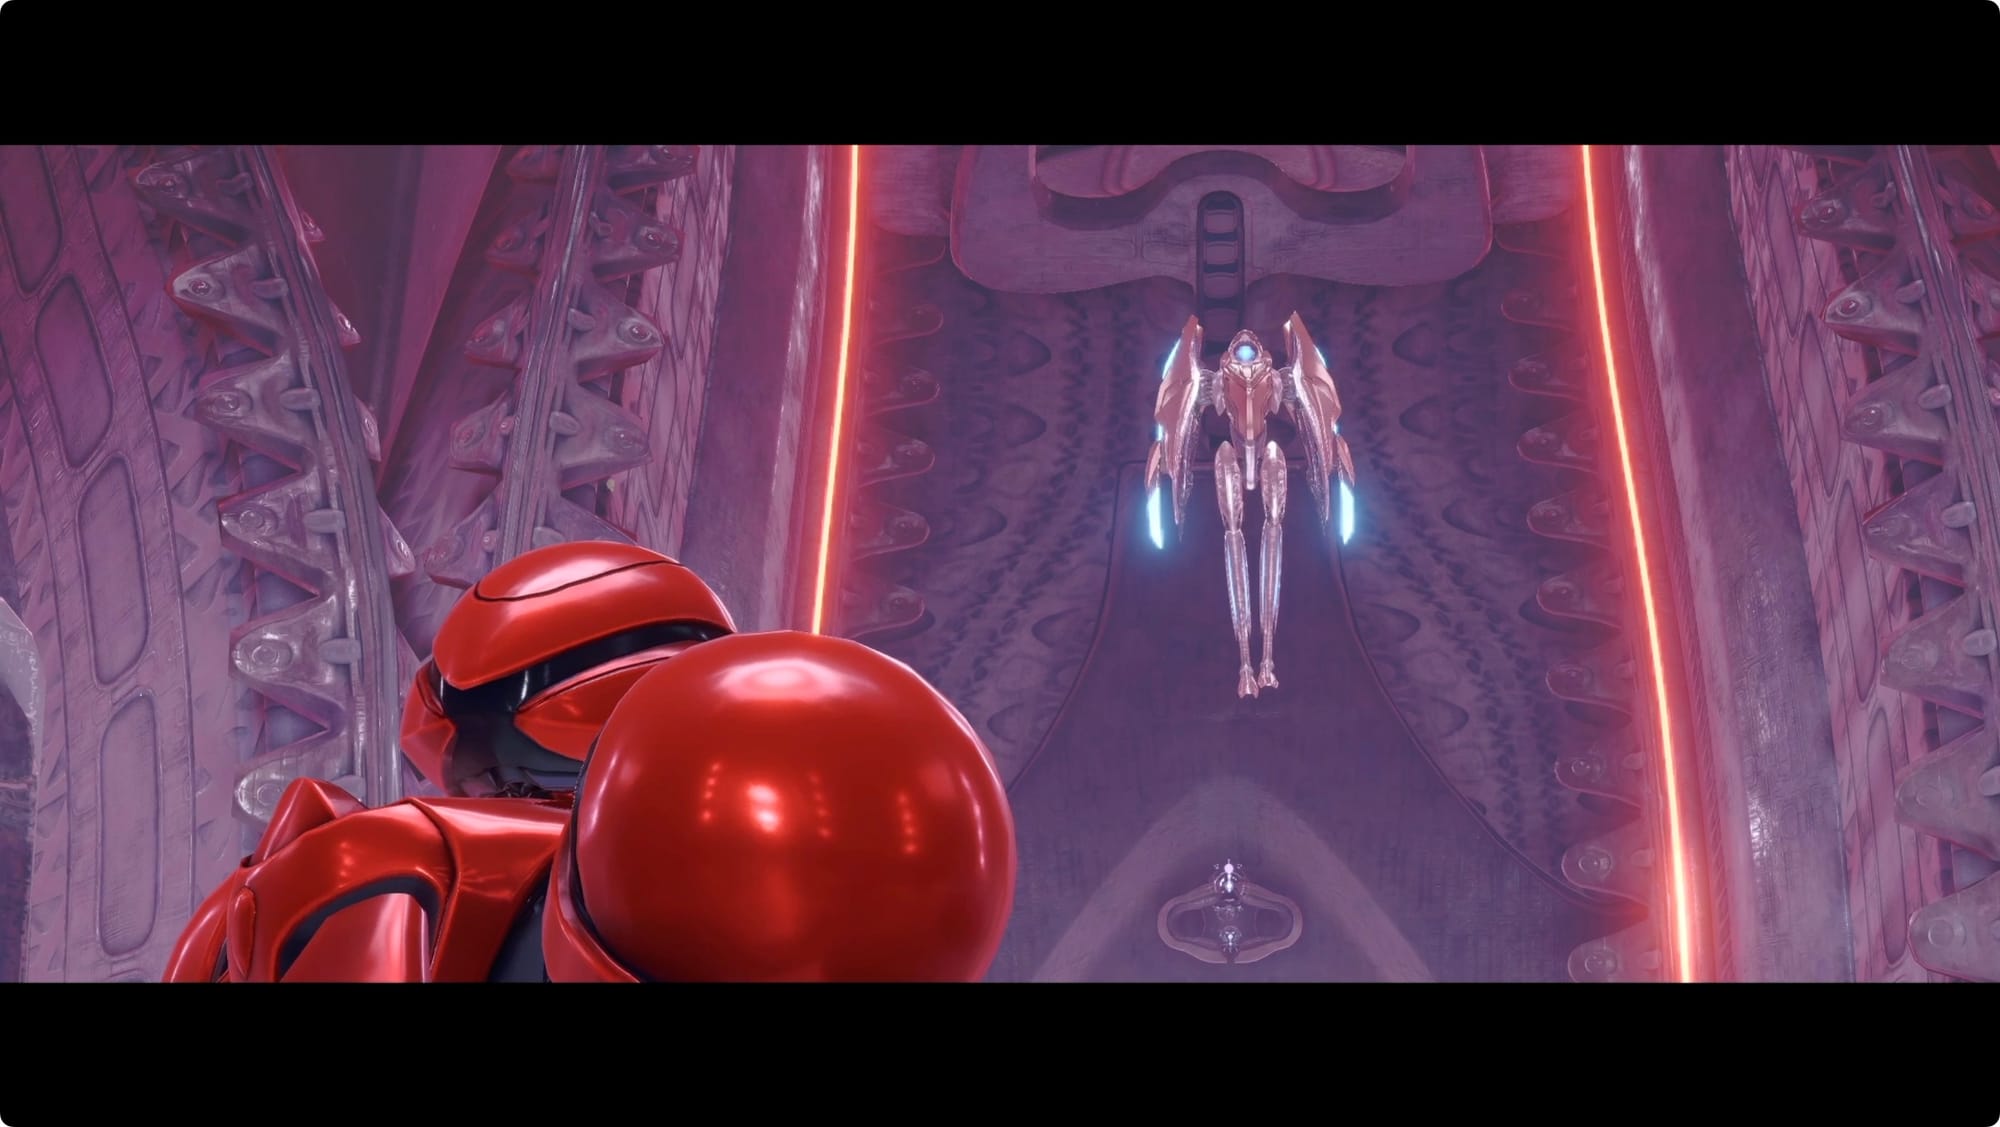
Back in the Archives, you’ll run into Sylux again (kinda). The only tricky part(s) of the fight is when he turns into a green shielded tornado. You can’t shoot him or missile him in this form.
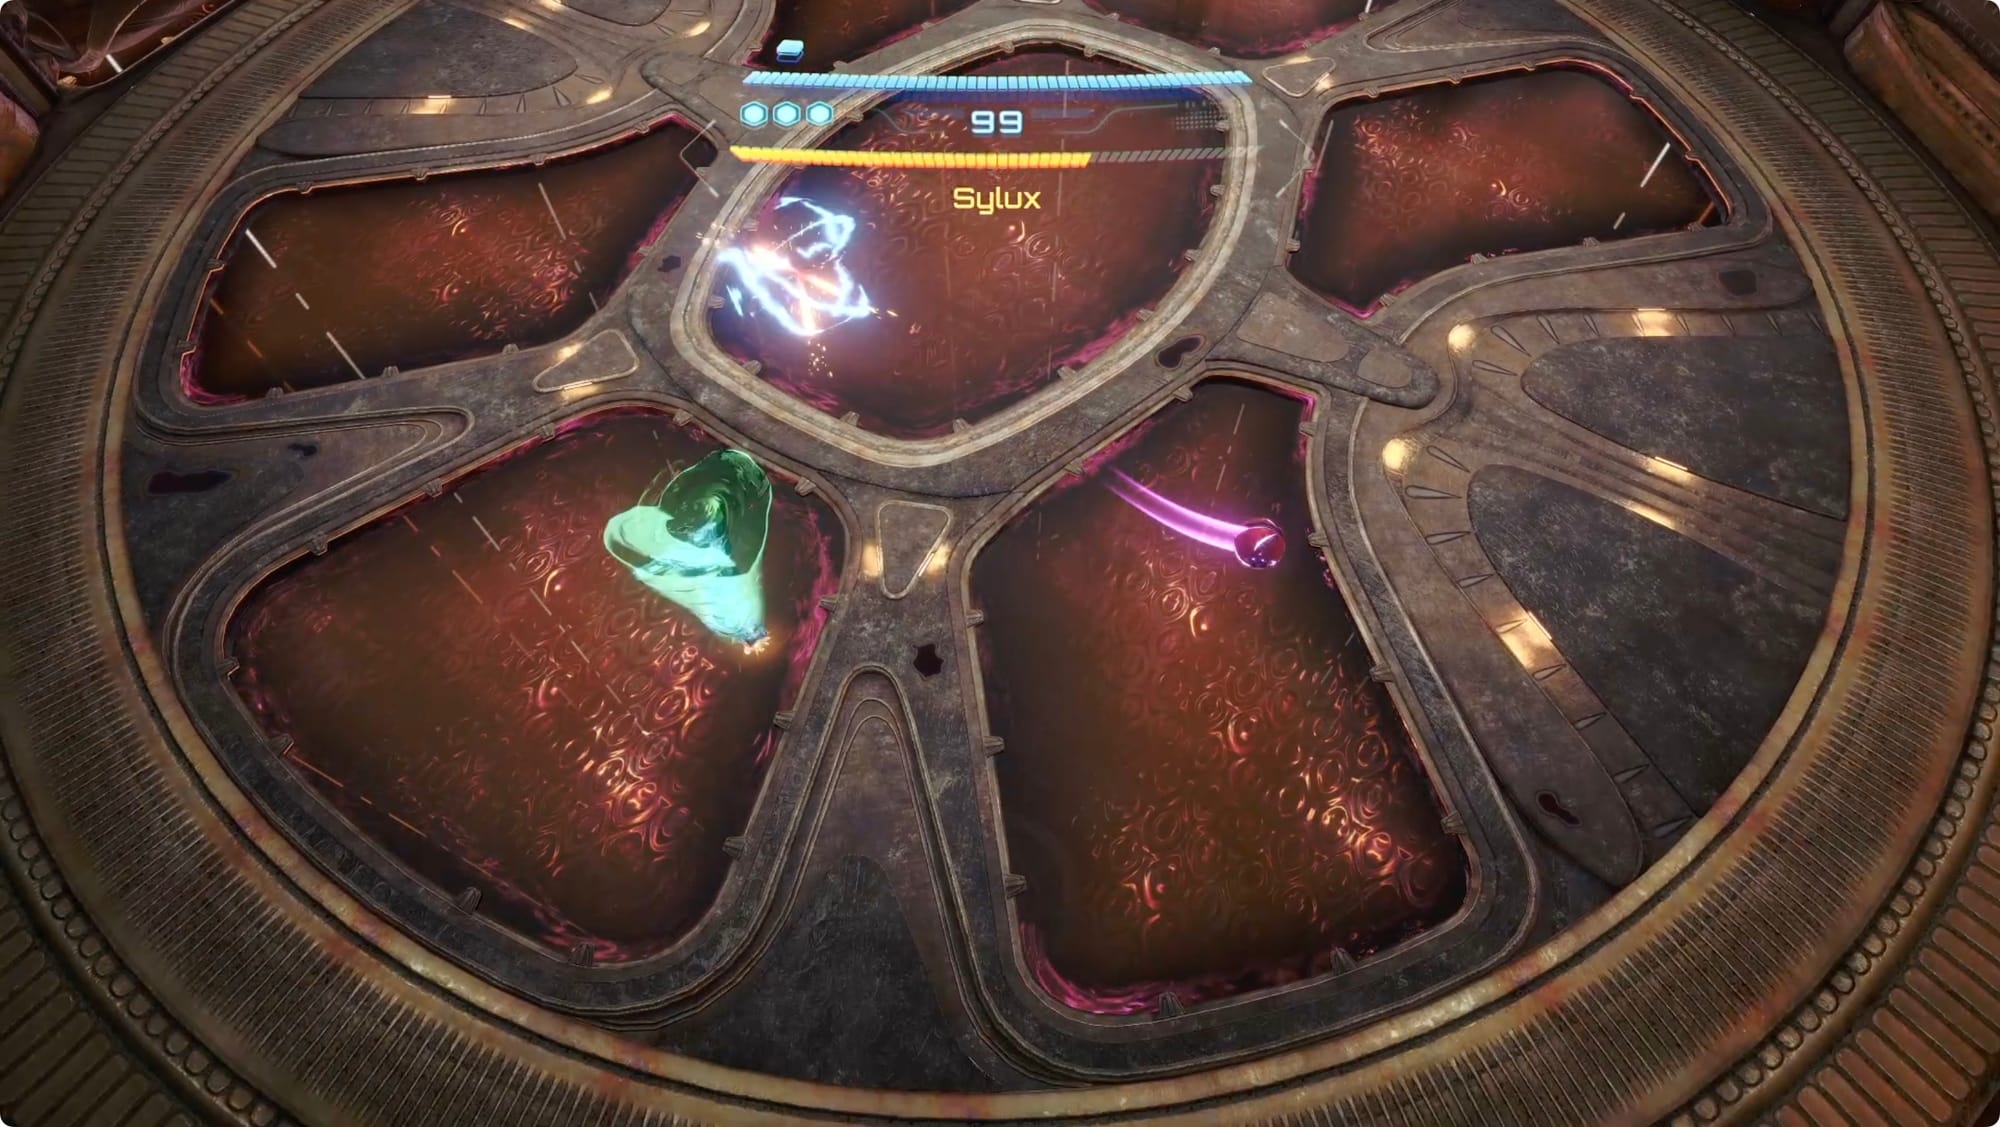
Instead, switch to Morph Ball and start dropping bombs as you roll around. Your goal is to get a bomb to go off just as he passes over it. Timing it right sucks.
Don't forget to grab the Energy Tank he drops (I 100% forgot it because I was writing this guide).

When you get back to the Storage room, there’s a Shot Expansion high above you, but we can’t get to it yet. As you try to leave, another new Psy-Bot will attack. This one has a shield. The scanner suggests you can use the Psychic Lasso to break the shield, but, since we don’t have that, just use a Control Beam shot to sneak around the shield.
Take the next elevator up.
There’s another fight in the Processing room, but we can’t unlock the mechanism in the center yet, so just continue through and up to the topmost level.
Back in the map room, take out the Maintenance Tanks and then head over to the terminal on the east side of the room (by the Save Station). Activate it, and then head down to the main floor.
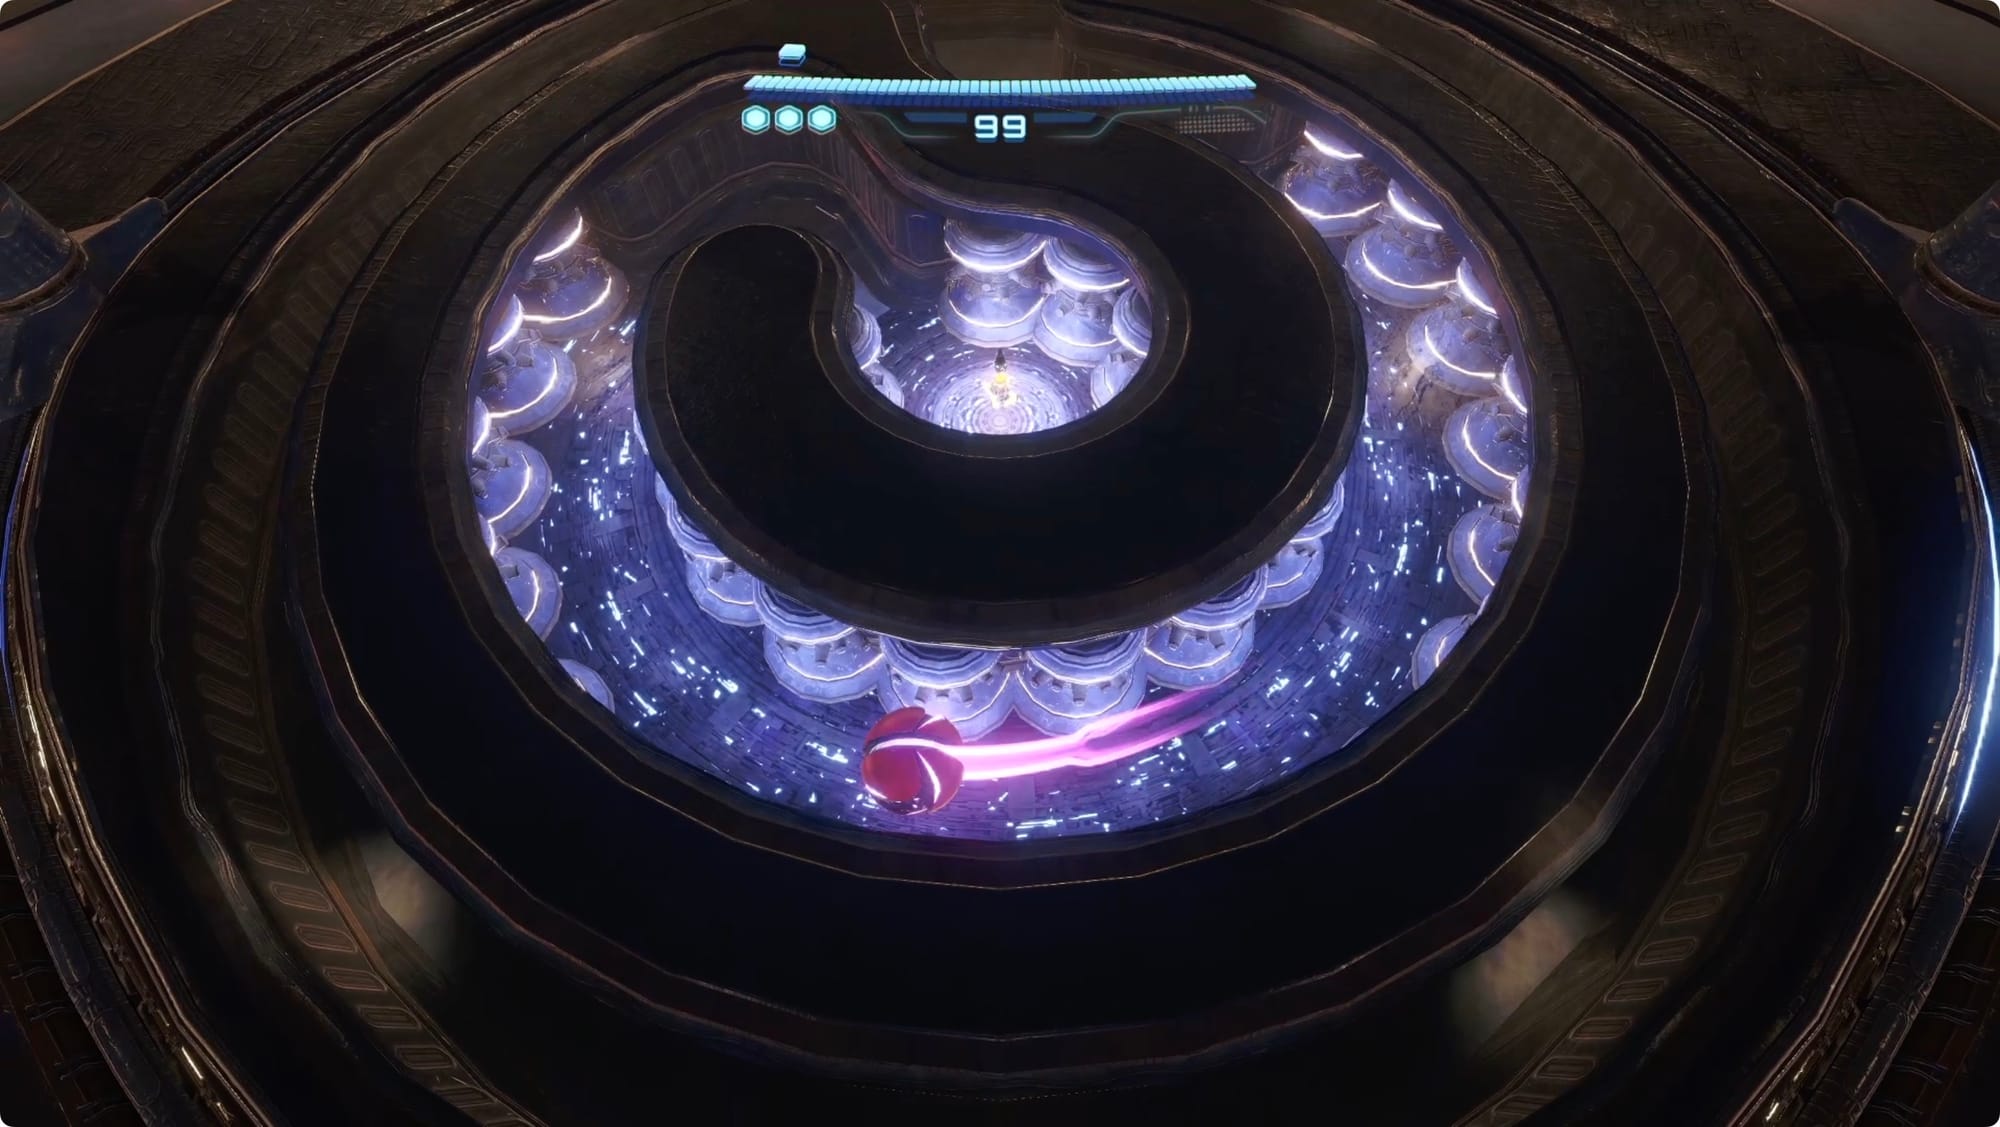
Morph Ball into the socket you just activated to drop into the floor. In the central of the spiral, you’ll find a Missile Expansion, but the path is lined by electricity-spewing coils. Watch for the two safe spots on the path and hide out in them to wait for the electricity to discharge. Once you have your expansion, head back to the surface.
Tower 3
Hit + to summon your Vi-O-La, and head toward Tower 3.
There’s a terminal on the left, but we can’t use it yet. Head over to the right and use the terminal to grab the map.
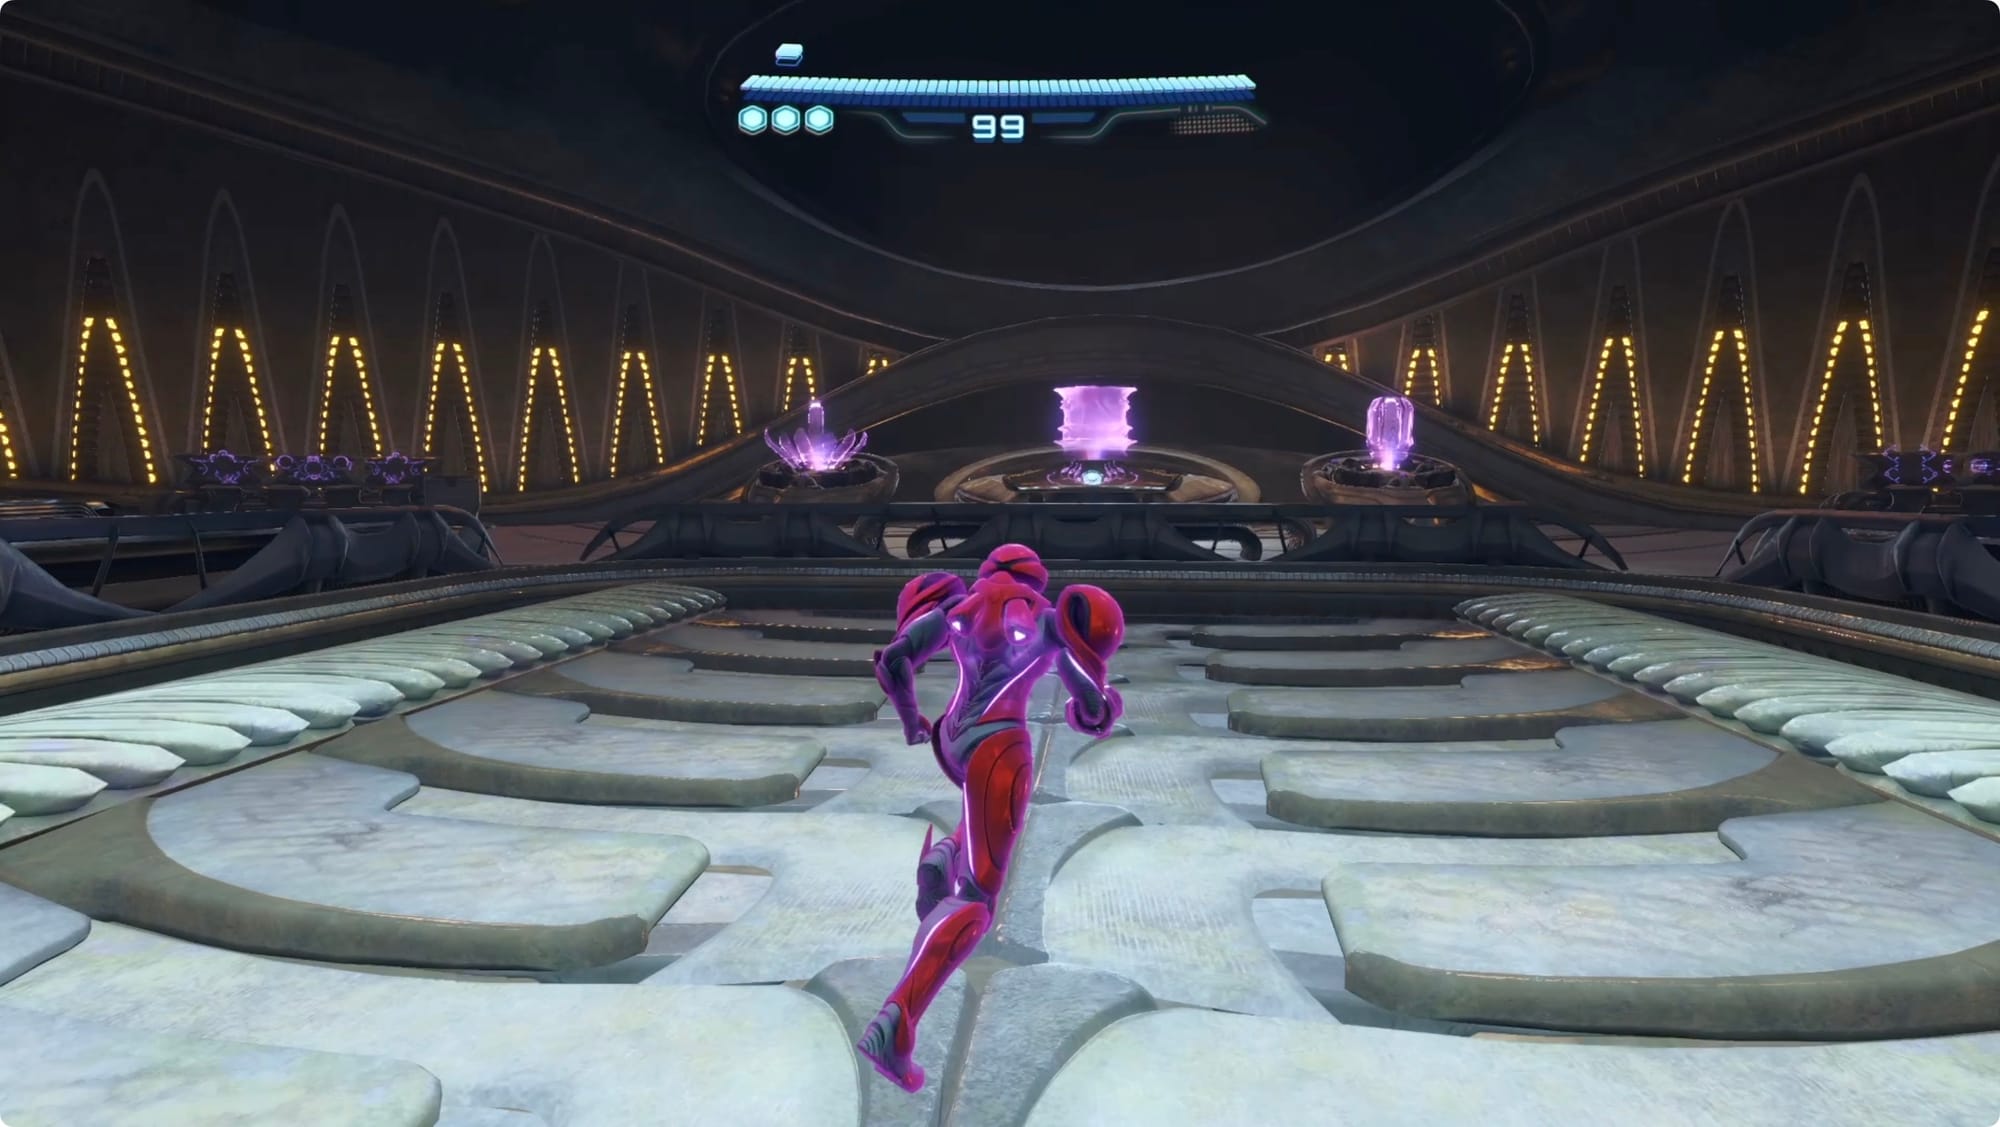
This tower is a bit different and mostly Vi-O-La-based. Ride down the ramp and you’ll find a Vi-O-La Spinner elevator. At the bottom, you’ll find a test track.
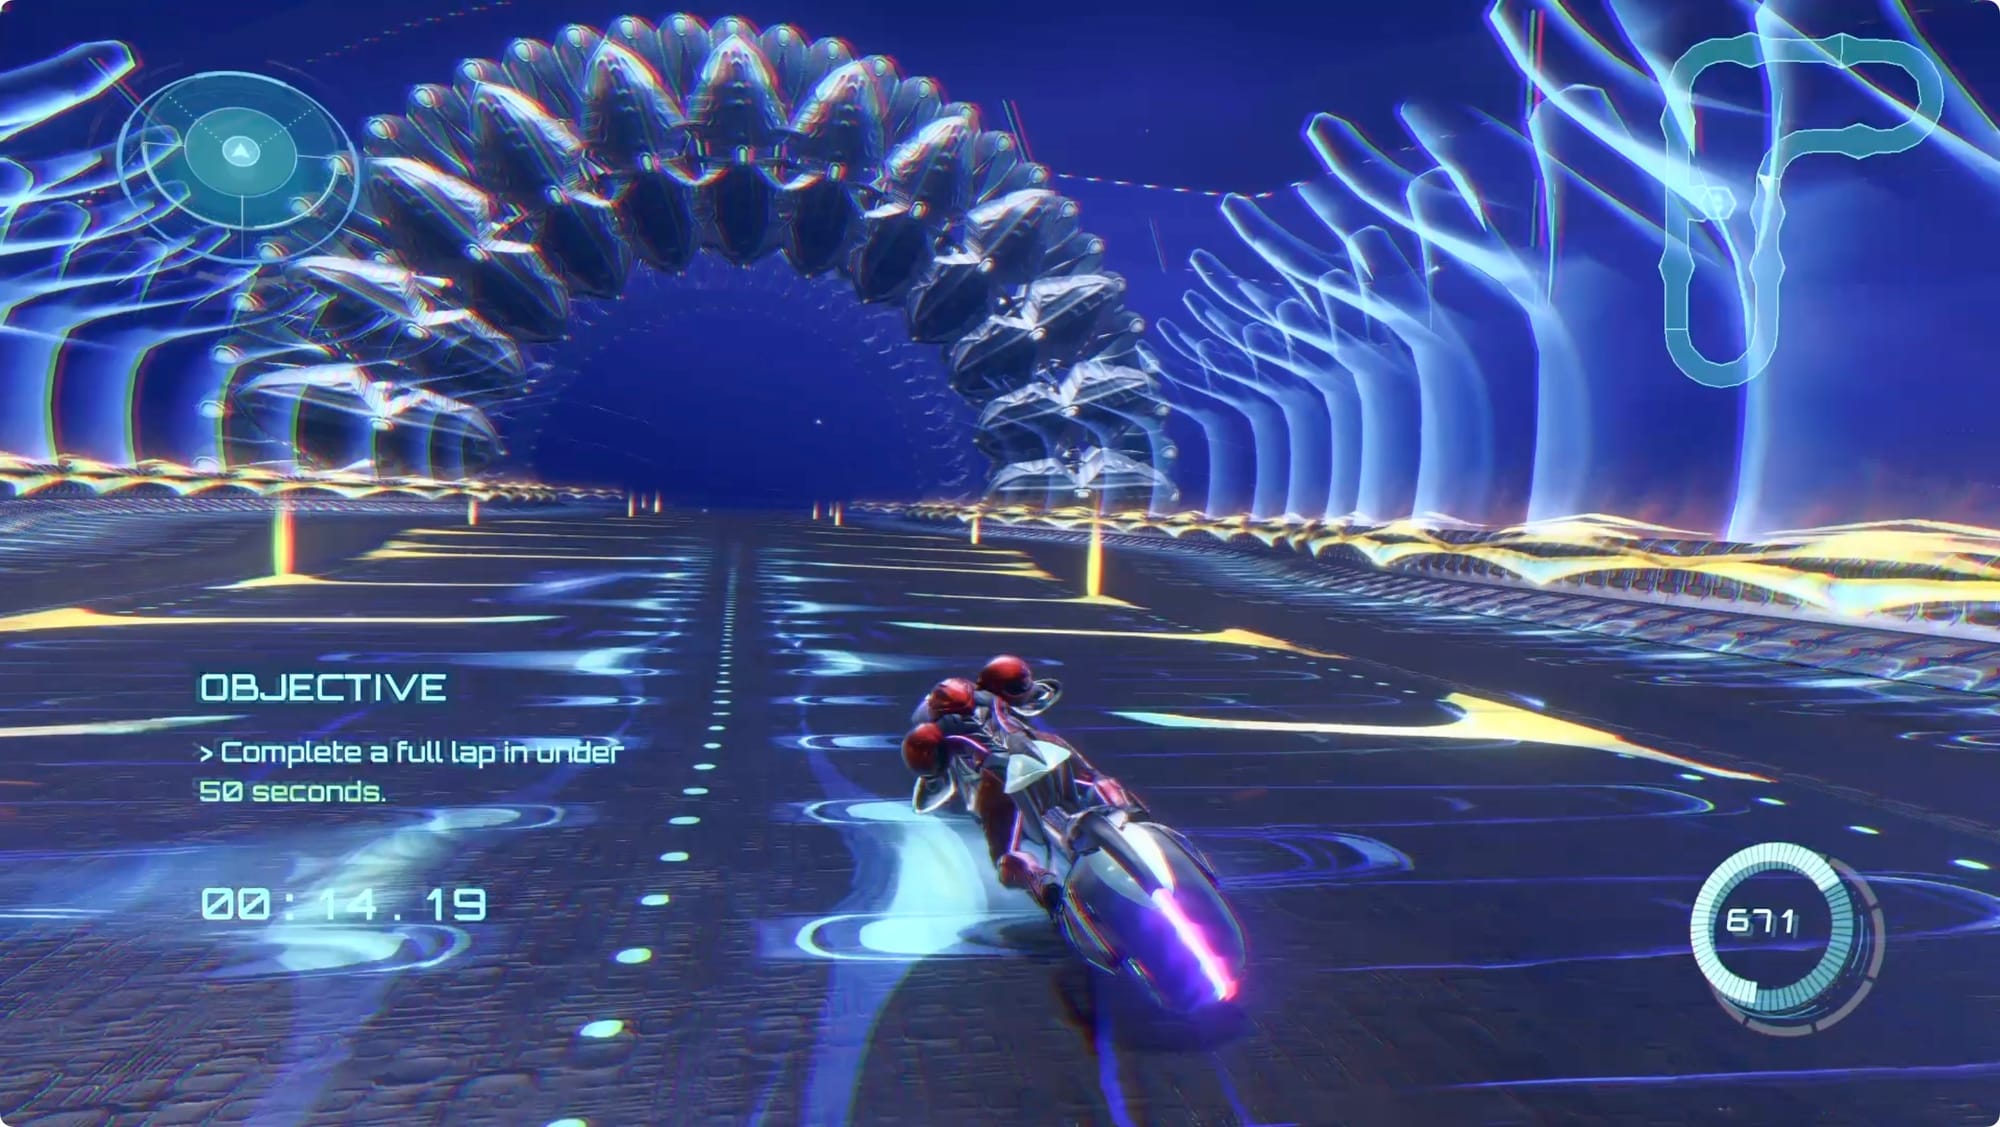
The first challenge is to complete a lap in under 50 seconds — just go flat out and you’ll have plenty of time to spare. The second challenge unlocks the Vi-O-La Boost ability. The third unlocks the Power Slide.
Once all three are done, take the elevator down.
The second test track has three more challenges — scanning while driving, shooting while driving, and multitarget shooting (while driving).
Take the next elevator down.
The third and final test track has three more challenges, but they’re all just destroying waves of enemies.
Another elevator going down.
At the bottom, dismount with + and take the first left to find a Save Station.
Take the main hall out and start clearing Maintenance Tanks as you go. Eventually, you’ll reach a really big, definitely-not-a-boss-fight arena.
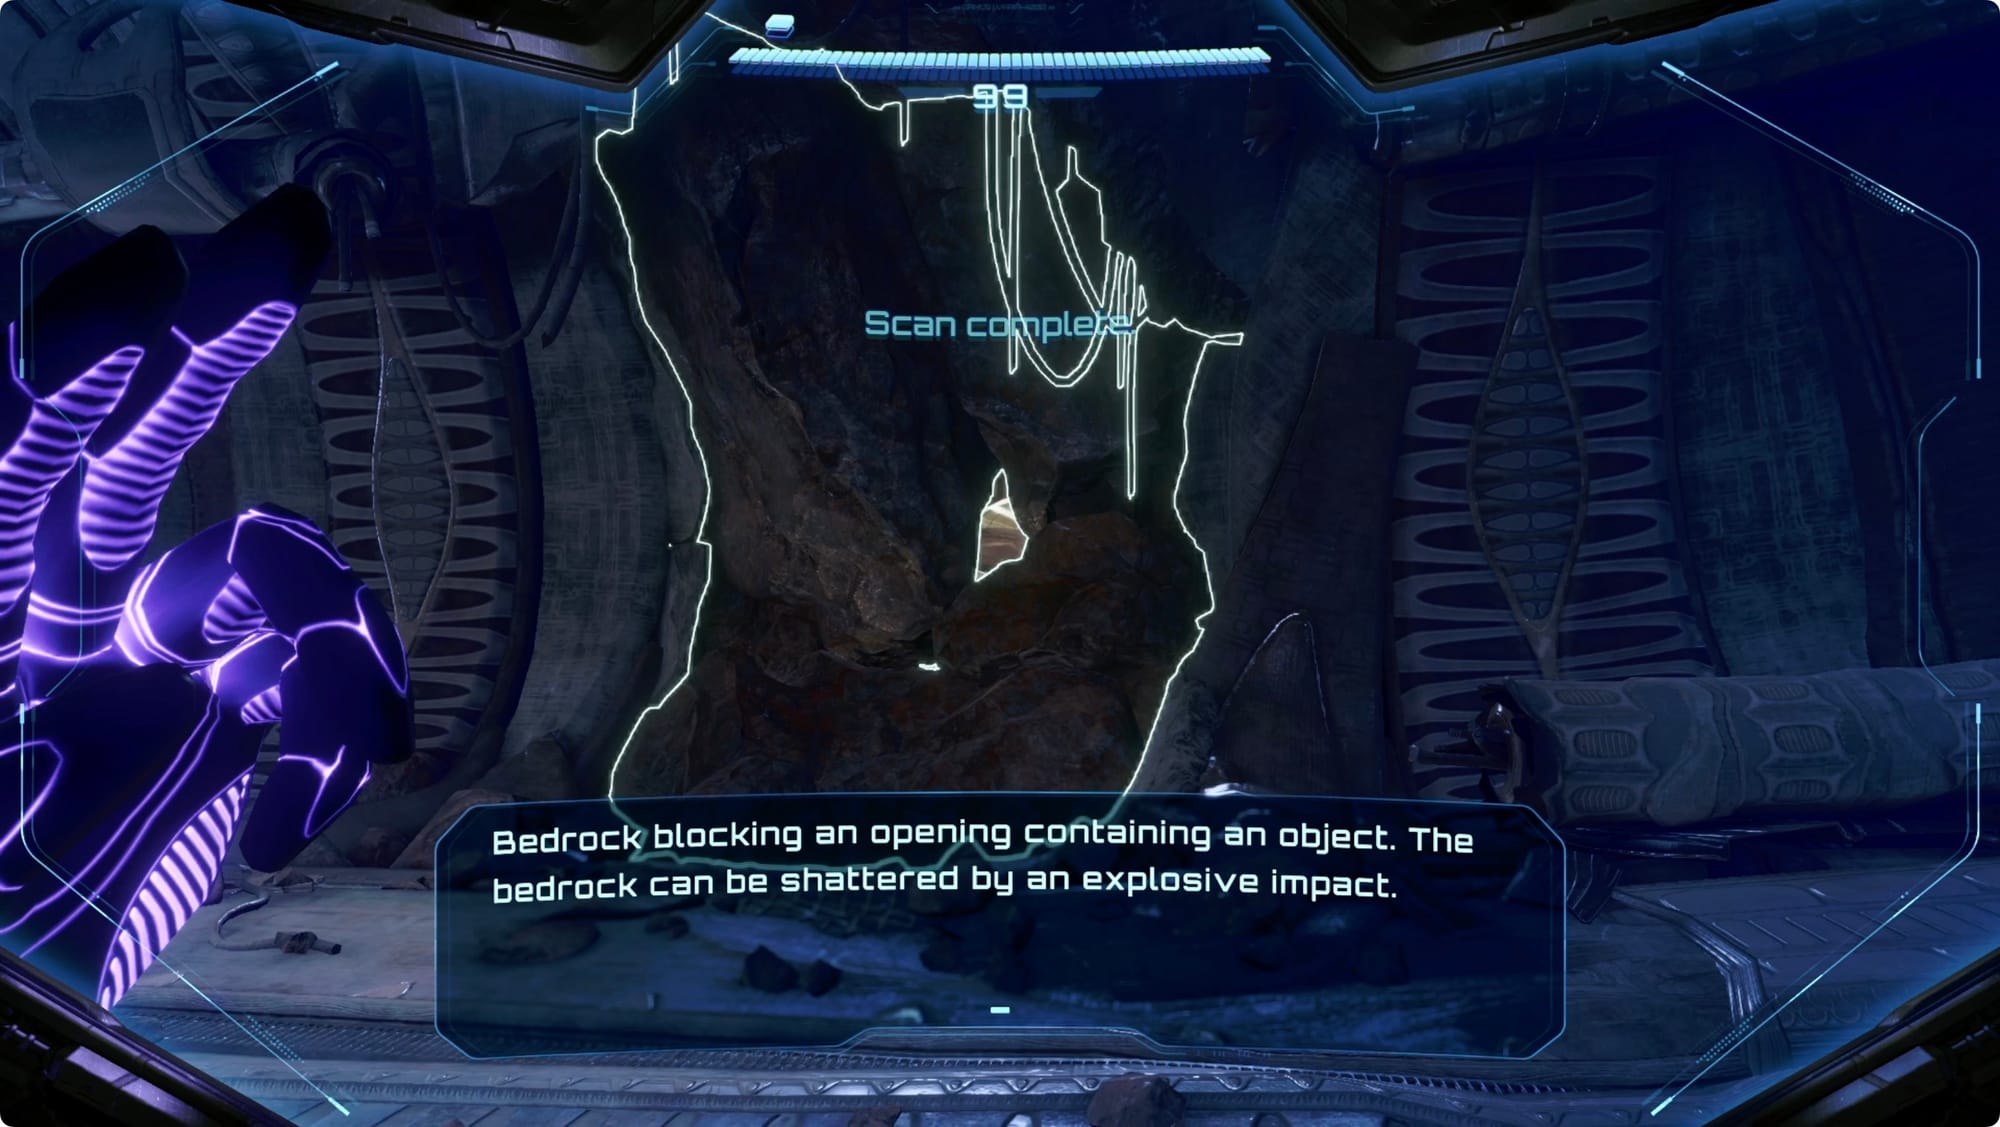
Before you drop in, back out into the hallway. On your right, there’s a destructible wall that your scanner says is bedrock. Hit it with a missile to reveal a Psychic Vault.
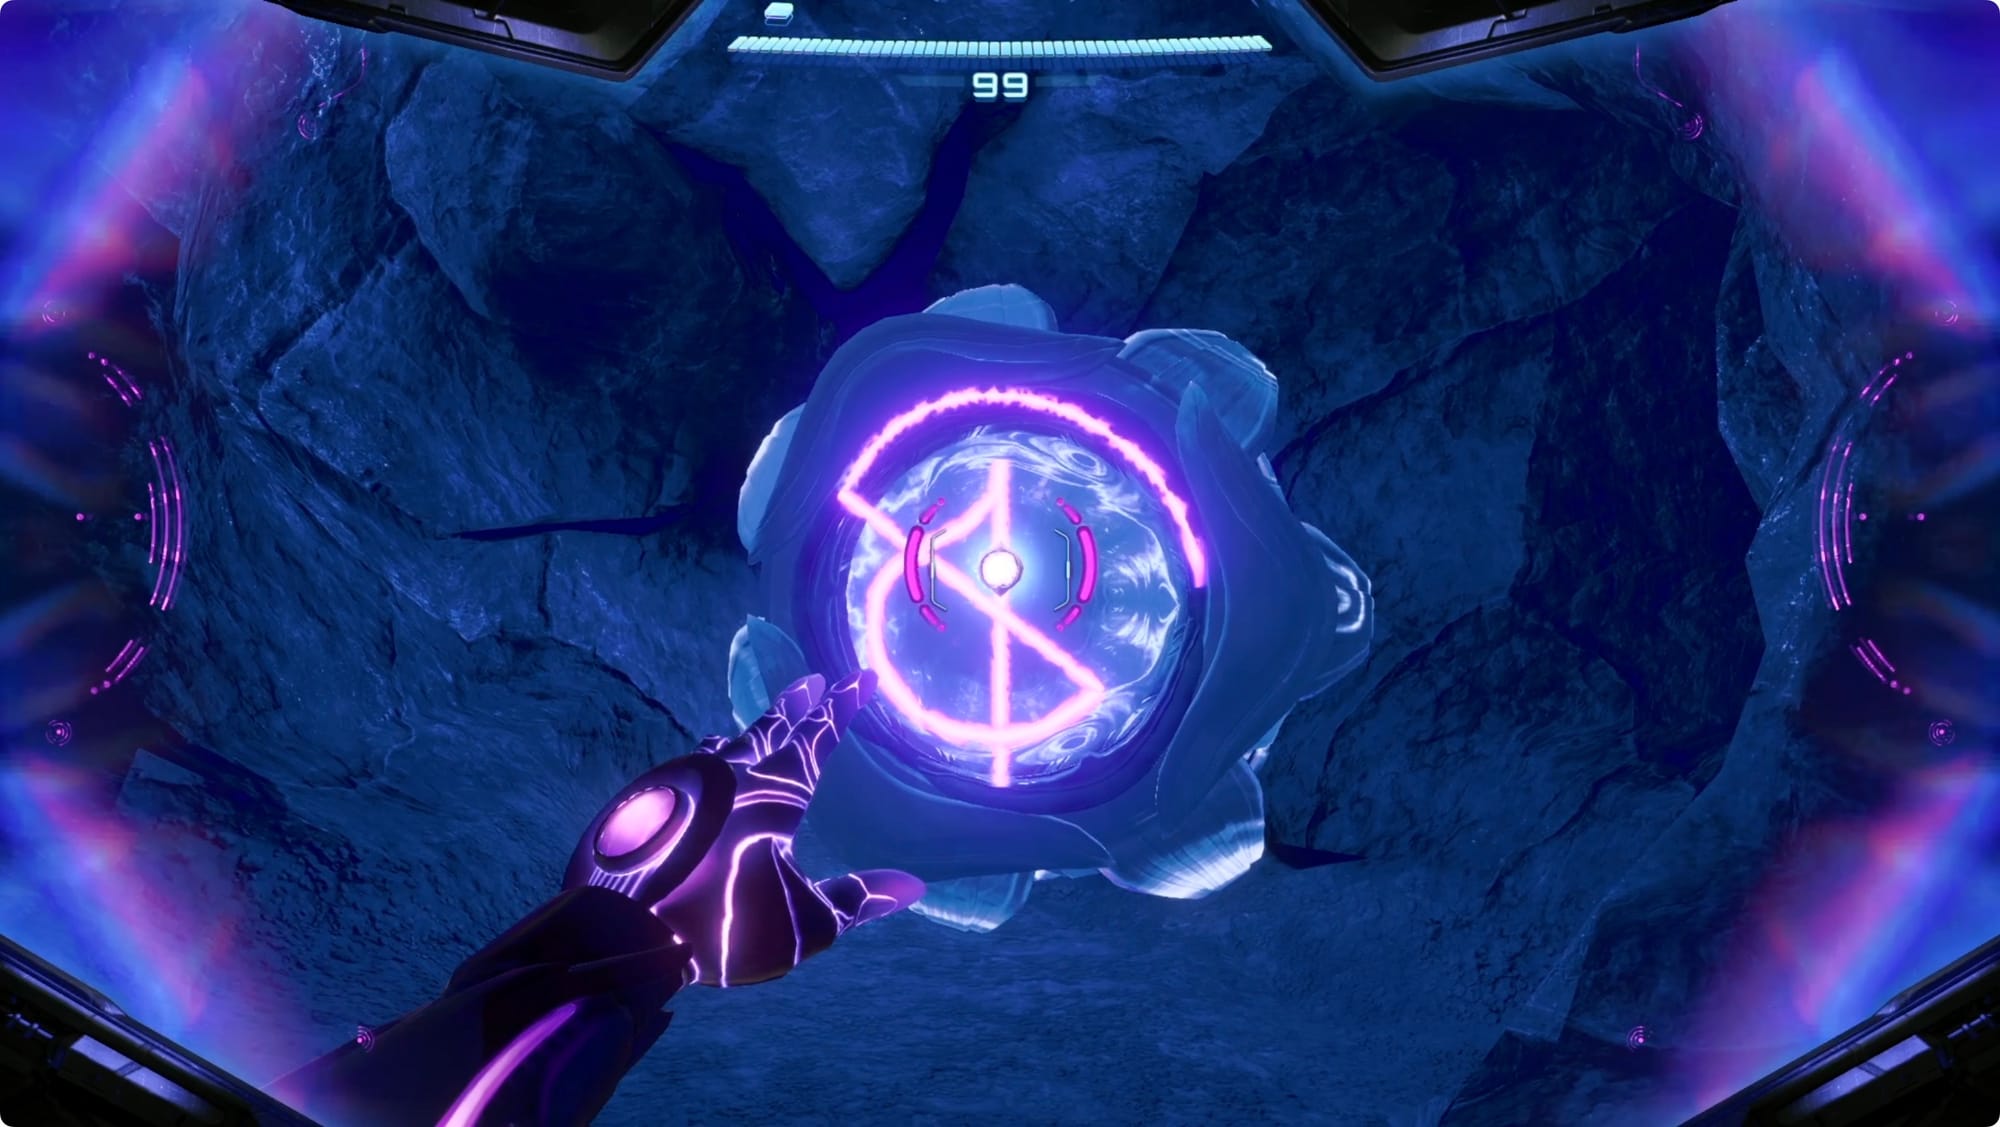
Switch to your scanner and then use the left stick to maneuver the purple ball along the path to unlock the vault and pick up a Missile Expansion.
Those extra missiles will come in handy in a second, because …
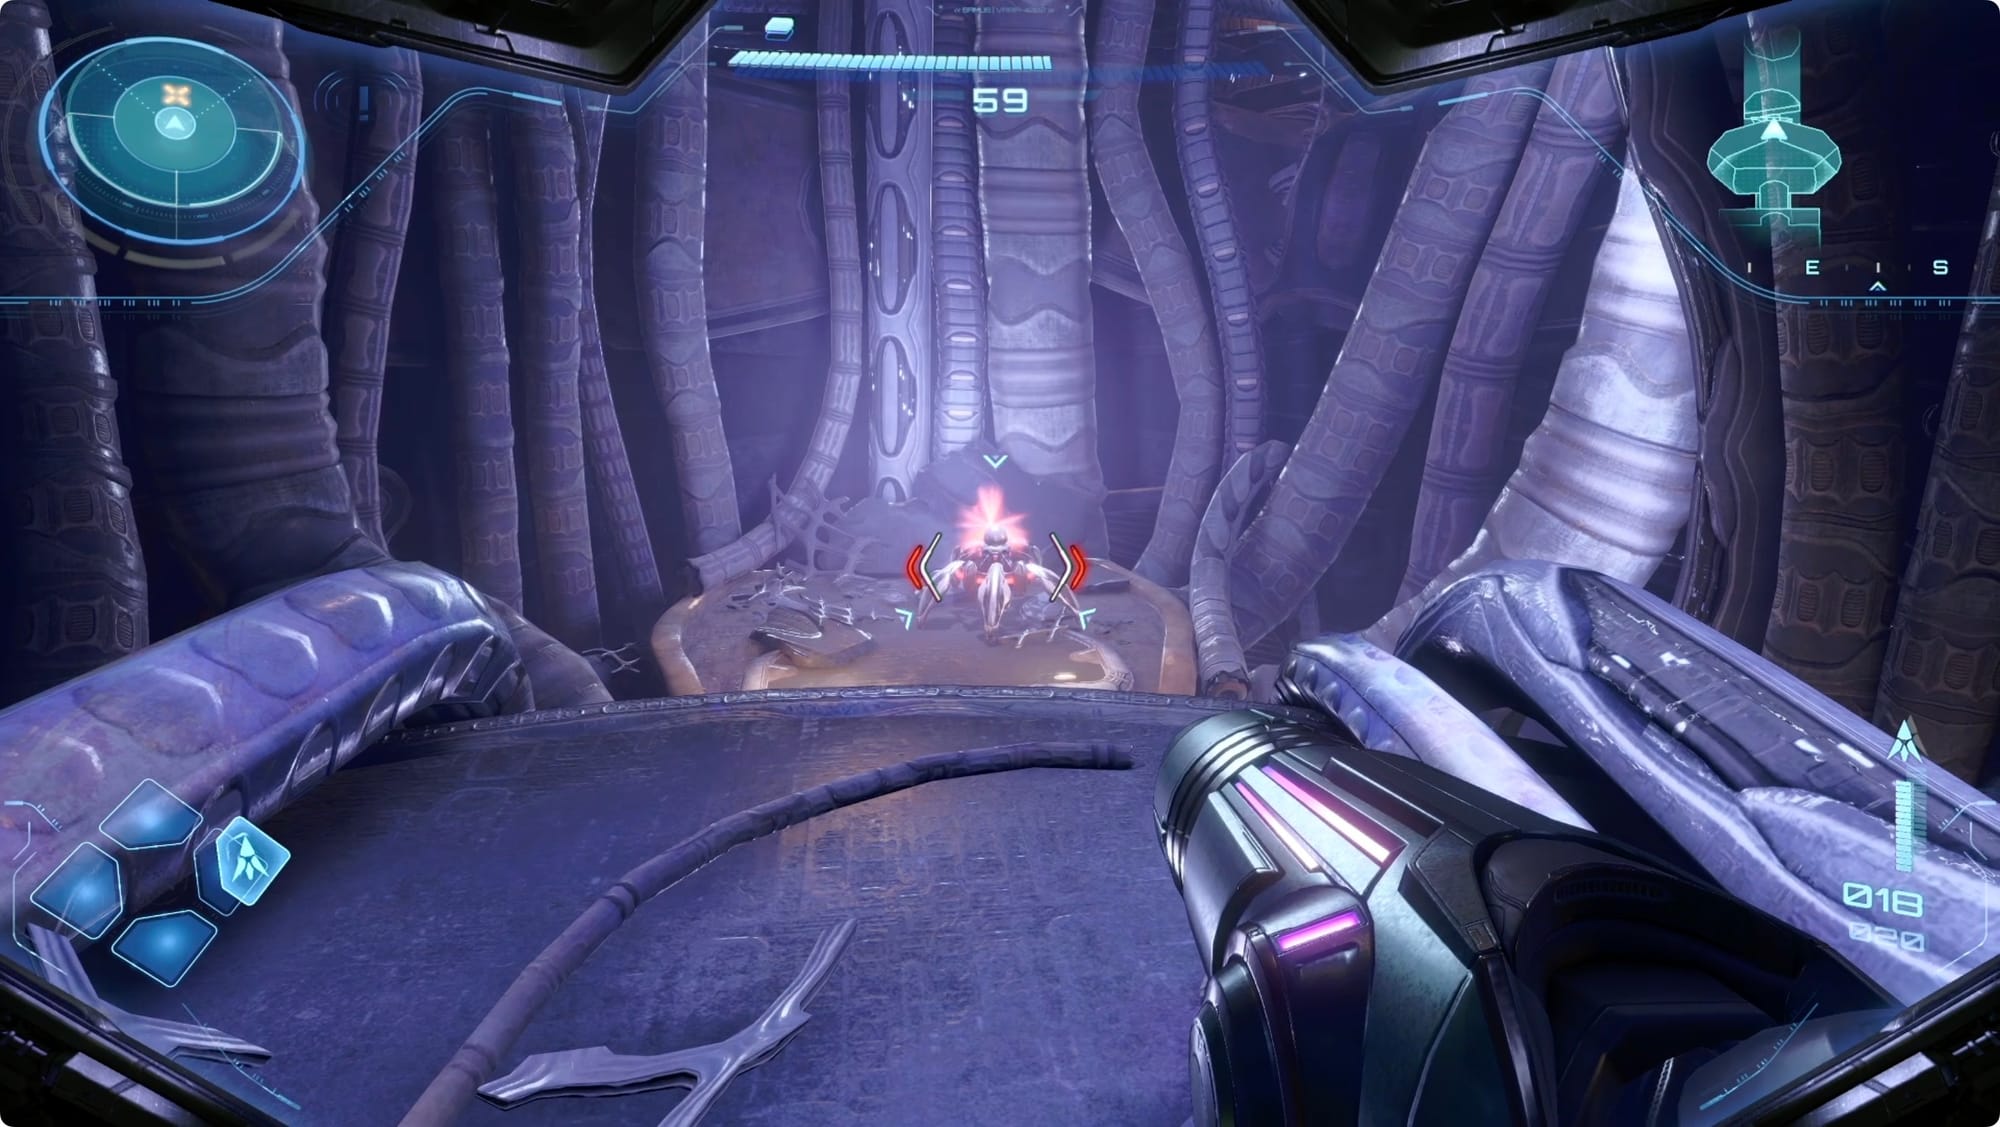
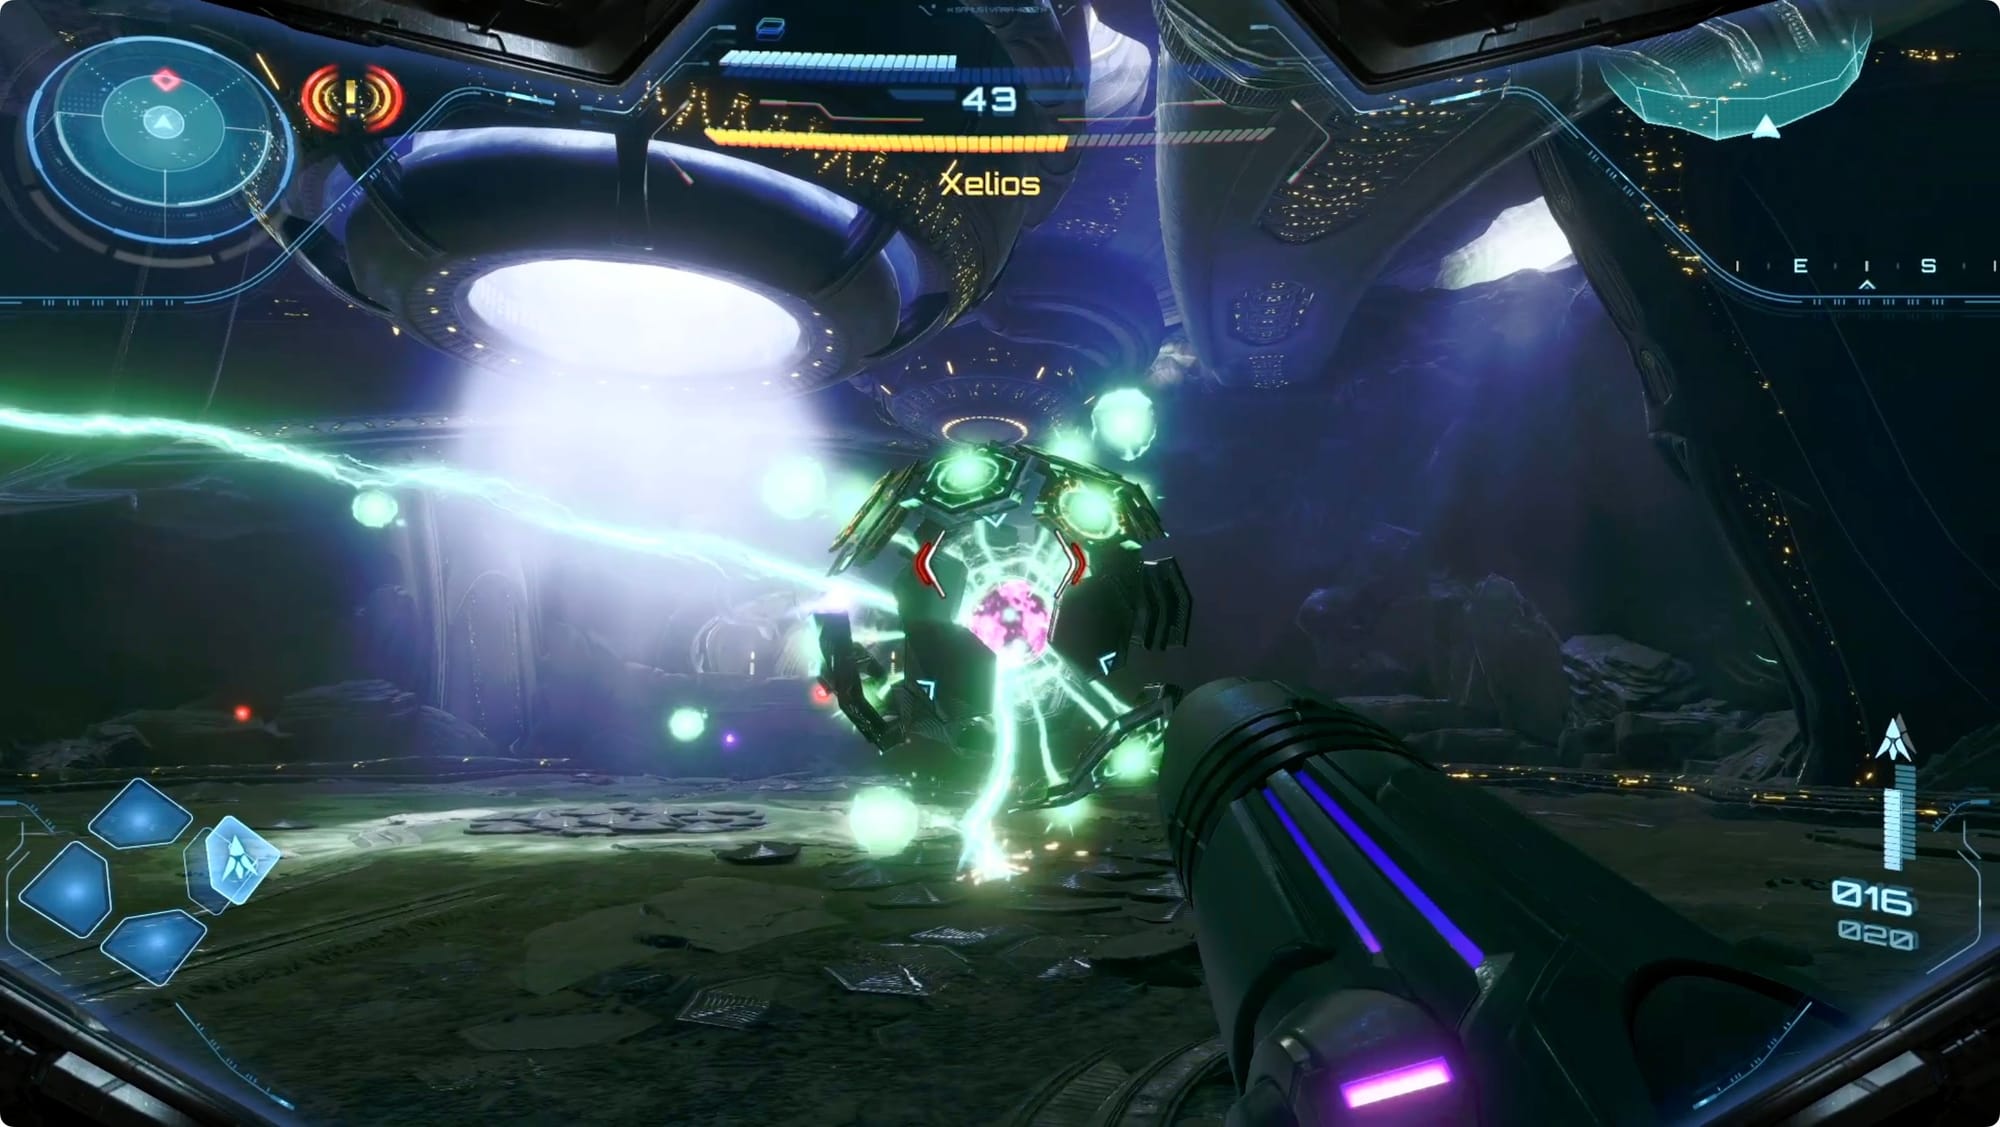
Xelios boss fight
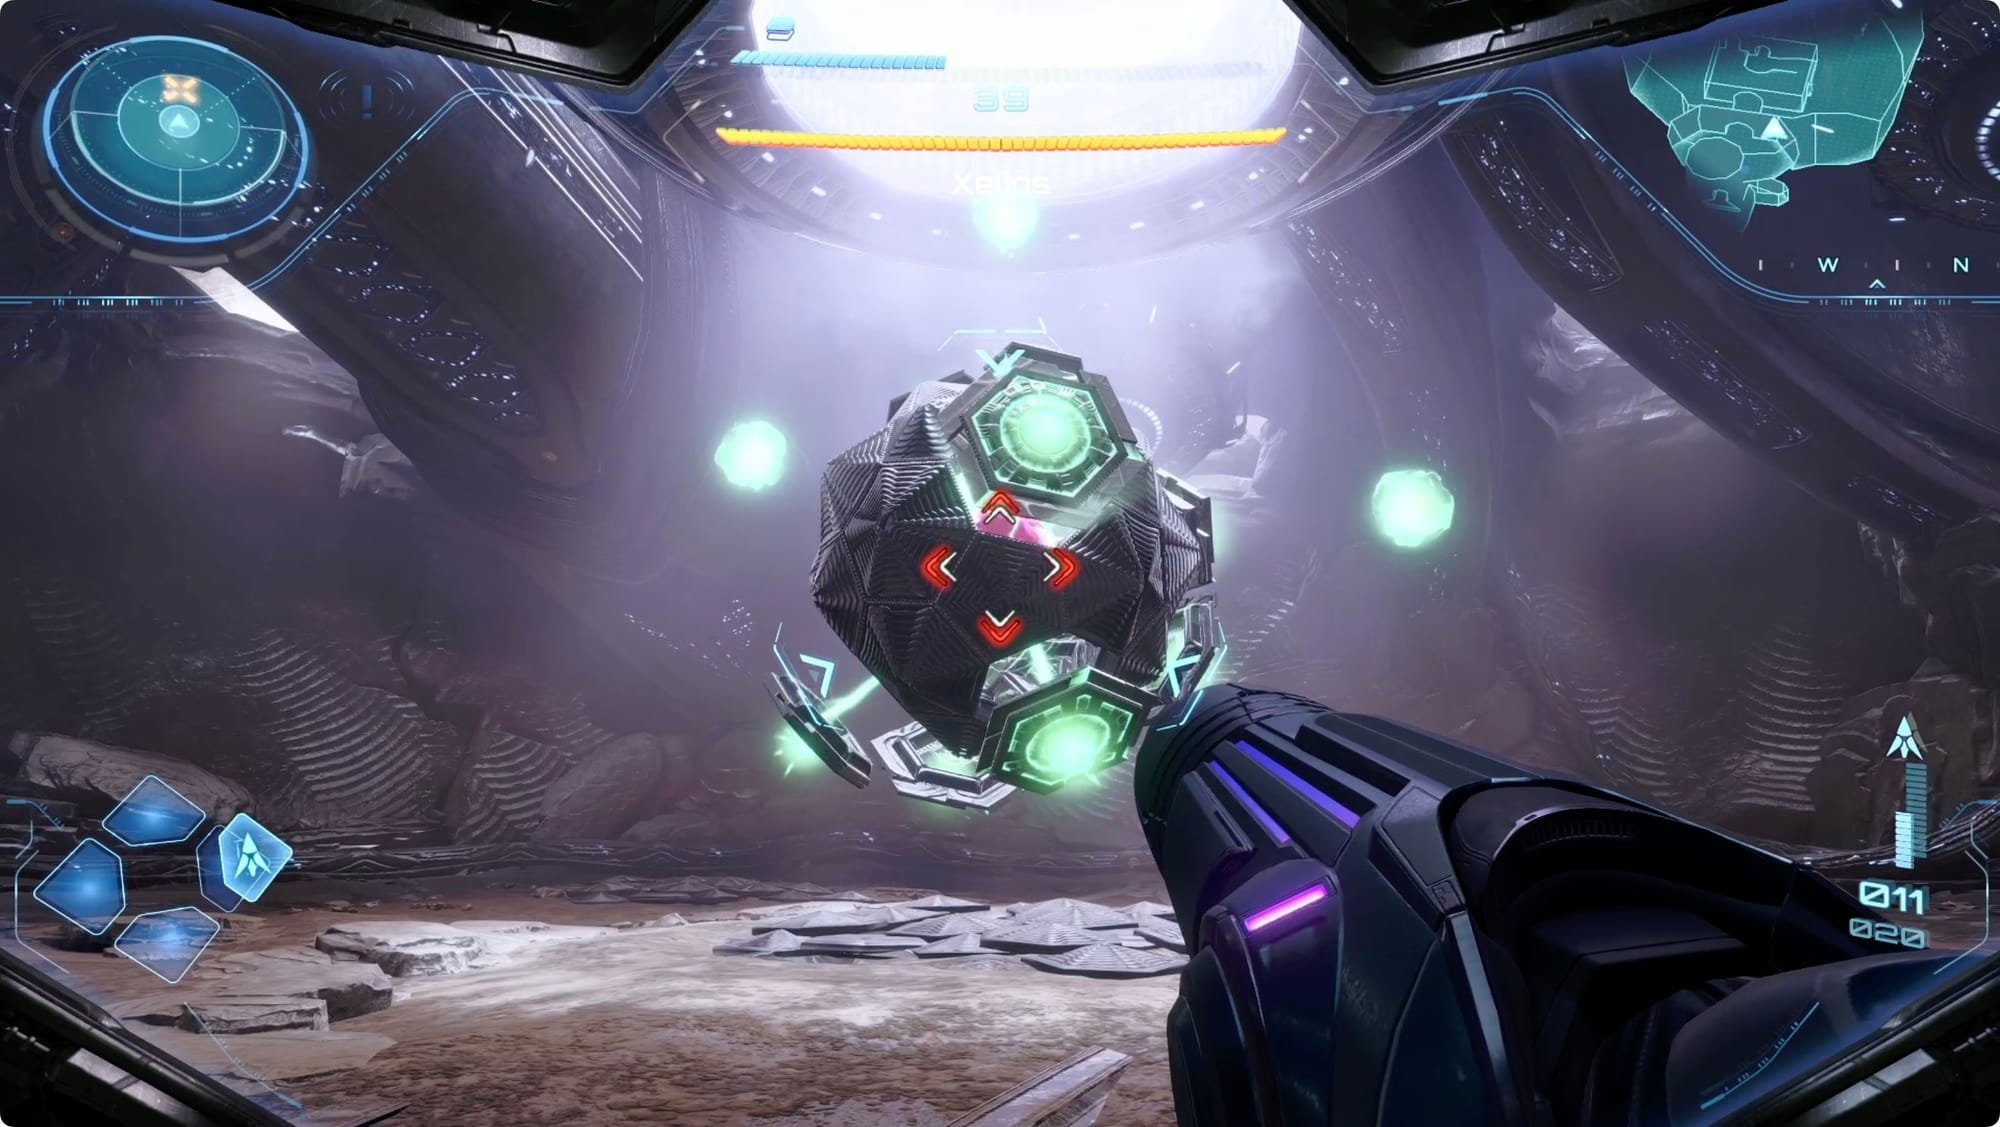
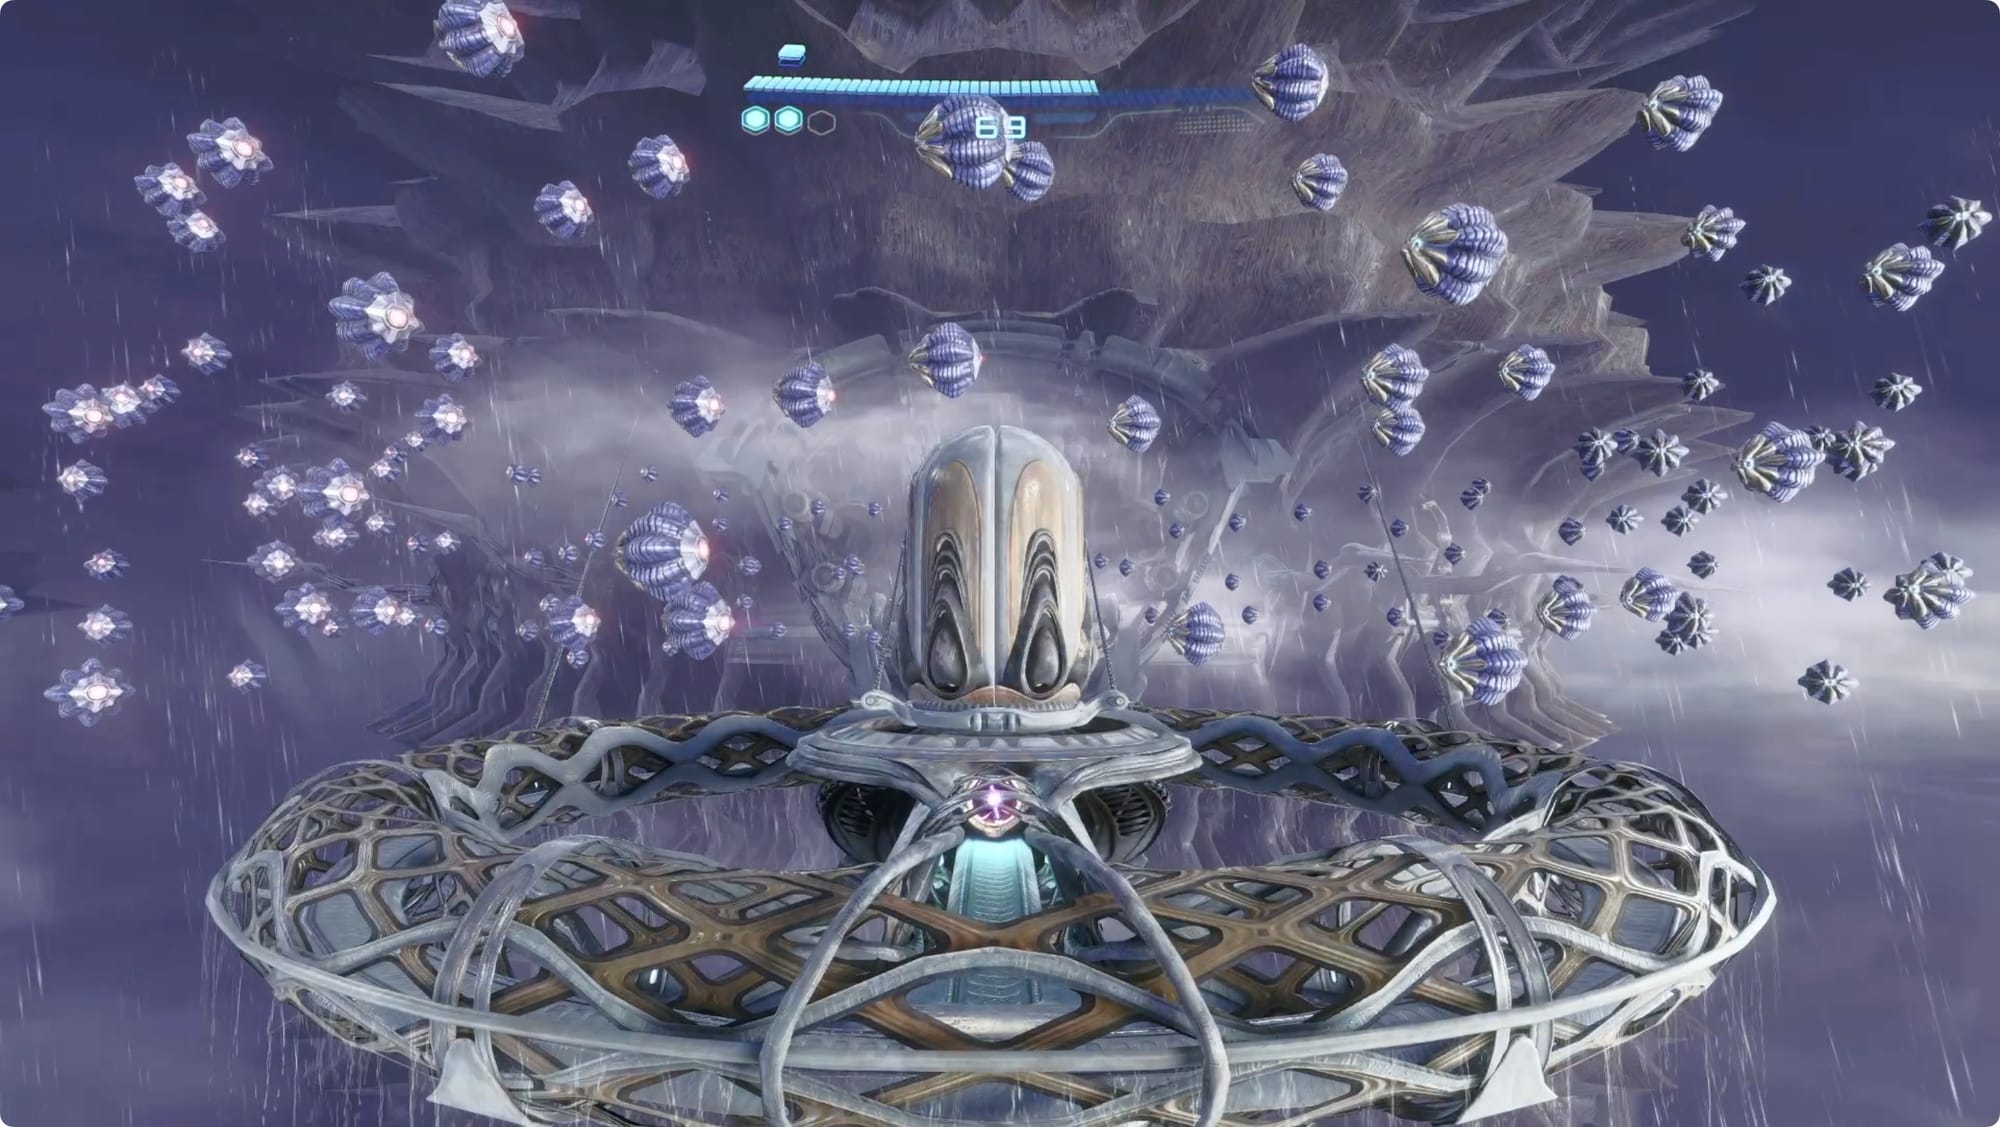
In the boss fight arena, you’ll meet Xelios. And the fight is … not hard, but equal parts chaotic and tedious. It’s a weird fight.
First thing to know if that you can’t damage Xelios’ shell unless the panel you’re aiming at is glowing green. The next thing to know is that if you destroy too much of the shell, Xelios will basically reset. The last thing to know is that all of the green orbs that Xelios shoots at you can be shot — and often drop health and ammo when you do.
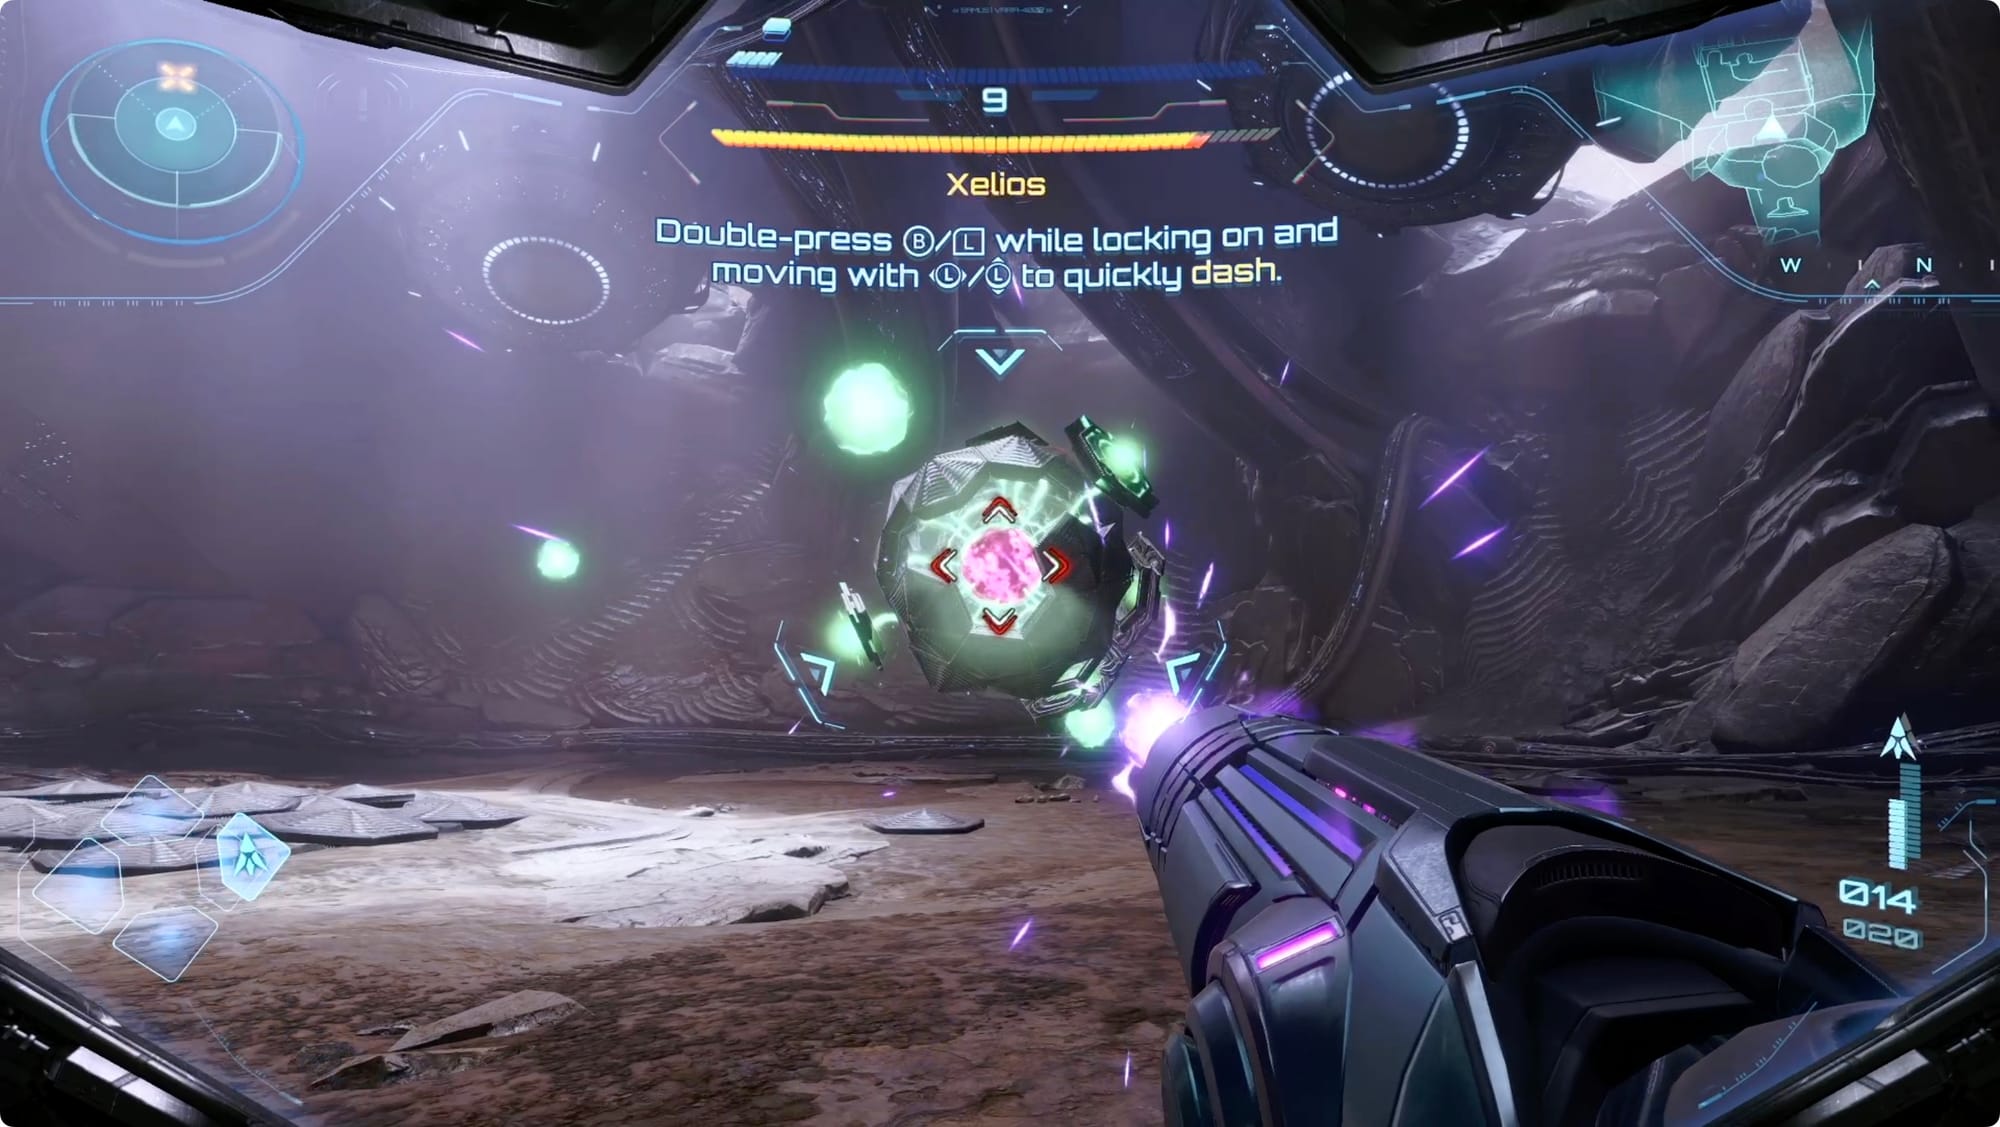
So. All you have to do is avoid the orbs Xelios fires, shoot the orbs Xelios fires, target only certain panels of its armor but not too many of them, watch out for the attacks you have to dodge, charge your beam weapon to vacuum up all the drops, and dish out as much damage as you can to Xelios’ glowing nucleus. Easy peasy.
Sarcasm aside, the key to this fight is to take it slow and relax. If you get too frazzled or focused on one thing, it can go sideways fast. Work on opening up a hole in the armor first and get some damage through the gap. Practice charging your arm cannon for most of the shots — this does double duty as extra damage and loot vacuum. If you want, you can even switch over to Psychic Visor and fire a Control Beam for some more fine-tuned aiming.
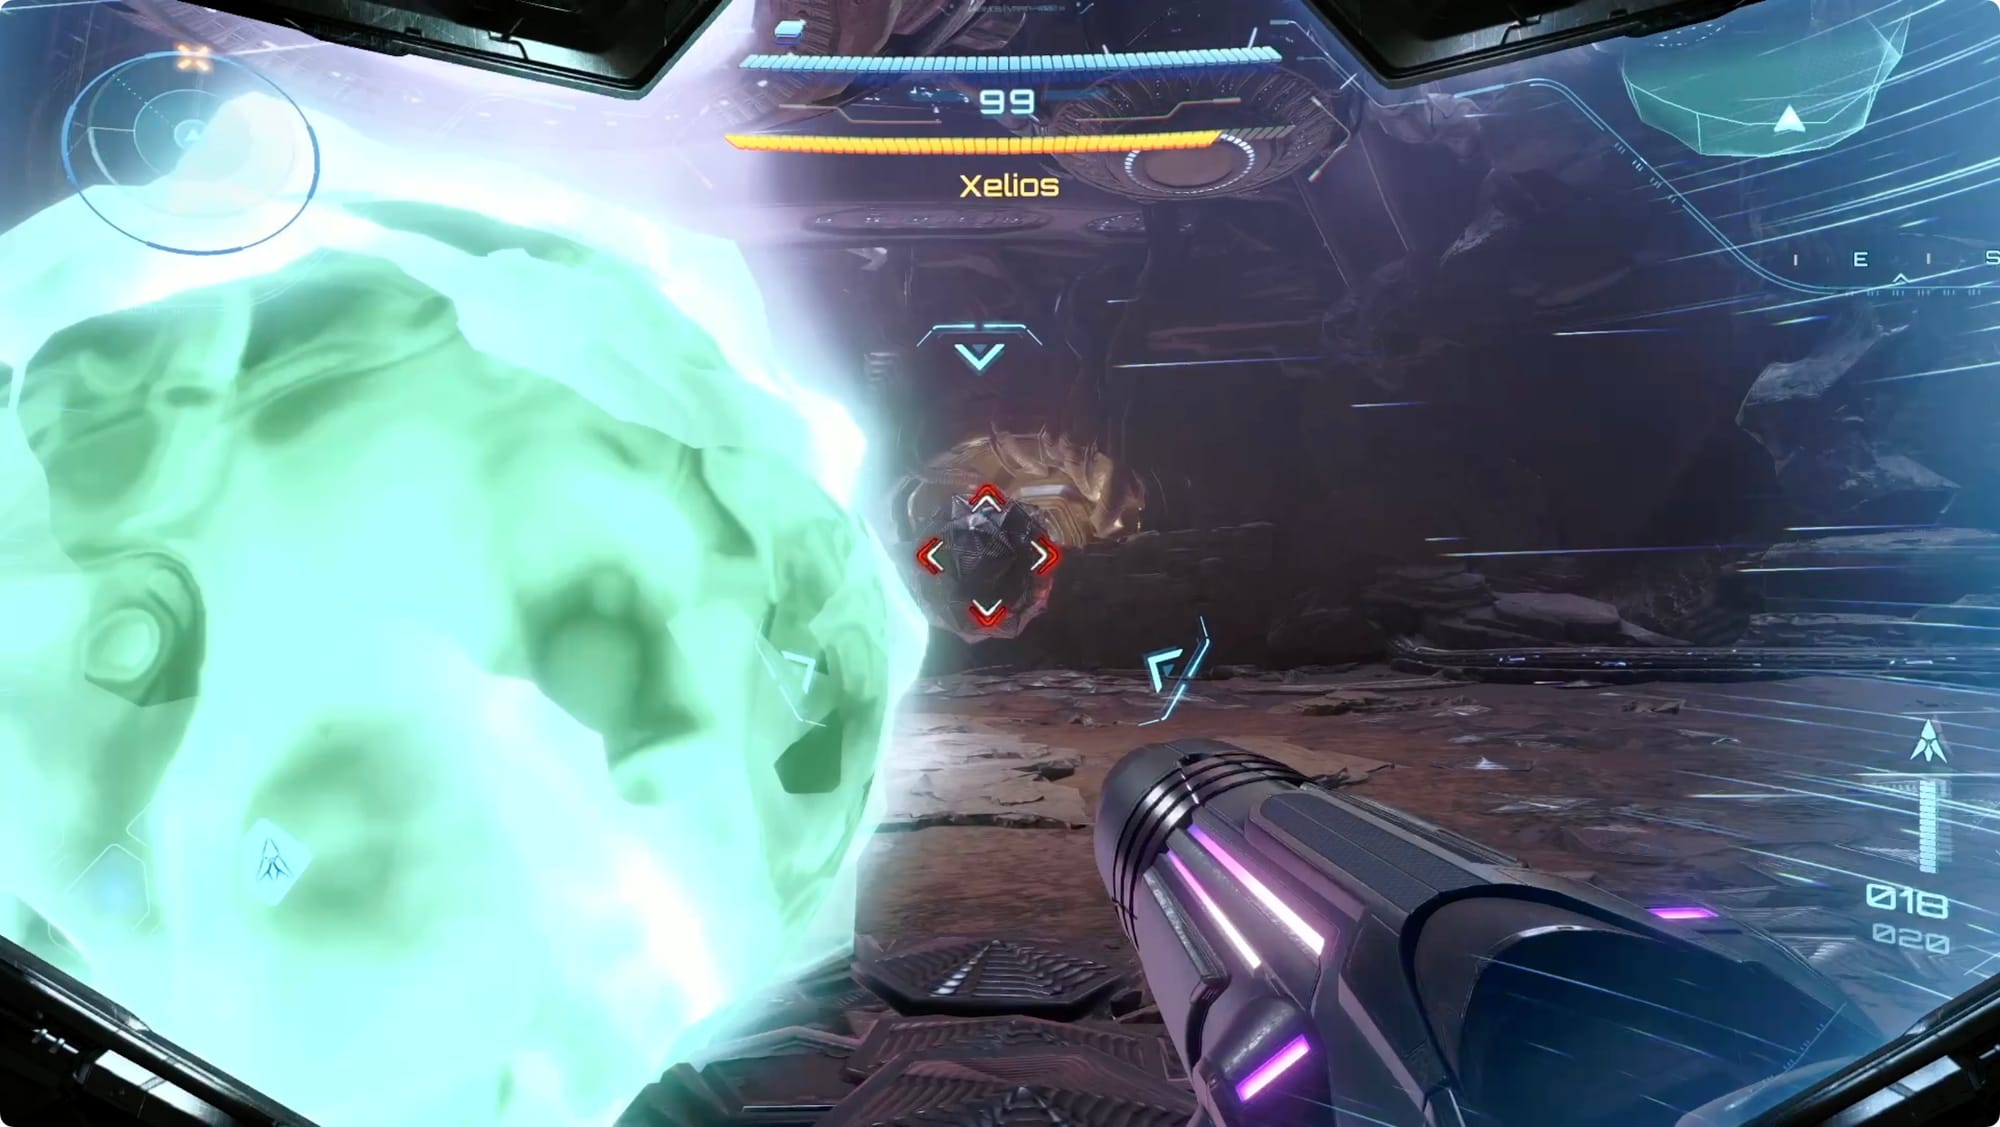
The biggest things to watch for are the (mercifully rare) attacks that you have to dodge. These are massive attacks that will drain your health. They’re also pretty obvious when Xelios starts charging them. Whenever you see something big charging up, lock on with ZL and start strafing sideways. Get ready to double tap B (jump), and use it to dodge at the last second. You won’t get it every time, but those green orbs drop lots of health.
Stick with it. It took me a few tries to get the rhythm of this fight down.
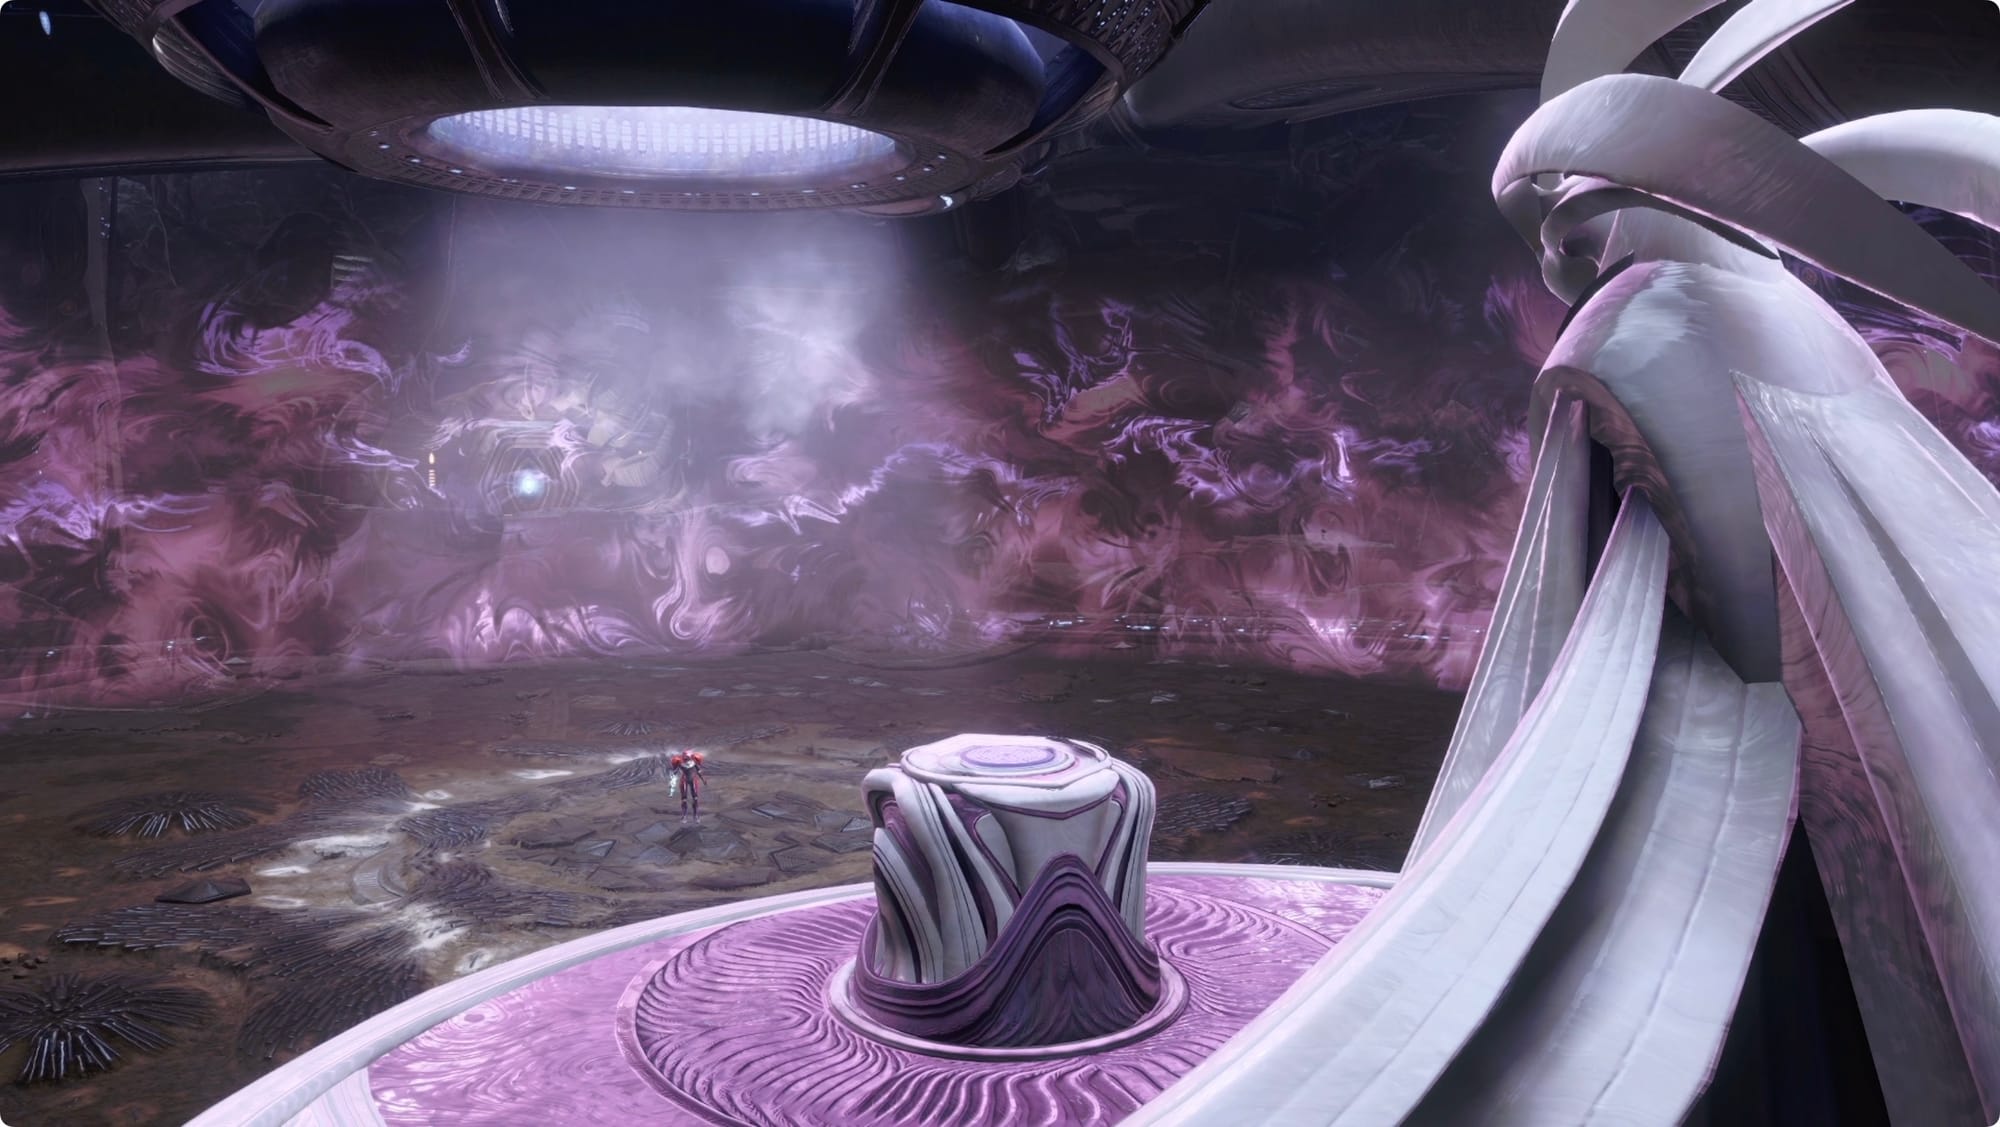
Your reward is the Psychic Boots upgrade — you get your double jump back! The statue that warps you to the second Master Teleporter Key appears immediately after.
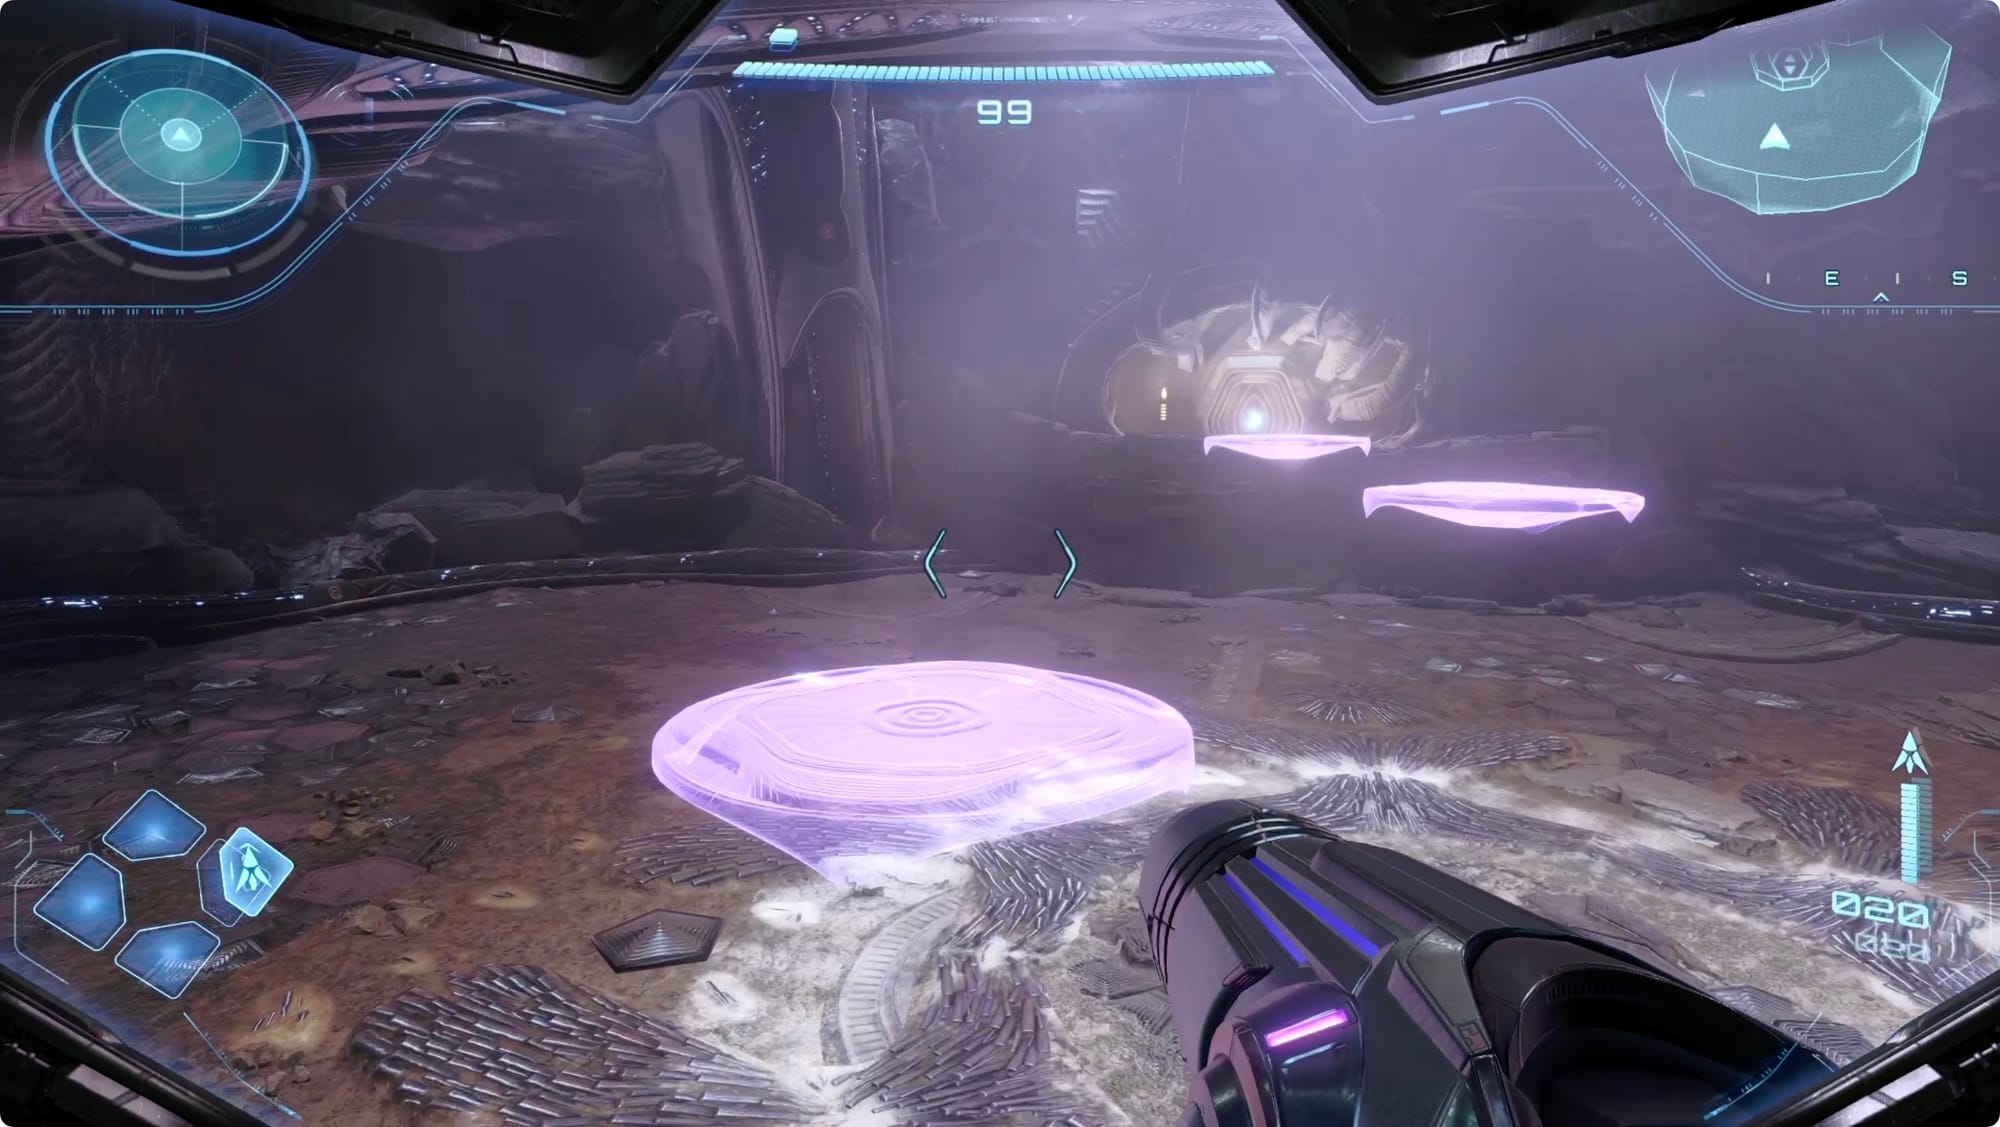
To get out of the arena, you’ll need to use another new ability the boots unlock. Switch to your Psychic Scanner and point at one of the glowing, purple mists. Target it, and a series of Psychic Platforms will appear.
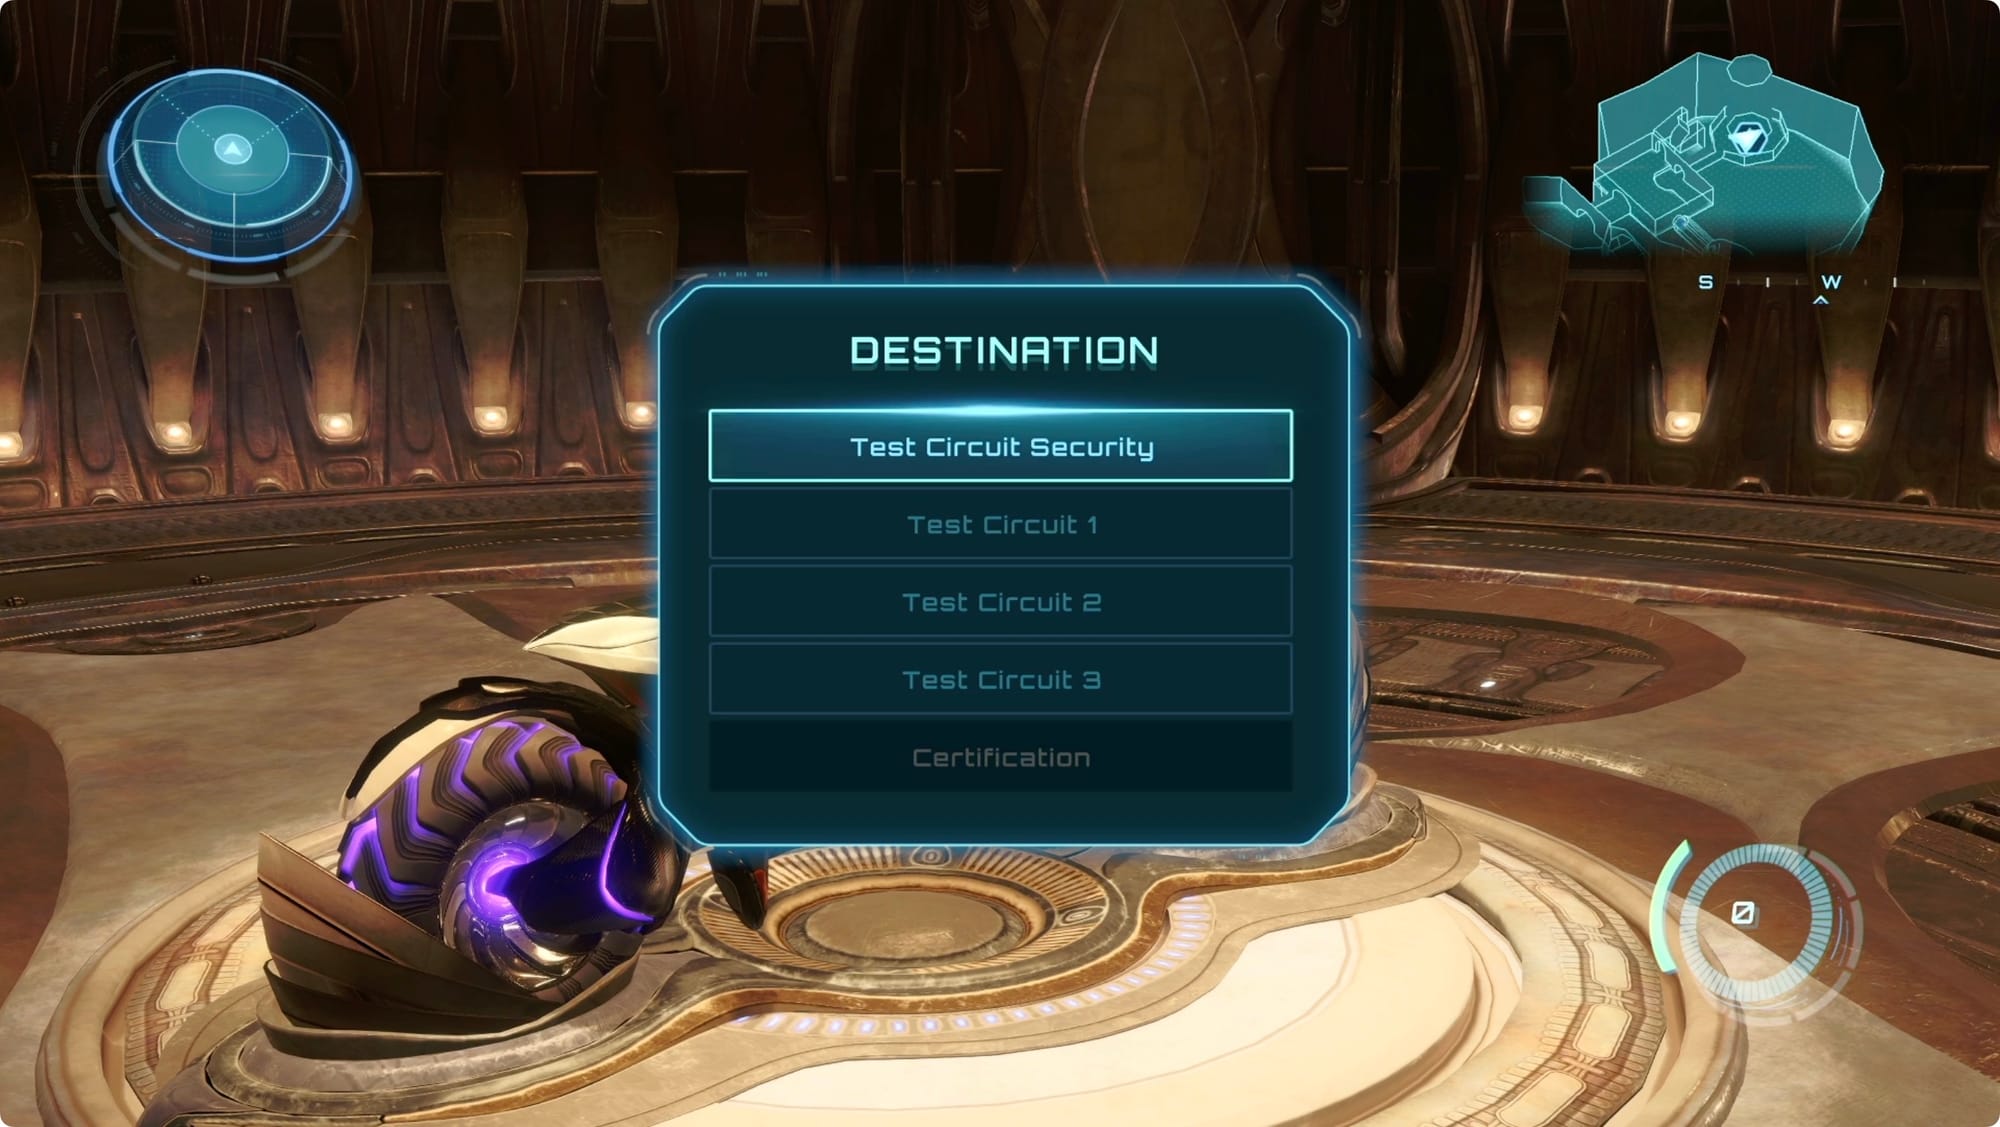
Double jump your way out of the room and all the way back to the Vi-O-La elevator. When given the option, take it up to Test Circuit Security. Hit the Save Station when you get there.
Exit the Volt Forge
Ride your Vi-O-La back around to Tower 1, and start working your way back out to the desert. Once you hit Facility Approach, you’ll find a few Maintenance Tanks and a Vi-O-La Spinner in maintenance mode.
Use the large cargo containers to double jump your way up to the tiny ledge on the left. Morph Ball into the tunnel, and plant a bomb in the slot.
Drop back down and summon your Vi-O-La. Lock it into the spinner, and power it up to exit the Volt Forge.

Outside, follow the not-quite-a-road straight until you jump off a natural ramp and land in the larger desert. Myles will check in, and you’ll find yourself in the Sol Valley.