

Metroid Prime 4: Beyond walkthrough pt. 3 (Ice Belt)
Find the third Master Teleport Key

After the Volt Forge, you’re free to wander the desert on your sick new motorcycle.
Before we head to our next destination — Flare Pool (kinda) but really the Ice Belt — let’s go get a couple upgrades we couldn’t before.
Missile Expansions in Fury Green (optional)
(Jeff note: You can and probably should save these for when you come back to Fury Green again in about 20 minutes. But if you're someone who wants to grab all the expansions as you get the upgrades, there's stuff to do in Fury Green now. Your call.)
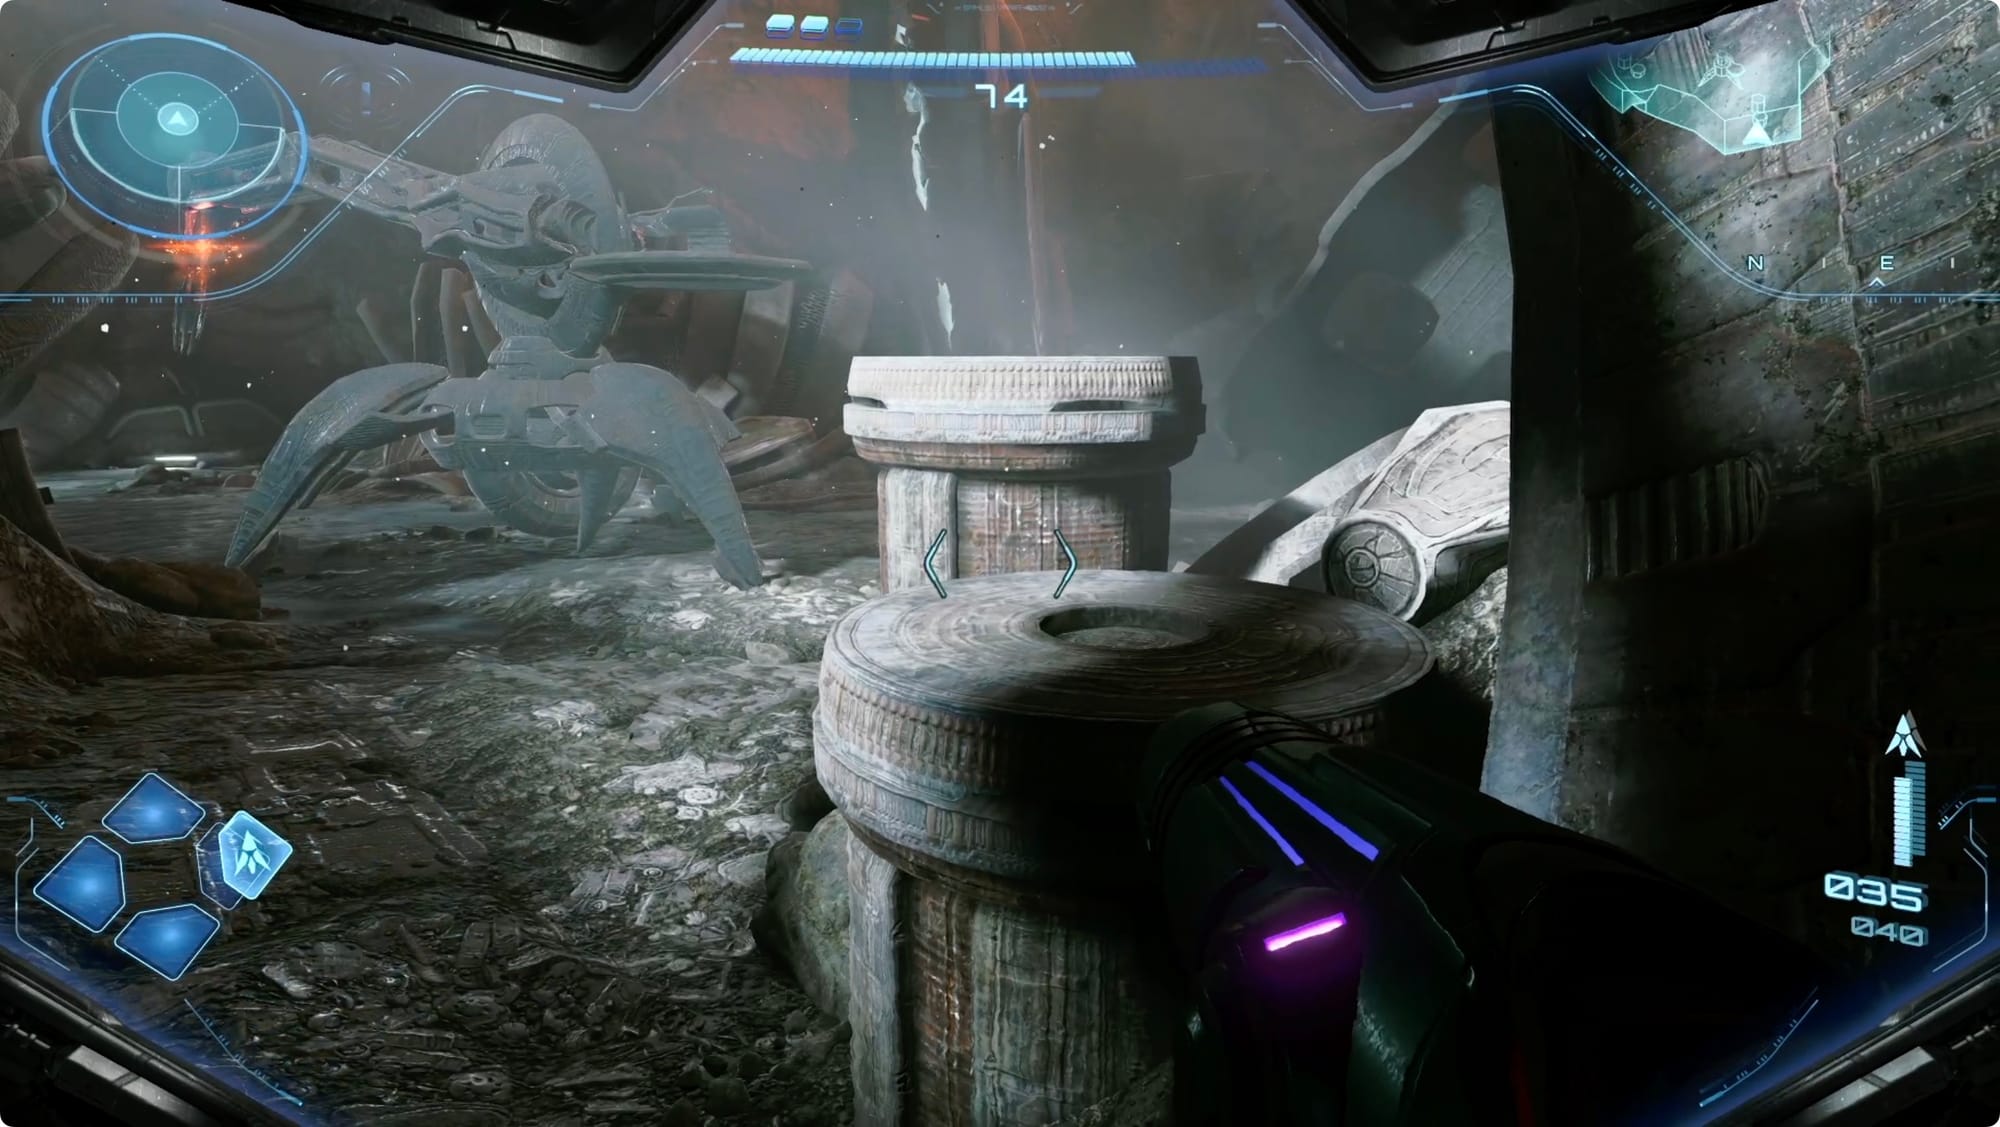
From the Volt Forge, head north. While you’re riding, make sure to ride over any Green Crystal outcroppings you spot — you’ll need them for one of the several collection missions you’ve got happening.
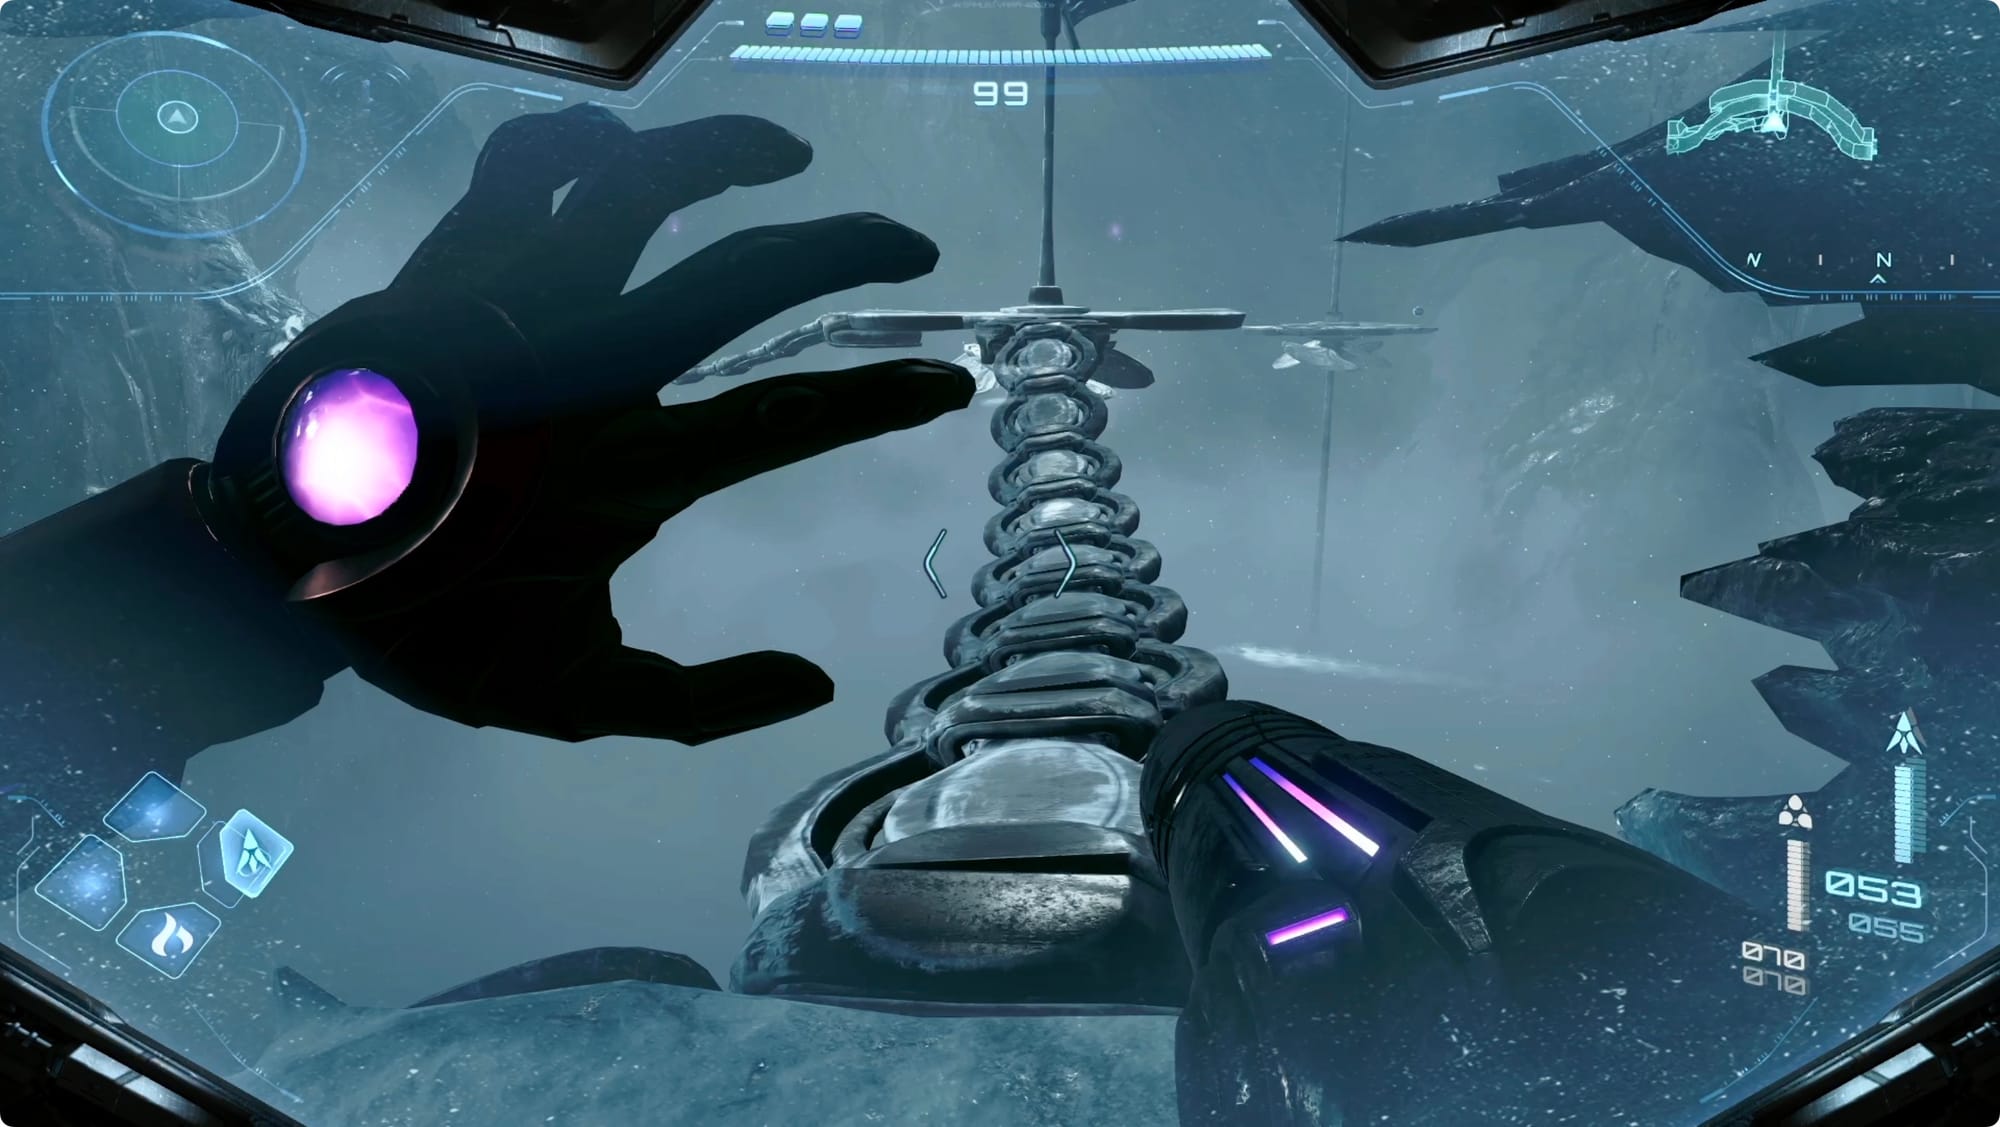
Eventually (it's directly west of the big tower), you’ll head into the entrance to Fury Green. The way we get in is going to be a little different this time, though. Once you get to the entrance, you’ll find a Cargo Launcher. This isn’t the same one you used earlier, but it’s linked to it.
Enter the Cargo Pod and let it launch you to the Temple of Memory (the end of your first trip through Fury Green). You can still get into the heart of the area and the base camp without doing this, but it takes way longer.

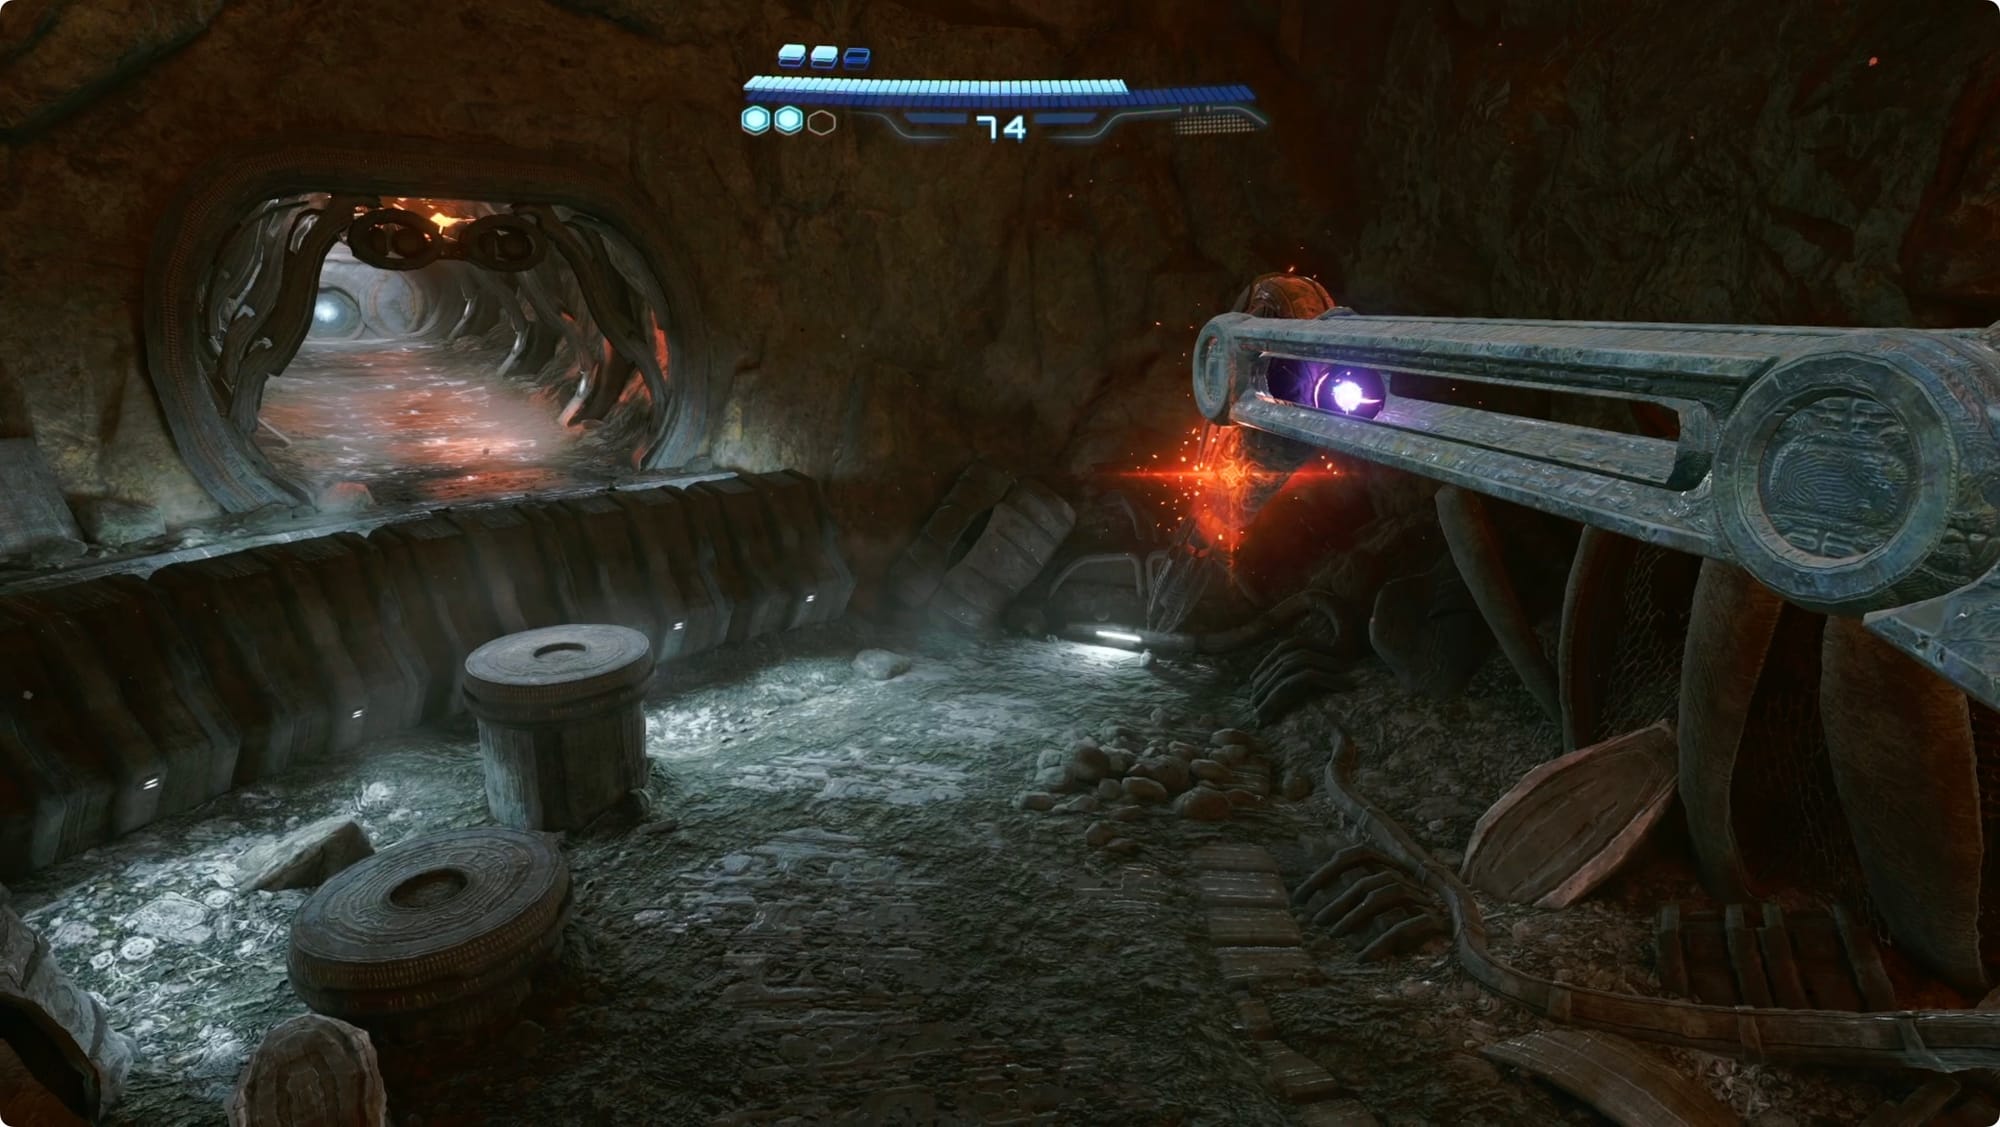
When you climb out, turn a little left to face southeast. Behind the ruins, you’ll see a Missile Expansion and some Psychic Platforms against the cliff face. Scan them to make them appear, and double jump up to grab the expansion.
Backtrack through Fury Green, past Base Camp, and all the way back to that very first psychically locked door you encountered. This is the same place where you found the first Psychic Container. (This is a also a good time to open that container if, say, some dope told you couldn’t open it the first time.)
When you get there, face away from door. To the east, you’ll spot a couple Psychic Platforms and a second Missile Expansion.
Head for the volcano
Make your way back out of Fury Green and summon your Vi-O-La. There’s no real rule on where to go next, but in my experience poking around, your only option is to head toward the volcano. Myles might even call you to suggest you go there.

The volcano is in the southeast part of the map. Just look for the volcano on the horizon, point your bike that way, and ride. The entrance is marked by a pair of curved towers.

Inside the entrance area, use the Vi-O-La Spinner to head into the Volt Forge.
In the first room, look on the right side for some Psychic Platforms above the lava. Activate them, and jump across to find a(nother) Missile Expansion.
Back on the main level, keep heading east and deeper inside. The only door you pass is locked, so just keep going (mostly) straight.
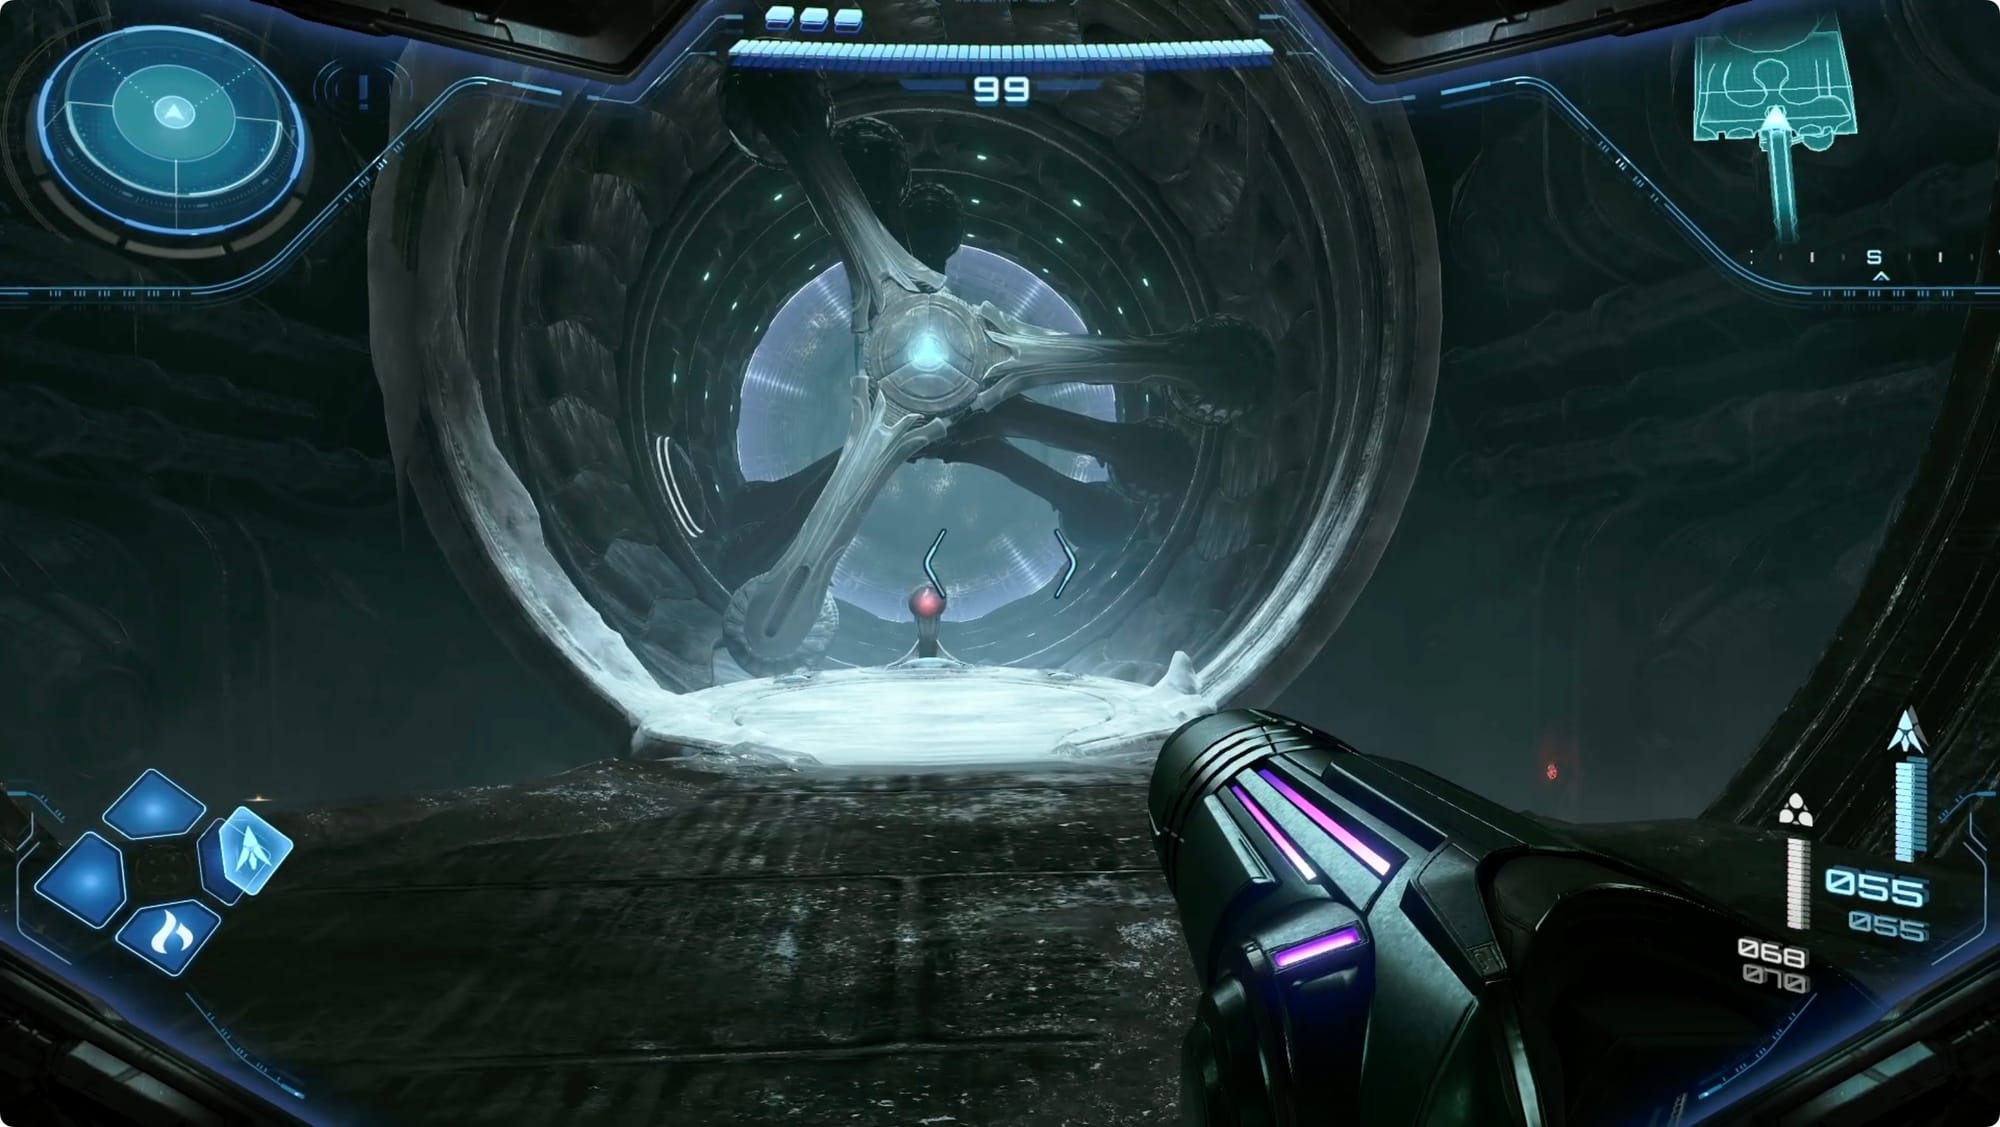
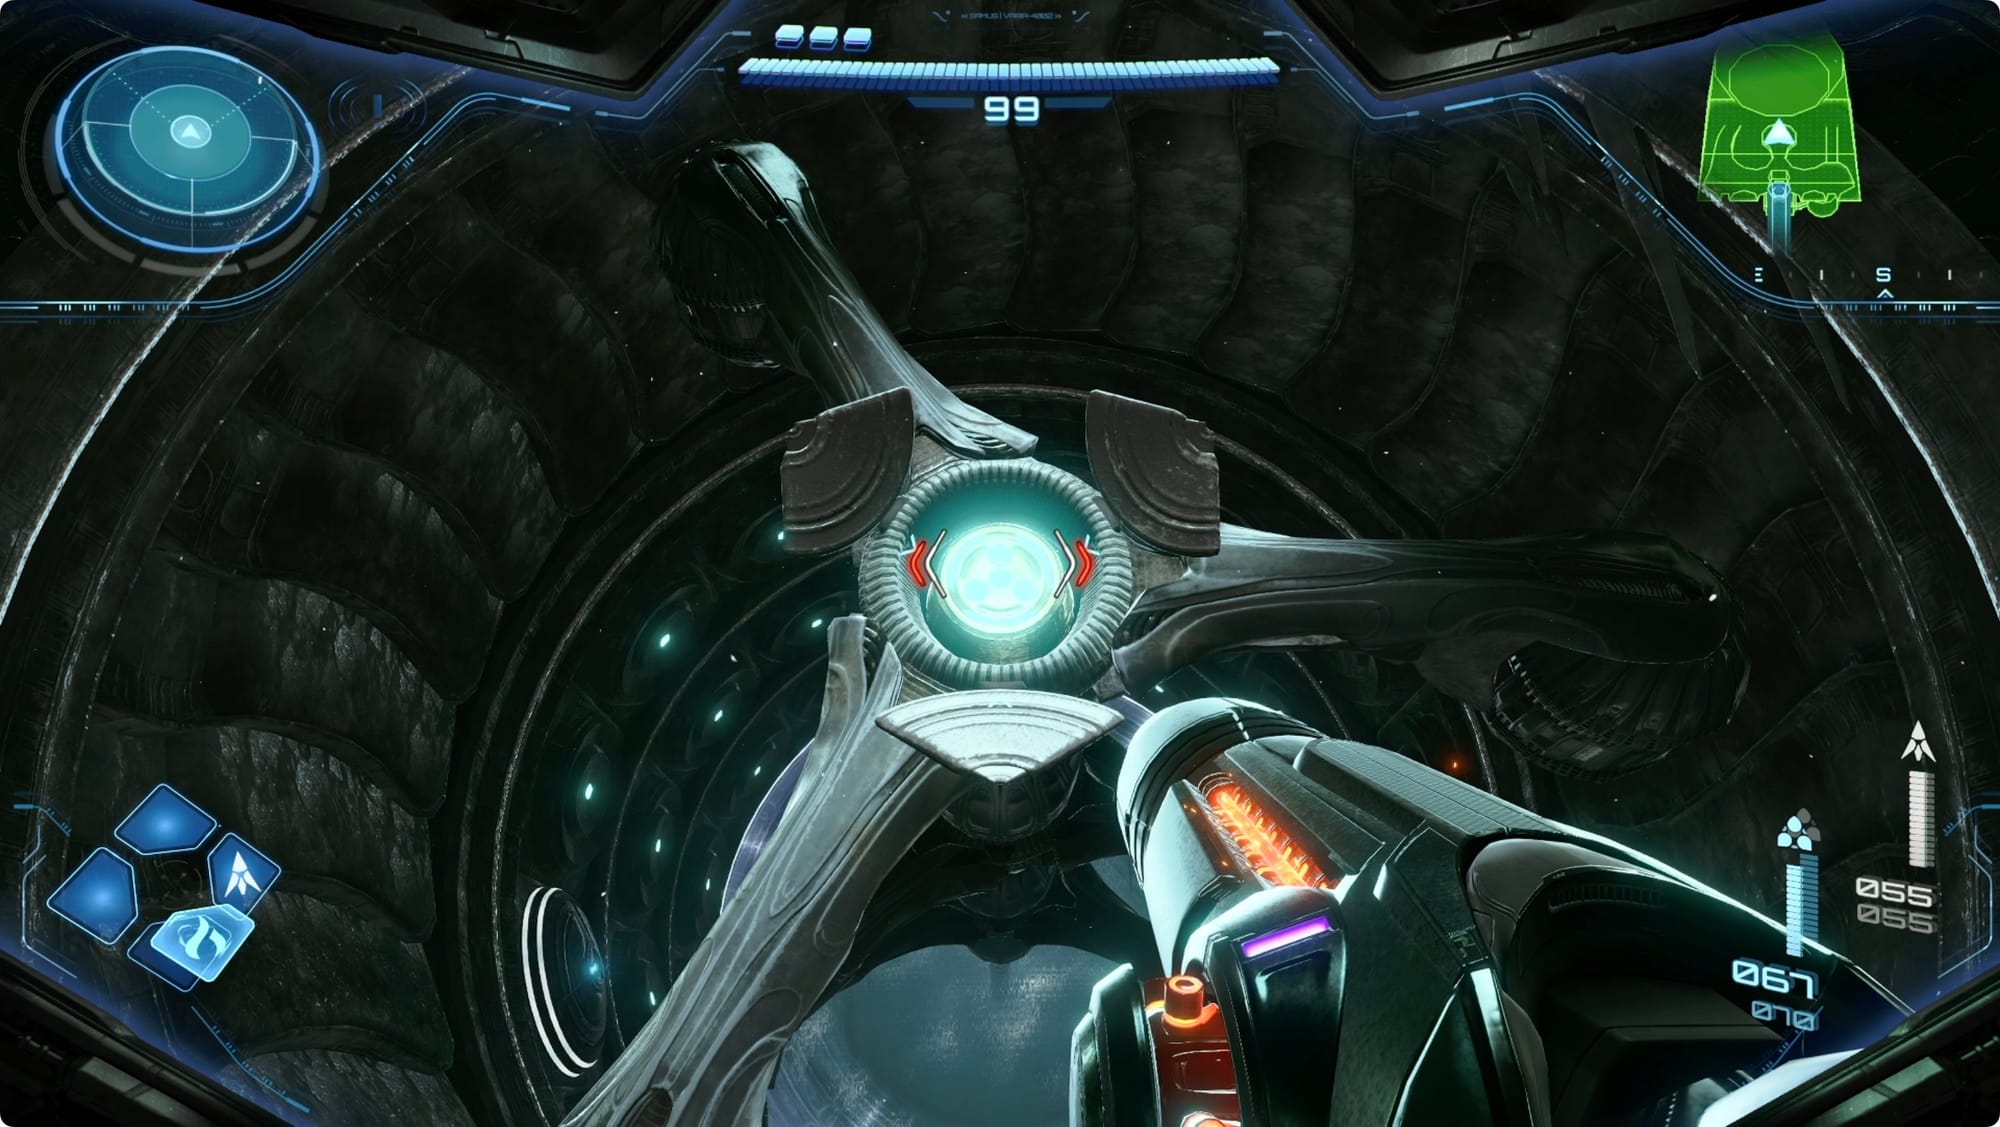
Eventually, you’ll get the Flare Pool title card and come to a large entrance set piece. Scan around and then use your Vi-O-La to power up the spinner and raise the bridge across the lava.
When that doesn’t work — for kind of intriguing reasons — head back the way you came.
This time, that deactivated door we passed a minute ago will be open. Take out the Psy-Bots and head inside.
Take the first right to find a Save Station.
Get the Fire Chip
Take the right to continue down the tunnel and head into the Scrapyard.
Take out the swarm of Pyremites that come out of the ground under the crane, and then head over to the right side of the area.
Use the columns to (double) jump up to the crane. Destroy the Maintenance Tank blocking the Morph Ball-sized track on the right side, and then roll in.
At the end, place a bomb to knock the plasma torch off the arm. Drop down and interact with it to pick up the Fire Chip.
Sacred Flame Ceremony
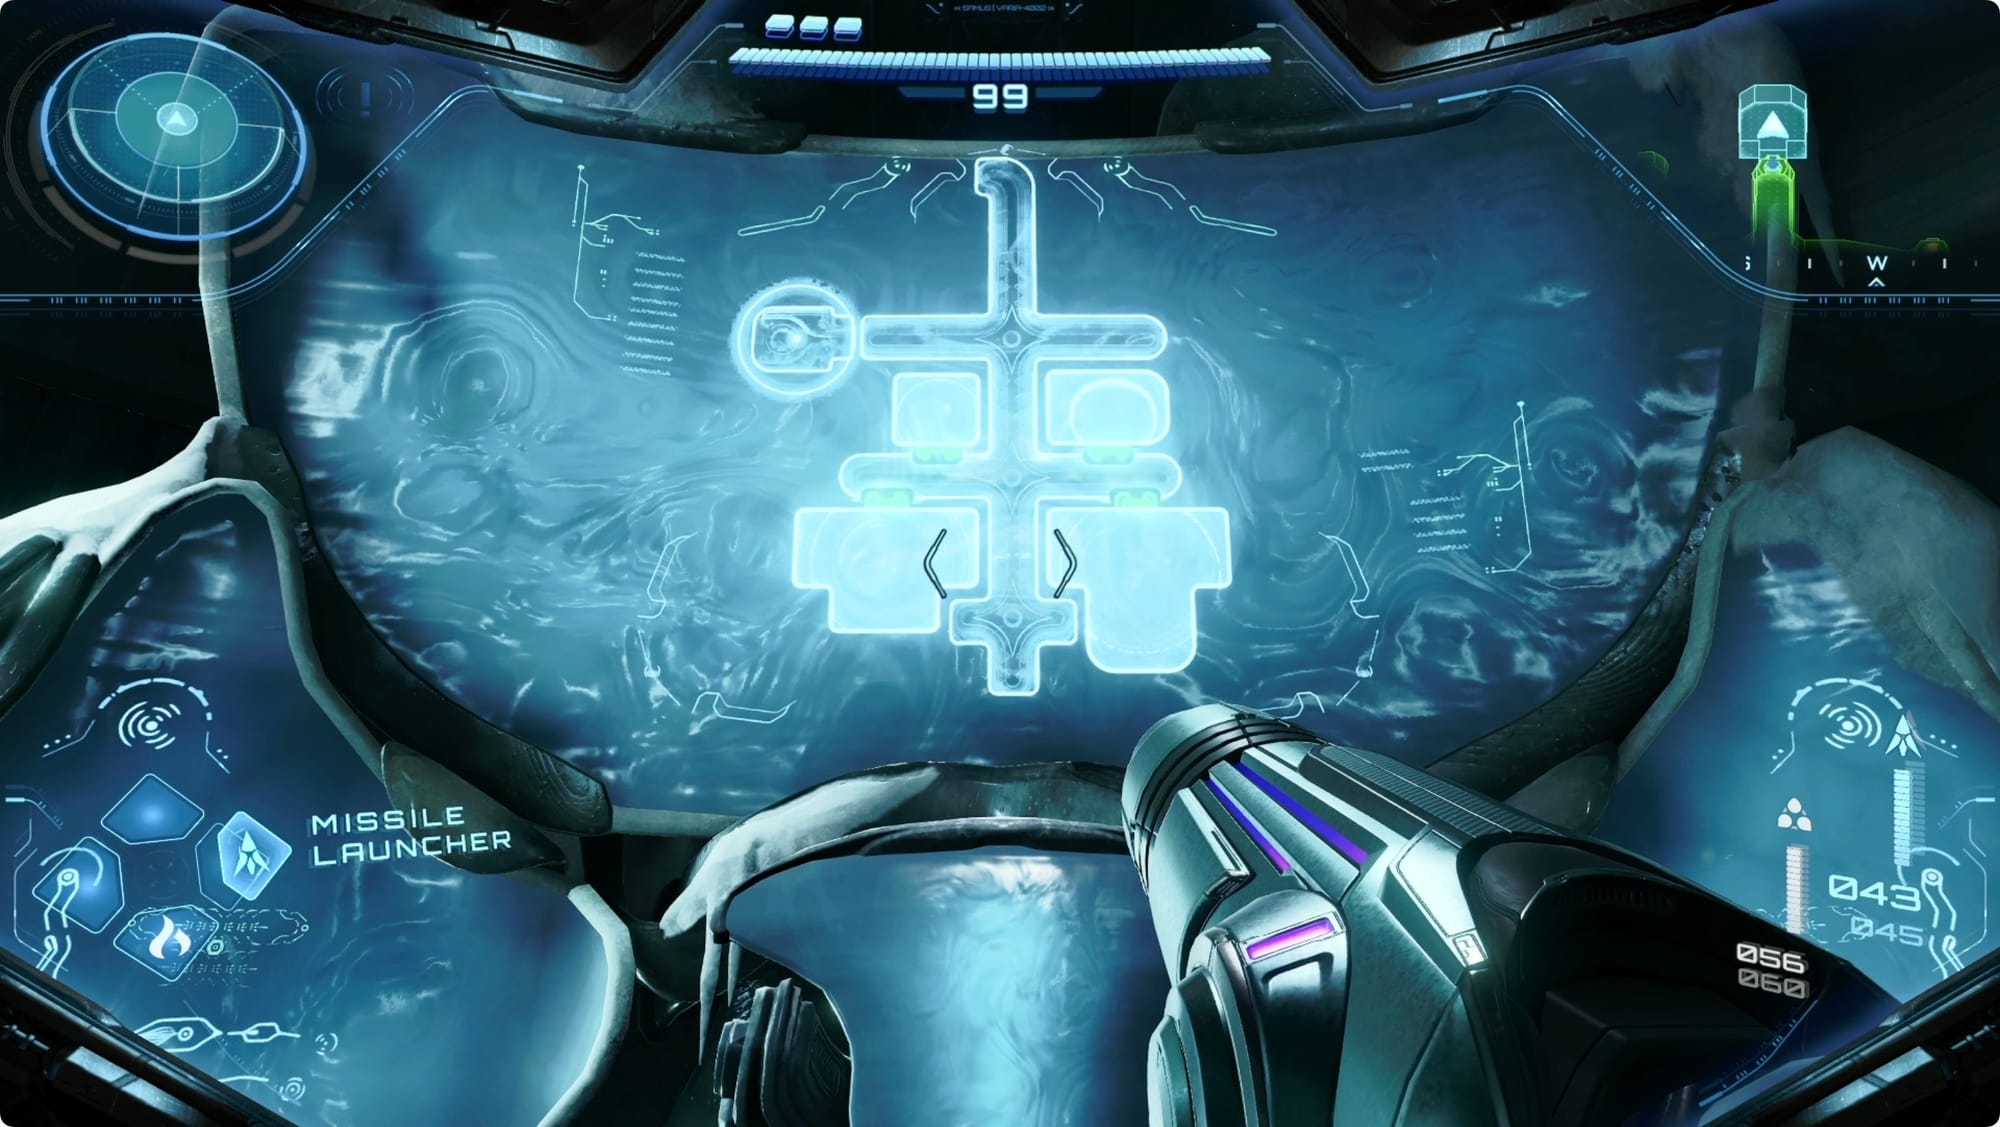
There’s no easy way to say this, so brace yourself: Now it’s time to drive all the way back to Fury Green (again again, if you went back for the missiles already). You have to check in with Myles to install the Fire Chip and that’s where he is. Head back, use the Cargo Launcher, and then get to the Base Camp. Talk to Myles, and he’ll give you a new Fire Shot upgrade for your Arm Cannon.

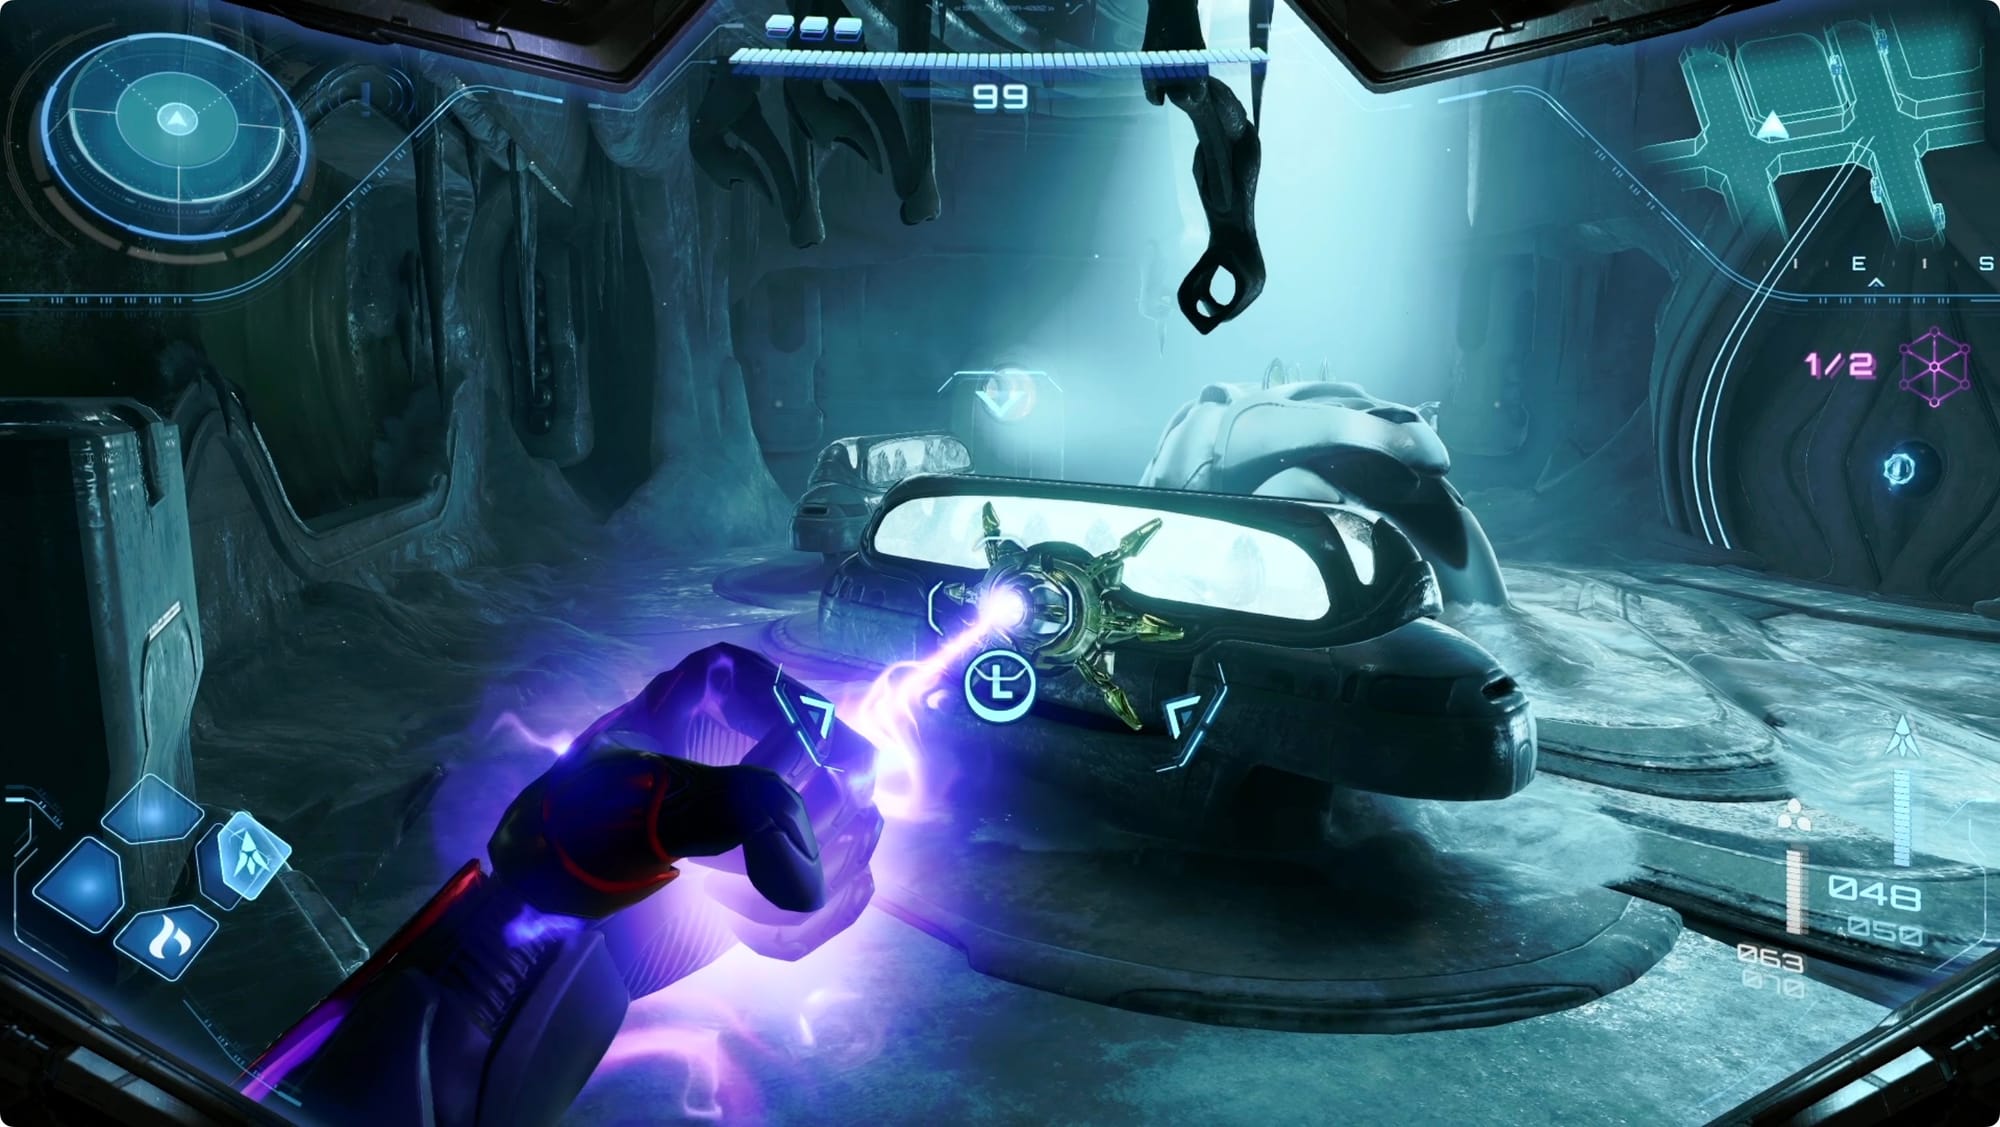
Once you have it, head through the door on the east wall of base camp. Go through the next room, and then take a right to find your first Lock Unit - Heat. Hit it with a Fire Shot and head inside.
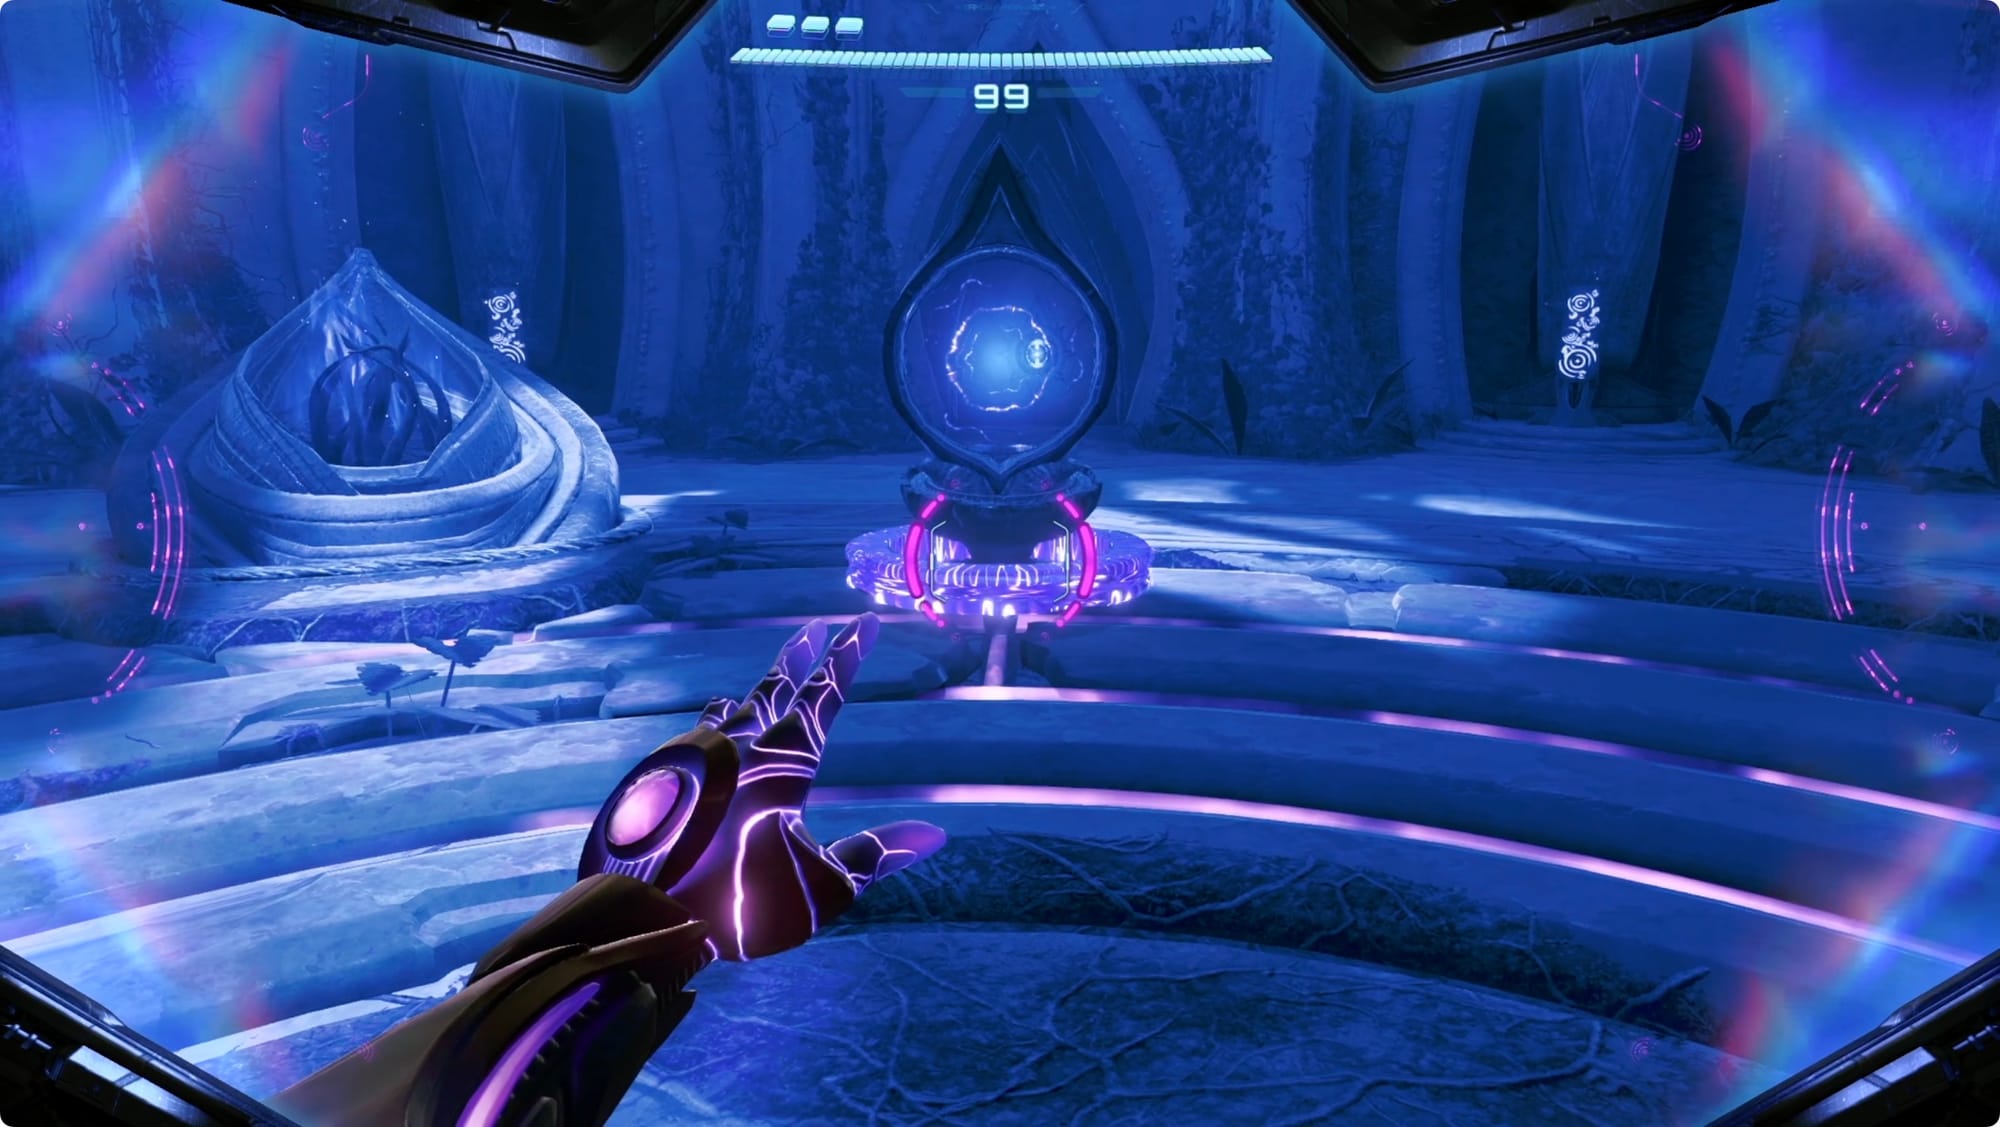
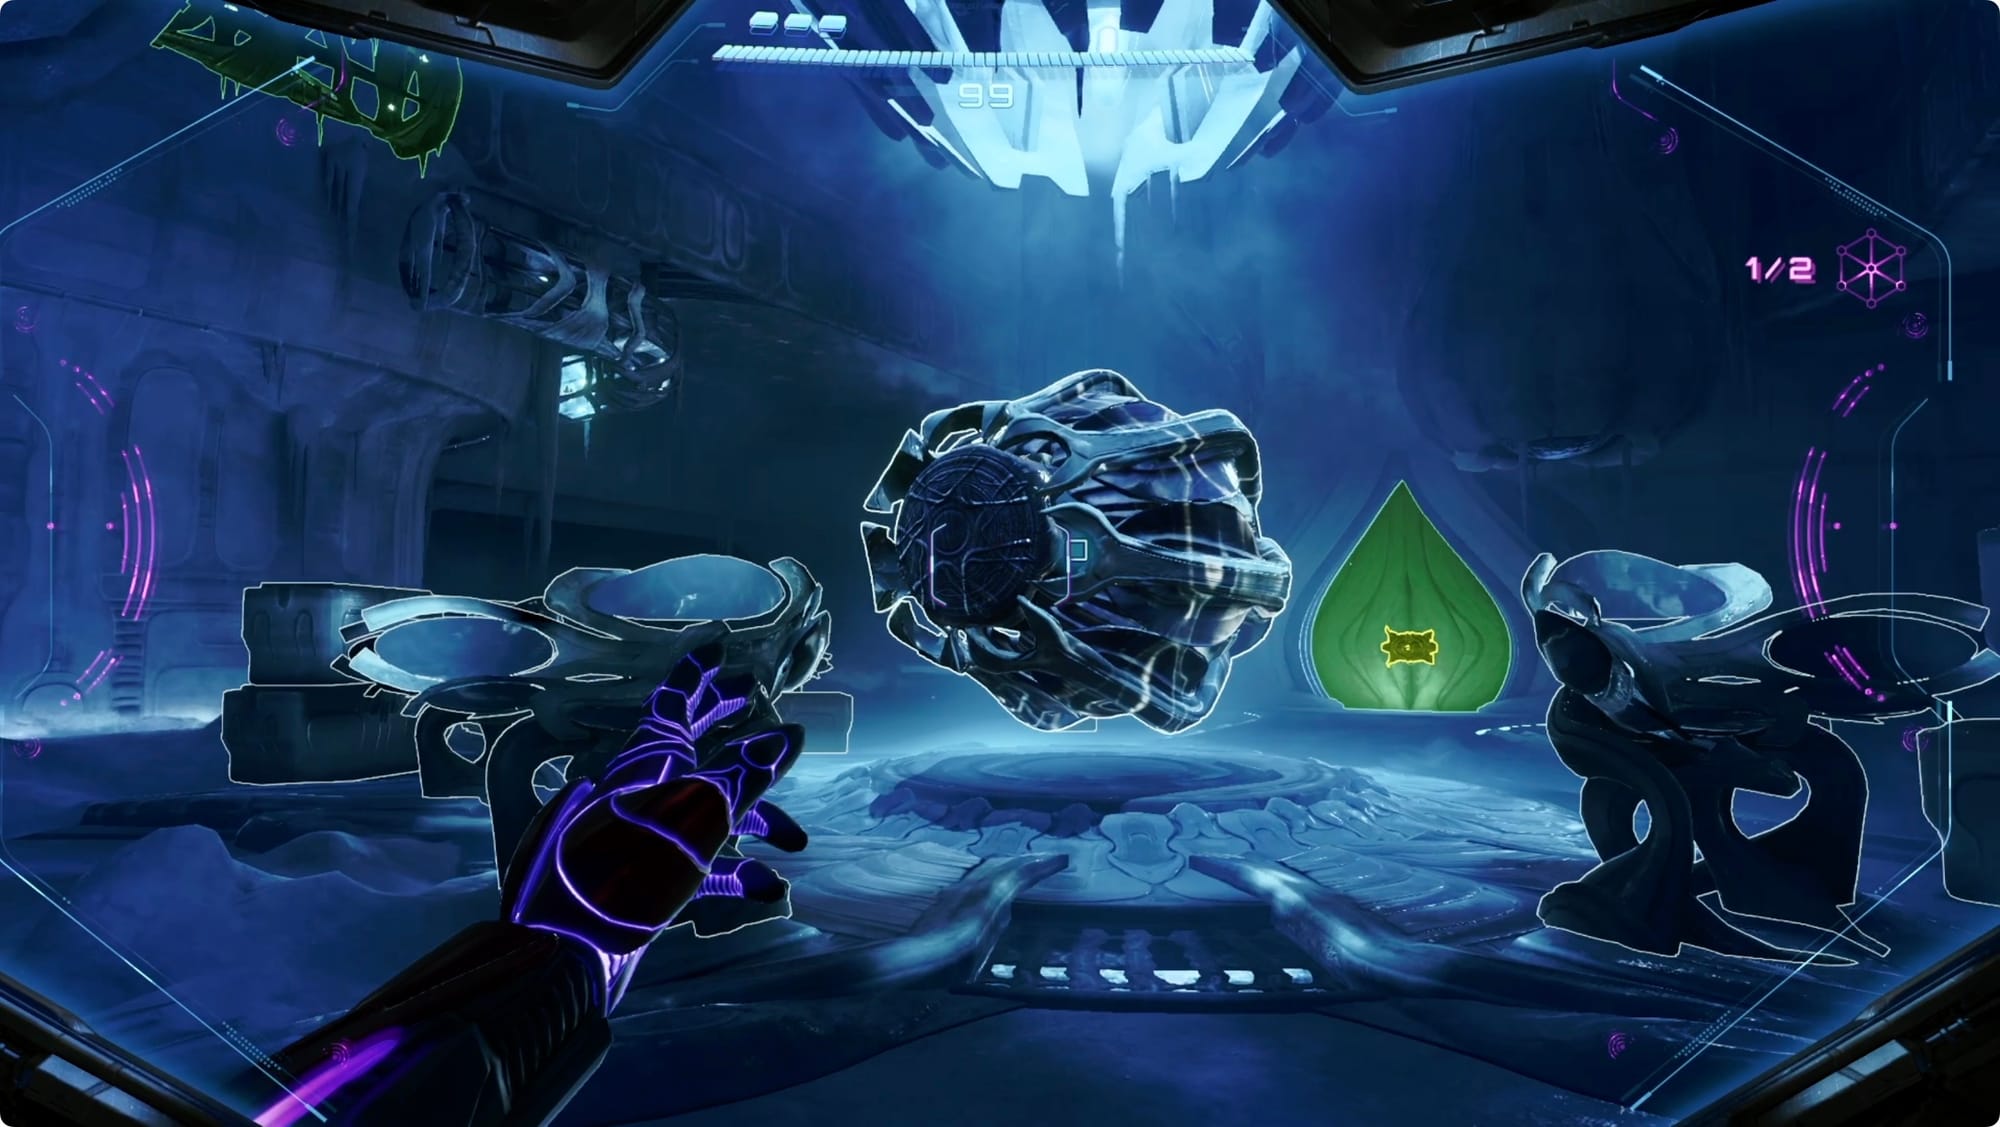
Scan everything, and then go stand on the pressure plate in the middle of the room. Use your Psychic Scanner to move the statue around the rings — you can move it between the three rings it rides on — and stop in front of each of the pod-shaped statues. When the pods open, switch to your Combat Visor and fire a Fire Shot through the statue’s window to light the torch.
Once all three are lit, the large doors will open. Inside, grab the Shot Expansion floating in front of the statue. Scan everything for hints about what’s coming (spoiler: it’s another collection mission), and then head back out to Base Camp. Hit the save.
Collect two Shot Expansions
With the Fire Shot, there are two Shot Expansions we can get in Fury Green. They’re both on the other side of the zone, so you can either backtrack on foot, or use the Cargo Launcher to shoot back to the beginning.
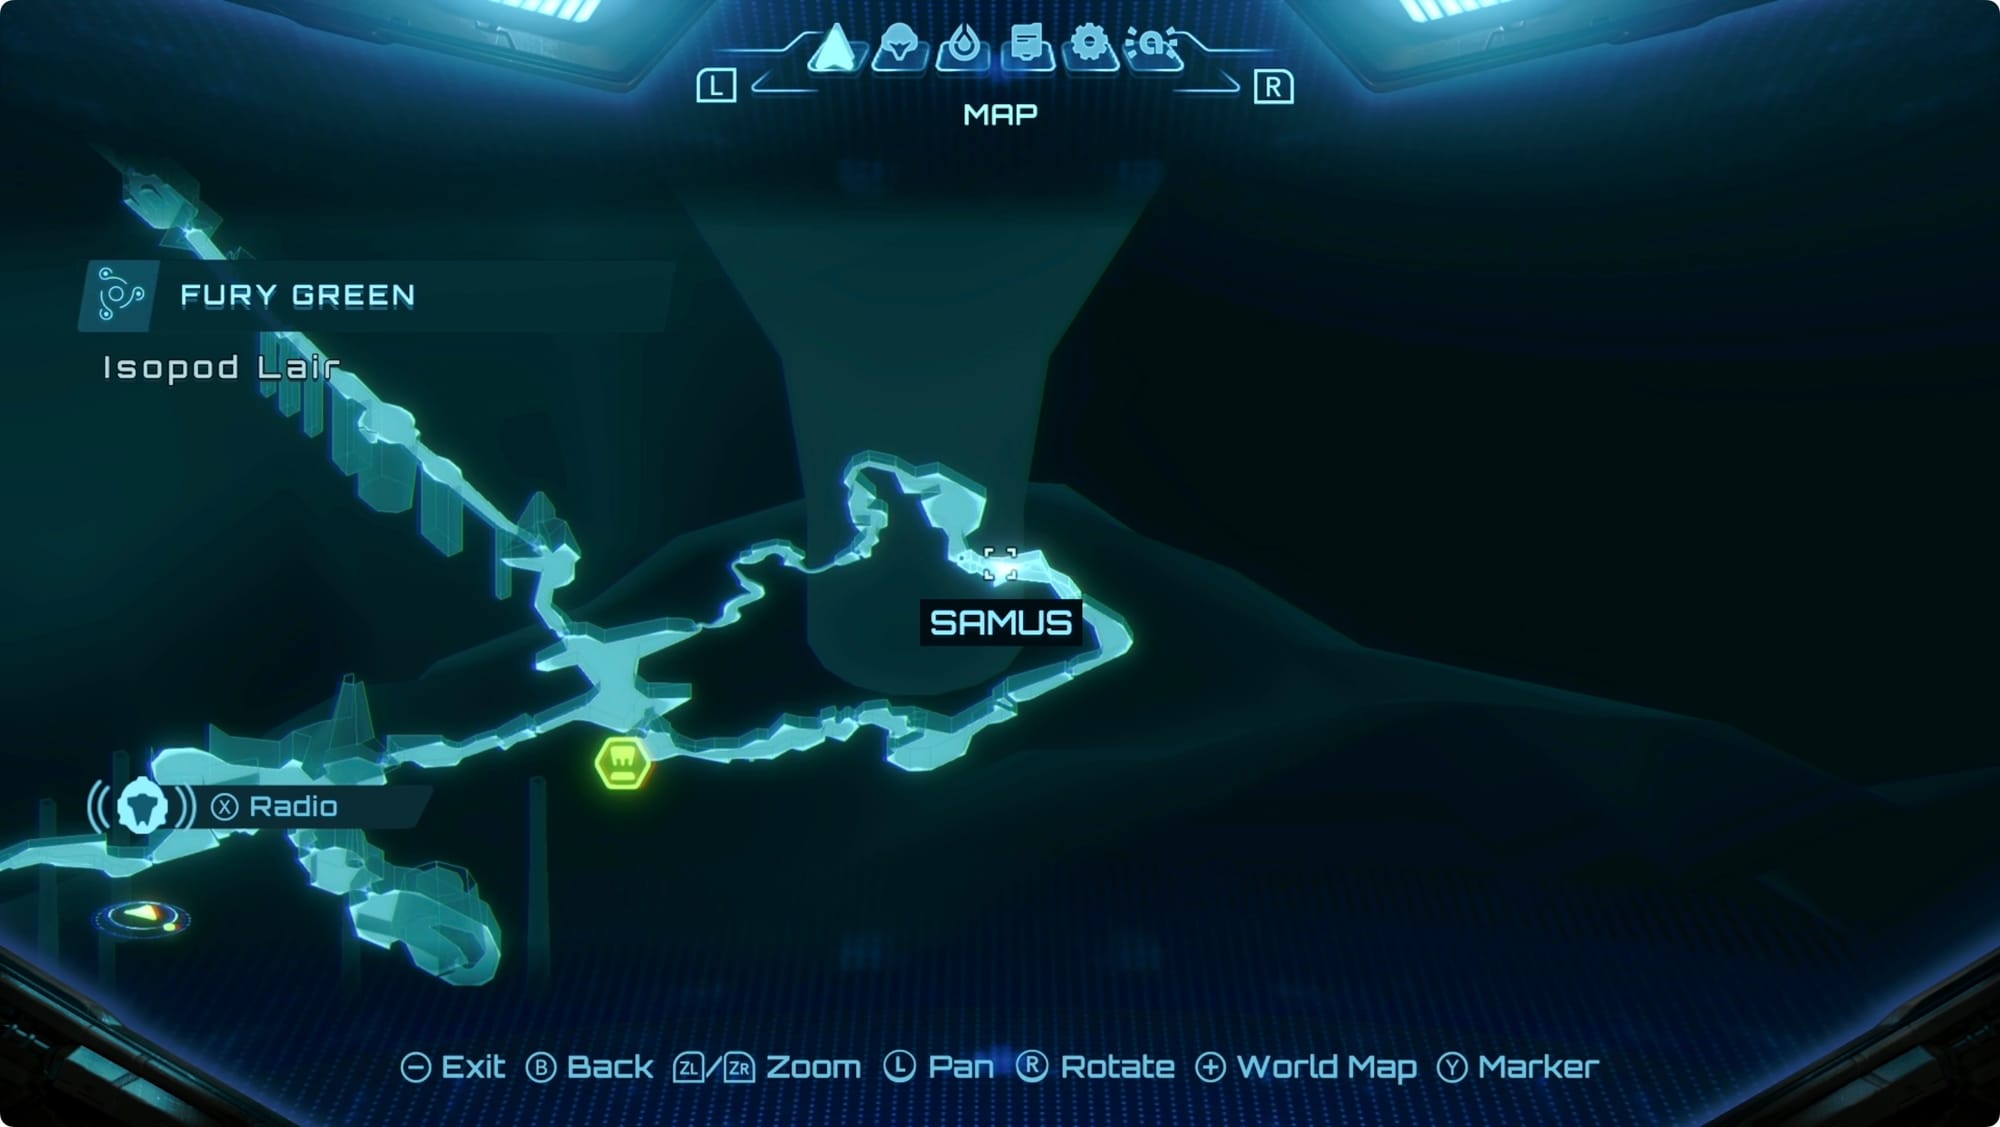
One is in the Isopod Lair area — the long, winding, narrow path you took on your way to find Myles.
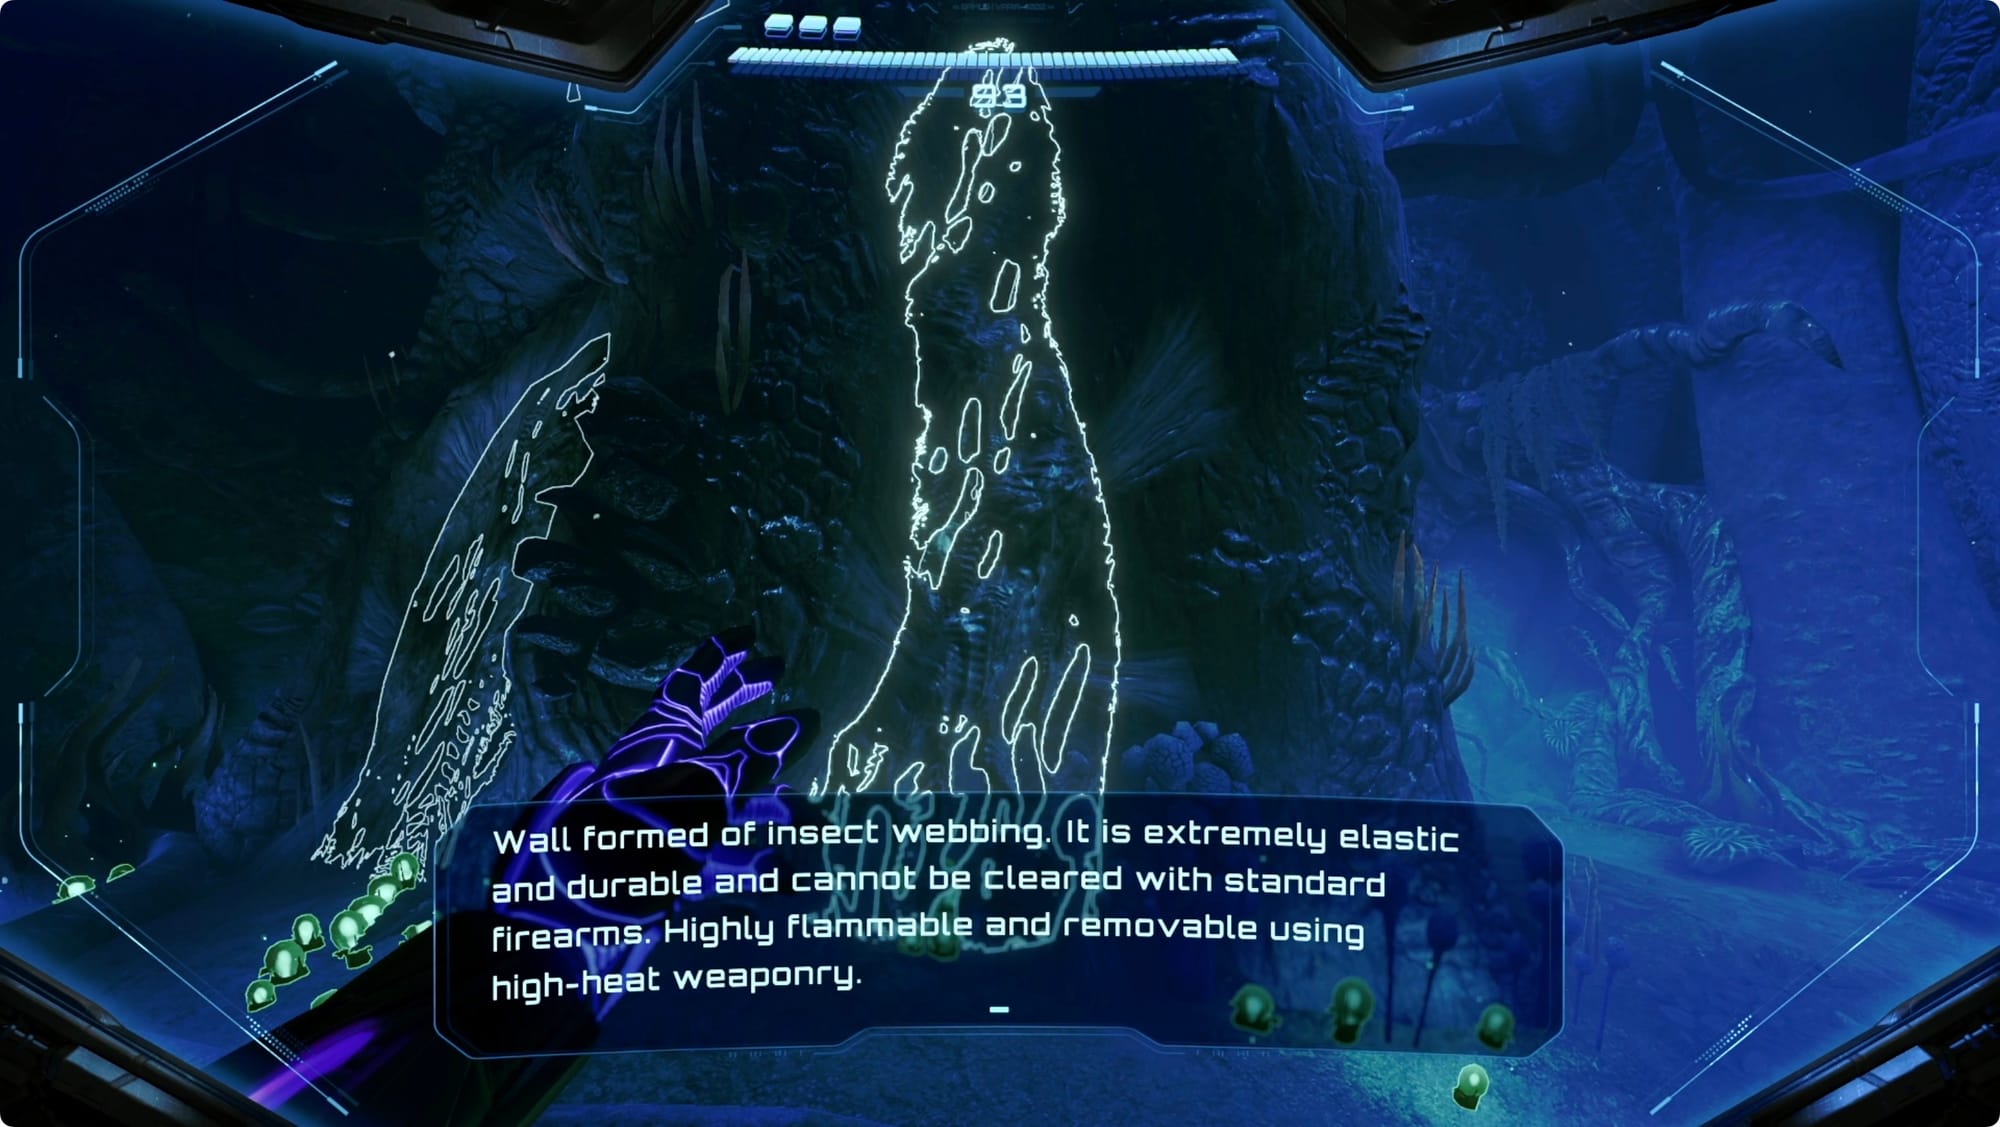
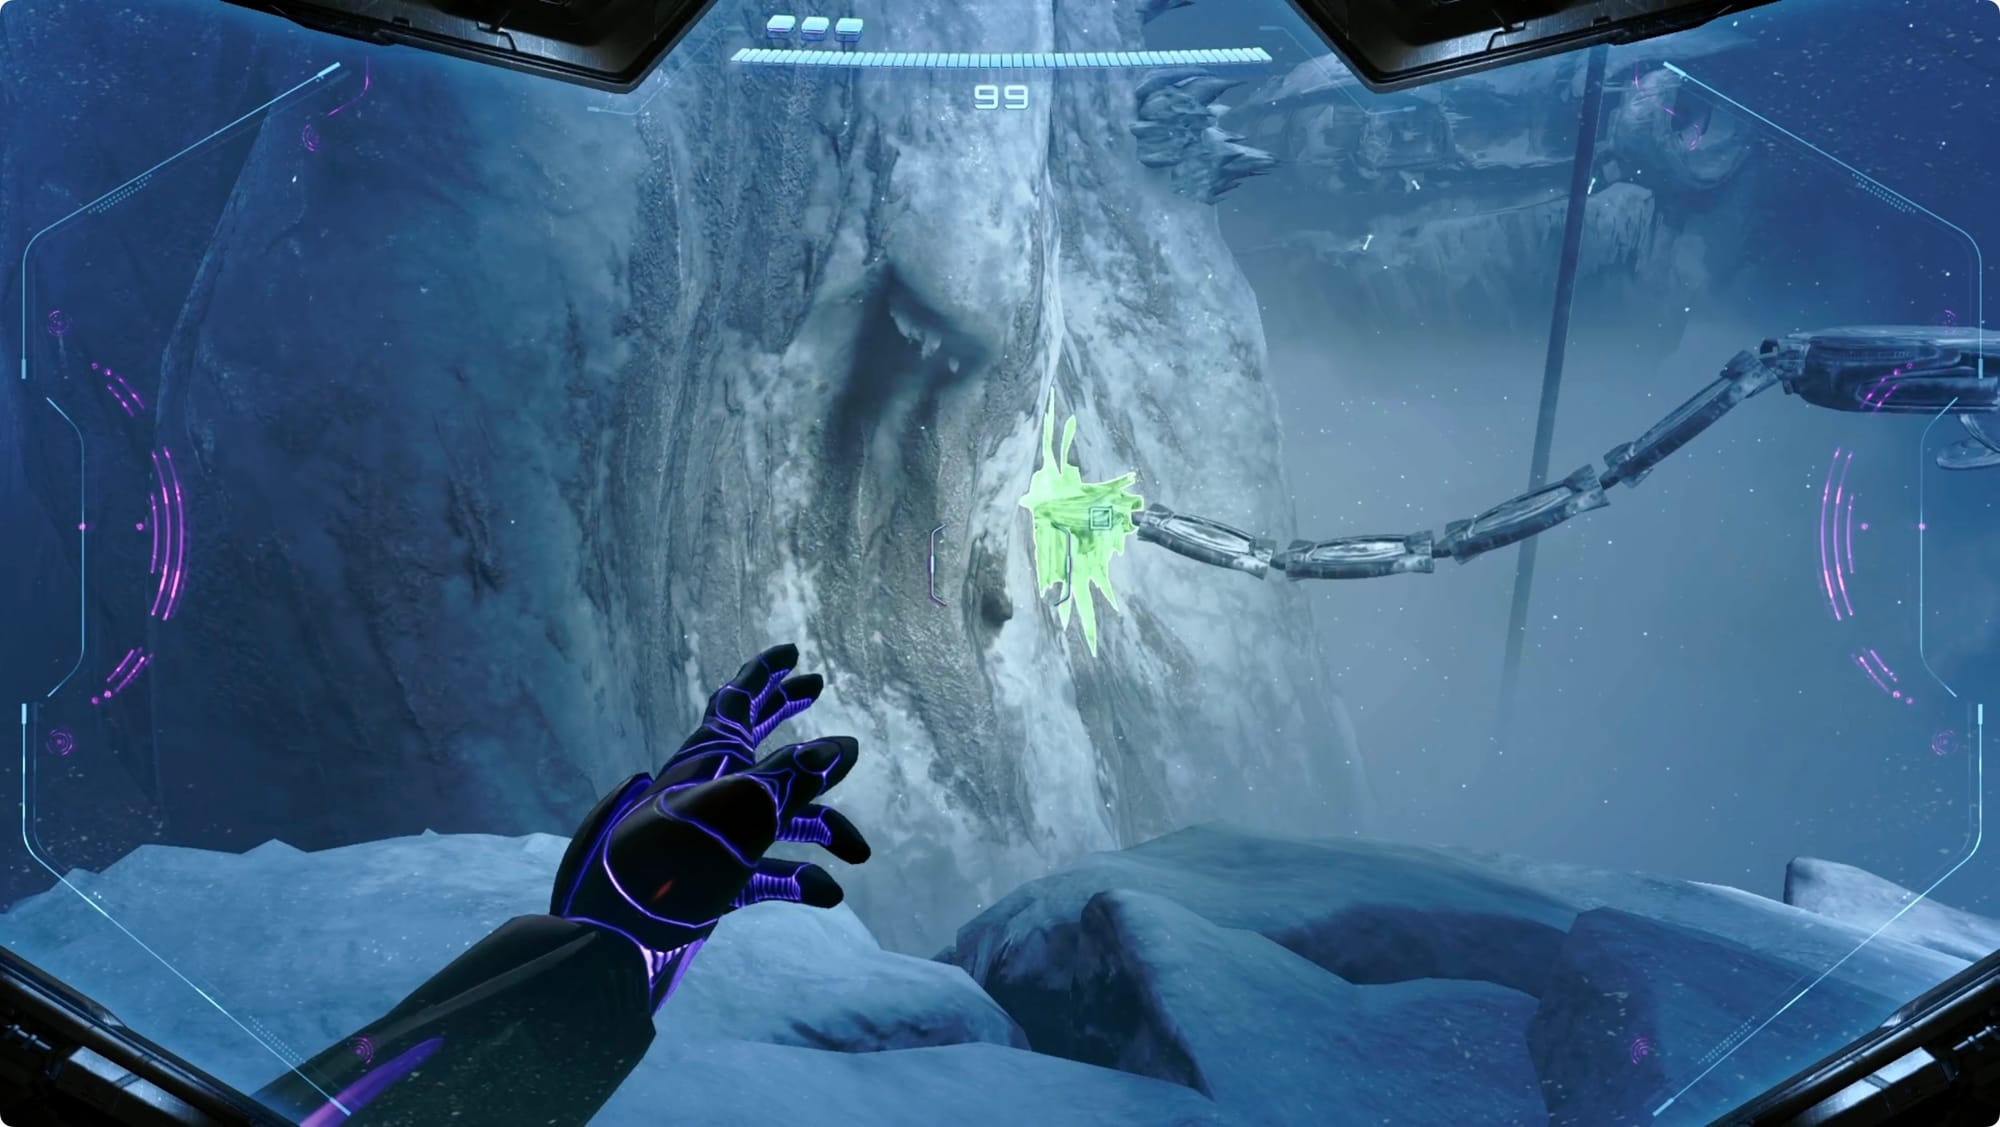
When you get about halfway around the Isopod Lair loop, look for some webbing (it's really easy to see if you keep your scanner open). Scanning it will tell you it can be burned away. Fire Shot it and collect your Shot Expansion.

The other is a lot closer to the beginning of the level in the Ravine Overlook — it’s one room east of that first locked door, the first Psychic Container, and that Missile Expansion we came back for earlier.
Along the north wall (opposite from the cliff), look for more webbing to burn away and grab another Shot Expansion.
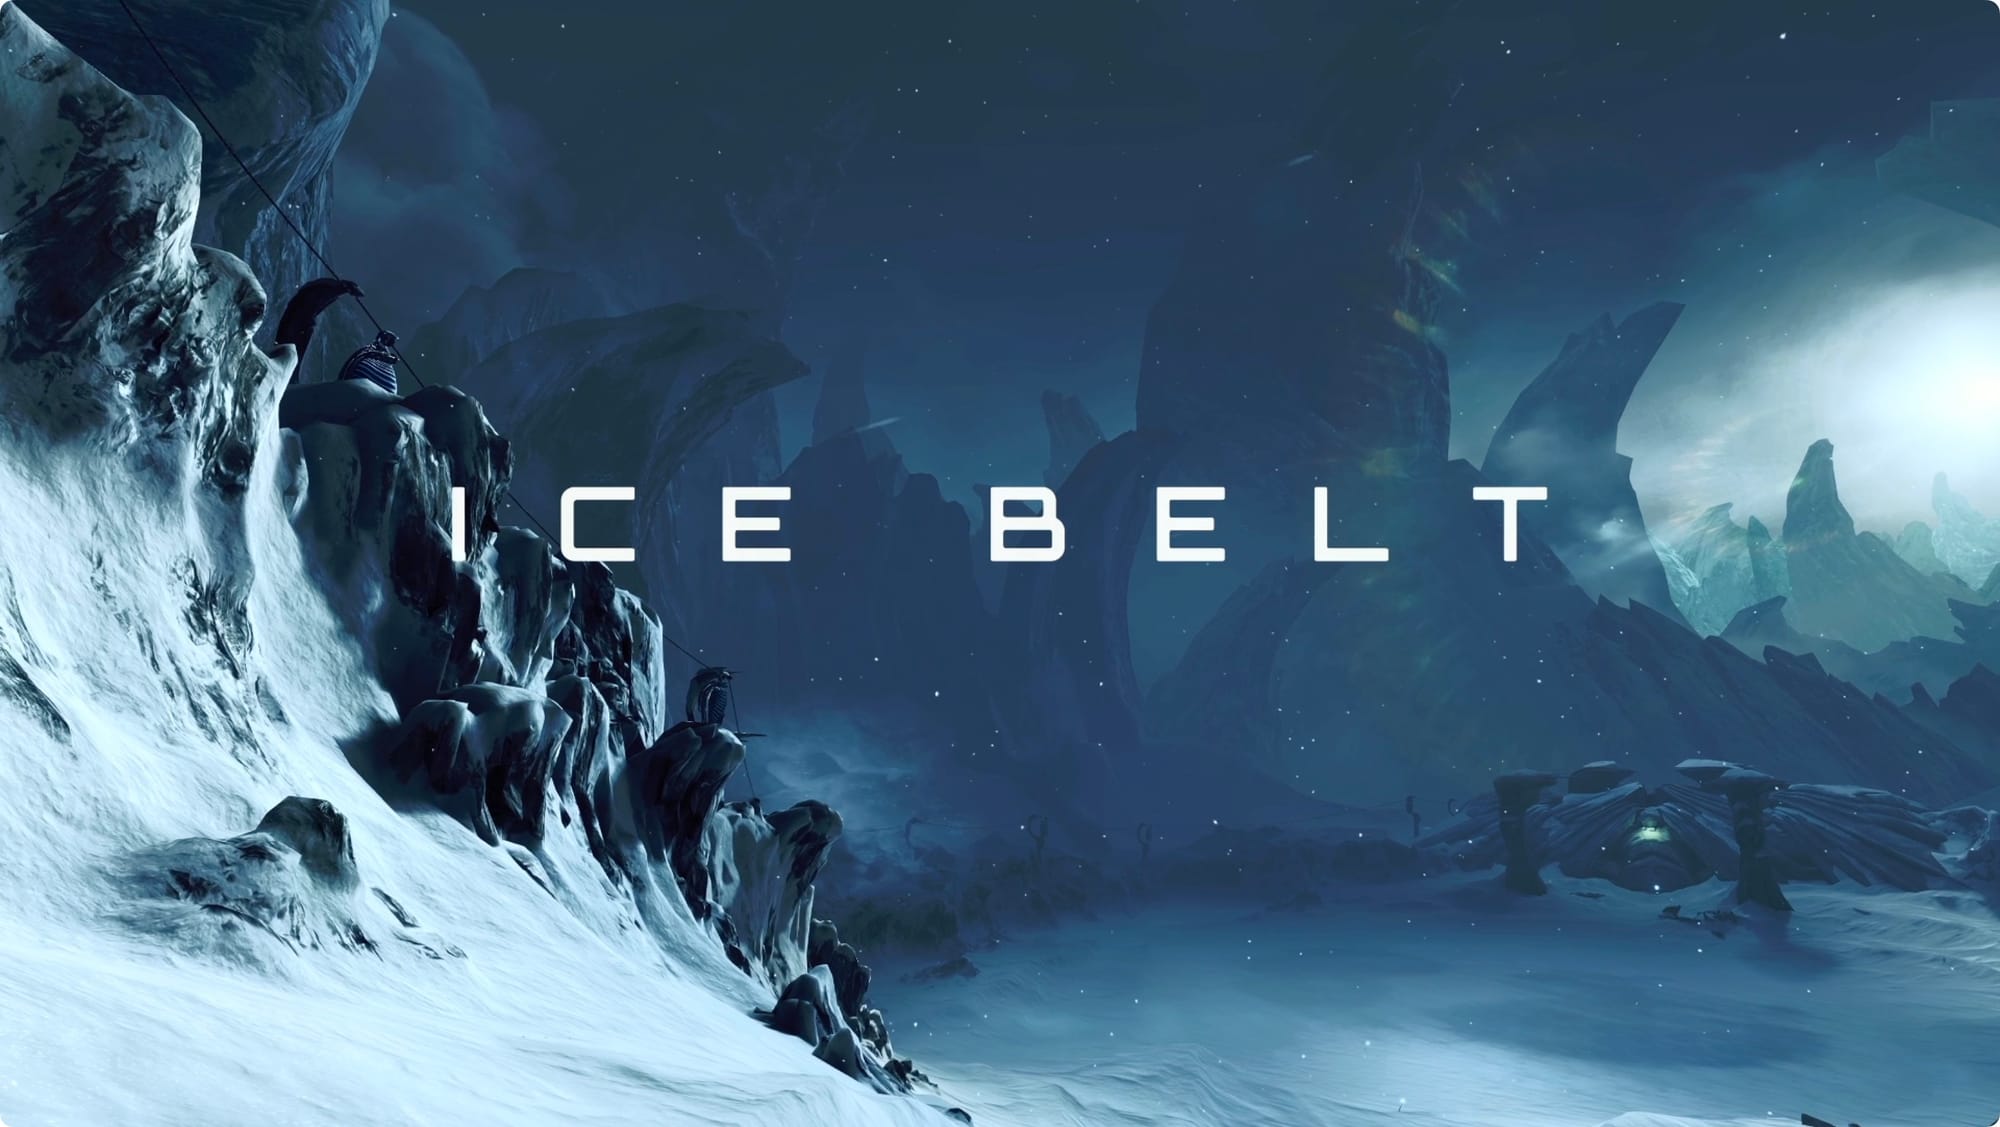
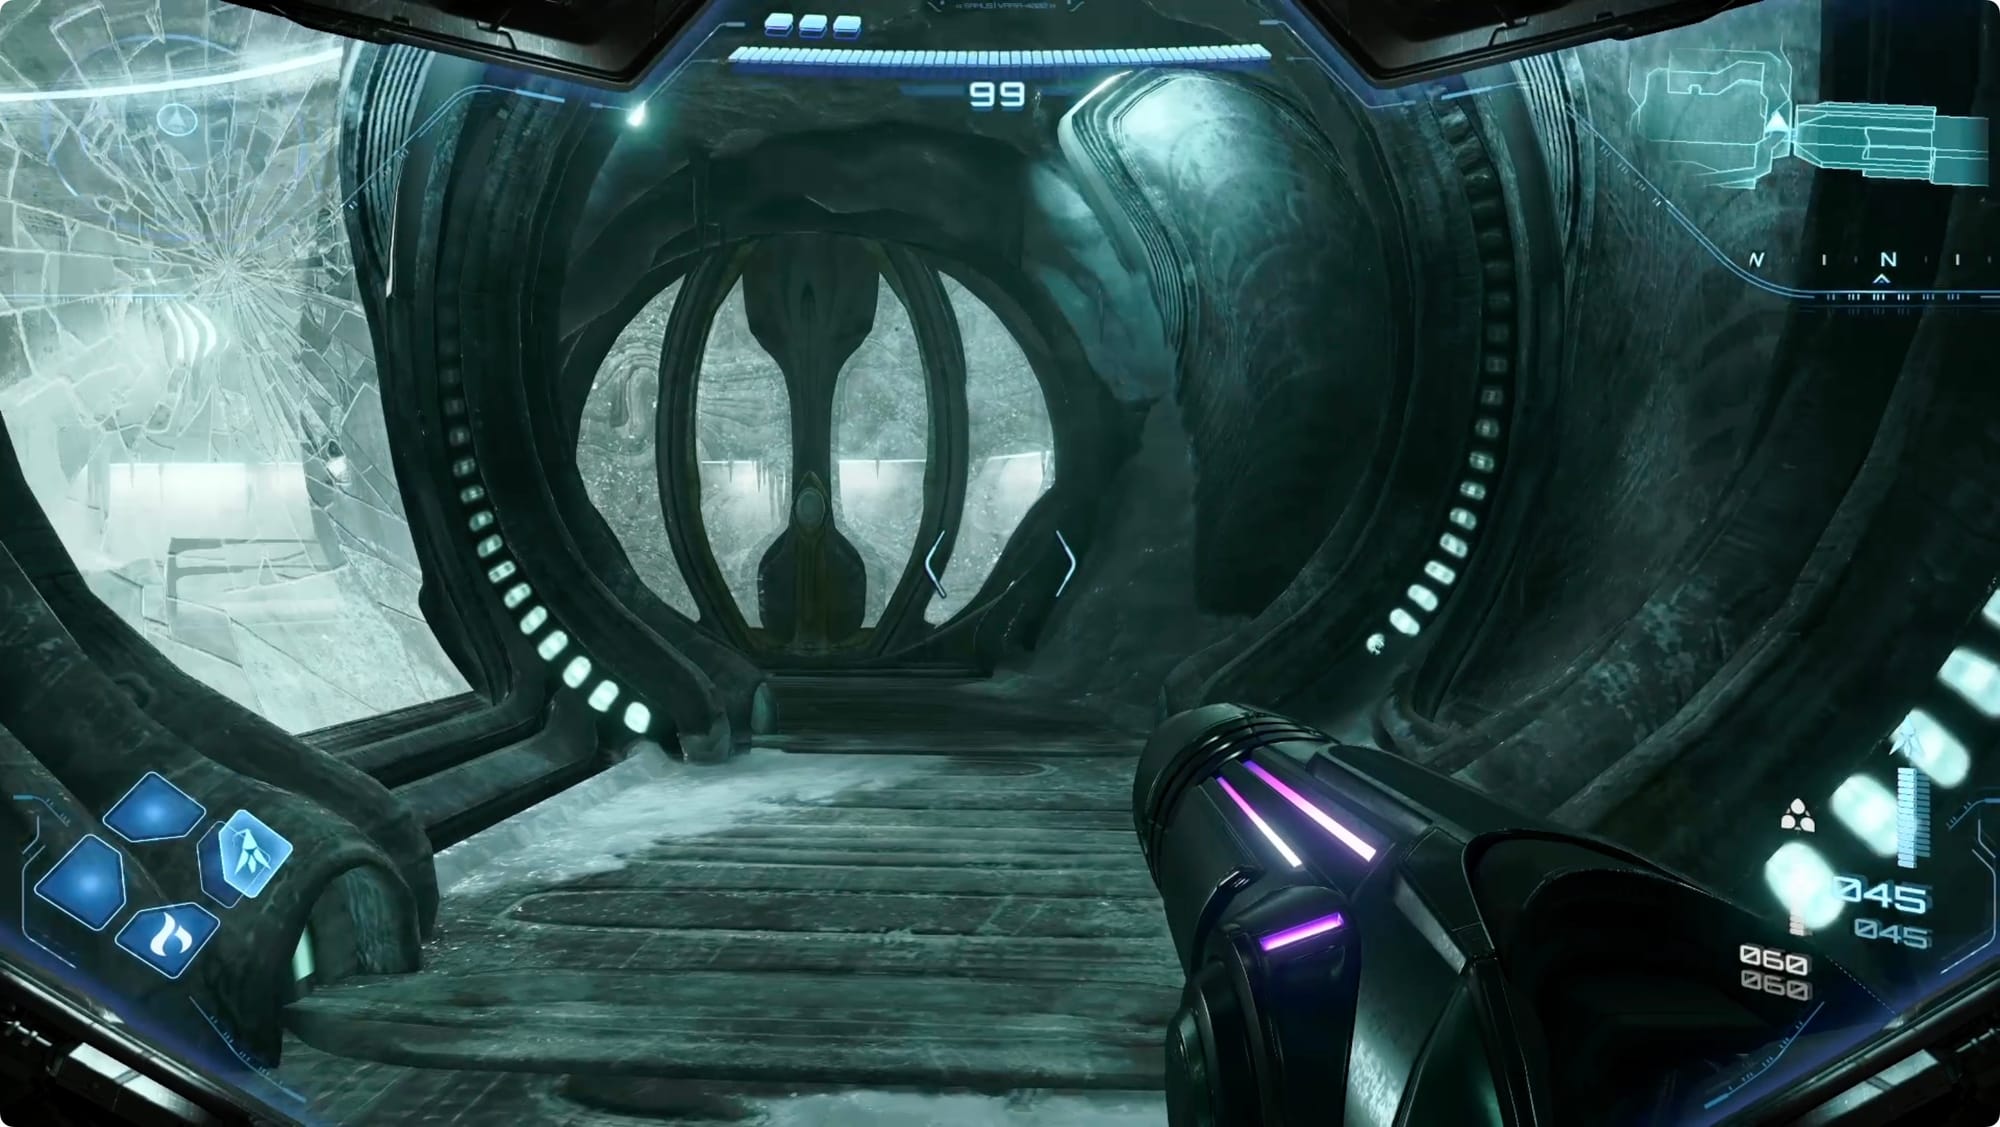
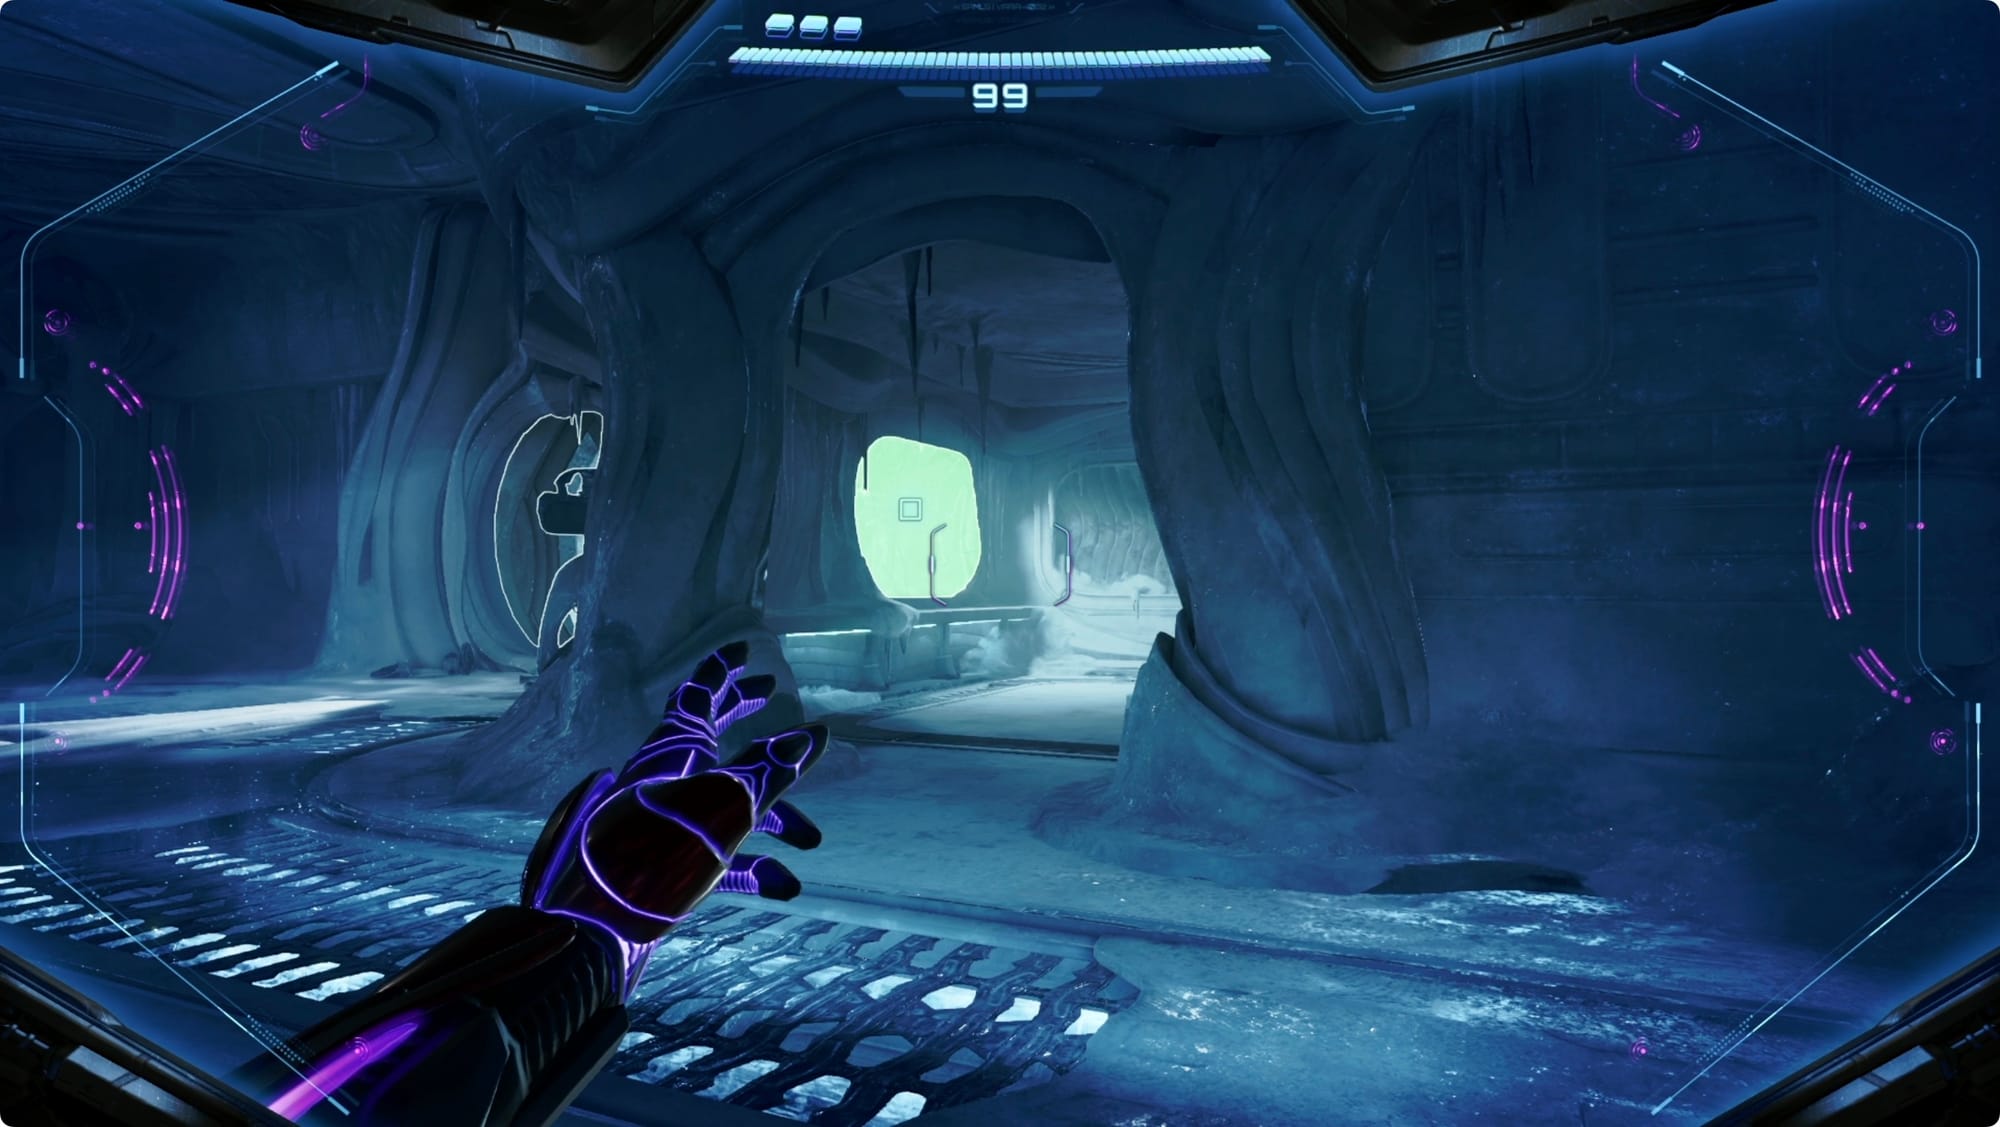
Head for the Ice Belt
Next, it’s time to keep using your new Fire Shot and, as Myles will point out over the radio, what better place to go than a snowy mountain.

Head out to the desert and point your Vi-O-La north. Not far from Fury Green, you’ll come to another entrance.
Inside, look to your right for a few Psychic Platforms to climb. Follow that ledge around to the door and head inside. Through the next tunnel, take the (giant) elevator.

Through the next door, there’s a giant tram car with a hologram that says it’s for fully loaded freight vehicles. If you take this too literally and assume this means it’s only for freight vehicles like I did, you’ll waste a lot of time. Just touch the hologram and it’ll deliver you to the Ice Belt.
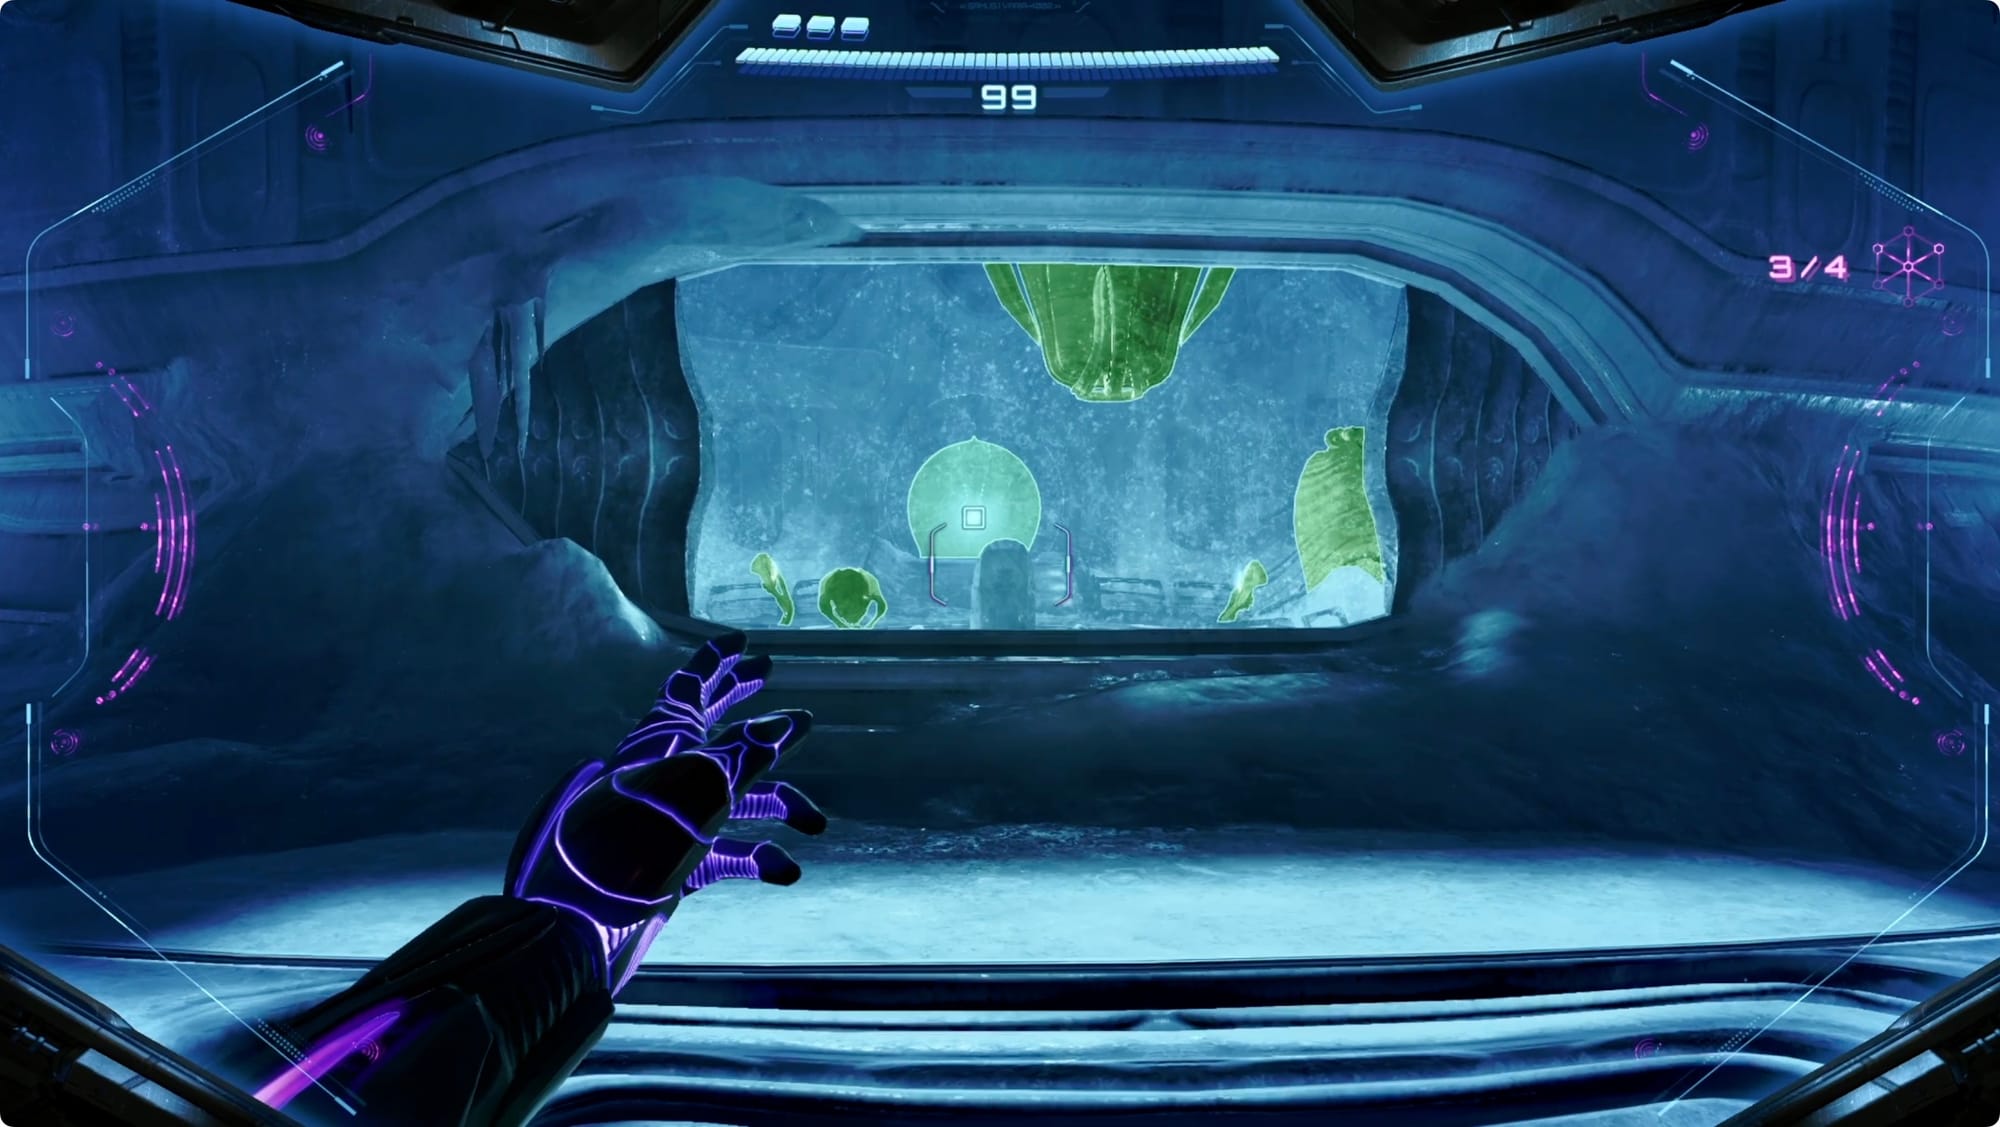
As soon as you arrive, scan around for a preview of what we’ll be getting here. On the right is a Missile Expansion behind a Bomb Slot-locked door. The Bomb Slot is just to the left of the door behind some crates.
On the left (south) side of the room, there’s a Save Station.
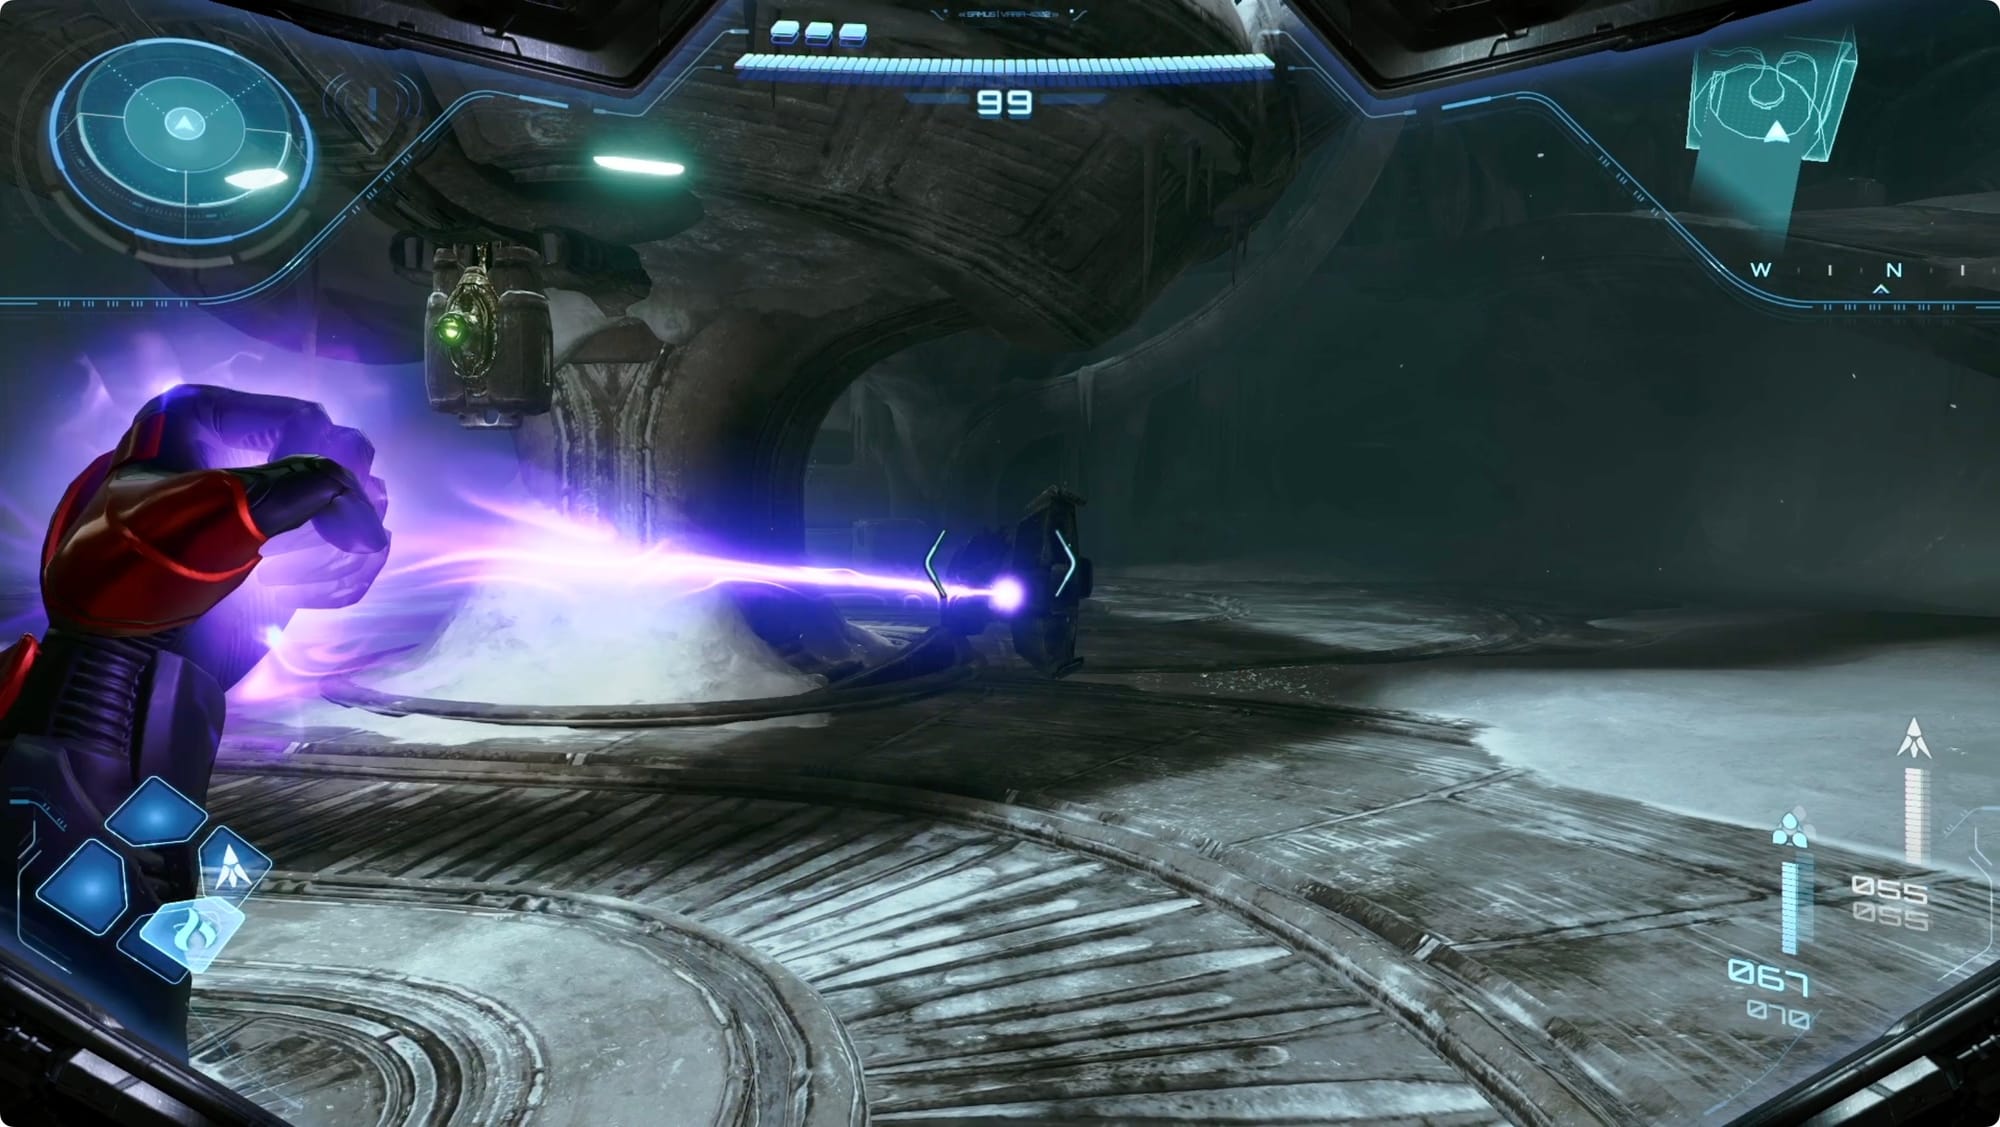
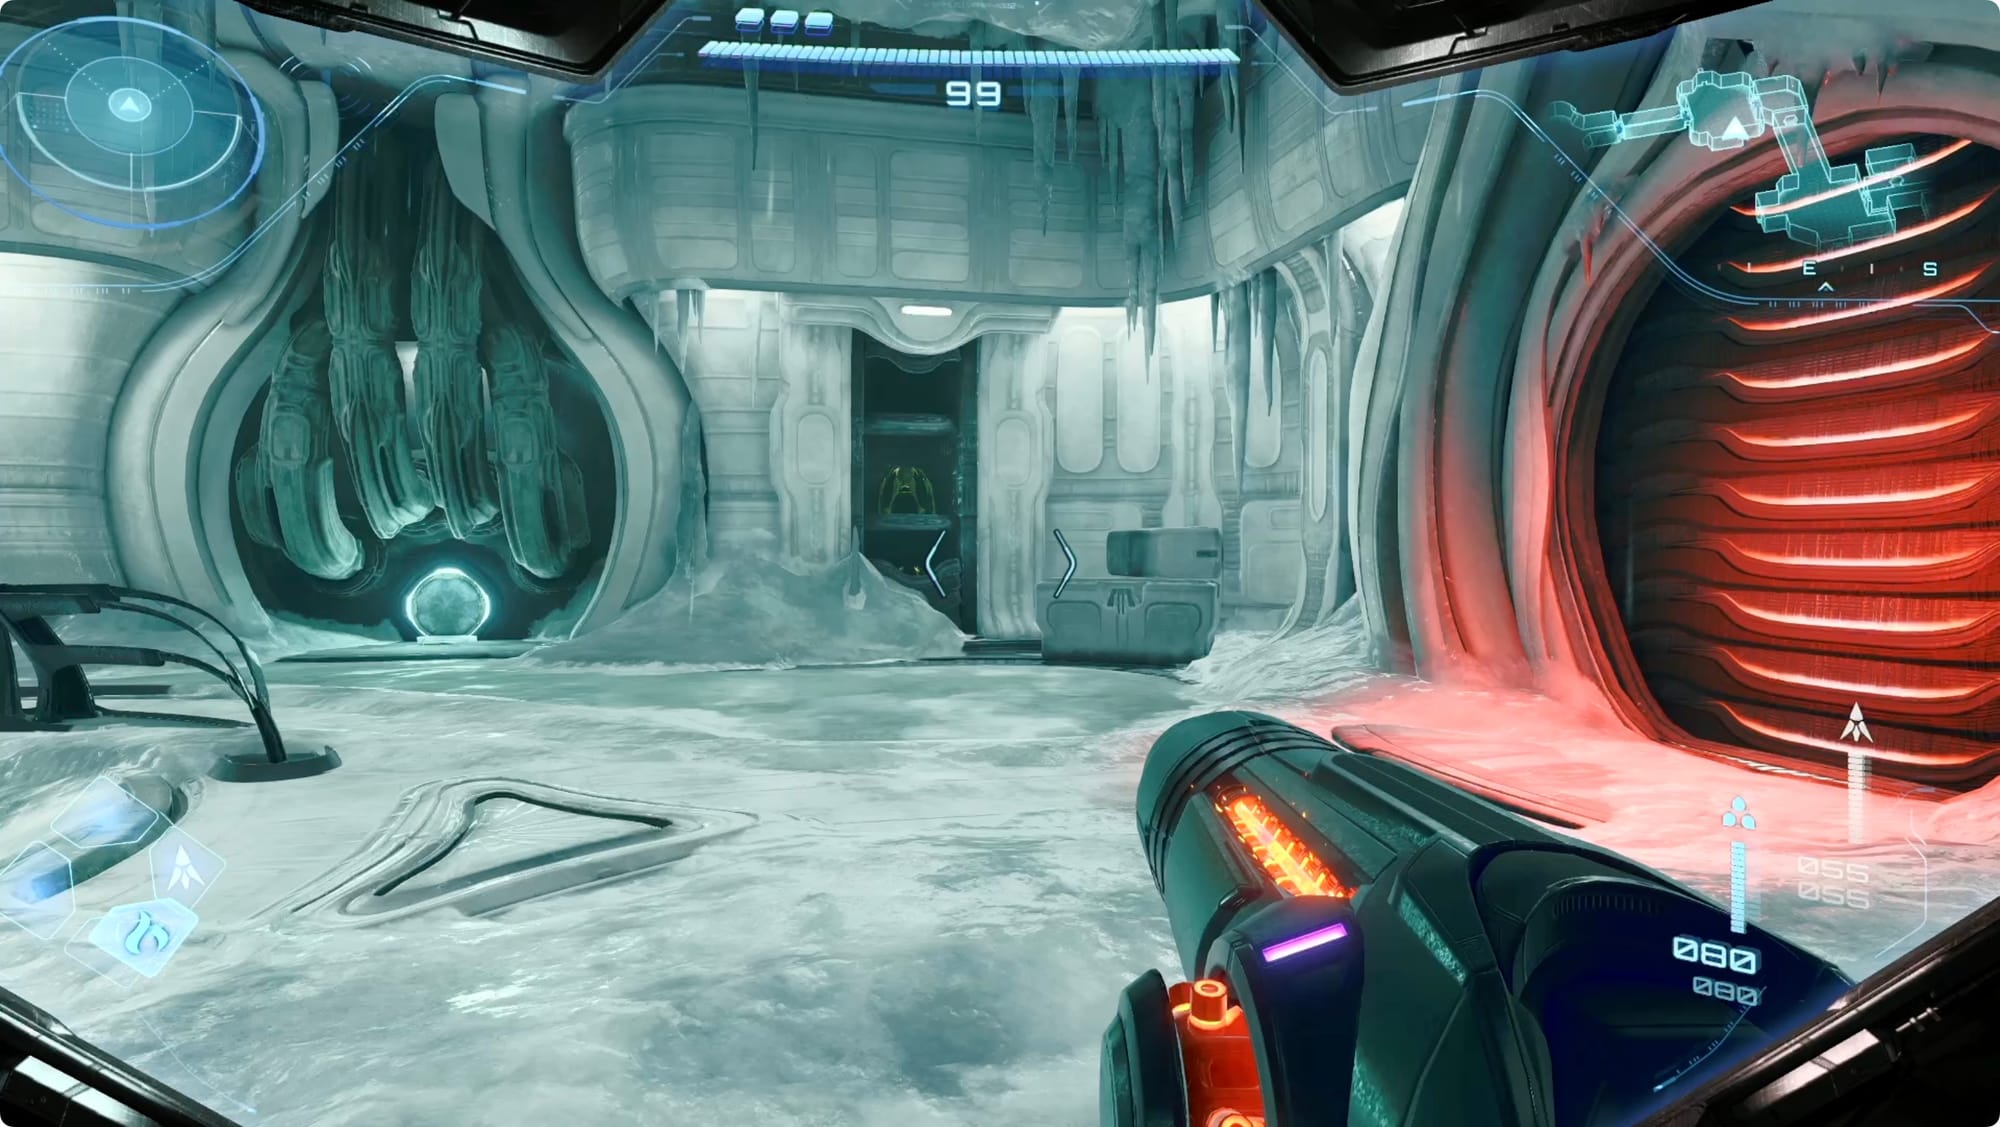
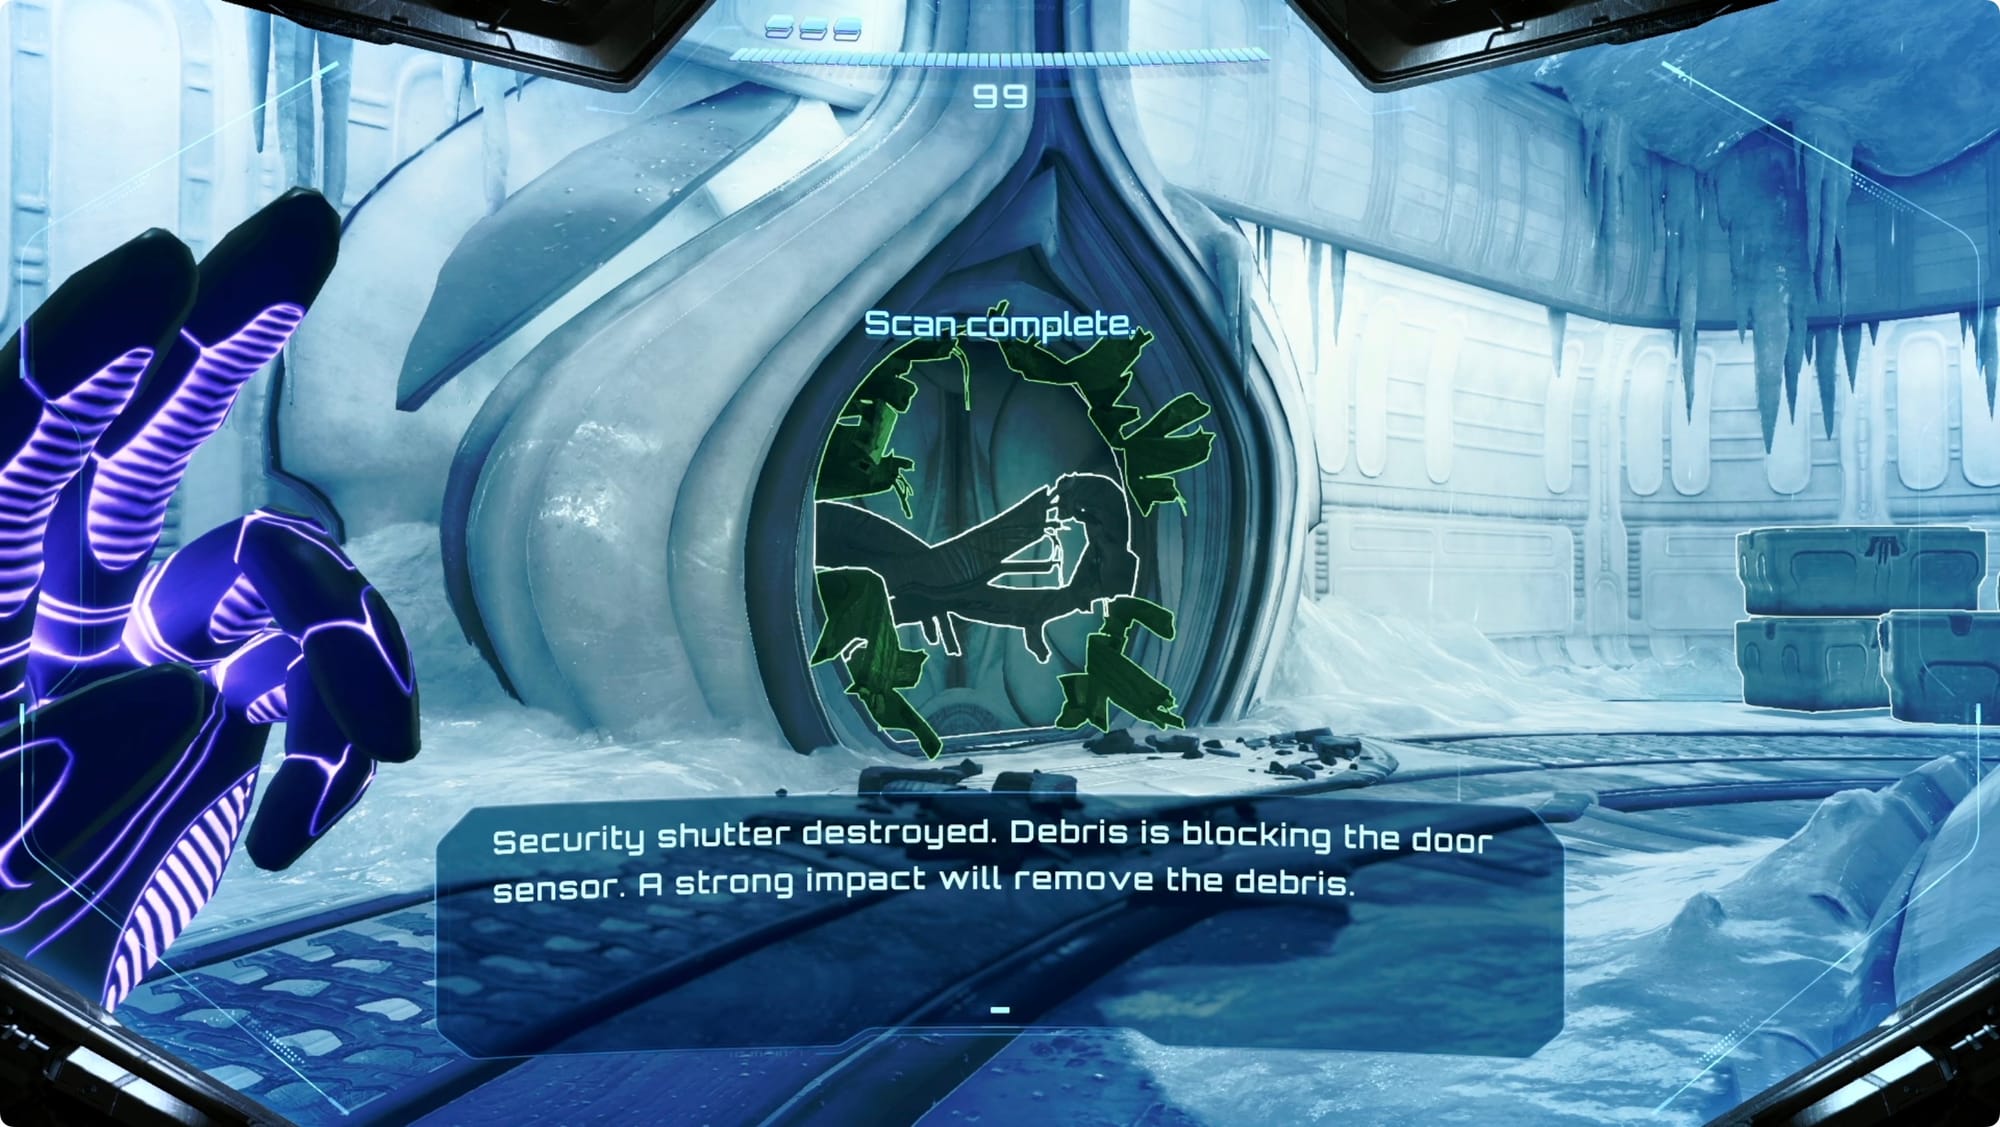
When you leave the Save Station, take a right up the ramp to the second floor. Head into the hallway cross to the north end. The door is broken, but you can missile the glass on your left. Shoot a Control Beam through the open window and loop it around to the right to hit the back side of the door and open it.
We can’t do anything with the crane yet (you may notice the ominous, blue light that looks suspiciously like the red light we just found in the Scrapyard. Hmm ...), so hop back down to the floor and head out the main door leading east.
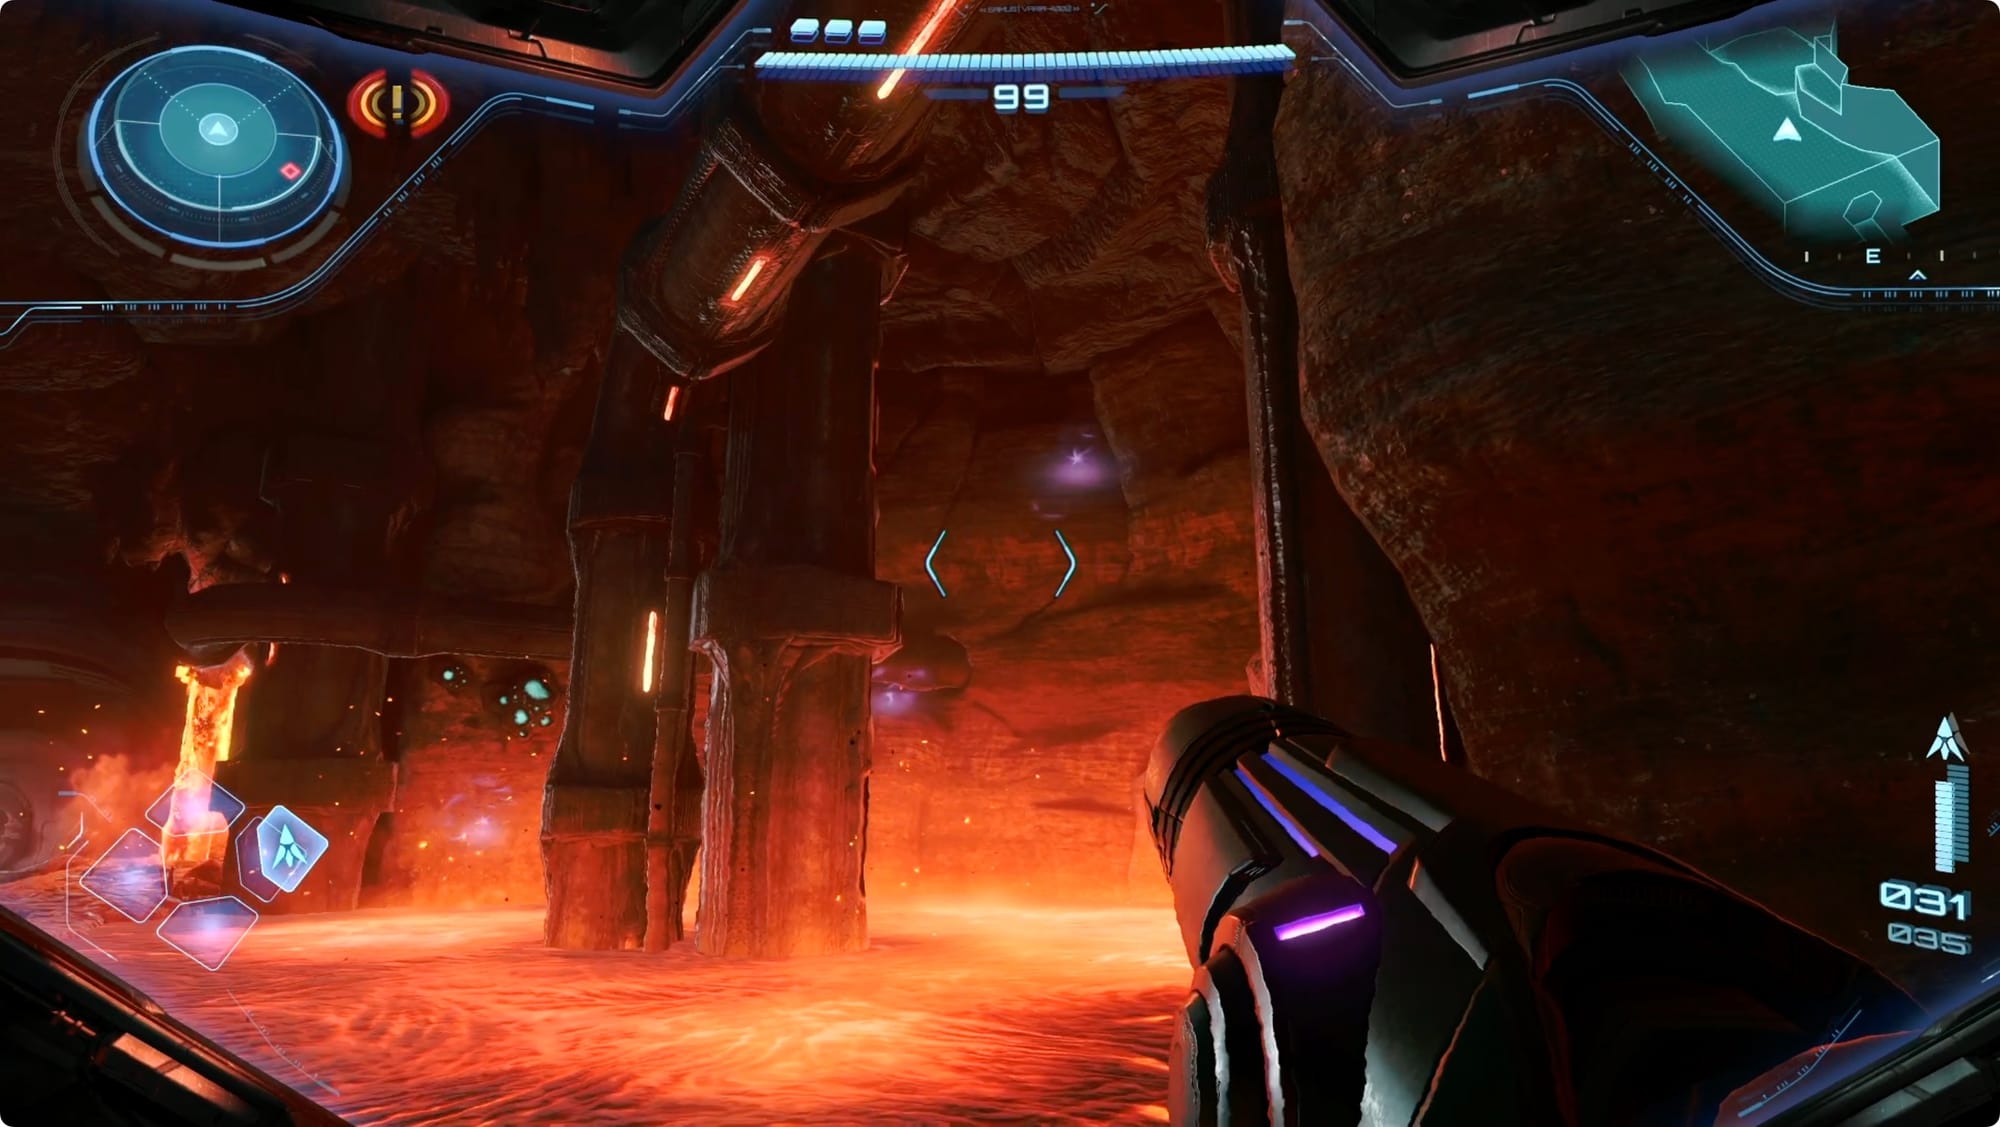
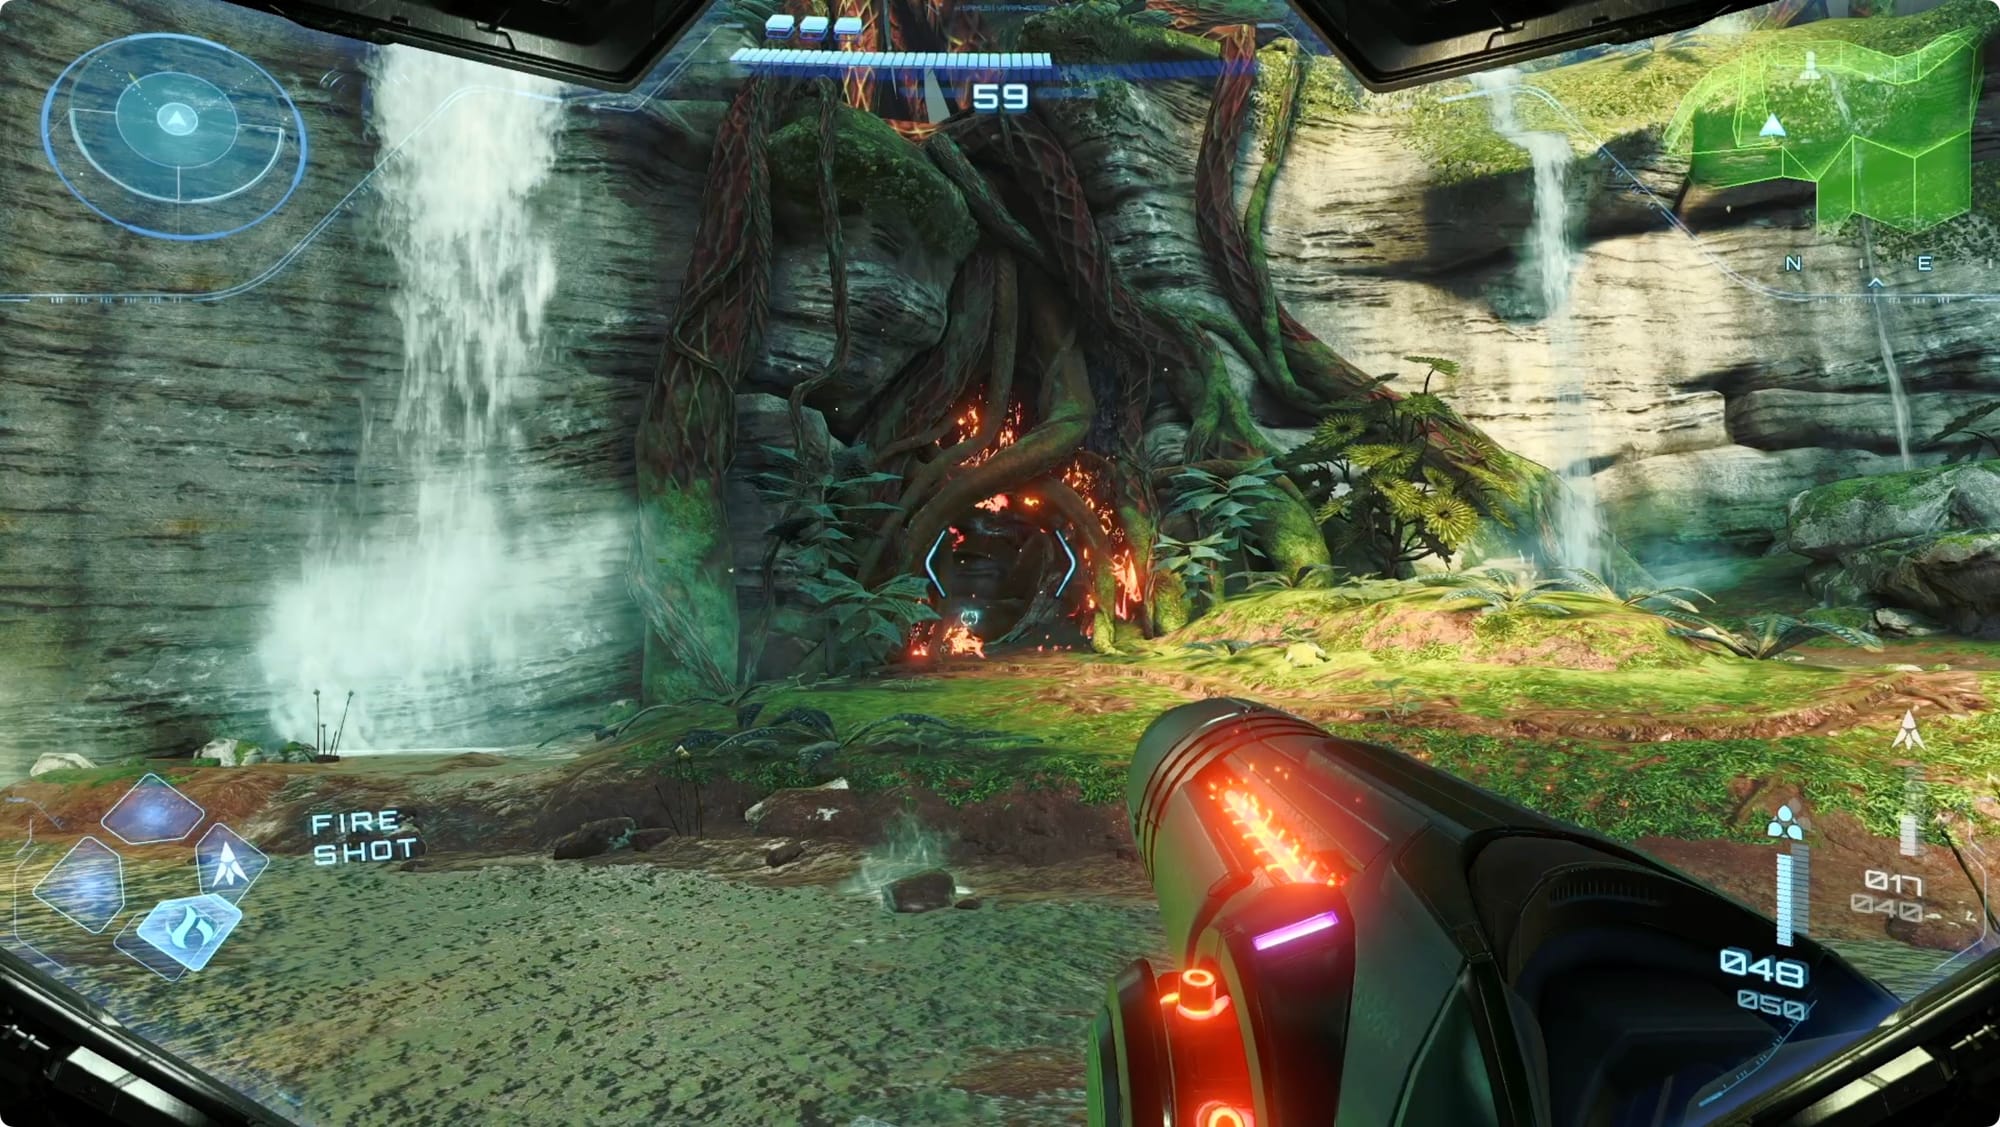
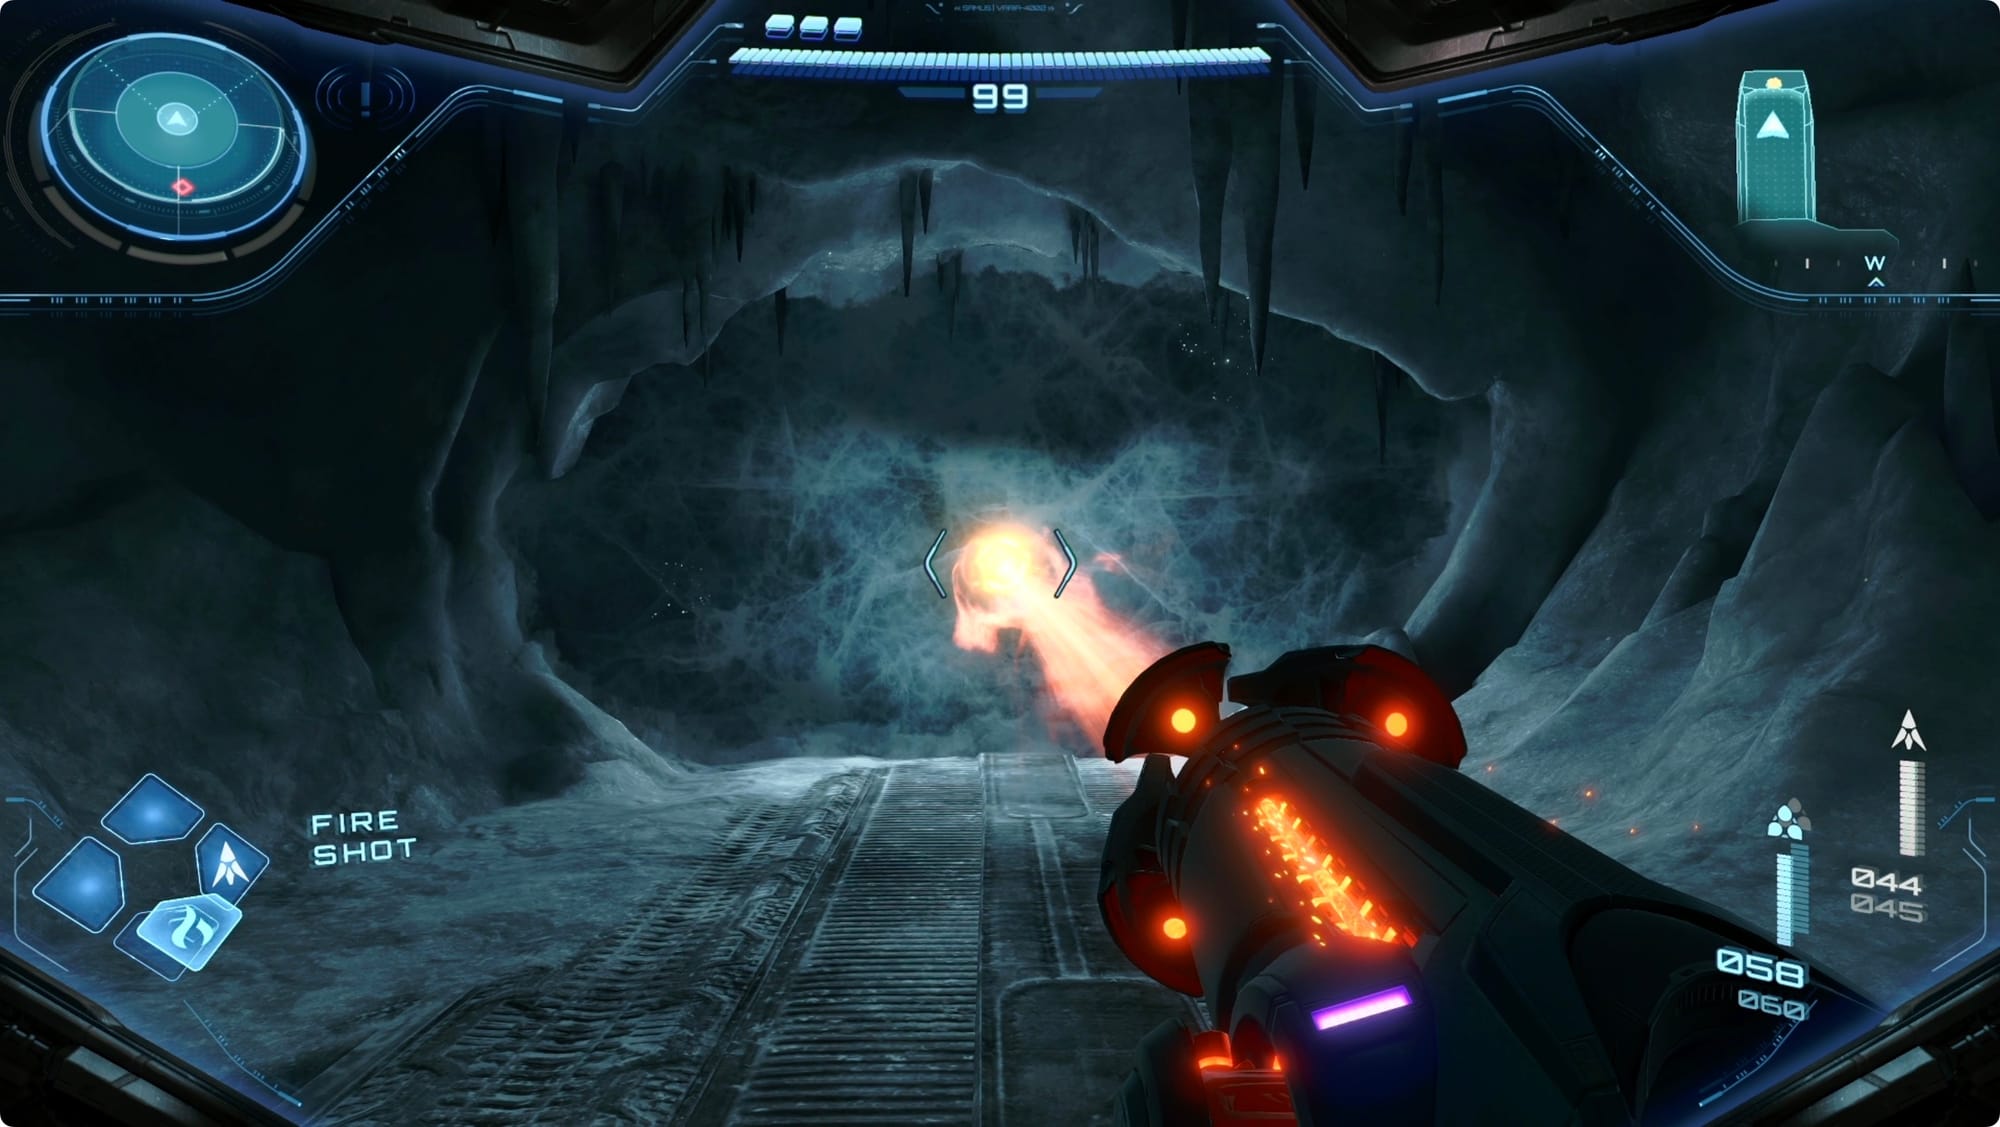
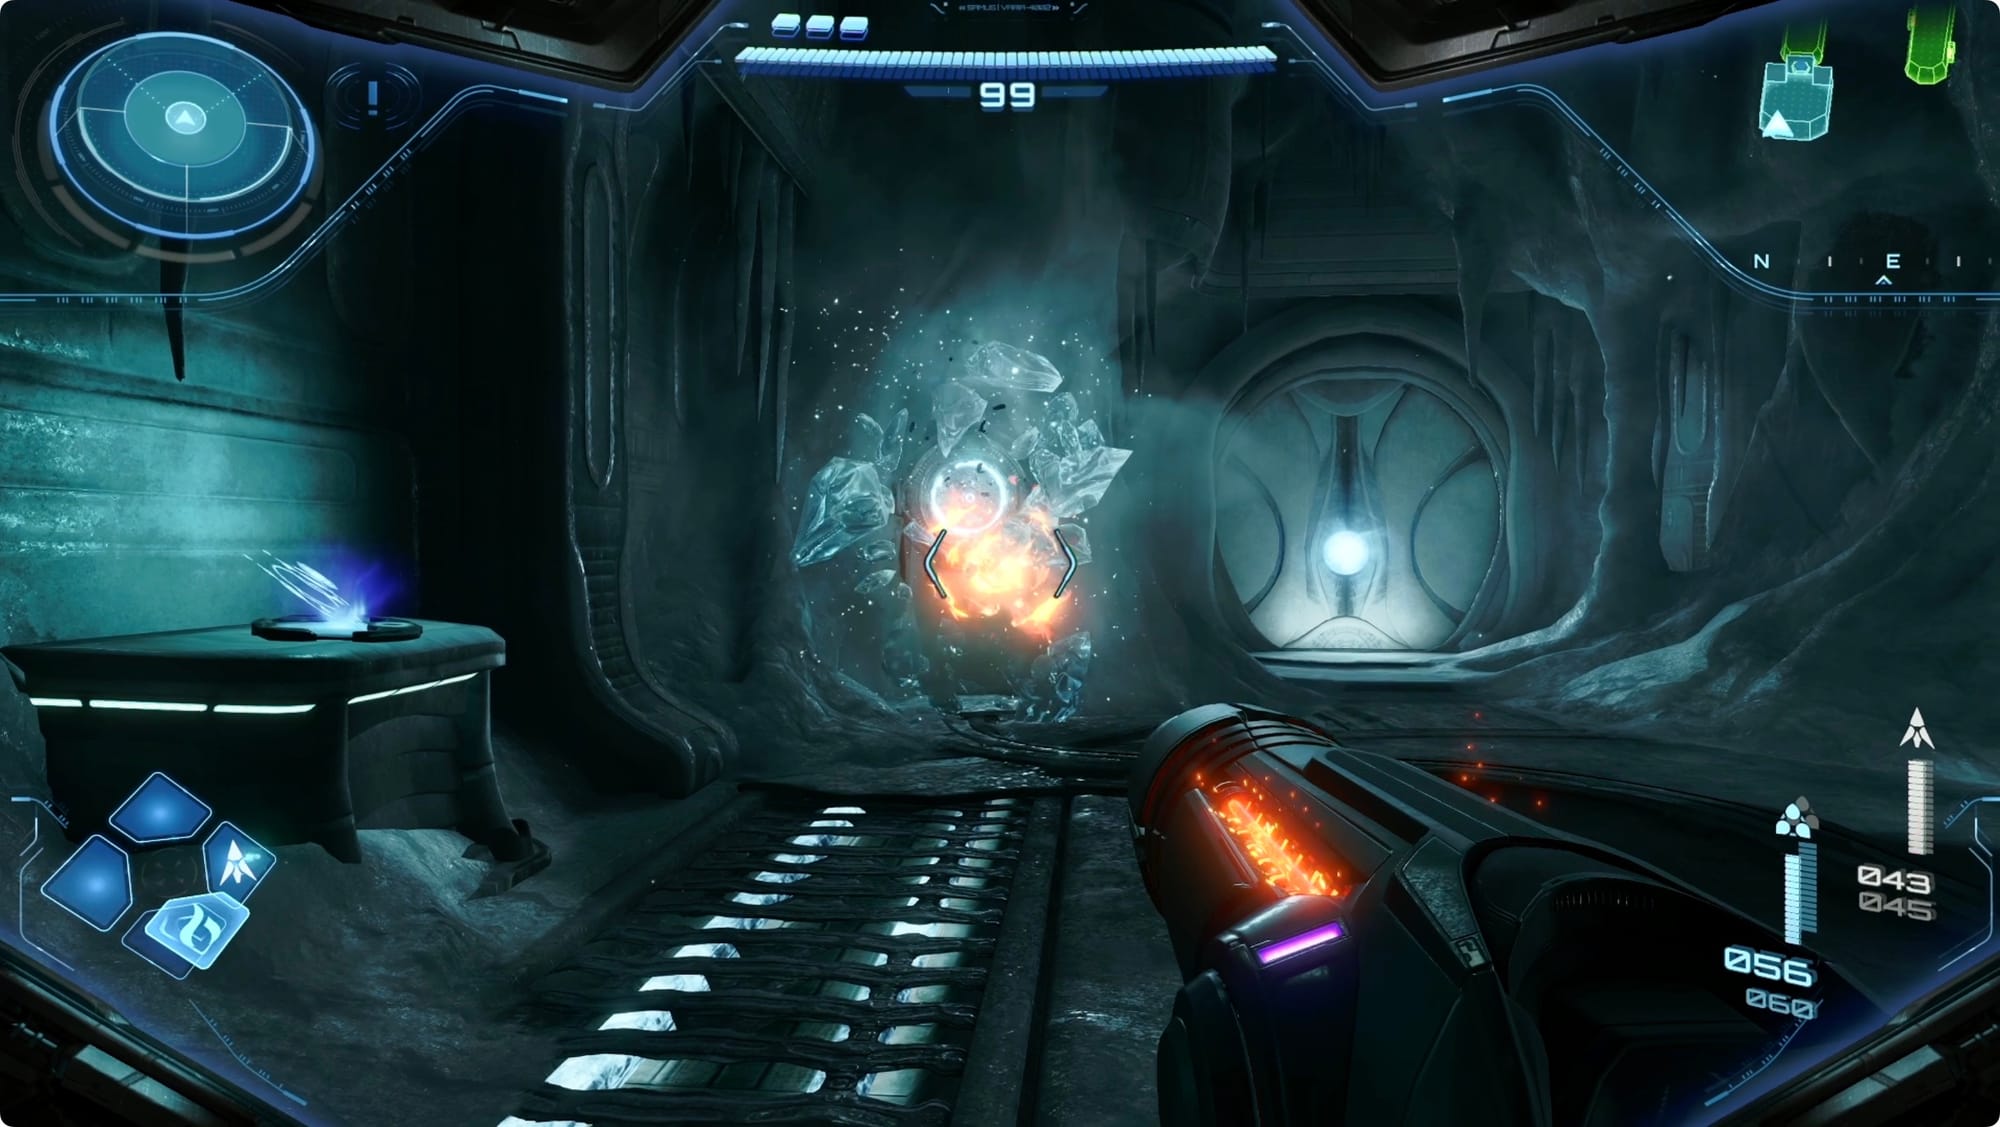
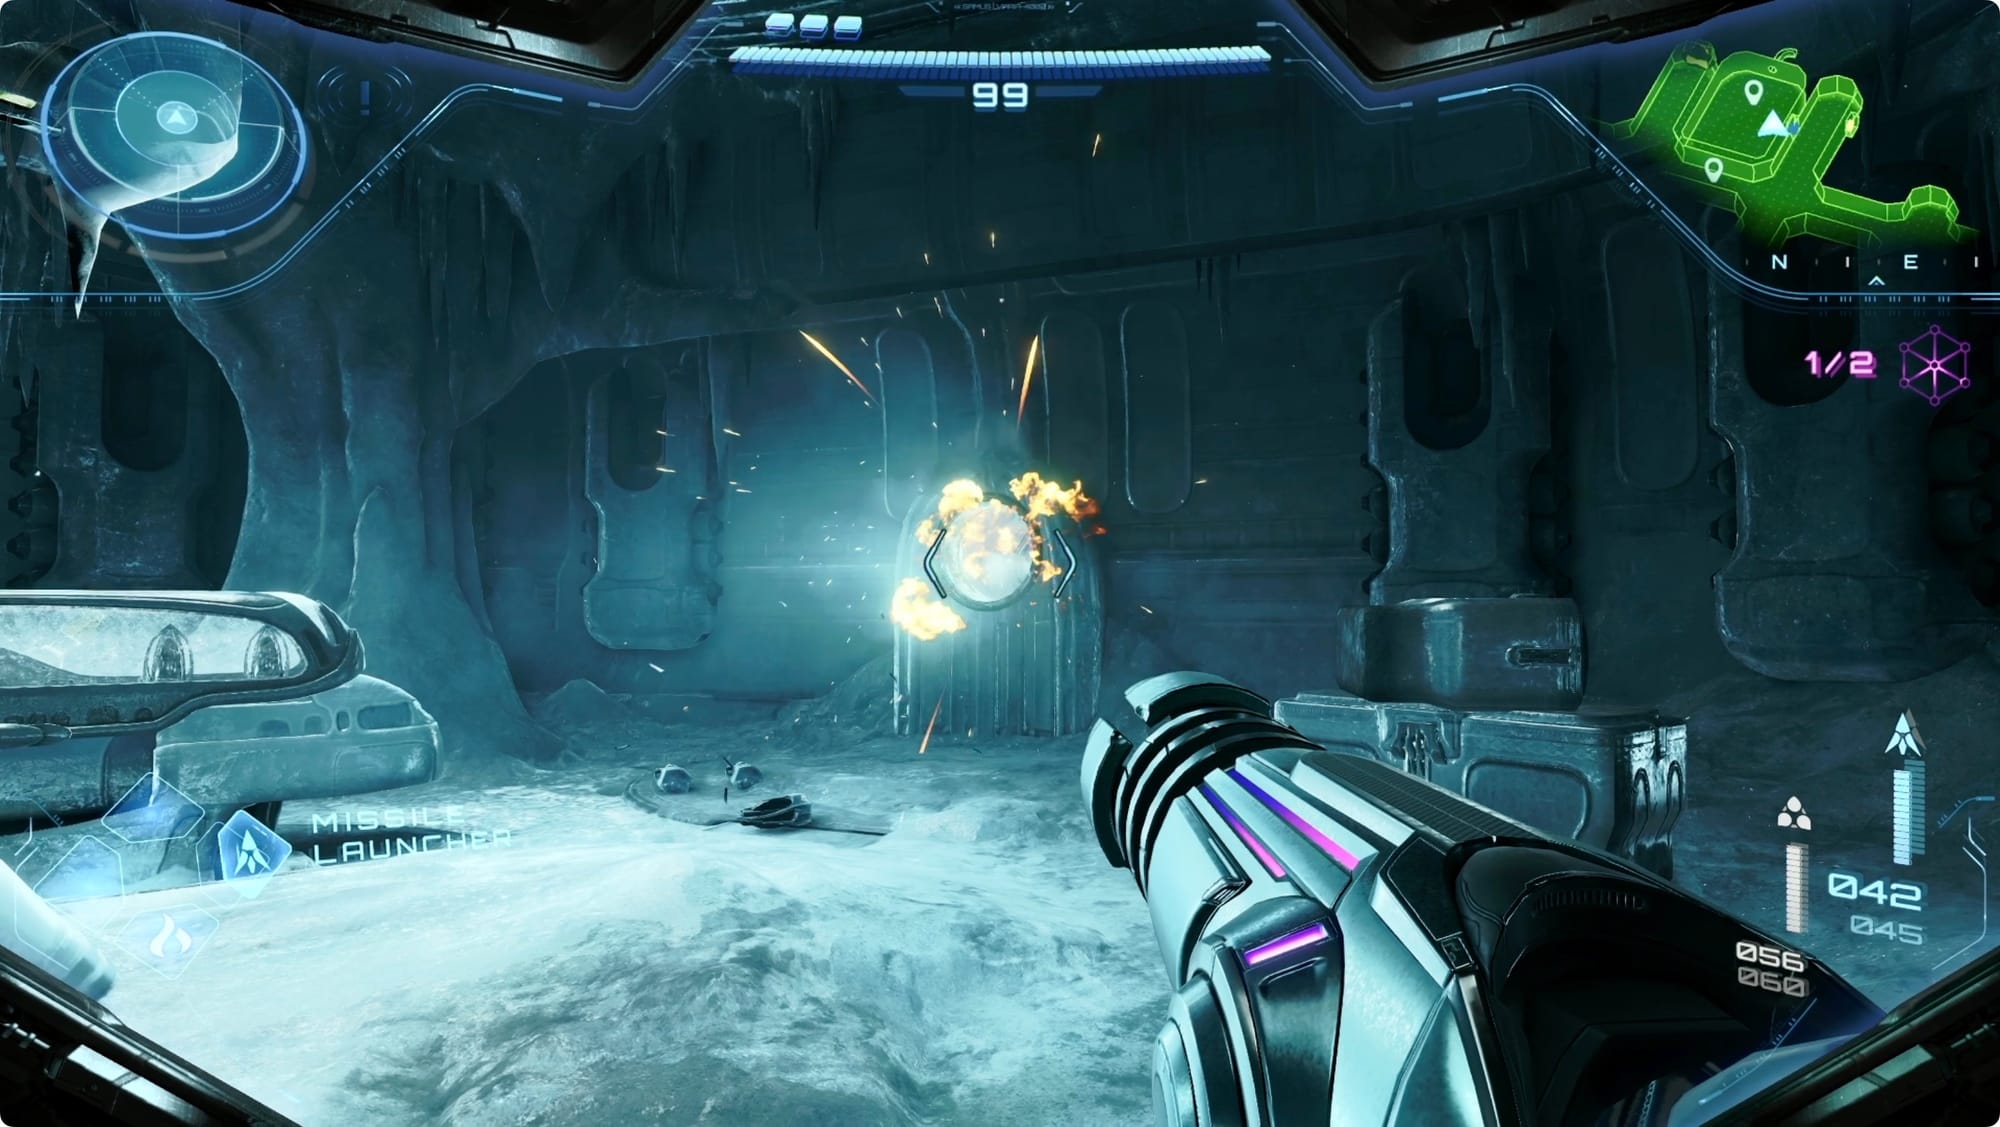
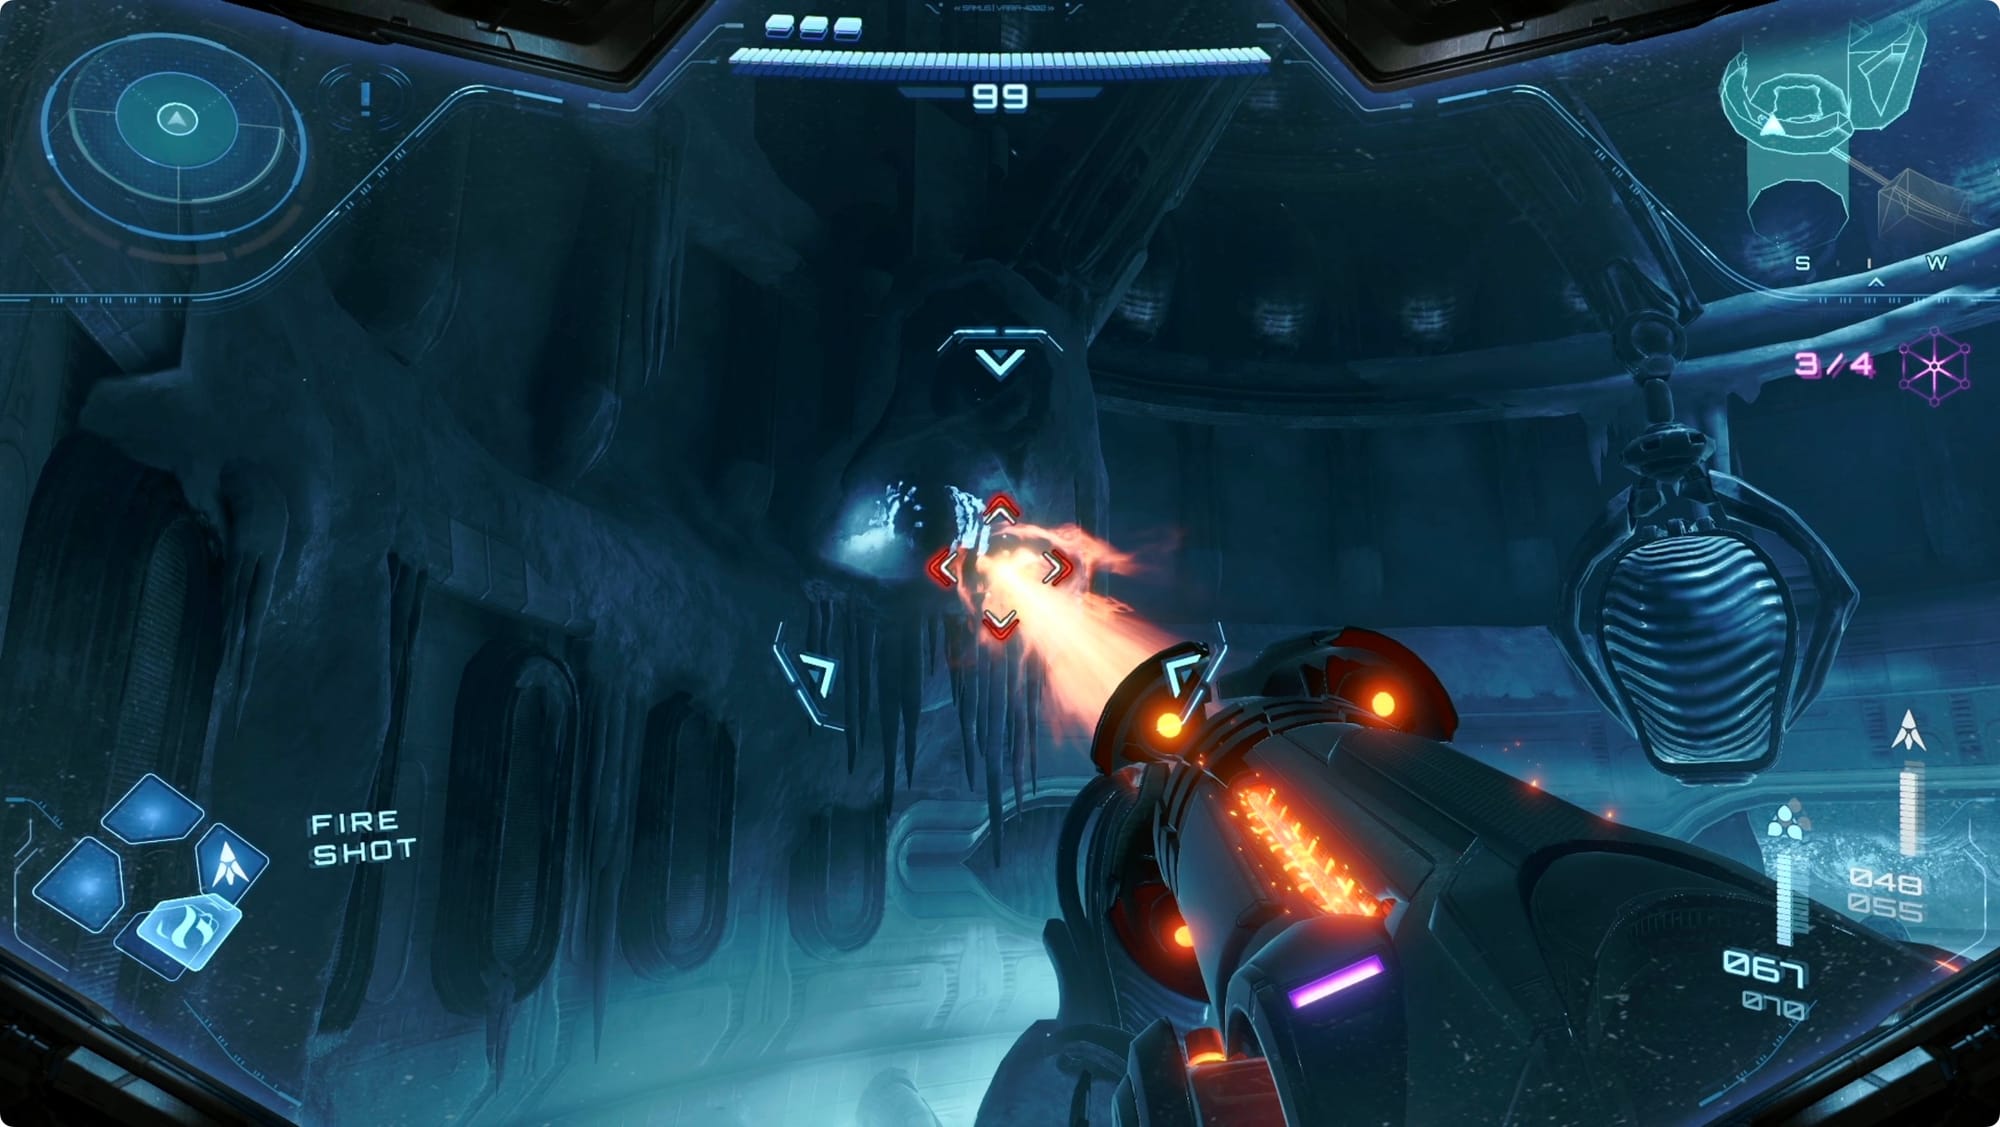
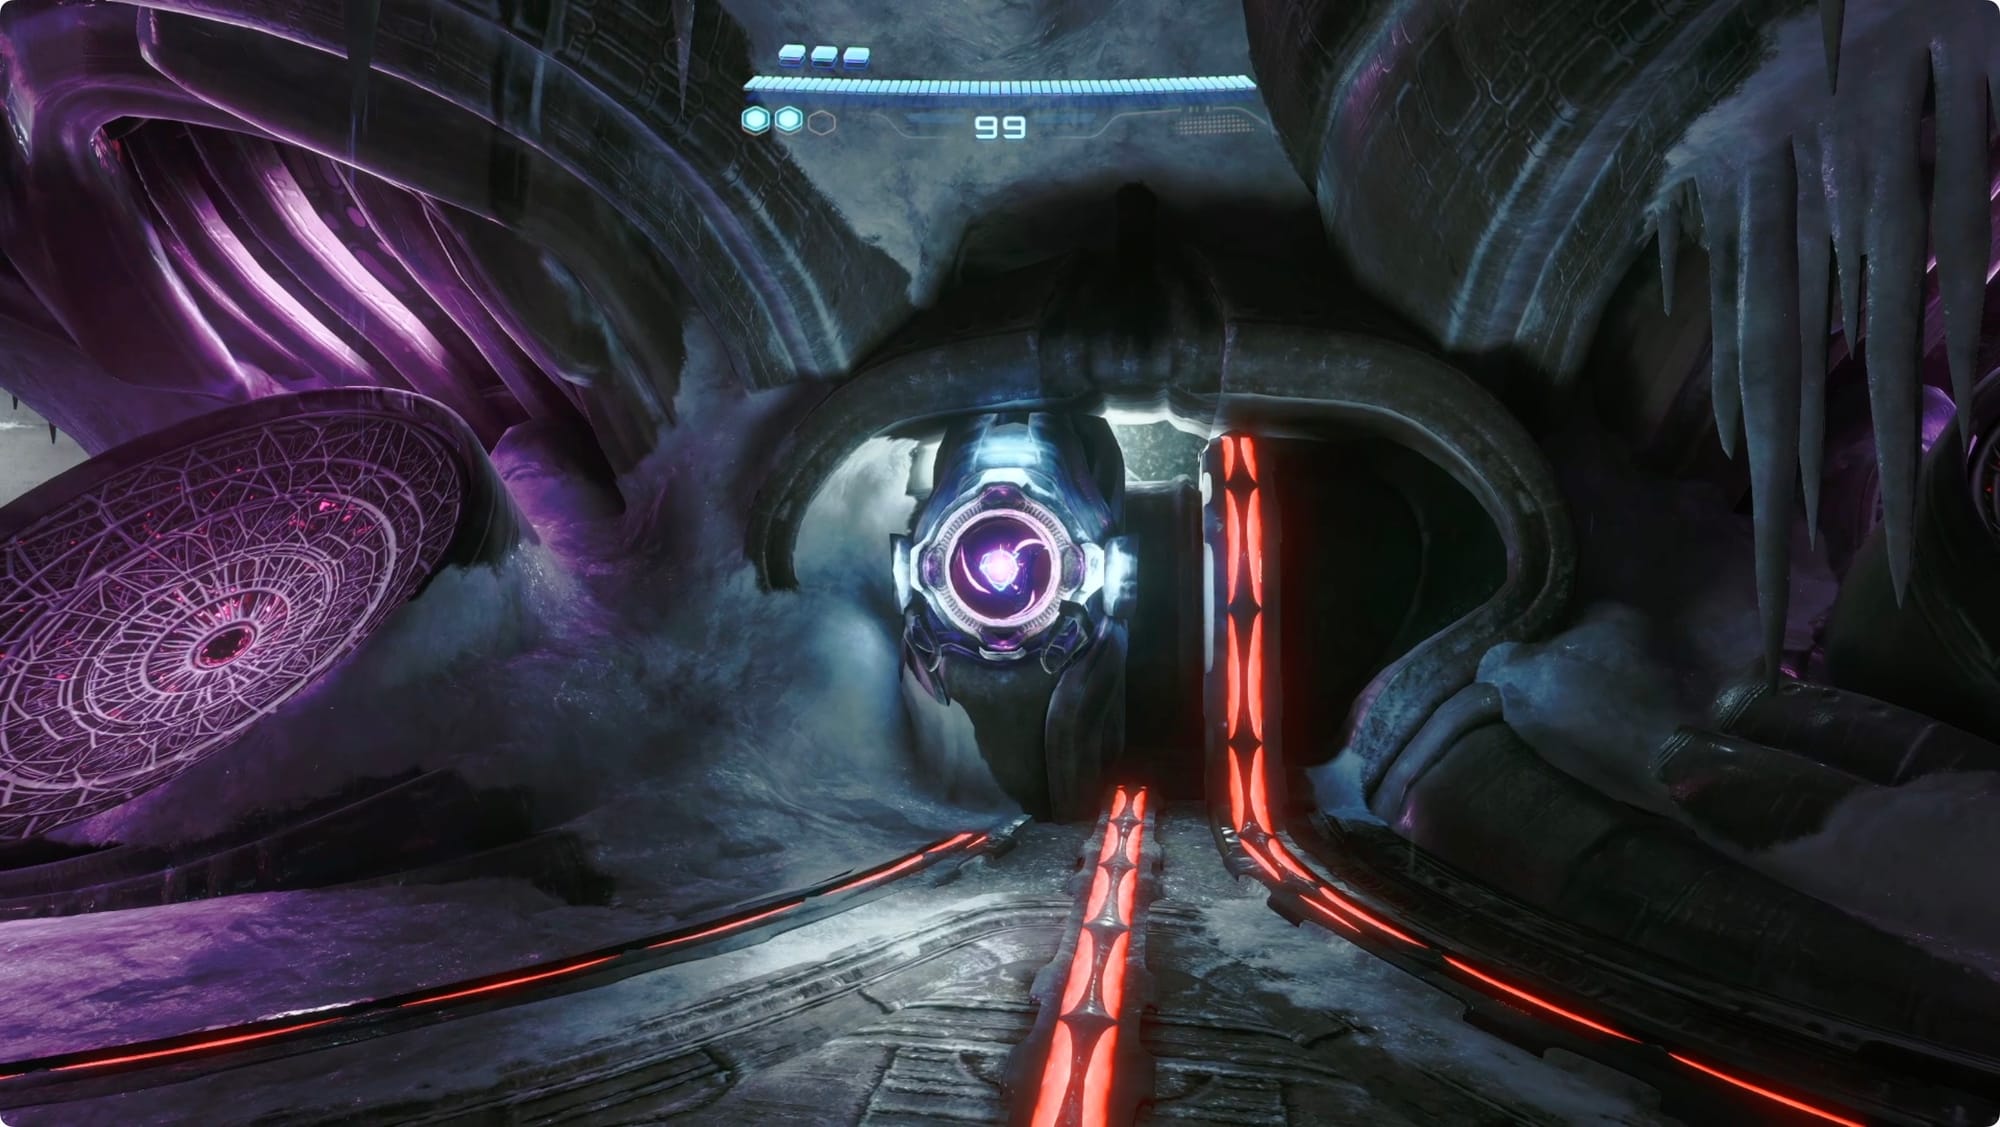
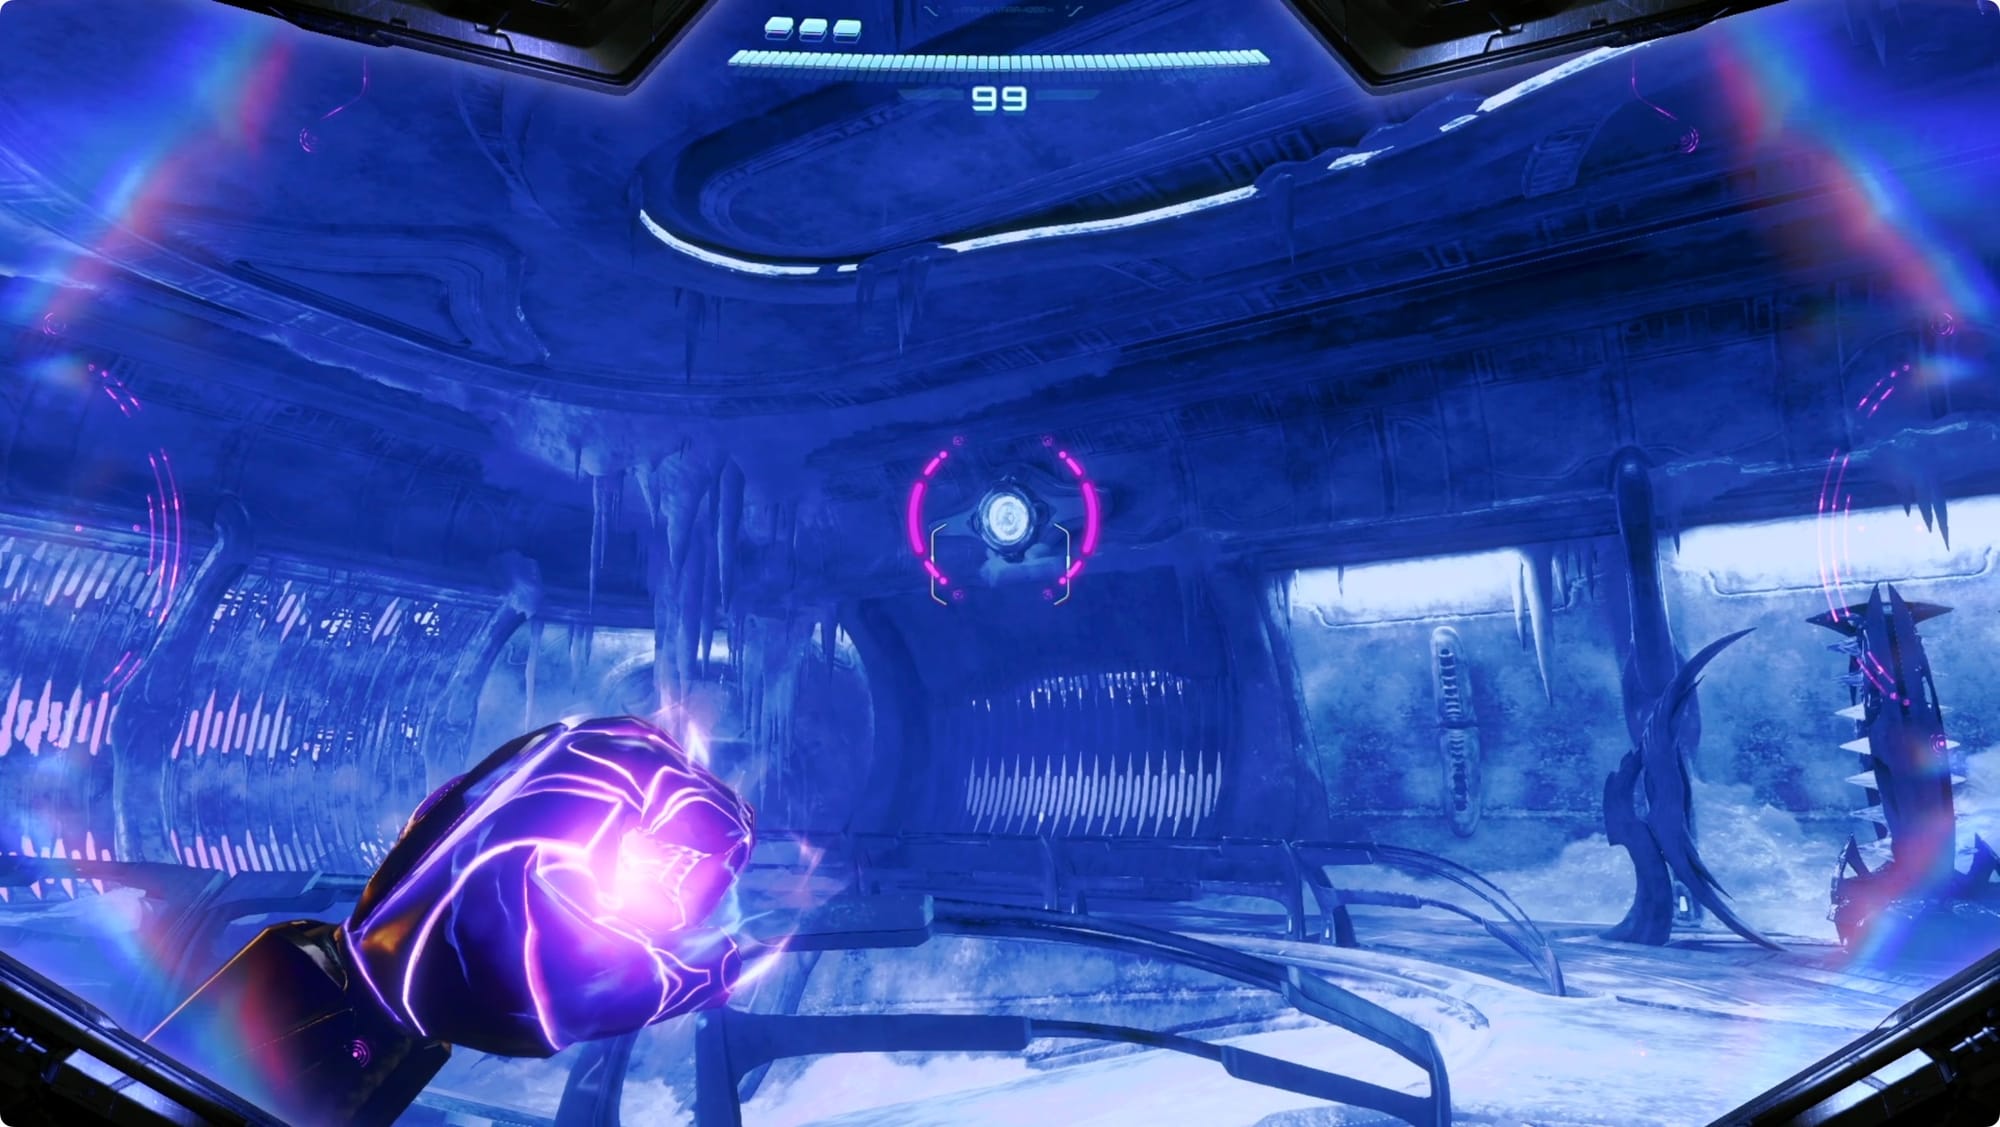
The next tunnel ends with an ice wall. Hit it with a few Fire Shots to destroy it.

Cross the Snowfield toward the squat, Hall of Doom-looking structure. When you get close, you’ll get jumped by a huge pack of huge Snow Wolves. They’ll spin around you and, occasionally, a few will peel off and square up. Switch to your Fire Shot, and just keep looking for any that break off from the spinning mass. A single shot will take them down, so just keep moving and firing as long as you can.
After a bit of this (or maybe when they knock your Energy down to 1, hard to tell), Samus will get tackled by a wolf just as the structure’s automated(?) defenses kick in and clear them all out. Head inside.

In the Lobby, skip the elevator for now, and head up the ramps on the left. Go through the door on the south wall above where you just came in. Scan everything. When you scan the beam turret, you’ll make a new friend — a Galactic Federation Ranger named Reger.
Scan the terminal he pokes at for the Area Map.
TK Codes 1

Another installation, another generator to turn on. Back in the Lobby, the elevator is still offline. When you exit the control room, take a left. The Pod Maintenance Gate on the west wall is active now.
Open it, and then missile the hatch in the floor. Step into it to drop down to the Cryopod Conveyor.
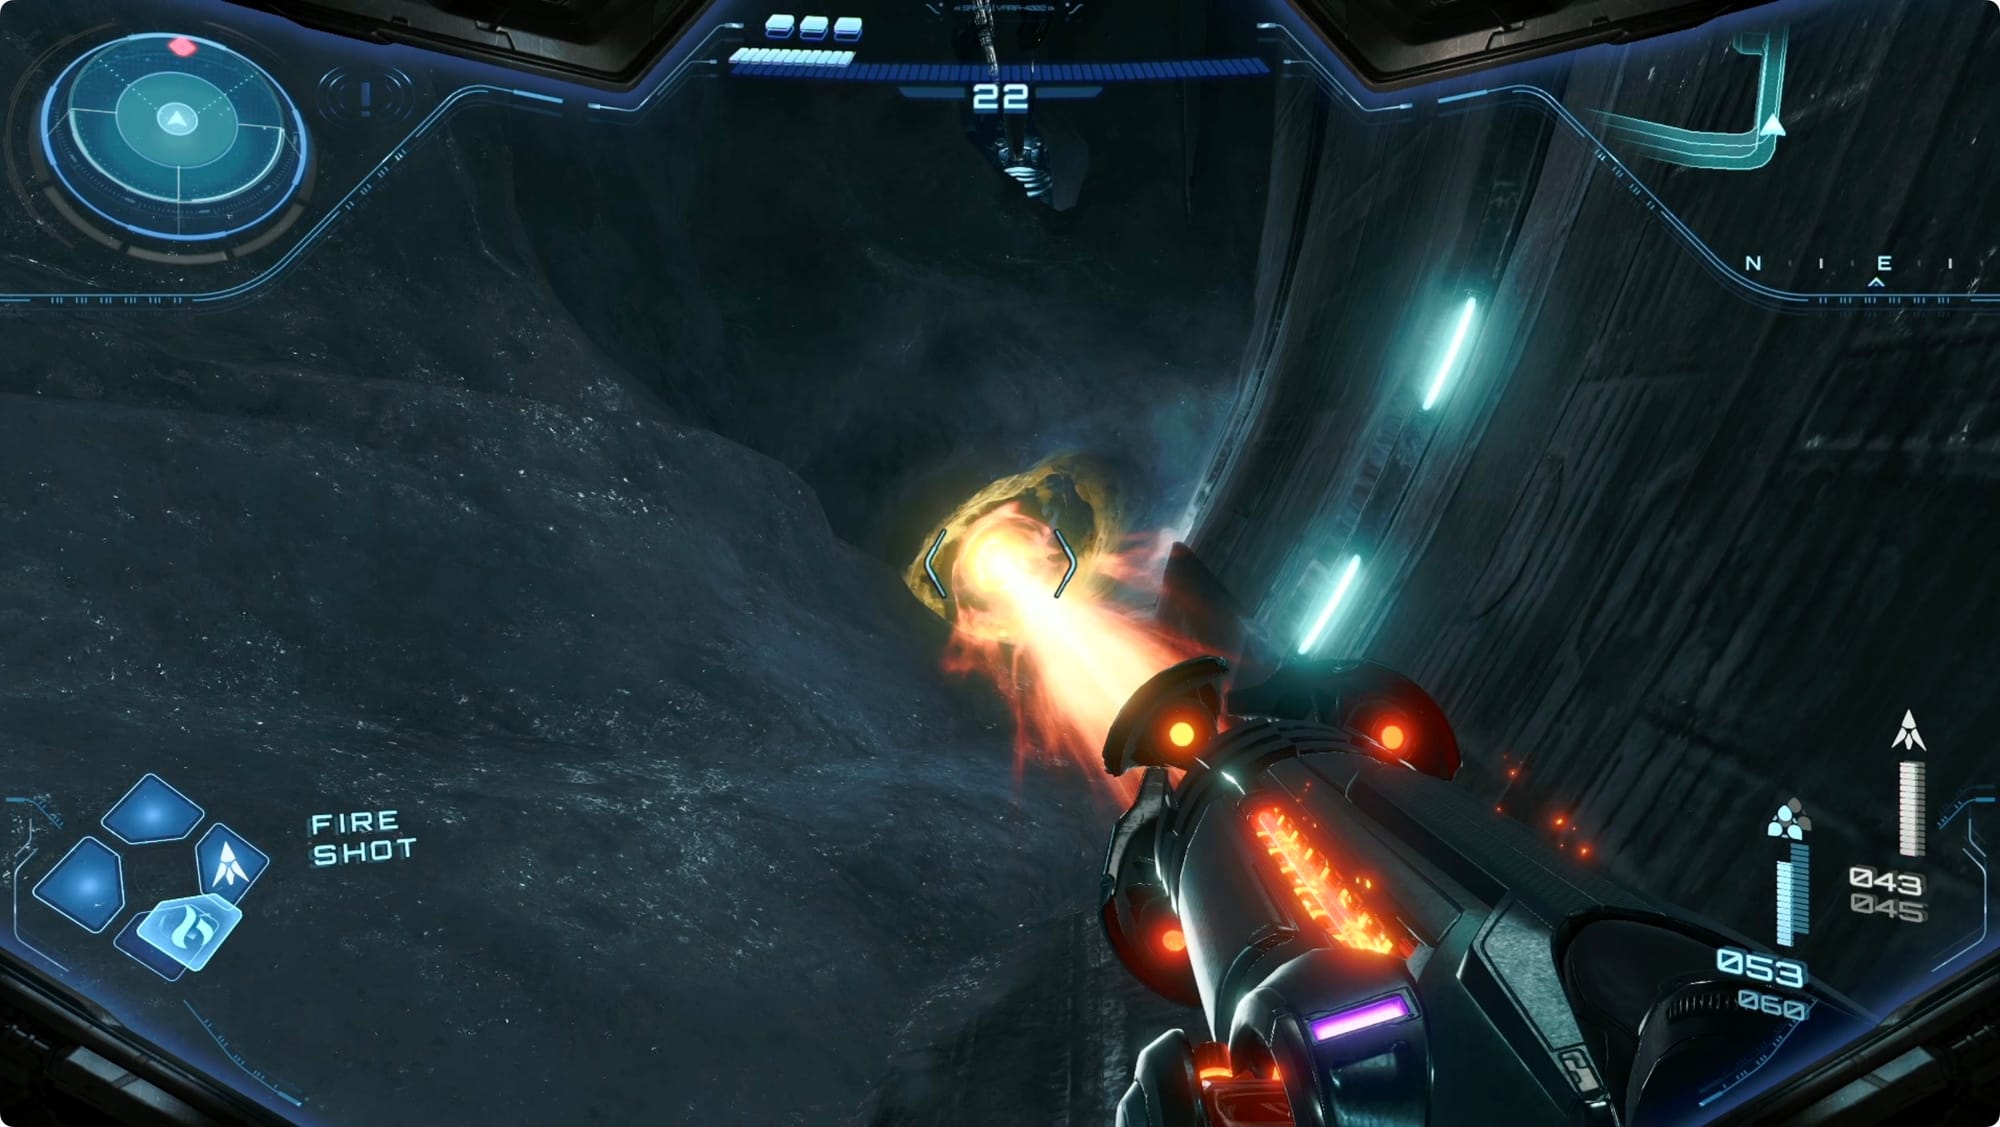
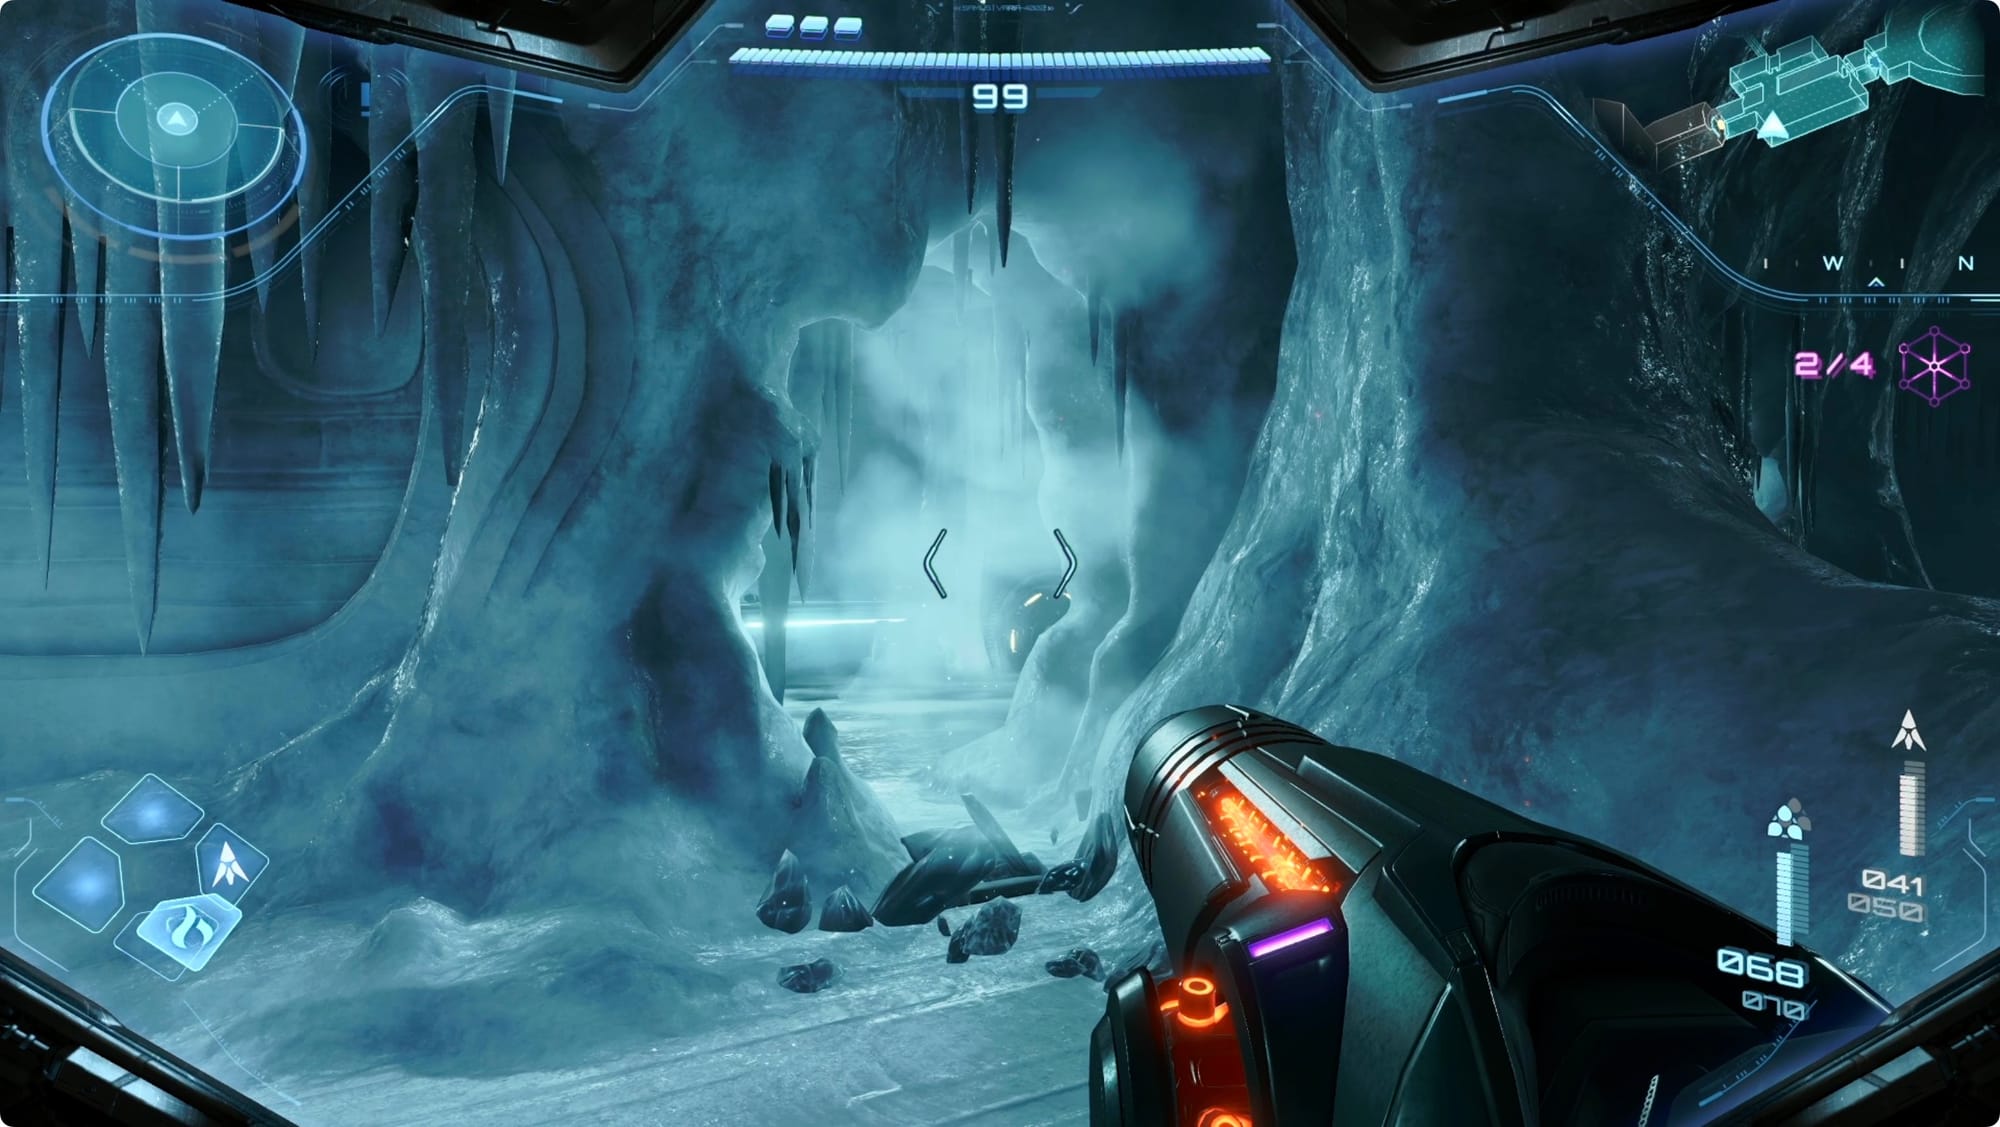
As you work your way around, you’ll hit another ice wall. Fire Shot it, and then take out the Dartwings on the other side. Continue forward.
Fire Shot the next ice wall, and then Fire Shot (only one time) the Morph Ball-sized ice wall. Roll into it. In the last room, tthe left.
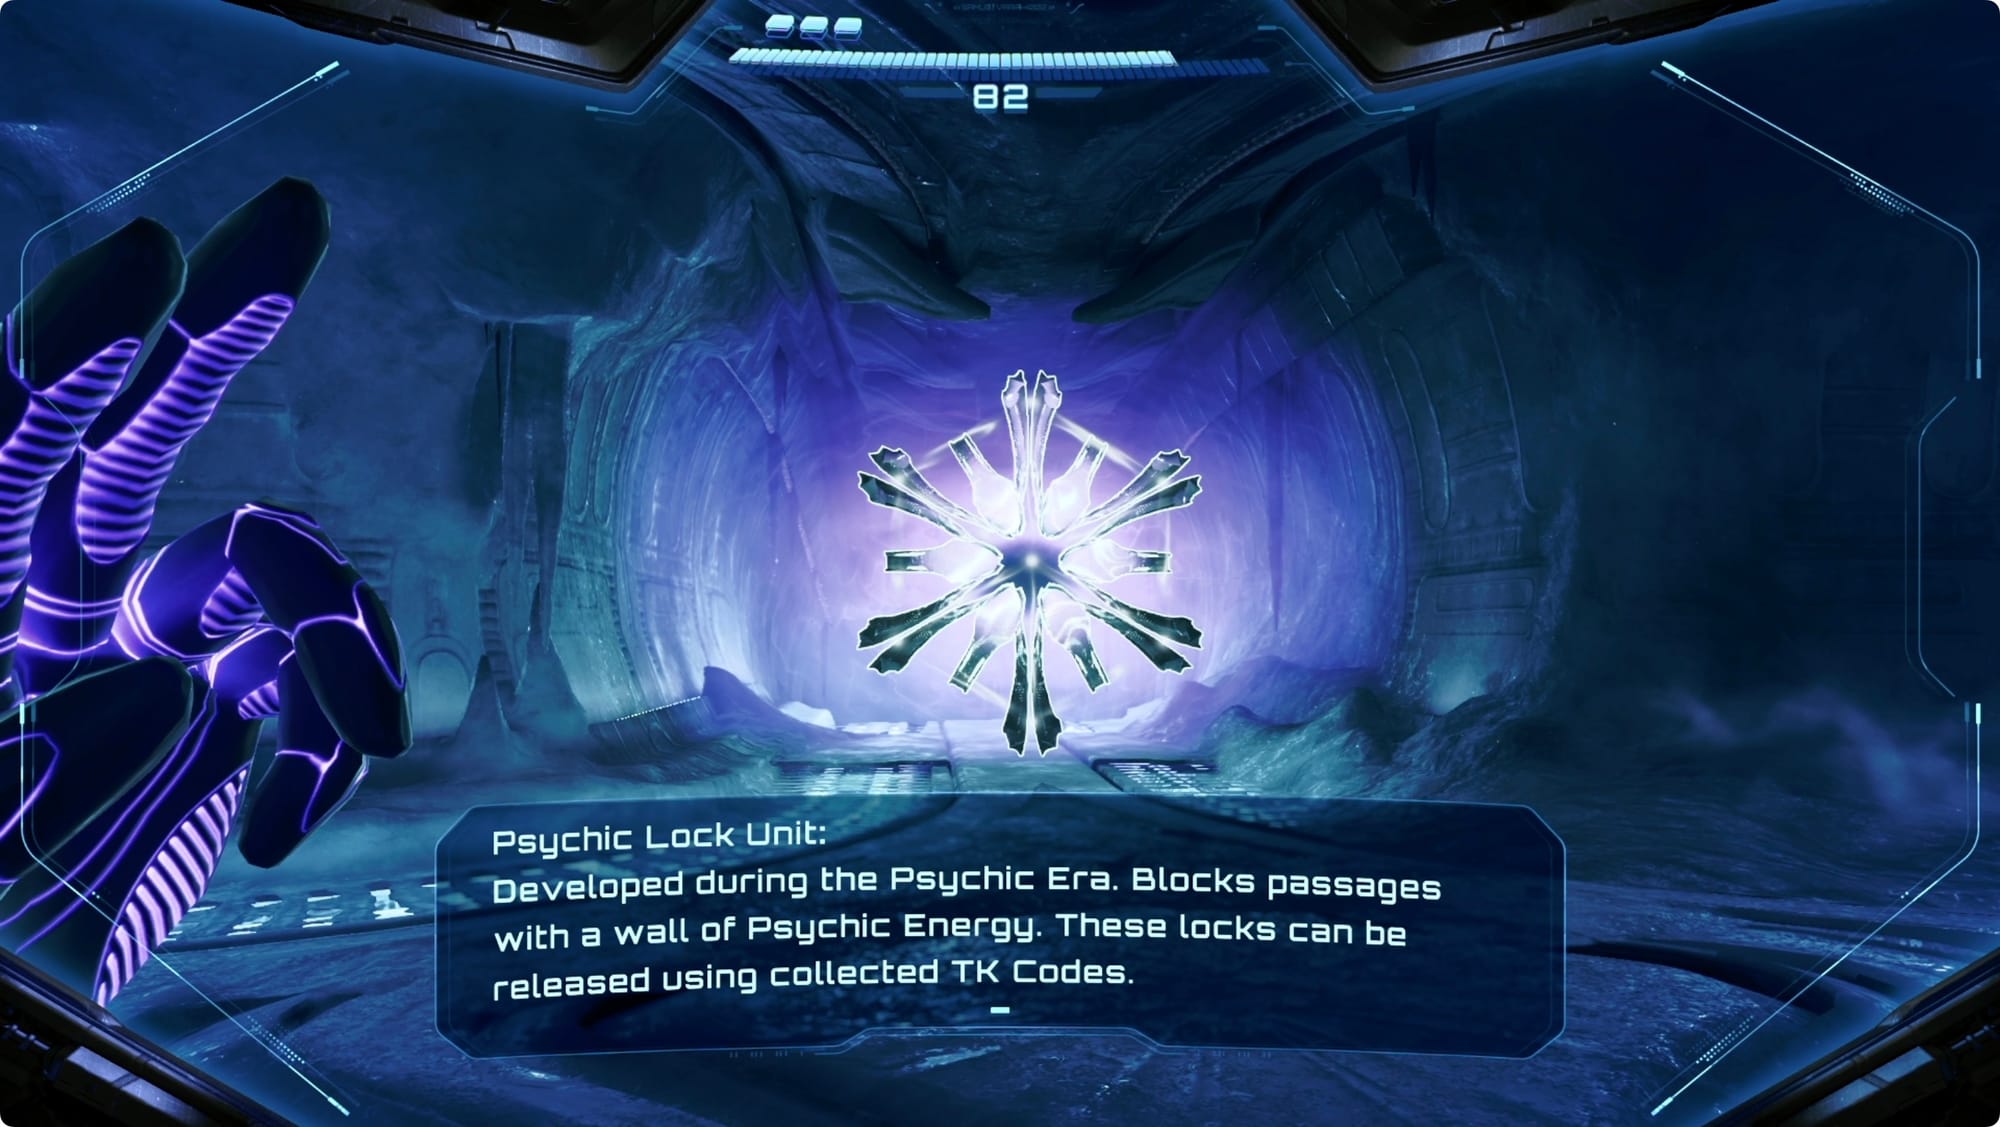
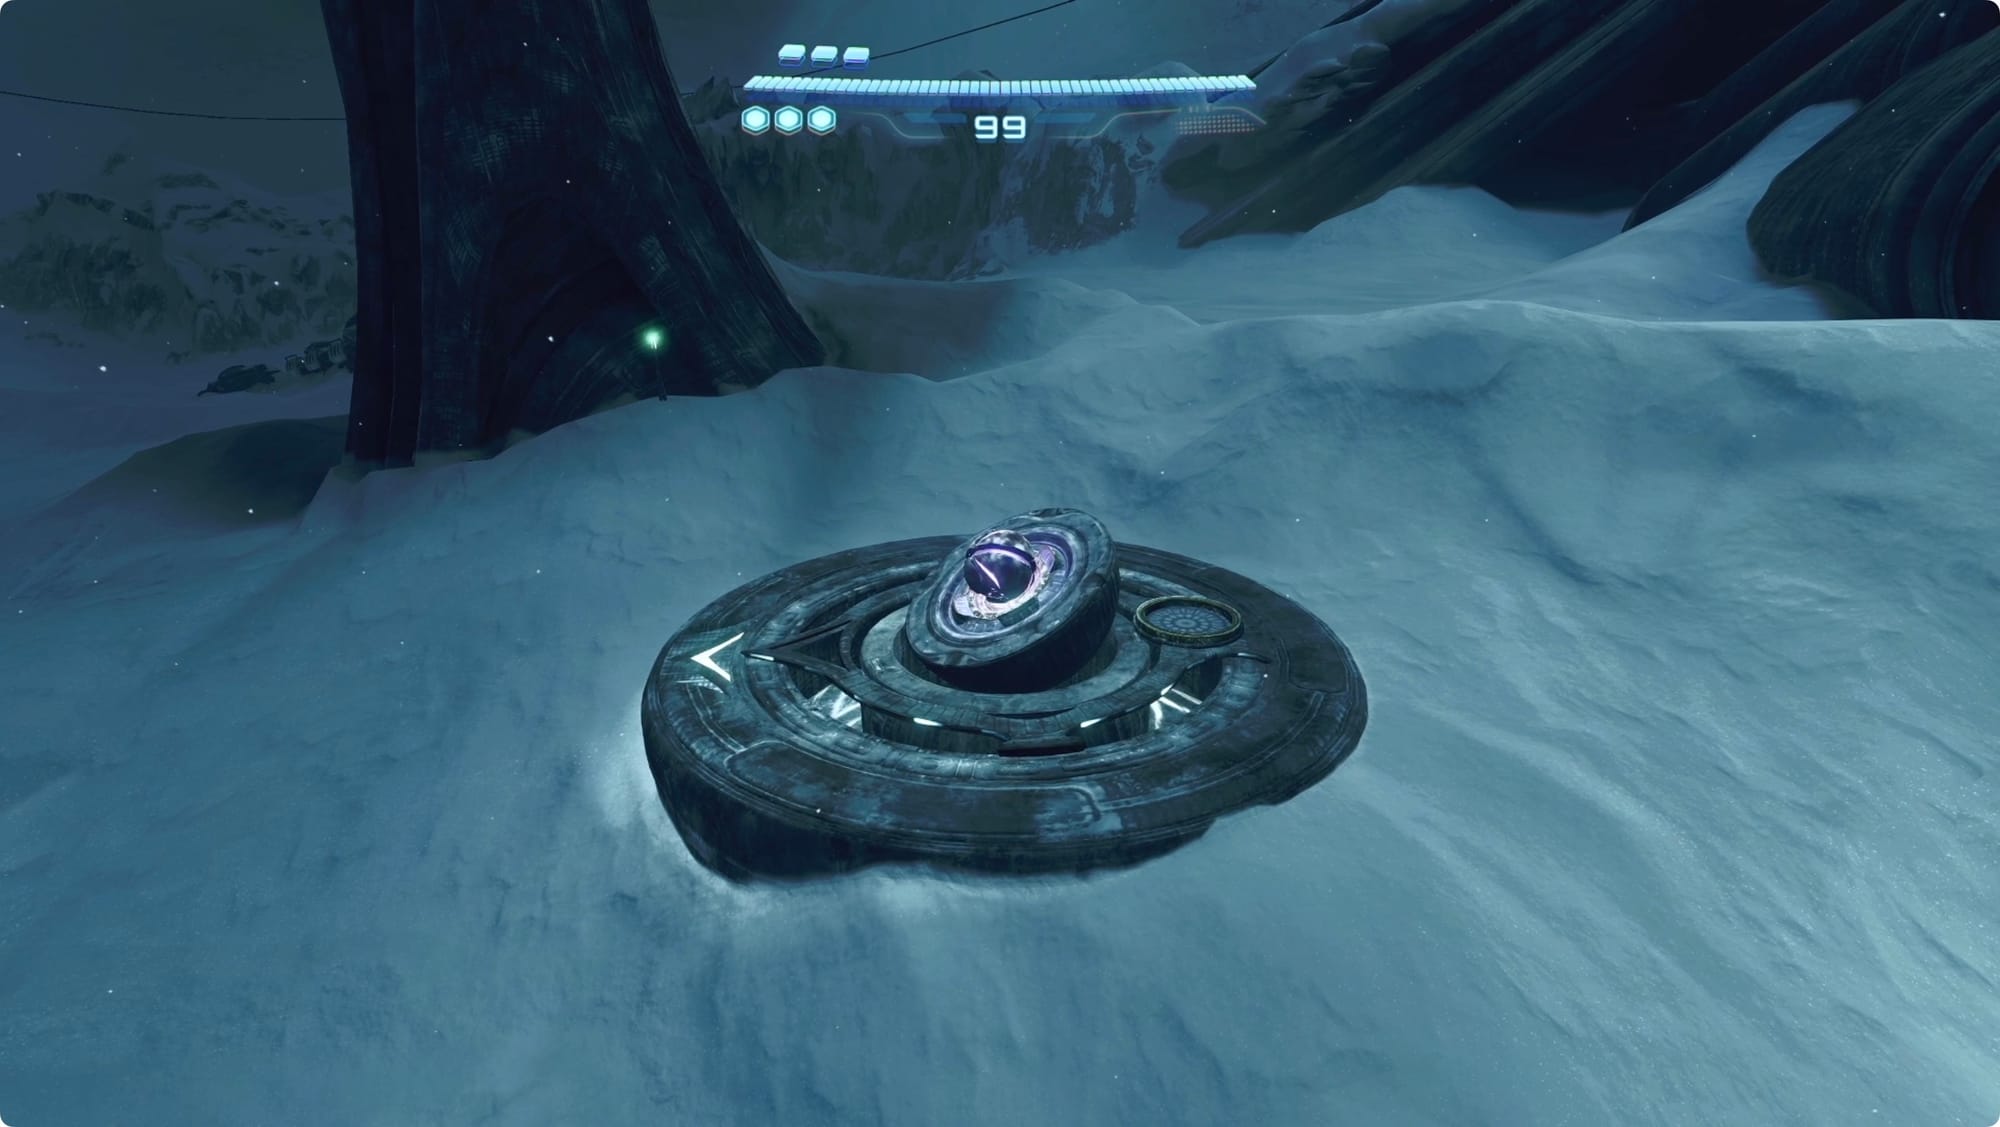
The next room has a lot of locked doors (including the first Door Lock — Psychic Lasso). The giant snowflake at the north end is a Psychic Lock that needs TK Codes, so I guess we’ll have to figure out what those are.
Head to the left from the snowflake — the only door you can get through. Inside, scan the data log on the right, and then keep turning right to find an ice wall. Destroy it, and use the Bomb Slot to activate the nearby terminal.
Interact with it to unlock all the doors in that first hallway. We’re going to start with the smallest one in the northwest and work around clockwise.
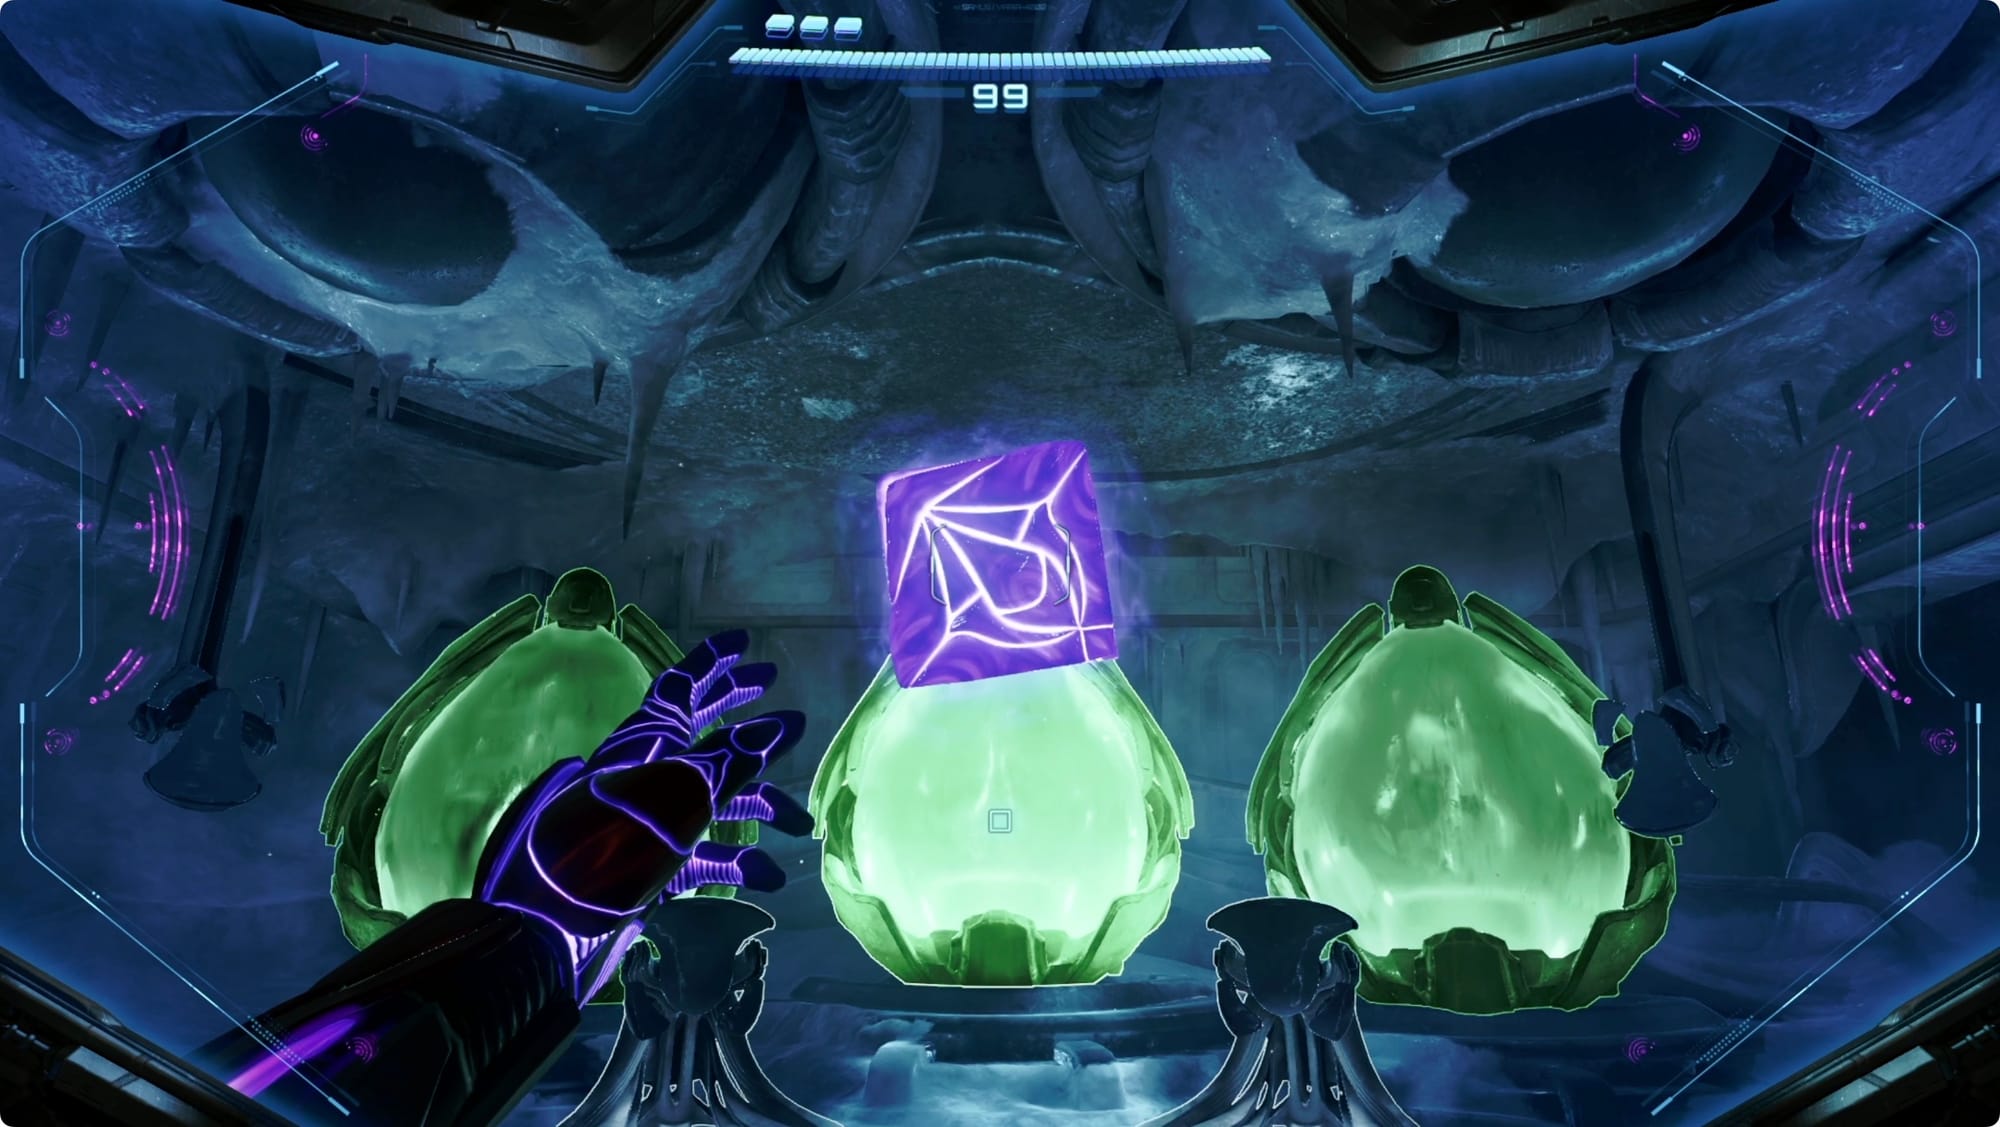
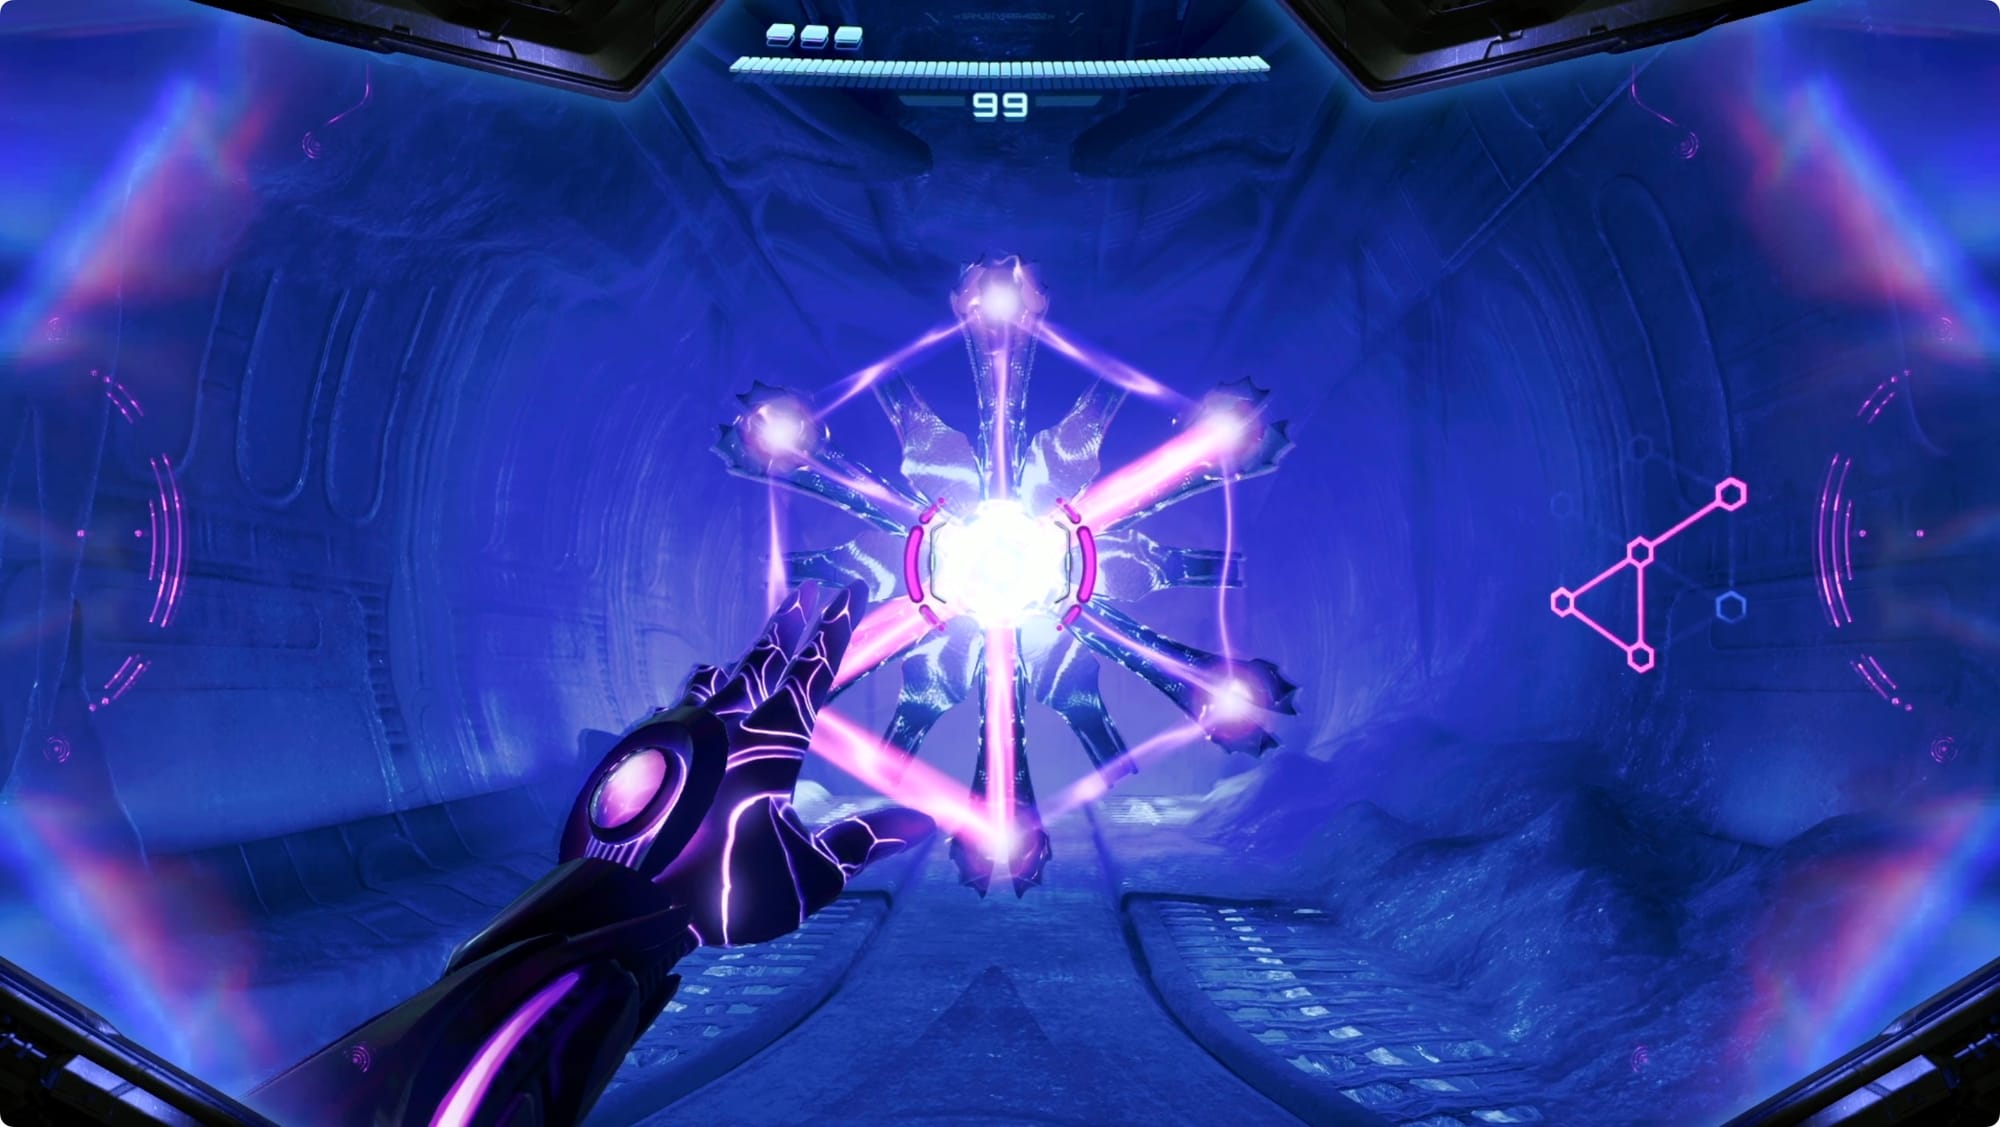
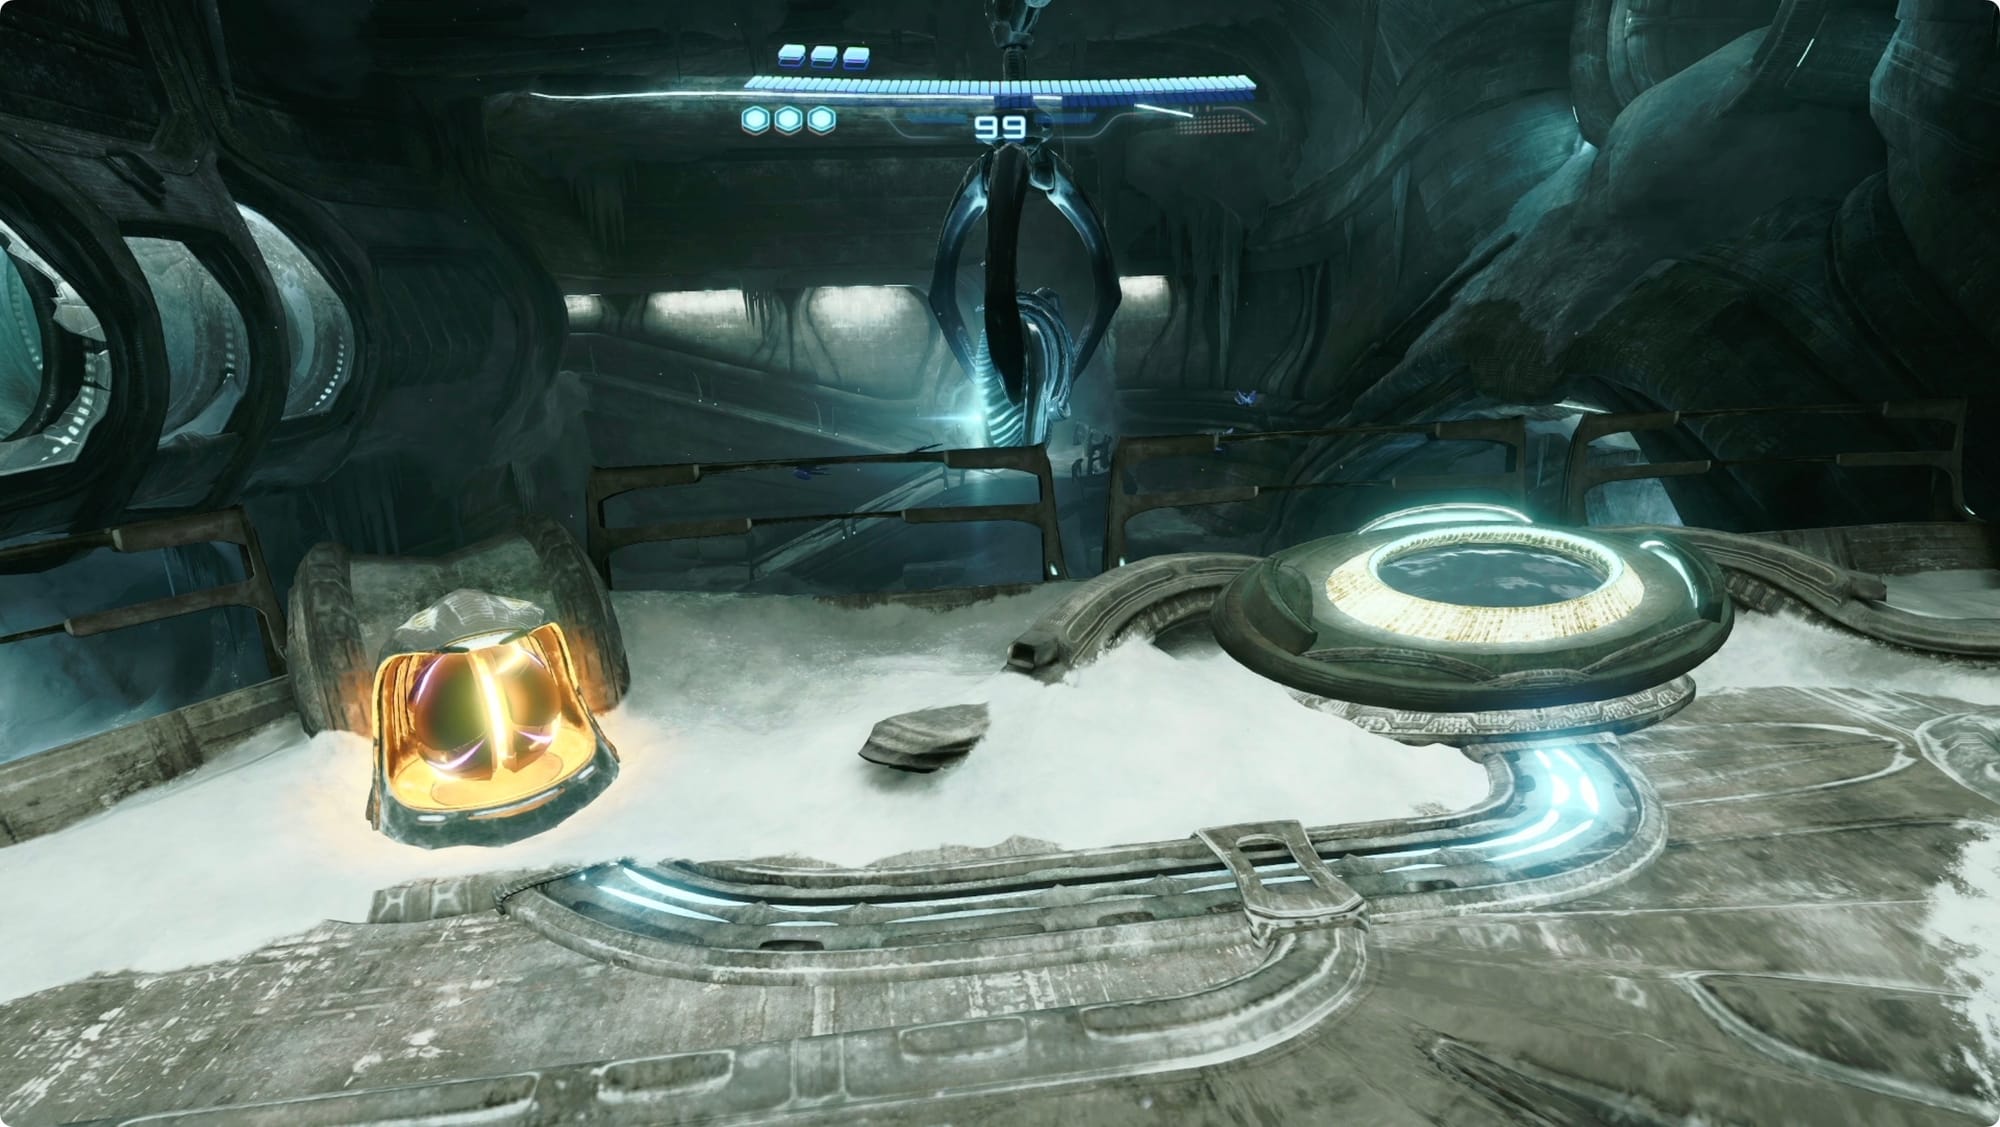
Scan the pods inside. One will contain a TK Code fragment. Scan the fragment, and use the thumbstick to rotate the pieces until they form a square. It’ll take a second to process and get harder to turn the closer you get to completing it. Once it's done, you’ll pick it up.
At the locked door in the northeast, scan everything and then missile the grate off the ventilation shaft to your right. Roll into it to reach Tracking Operations.
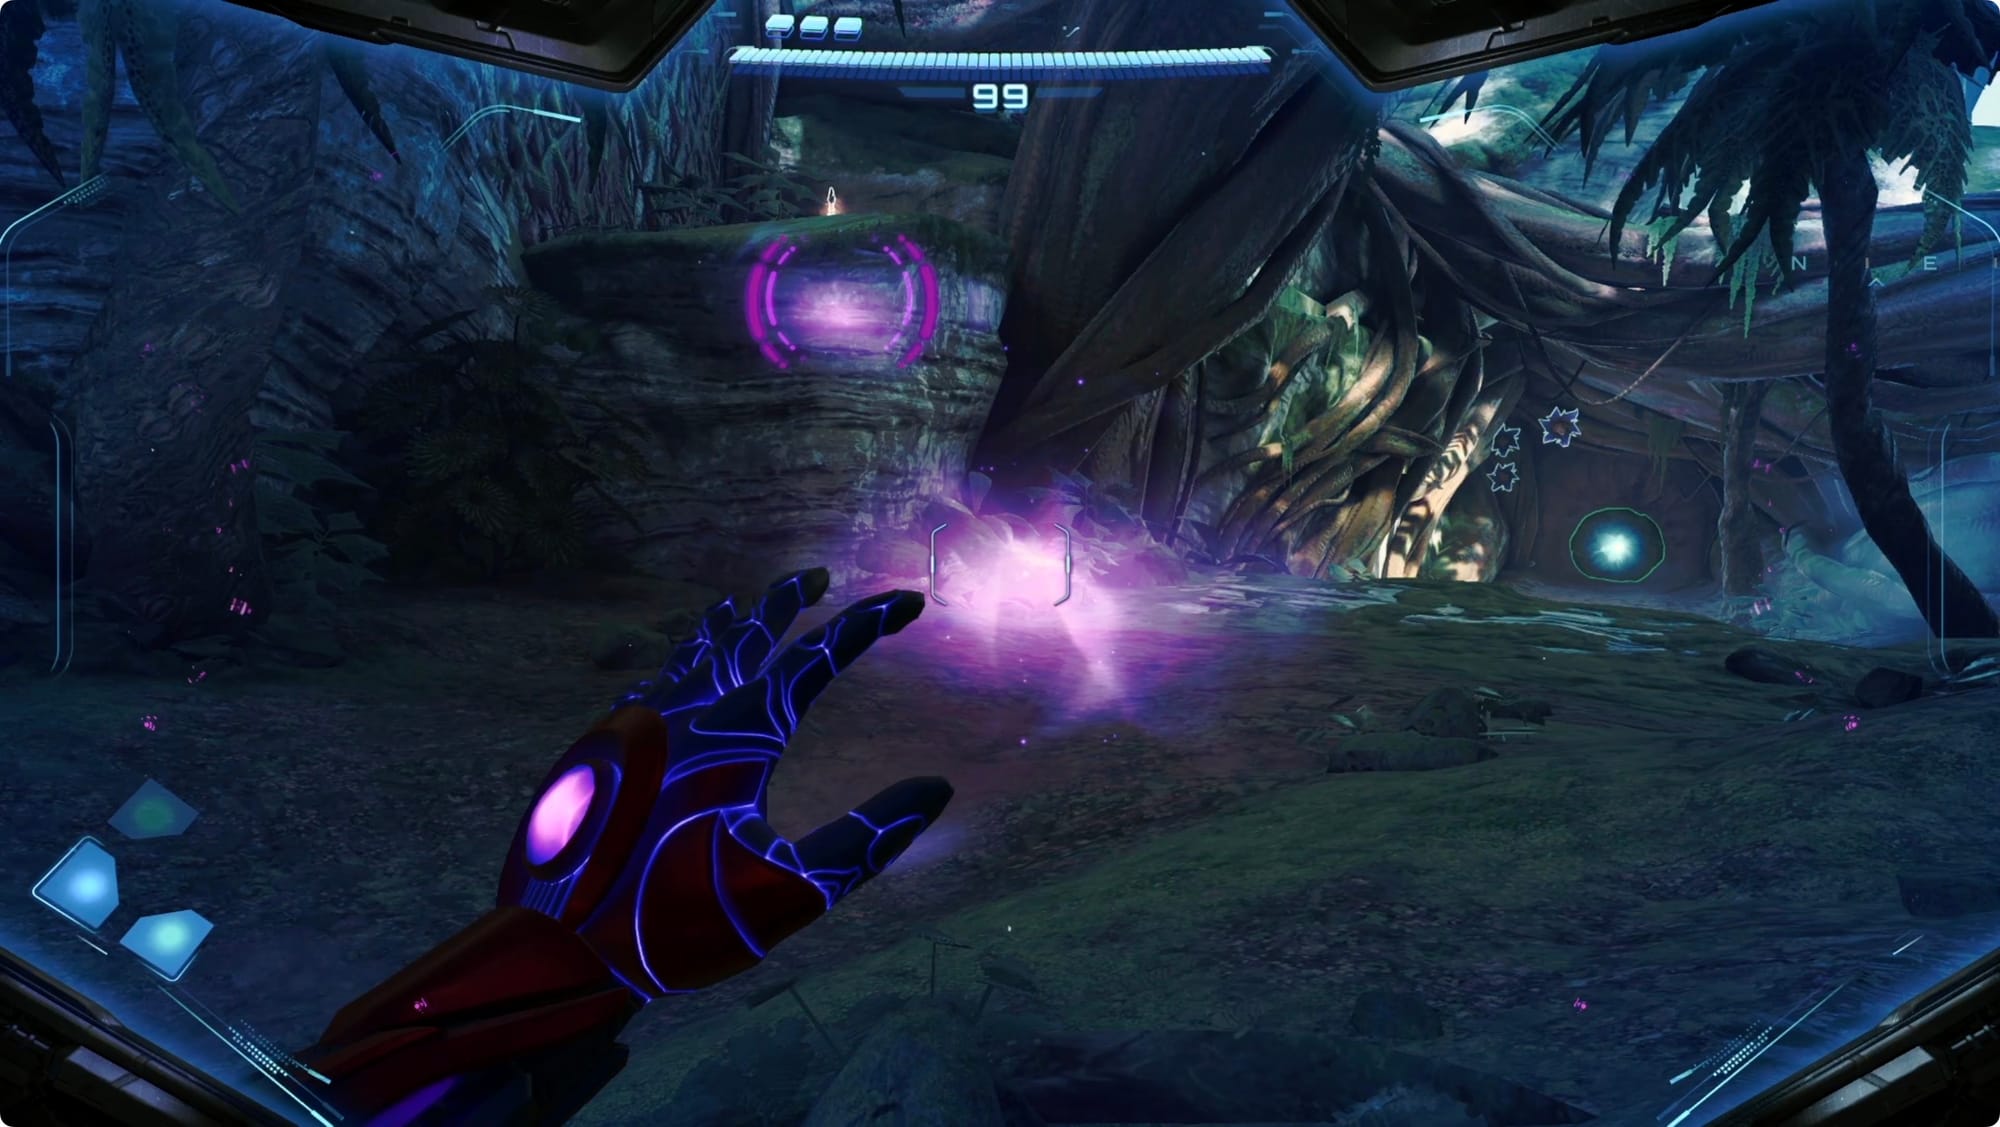
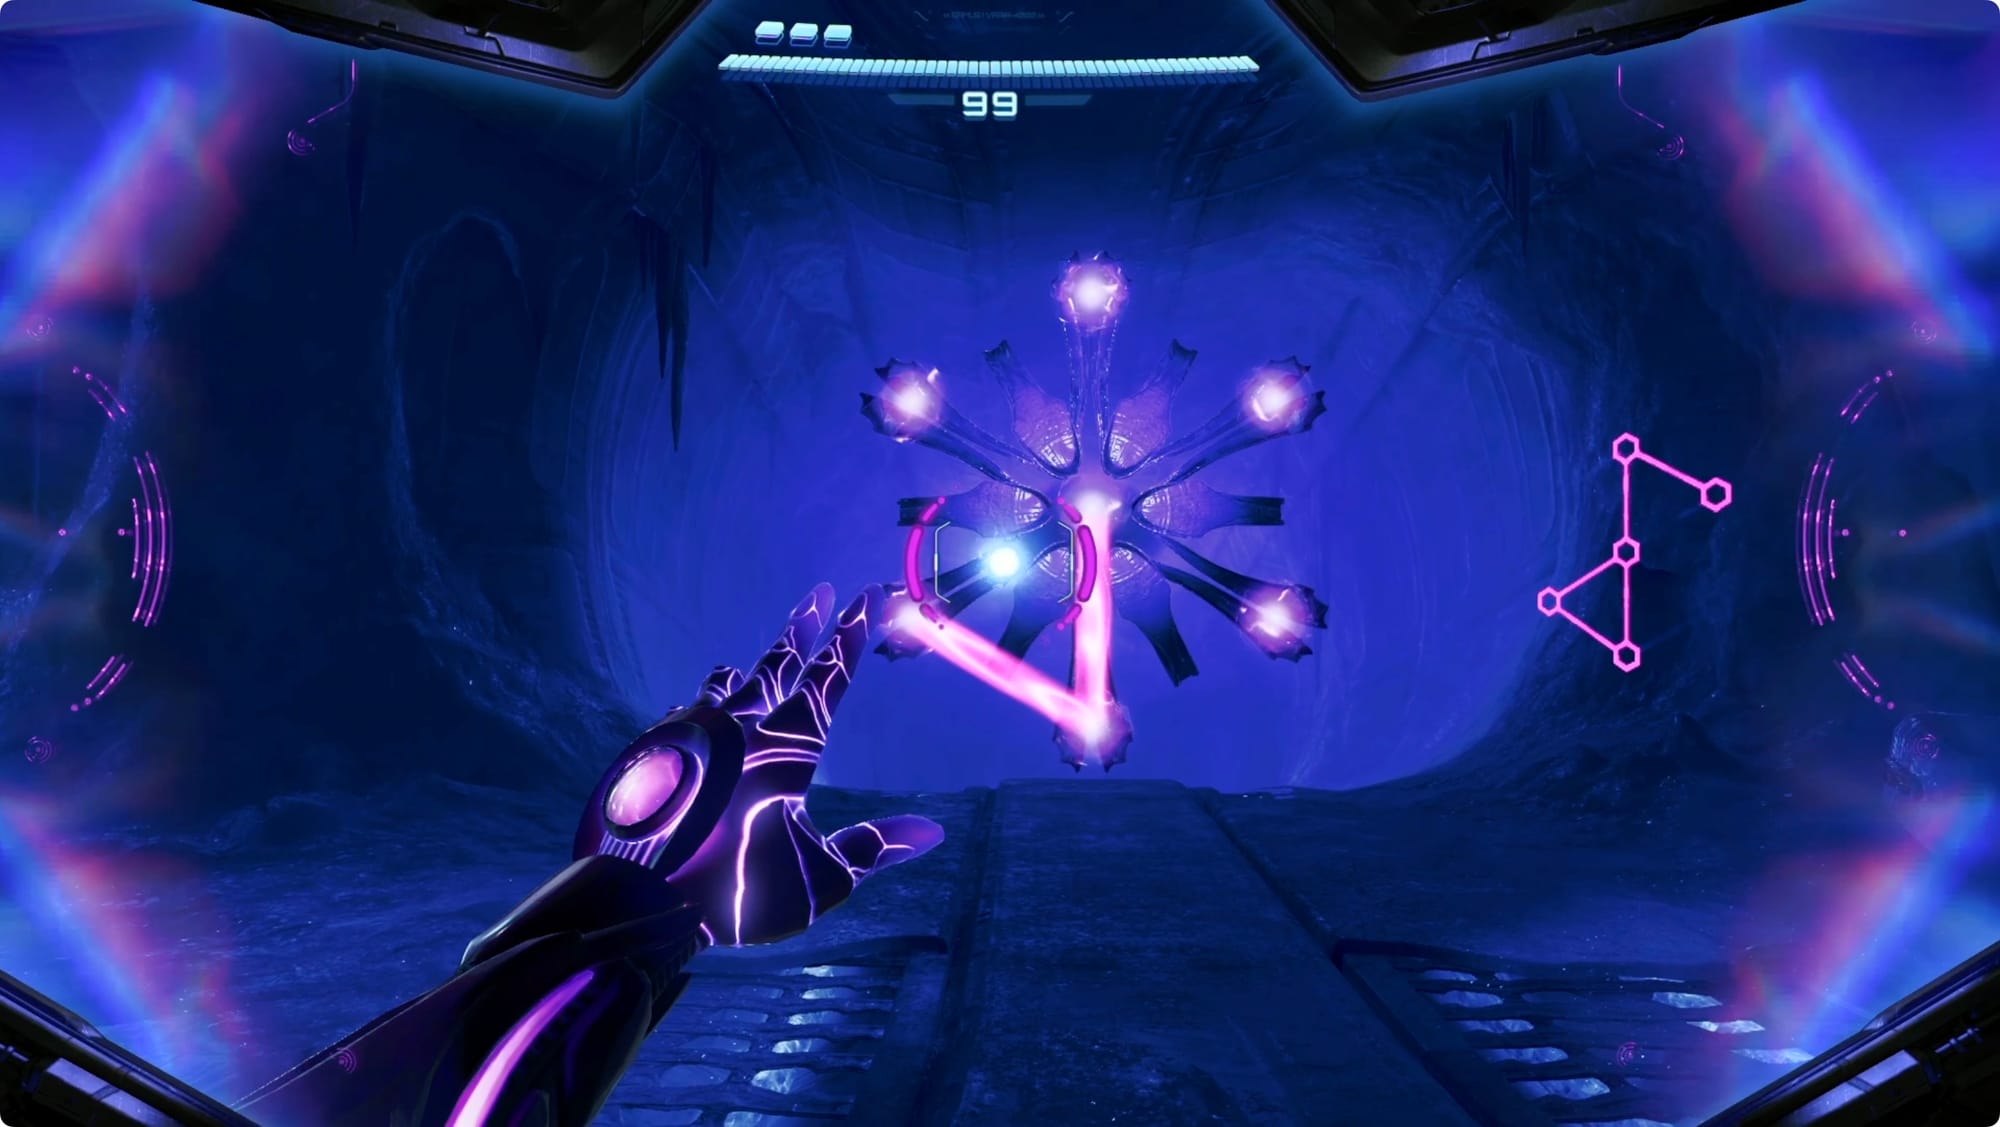
Scan around and pick up the data log. Open the Psychic Container in the middle of the room for your gift from the past — the Psychic Lasso.

Ignore the door for now, and instead use the Psychic Lasso on the Bomb Slot Cover in the northeast. Don’t do that yet, either. Head back to the middle of the room and follow the maintenance tubes around. You can Psychic Lasso two sections of tube down — do that.
Now you bomb the Bomb Slot and turn on the Morph Ball elevator. Ride it up, and follow the tubes around clockwise to get a Shot Expansion.
Back in the main room, lasso the lock off the door. Go back into the northeast room and look left. Head into the northwest corner of the room and look back at the door to find a second, secret lasso lock. Open this one and scan the sample inside for the second TK Code.
Before you head to the snowflake, go into the southwest room. Inside, grab the data log to your right, but that’s all you can do in here. Head back to the main hall and turn north. Take a right at the snowflake and lasso the lock.
Turn right and go download the Area Map. Back in the hall, the path north is blocked. Lasso the beams out of the way and continue through. Fire Shot the ice wall to pick up a Missile Expansion.
Back at the snowflake, you’ll have a shape to trace when you scan it. Do that, and head into the hallway. Follow the path down, shooting any Light Maintenance Tanks that get in your way.
TK Codes 2
When you come to the Staging Corridor, take a right to find a Save Station.
When you exit, duck into the small room on your right and missile the window. Take the hall to the right, and then turn into the last room on the right.

To the right (again), missile the grates off of both ends of the Morph Ball tunnel. Scan the samples on the left to get the first TK Code.
Back in the main hallway, continue south through the door. In the Medical Hub, there are three doors with lasso locks. The map makes it look like they’re all interconnected, so I’m just going to pick the right (west) one for us to start with.

Keep going straight to the recovery bay. Take a right when you hit the end, and follow the hallway around. Missile the vent to the right of the door and hop through.
Take out the Maintenance Tanks, and then look at the top left corner of the window. Fire Shot the ice there, and then lasso down the monitor. Scan it for the next TK Code.
Scan the data log nearby, and the lasso the door.
Backtrack to the Medical Hub. Lasso the door to the south. Inside, scan around and pick up the data log on the left. Facing south, jump over the ice and turn right. Fire Shot the ice wall, and then lasso the cover off the ventilation shaft.
Roll inside and then Psychic Bomb the grate blocking you from the Missile Expansion.
Back in the Surgery Corridor, continue south. Loop around to the far side of the room and scan the terminal to turn on the Balsallae system (that doesn't sound or look at all like the "ballsack" system, I don't know why you'd bring that up). Scan it again to pick up the third TK Code.
Head back to the Medical Hub again and take the last lasso door.
In the Storage Corridor, grab the data log to the left and then continue east. When you hit the main Storage Bay cylinder, take a left to grab another data log. Go back and take the right. Lasso the door and then look around the main room.
Inside, look up and to the left to find a big block of ice to Fire Shot. When the cryopod lowers, interact with its terminal, and then scan the Griever inside for the last TK Code.
Backtrack all the way to the Staging Corridor and unlock the snowflake.
Power Generator
Hit the Save Station before you go through, and then continue down to the Power Station. Grab the data log on the way.
Continue through the Upper Airlock and take a left at Ravine Monitoring. Keep going until you reach the Ice Canyon. Drop off the ledge on your right and then turn right. Follow the cliff over to the chain.
Wait out any big gusts of wind and cross. Keep working your way around until you run out of path.
When you do, look to the left and missile the chain stuck to the wall. That will knock loose the platforms you need to cross.
Missile the glass ahead of you on the way and jump to safety. Continue south, blasting through any ice walls as you go. When you hit the Lower Airlock, grab the data log on your left.
Head down the ramp and through the Deep Archive. In the next hall, take the first left for a Save Station.
To the south, there’s another data log to grab. Keep heading down. Spiral all the way down to the bottom and just keep following the only hall until you reach the Power Generator.
There’s a lot going on in here. Take the first left and go down the ramp to the lower floor. Grab the data log.
Behind the column holding up the main platform, Fire Shot the ice and use the Bomb Slot to get things started. Lasso it twice to move it around to the front of the platform, and then lasso the plug above it. Bomb the slot to activate the terminal.
There’s a psychic glow against the north wall. You can turn it on, but we don’t have the Psychic Spider Ball ability to use it yet.
Head back up the the terminal and hit the button. It, obviously, doesn’t work, but it does open a maintenance hatch. Shoot the first one you see with a Control Beam. This will open another hatch on the left wall. Shoot that one to open a third in the lower right.
Start making your way back to Reger.
When you hit the Deep Archive, use the Bomb Slot on the left wall. After you watch a video archive, head to the northeast corner of the room and roll into the maintenance shaft.
When you drop out in the Lower Airlock, look to the left. Psychic Glove a Psychic Bomb into the (non-Psychic) Bomb Slot above the shutter. The pod to the left of the door has a Shot Expansion inside.
Back at the Ice Canyon, take a right and use the gondola to ascend. When you get to the Upper Airlock, the facility will lock down. Look to the left (east) for a maintenance shaft to roll into.
In the Storage Bay, you’ll run into some bigger, meaner Grievers. Switch to Fire Shot because they just bat missiles away. Keep heading west to the door, and then take a left for another maintenance tunnel.
There’s a Shot Expansion in this shaft, but we can’t get it yet. Skip through the Surgery Bay and into another tunnel. Watch for sparks (and one grate) as you go. In the Medical Hub, clear out the Frostburn Grievers, and then missile the grate on the left.
In the Staging Corridor, a couple more Grievers will jump you. One will bust out of the last door on the right. Once it’s dealt with, go into that room. Missile both grates off of the tube on your right and roll through to pick up a Missile Expansion.
Hit the Save Station on your way past, and then keep backtracking north, up a floor, and then south.
About halfway up the long Cryopod Conveyor ramp, there’s a maintenance tunnel on your left. Roll inside.
Bounce up the the first platform you come to and place a bomb above the steam venting out of the pipe below you. When it goes off, drop into the hole — the pressure will shoot you up. Repeat the process again (hold right at the top), bomb the ice wall, repeat holding left this time.
Roll out through the tunnel — and straight into a big fight. Once you and Reger are safe, take the elevator down.
Keratos boss fight
When you land, take the first left for a Save Station. We can’t do the lock on the right yet, so go straight. (Jeff note: I’m just going to search for ‘yet’ in all of these once we get more upgrades — sorry for the repetition.)

In the Security Gates, there’s an alcove on the left side. Missile the glass and then Morph Ball through for a Shot Expansion.

Use your lasso to pull open the quarantine locks and head through.
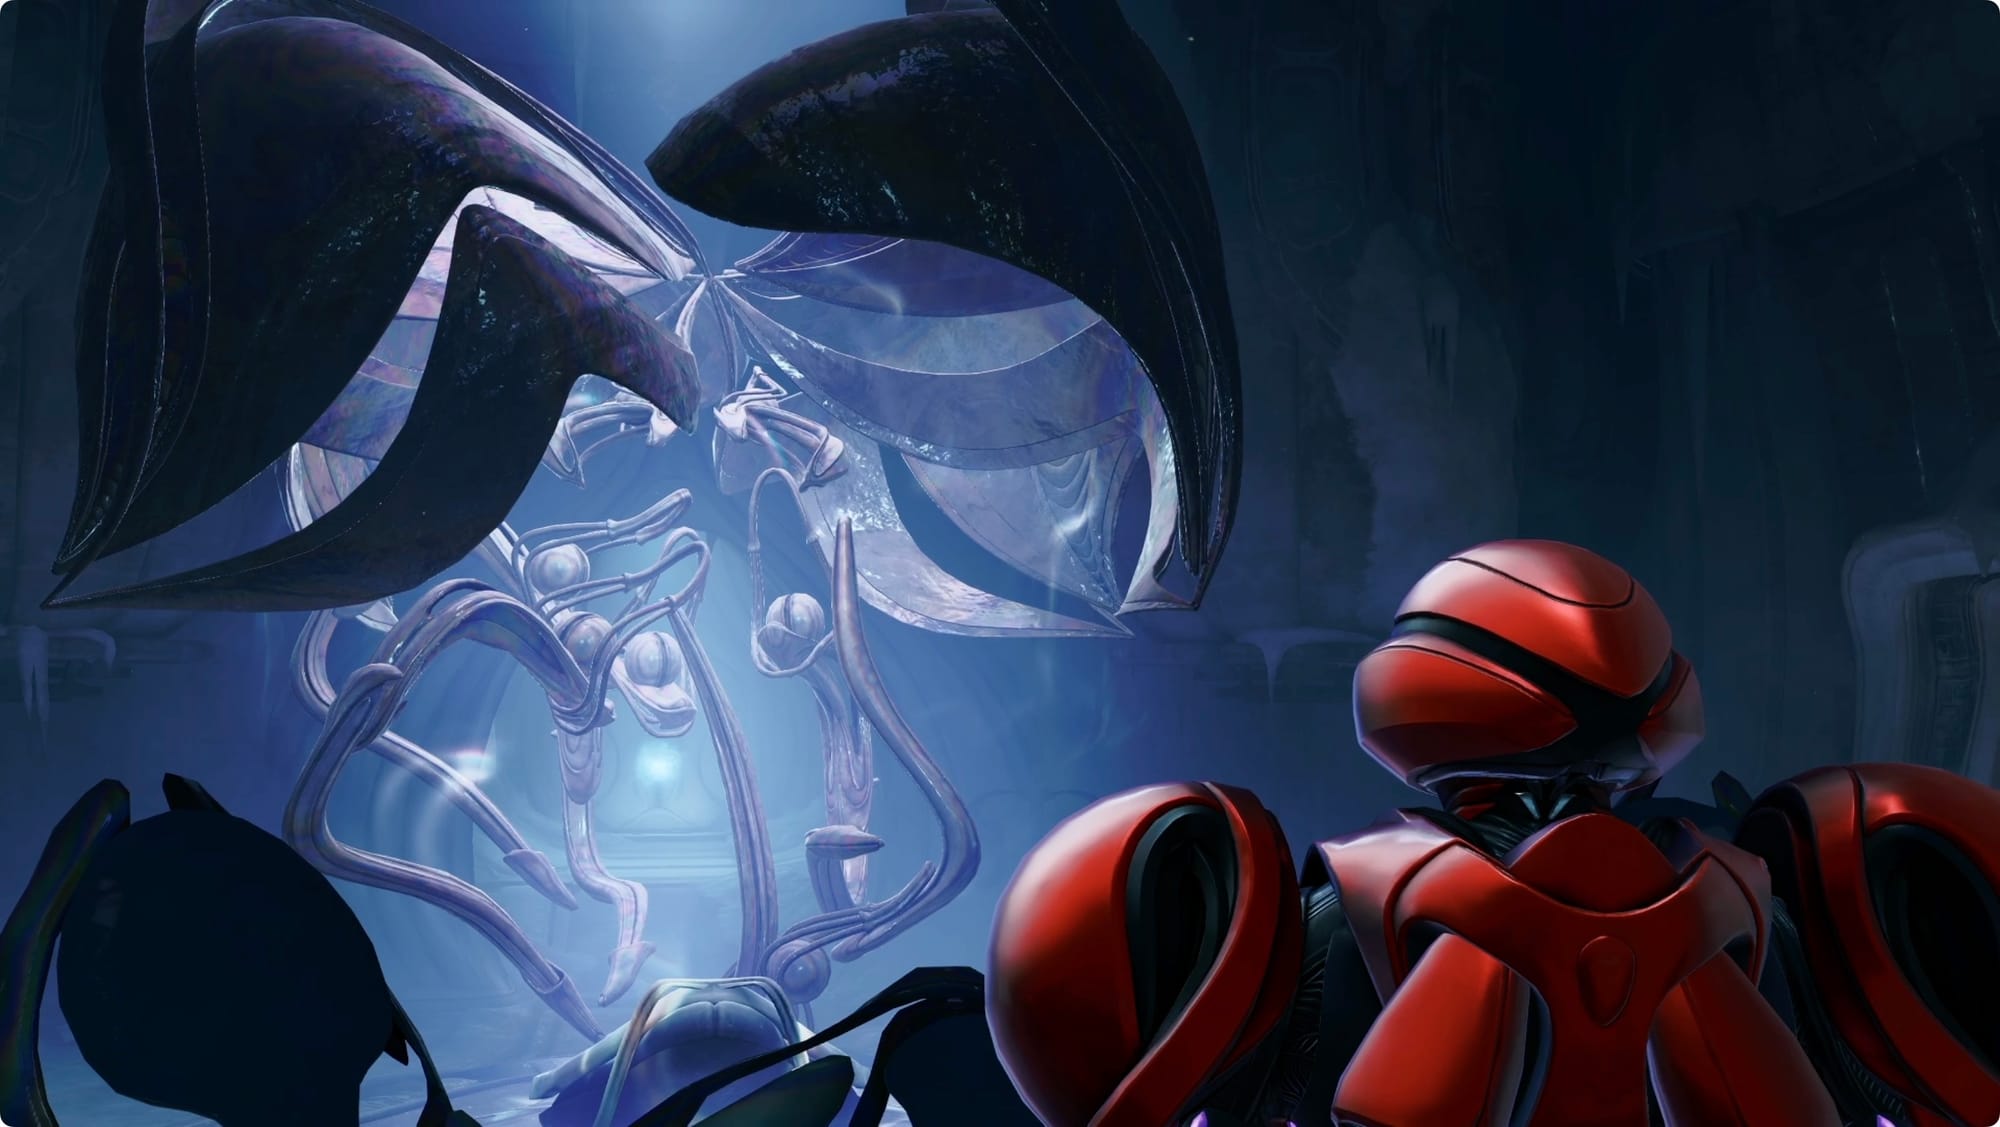
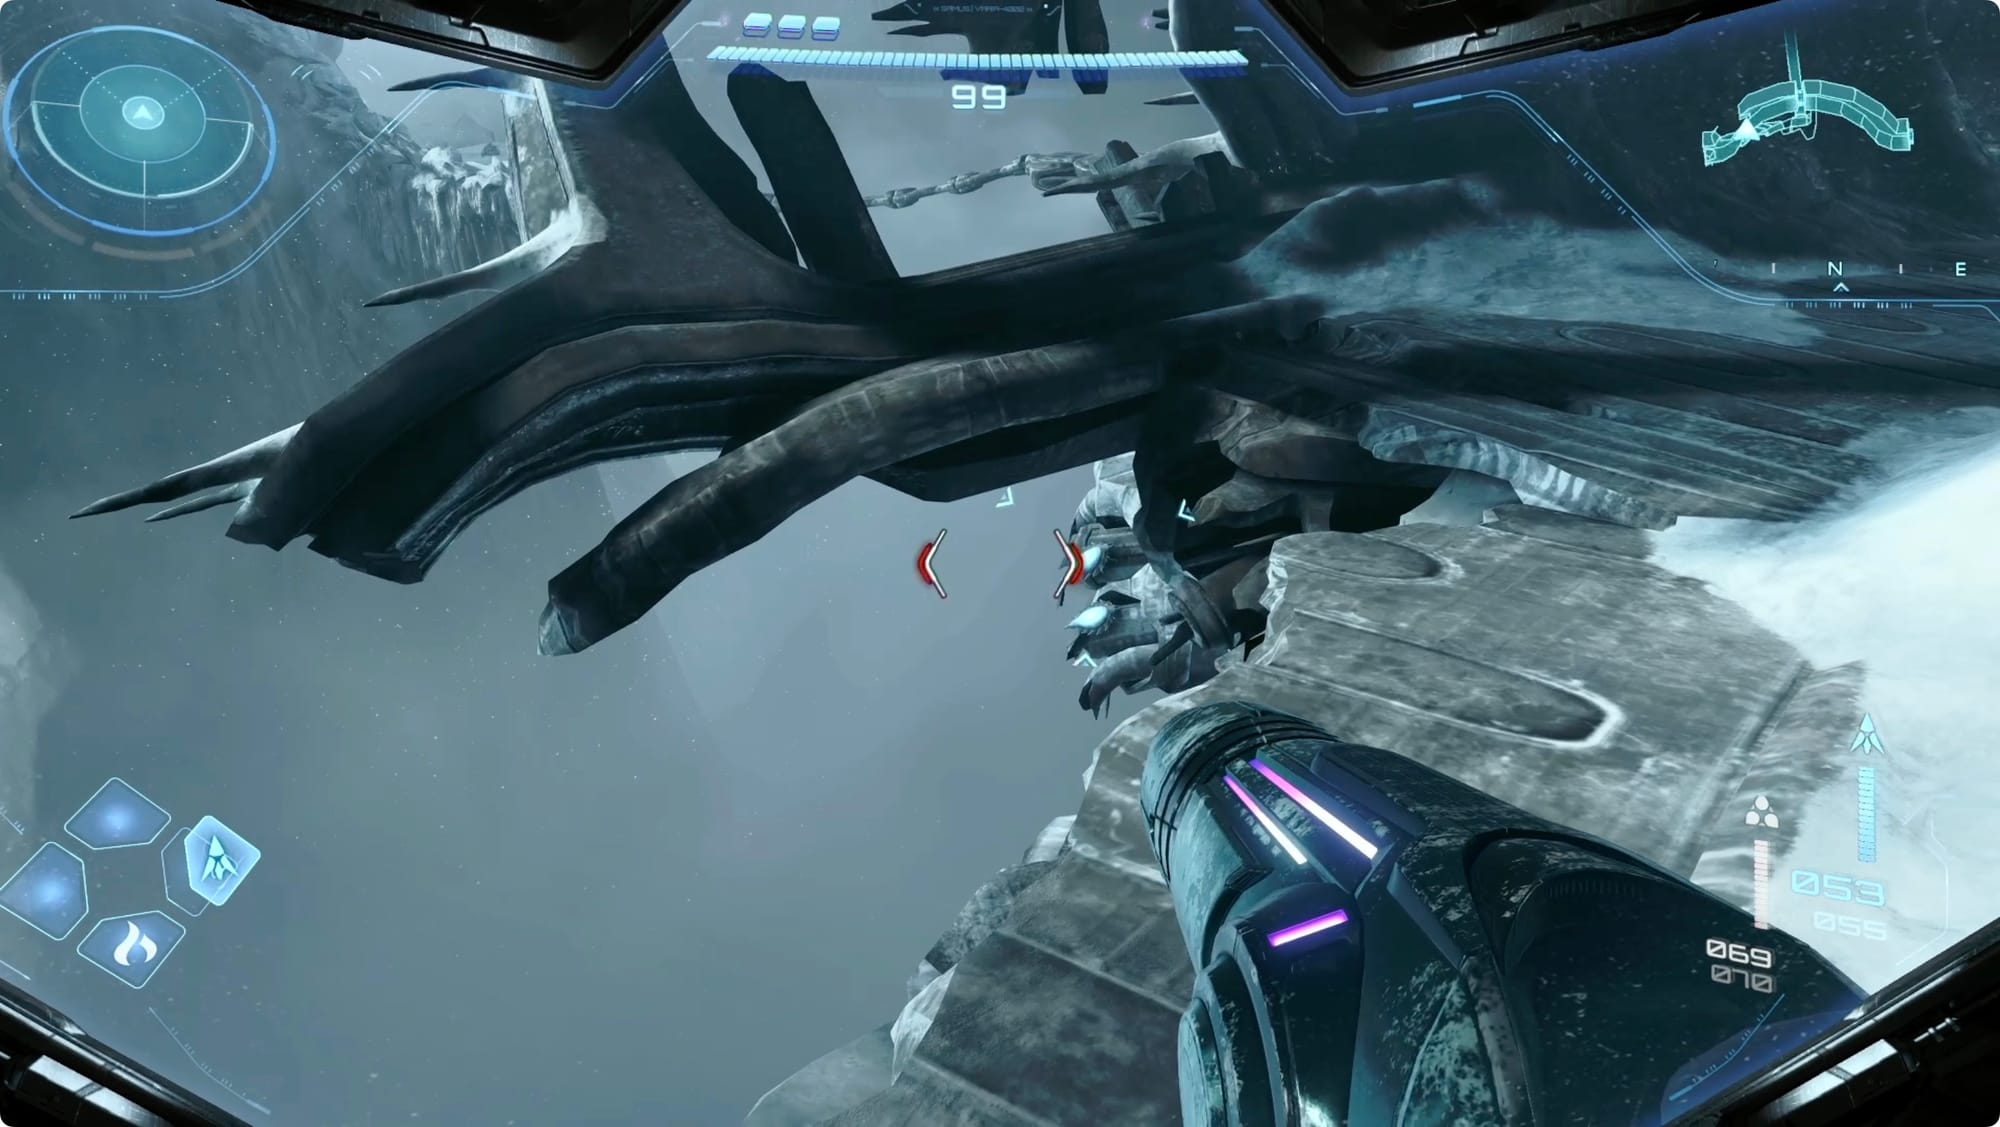
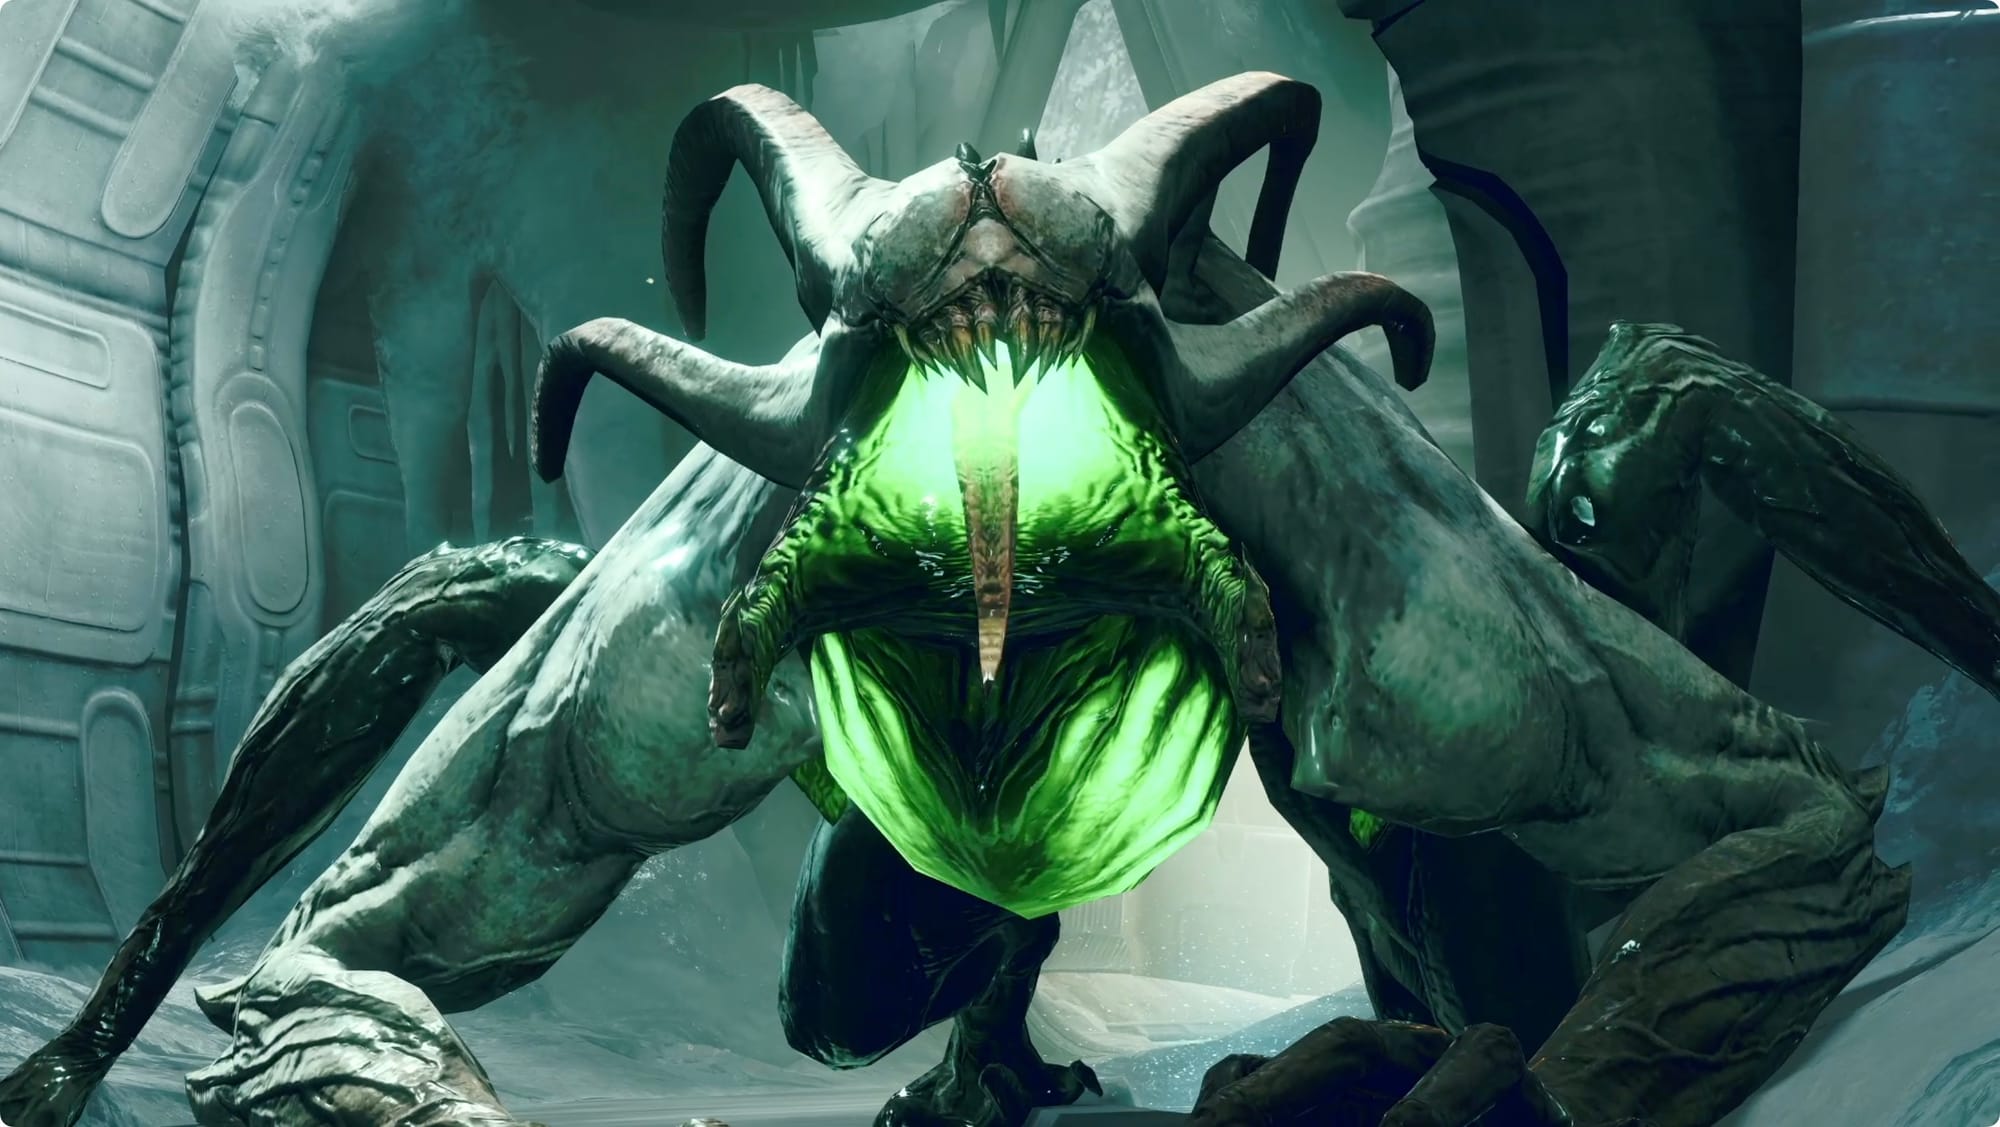
Hop down to the ice to meet Keratos.
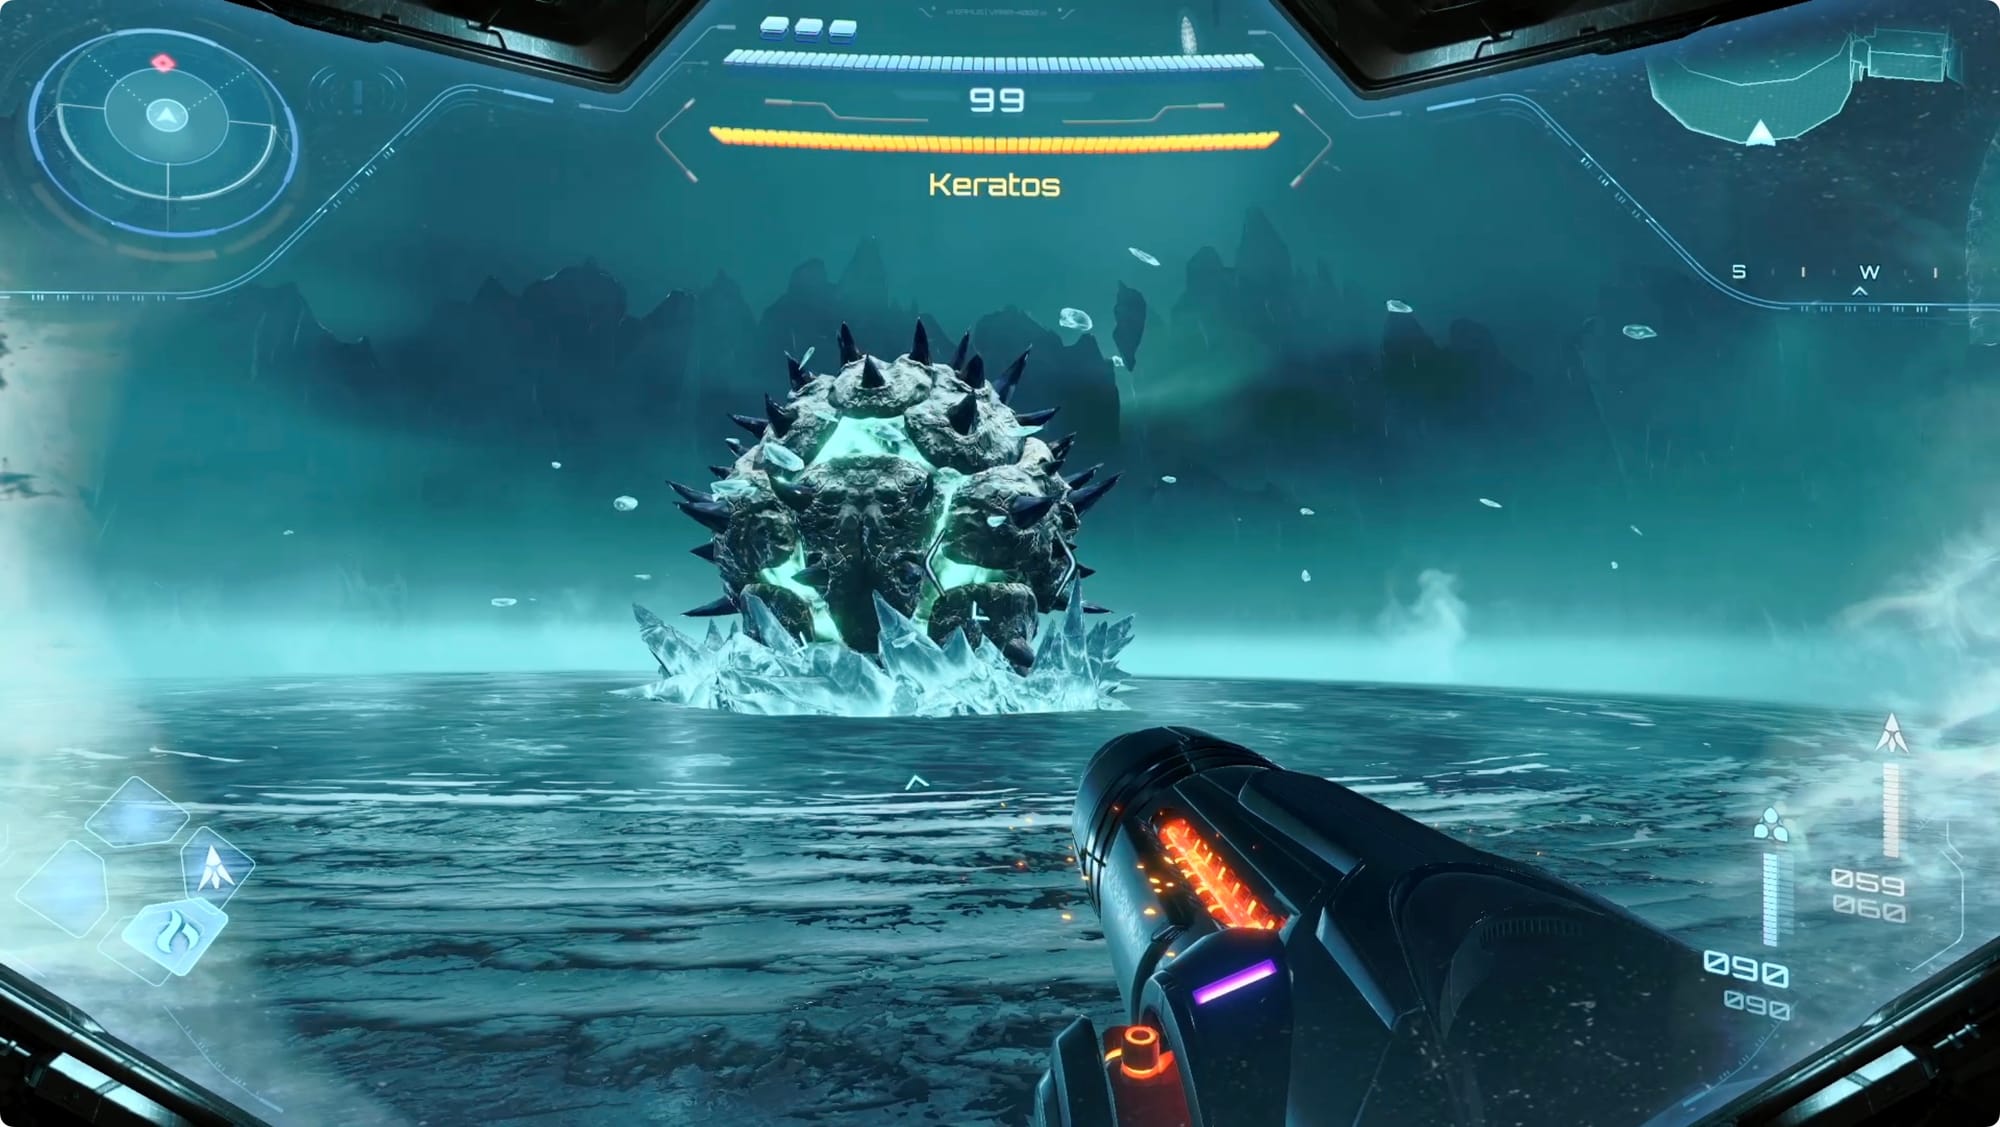
This fight feels trickier (and more annoying than it is). Most of its attacks are easy enough to avoid. The only one you really have to worry about are when it starts to spin in the center of the arena and starts to pull you in. When this happens, fire about a dozen Fire Shots into the ice under it.
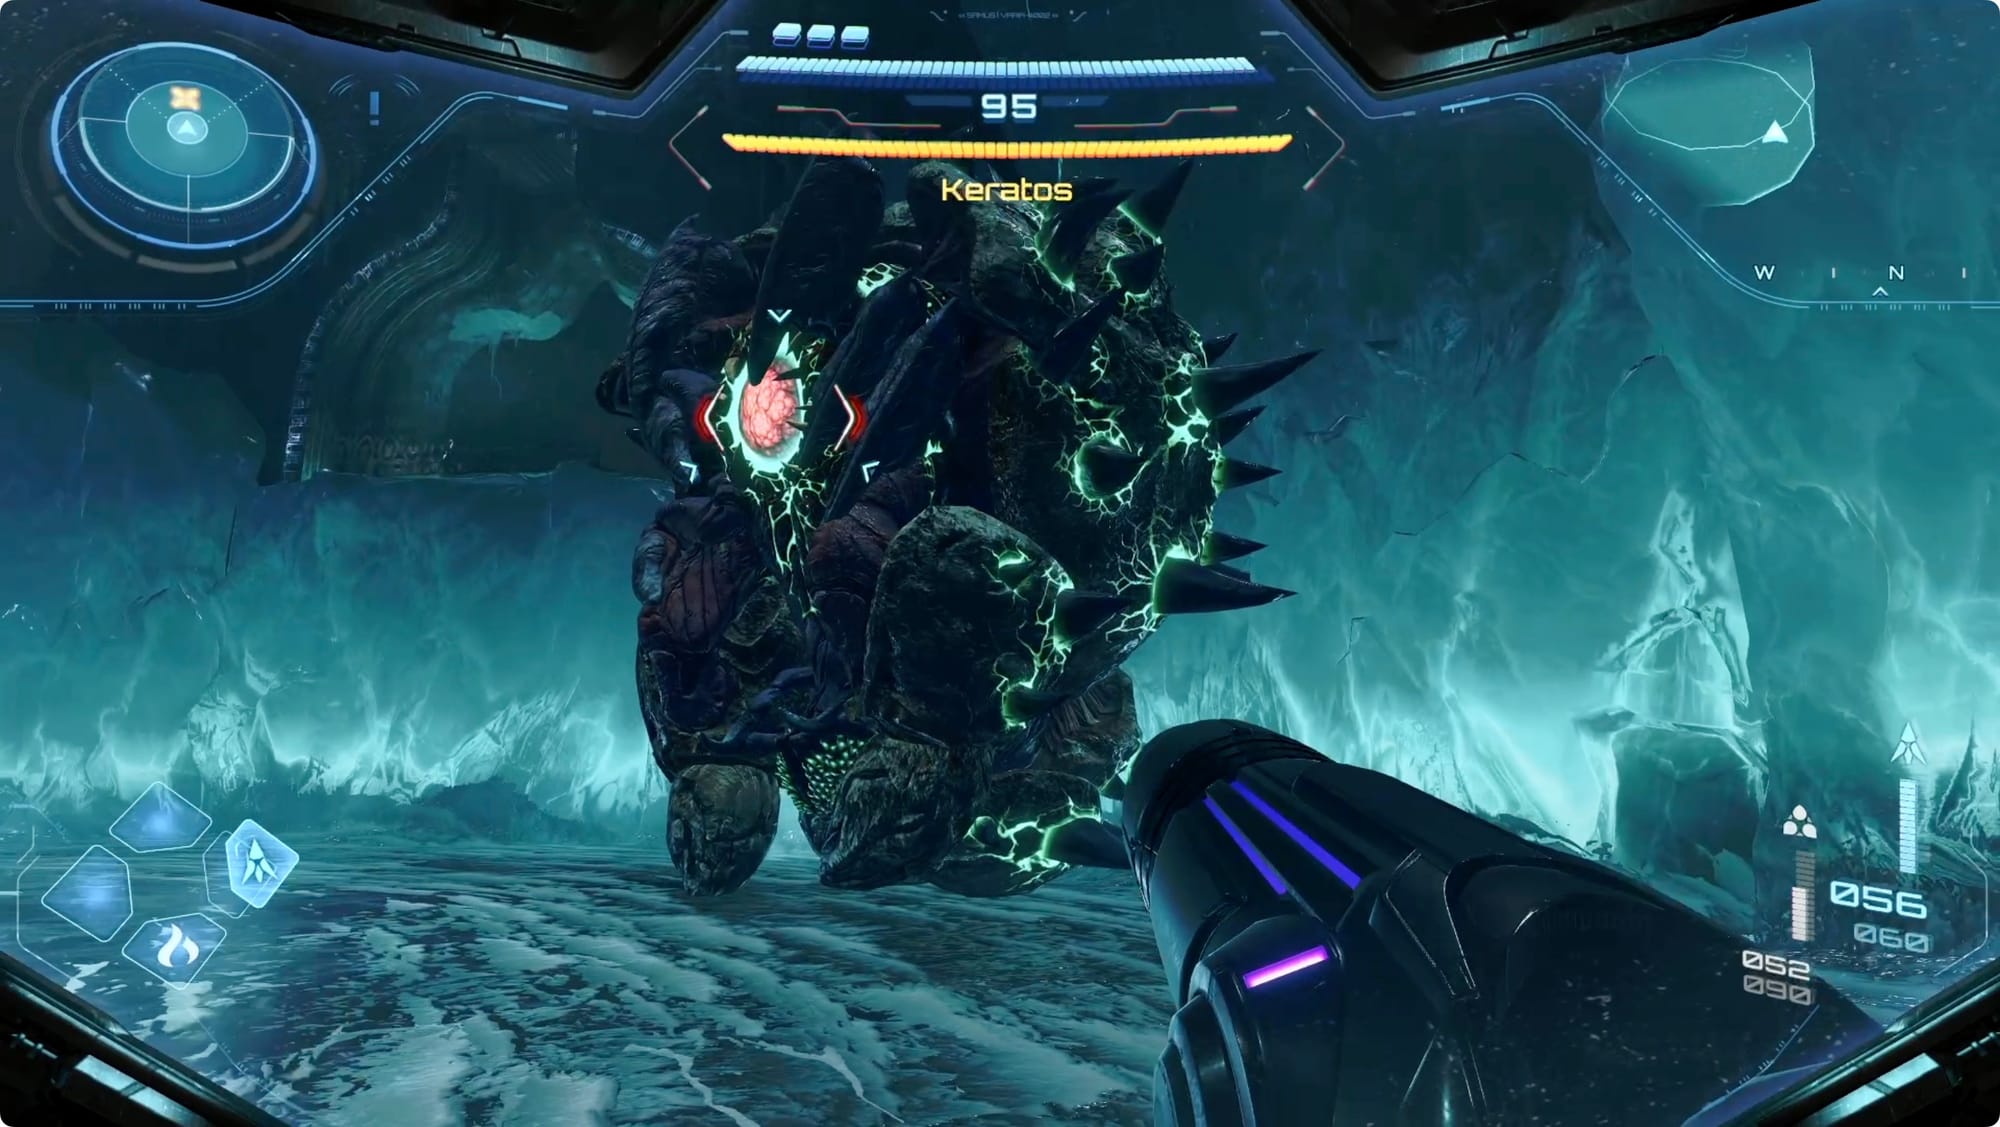
Your only goal in this fight is to get in front of Keratos and shoot it in the face. A lot. When you shoot it enough, it'll get mad, and spin up a charge. Lock on, and dodge of the way at the last second.
When it (hopefully) misses, it'll get stuck to the wall, exposing its Metroid-shaped weak spot on its belly. Fire Shots seem to deal the most damage here.
After that, just keep repeating the process while dodging attacks.

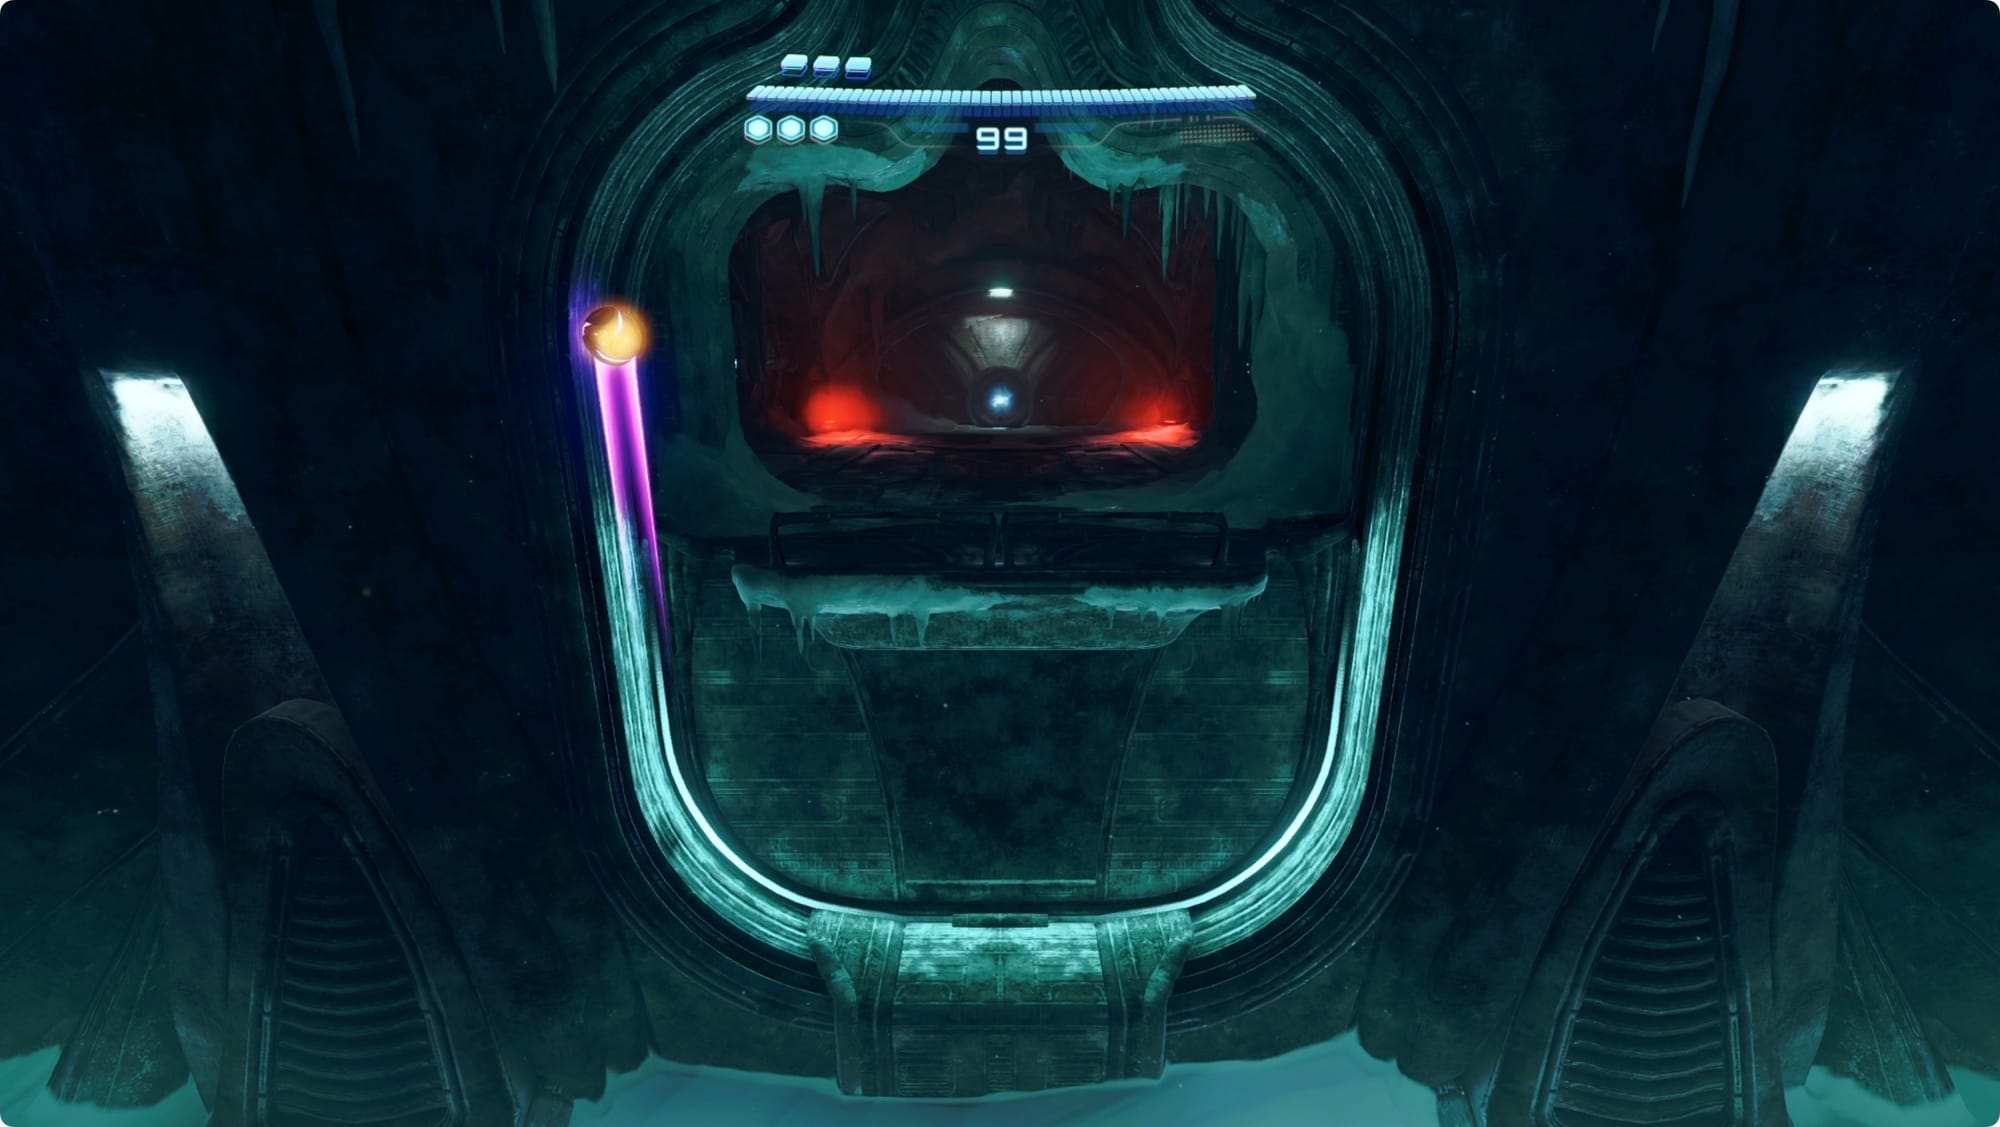
Once Keratos is defeated, grab the Psychic Ball Boost upgrade. When the statue appears, Morph Ball into the pedestal and then start boosting around and around until the pedestal lowers all the way (if it's not working for you, try going the other direction).
Stare at the statue’s forehead and go claim your Master Teleport Key.
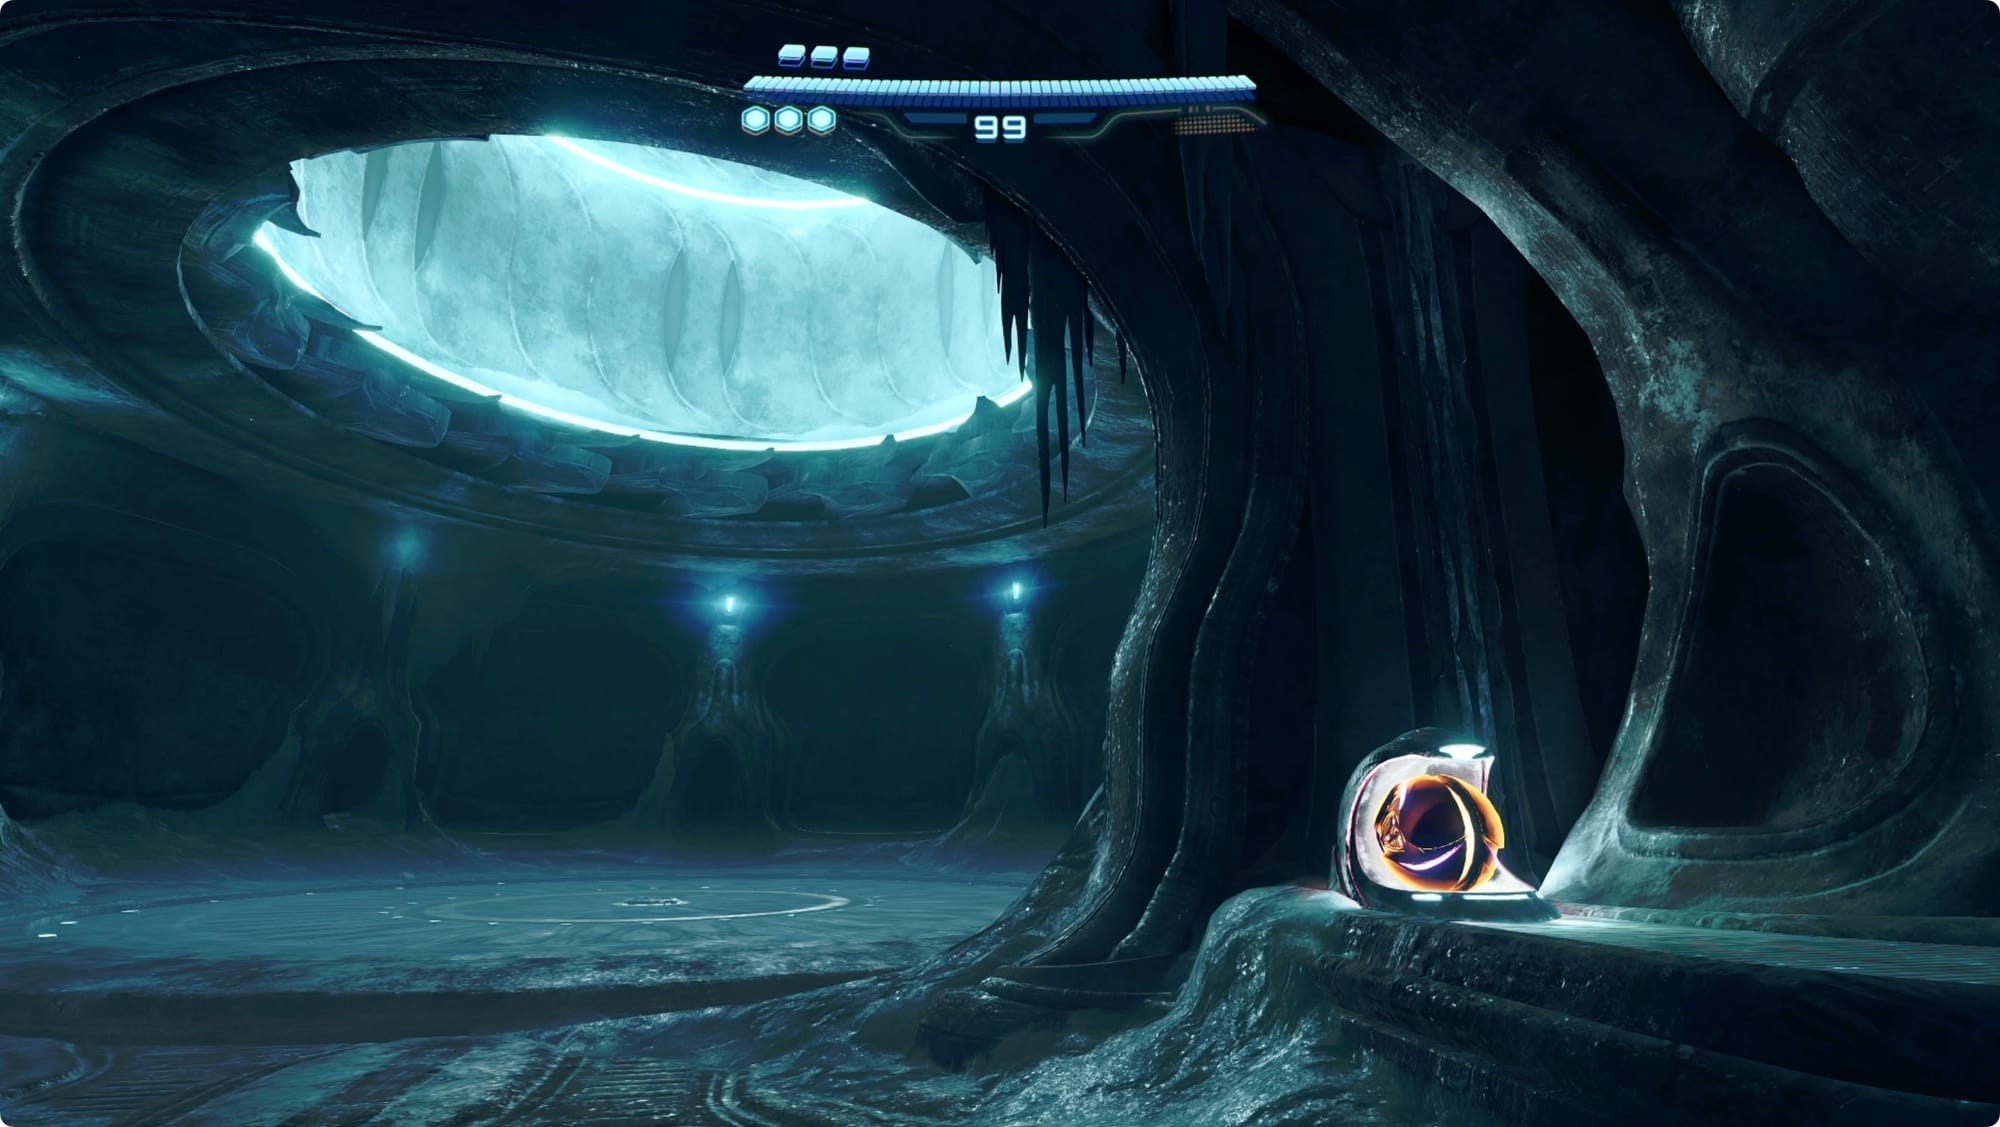
To leave, jump into the track that goes around the exit platform and switch to Morph Ball. Charge up a boost, and shoot yourself up one side. As you drop back down, charge up another and release it right at the bottom. Keep doing this until you get high enough to drop onto the platform.
Get the Ice Chip
On the way out, you’ll use the Spinner on the right to open the elevator back up.
Keep going straight to reach the Snowfield. On the right, there’s another Spinner. Use it to power up the mini Cargo Launcher and then boost around it to line up the arrows. Pop in to get fired back across the Snowfield.
At the Loading Crane, head up the ramp and through the door we opened earlier. On the north side, spin up the Spinner and then interact with the terminal to drop the crane’s cryopod. Interact with it to grab the Ice Chip.
Keep backtracking all the way out to the desert. (There’s a Psychic Boost Rail on the way out, but we can’t get to it yet.)
Back to Base Camp
You know what that means. It’s time to head back to Myles at Base Camp in Fury Green.
Once you arrive, talk to Myles to get the Ice Shot.
Head east again to return to the Sacred Flame Ceremony. Use an Ice Shot on the door to the north.

Scan everything in the room. Pull the Psychic Mote out of the fountain on the left and put it in the fountain on the right. Hit the water with an Ice Shot. Put the mote back in the fountain on the left. Freeze that one too for good measure. Jump up the platforms to grab a Shot Expansion.
Head back to Base Camp and save. We’ll pick up there in the next part.