

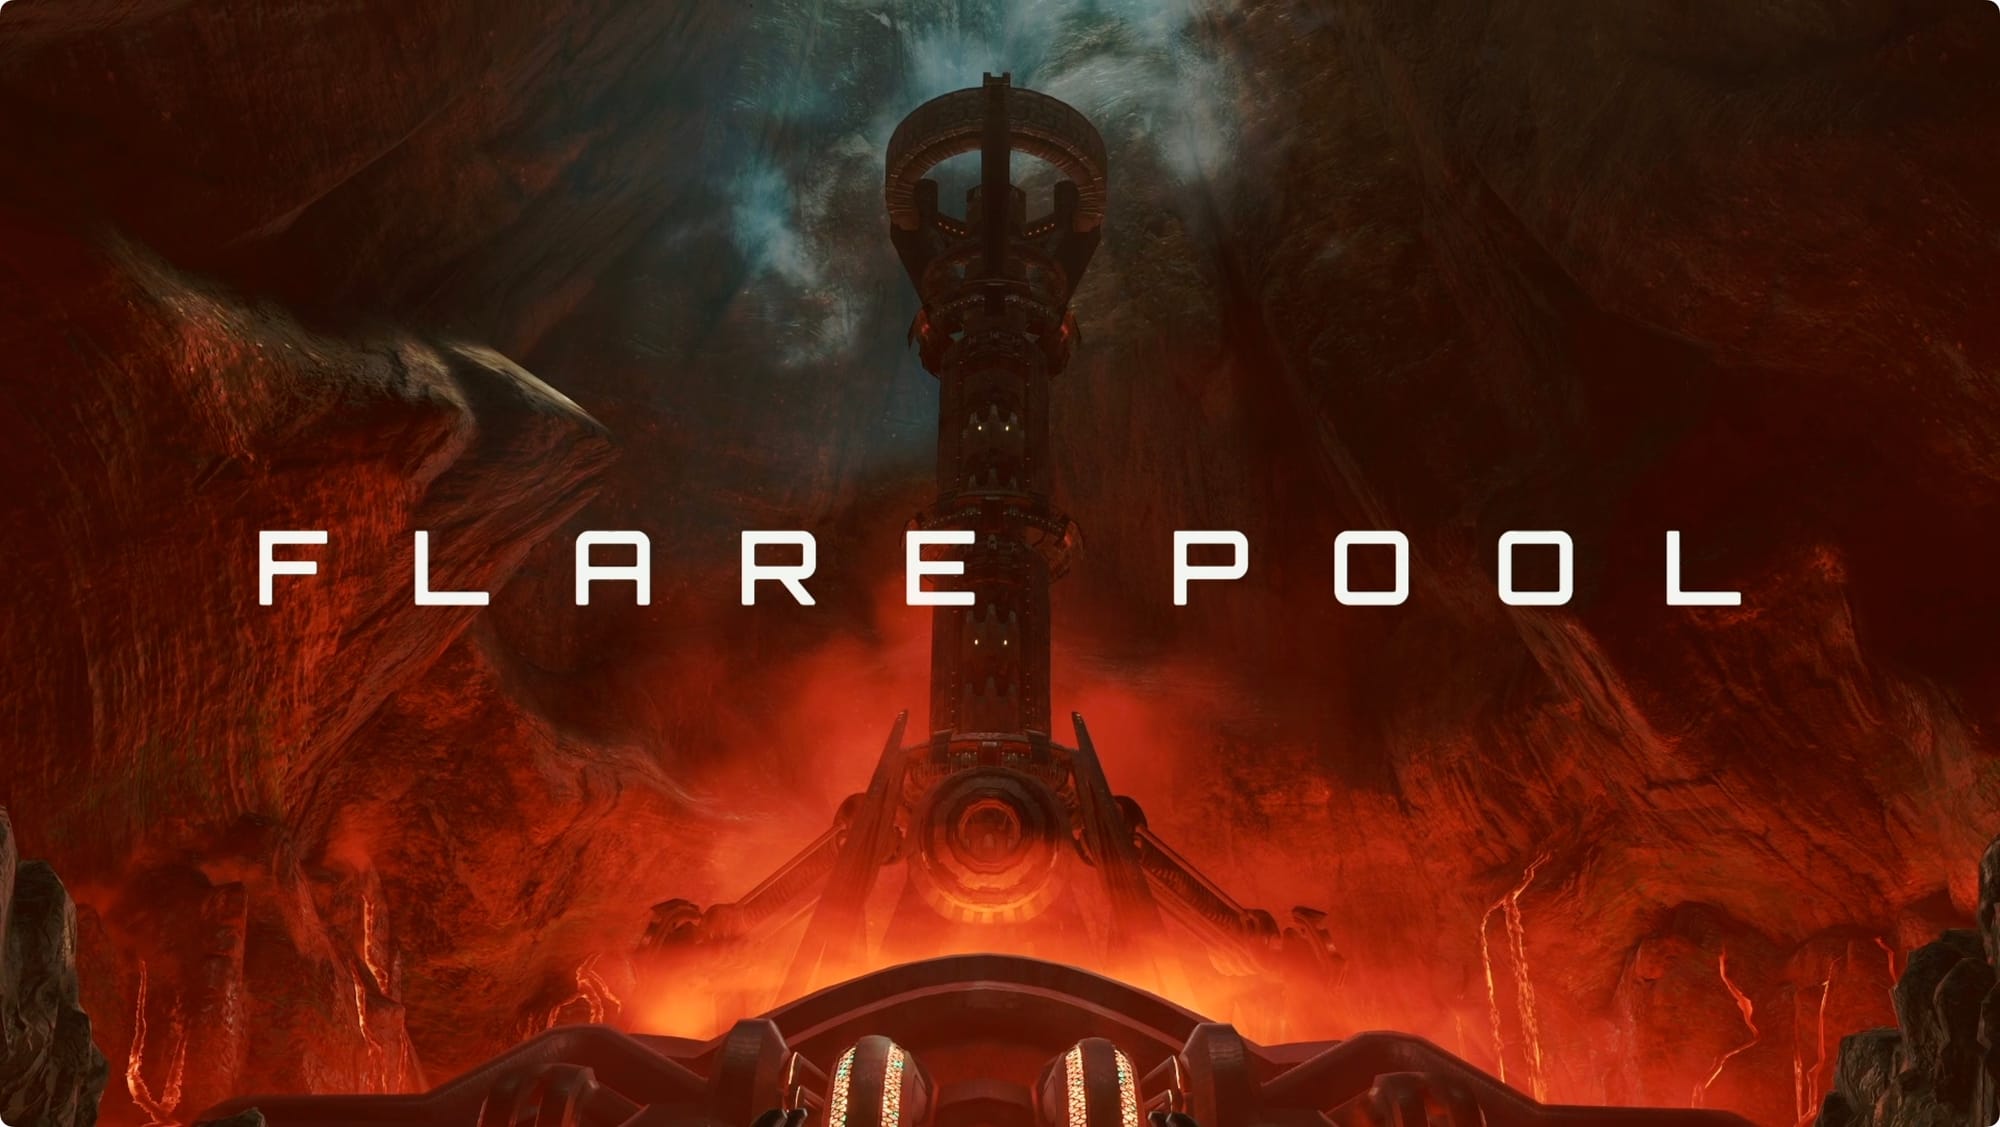
Metroid Prime 4: Beyond walkthrough pt. 4 (Flare Pool)
Find the fourth Master Teleport Key

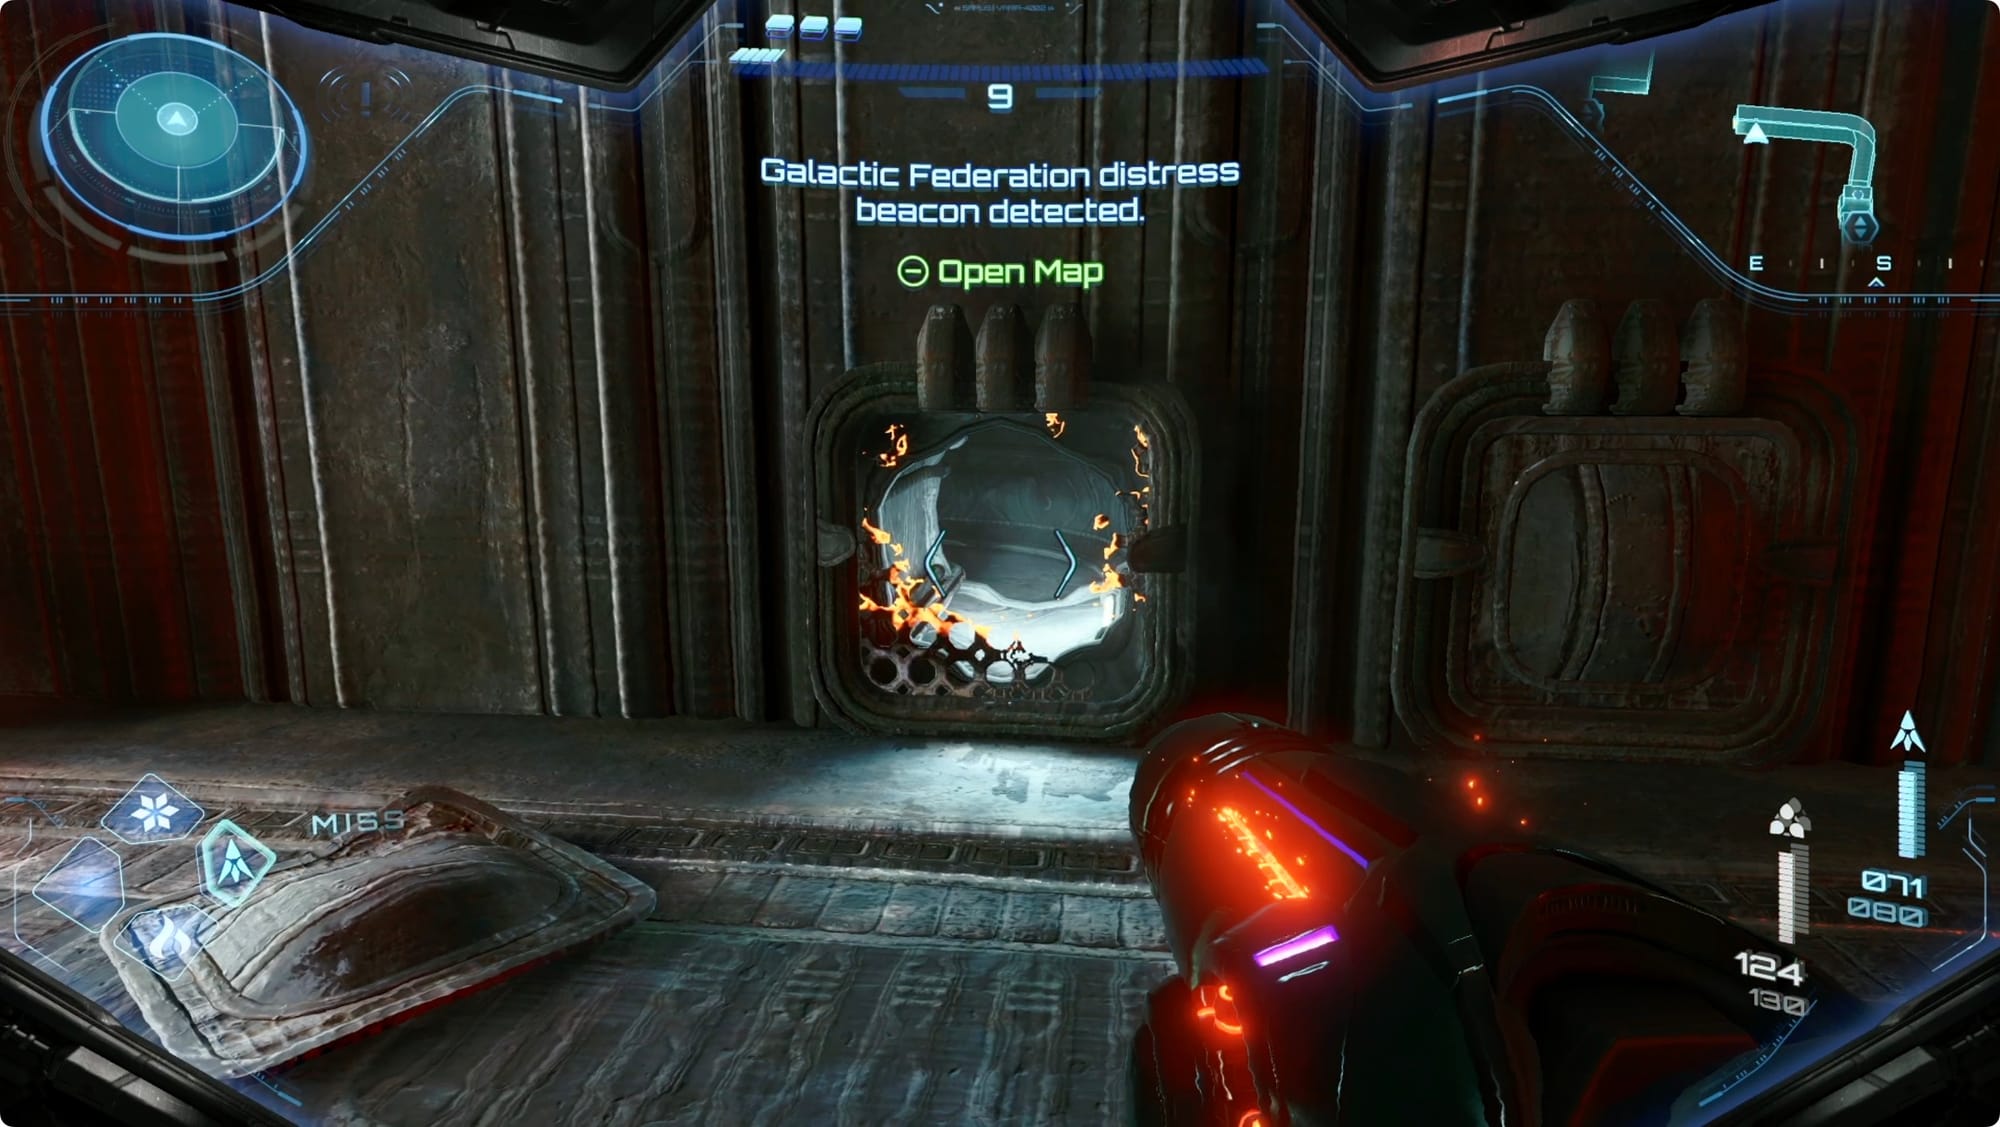
After finishing the Ice Belt and getting the Ice Chip installed, it's time to head back to the Flare Pool.
Back to the Volt Forge
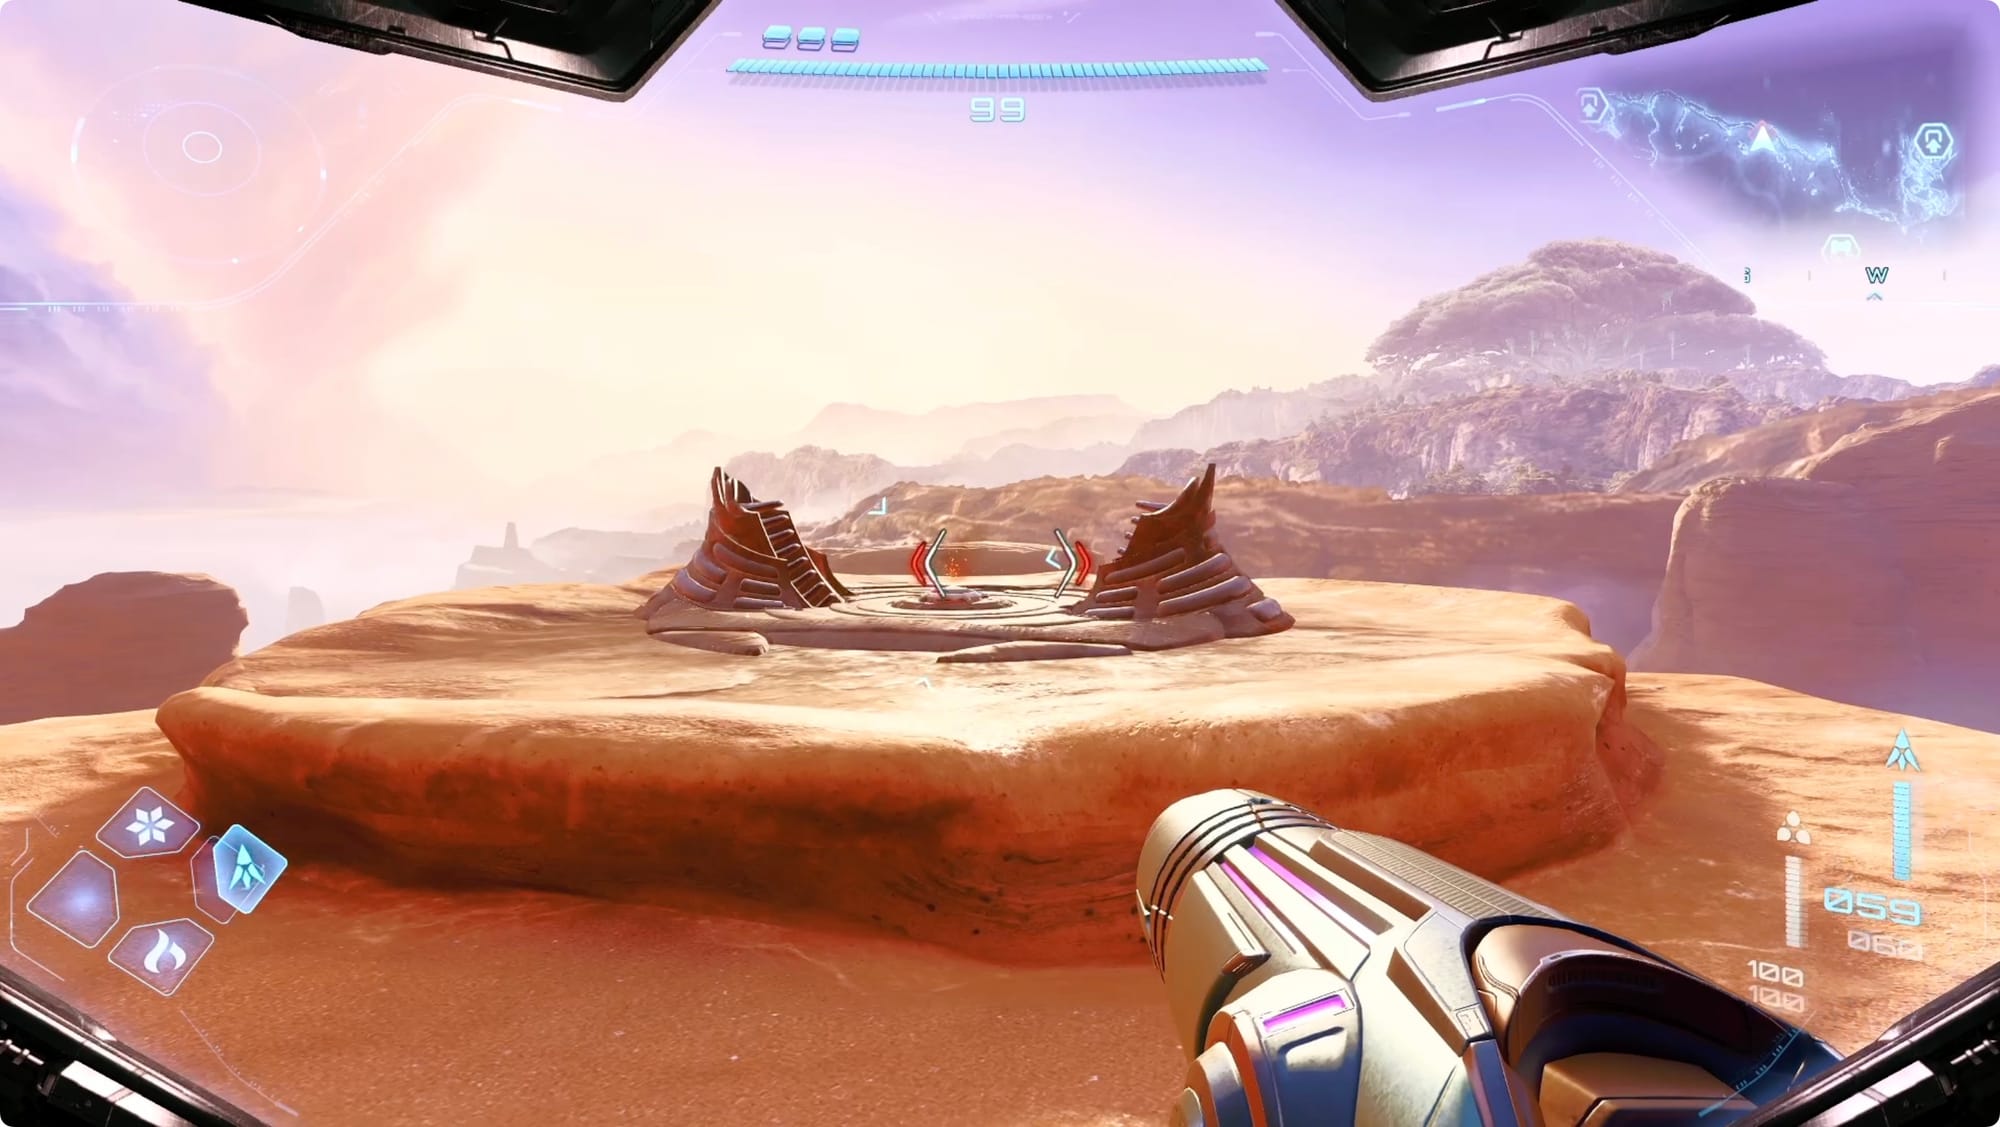
About halfway between Fury Green and the Volt Forge, there’s a locked cargo platform just sitting out in the desert. Even if you don’t see it, it’ll show up on your map if you just stick to the edge of the cliff along the western edge of the desert.
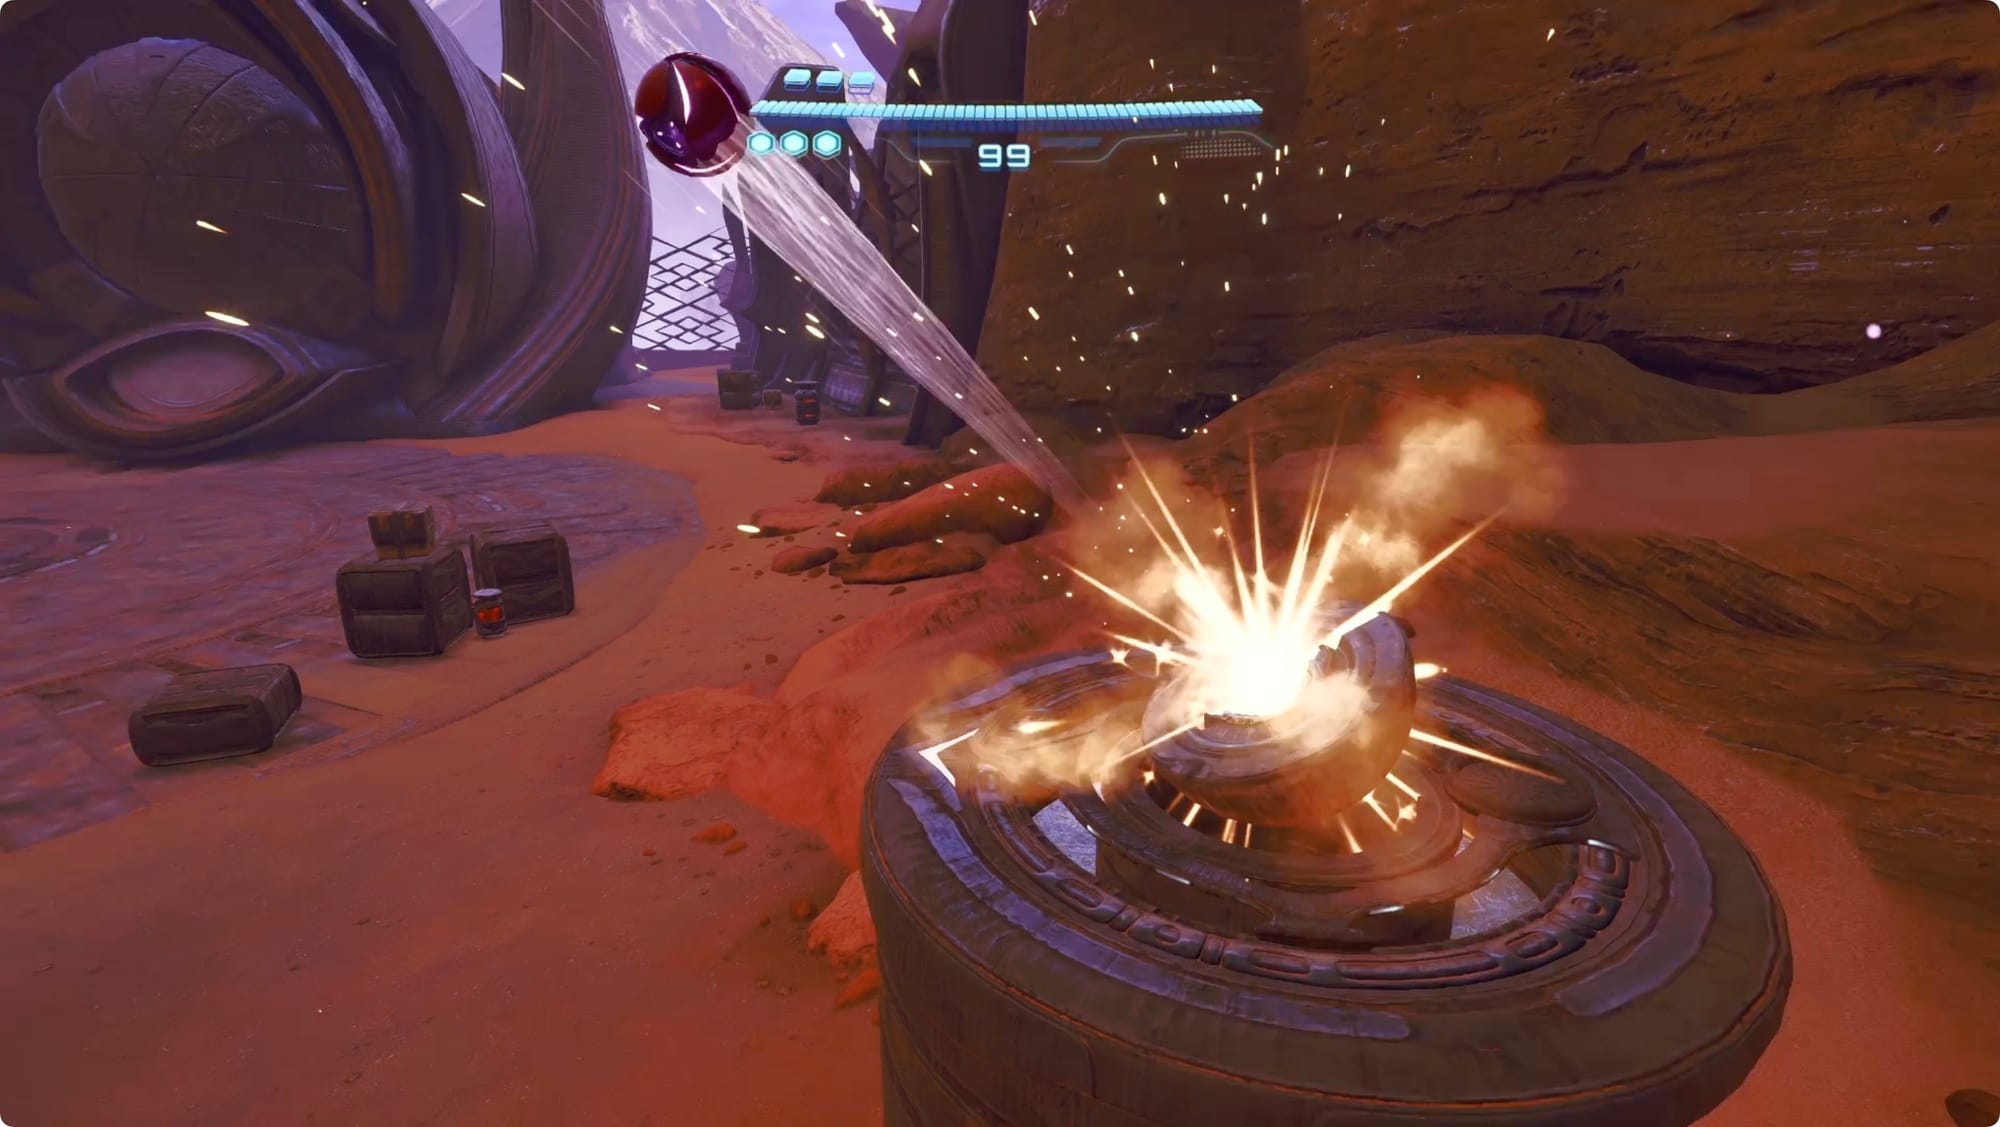
Shoot the fire lock on top with a Fire Shot to pick up a Vi-O-La Boost tank.
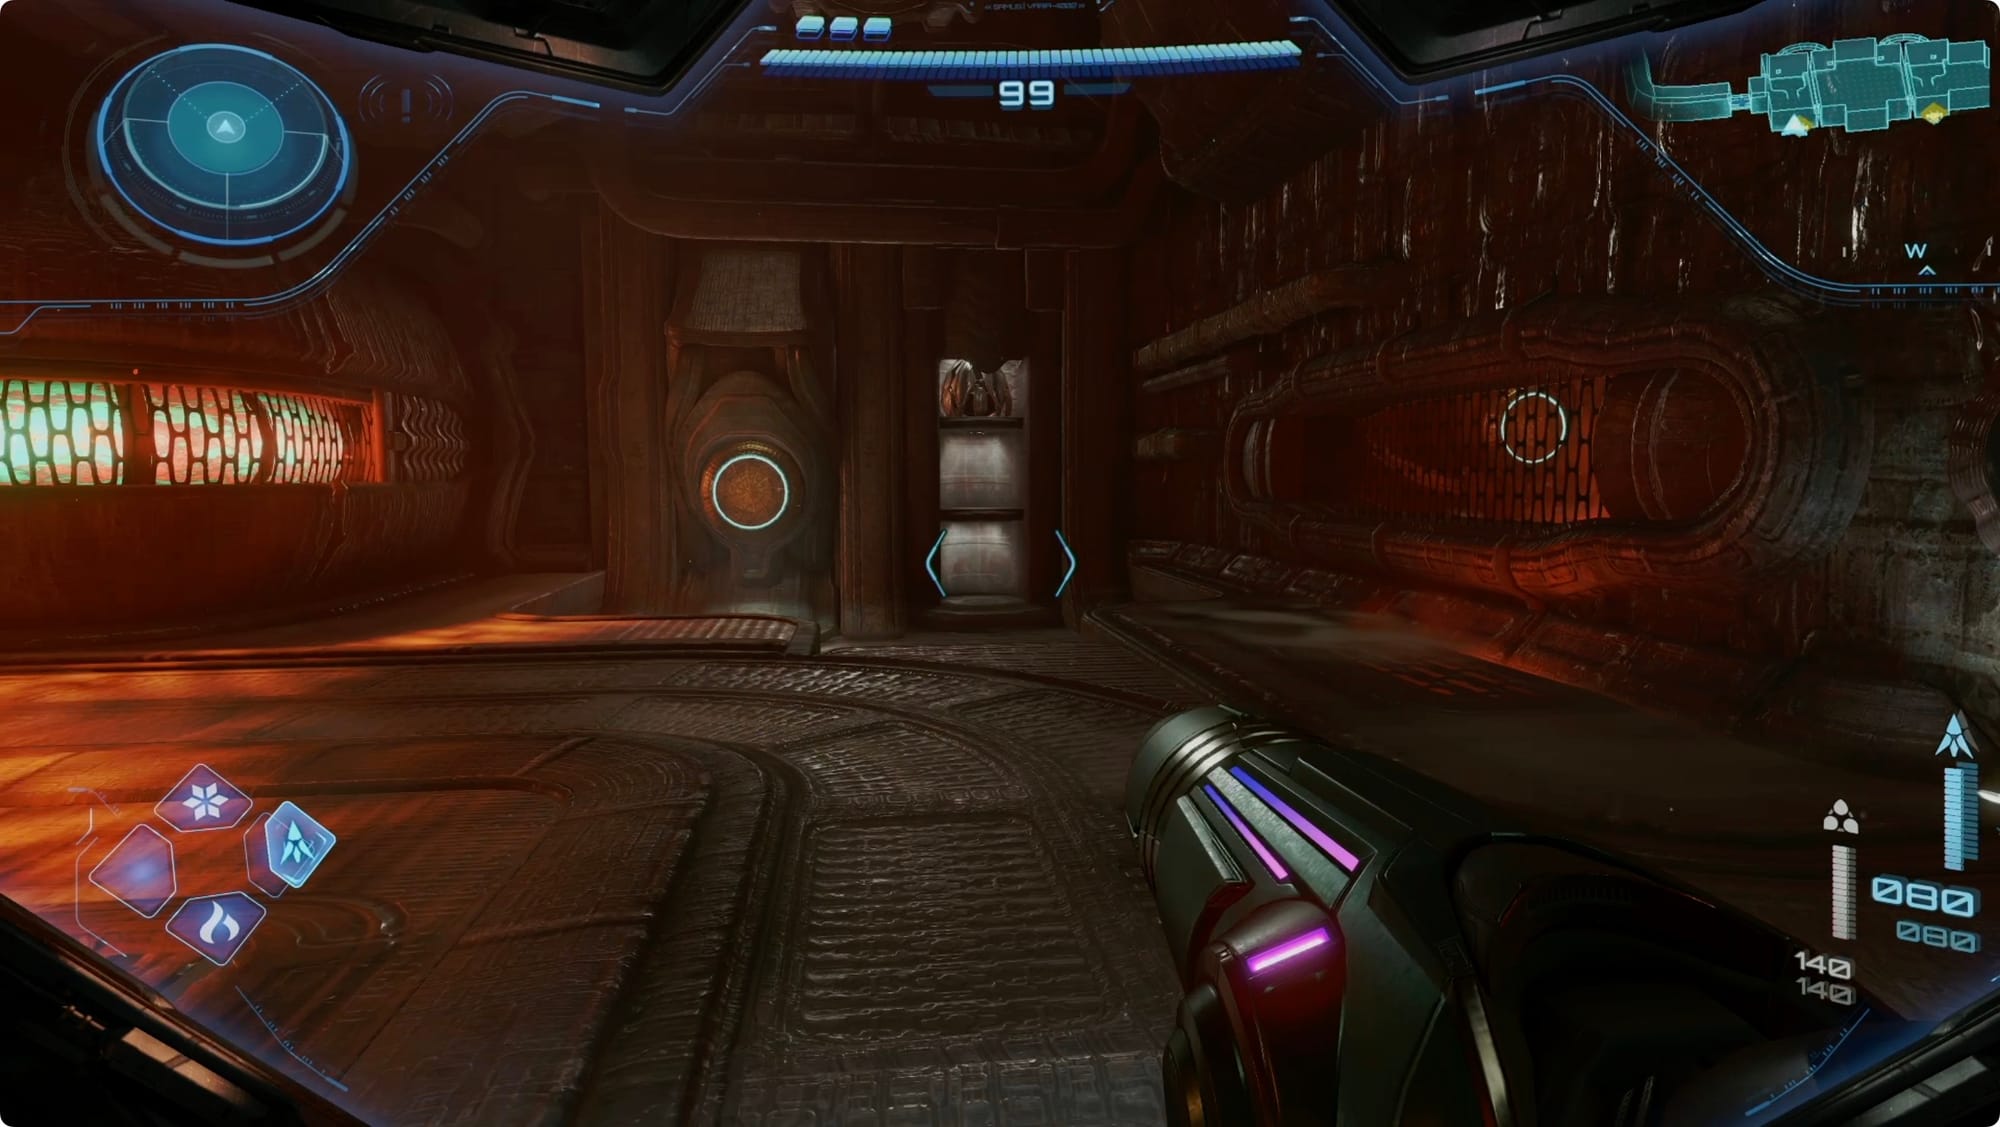
When you get back inside the Volt Forge, stop just before the main Showroom in the Loading Airlock. Turn to your right to find a Spinner. Your goal is to use it to swing one crate around to smash into the stationary crate enough to knock it down.
Deal with the Maintenance Tanks inside, and then collect your Missile Expansion.
In the Showroom, take a right/north/counterclockwise to head to Tower 2. One level down in Processing, there’s another Spinner. Use a bunch of small boosts to raise the pillar and grab another Missile Expansion.
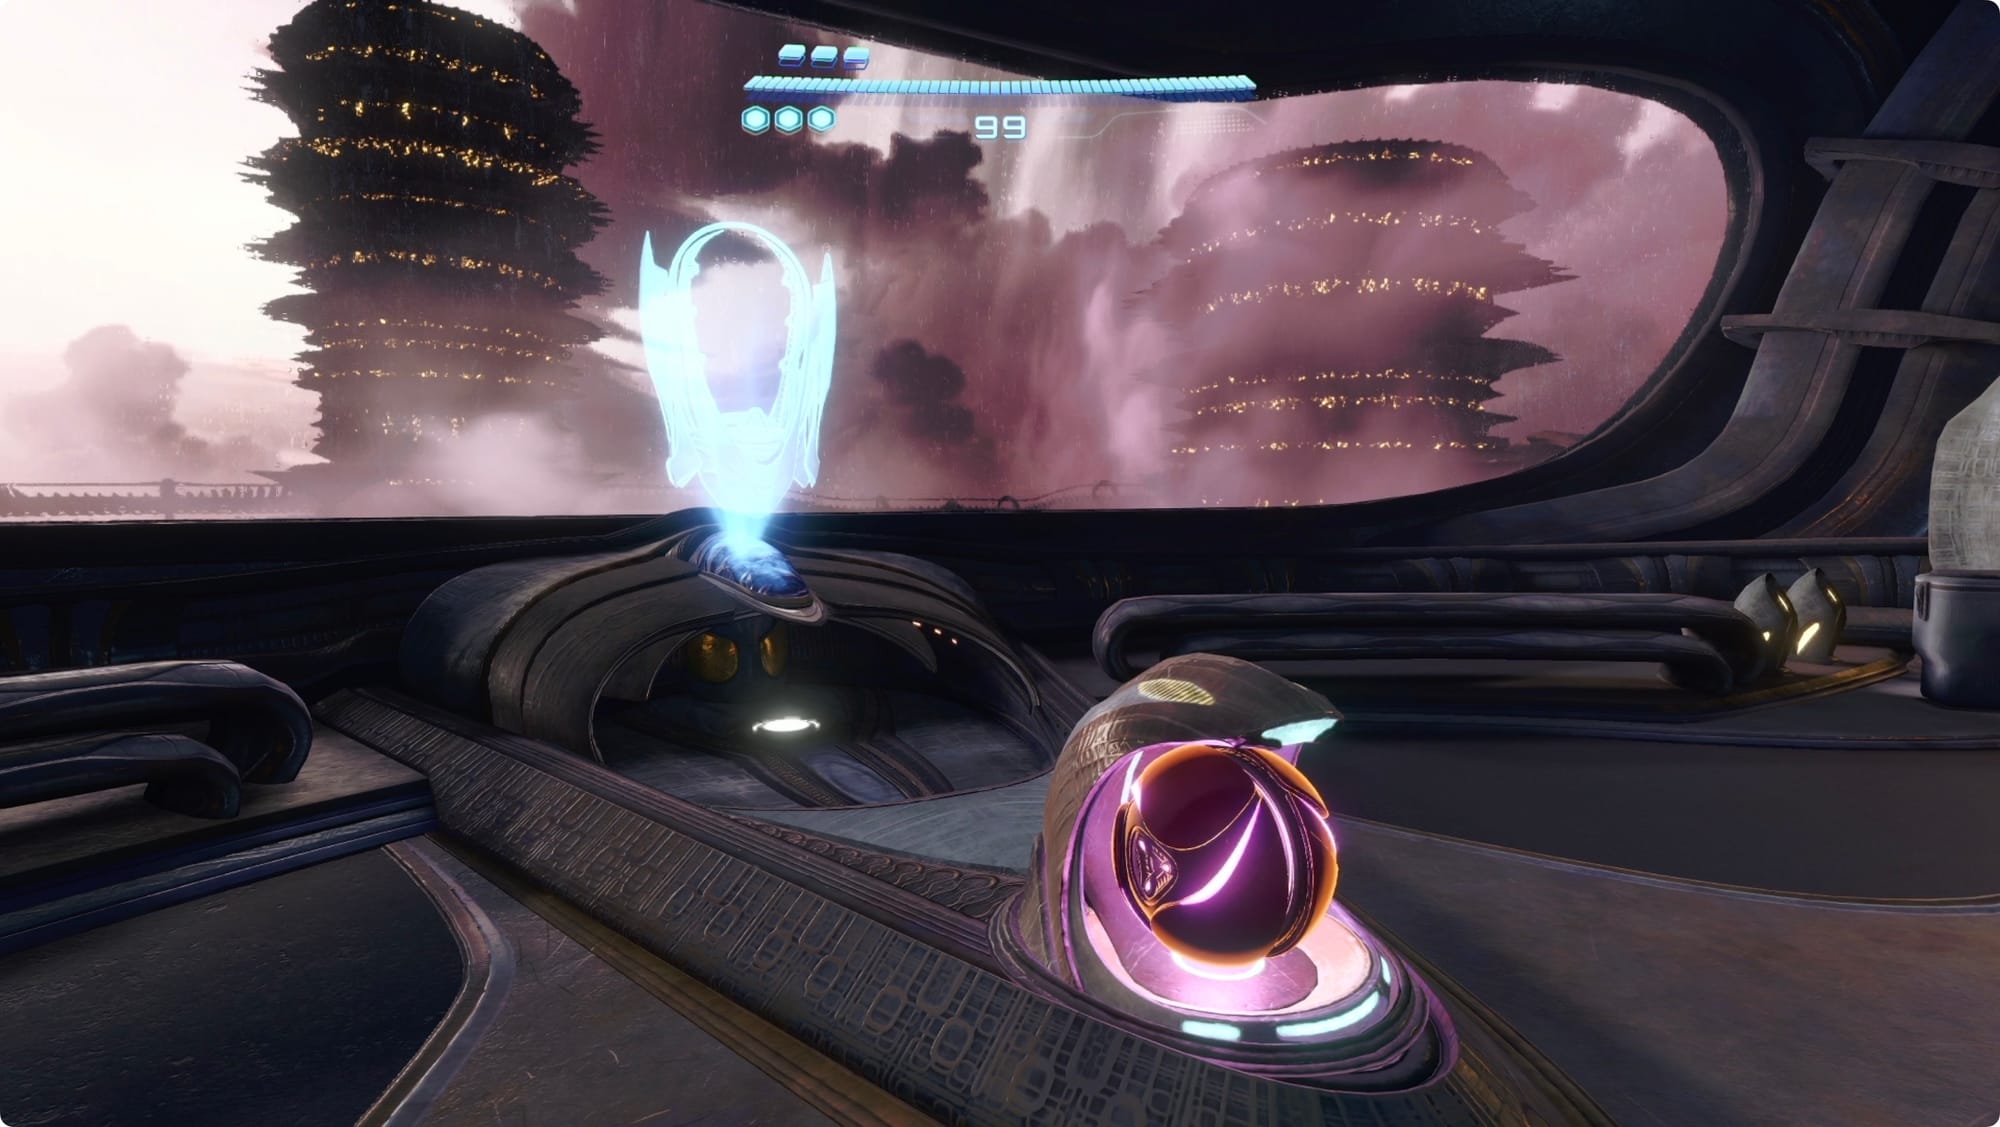
Back up top, loop around to Tower 3. Right in the Test Circuit Security room, there’s another Spinner on the left. Fire it up to get the Vi-O-La IC Suit upgrade — this makes you head resistant and makes the Vi-O-La a hovercraft over lava.
That one’s important because …
Cross the Lava Lake Bridge
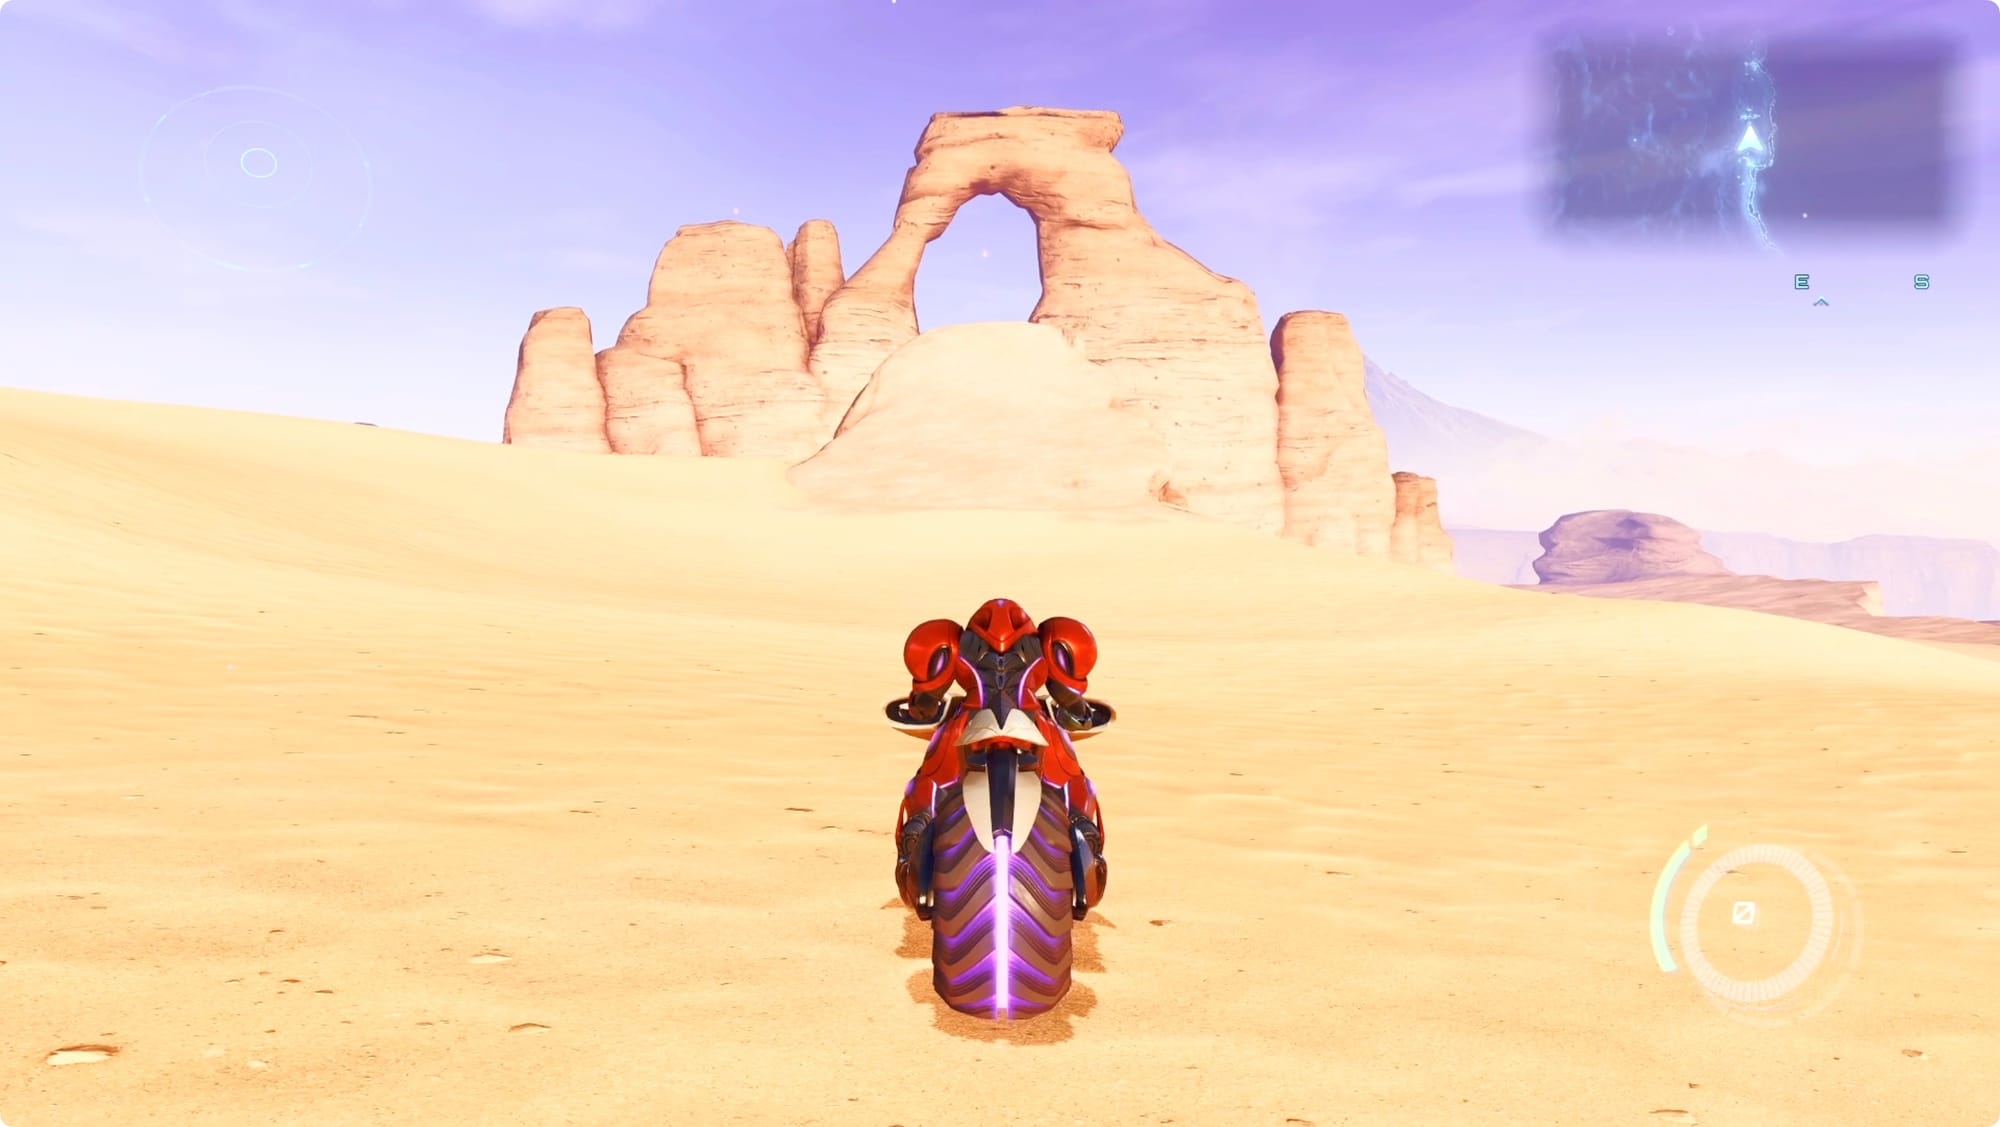
When you leave the Volt Forge, point your bike straight east and follow the southern edge of the desert. Along the way, you’ll spot a natural arch with a ramp leading up to it. Boost through it to collect a Missile Expansion.
In the entrance to the Flare Pool, we can use that Spinner to the right. Power it up to launch across the entrance. Drop off the ledge to the southeast to pick up a Large Shot Expansion. While you’re up here, double jump across the gap and go scan the Lamorn statue for more exposition.

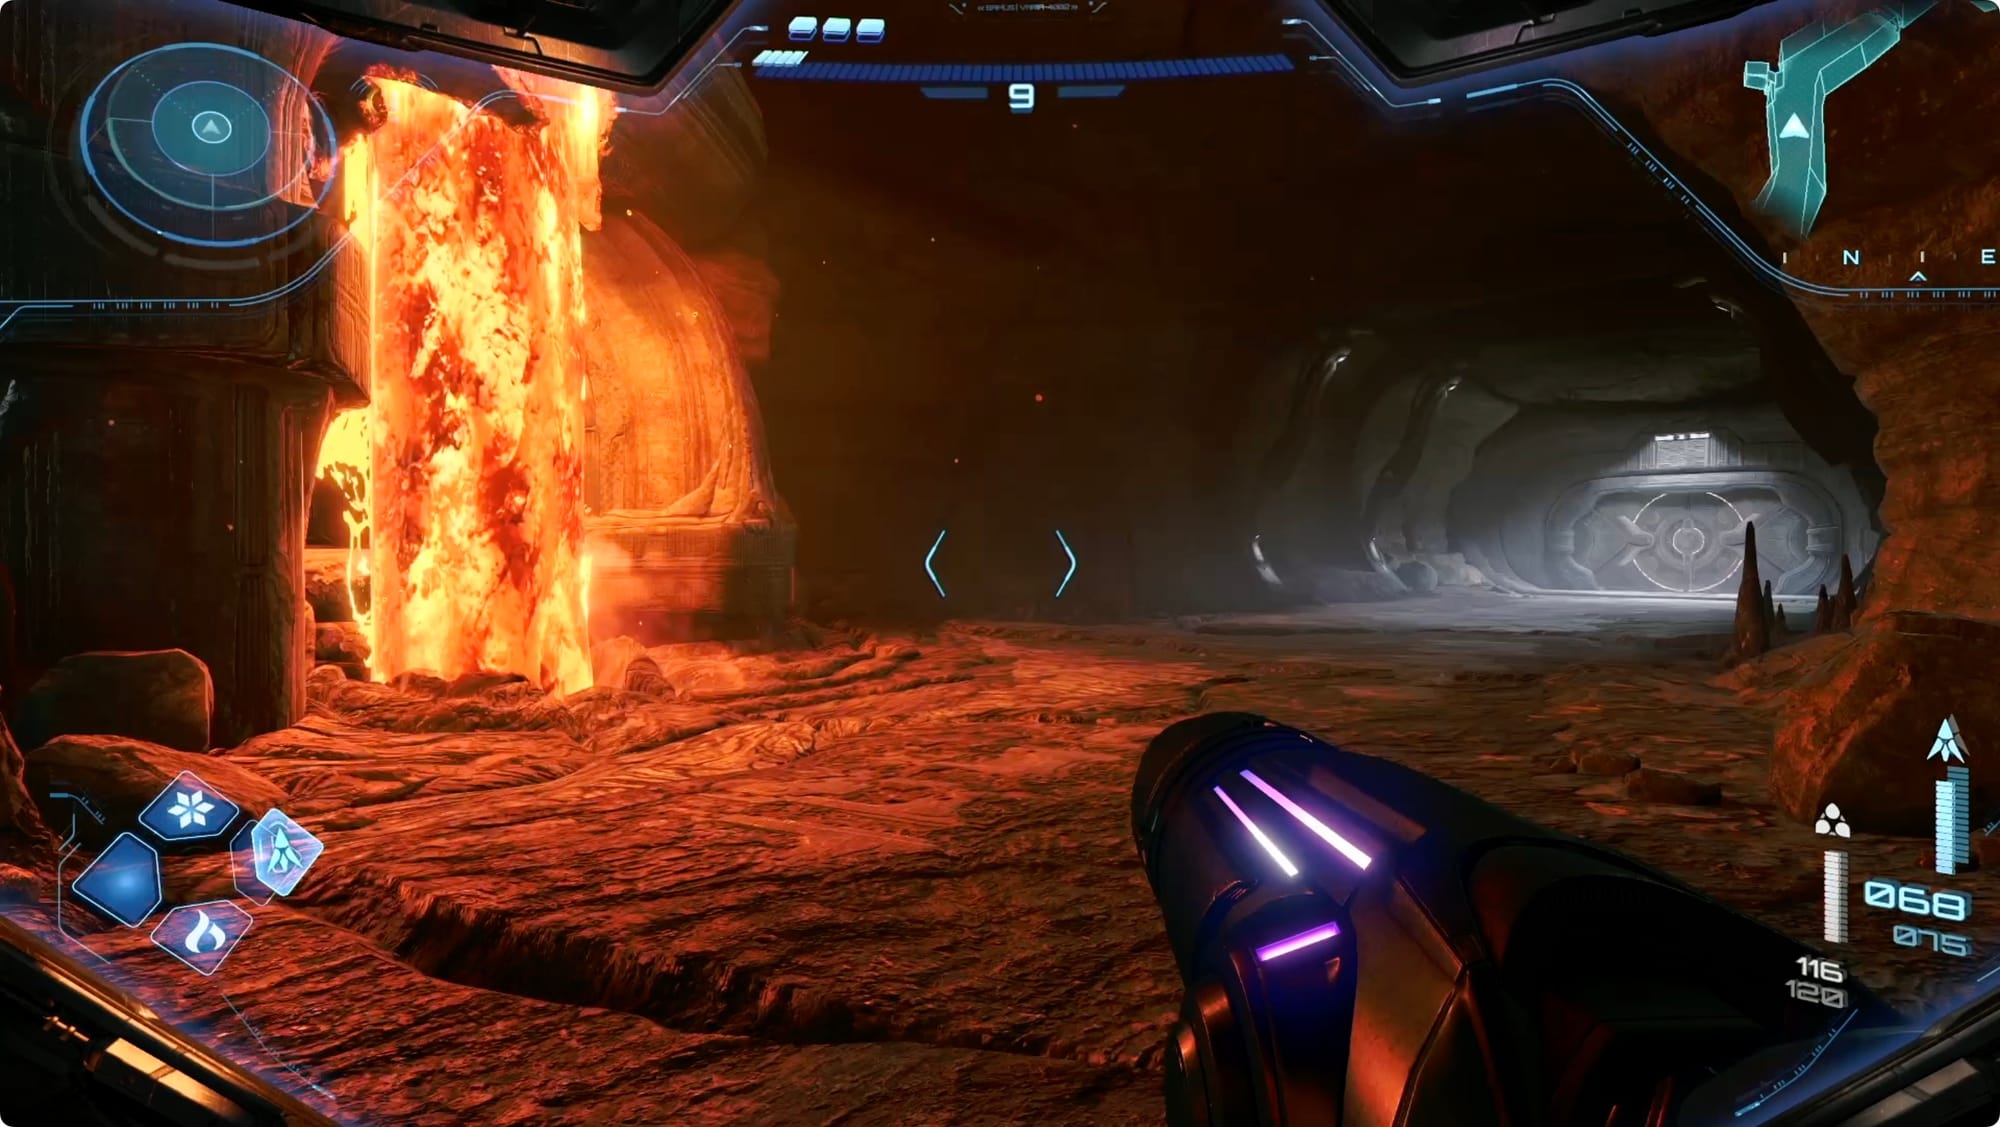
Head inside until you hit that wall of lava that appeared as you left last time. Ice Shot it and then shoot it more to briefly give you a window to get past. In the next room, use the Spinner on the left to shut off the flow entirely.
Hit the Save Station and continue in toward the Lava Lake Bridge. You’ll pass a lavafall on your left. Ice Shot and missile it to pick up a Missile Expansion.

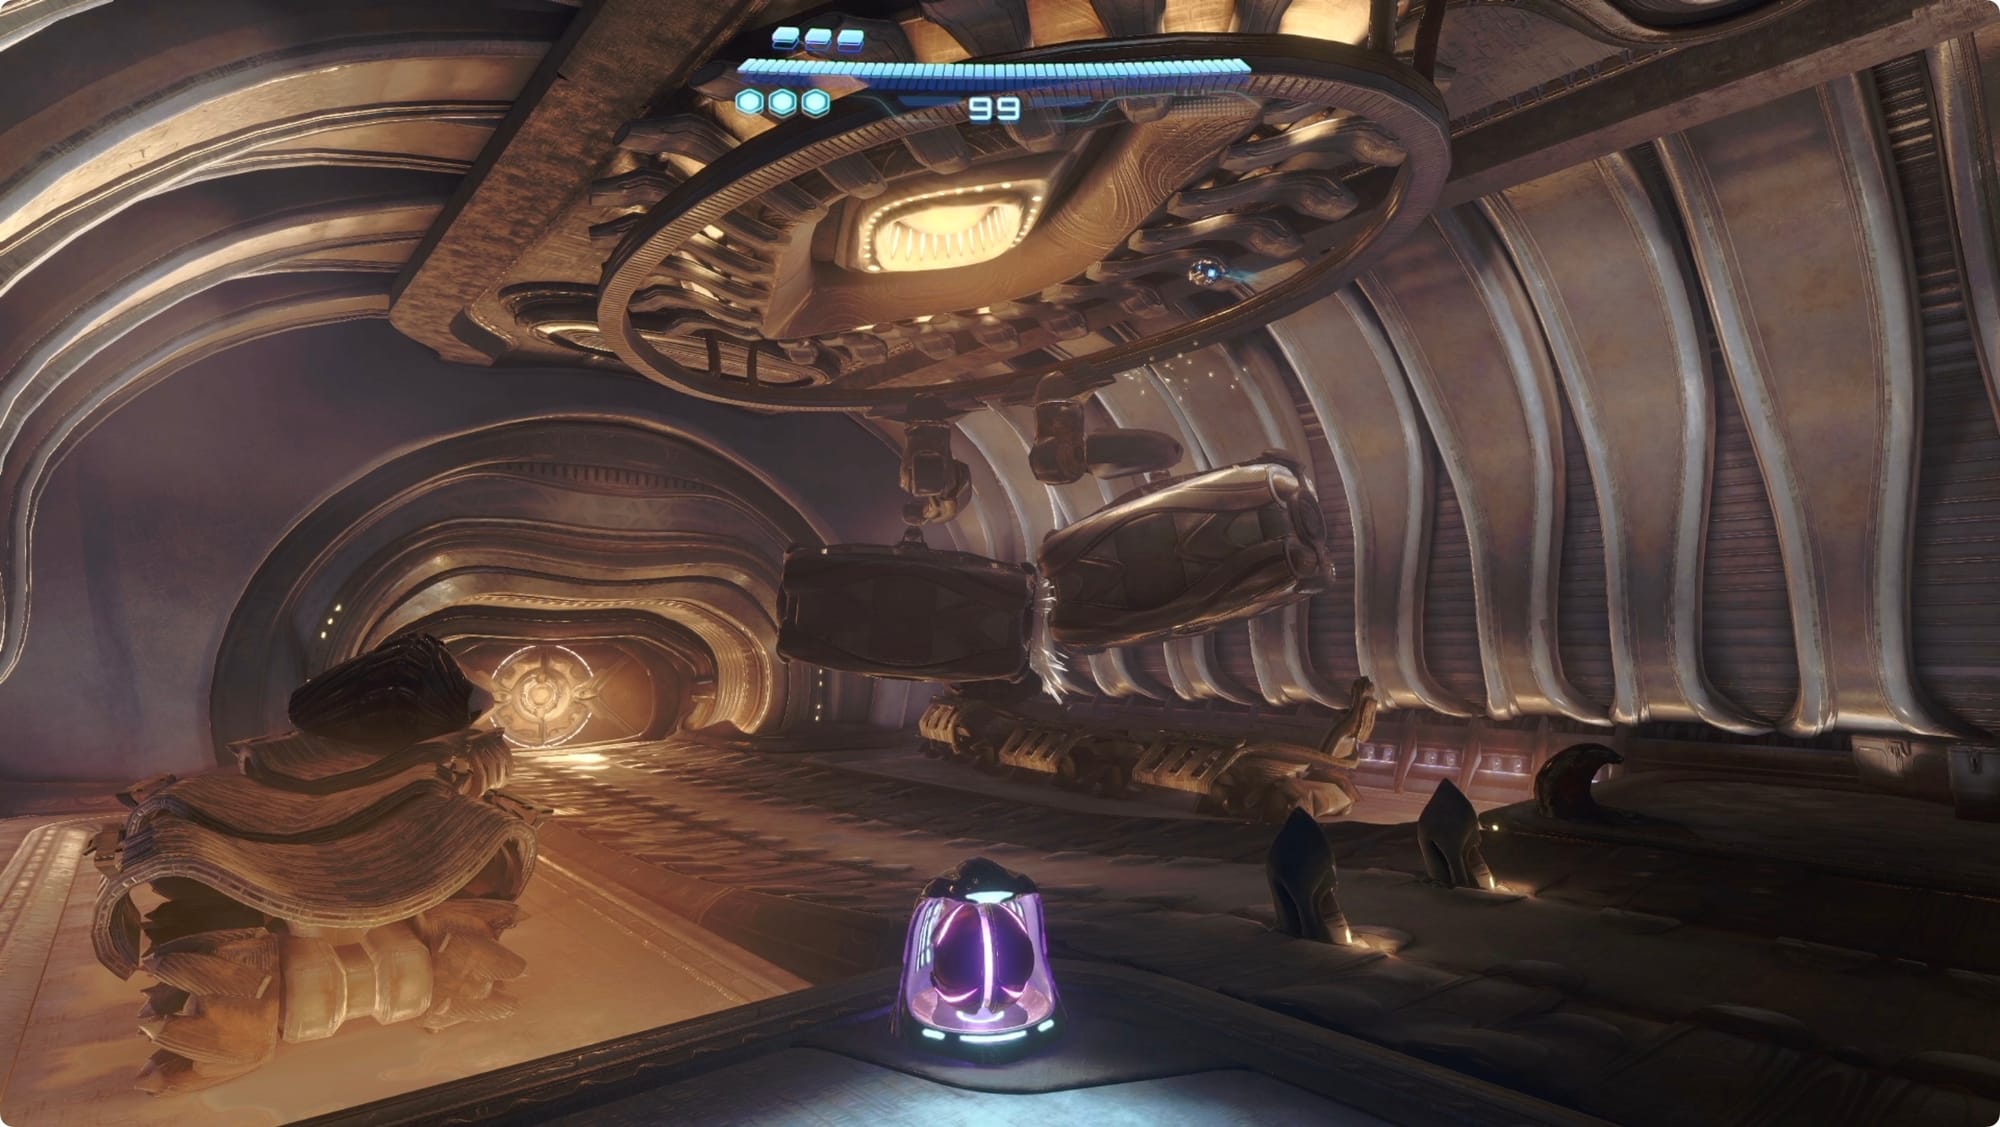
Summon your Vi-O-La and go down one of the ramps on the sides to the lava lake. Your bike will switch to (the much cooler-looking) hovercraft mode and you can just drive across.
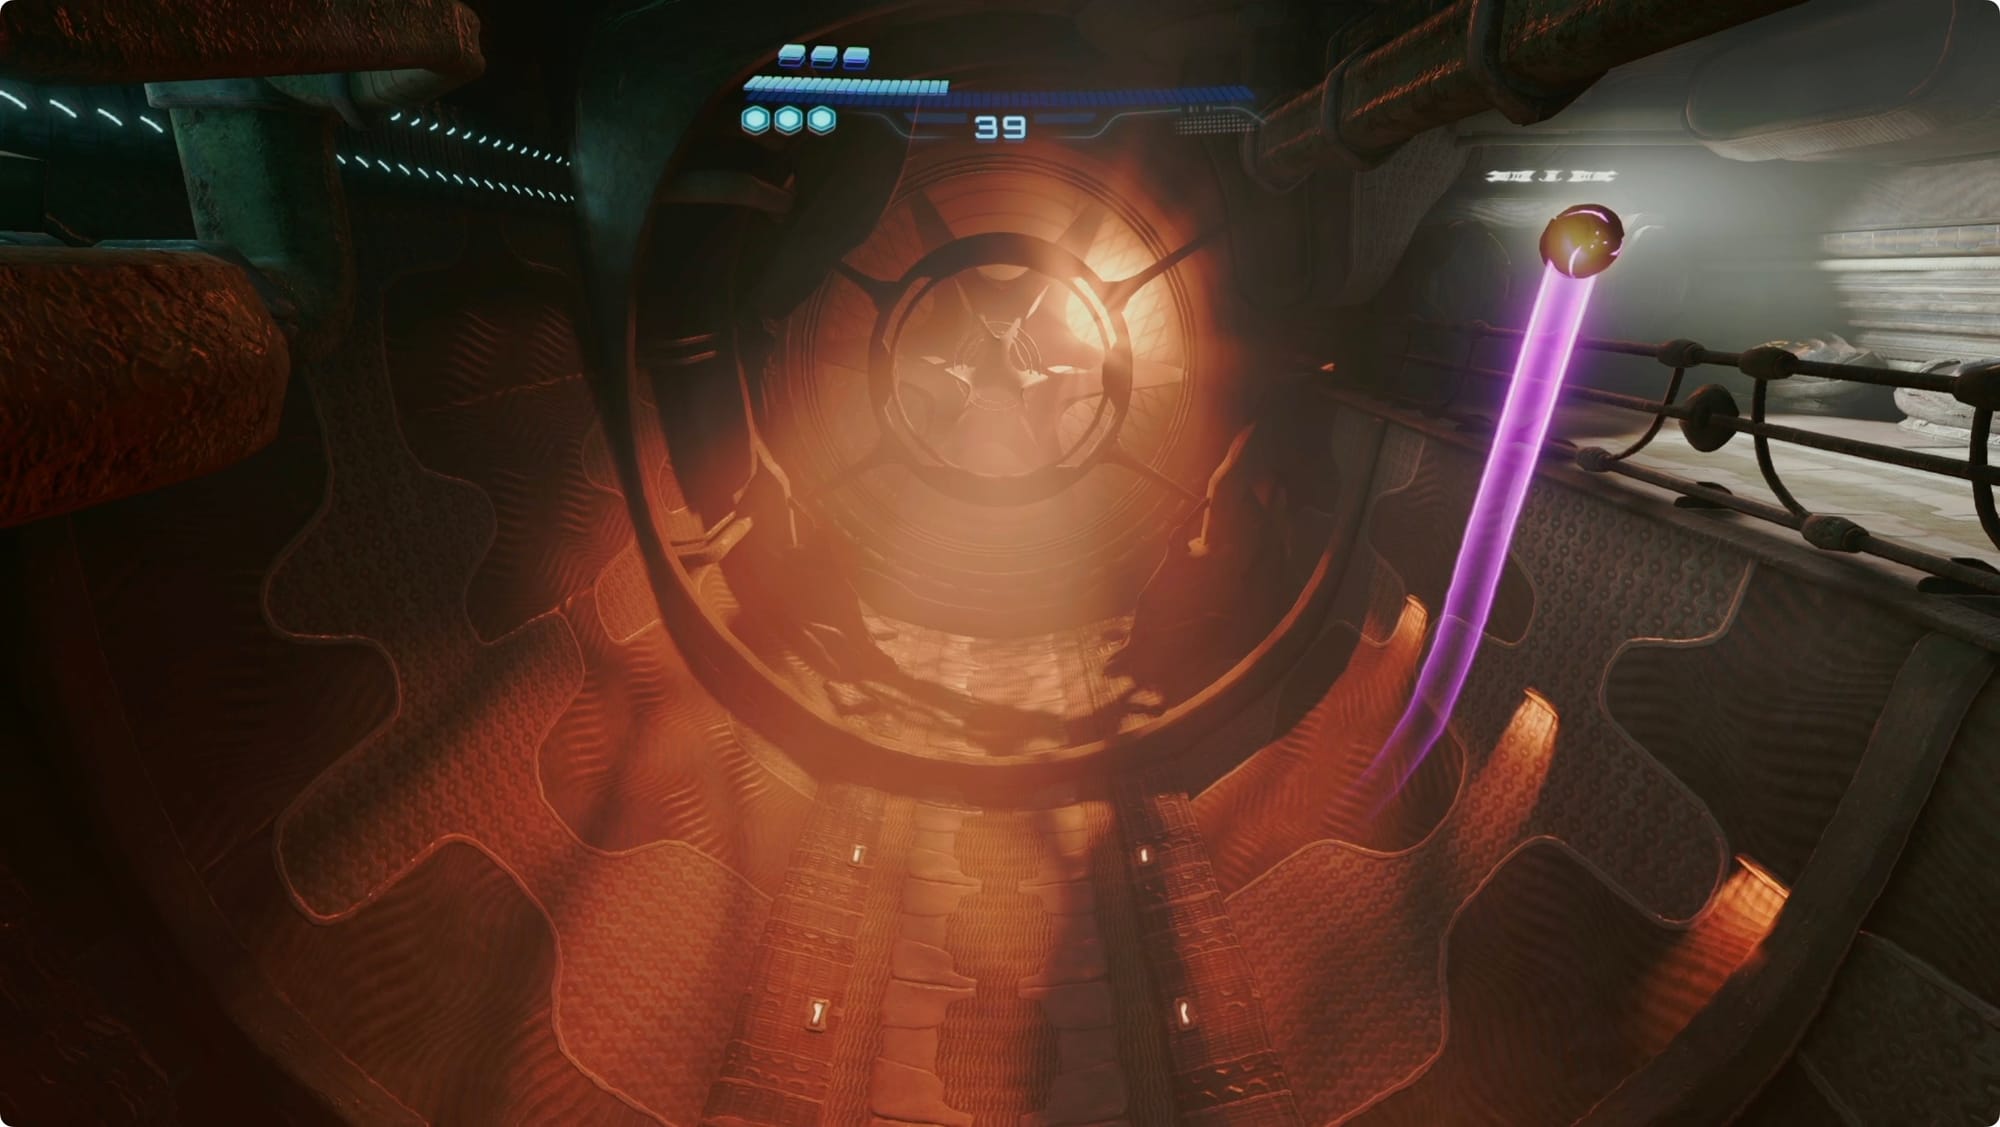
At the far side, use the ramp to climb out on the right side. Psychically scan the purple mist there to reveal a Psychic Boost Rail. Morph Ball and roll into it, and then Boost. You’ll take a tour of the lava lake that included picking up a Shot Expansion. The rail will bring you back to the other side of the lake — where you need to go anyway.
Head through the door and take the elevator.
Reach the Control Room
At the far end of the walkway, the shutter will be closed. Look to the right for a grate covering a Morph Ball tunnel. Hit it with a Fire Shot to open it.
Inside the Ventilation Works, use the Spinner to open the door. Take a left when you come out and scan the terminal by the shutter to open the door that was blocking you.
Turn around and head to the end of the hall. Missile the window and hop through. In the next room, stand in the middle of the tunnel, switch to Morph Ball, and half-pipe boost your way up and over the railing.
Take the shortest elevator ride up and then cross to the north to the barred gate opposite you. Lasso the bar off and take the matching elevator down. At the bottom, scan the terminal on the right to open a path back to the beginning and then missile the grate in the opposite corner for a Shot Expansion.
Head back up.
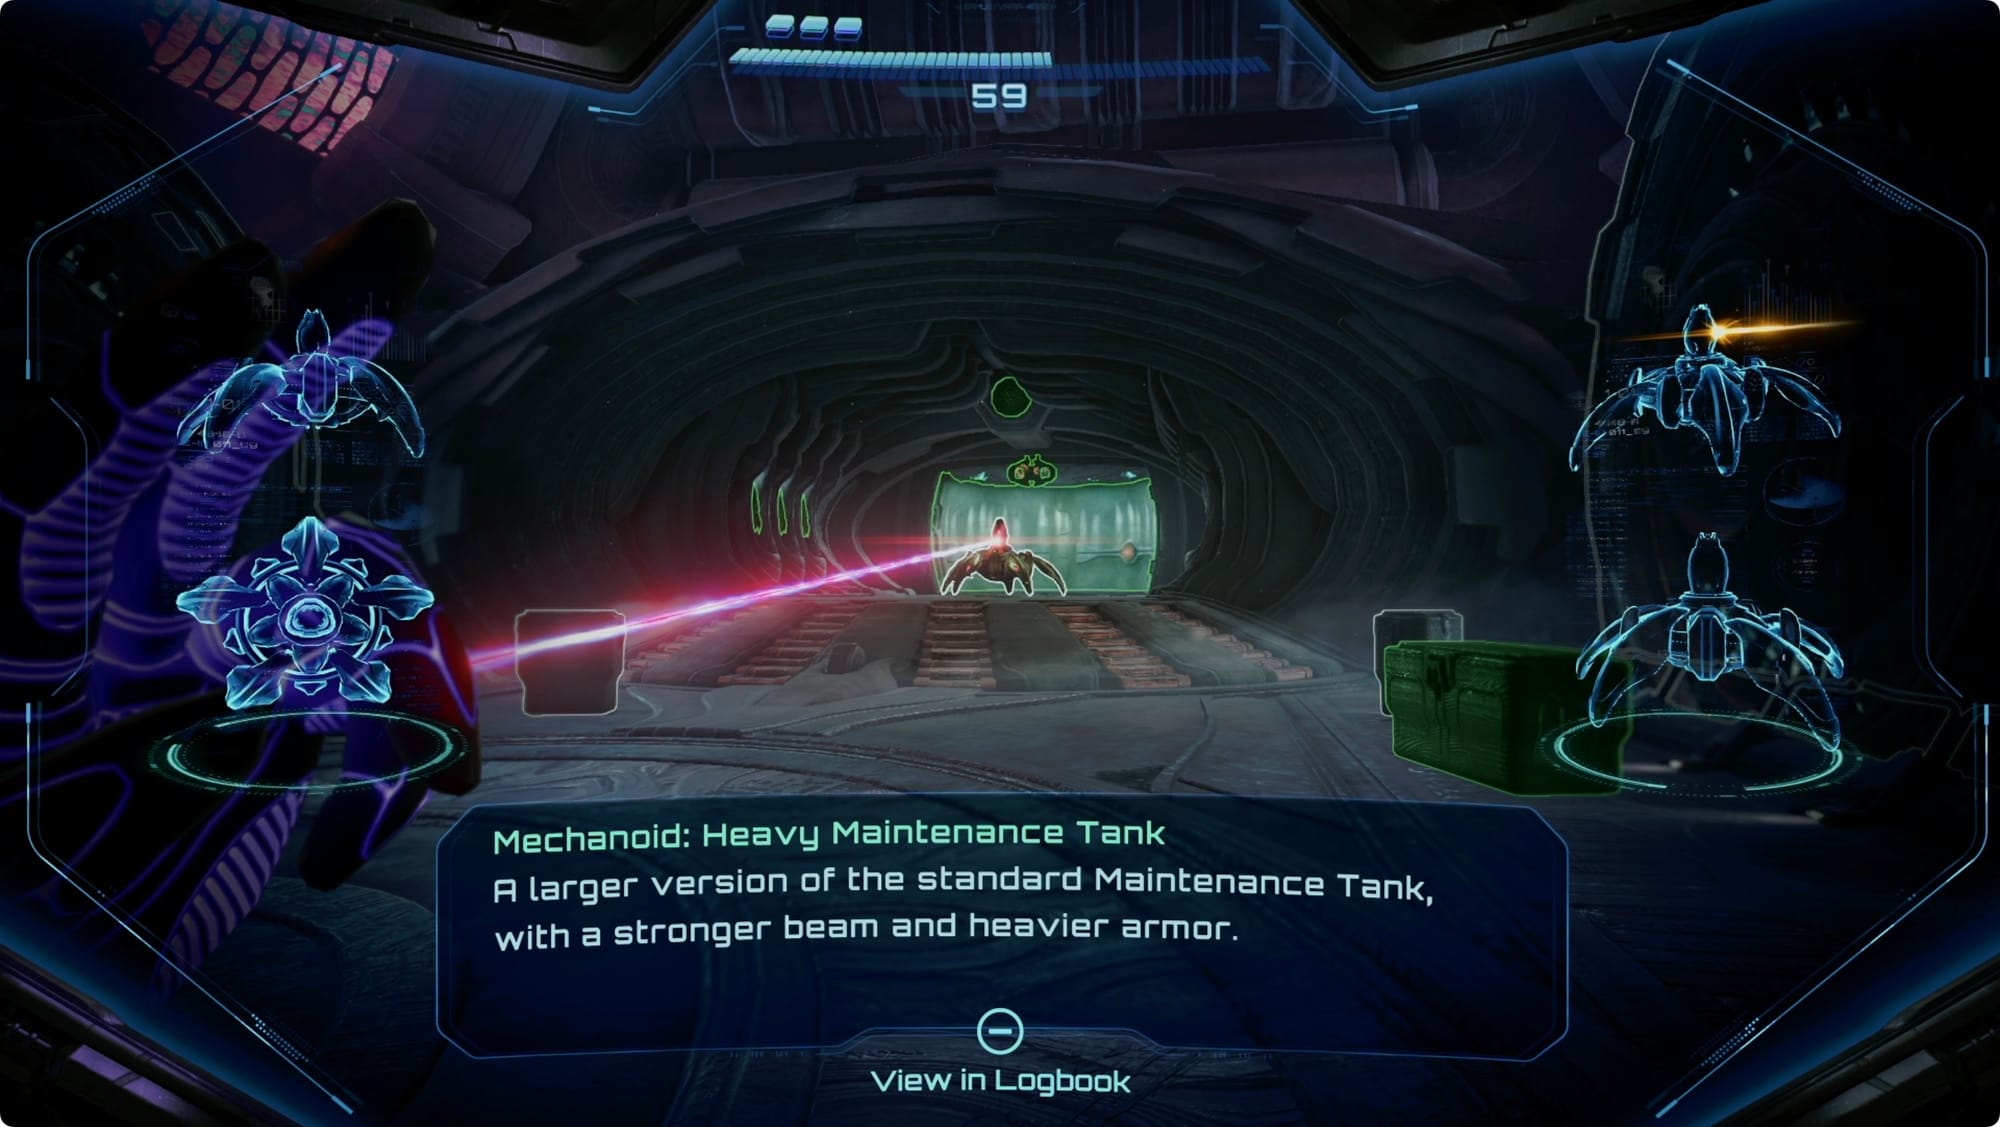
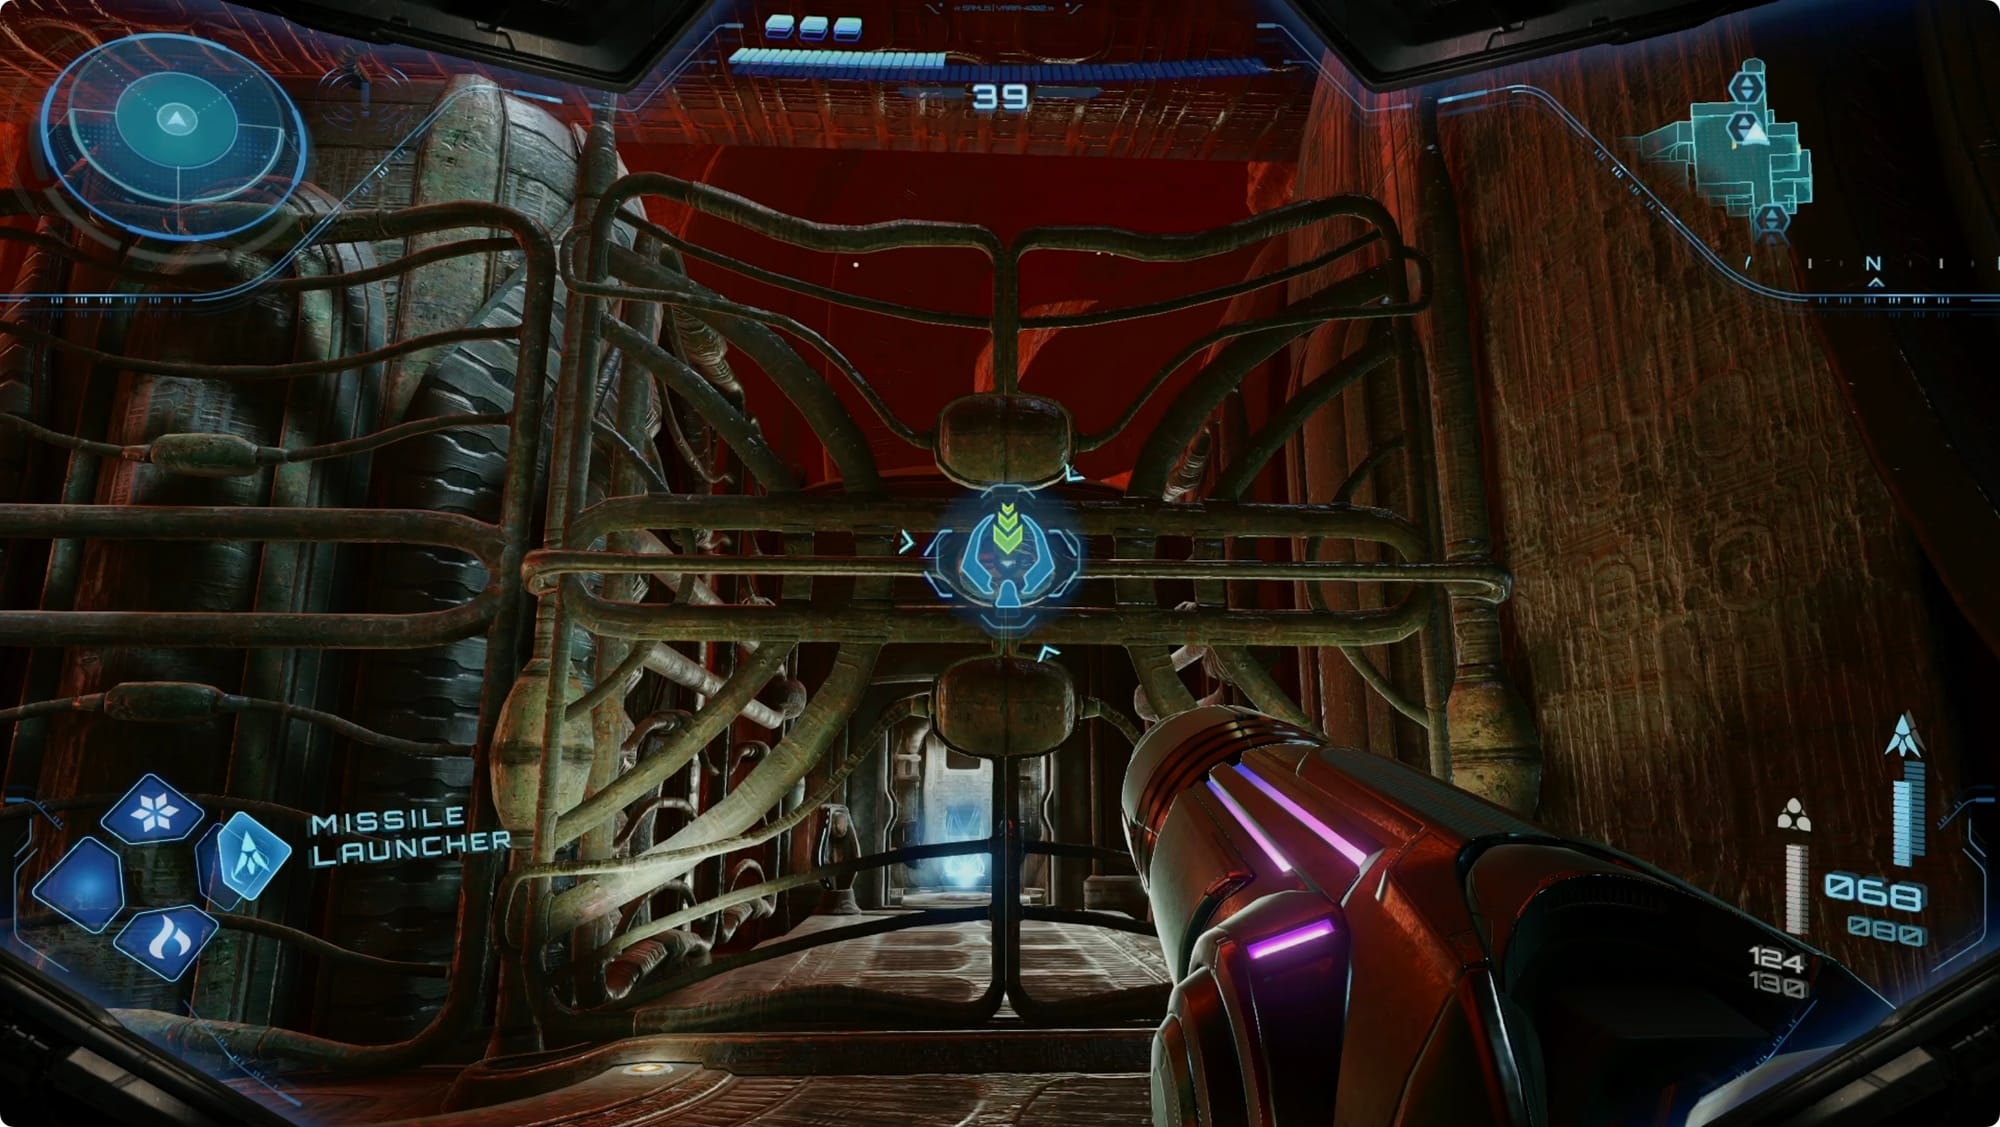
Through the main door, ignore all the creepy scanners and go straight through the Inspection Station to the Entry Bay. Deal with the Heavy Maintenance Tank (good thing we’ve picked up so many Missile Expansions) and then take a right. After a long hallway — watch out for the turret — you’ll find a Save Station.
Back in the Entry Bay, cross to the north. Hop into the maintenance hatch on the left and roll through. You can’t actually shut down the boiler yet, though. Hop through the other maintenance tunnel to go meet Sgt. Ezra Duke.
Scan the terminal to open up that Spinner in the boiler room. When you spin it up, the boiler will start spitting fire and spinning. Hit all four sides with an Ice Shot to seize it up. Each time you freeze a side, it’ll spit fire and spin fast (hey, that’s the name of my pitch for a combination freestyle rap/Soulcycle gym). Switch to the Morph Ball and wait it out while you reposition.
Lead Ezra back to the Entry Bay and go through the weird, double-locked door on the east side. Push through the coolant spray and through the next door for another double-button door.

Loop around the Energy Extraction room and take the elevator up. Deal with the turret and then activate the terminal. Turn a little left and missile the grate off the window. Fire a Control Beam through it and guide it around the room to the tunnel you just opened.
Head out through the door that just opened and take the first left. Scan the terminal to (finally) get the Area Map. There’s an electric lock on the door to the right that we can’t open yet, so head back to the main hall and continue east.
Climb the ramp in the Energy Injection room, scanning as you go. The ramp will take you over the not-at-all-concerning gigantic artillery shell and drop you on the other side of the room. Grab the data log, and then activate the elevator.
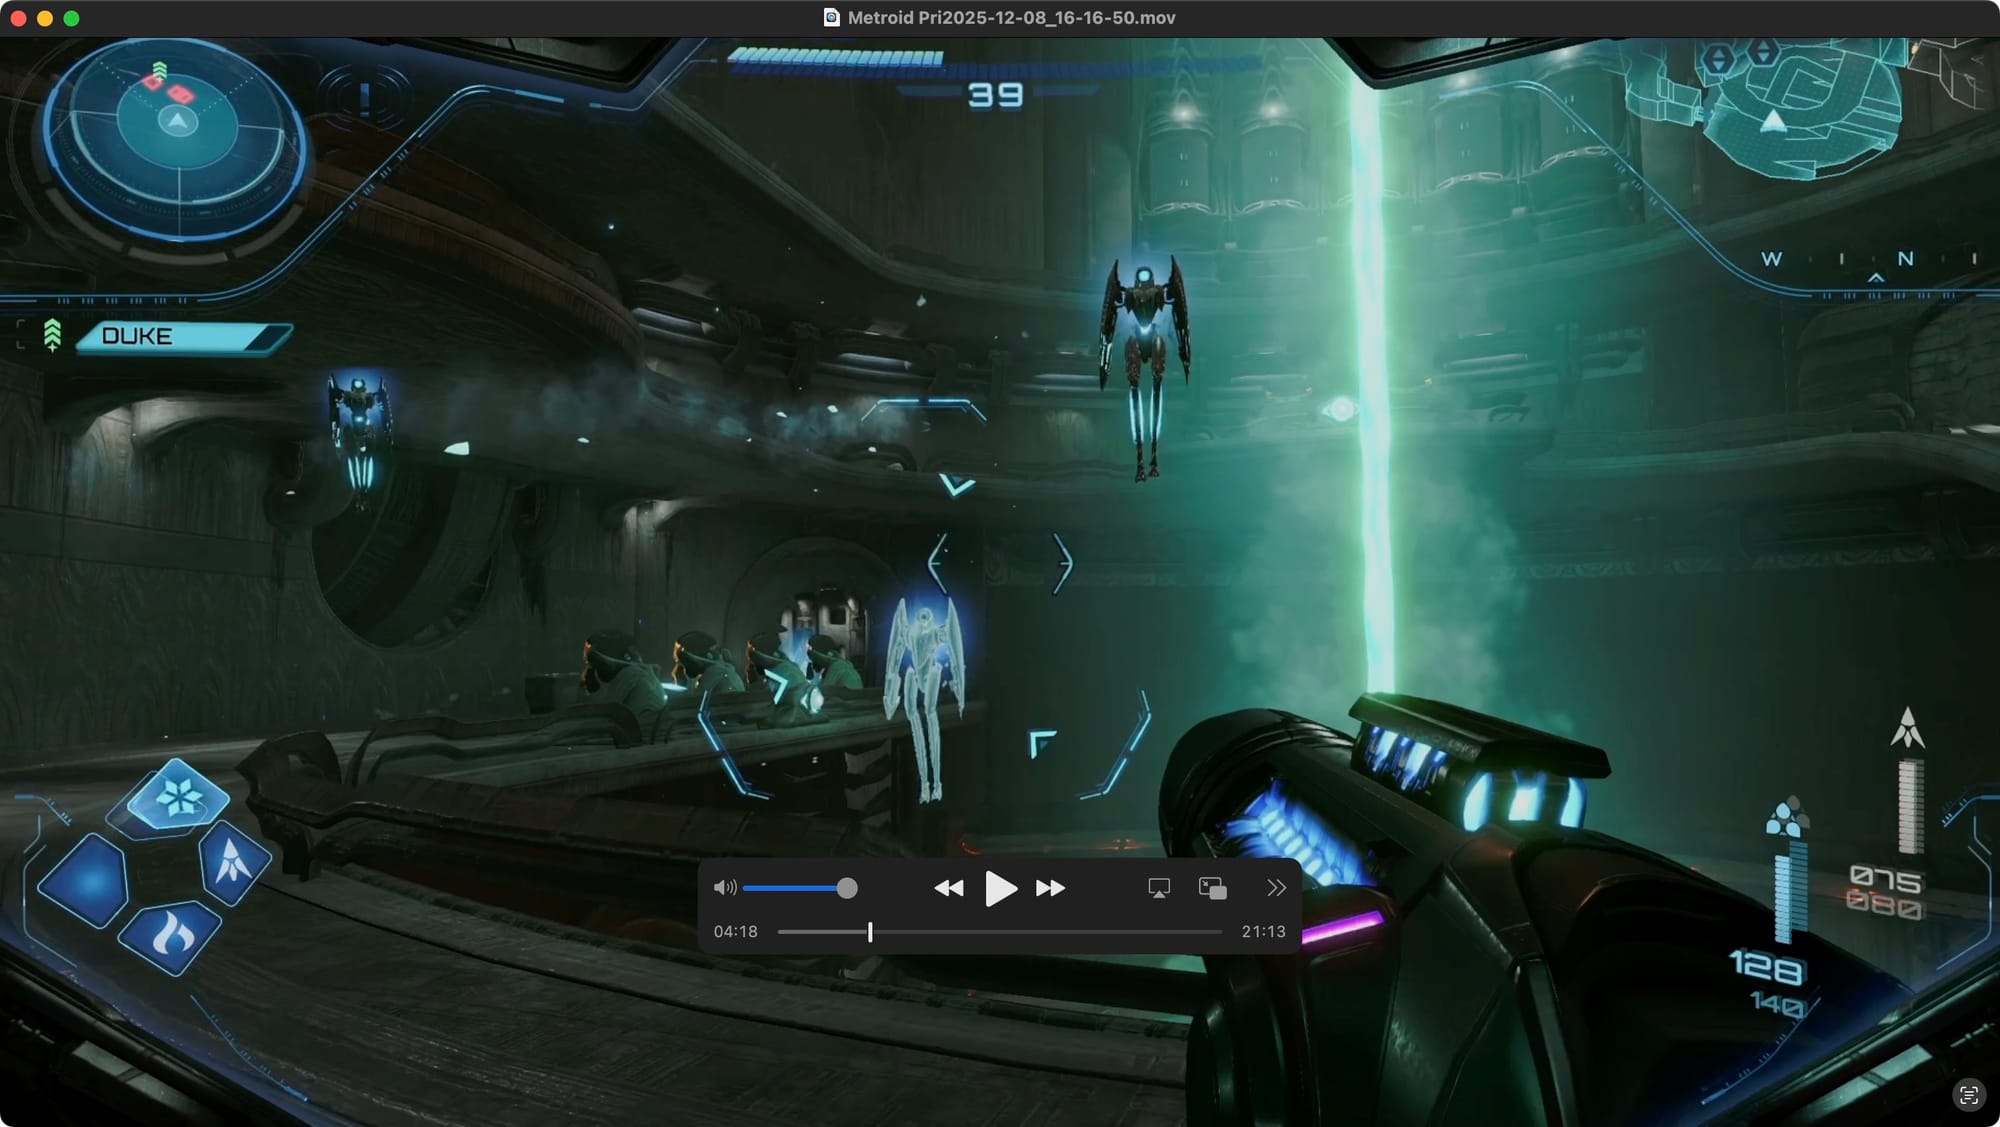
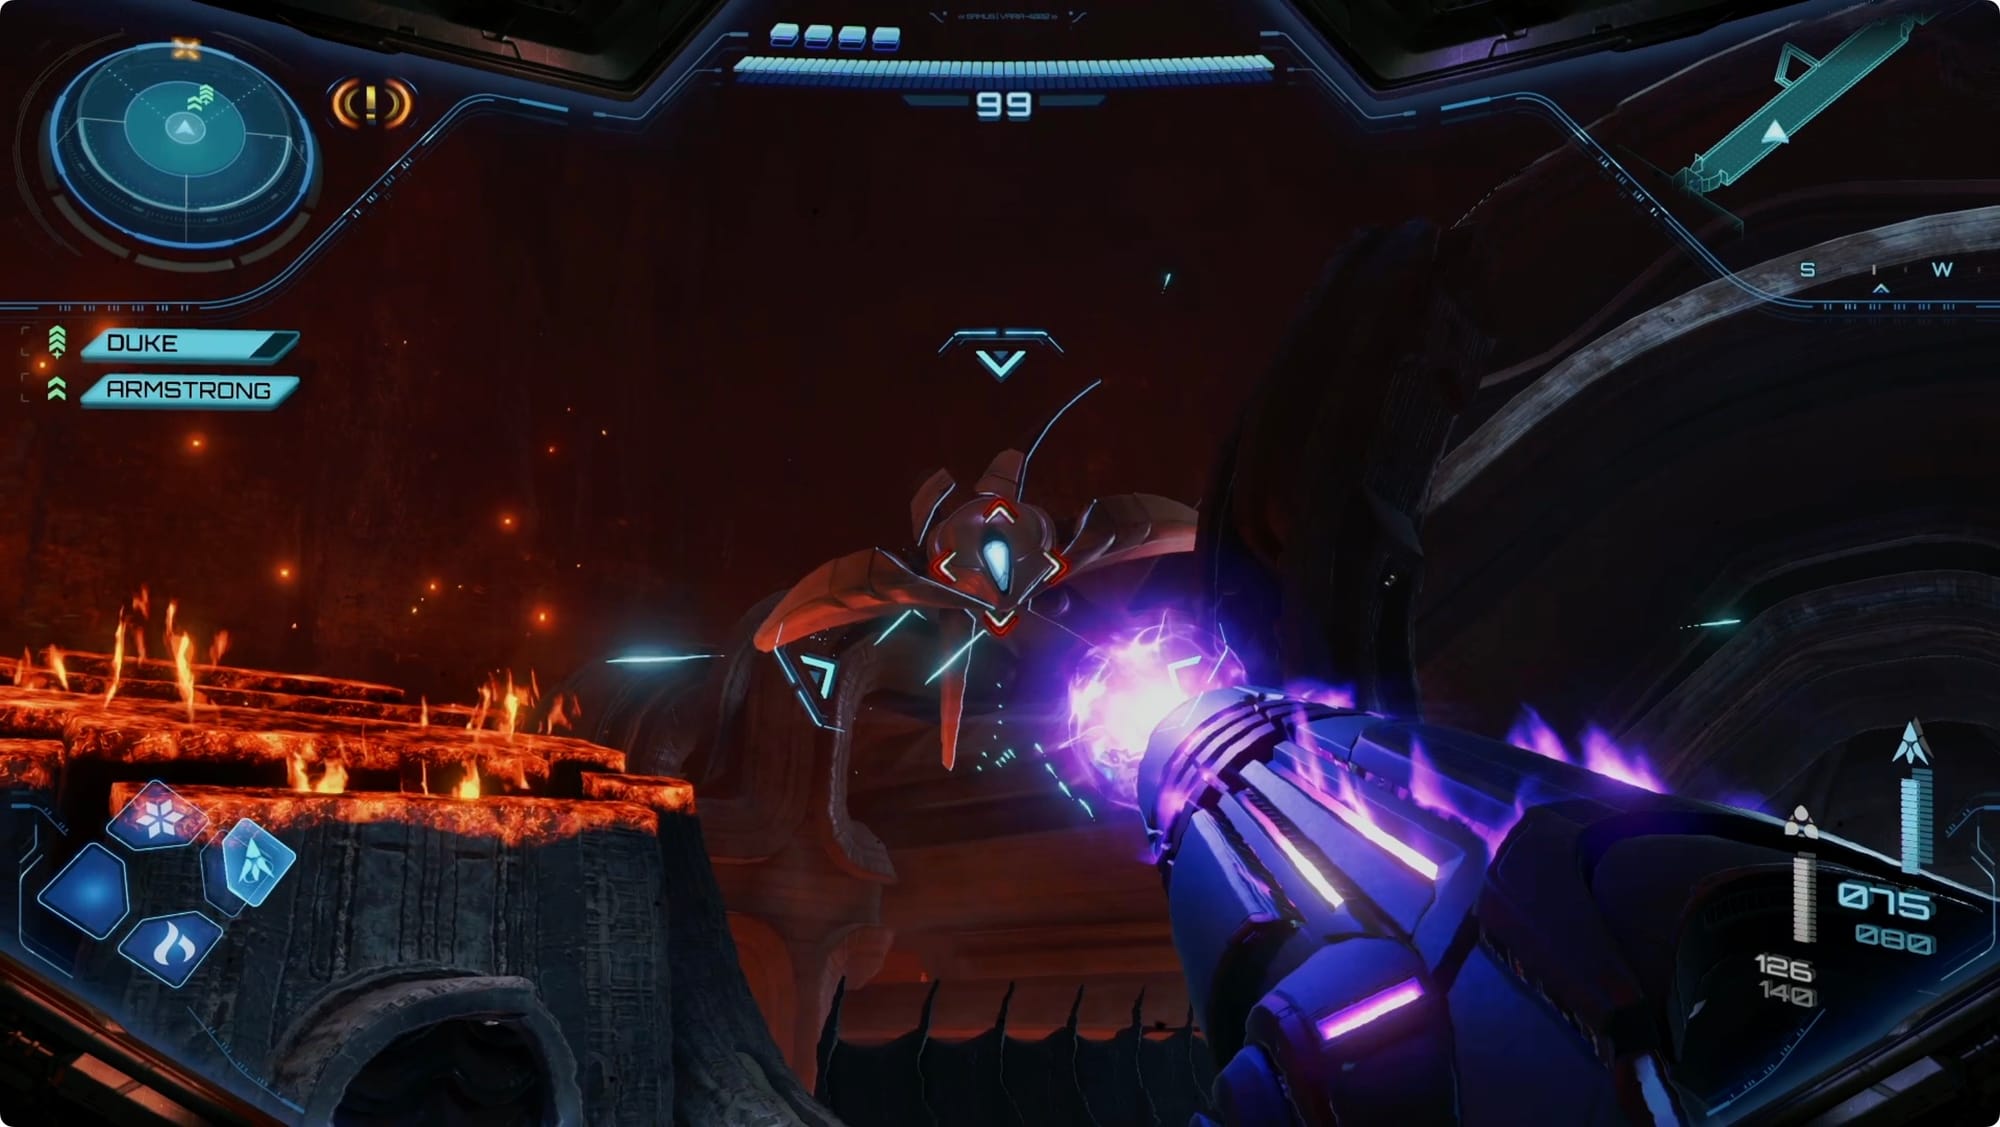
As you climb, you’ll keep getting attacked by Psy-Bots. I had an oddly difficult time with this fight. The trick seems to be hitting them with an Ice Shot and then immediately following up with a missile.

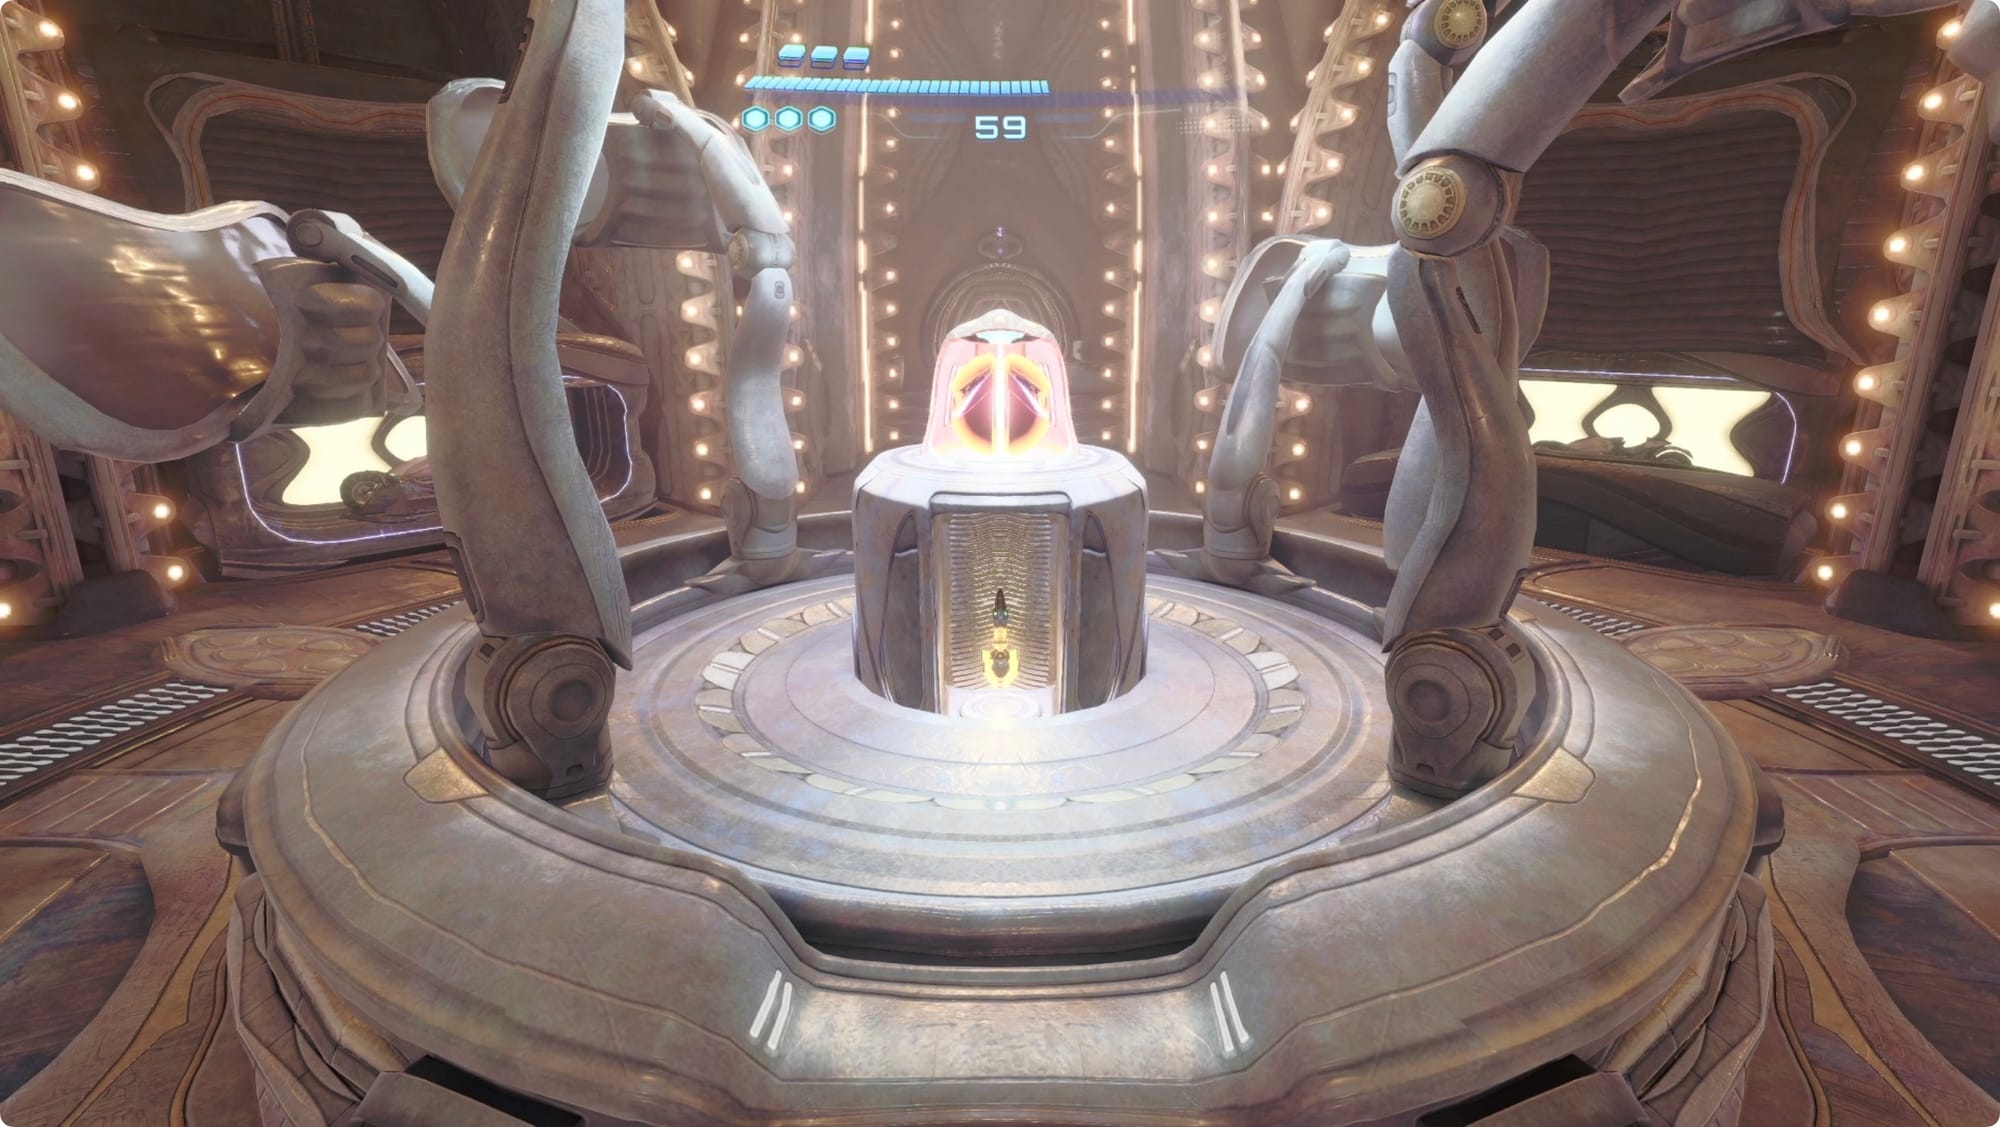
When you mercifully reach the Overseer Room, take the left. There’s a lock we can’t open yet, but if you loop around to the other side of the room, there’s a data log and a Psychic Container to open. Grab your Energy Tank and head back out.
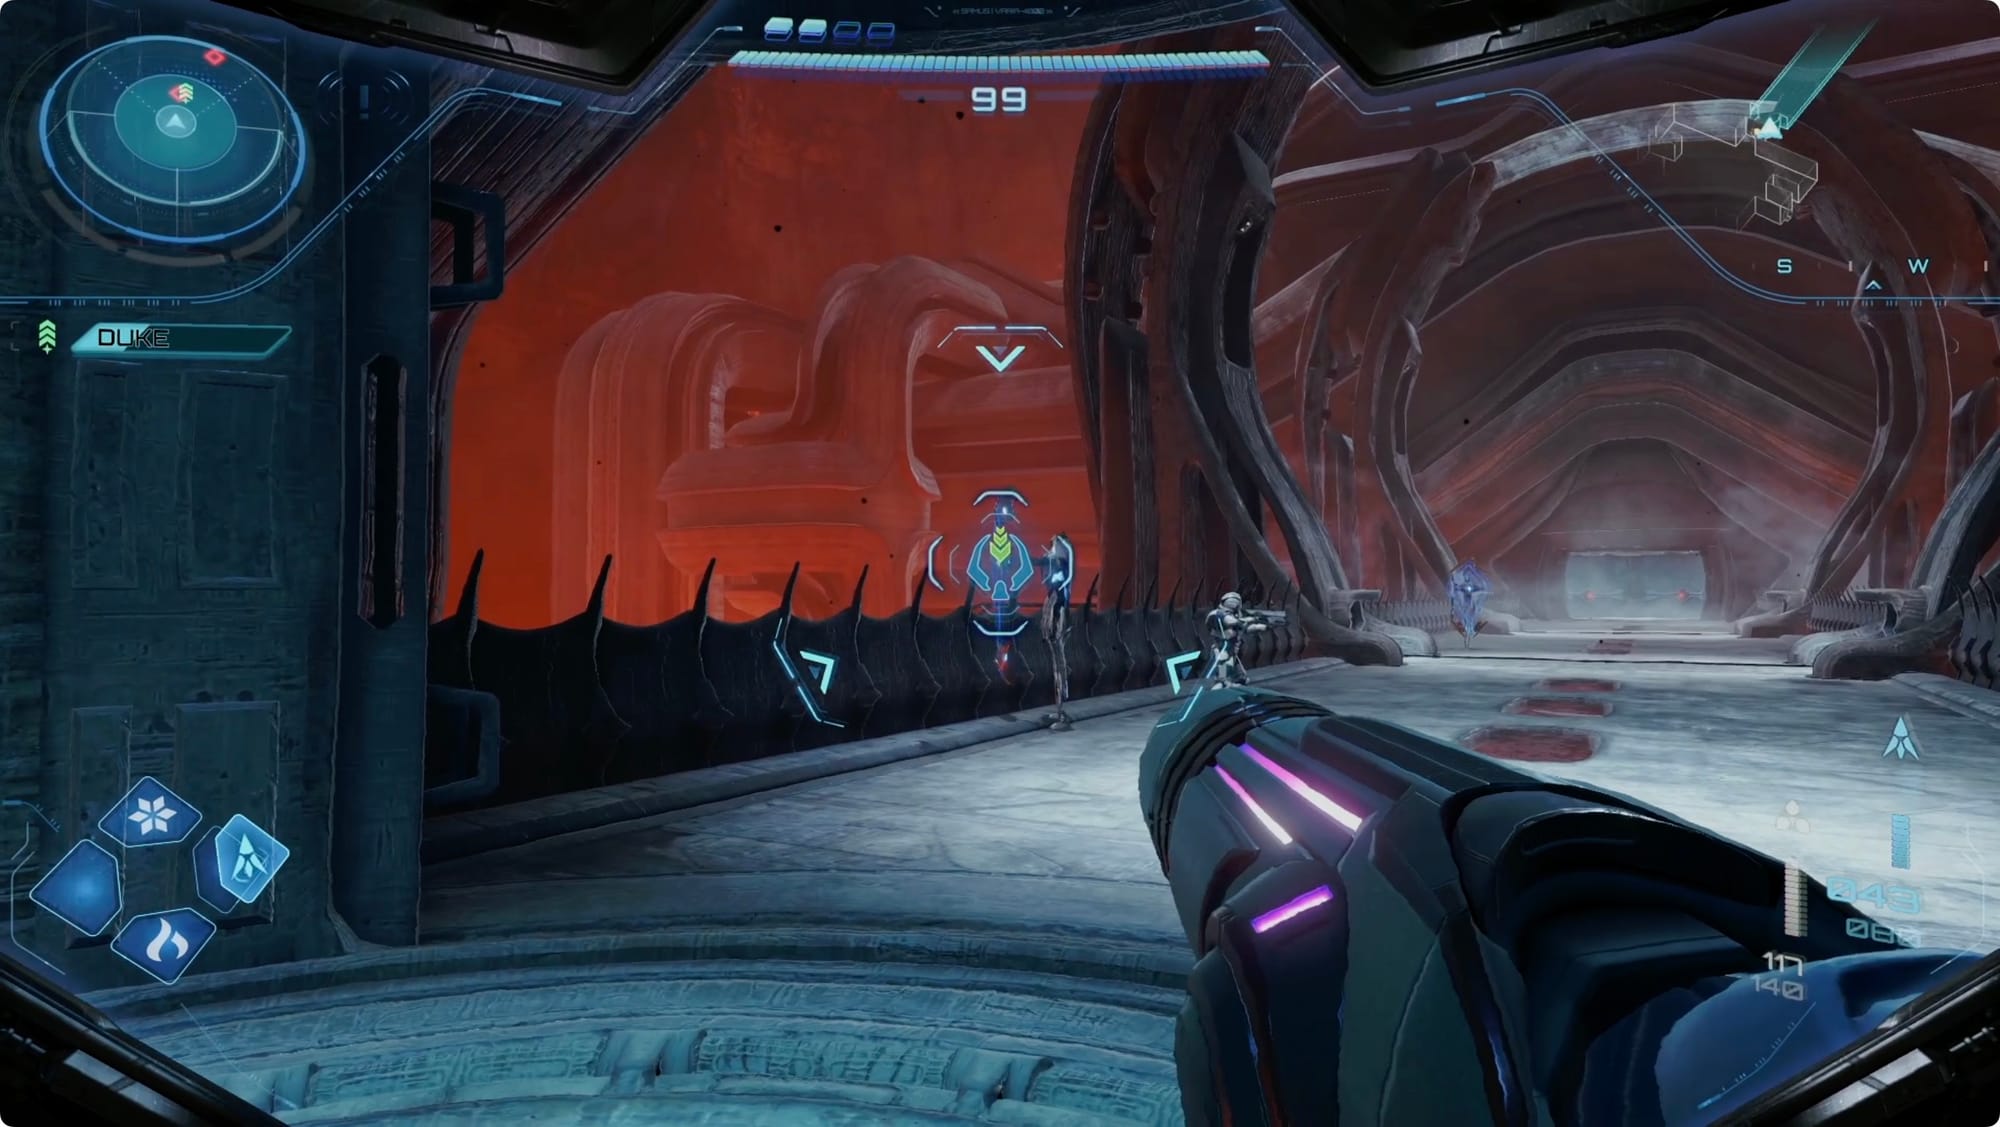
Continue across the Control Room Bridge, fighting more Psy-Bots of various flavors as you go. When you finally reach the Control Room, head inside, clear out more Psy-Bots, and then scan the terminal.
Head out the door to the north and take the first left for a Save Station.
Turn on maintenance mode
Cross back to the south side of the Control Room. Hop into the tram car and use the tram controls to keep heading south.
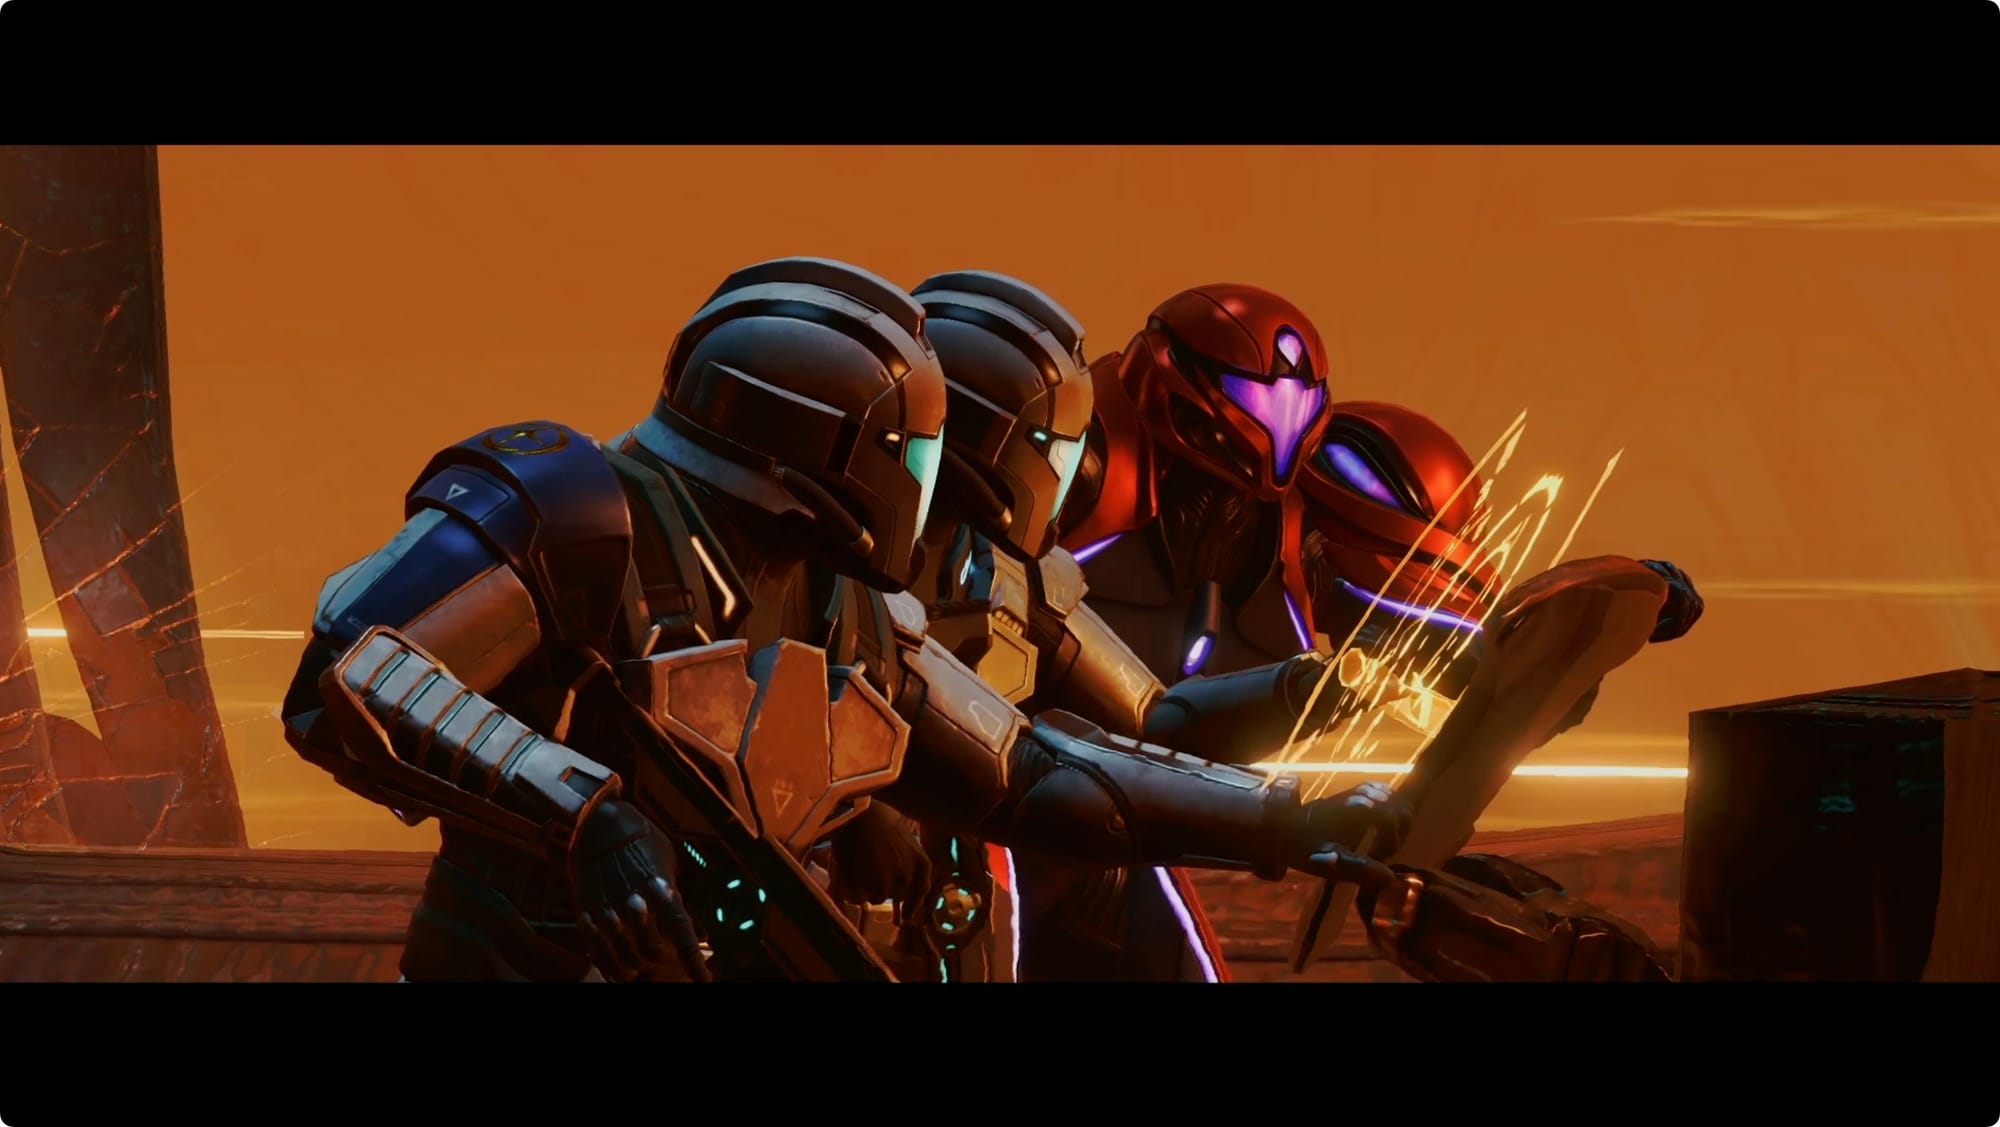
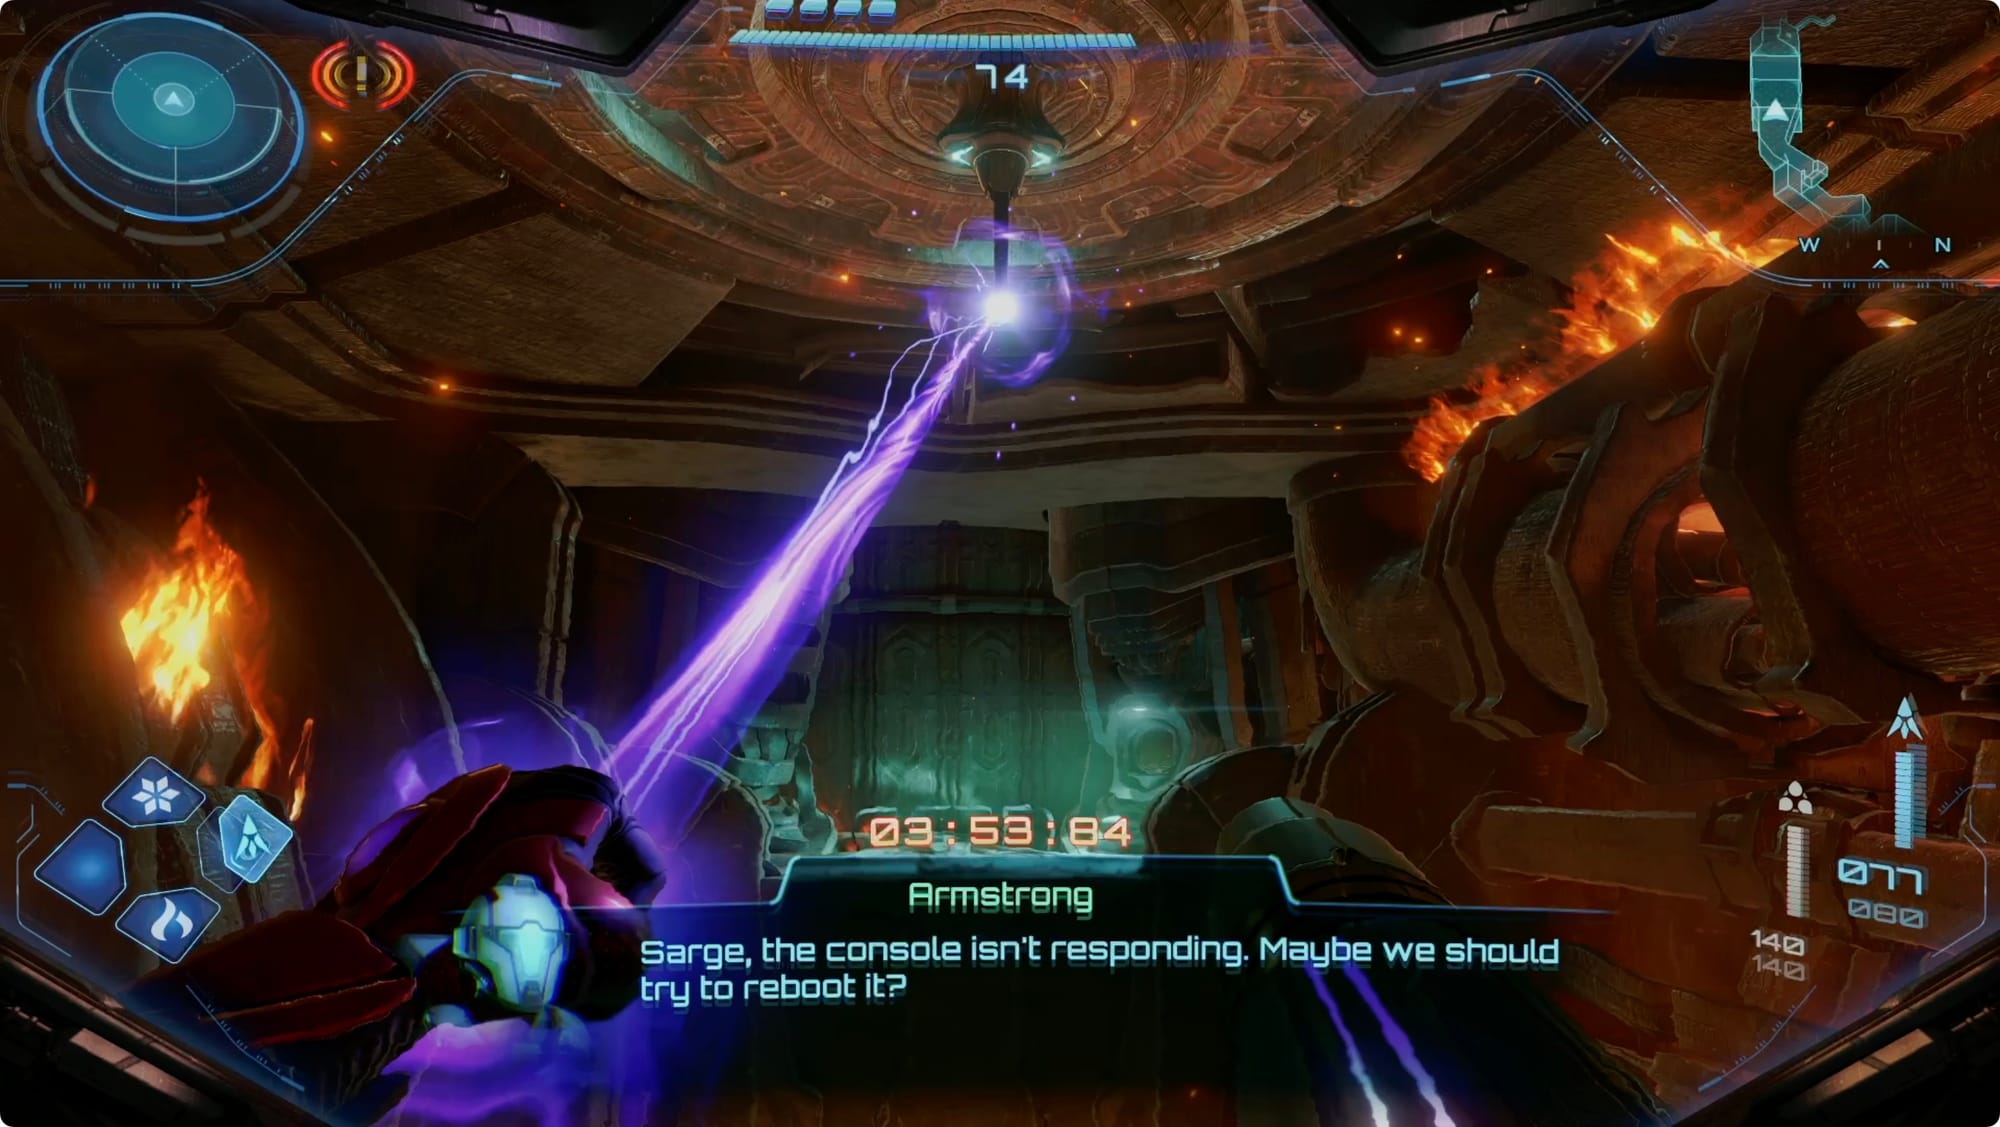
When the tram arrives, head into the next room to find Nora Armstrong and a lot of exposition for what’s next.
Down in the lower area, lasso the hatch on the amplifier open and Morph Ball inside. Boost your way around it clockwise to charge it up.
Backtrack to the tram and take it to the next station south.
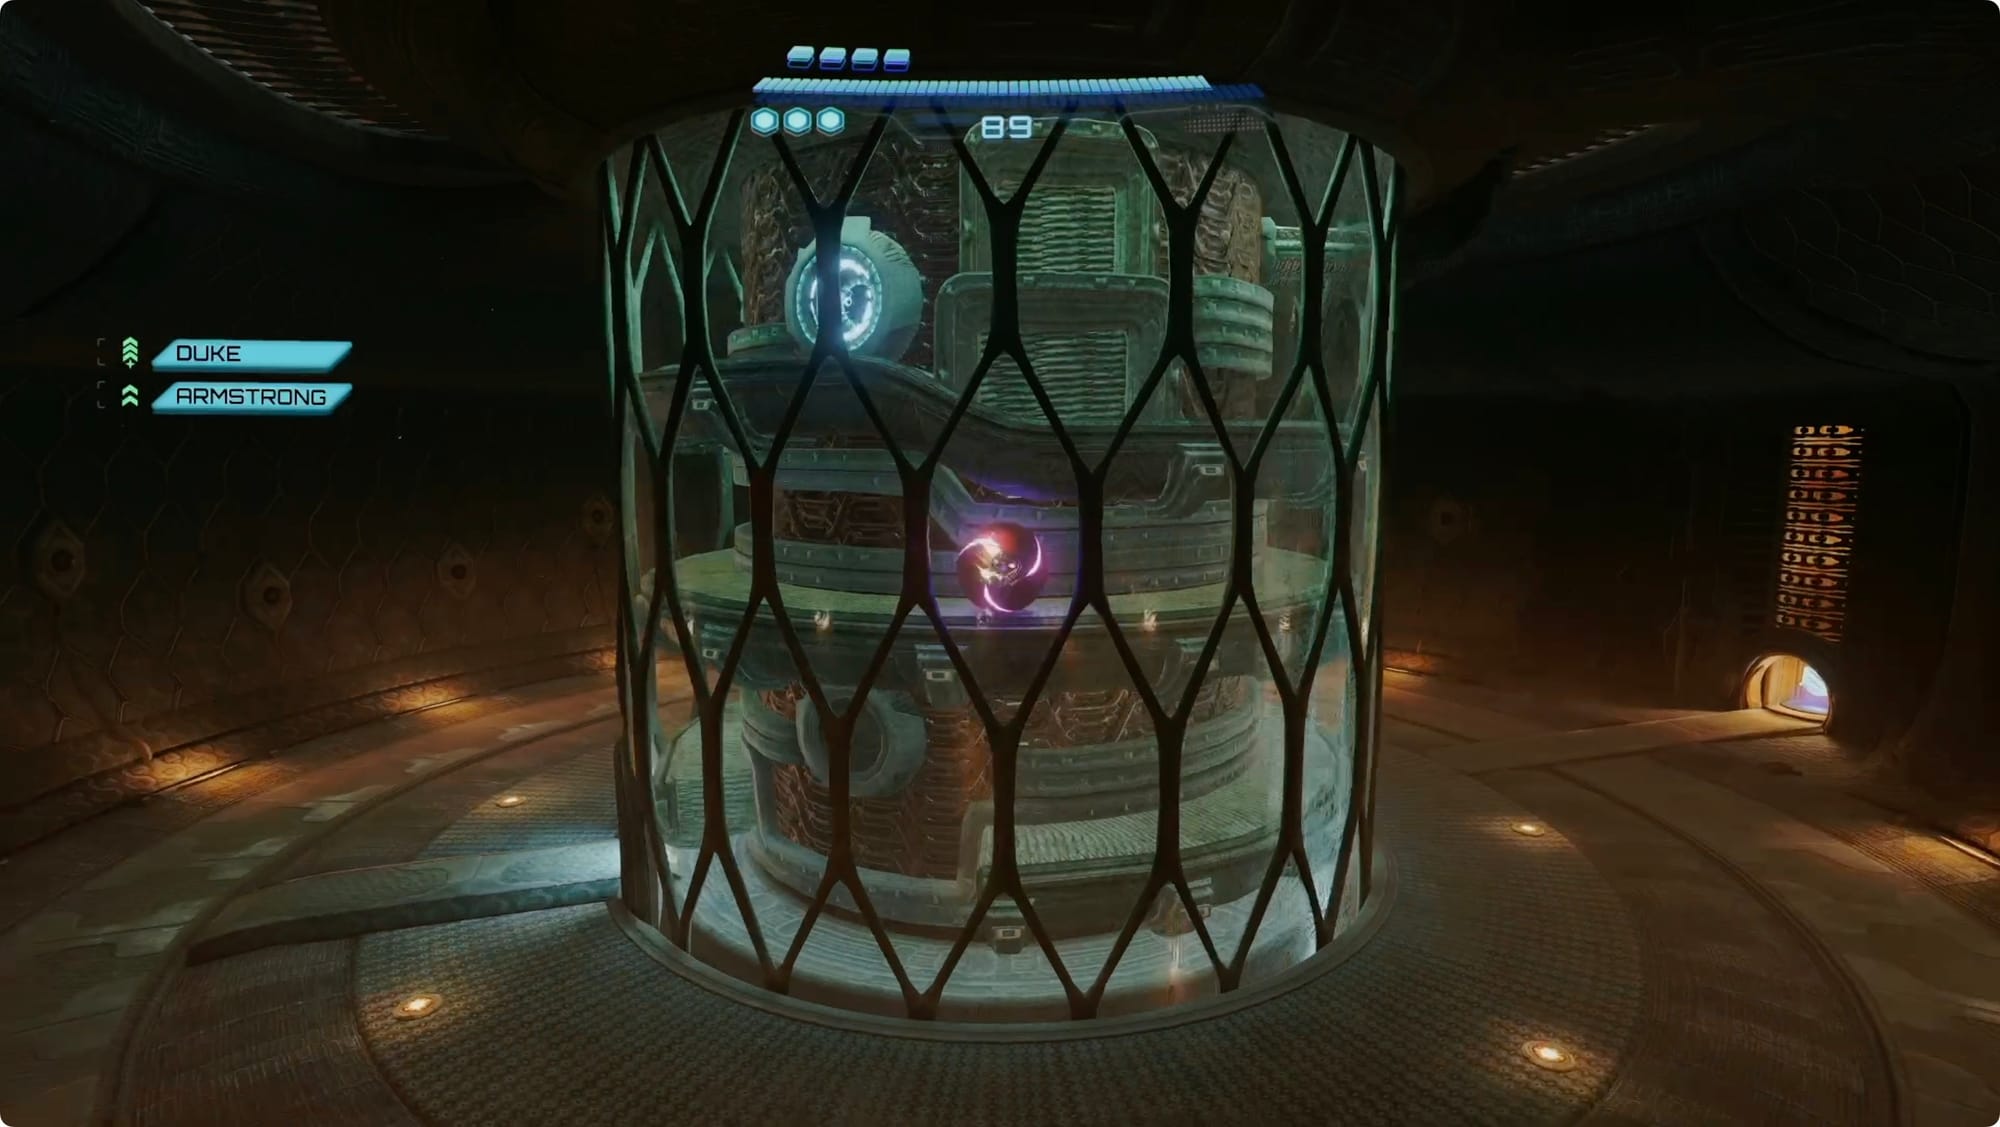
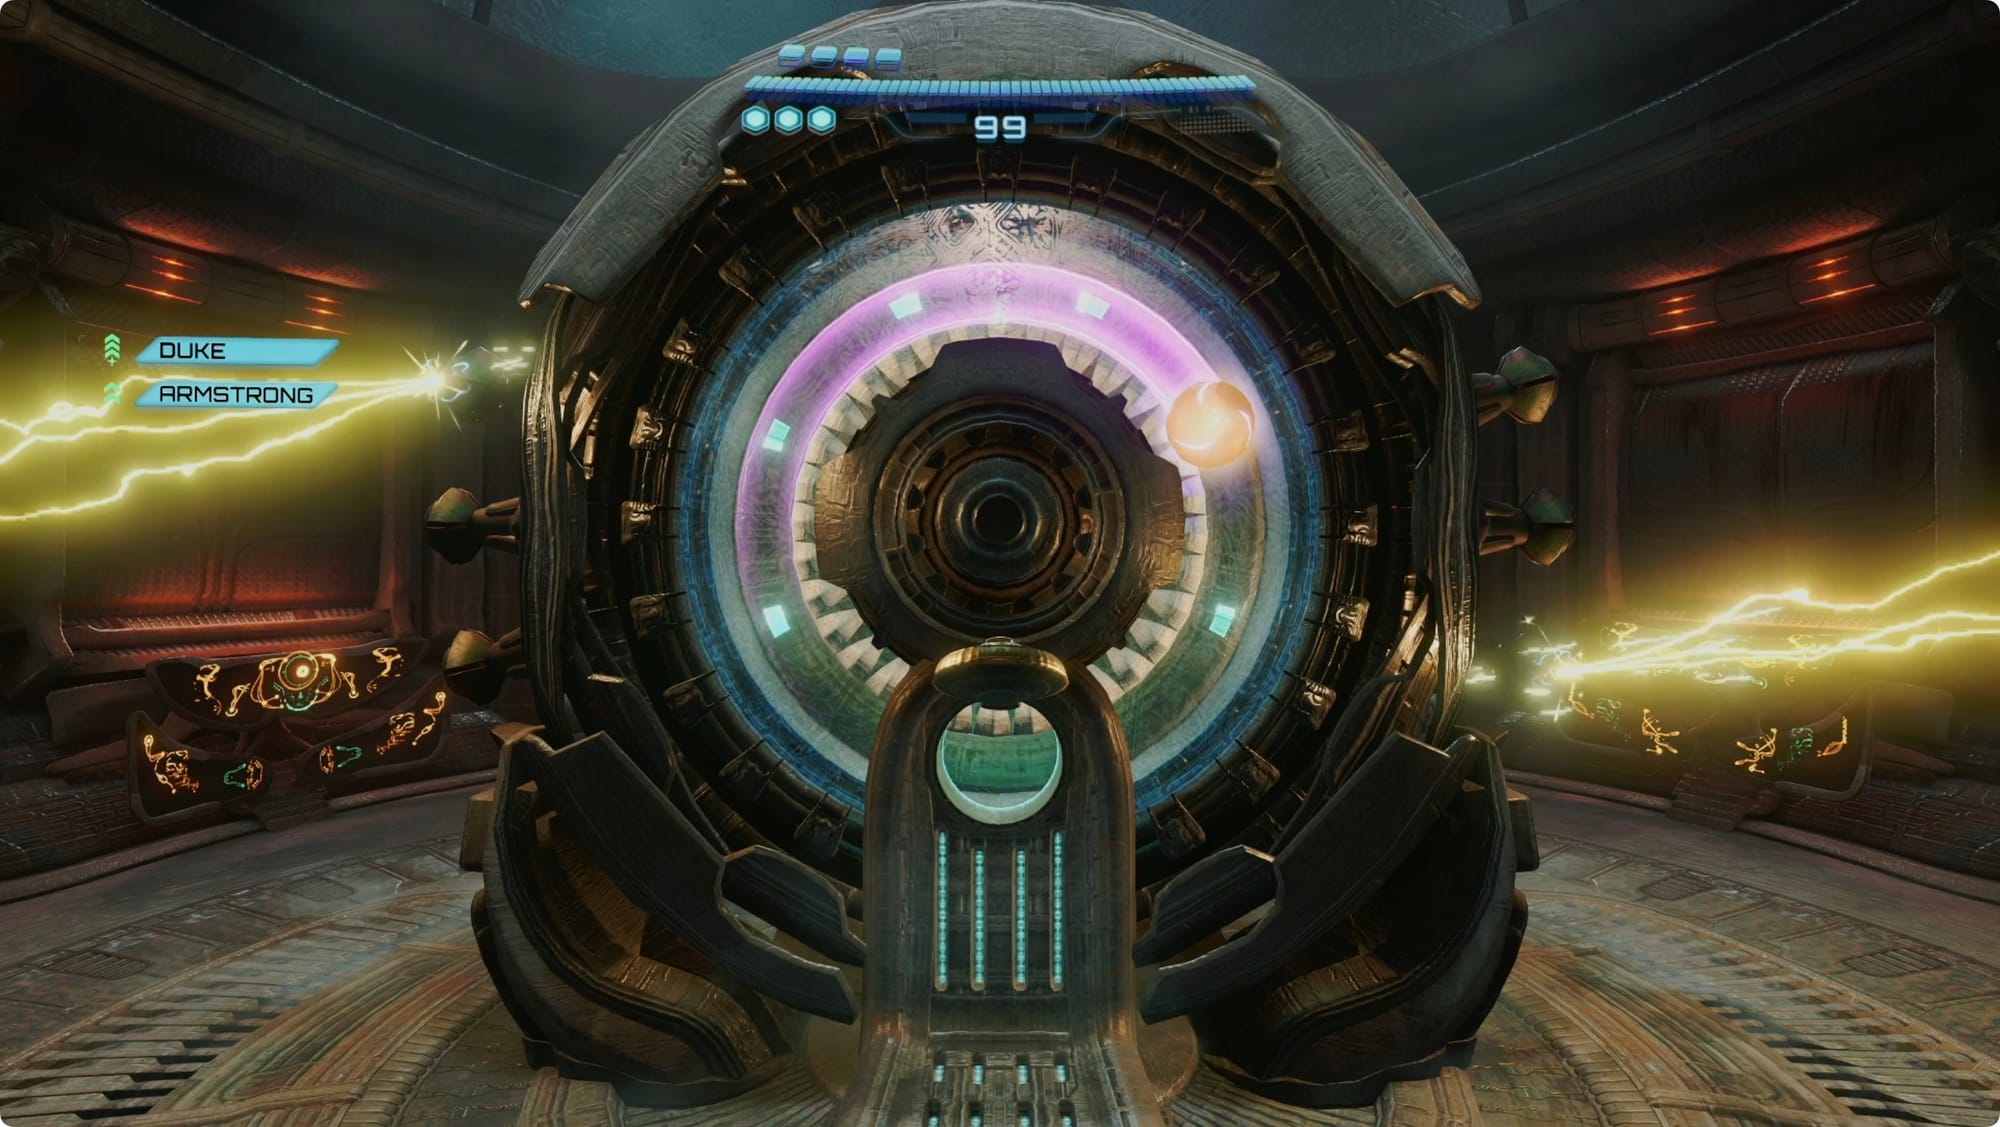
Inside the North Clamp, go around the amplifier and let your companions open the doors for you. Morph Ball through the floor and roll to the cylinder in the middle of the room.
Hop into the first Bomb Slot and bomb it. This will activate a bunch of platforms for you to navigate up to another Bomb Slot.
Head back up and spin up the amplifier.
Back on the tram, things don’t go great, but we were done using it anyway. After the cutscene, you’ll end up back in the Control Room.
Hit the save, and then head back toward the Control Room Bridge. For the fight against the gunship, stick close to cover and just keep pumping missiles into it. Any time it fires its own missiles shoot them down for health and ammo. Just keep shooting until the fight is over.
After the fight, hop into the Morph Ball tunnel the gunship laser exposed. Bomb anything that gets in your way and then head to the long end of the tunnel you drop into. Bomb it to get launched all the way back to the Lava Lake.
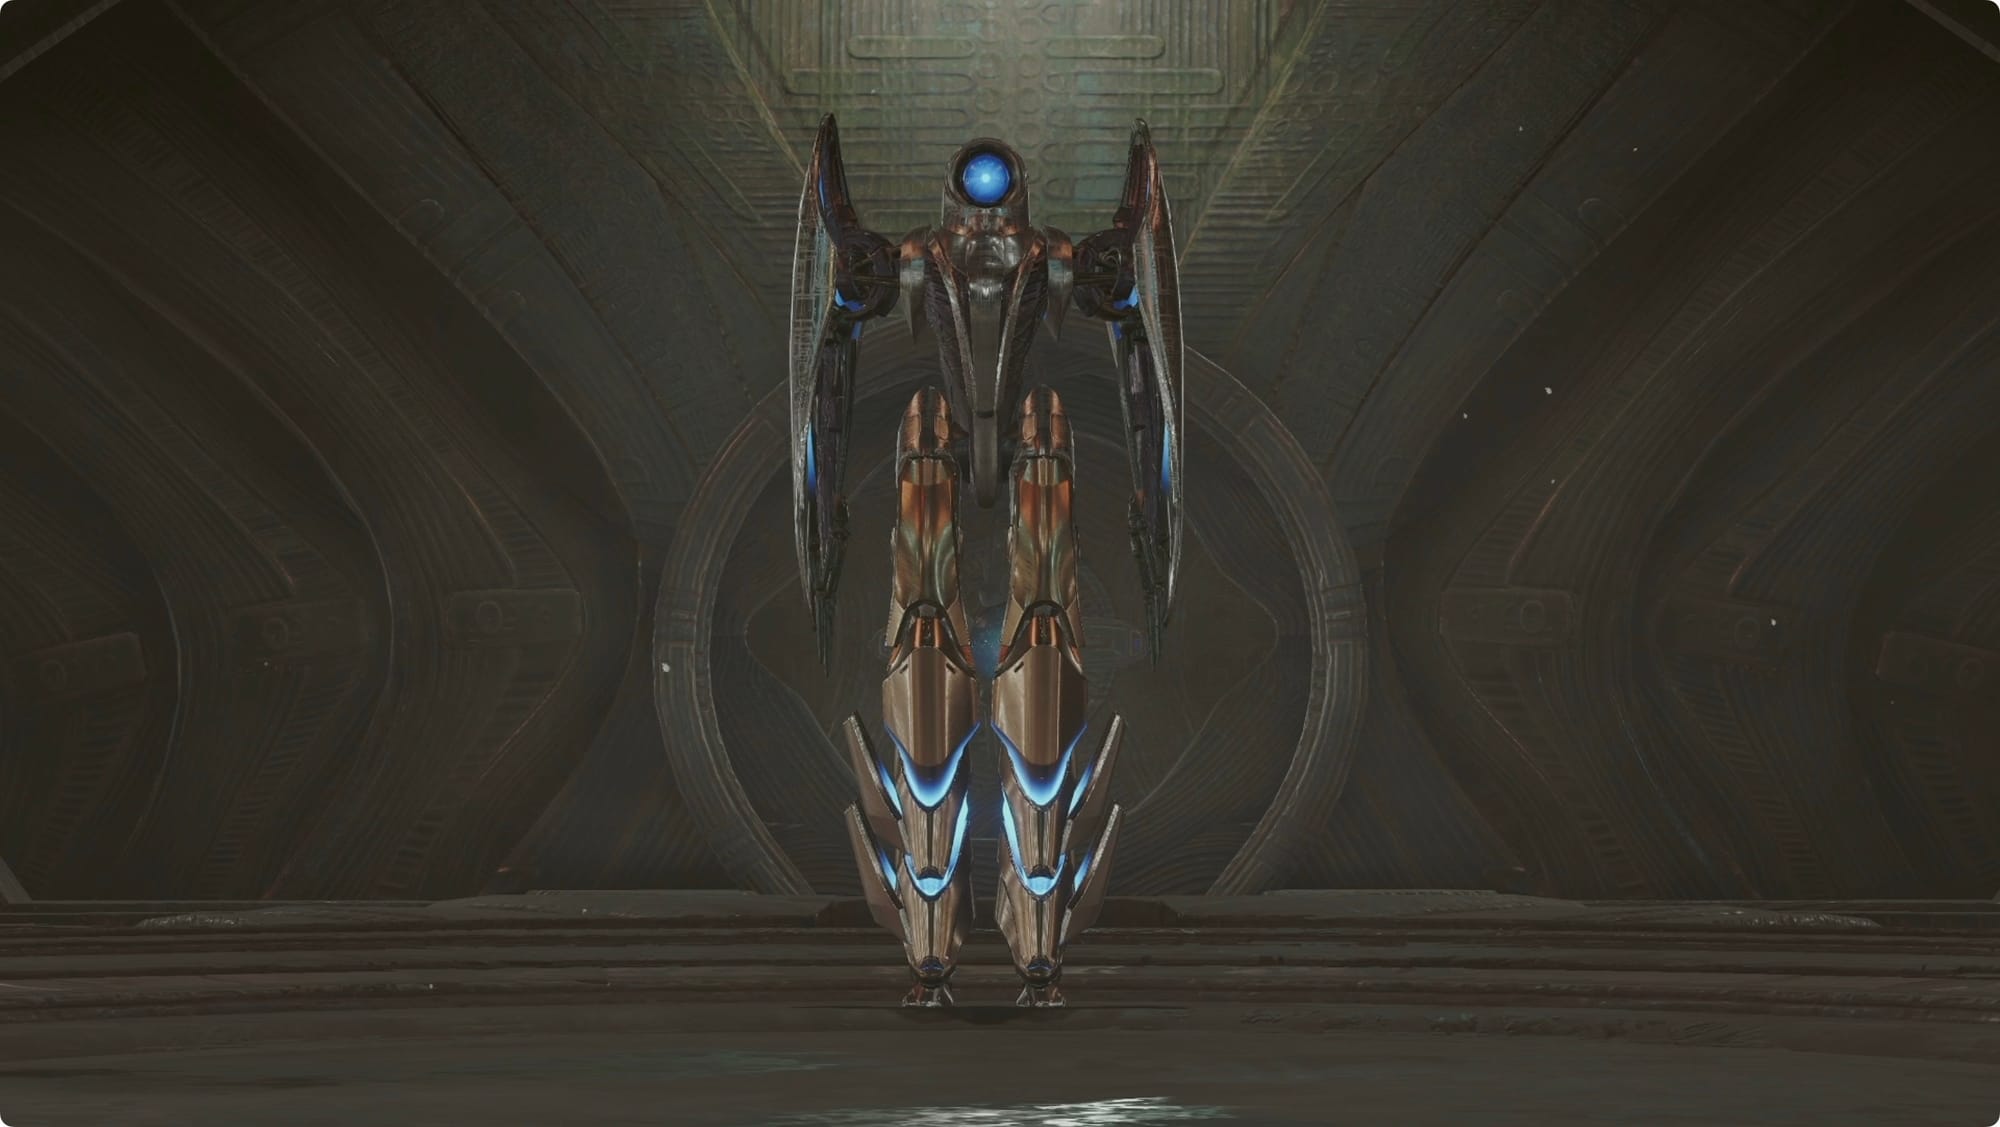
In the Entry Bay, you’ll get jumped by another new Psy-Bot. Control Beam it to knock it off its feet, and then missile it until it’s dead.

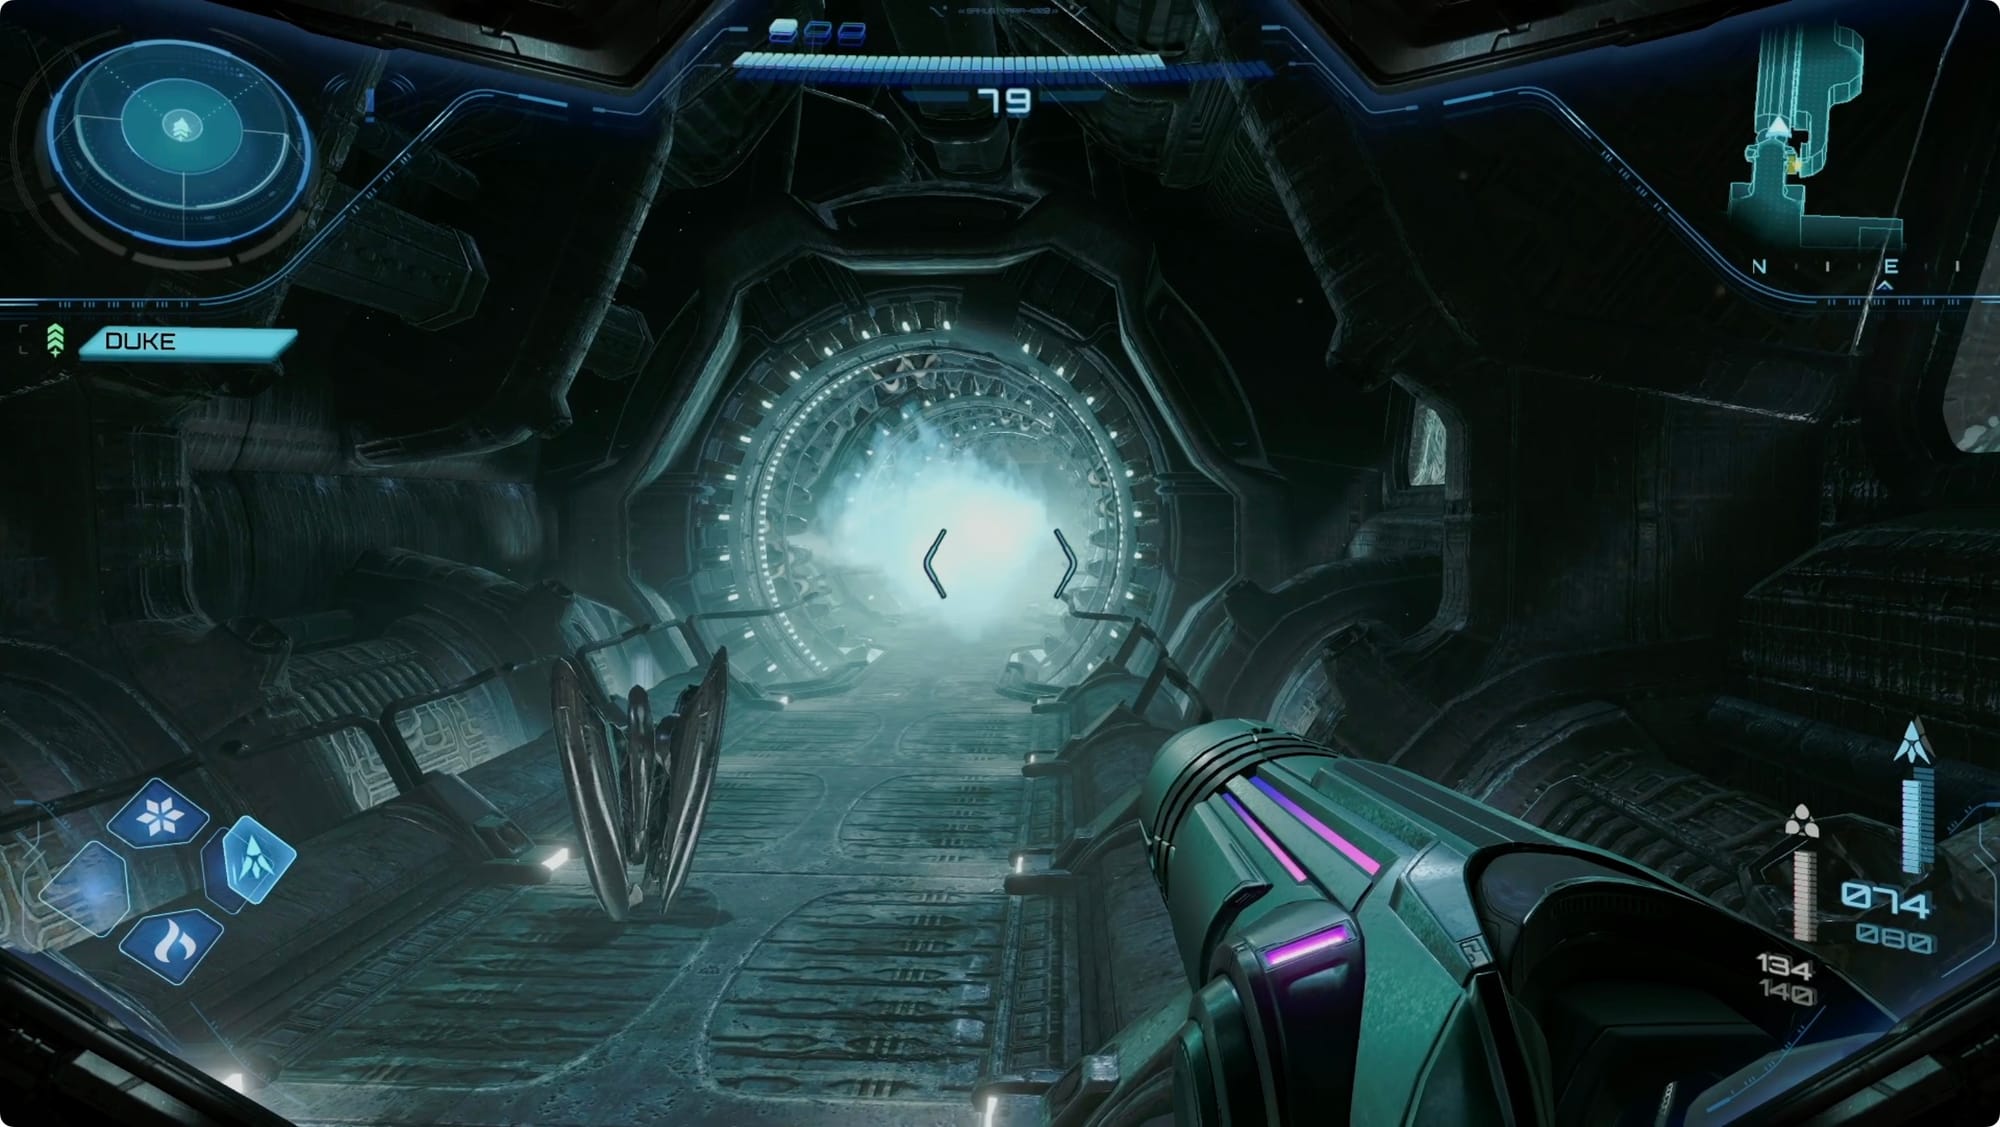
Back at the Undercarriage, take the north elevator down (it’s slightly quicker). When you reach the Lava Lake Bridge, hop on your Vi-O-La and head through the gate you opened.
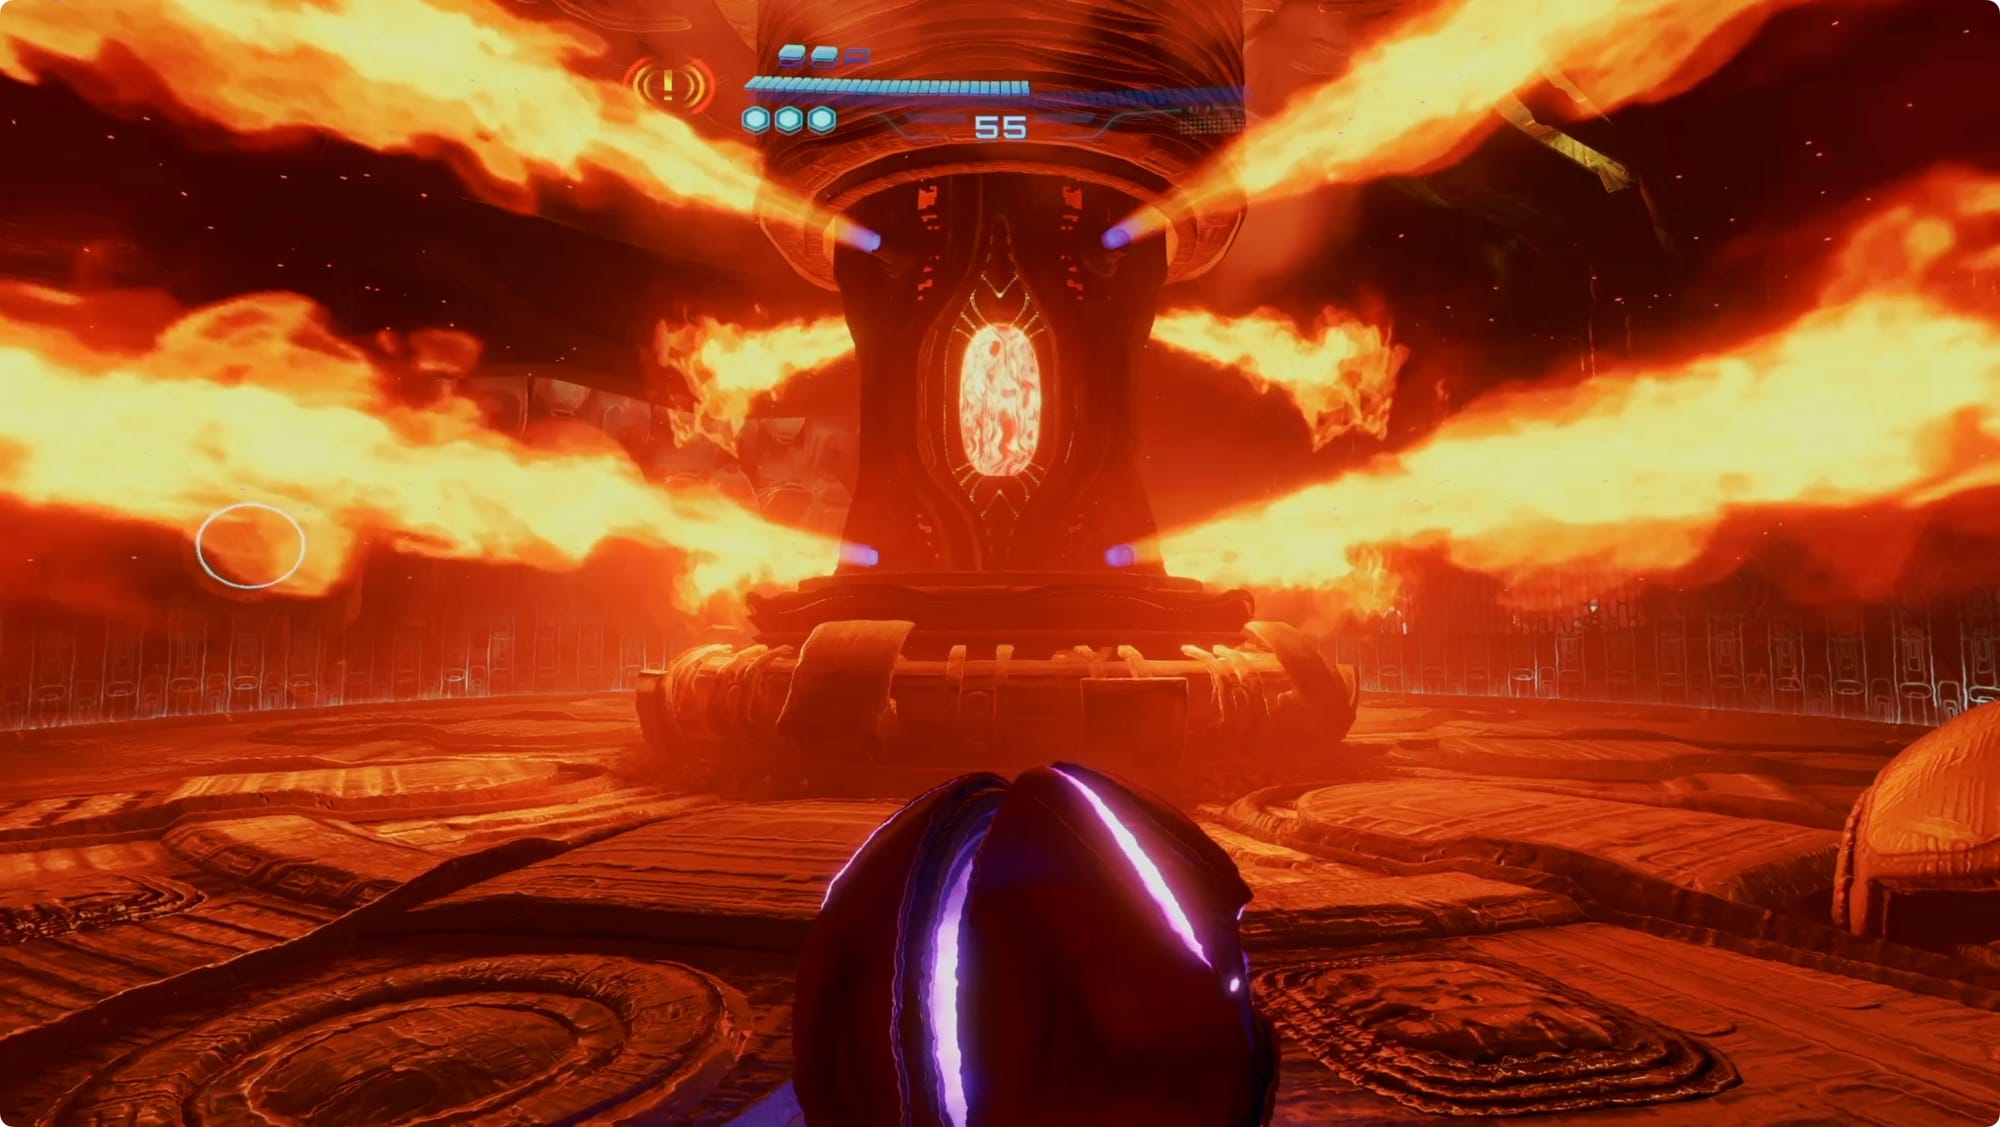
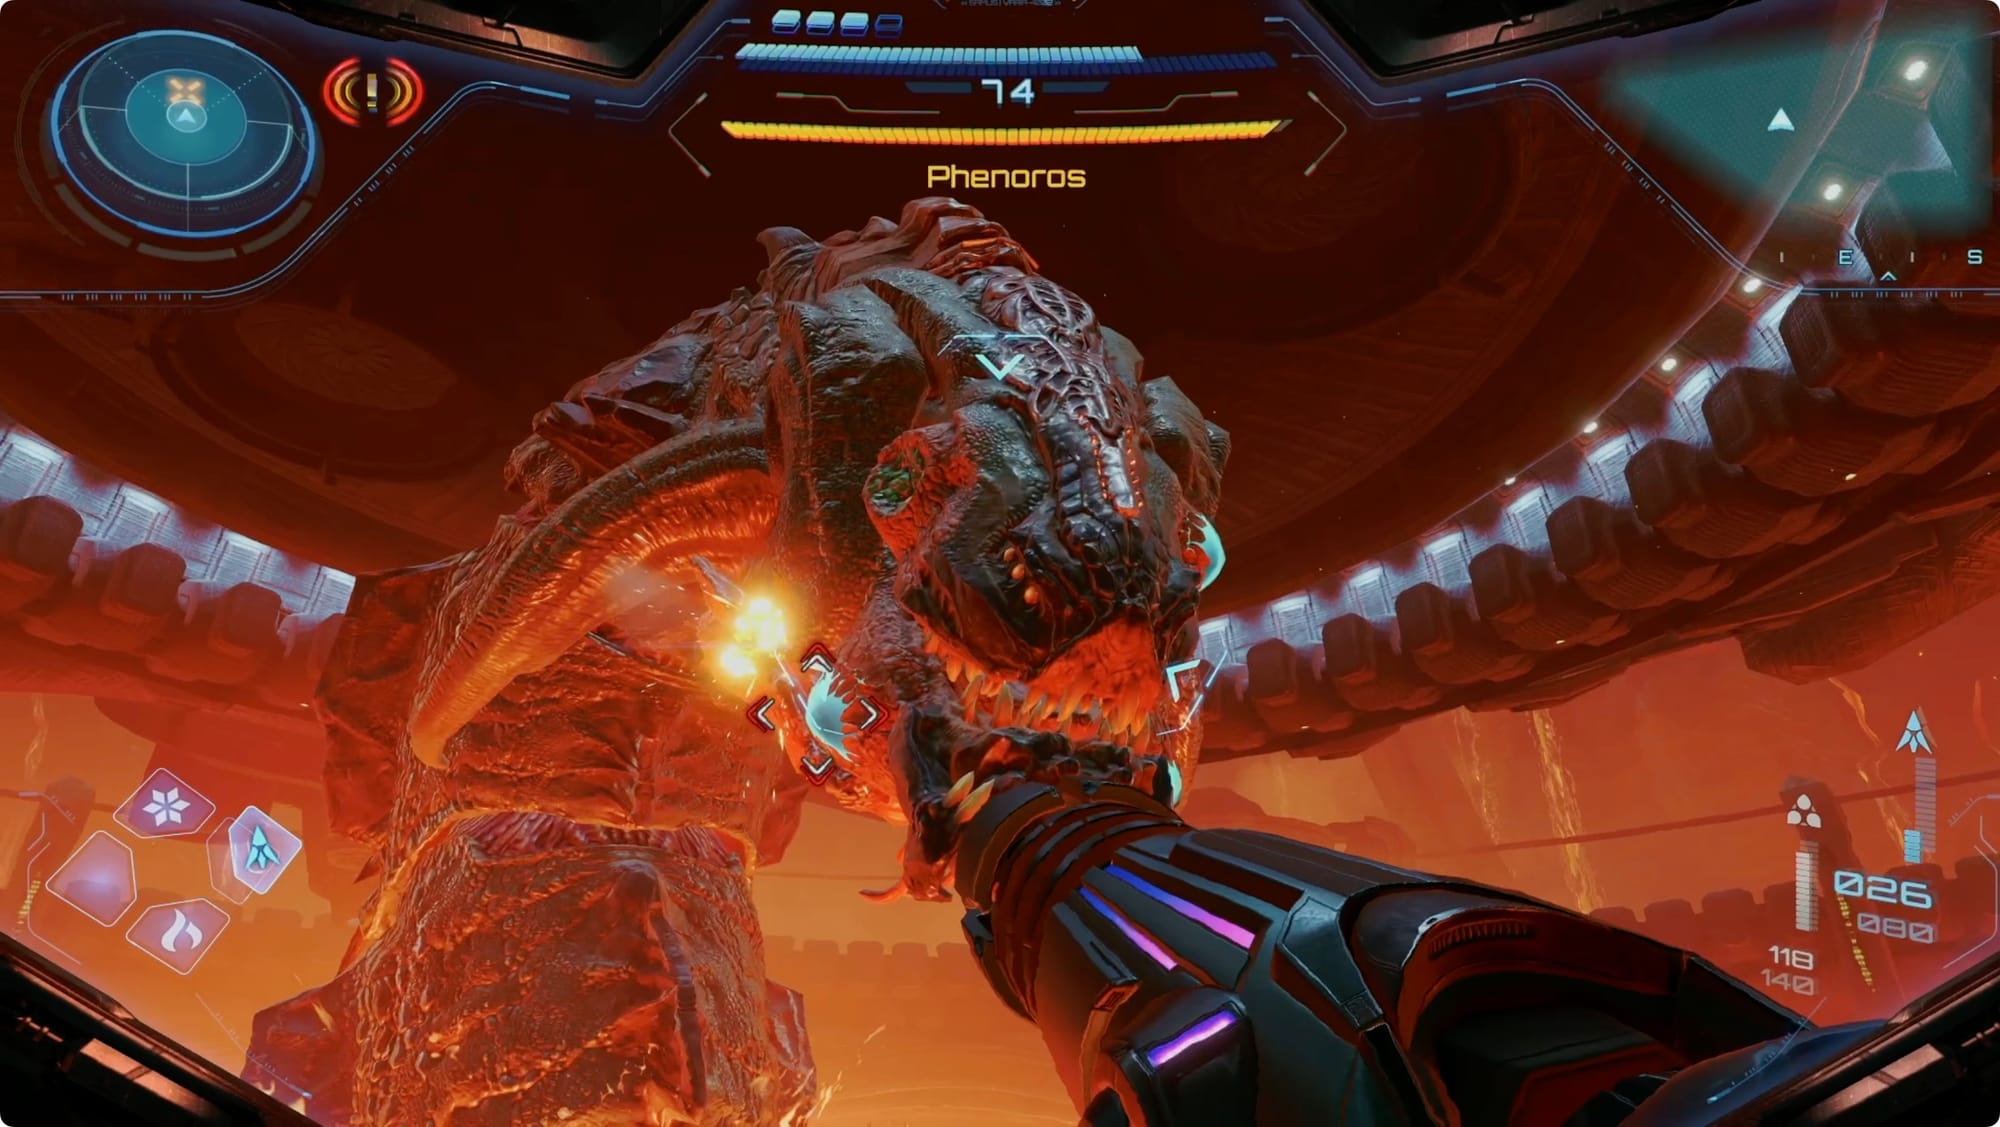
Phenoros boss fight
Through the gate, you’ll come directly to a lava-filled arena, where you’ll face off against Phenoros.
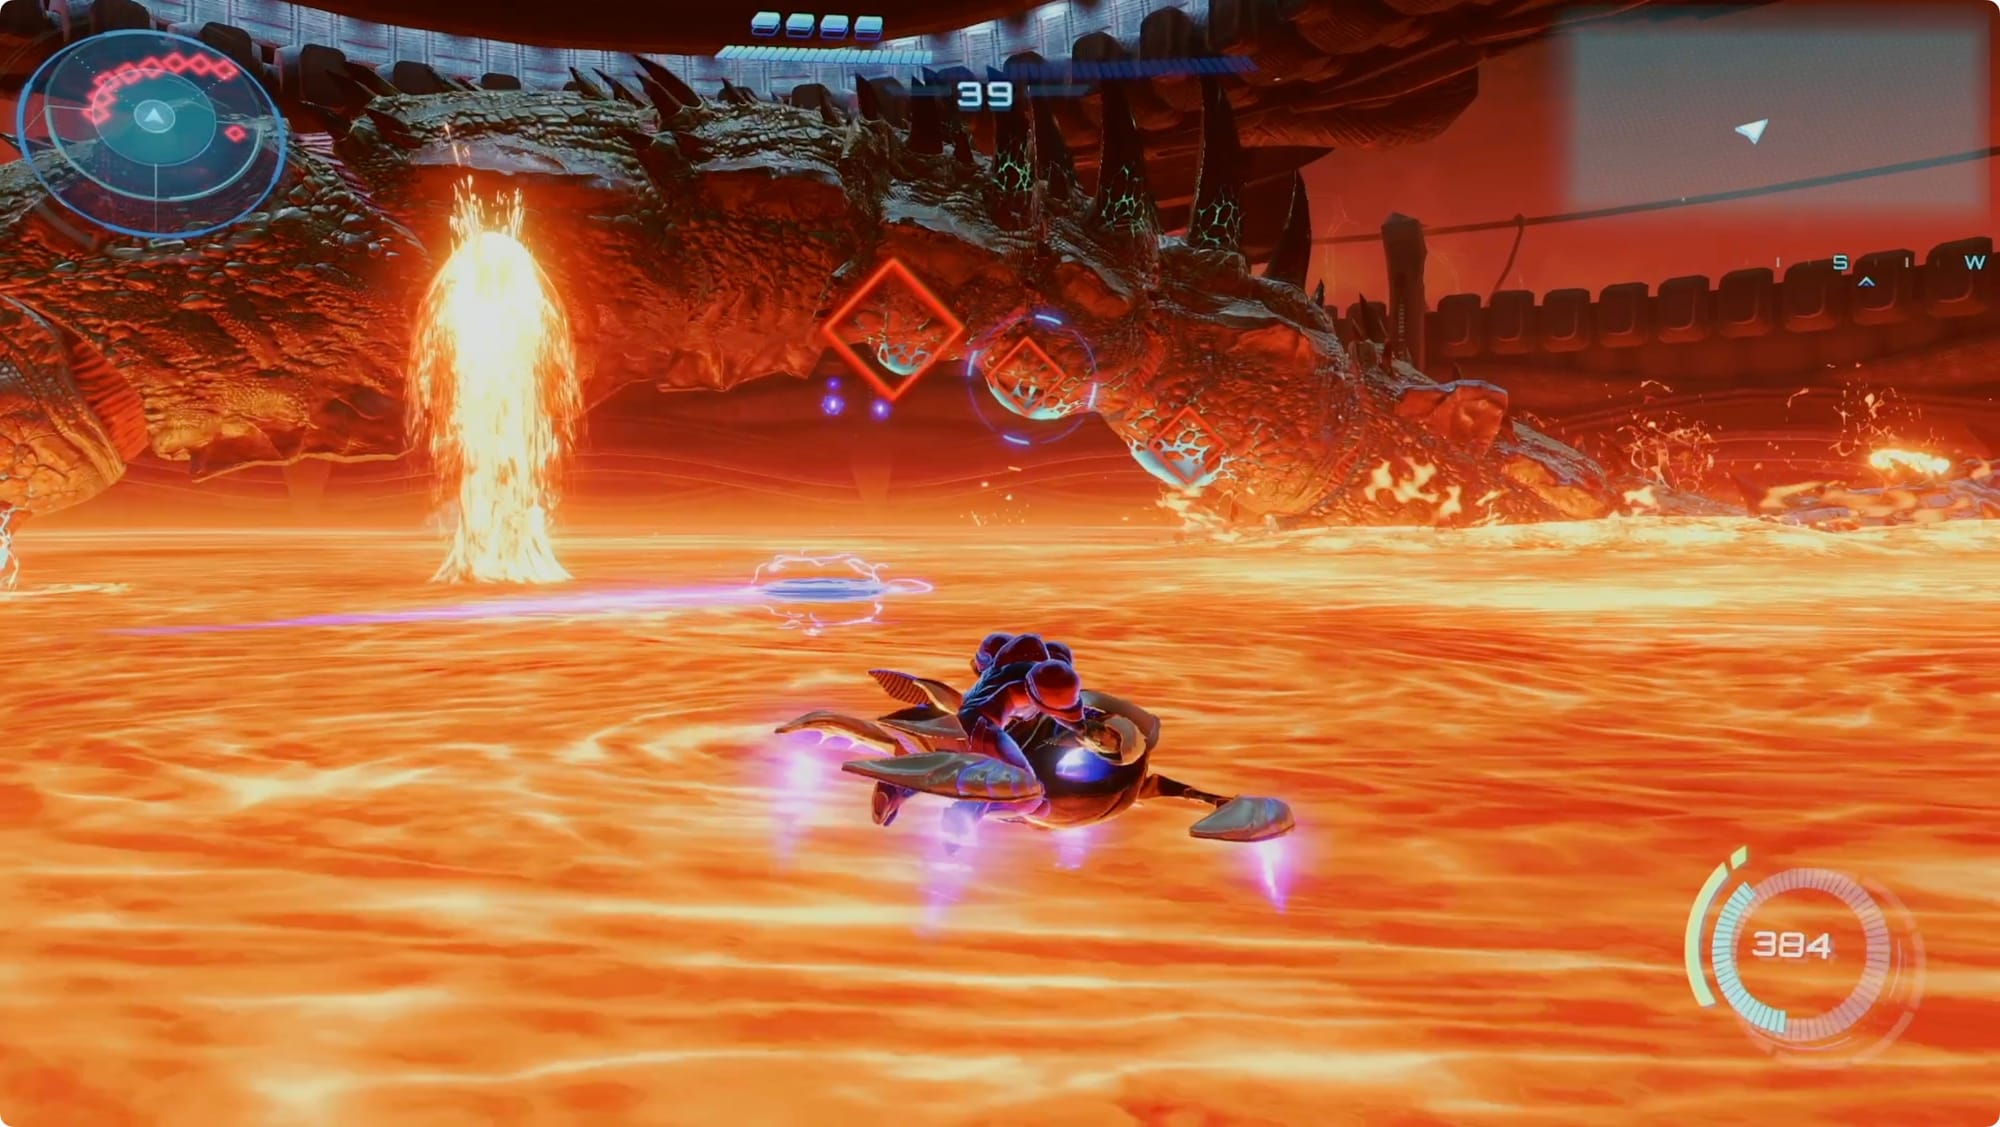
For the first phase, you’re just going to chase Phenoros around. As you go, keep holding A/ZR to target the many glowing weak spots on its stomach. You’ll have to be quick since they’re only out of the lava briefly.
Once you’ve hit them all, you’ll move into phase 2.
For the second phase, you won’t have your Vi-O-La and you’ll be trapped on a small island (chunk of Phenoros’ body). Phenoros will rear up and face you.
Your goal is to target the weak points on and around its face. A single Ice Shot will destroy them, but your regular arm cannon works pretty well too — missiles are tricky because of the way Phenoros wiggles around. If you’re struggling to hit him while he moves, The Control Beam is a great alternative.
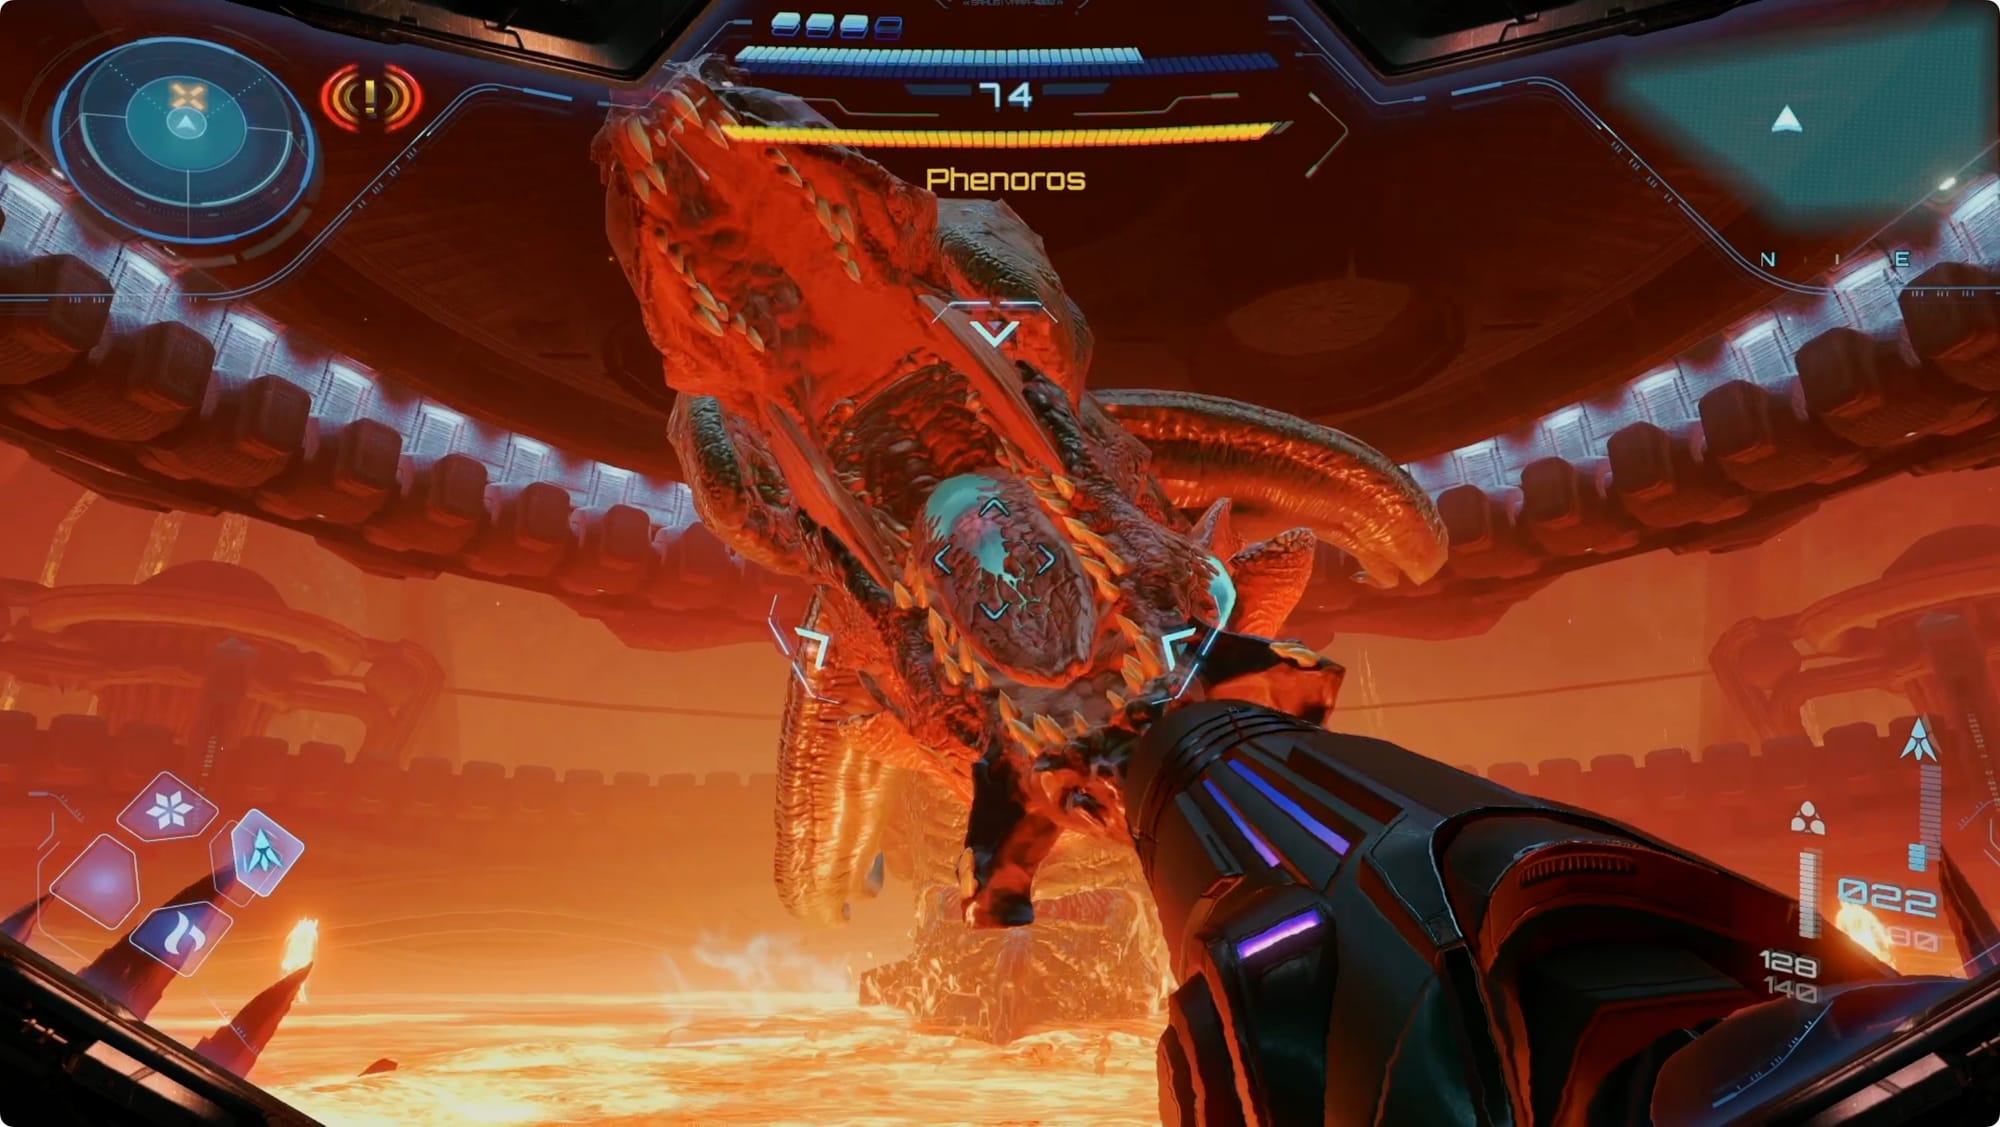
While you’re shooting, you’ll also have to watch for a couple attacks. When it rears back, lock on and dodge out of the way of its biting-grabbing attack. When it spits a line of fire, Morph Ball to duck out of the way.
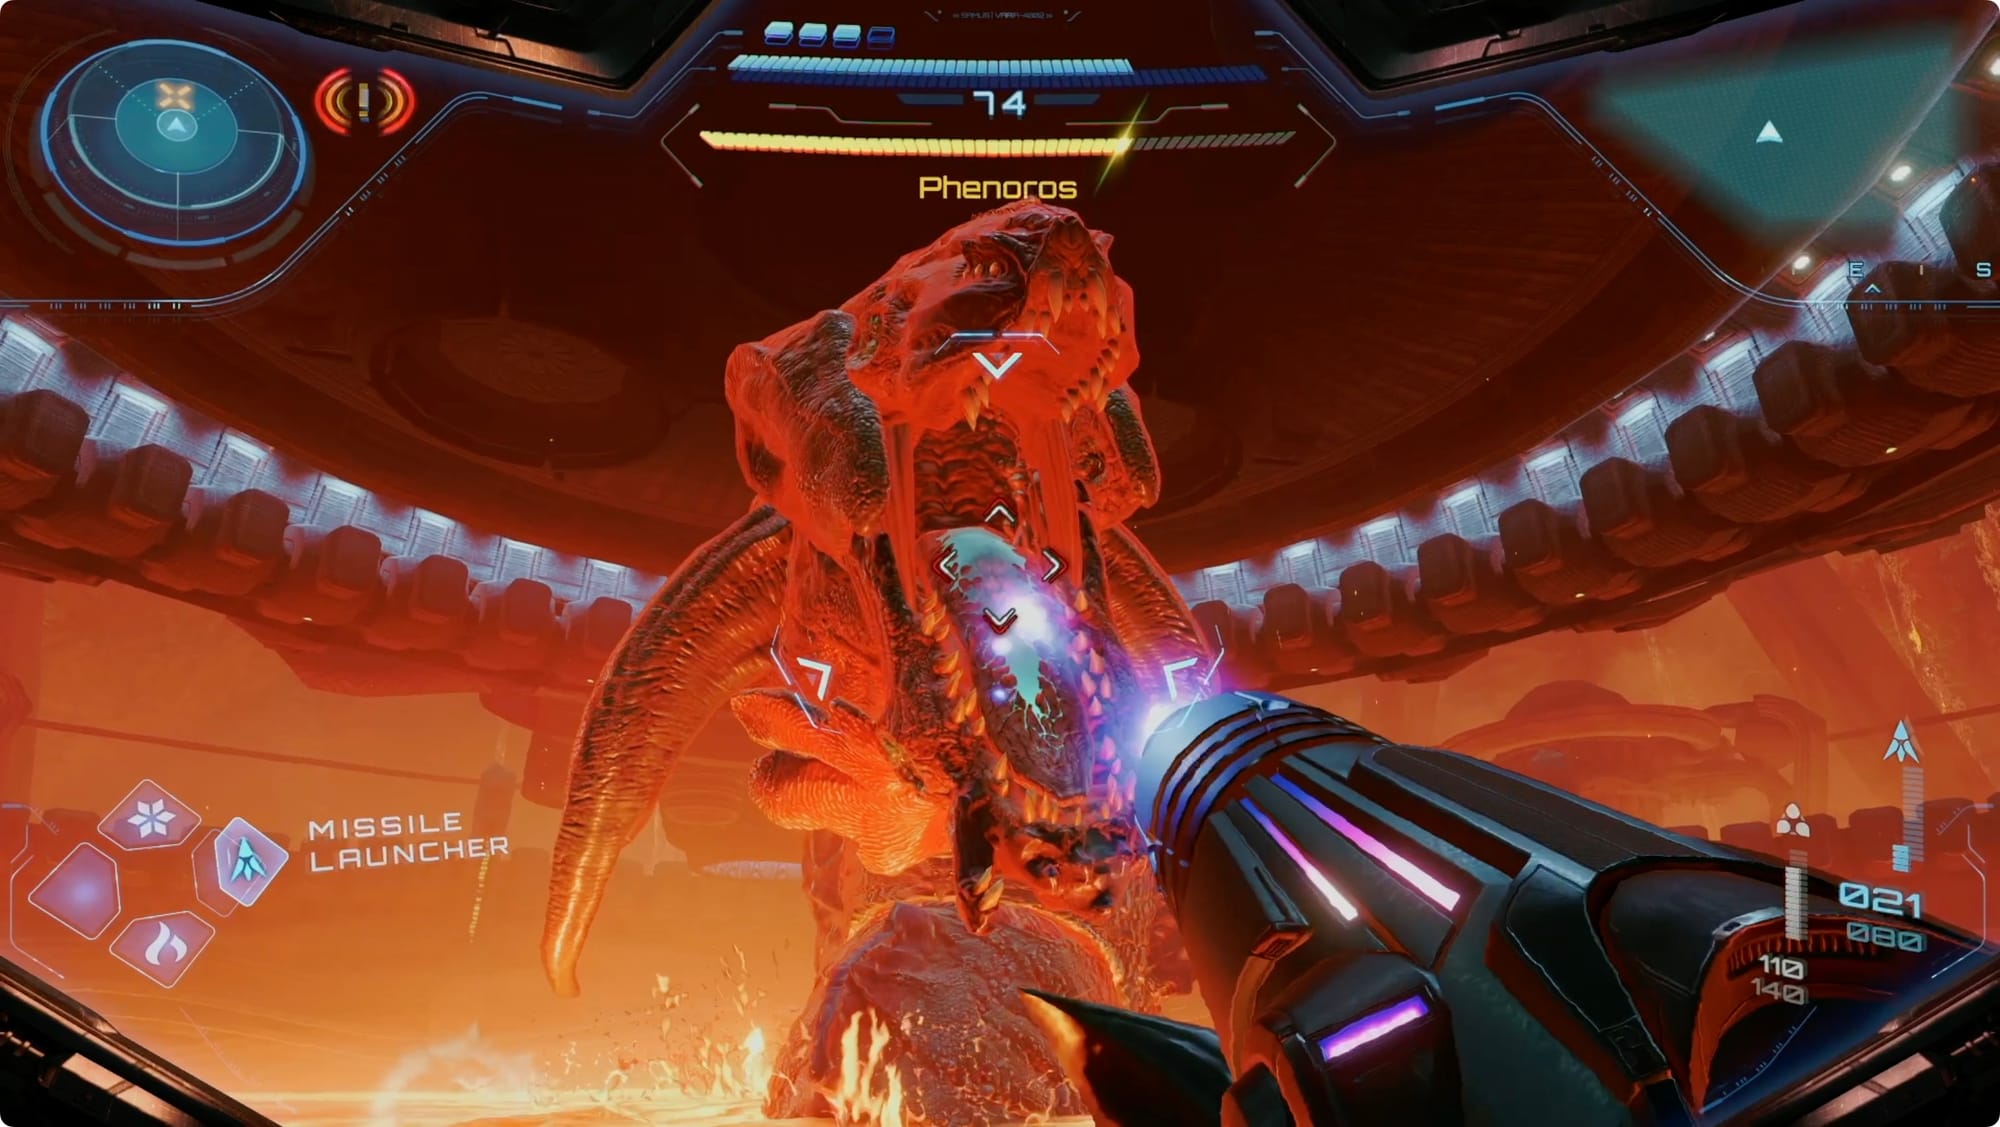
When you shoot all of the weak points on its head (and any time in between), it’ll scream for a minute. This is where you’ll do your damage — shoot its tongue as much as you can. Ice Shot does the most damage here, but anything works.
When you get its health most of the way down, it’ll fall with its mouth open. When this happens, fire a Control Beam and fly it down its throat. You’re looking for the glowing core. One shot should be enough to finish the fight.
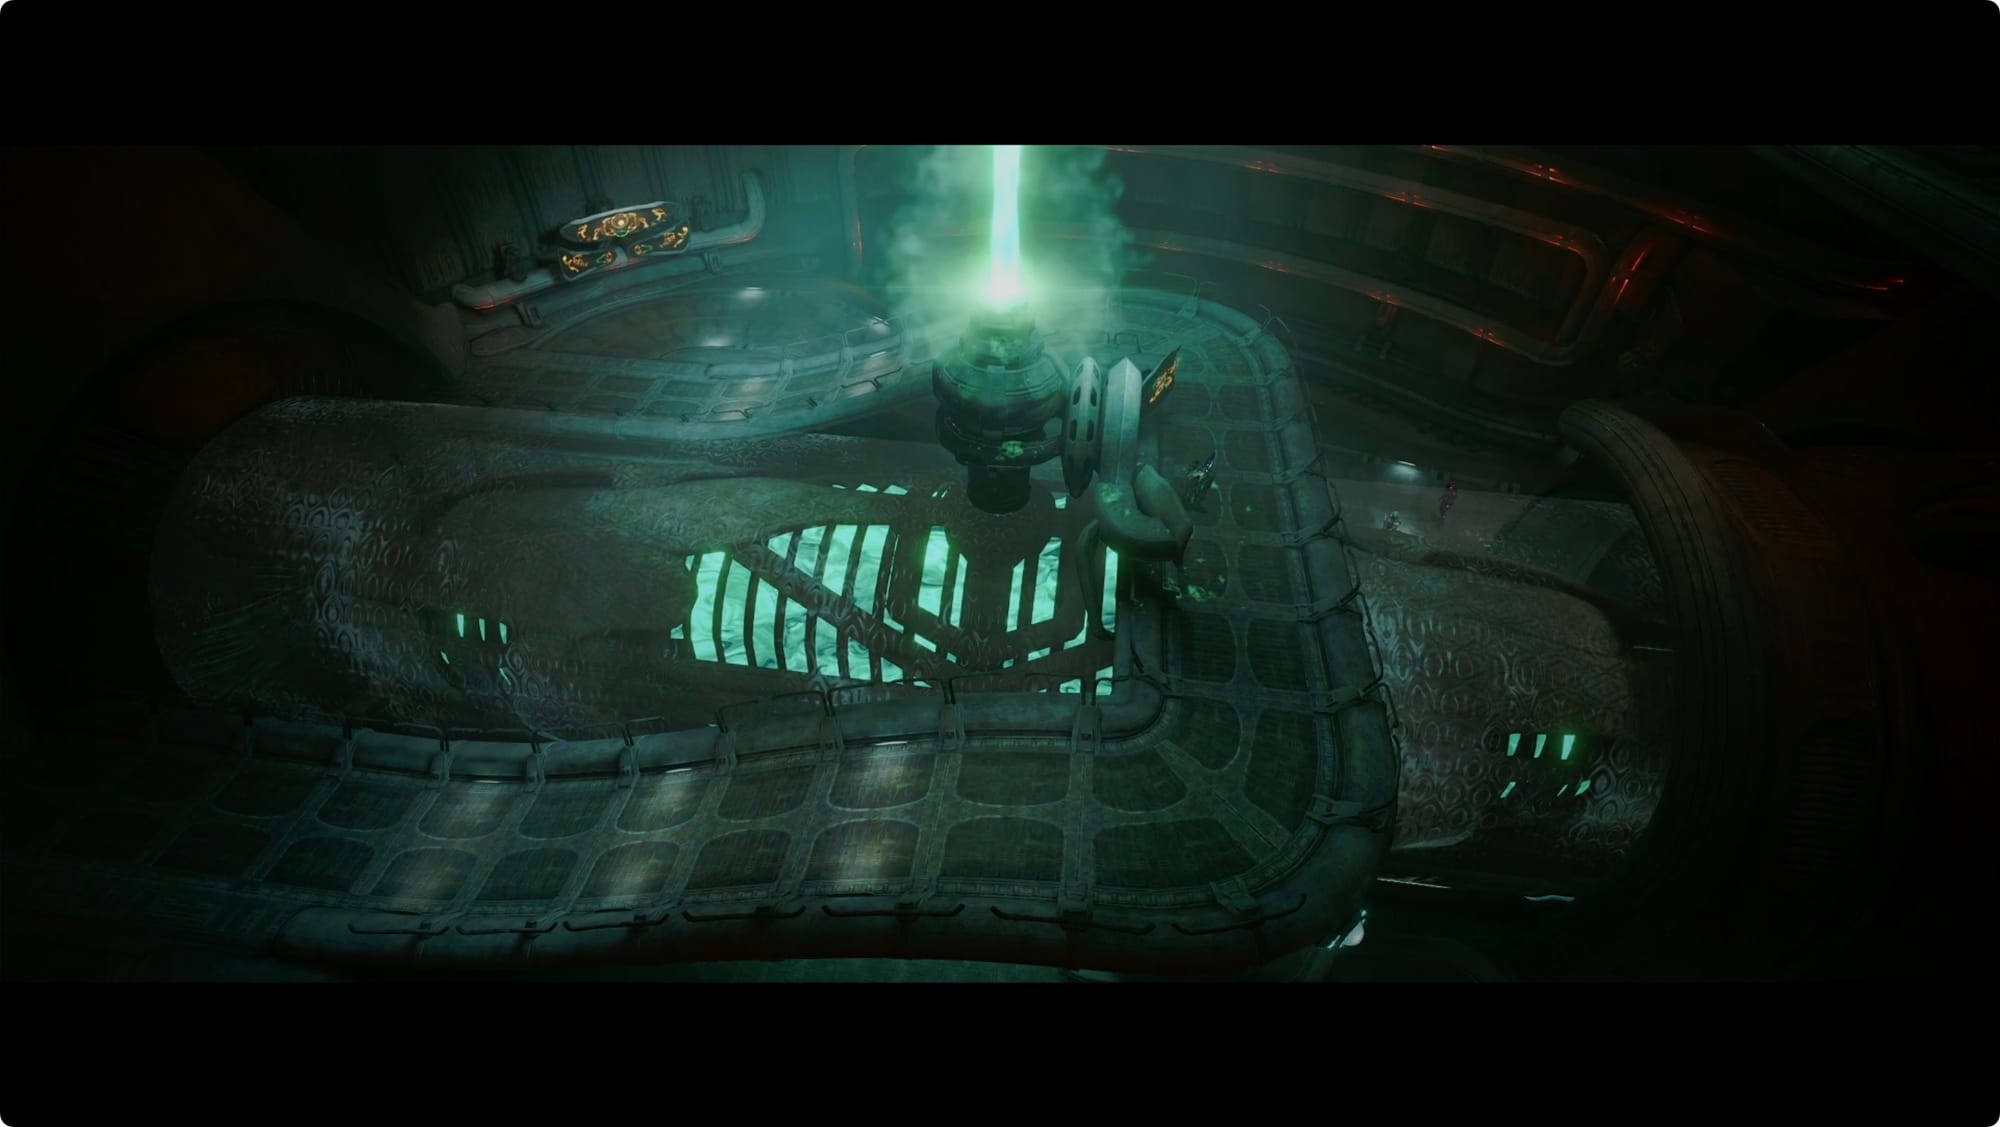
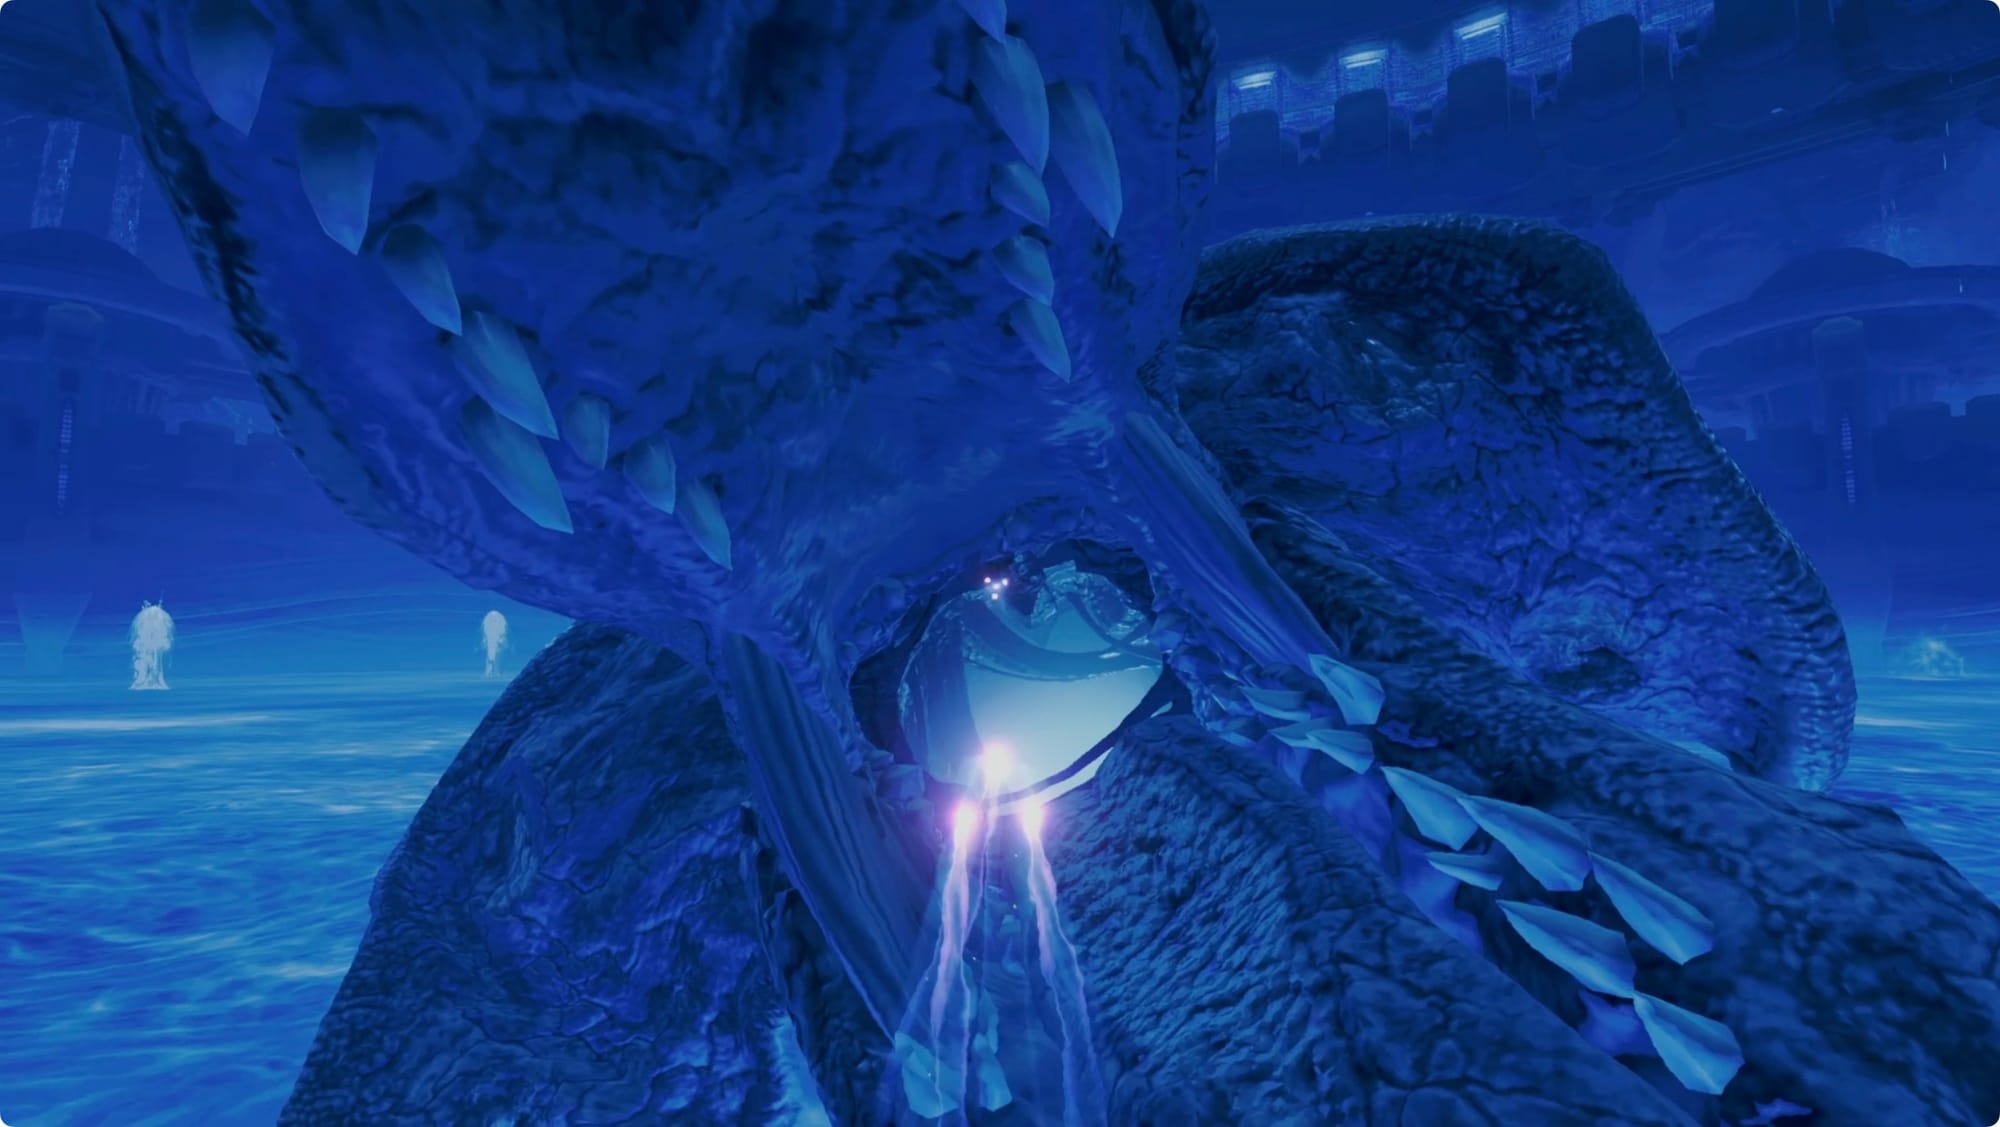
You’ll get the Psychic Grapple as a reward. Use it to get up to the statue and collect the next Master Teleport Key.
Escape the Flare Pool
Pillars with grapple points will drop from the ceiling. Use one of those to escape the lava pool.
Everything that follows is a pretty straight line. Just shoot the hell out of anything that moves and keep using your new grapple to navigate the collapsing structure. Any time you get stuck, switch to your Psychic Scanner and look for a clue.
Eventually, you'll emerge triumphantly (and awesomely) from the Flare Pool.
There’s a lot of stuff to do now that we’ve got the grappling hook, but we’ll save that for next time.