

Metroid Prime 4: Beyond walkthrough pt. 5 (Thunder Chip and shrines)
Find the last elemental shot and some upgrades

Having escaped the Flare Pool, it’s time to go pick up the final elemental shot, a bunch of upgrades, and to go pick a fight.
Find the Thunder Chip
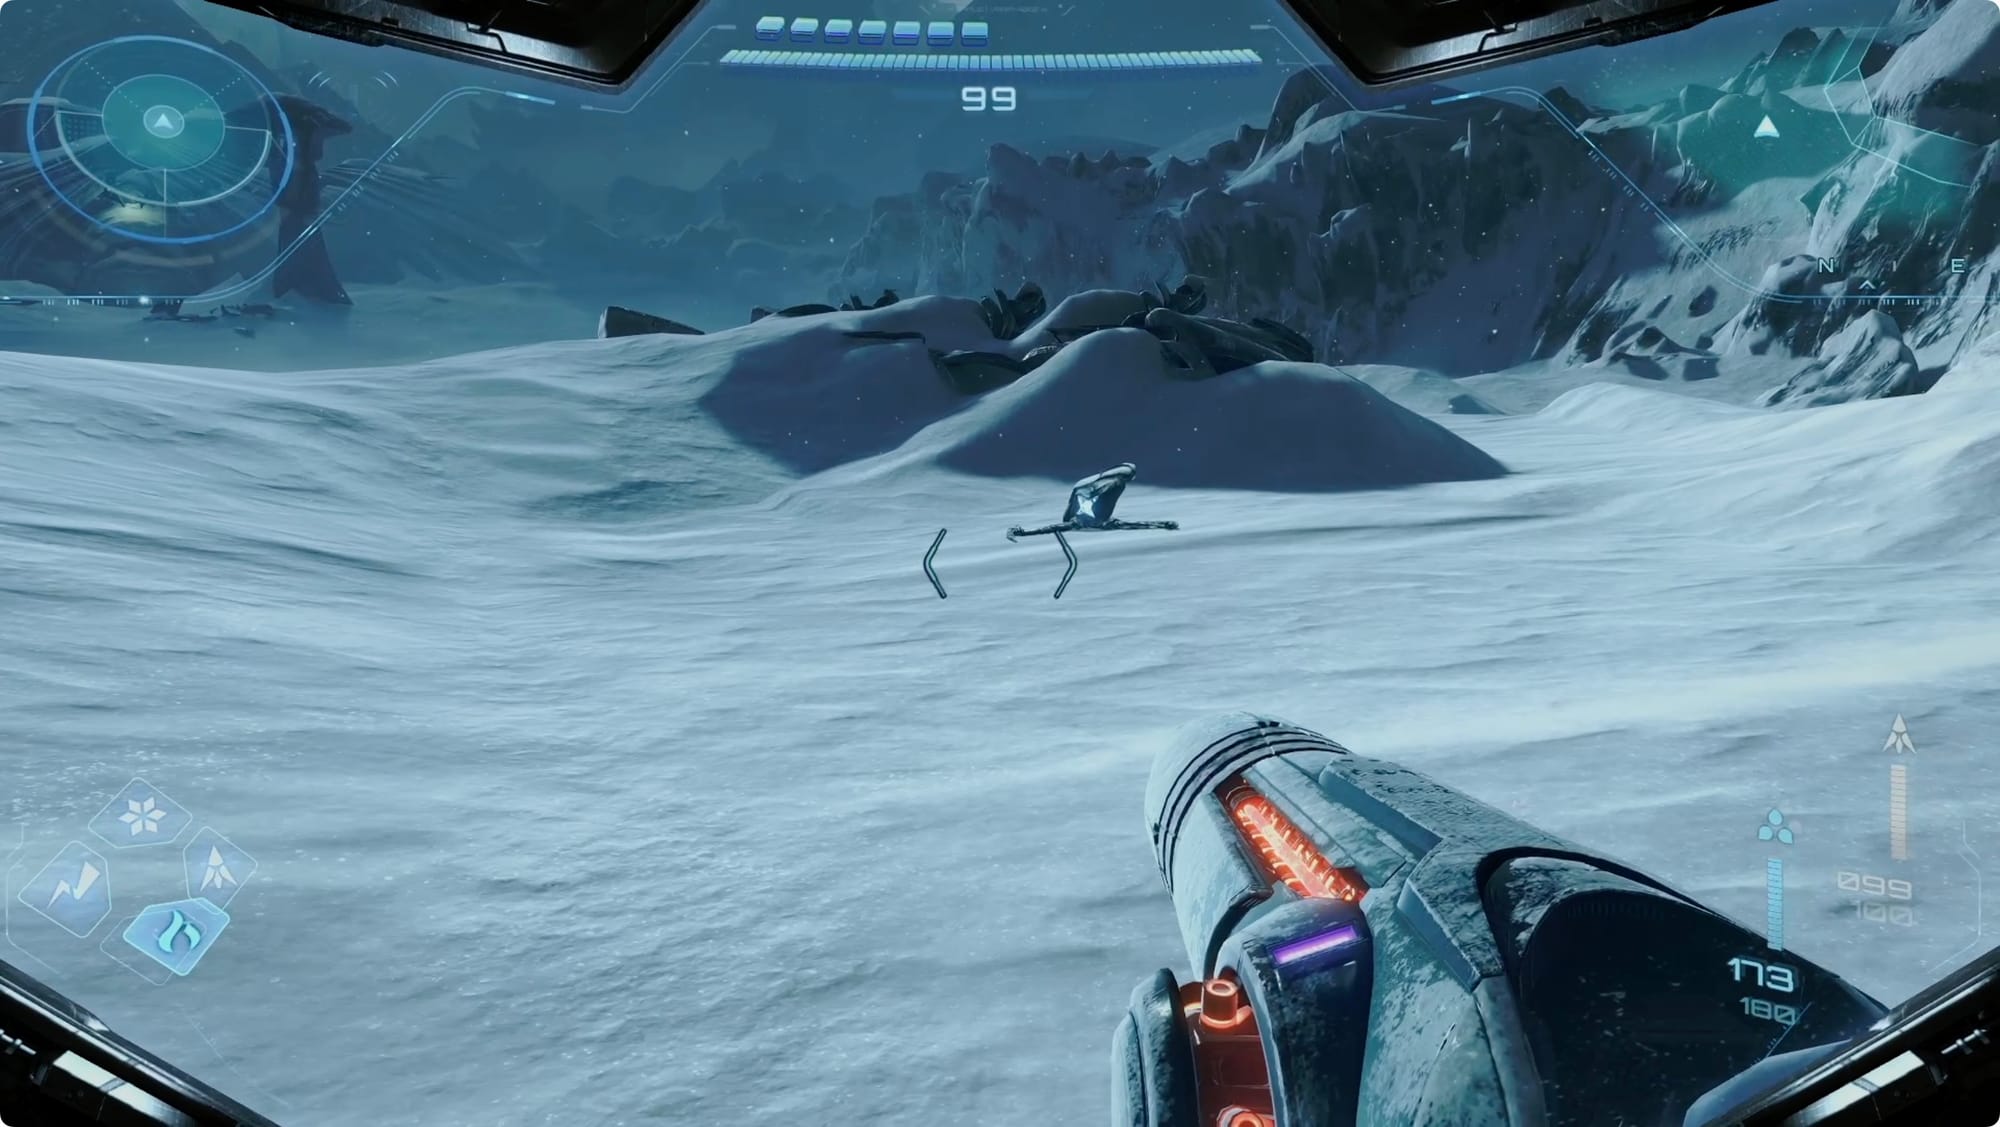
First, we’re heading back to the Volt Forge to pick a relatively tough fight, but the reward makes it very much worth the effort.

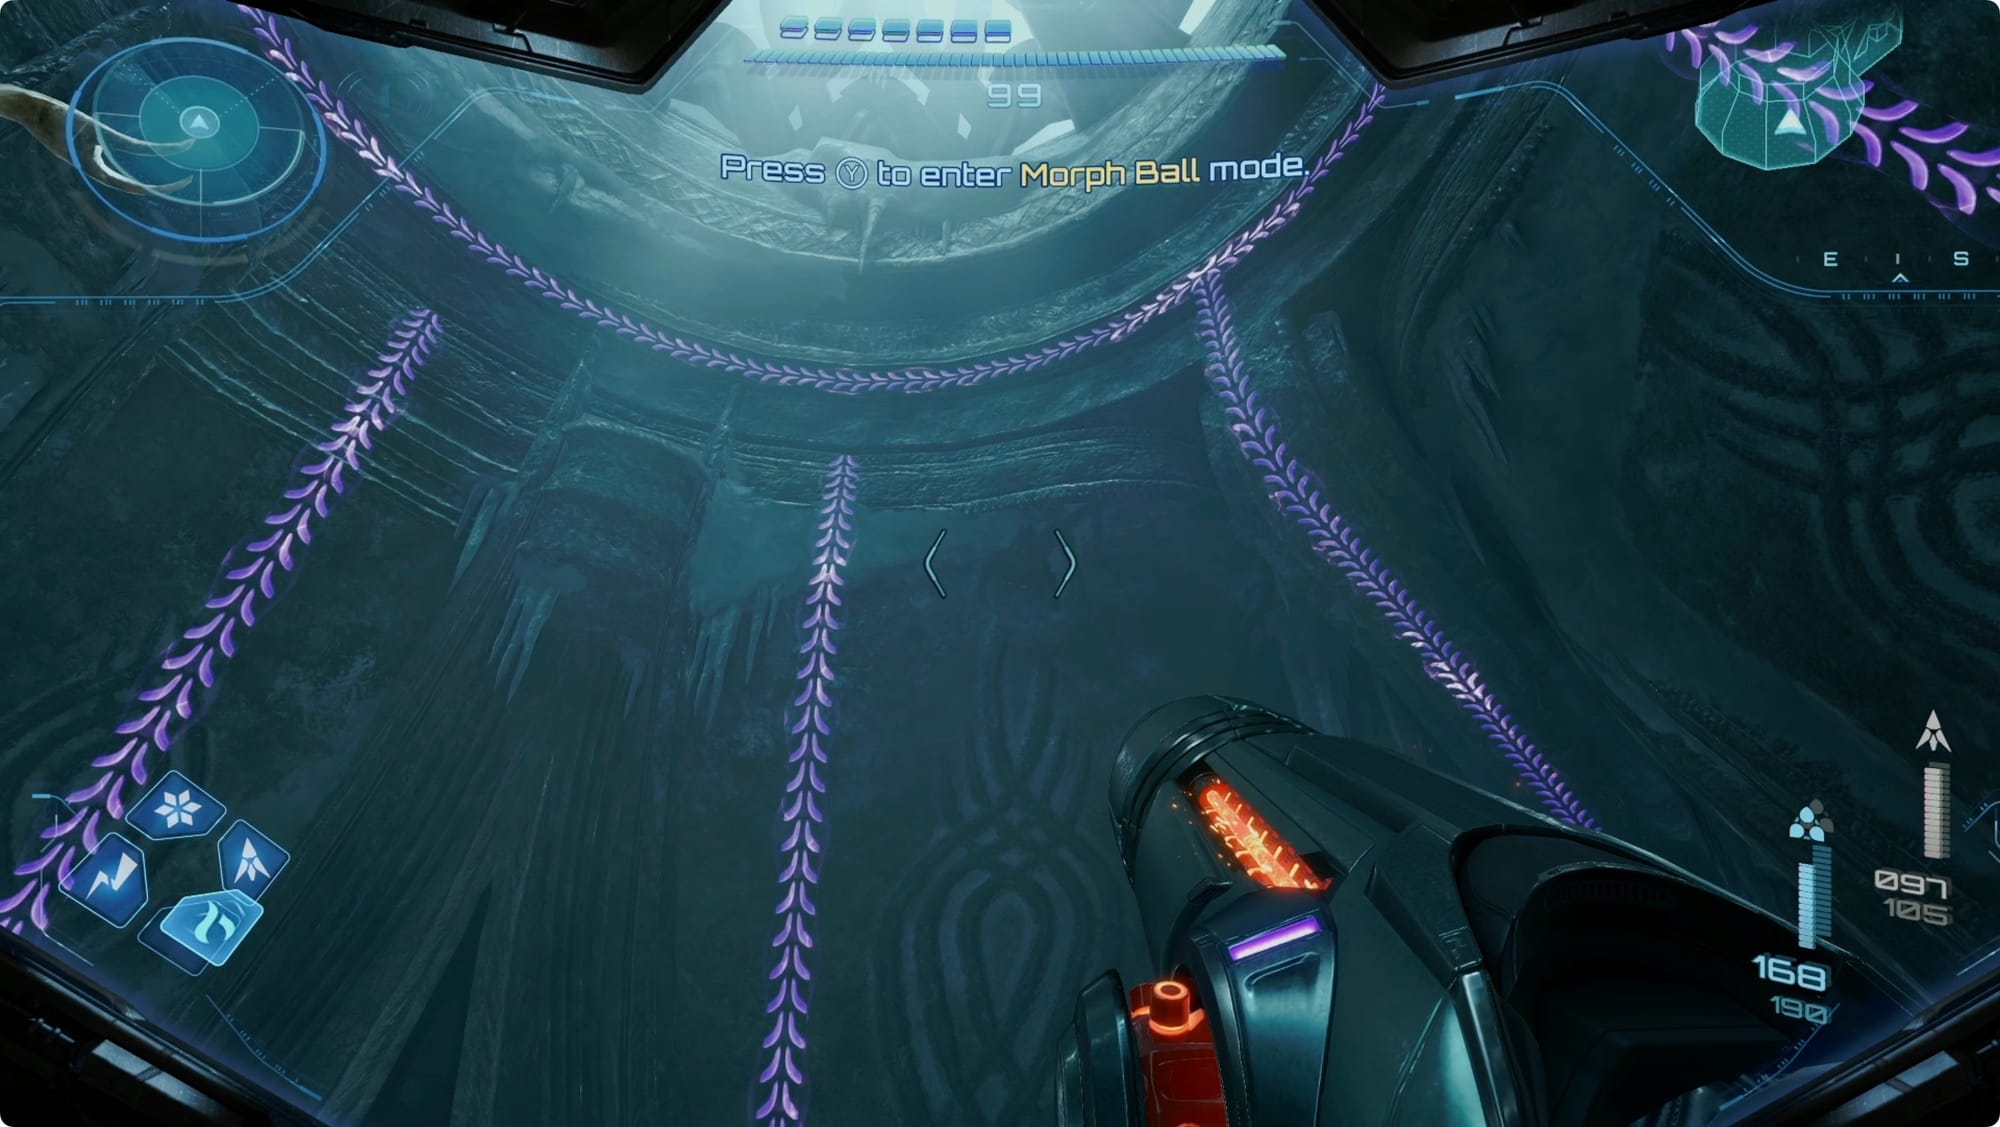
In Tower 1, head for the elevator — but we’re not taking it this time. Take care of the Psy-Bot that shows up, and then look at the wall to the right. Lasso the cover off the wall to reveal a Morph Ball elevator that will take you all the way down to the generator level. Take it.
At the bottom, shoot the crates to find a Shot Expansion and then use the grapple points to swing over to the generator. Deal with the Psy-Bots and then roll inside.

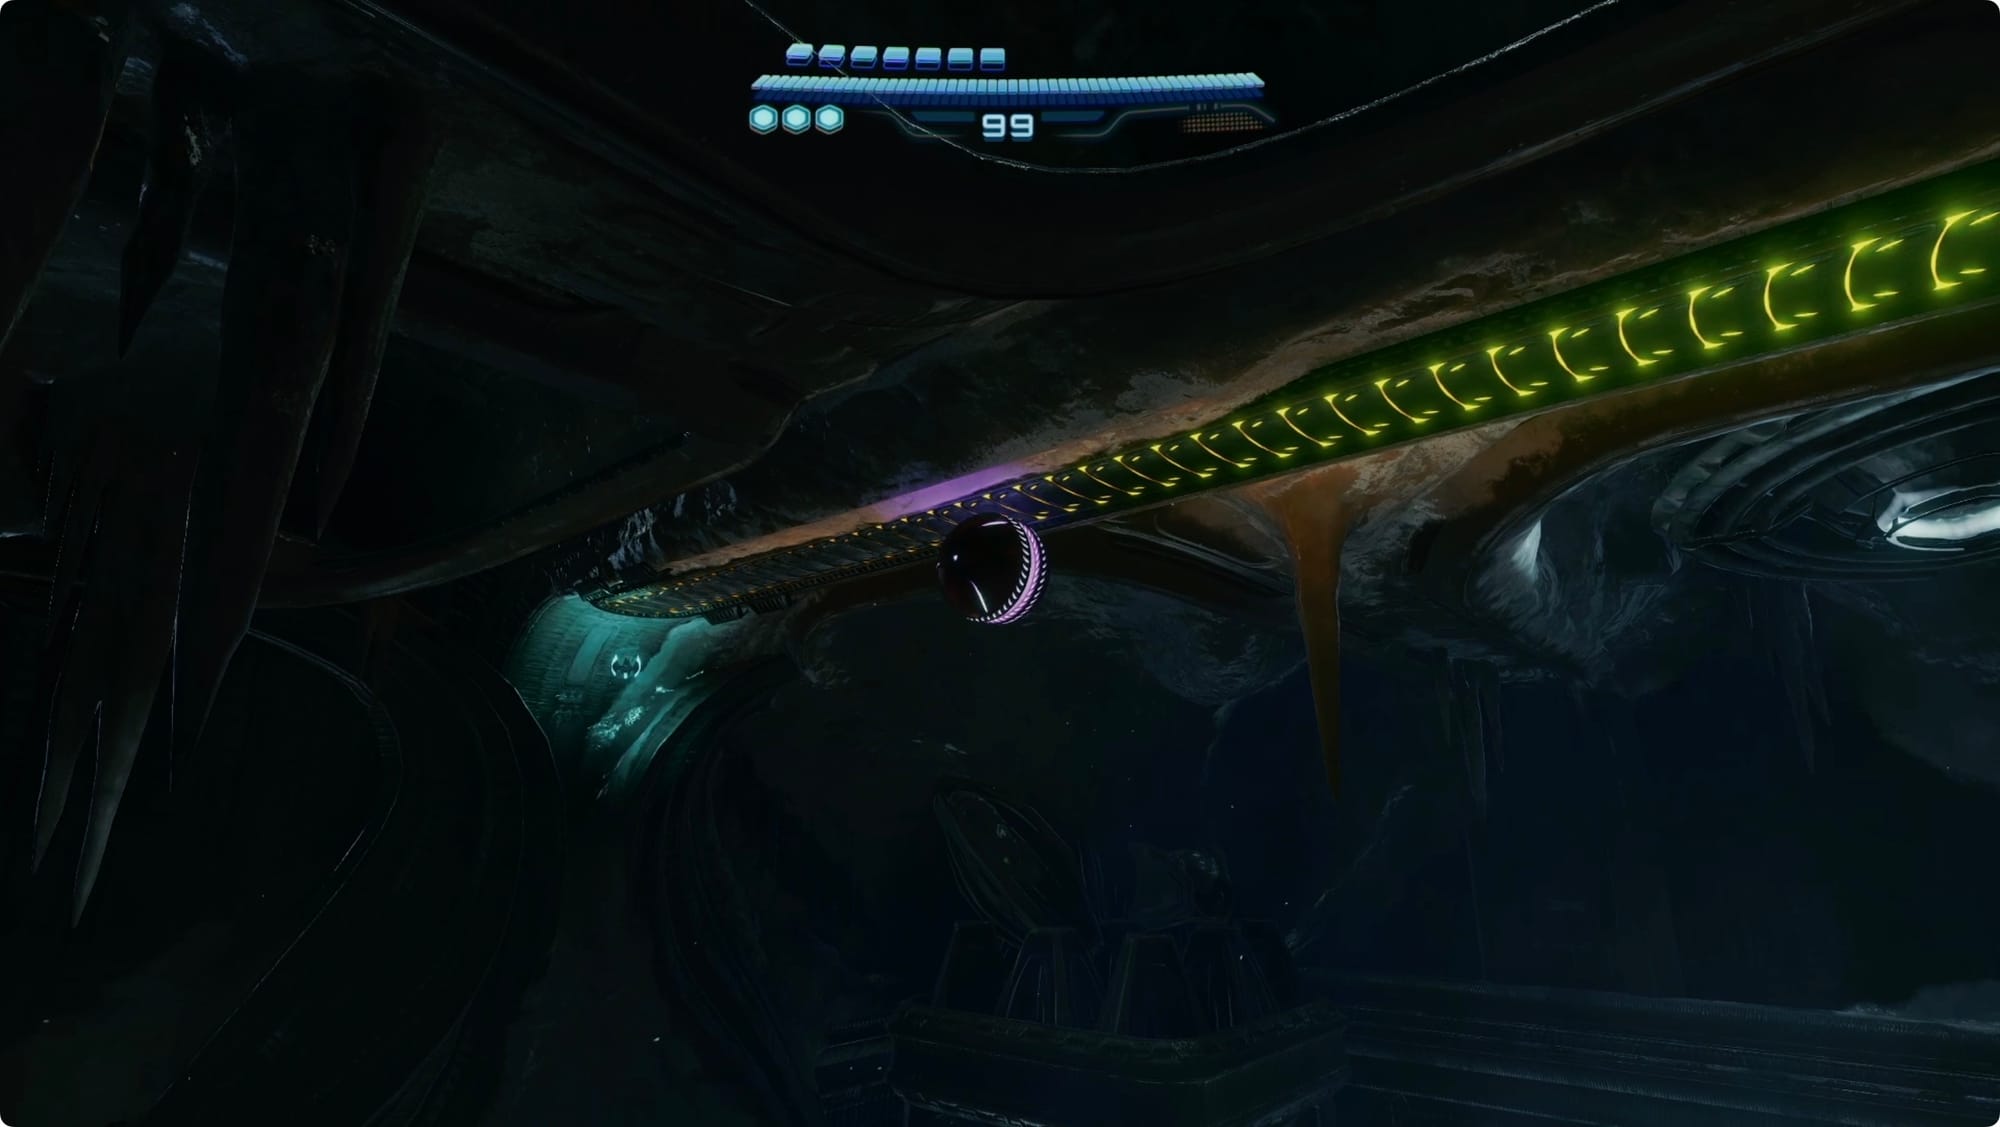
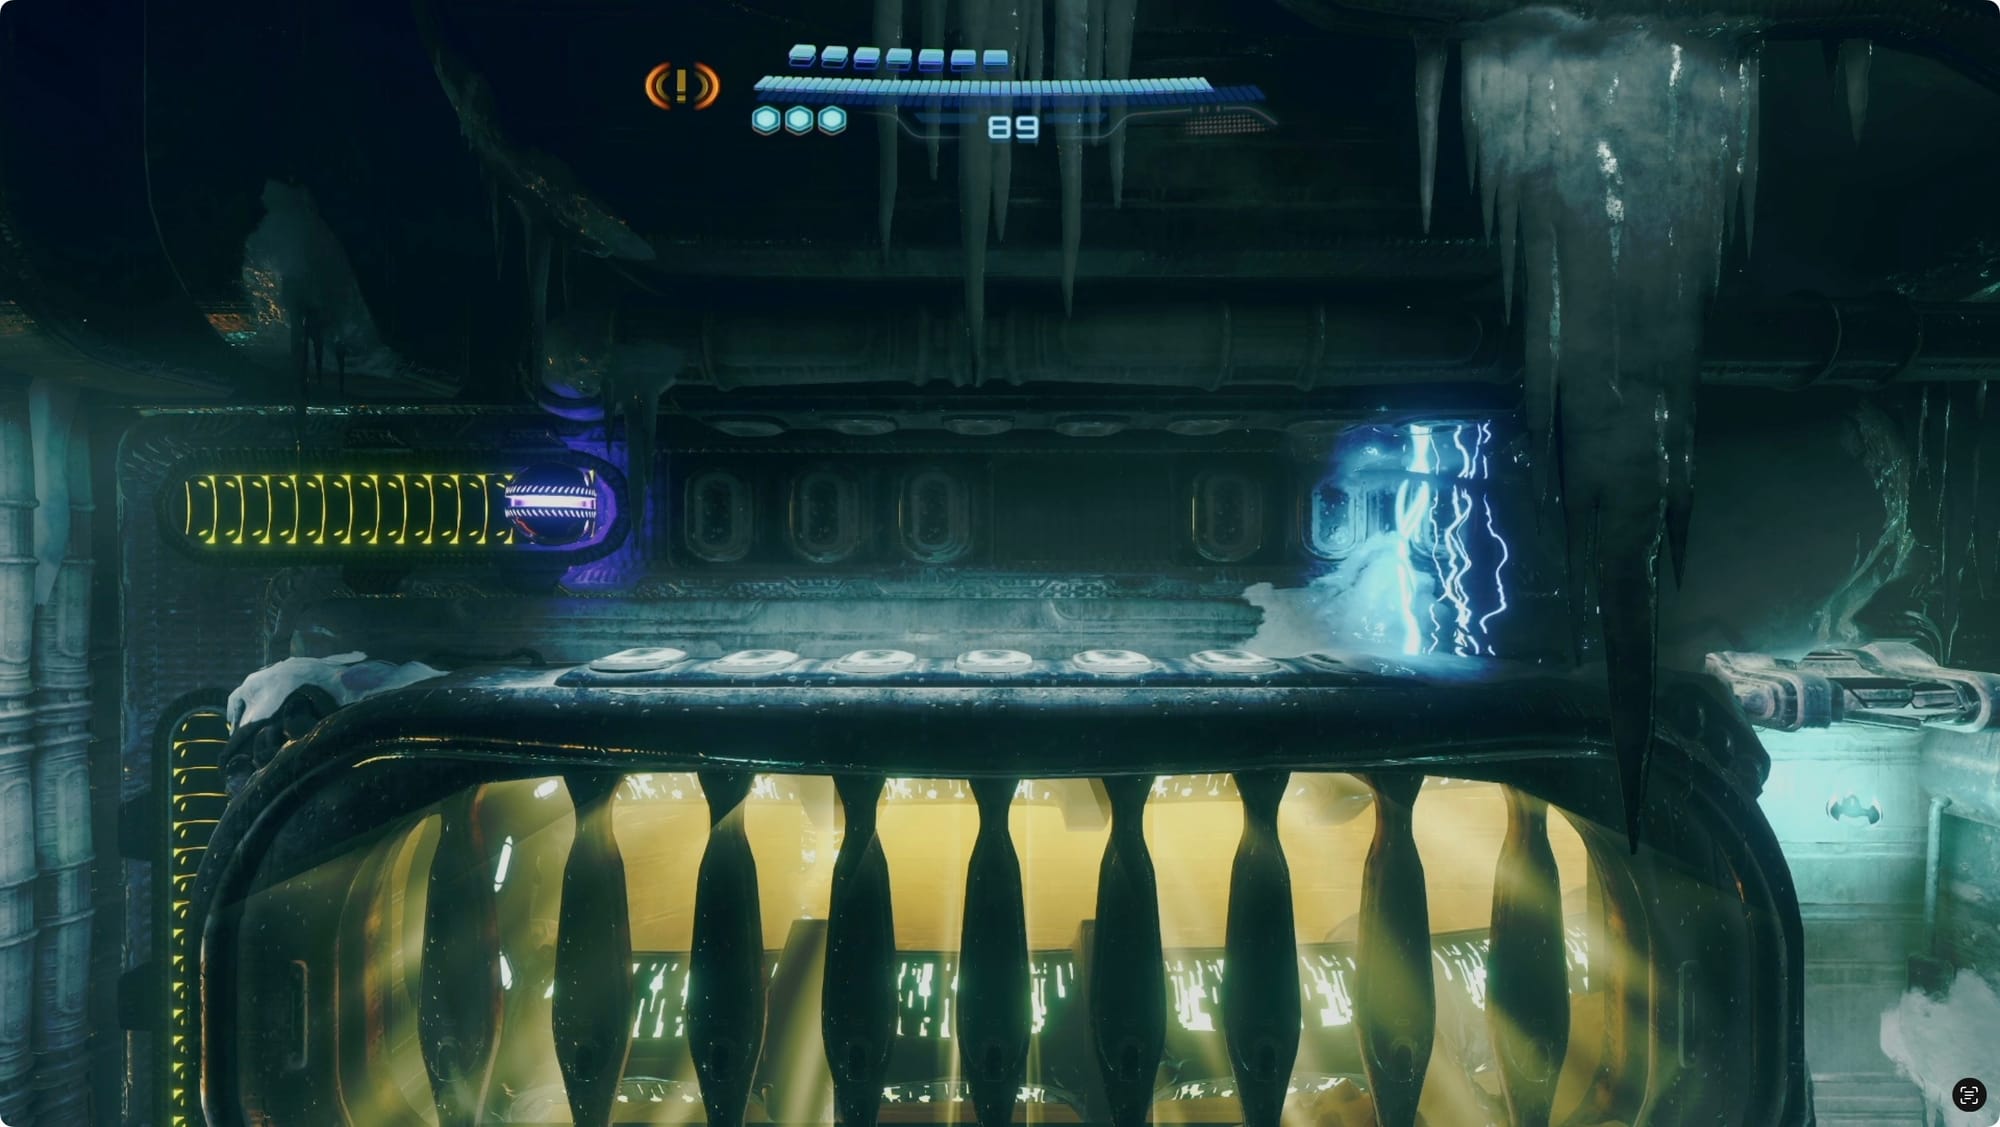
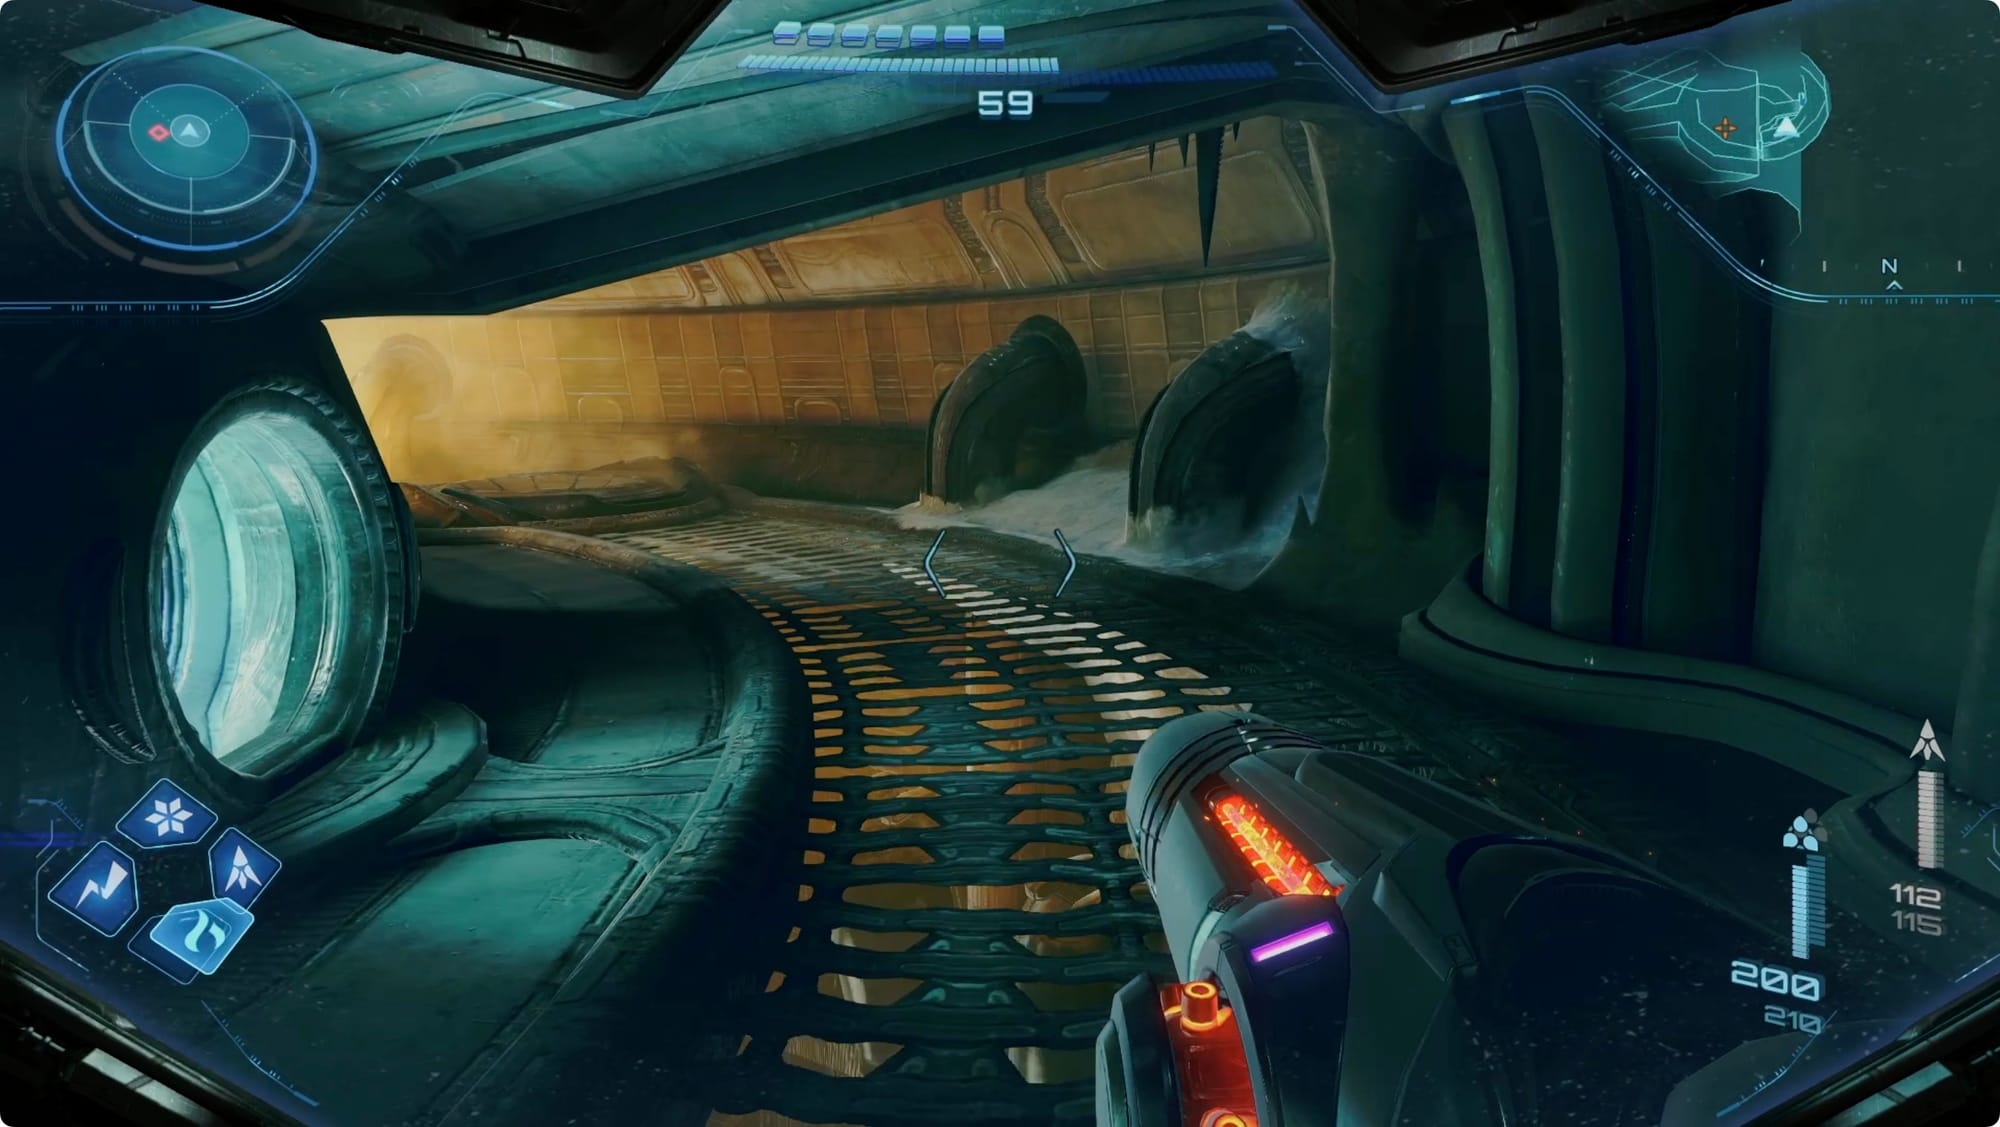
In the Manufacturing Floor, go through the missile-locked door we saw earlier. Grapple across the electrified floor (foreshadowing!) and take the elevator down.
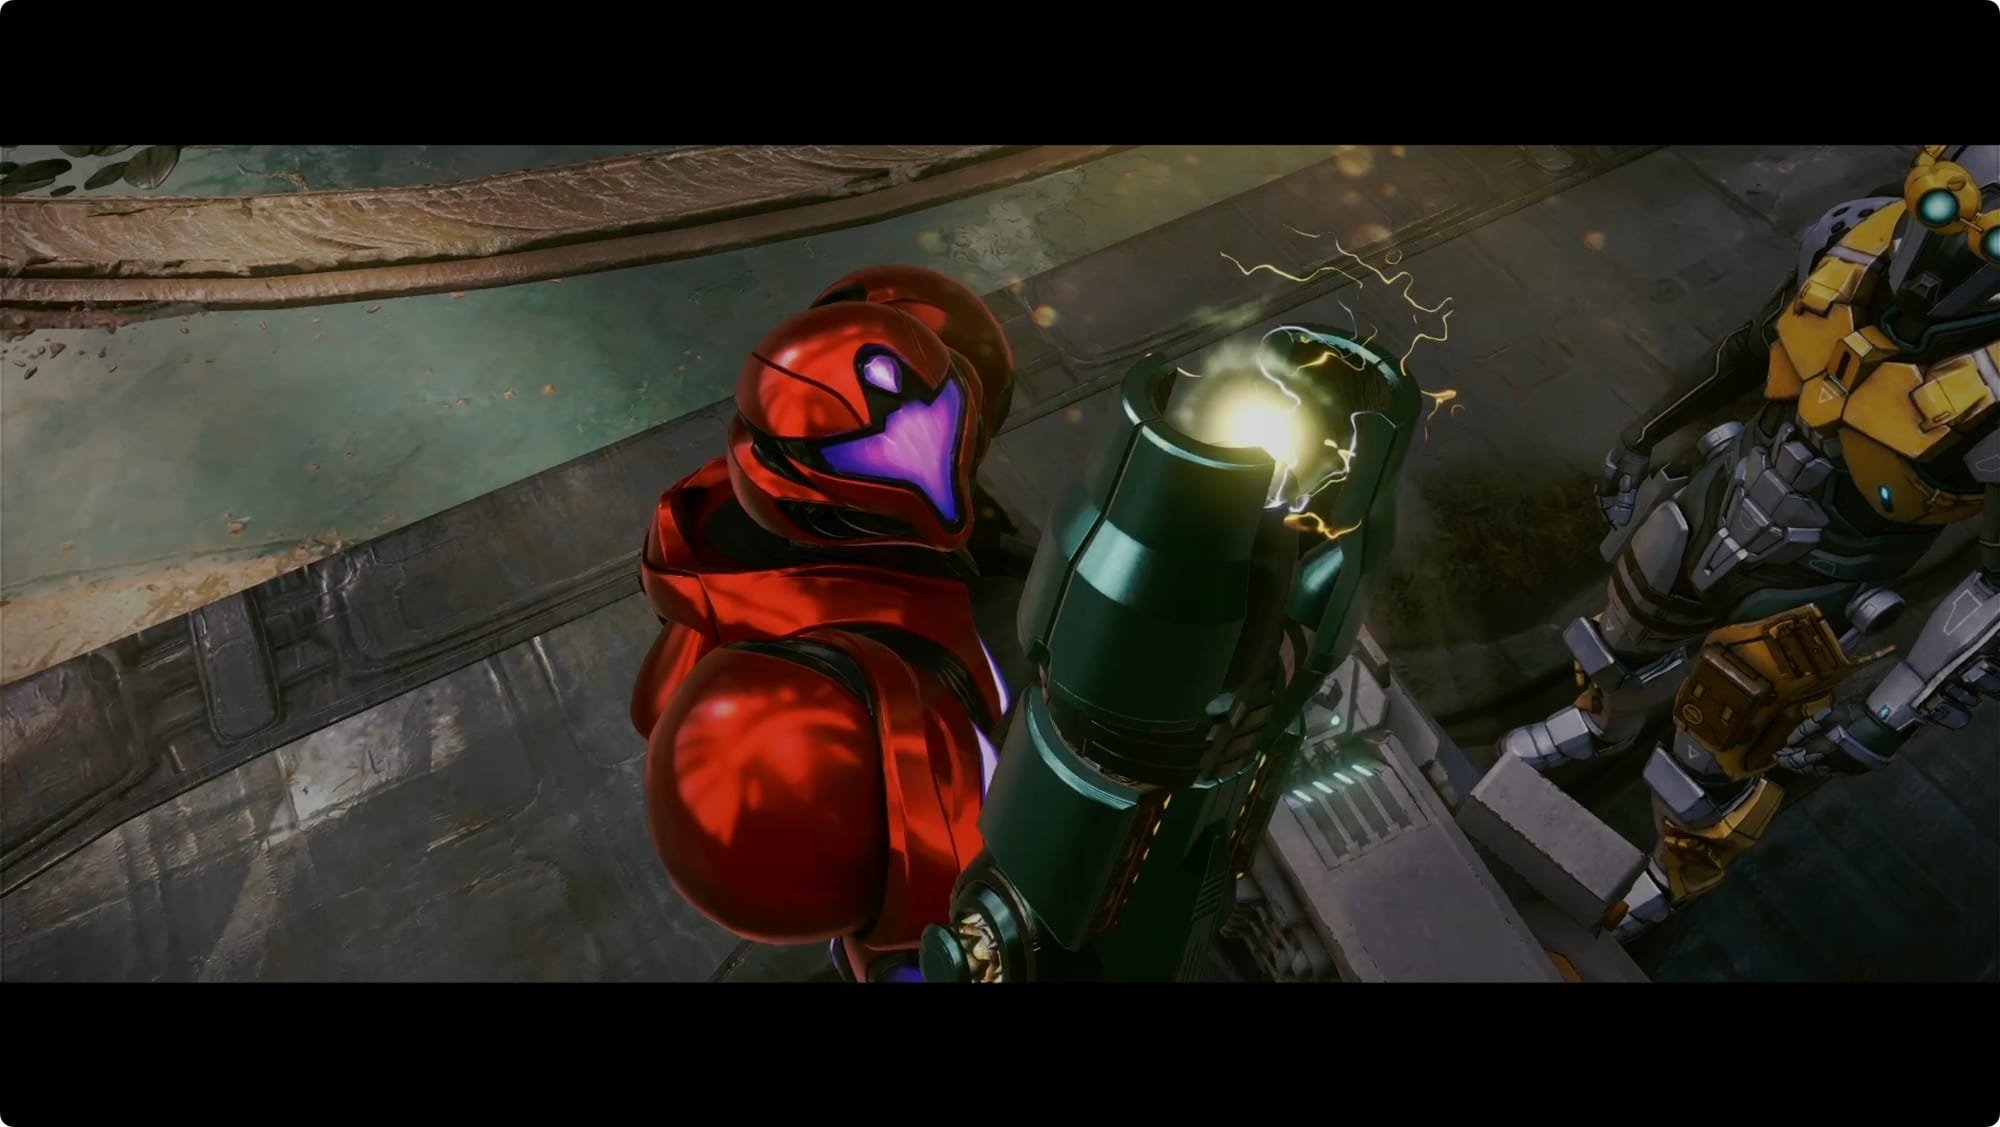
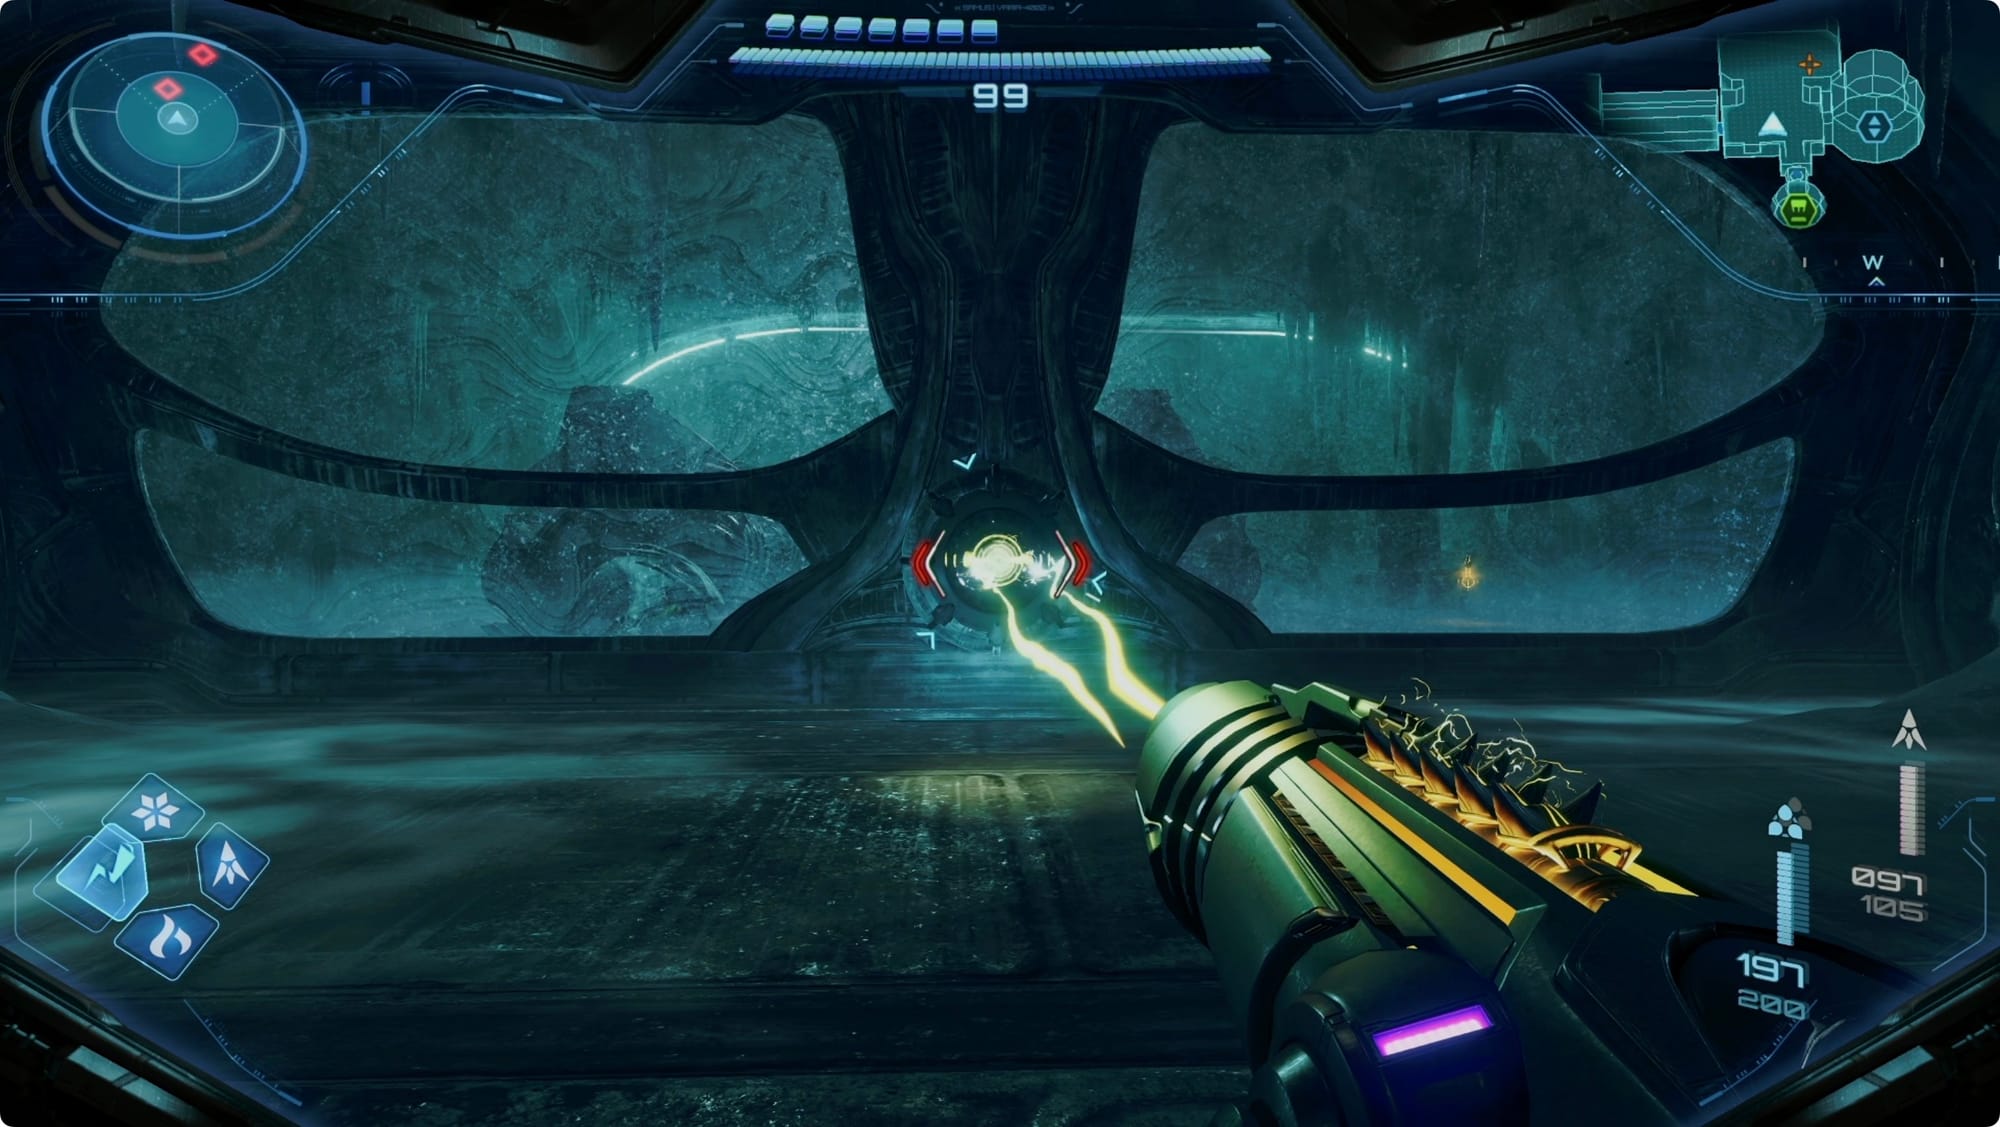
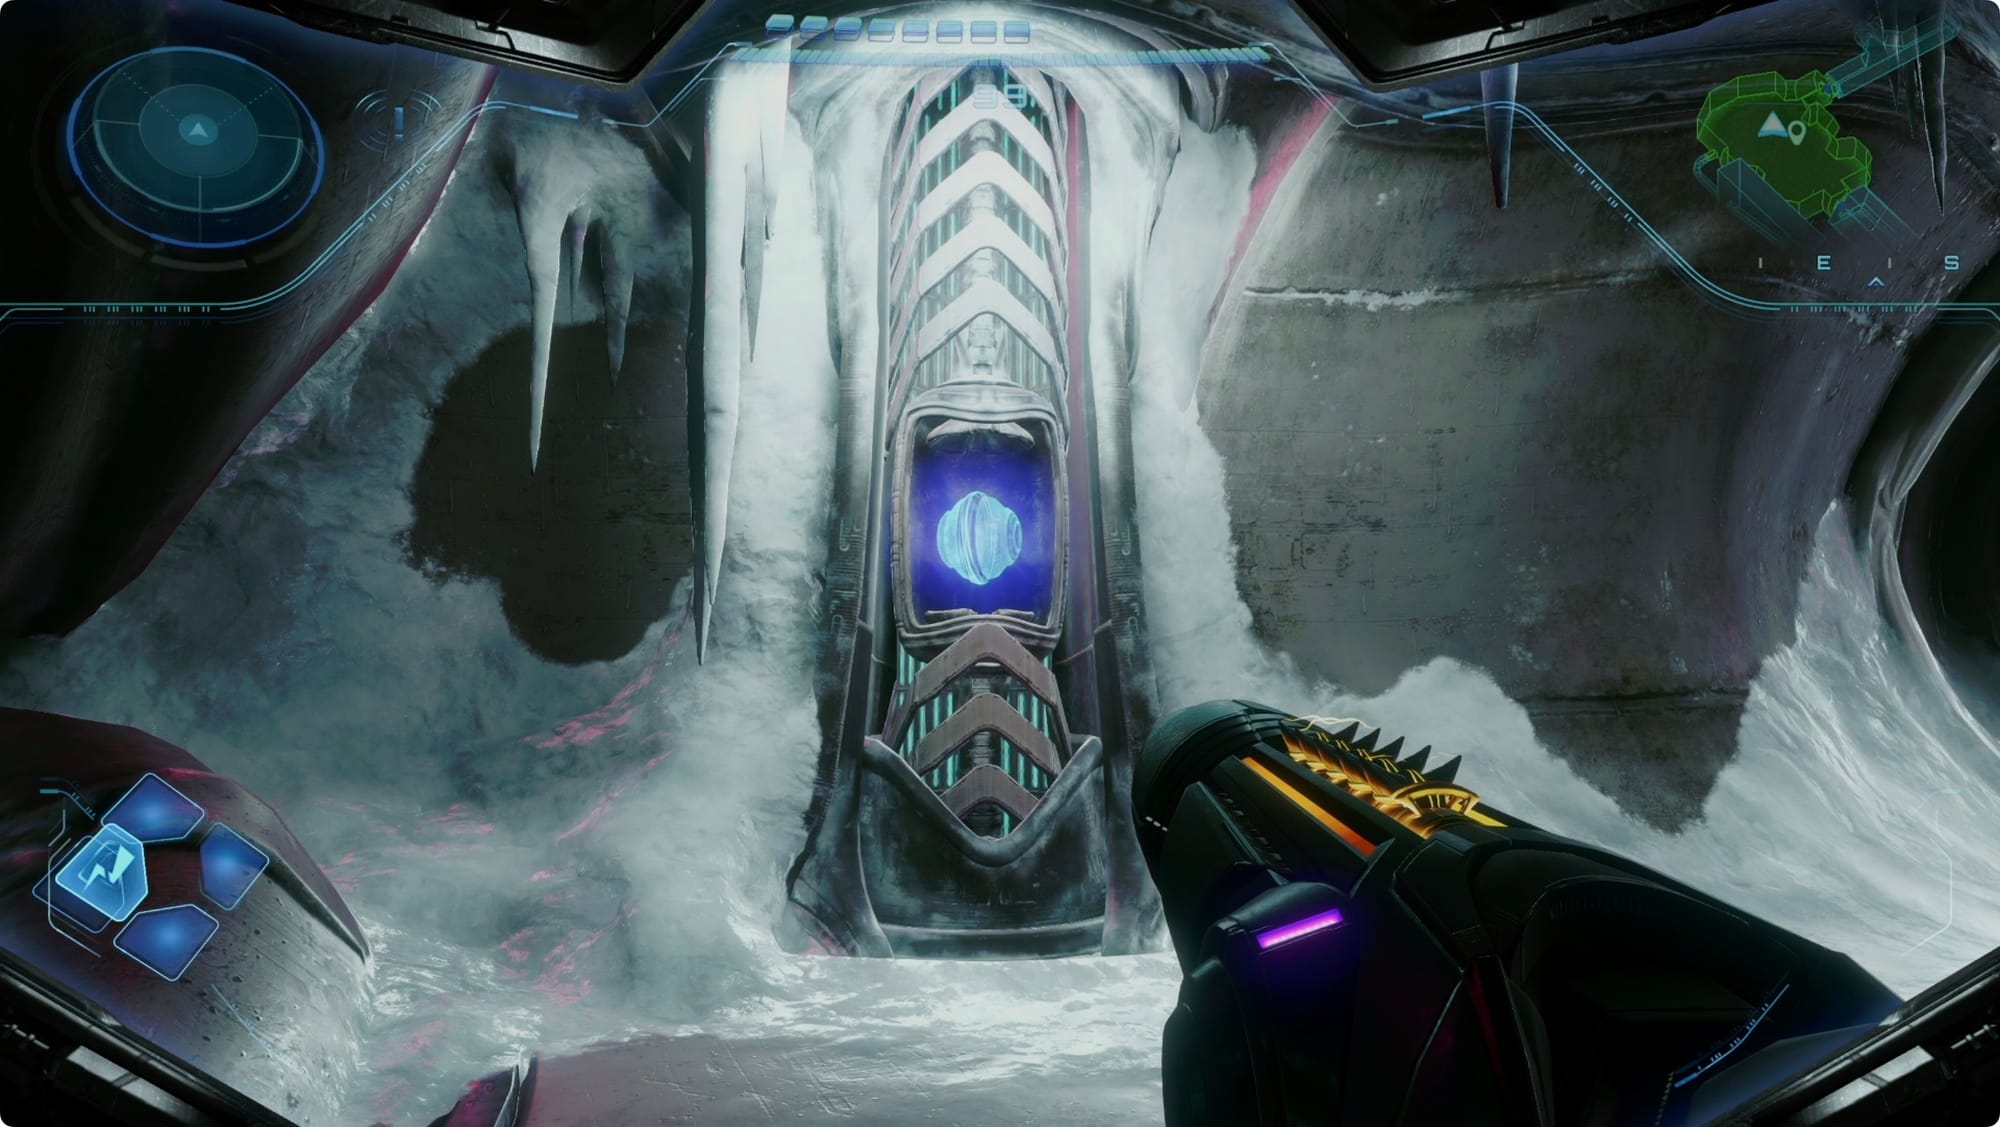
In the Power Core with all the power cells, one on the west side will be broken. Go lasso the cover off and grab the Thunder Chip from it.
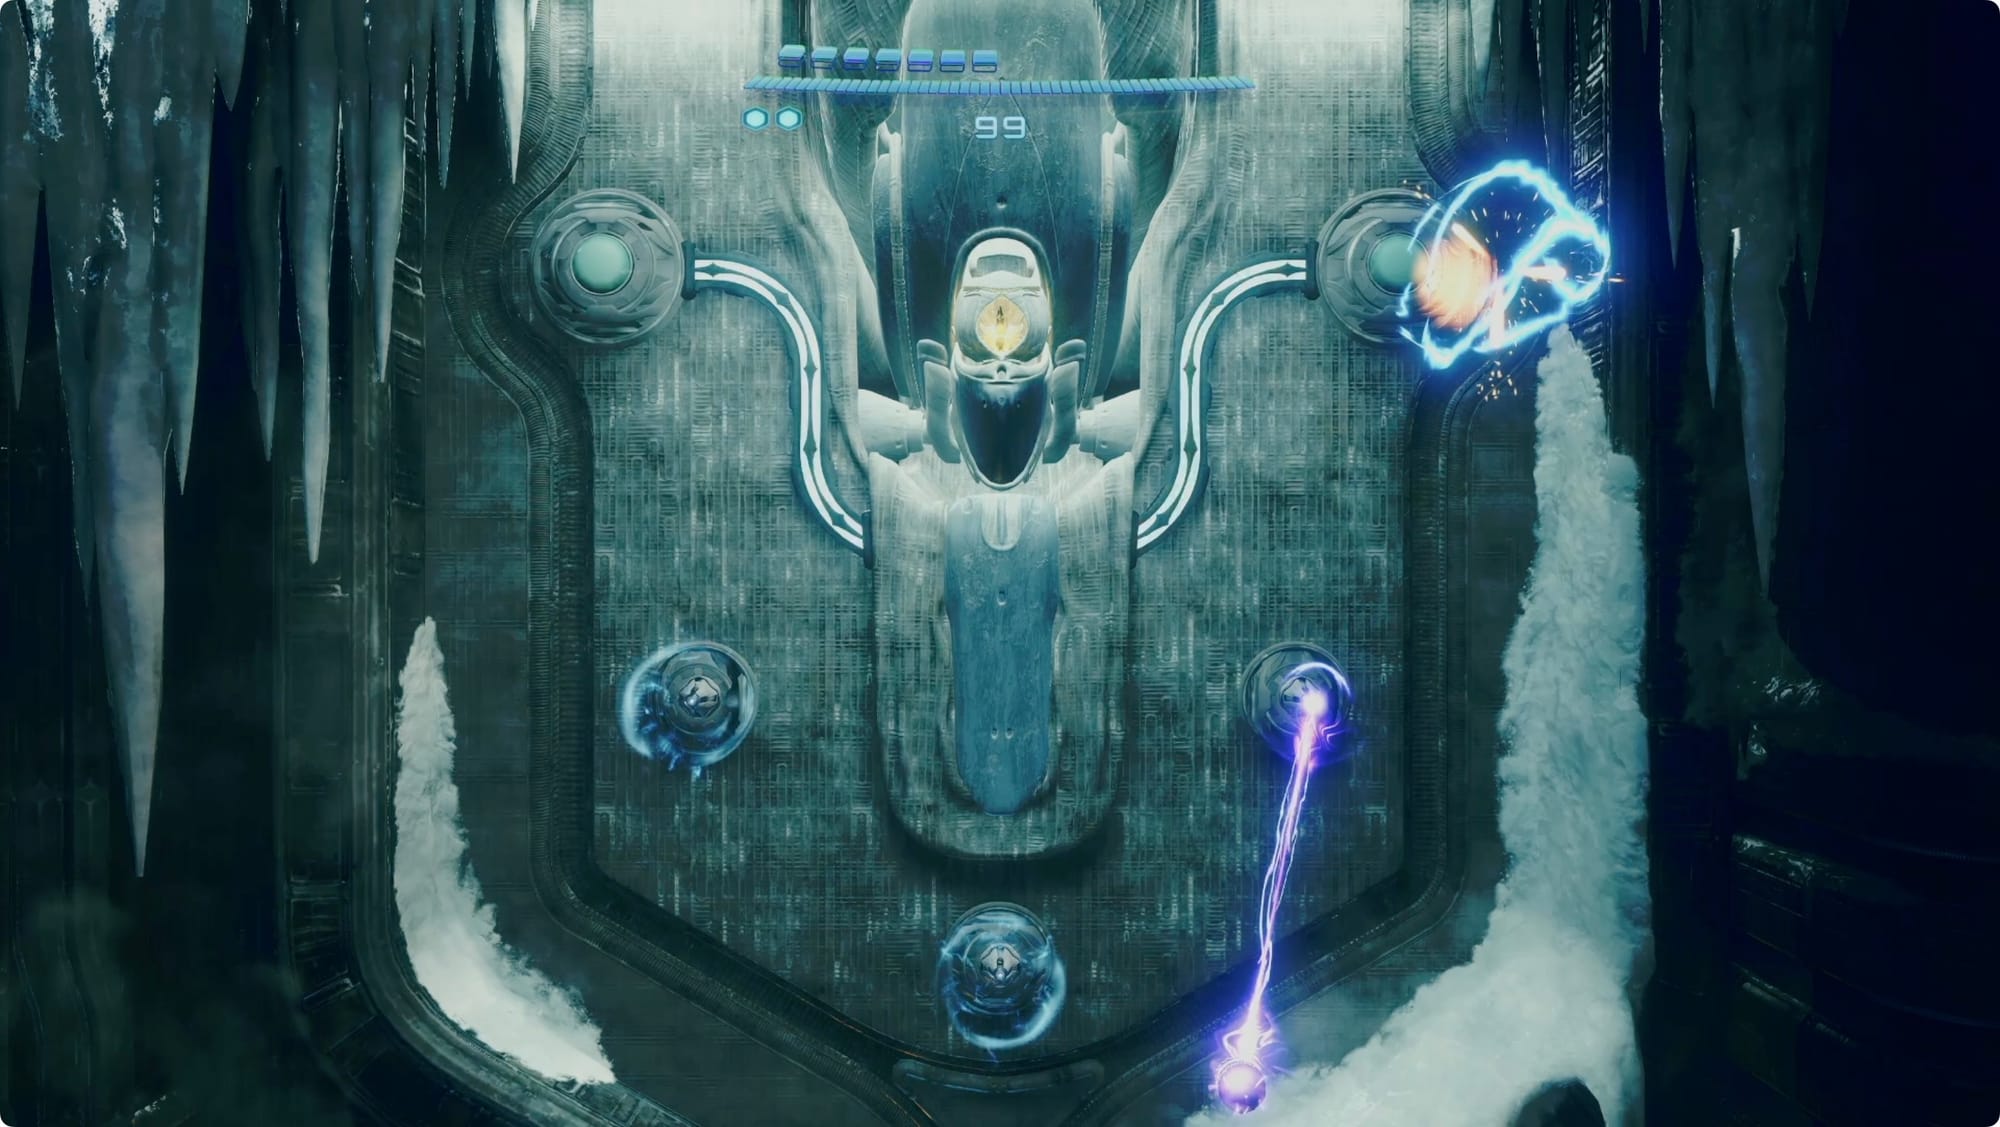
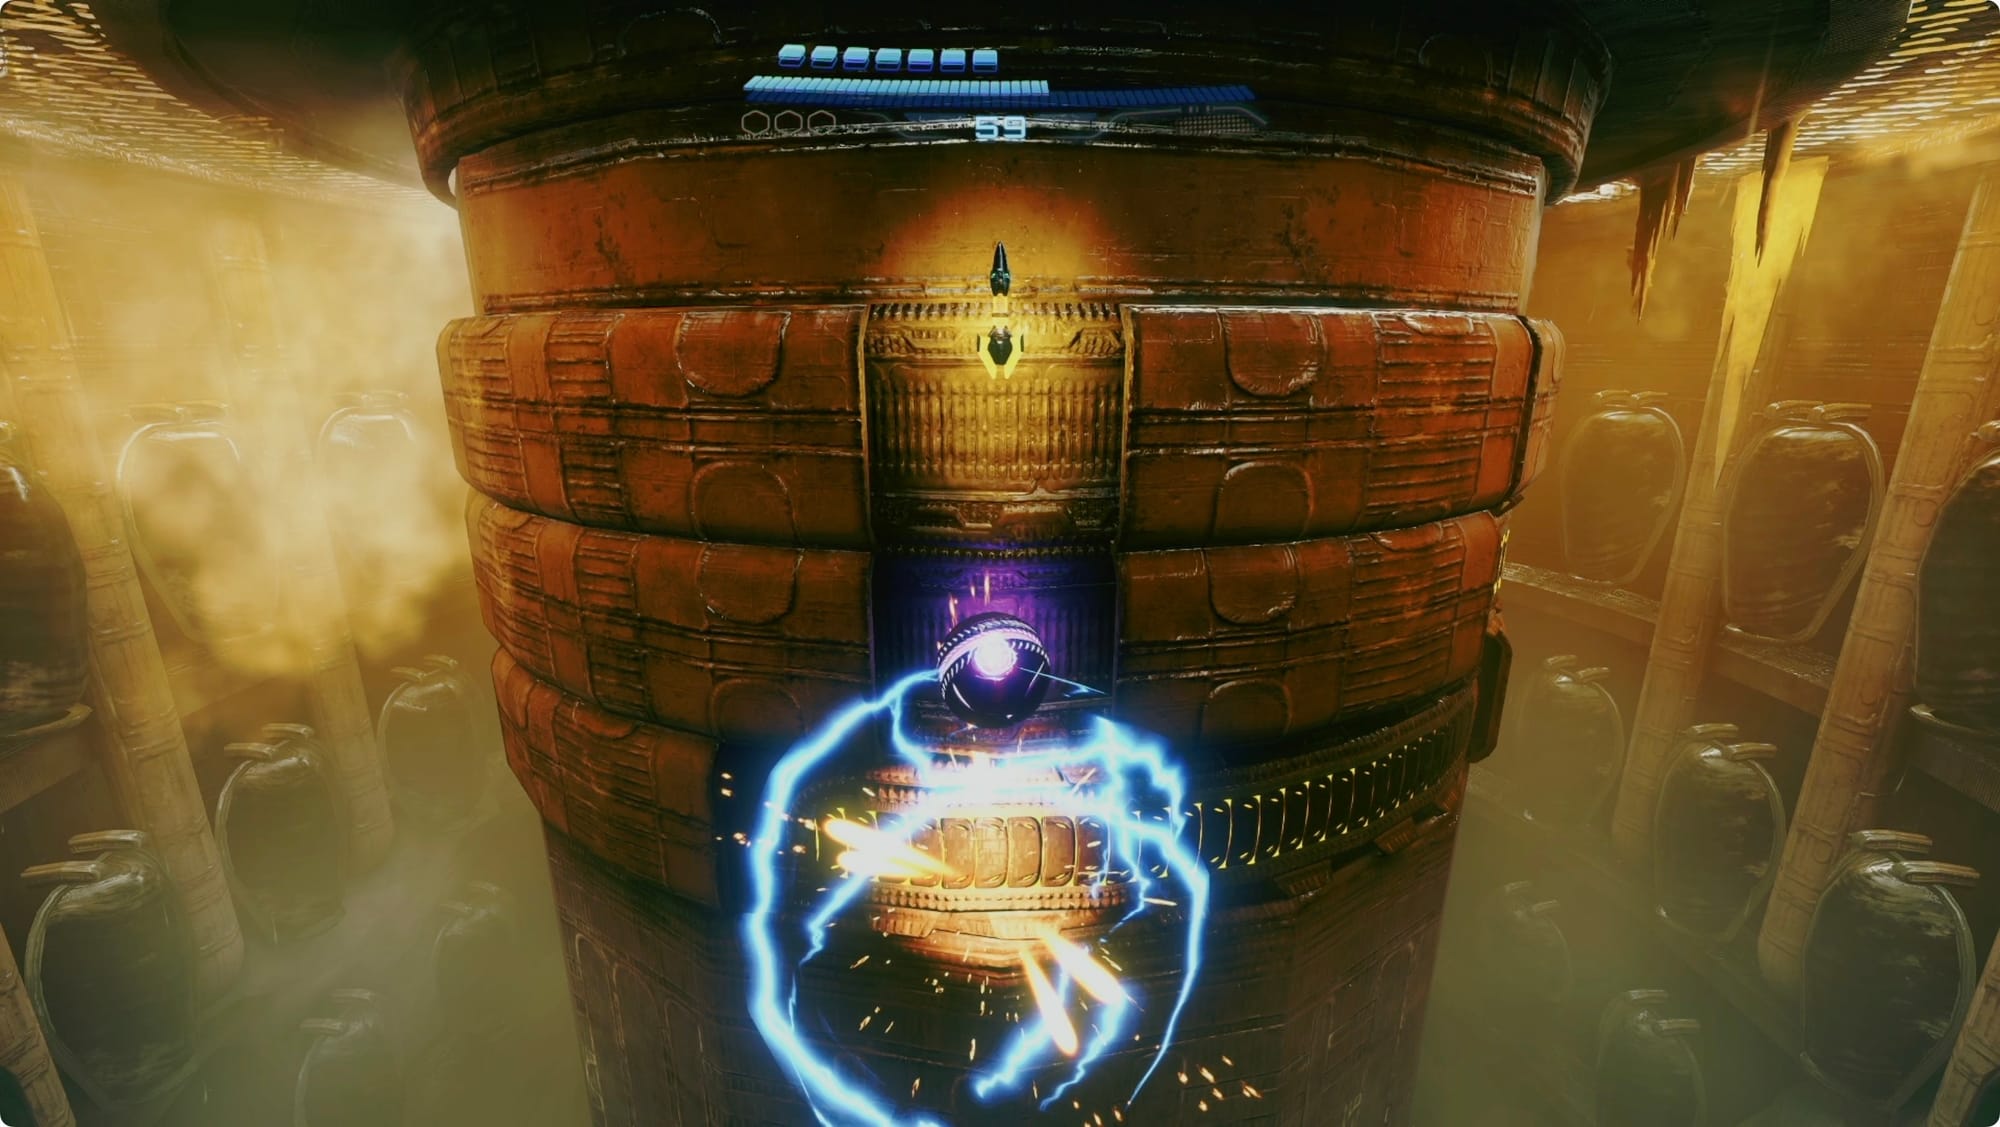
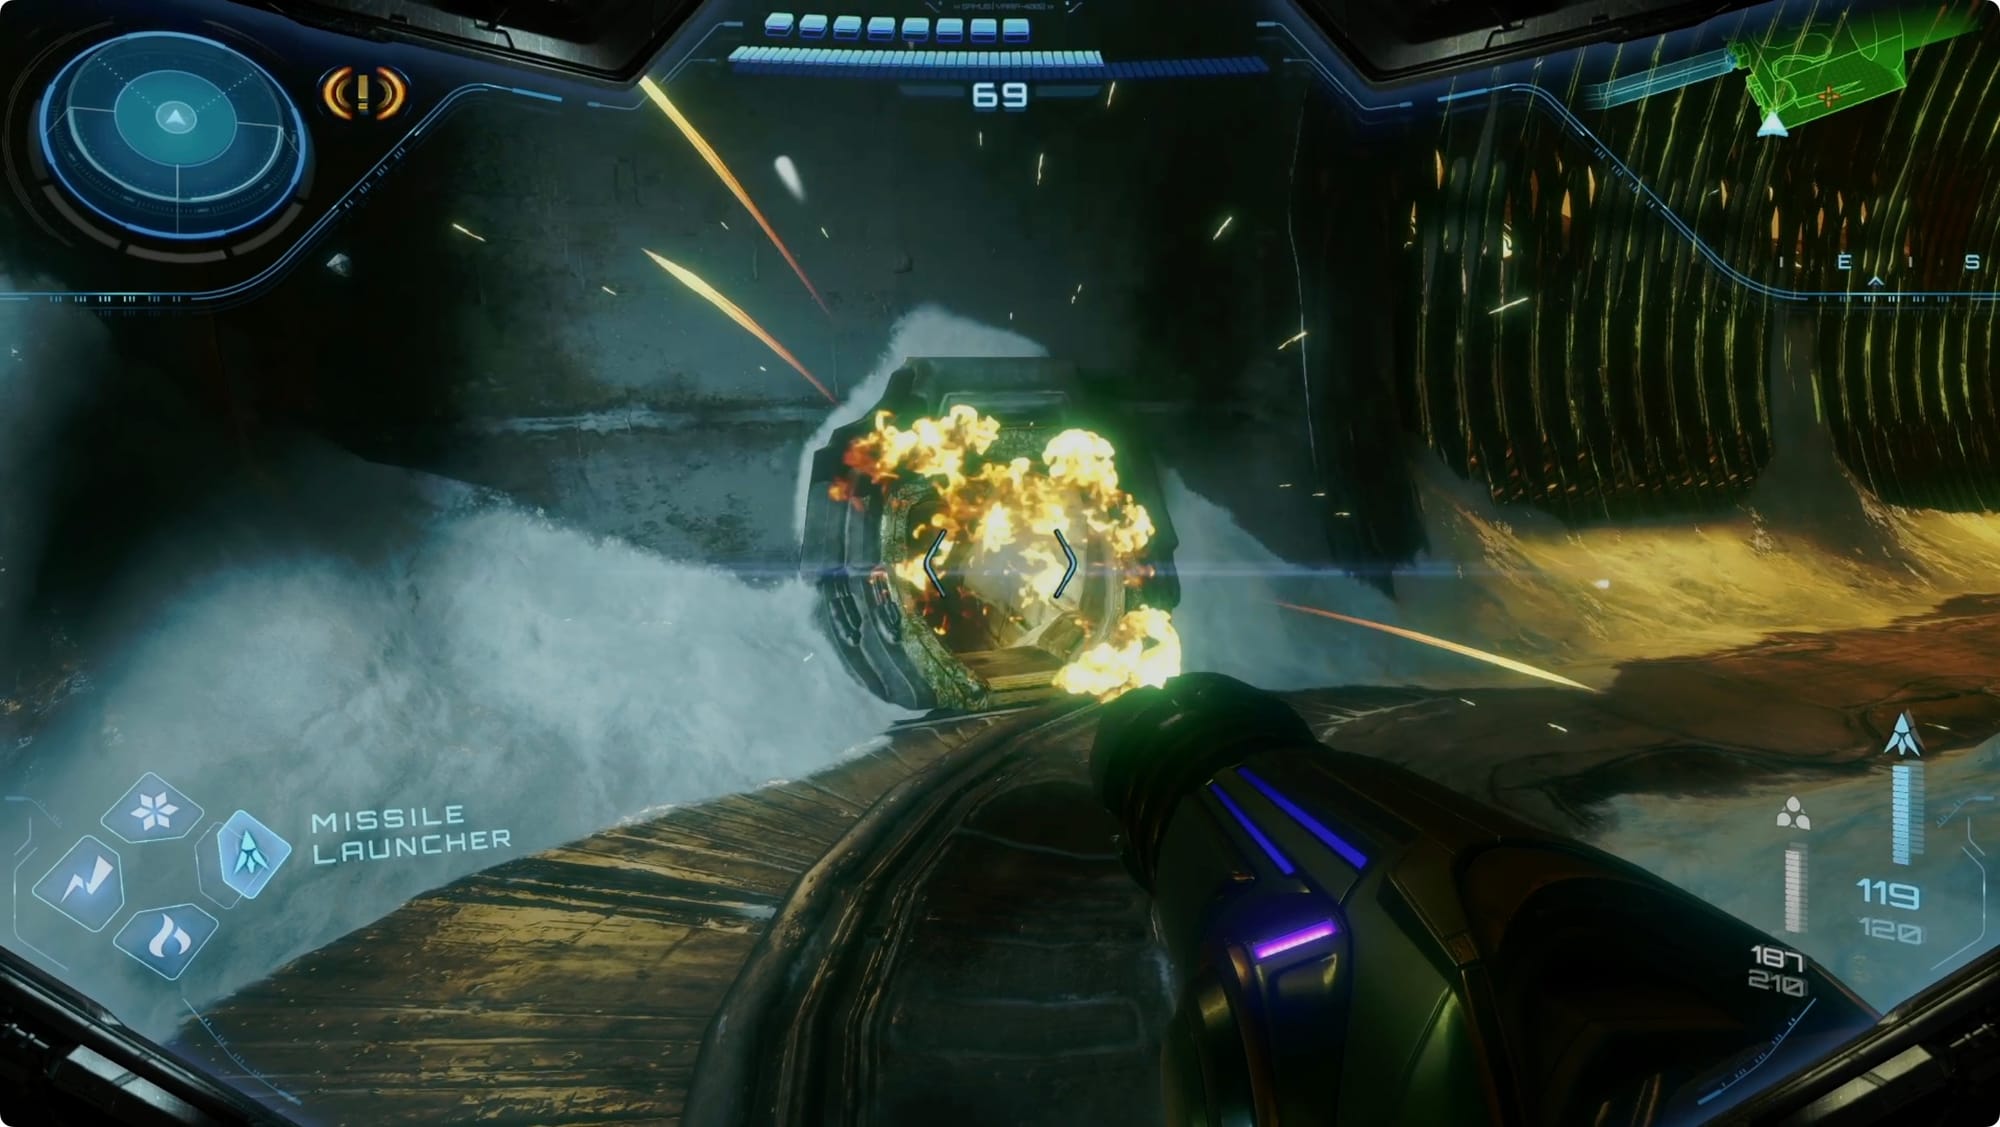
This will start a(nother) boss fight with Sylux. The main trick for this fight is to never stop firing missiles at him. There are a few attacks to watch out for though.
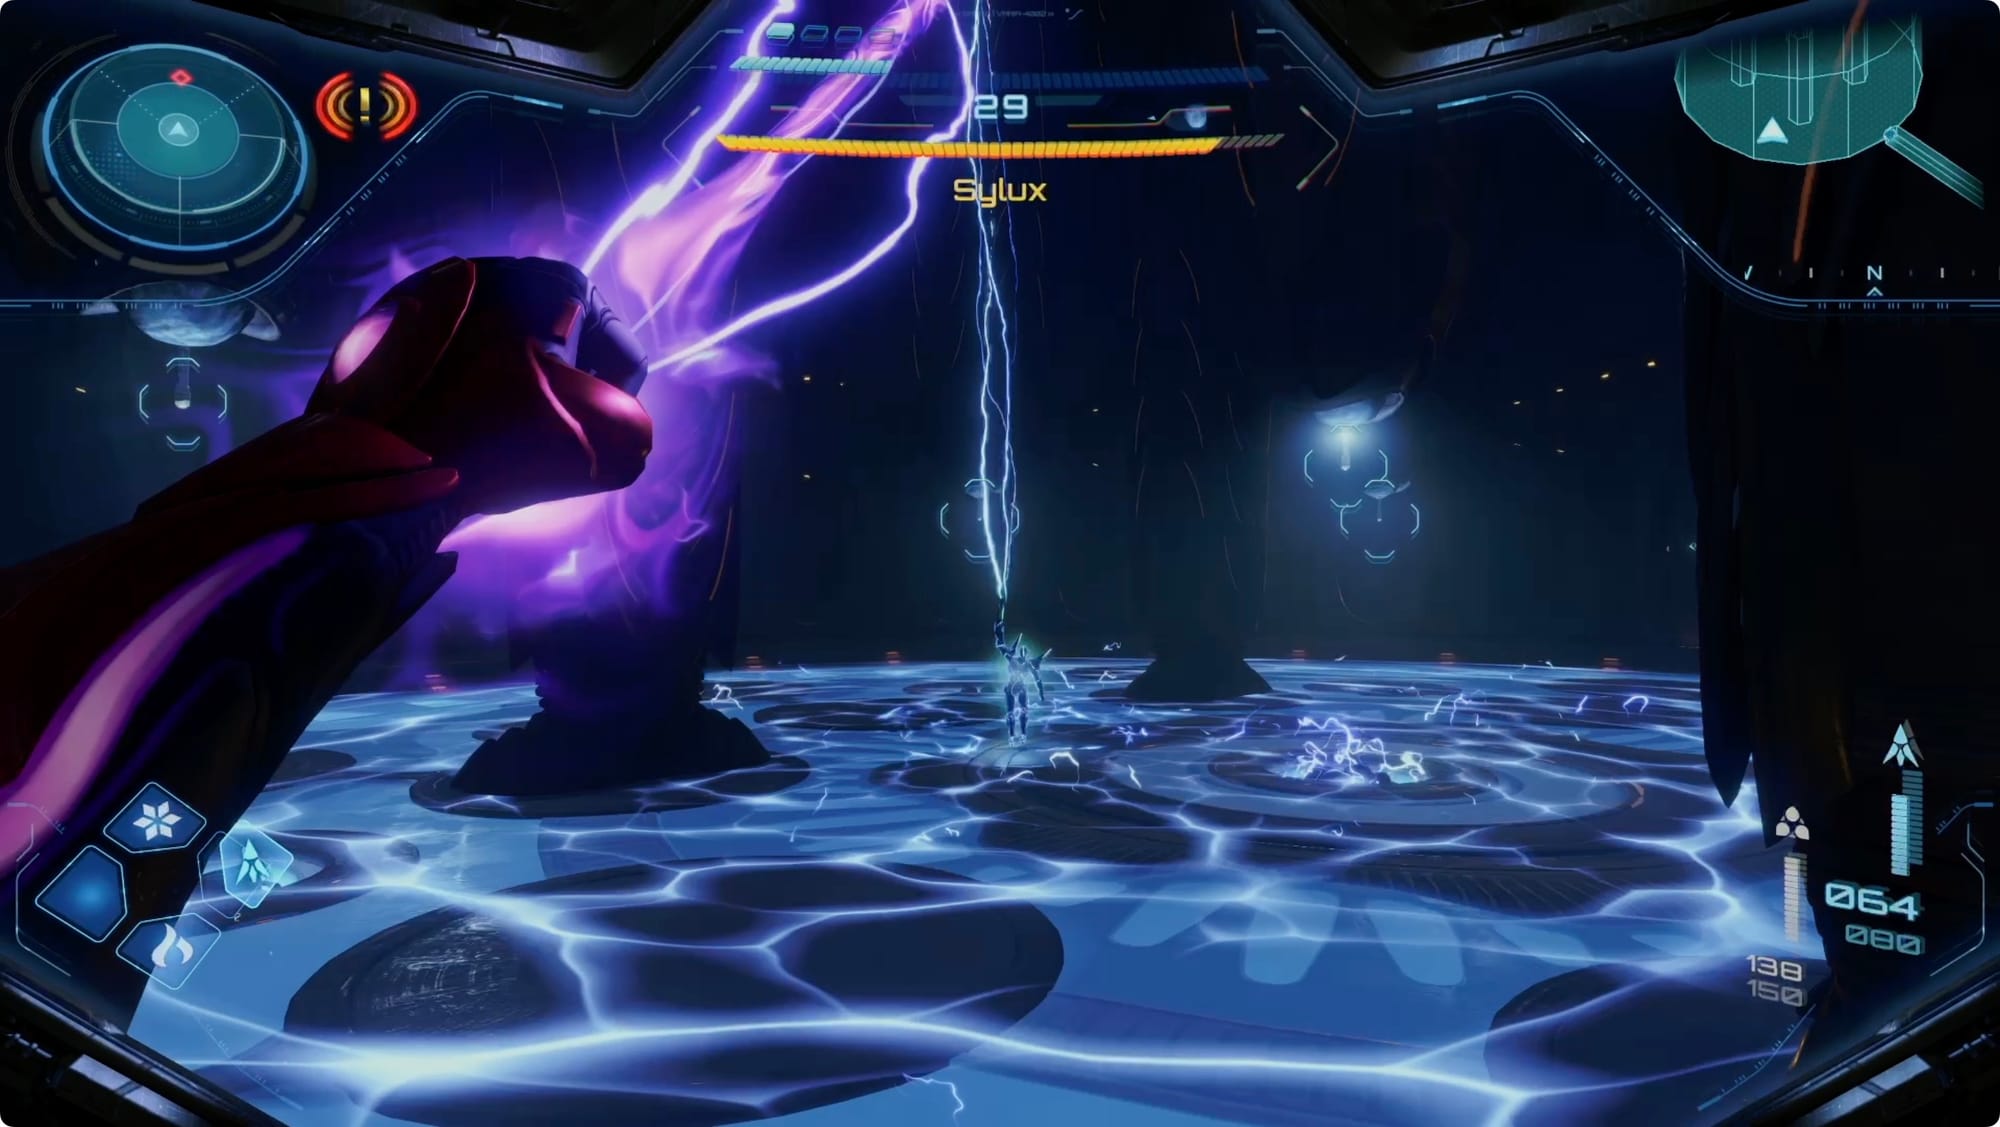
First is any rushing attacks — lock on and dodge sideways. Another is when he(?) lifts off the ground and summons green missiles — shoot these for health and ammo. The most important, though, is when he electrifies the entire floor.

When this happens, jump up and grab a grapple point. Swinging doesn’t do you a lot of good, though. You’re looking for the grapple points on the walls. When you attach to one of those, you can shoot (but you can’t lock on). When you reach the wall, find Sylux and unload on him. If he gets too close, swing away and try to get to the opposite wall.
Seriously, though, don’t stop shooting missiles at him. Your reward will be an Energy Tank.
Retrace your steps to get back up top, and leave the Volt Forge.
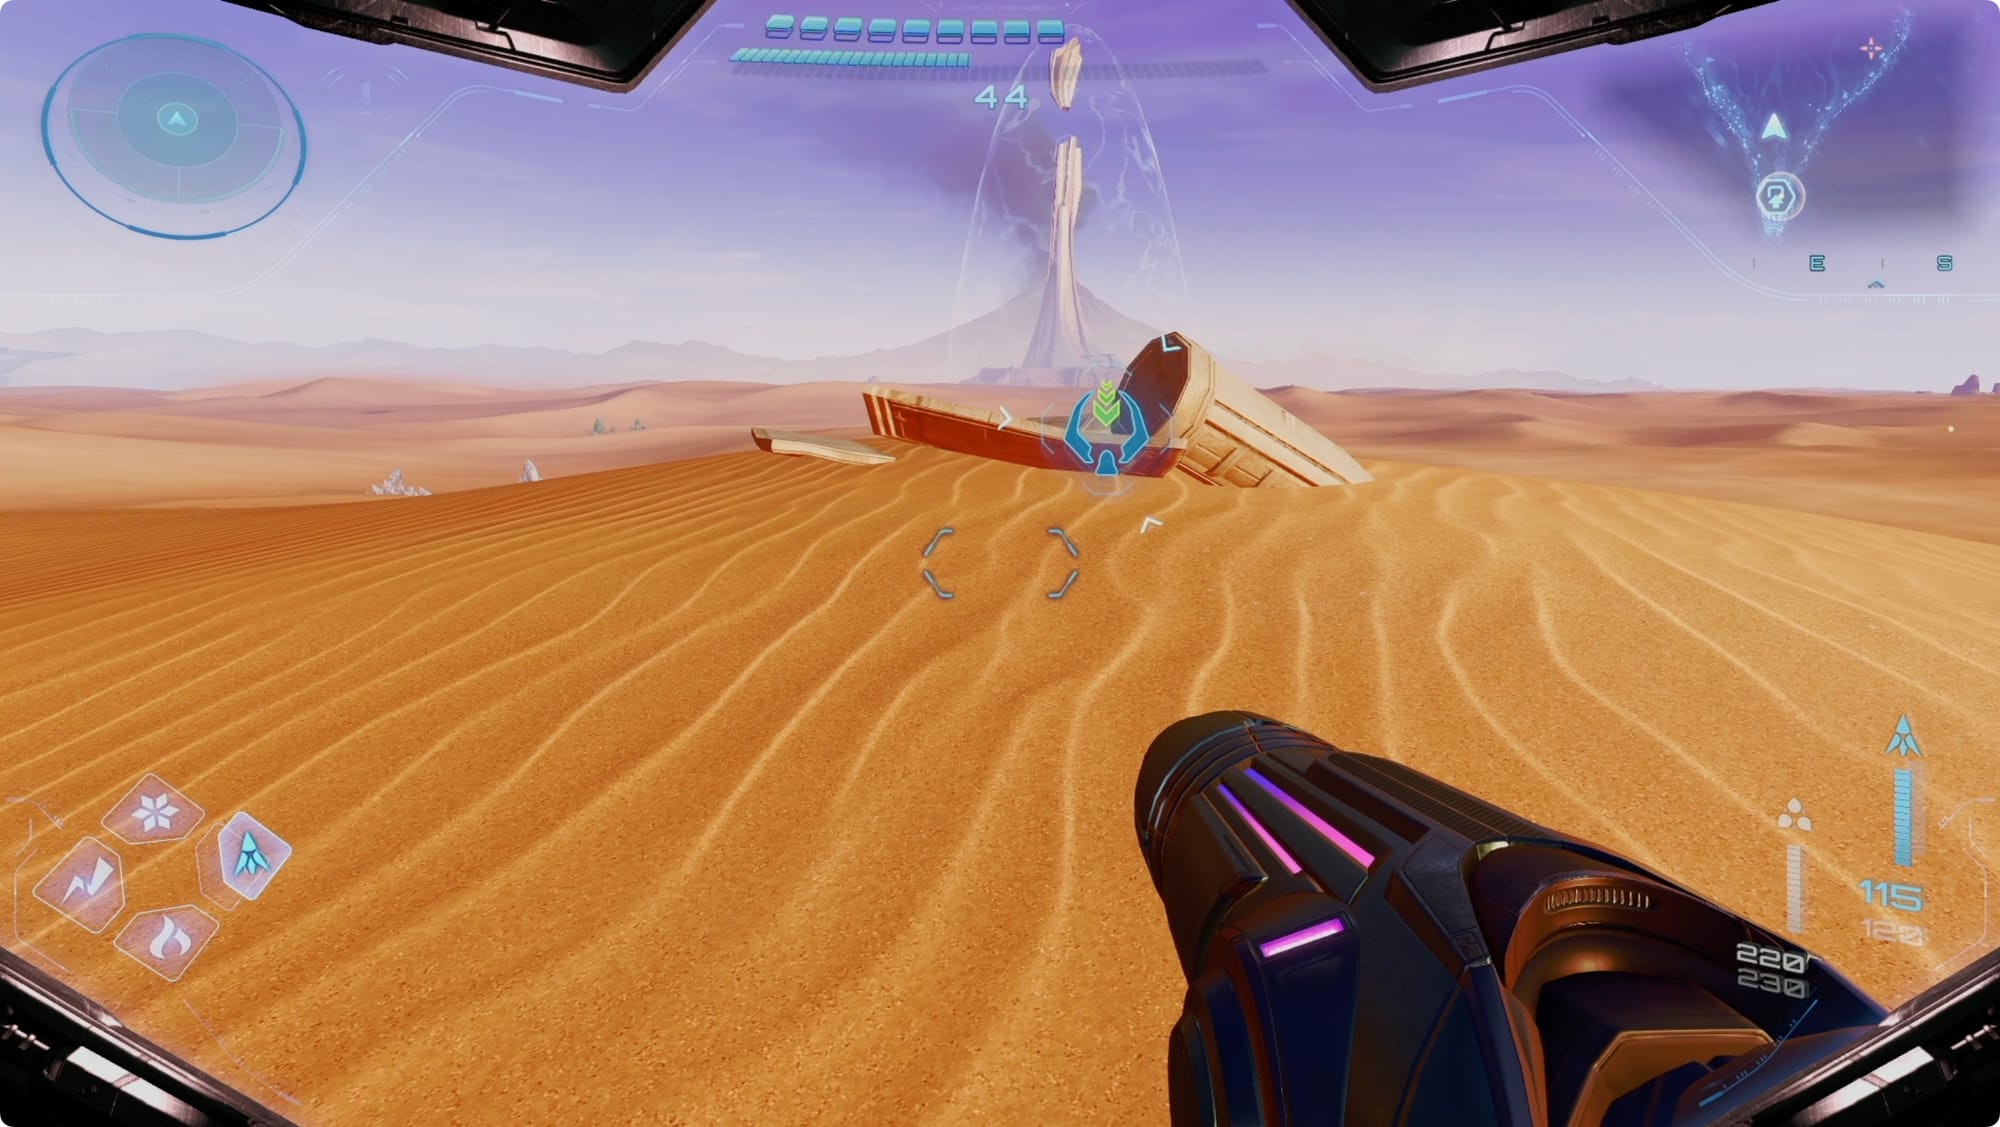
GF Wreckage
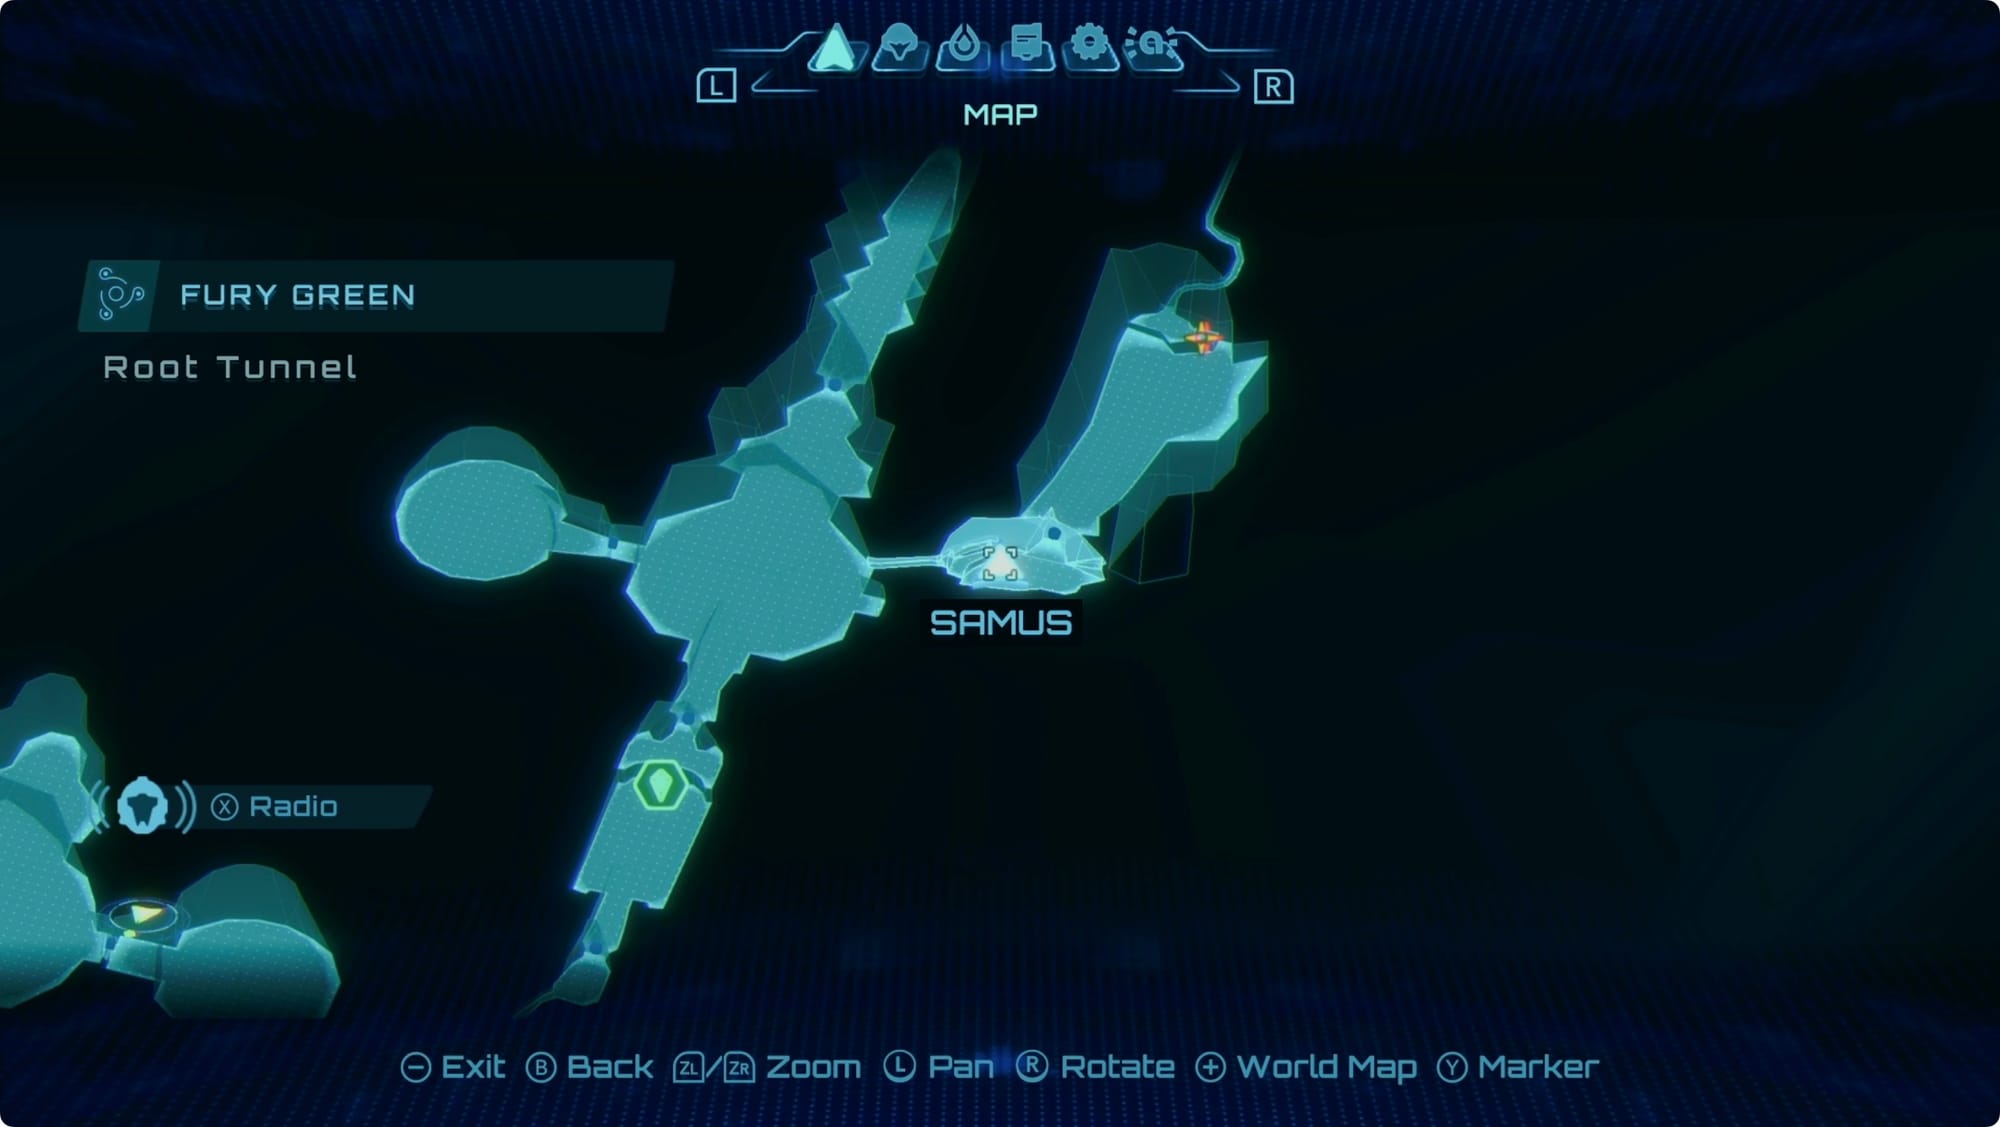
Point your Vi-O-La north, and start heading for Fury Green. Just before you get there, start trending a little to the east — we’re aiming for a spot about 3 ½ hexes to the southeast of the Fury Green entrance.
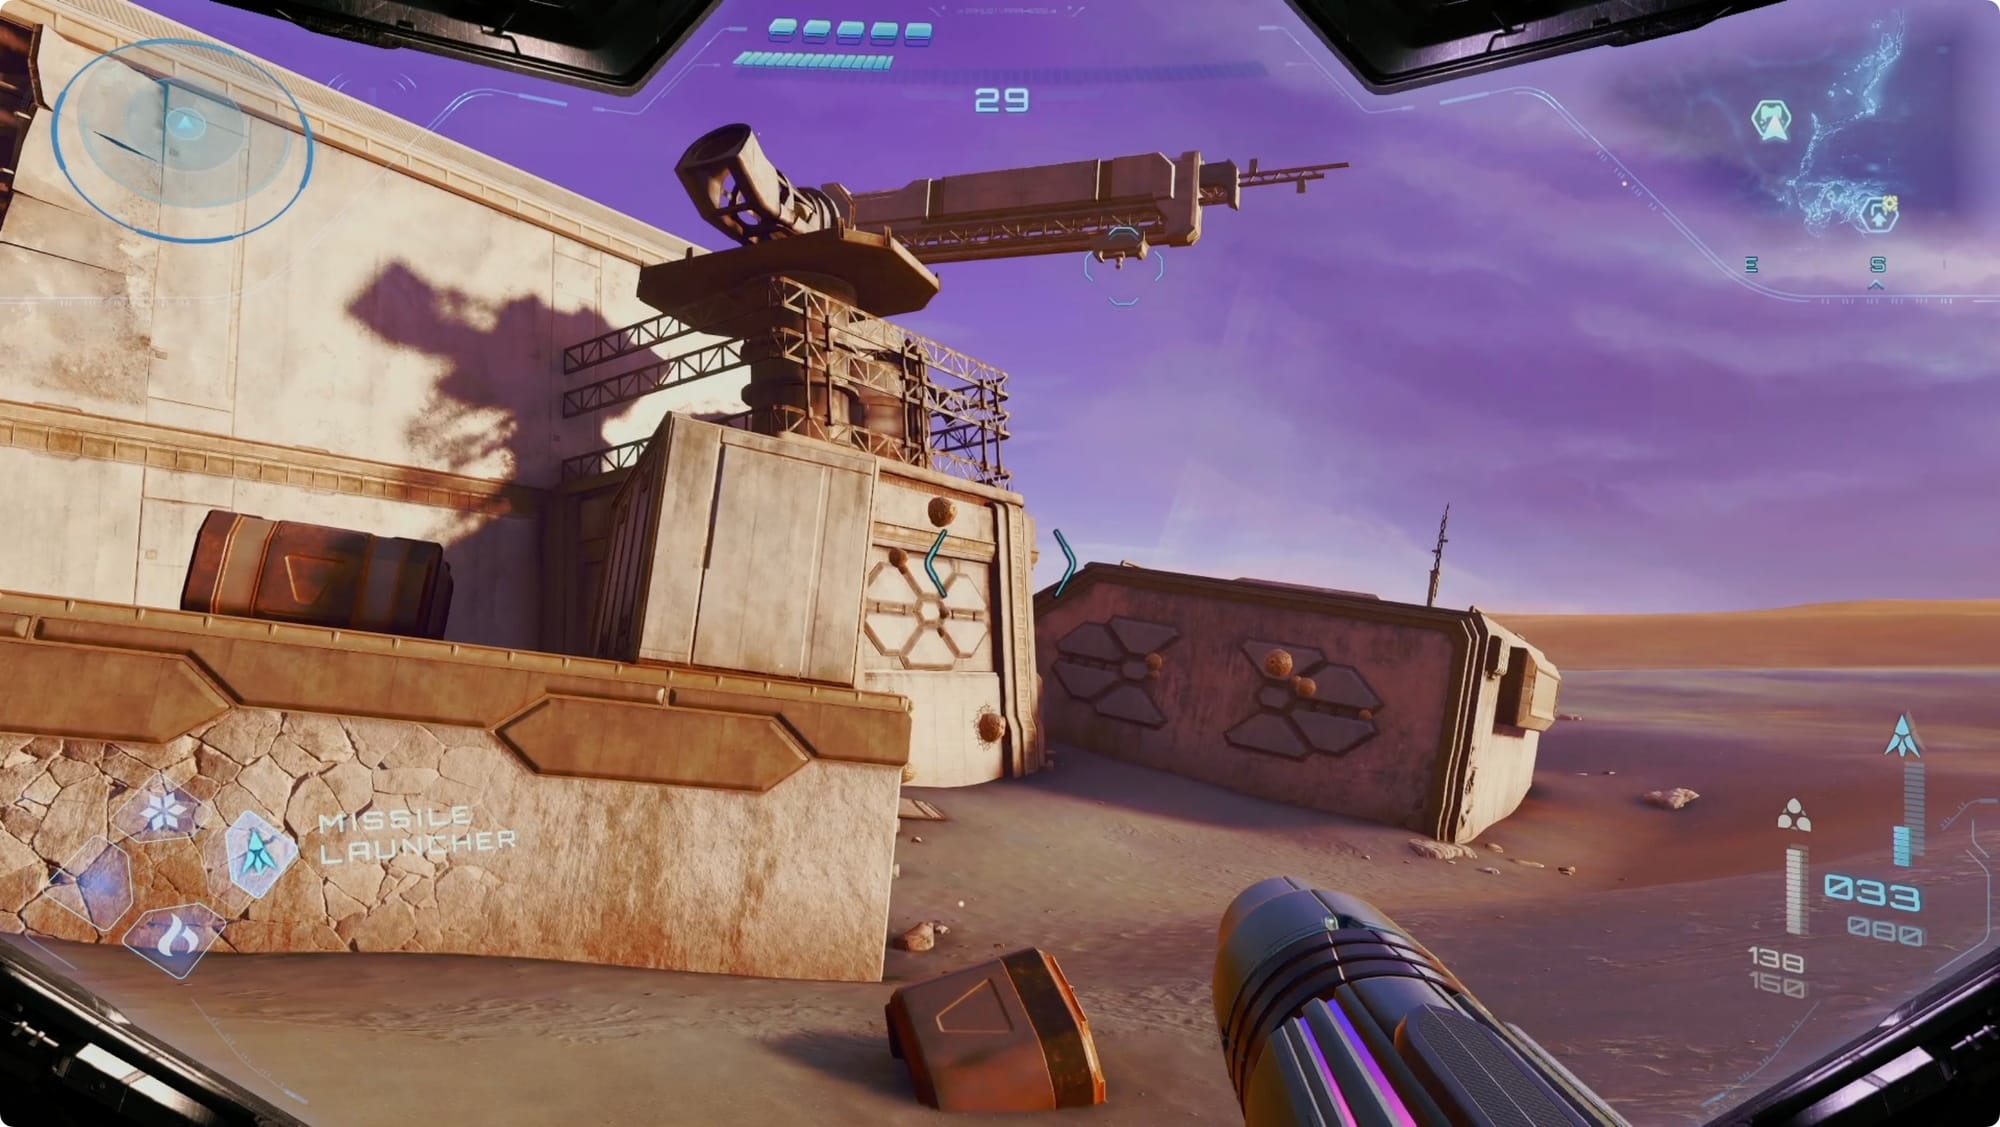
You’ll see some smoke on the horizon. When you arrive, you’ll find some Galactic Federation wreckage. On the north side, there’s two steps to claiming your reward: fire a Control Beam into the base of the crane(?), and then grapple it to swing across. You’ll get a Missile Expansion on the far side.
Over on the south side, lasso the Federation truck and pull it off of the mech part (we're getting close to paying off that Chekhov's mech).
Continue to back to Fury Green and the Base Camp, and have Myles install your new Thunder Shot.
Rods of Transference
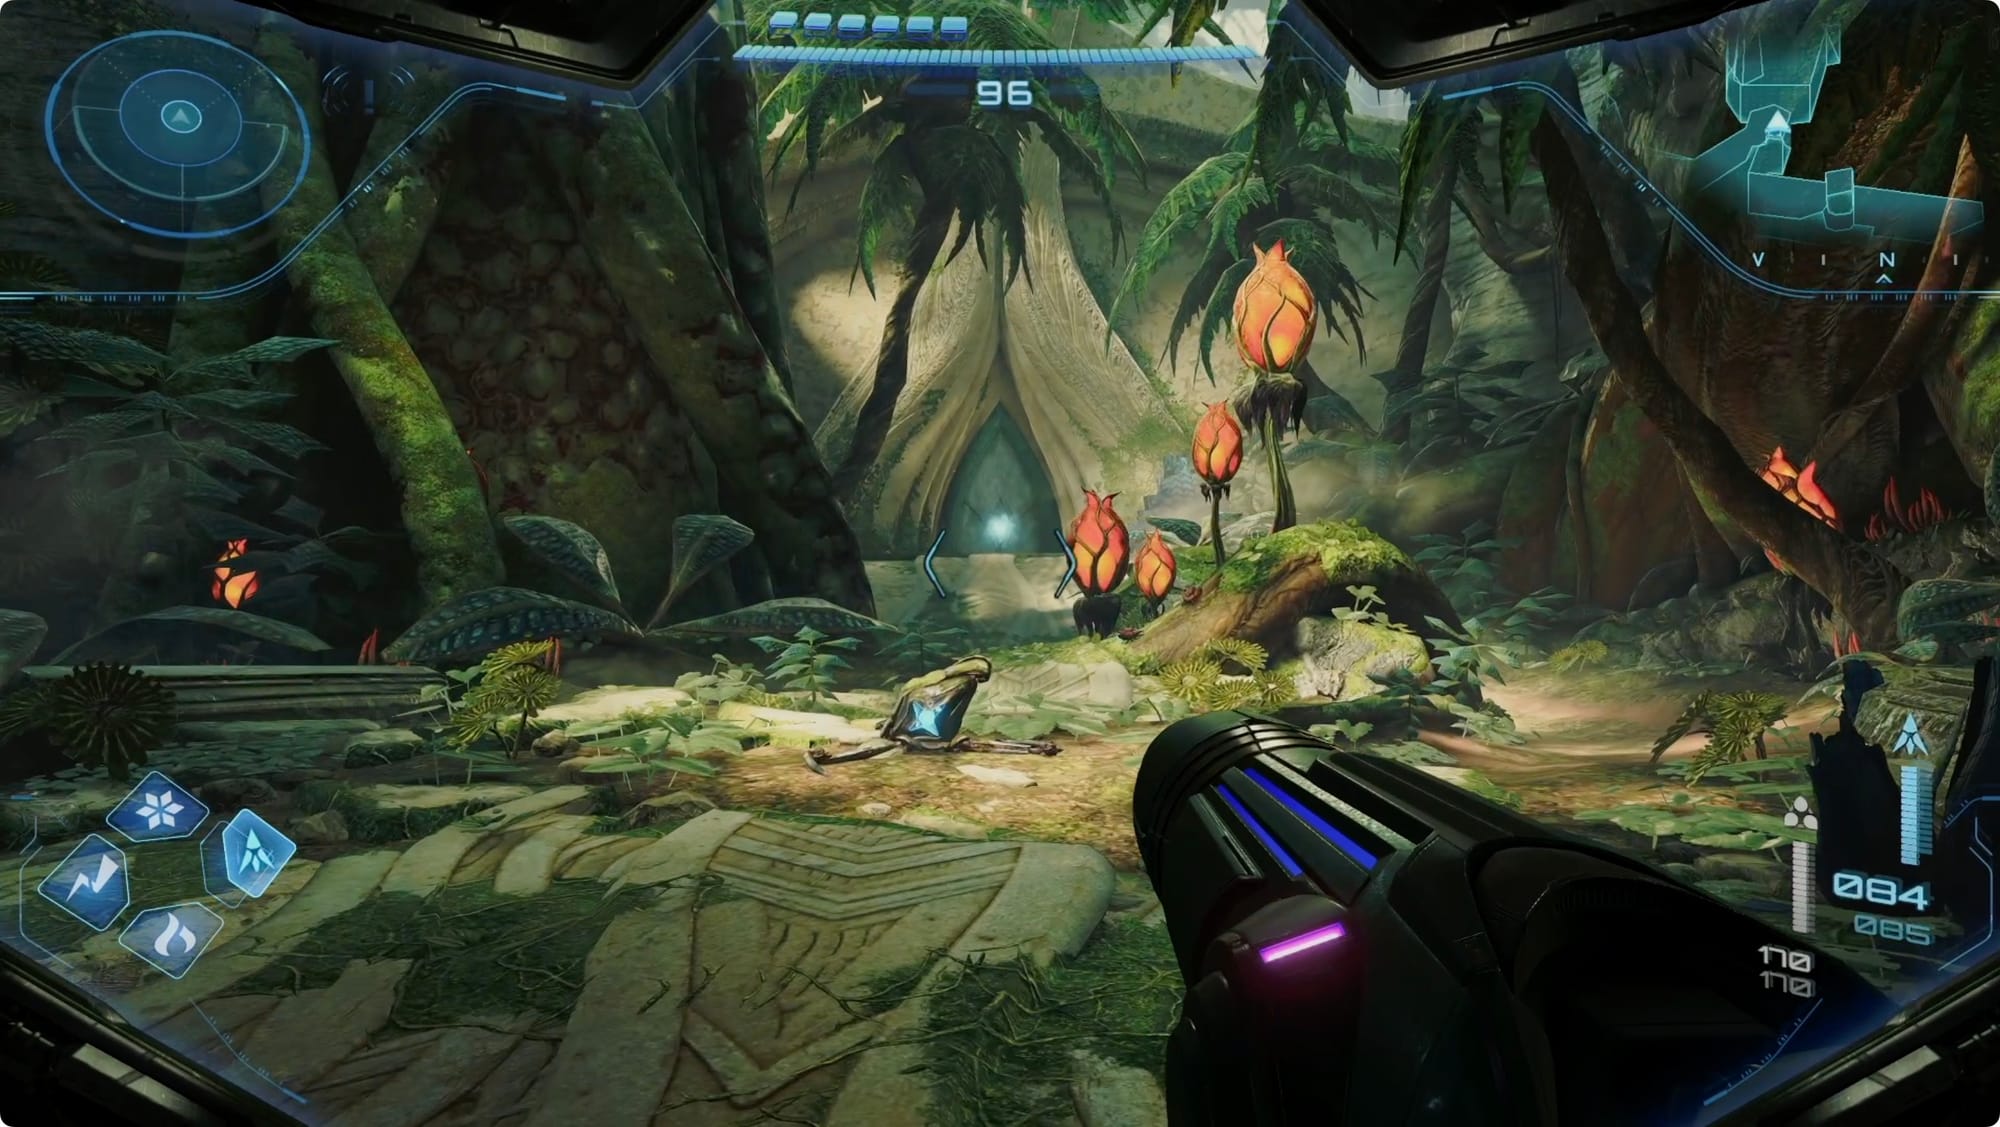
From Base Camp, head east. In the very first room, shoot both ends of that weird storage thing with Thunder Shot to open it and grab a Shot Expansion.
Keep heading east and then south to get back to the Sacred Flame Ceremony. Shoot the Thunder lock on the right side to reach the Rods of Transference room.
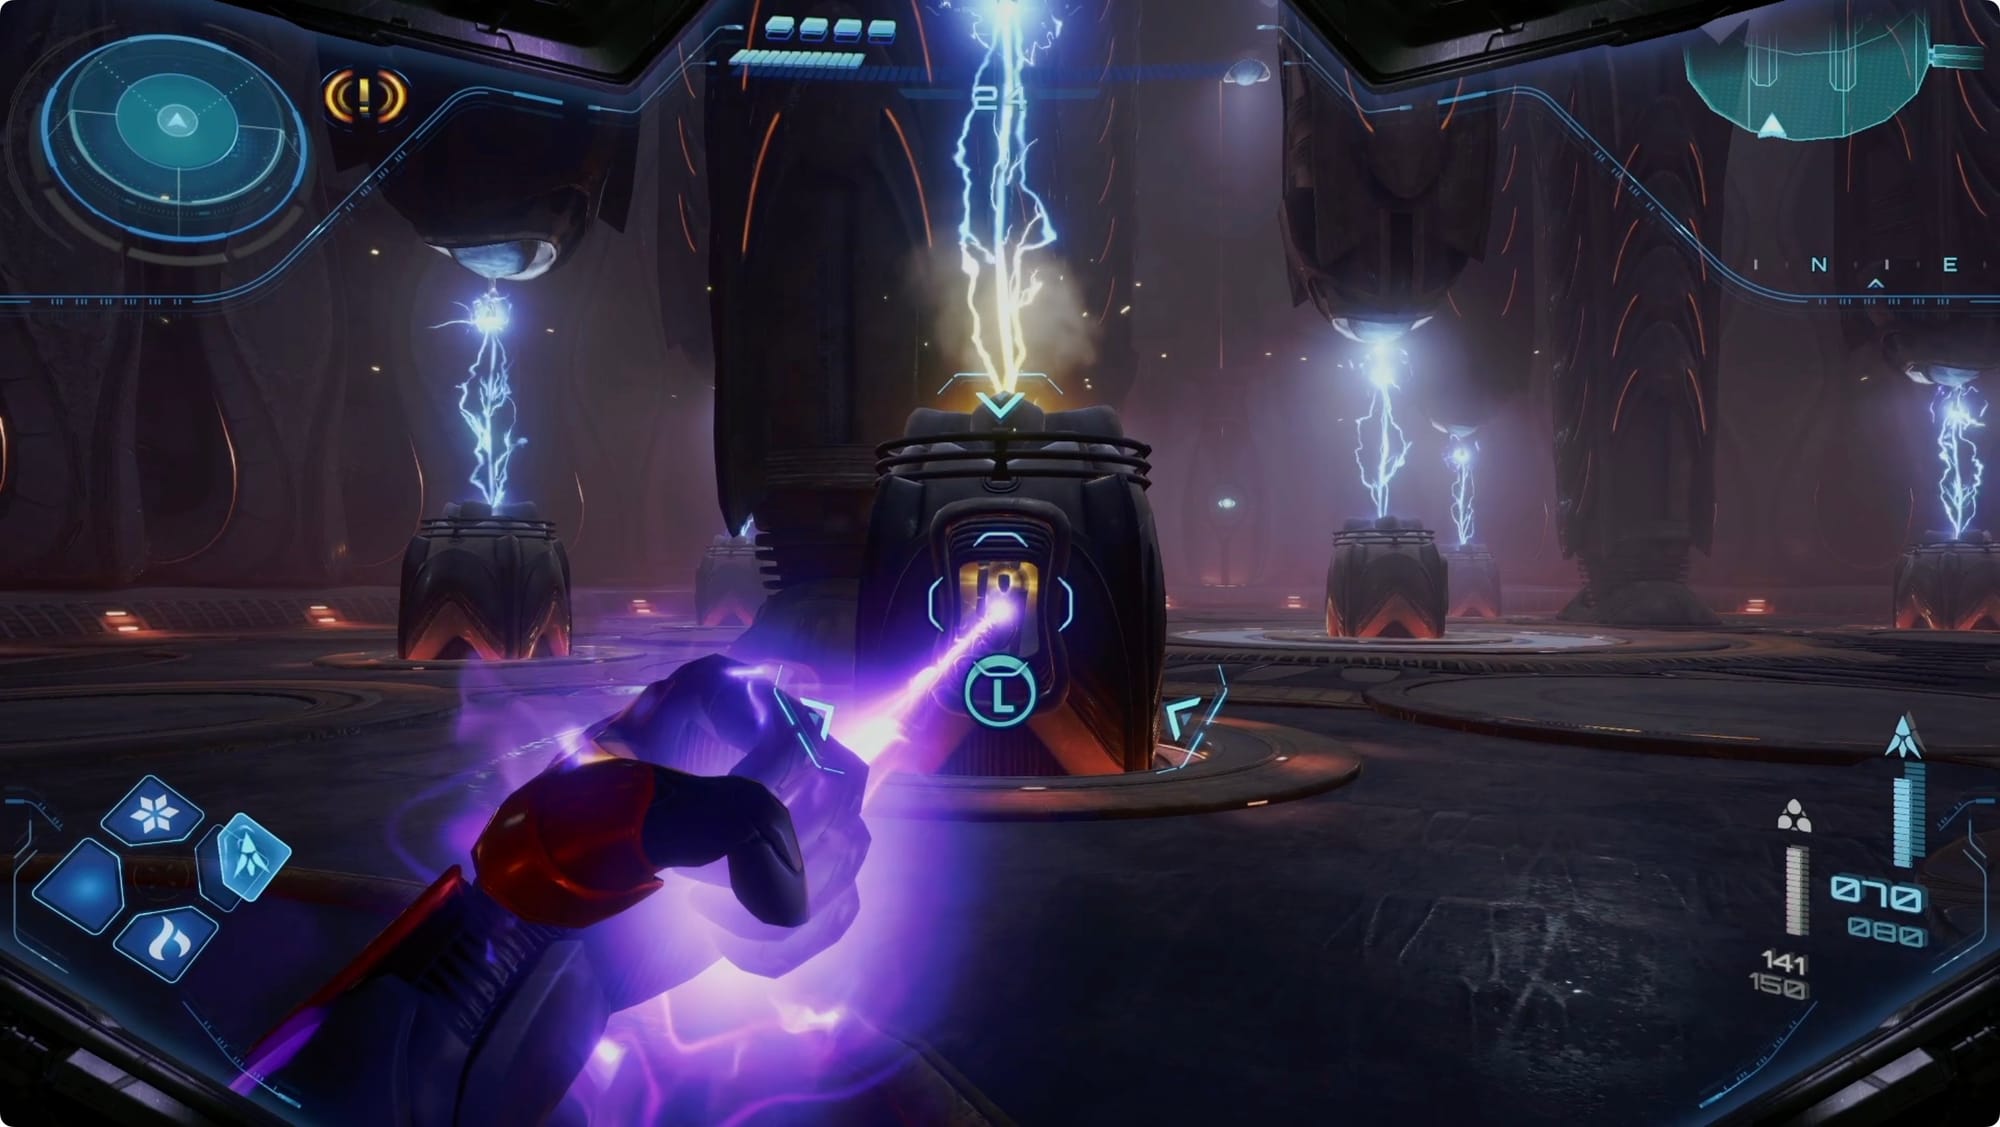
For this one, use your Psychic Glove to pull all three of the conductor rods to their lowest point (with the central … grab point?) and then point them at the sculpture in the middle of the room (with the … not central grab point — look. I’ve written a lot for these and I’m running out of words). Hit them with some Thunder Shot to power up the device and claim your Shot Expansion.

Back at the Sacred Flame room, head for the room to the south. The statue will be fulfilled now and drop an Energy Tank.
Scout Bot
Take the Cargo Launcher back to the start of Fury Green. When you land, take one of the doors to the north and south to head down and get back to where you started your adventure — just with more Grievers this time.
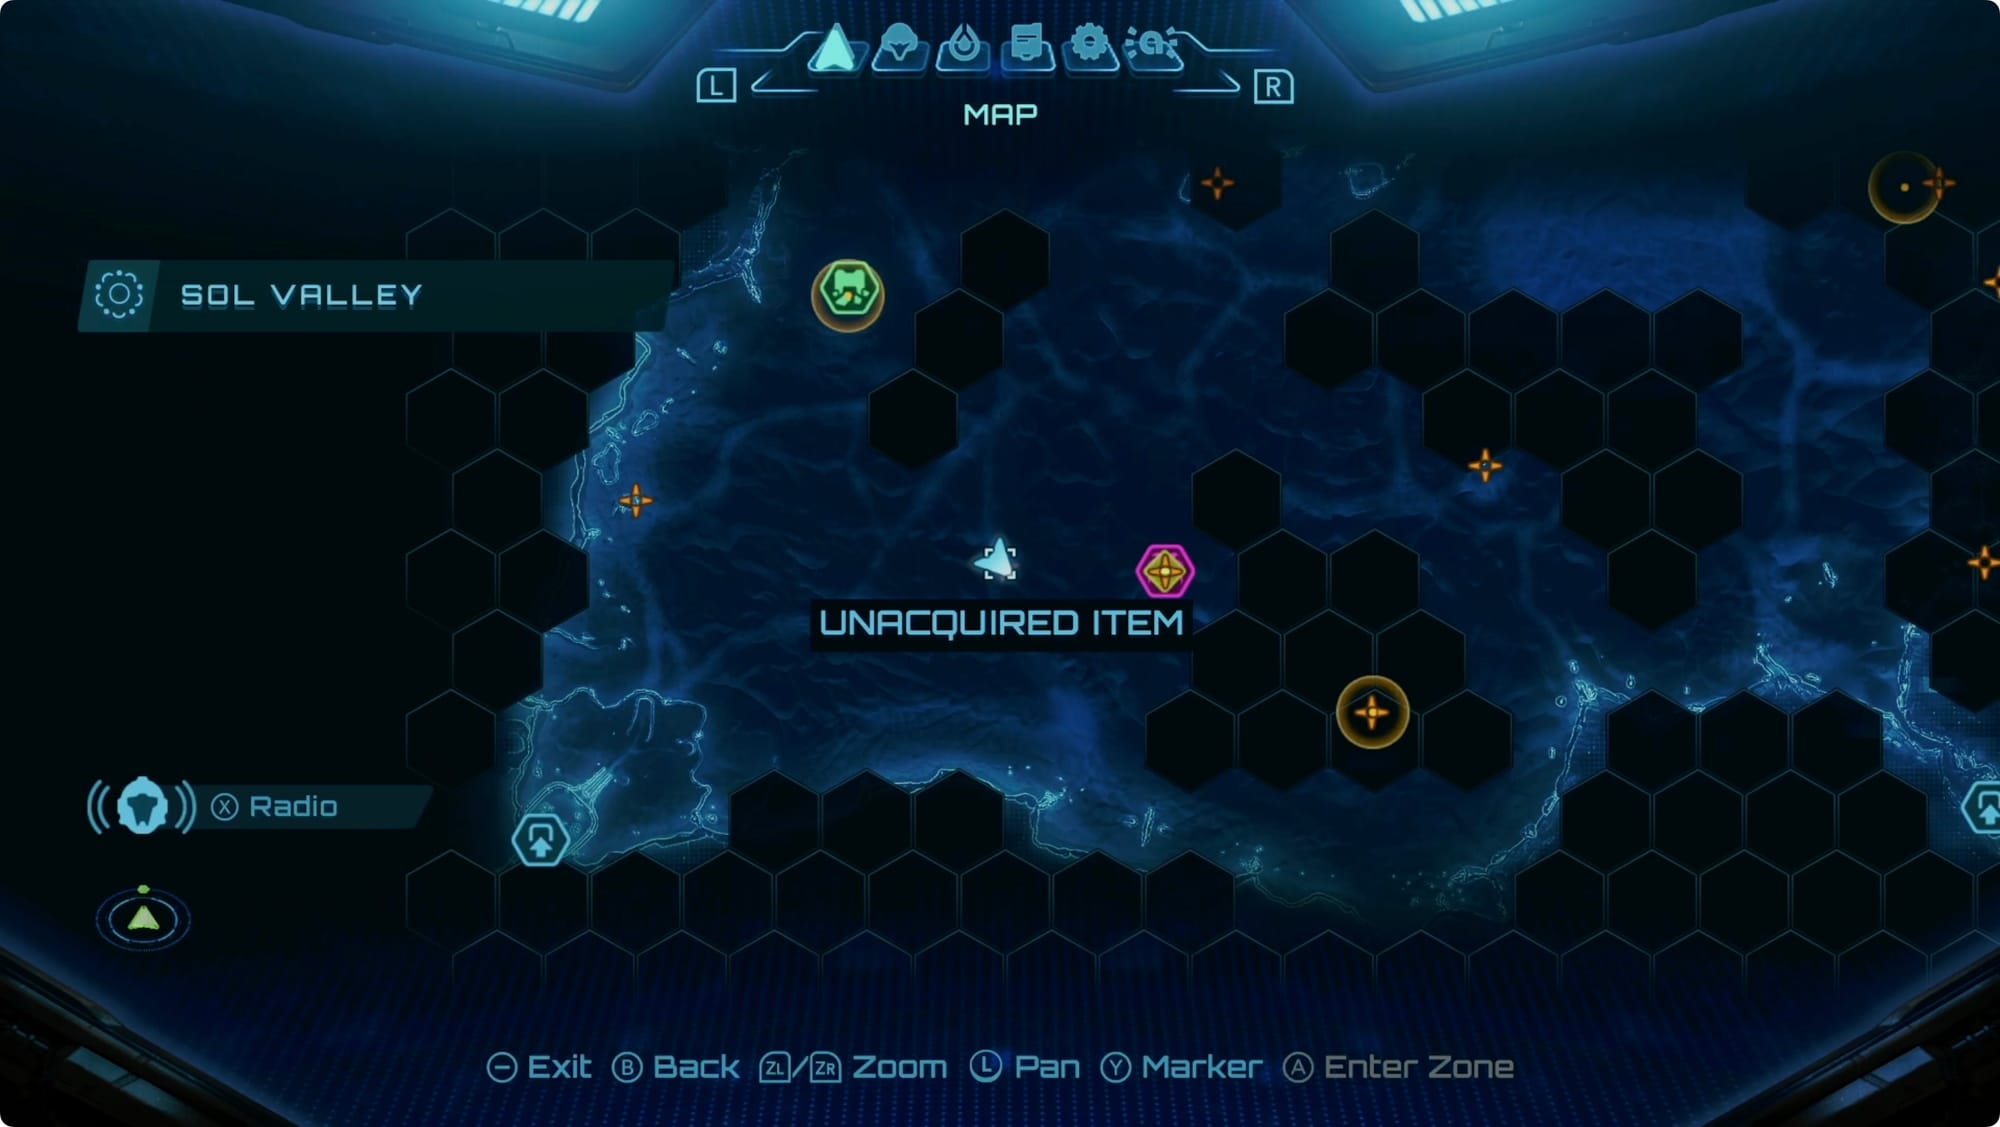
Keep going straight (west) until you can take a right (north) into the Ancient Path. Thunder Shot the Scout Bot you find there. When it stands up, scan it.
This will mark any items on your map you (we) haven’t gotten yet. The one closest to the beginning of the area (that we already passed), we can’t get yet.
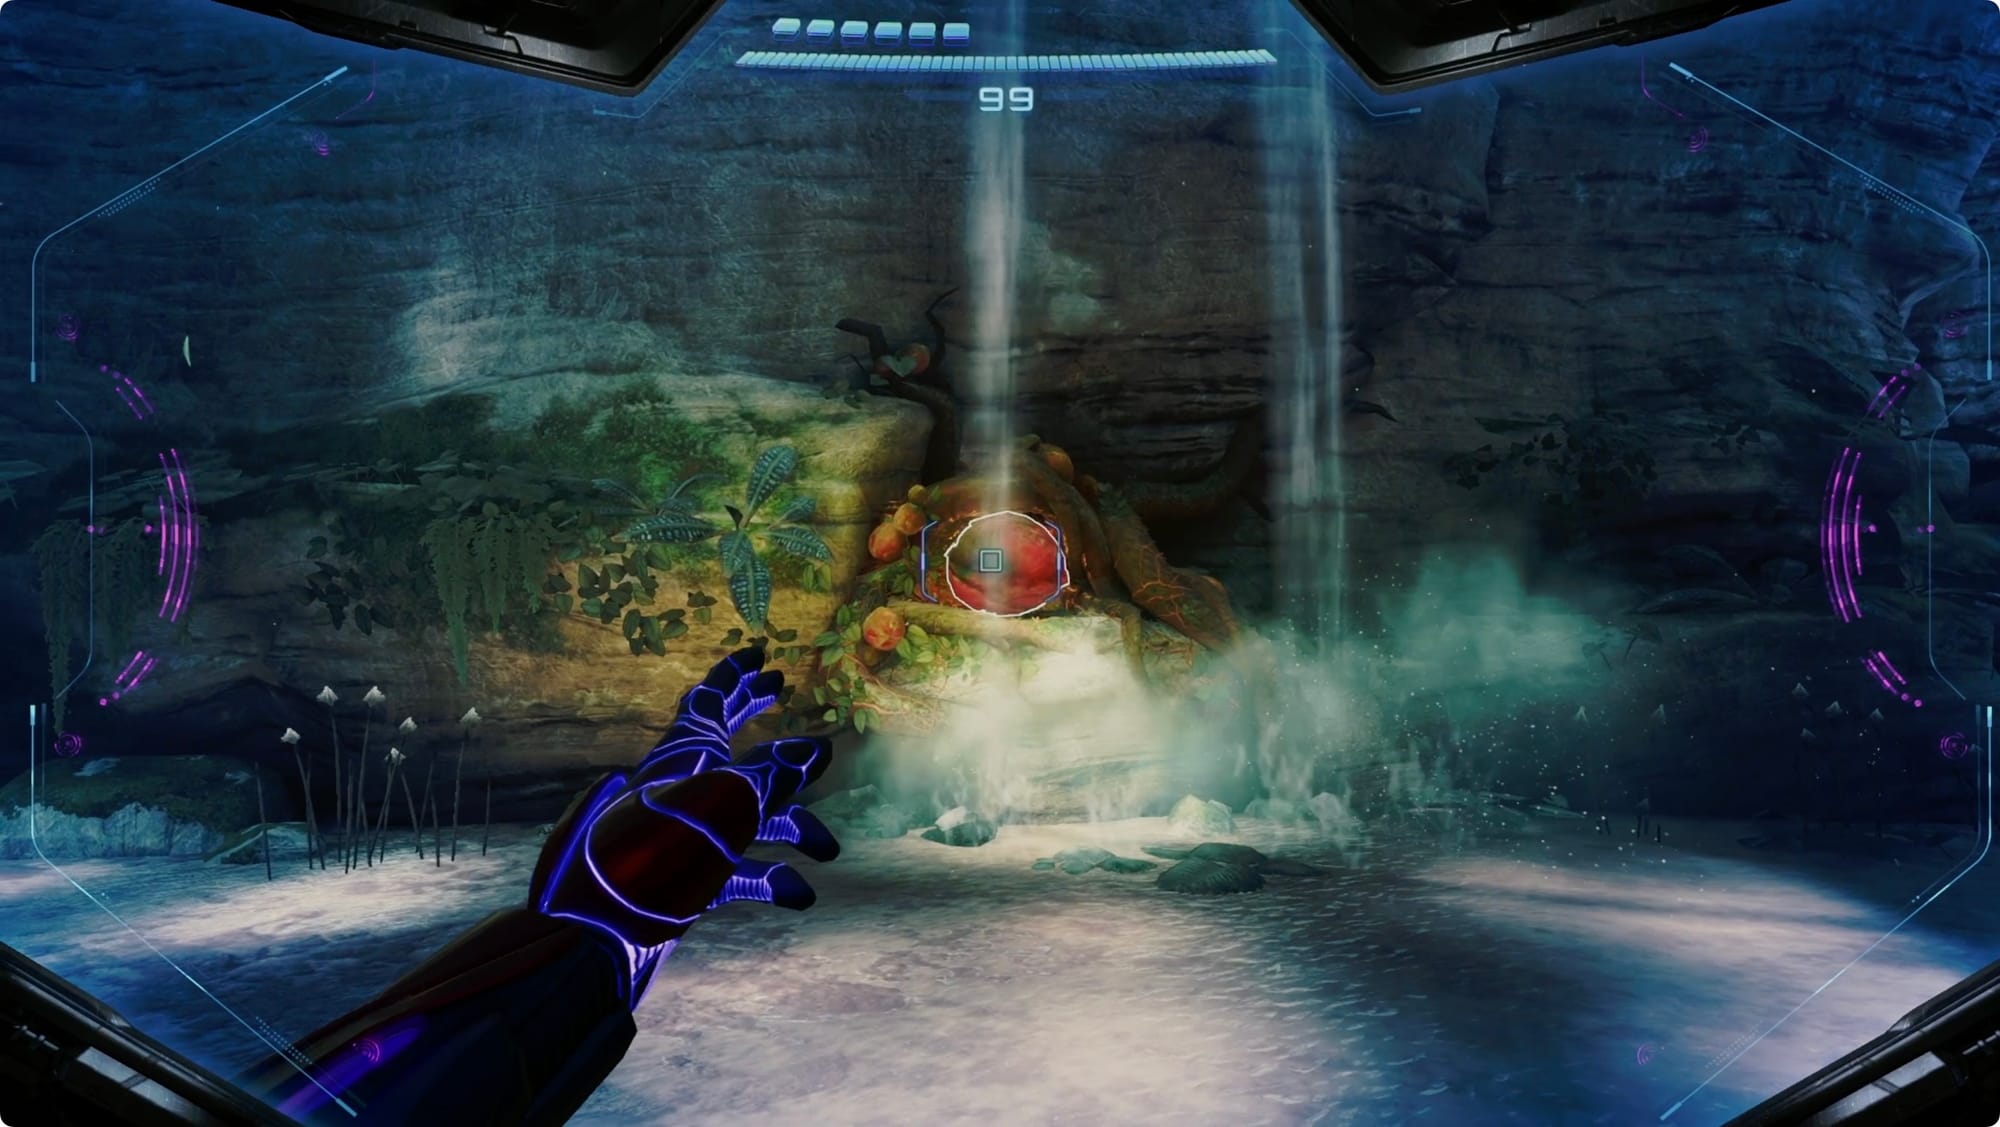
Instead, head for the Save Station in the Resin Creek — the one due north of Base Camp. When you reach the mark on your map, look for the weird fruit thing in the wall. Morph Ball, jump, and then bomb it to reveal a Missile Expansion.
Head for Base Camp.
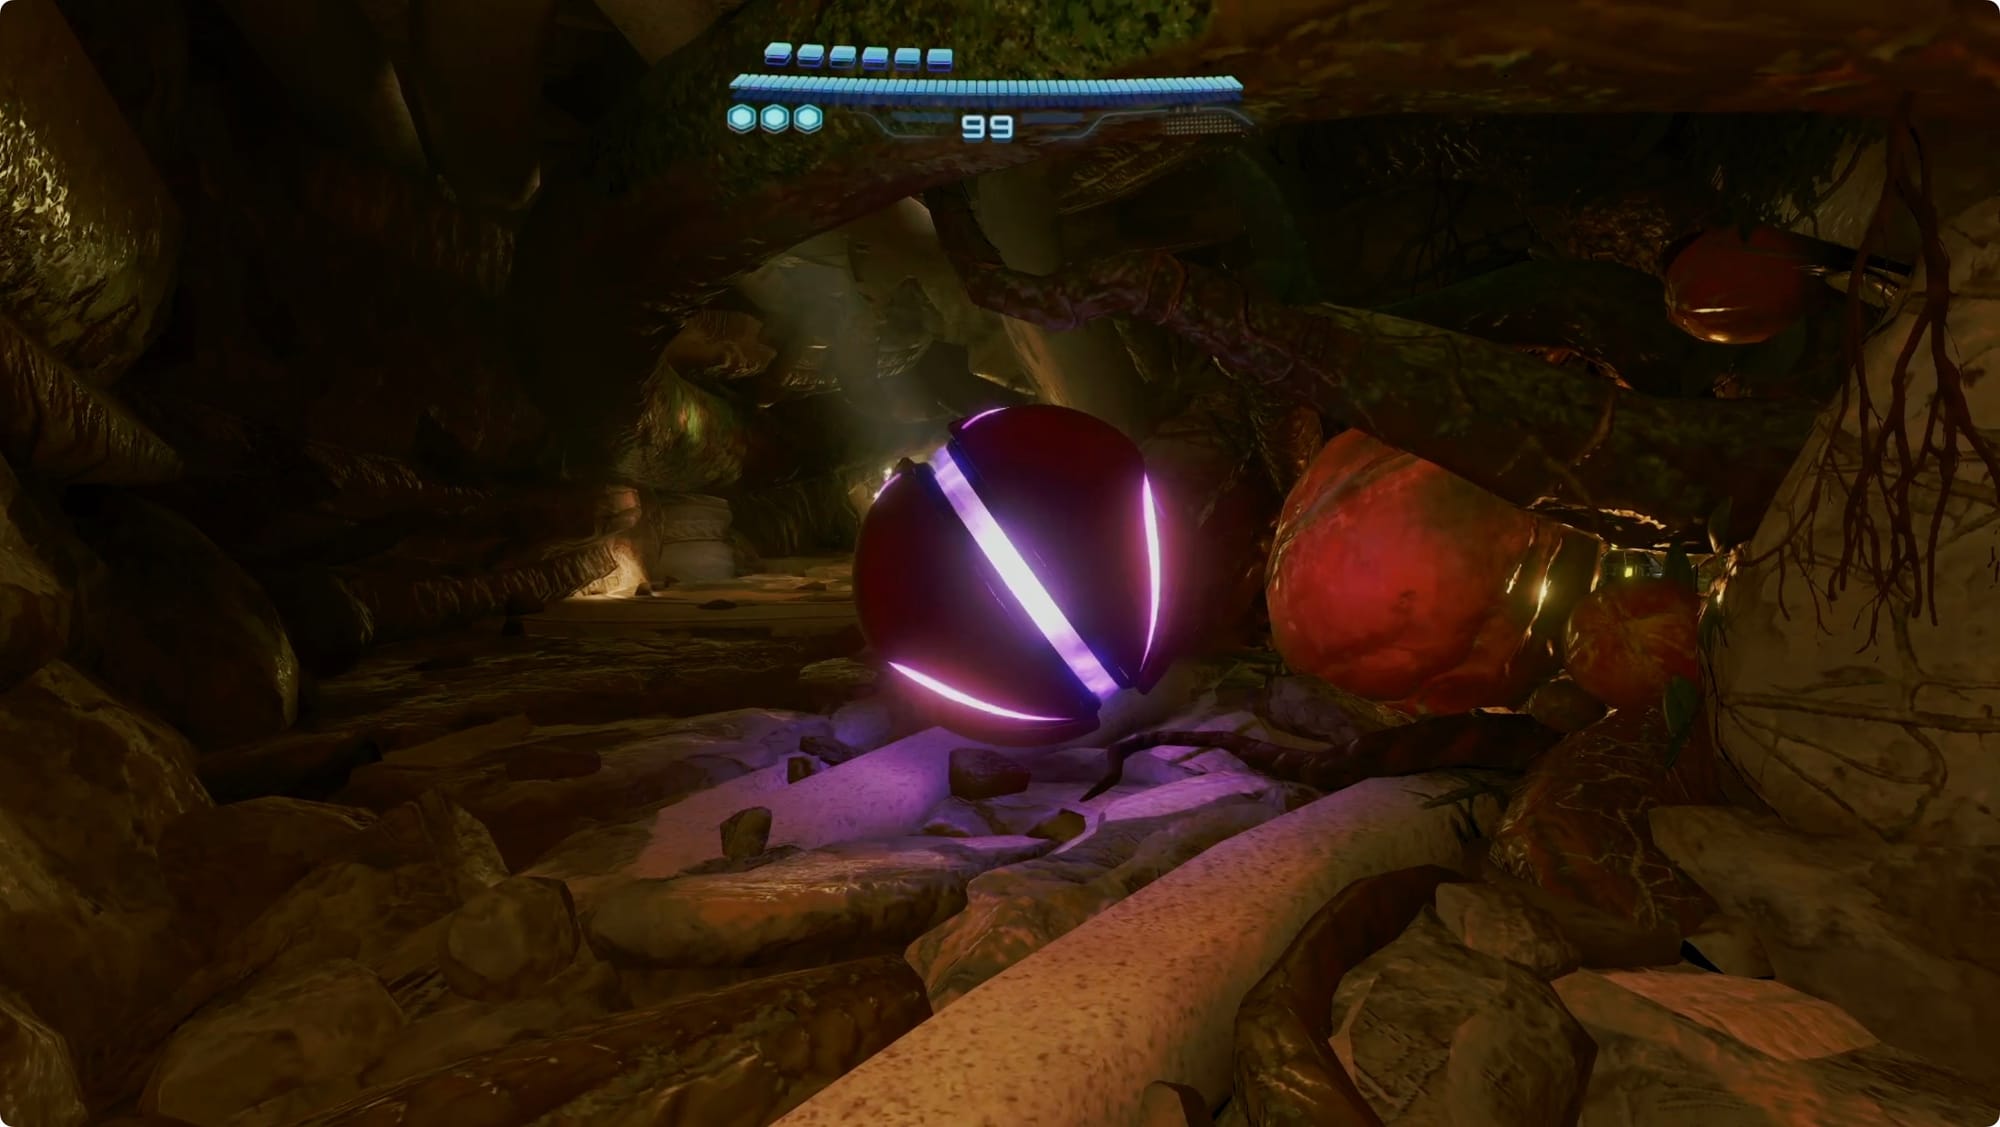
In the room to the south of Base Camp, roll into the Morph Ball tunnel. Just a turn or two into it, there’s another of those fruits on the wall to your right. Bomb it for another Missile Expansion.
Keep going south.
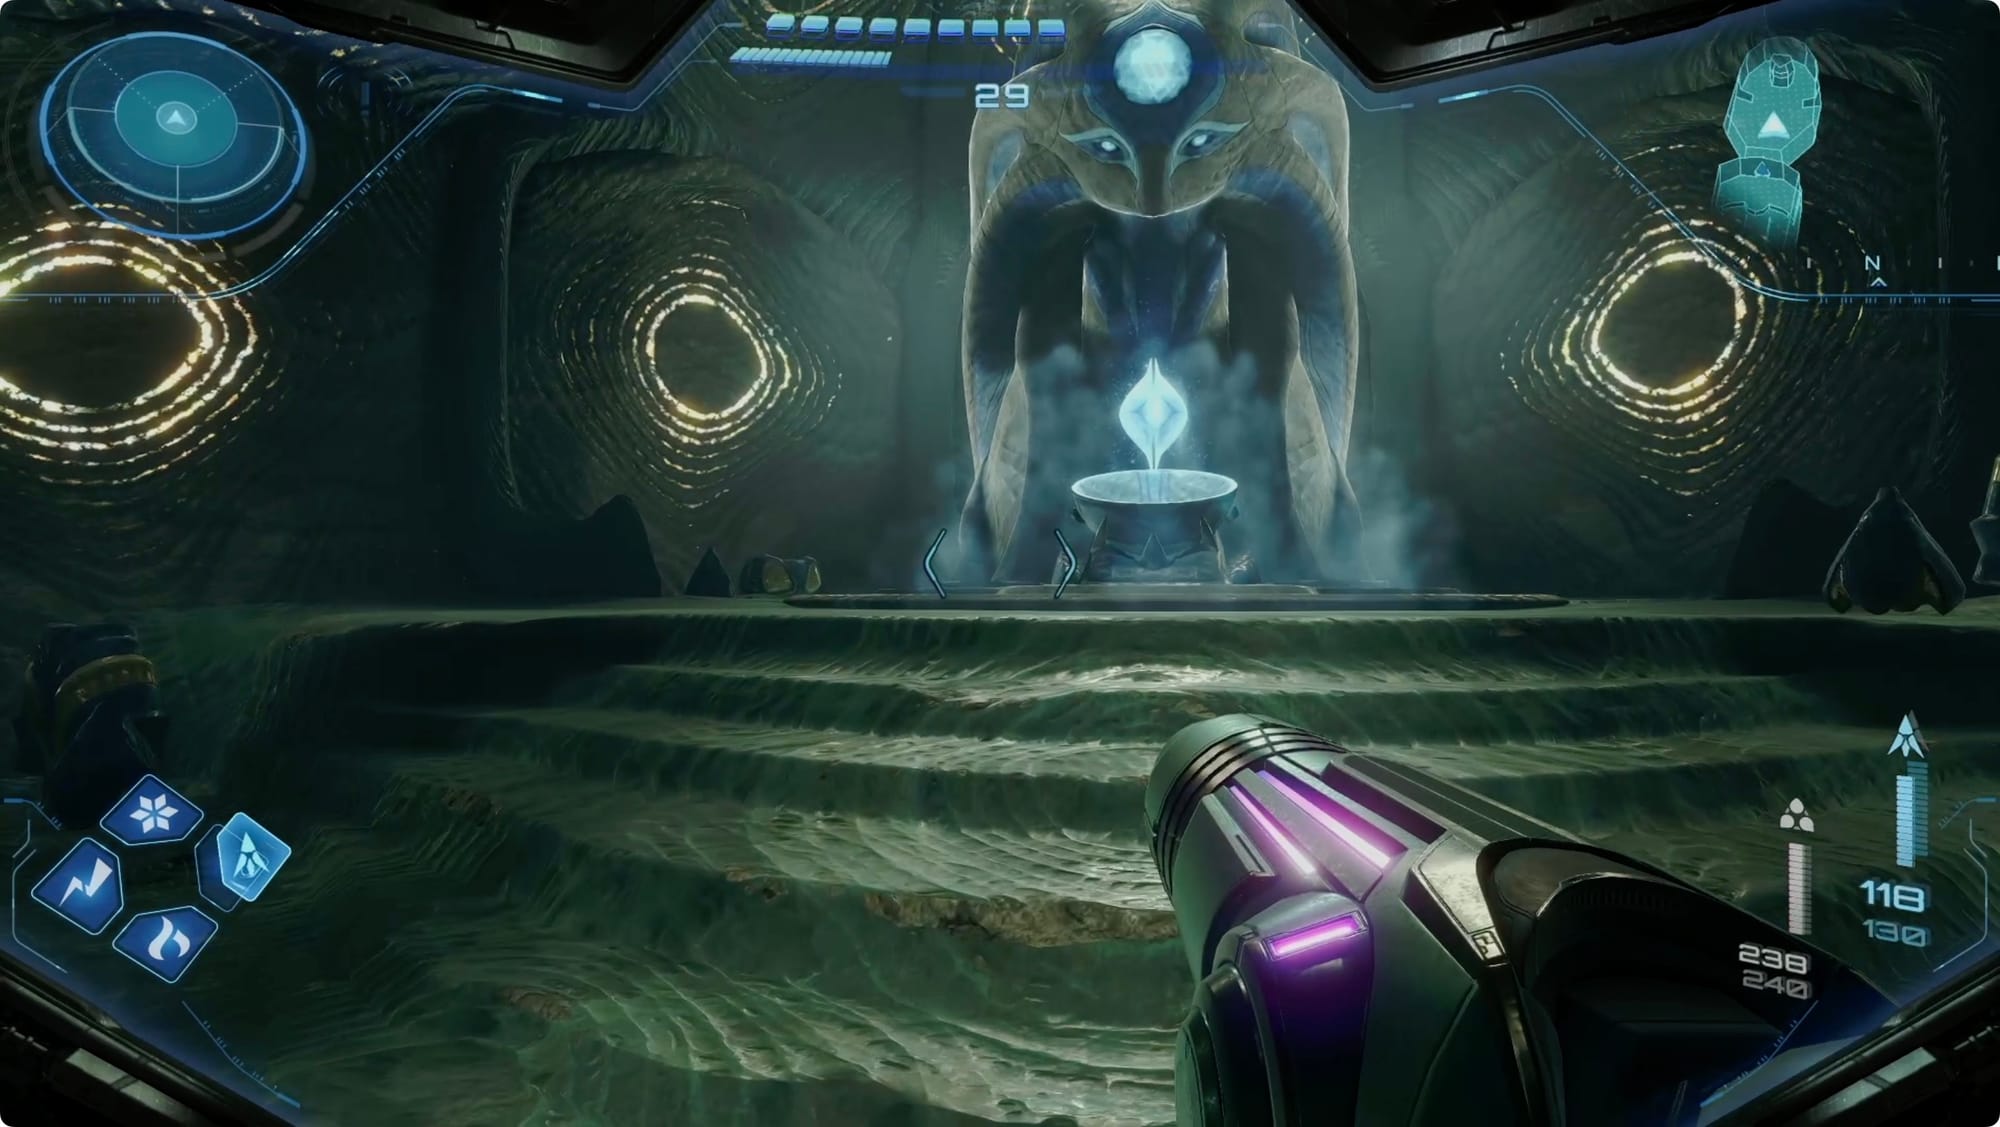
Skip the Altar of Legacy (we’re not ready for that yet — almost, though), and enter the Ceremonial Chamber. Our target is to the west in the Jungle Path — you can jump and roll through the tunnel here, or head up to the Garden of Remembrance and backtrack.

Your looking for a wall of webbing near the edge of the cliff. Burn it away to find a Shot Expansion.
Exit Fury Green whichever direction makes sense.
Back to Ice Belt
Point your Vi-O-La north and head back to the Ice Belt. When you get to the entrance, head inside and take the elevator. And the tram thing.
Your heading for the Lobby (on the other side of the Snowfield) — make sure you hit a Save Station on the way. Just before you get to the open area of the Snowfield, right where you fought the Snow Wolves last time, look to the right for another Scout Bot. Hit it with electricity and scan it to populate your map.
The first thing we missed is just past the Scout Bot in a small tunnel under the debris. Fire Shot it and roll inside for a Shot Expansion.
Keep going to the Lobby.
Inside, take the left to loop around to the second level. Over on the east side, you’ll find a Thunder locked door. Open it and head through.
In the Main Junction, take a right. In the next room, take another right and clear out the crates to reveal a Morph Ball tunnel. Bounce up to the top and roll through.
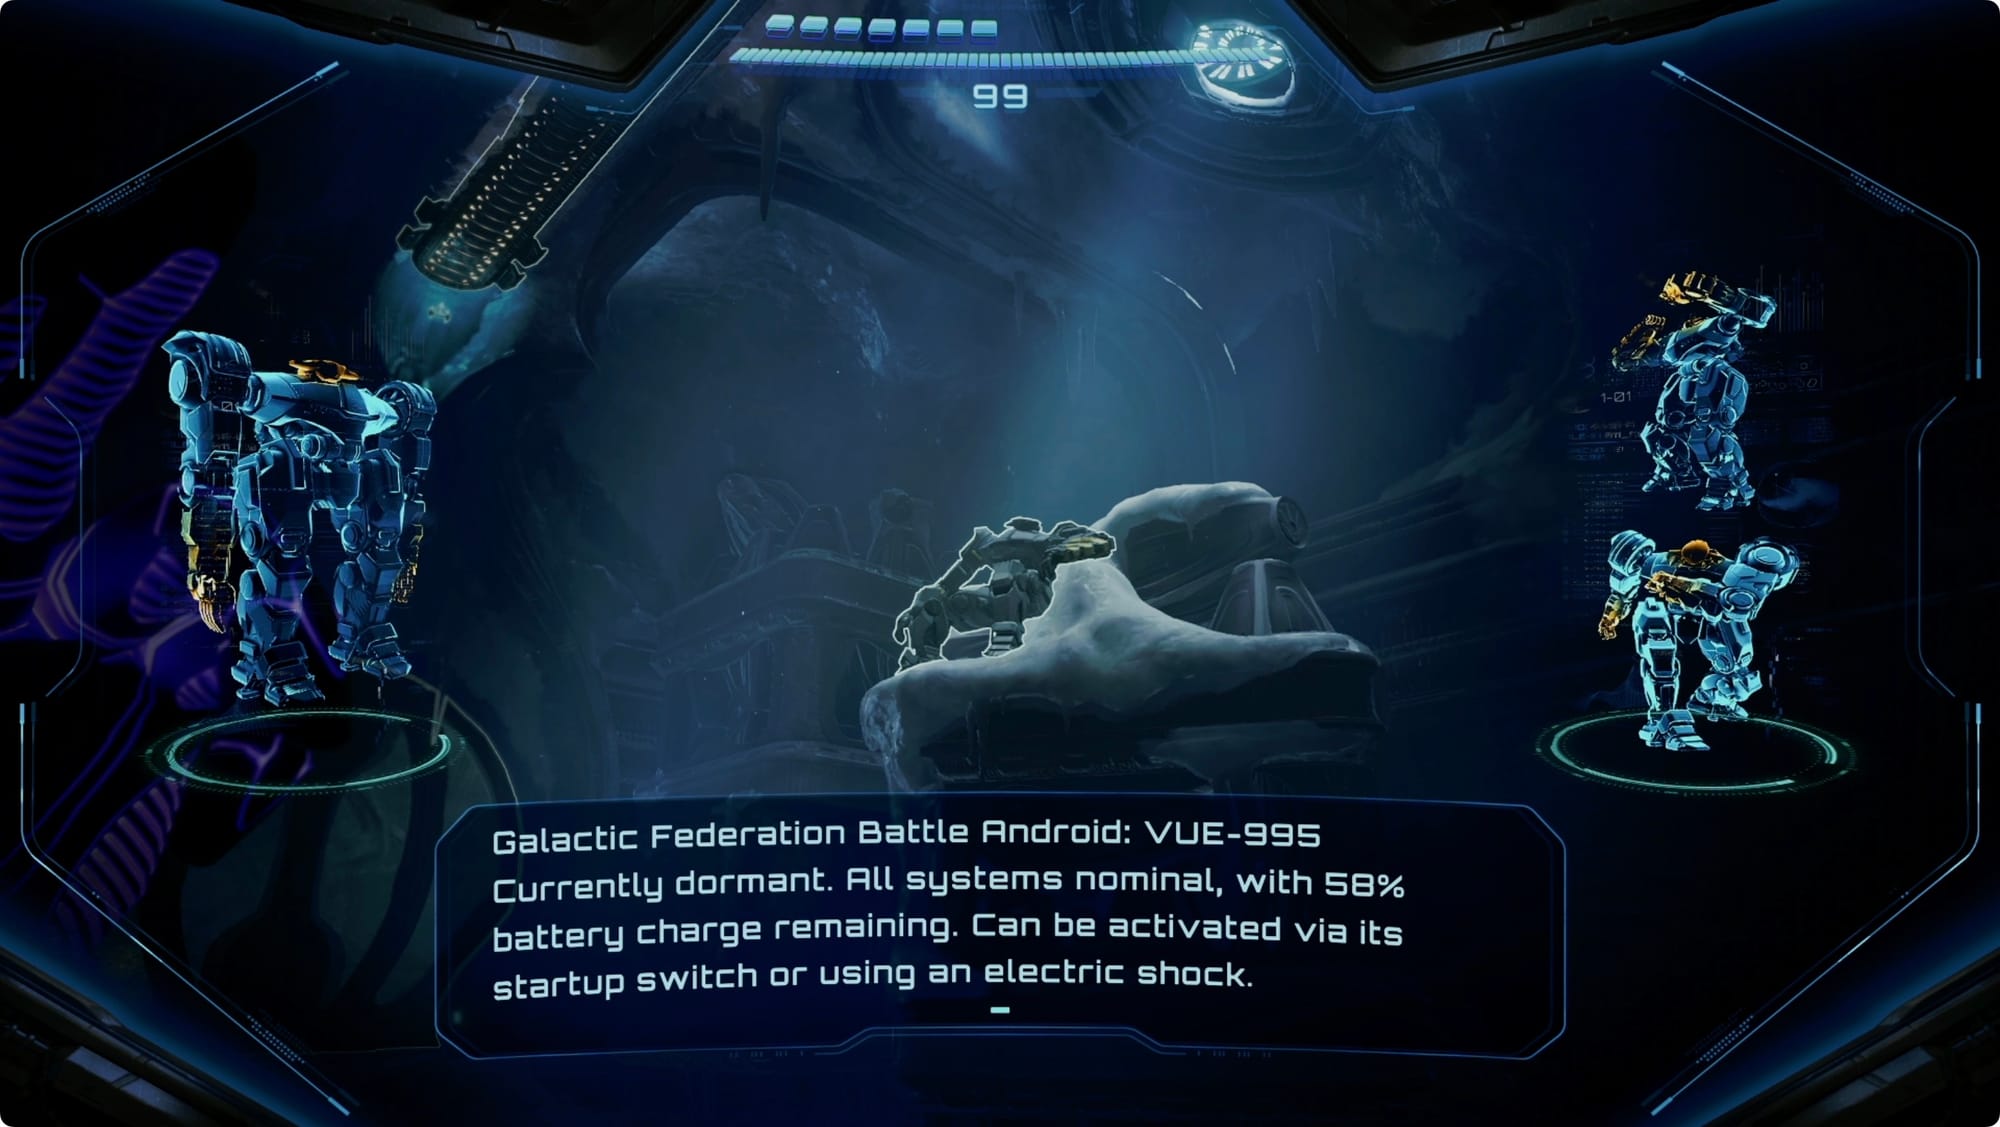
In Equipment Storage, look around on top of the crates for a Galactic Federation android. Thunder Shot it to turn it on and you’ll make a new friend. Lead him to the door, and he’ll demonstrate his usefulness.
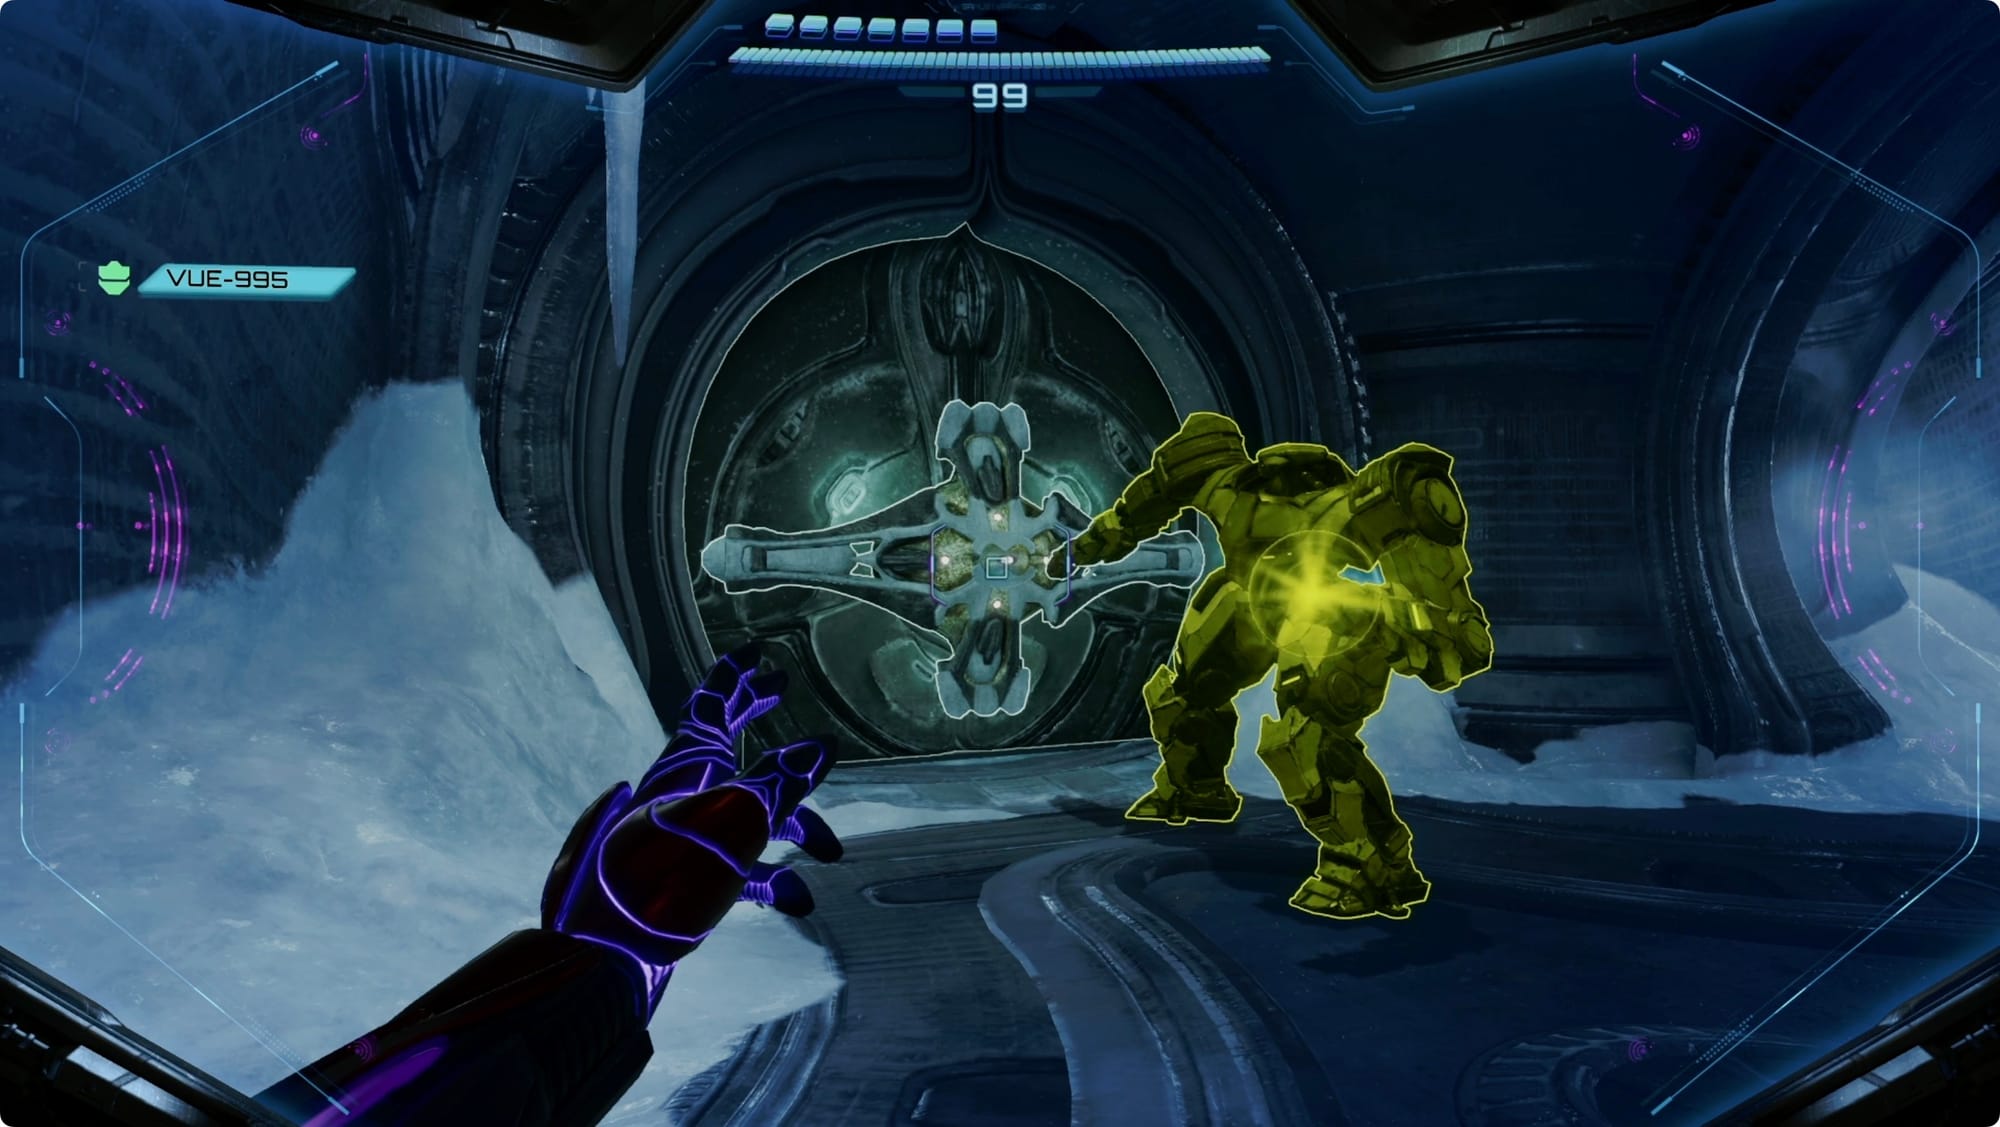
Lead VUE to the other side of the Main Junction and scan the “immoveable” lock. He’ll open the door for you to continue.
At the Cliffside, scan the window on your right to get VUE to weaken it. Missile through.
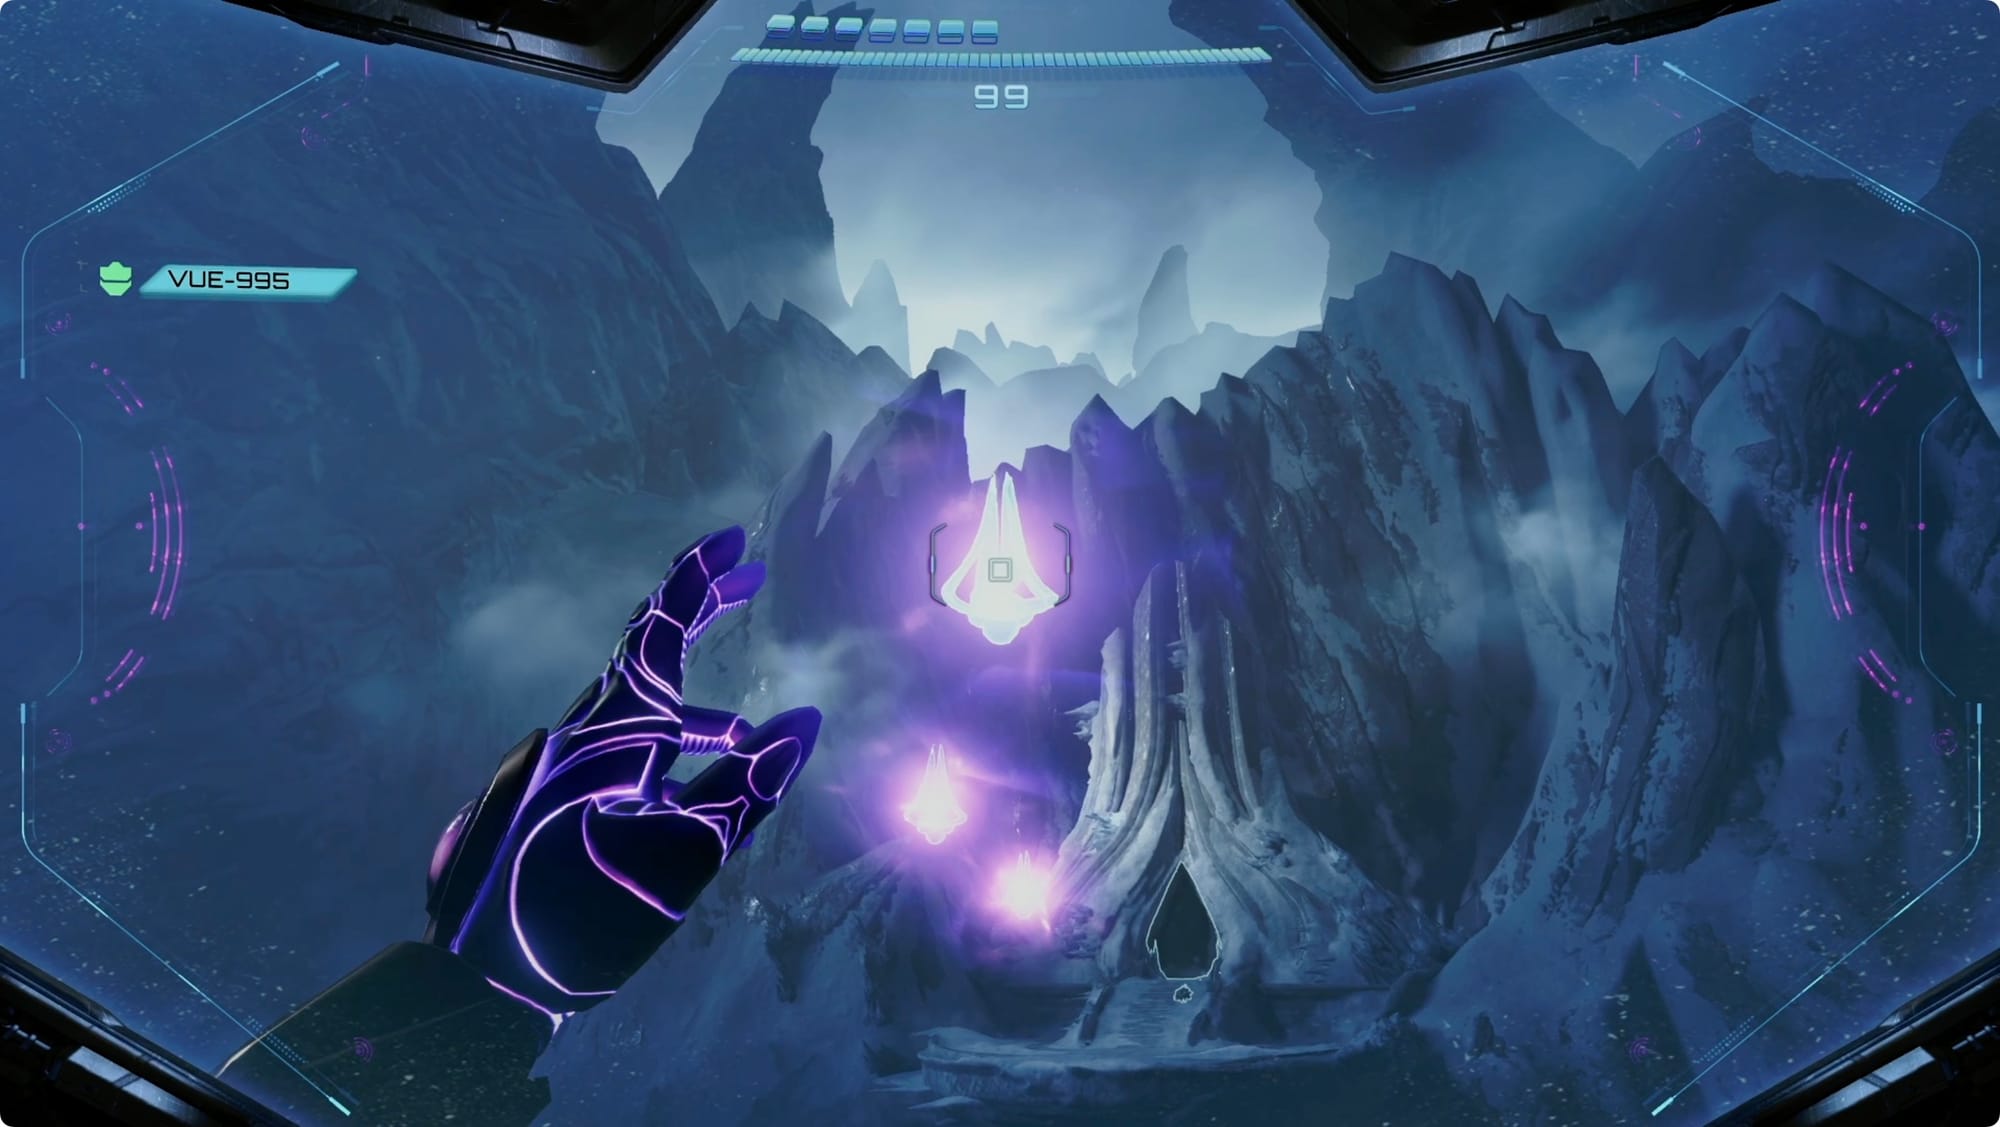
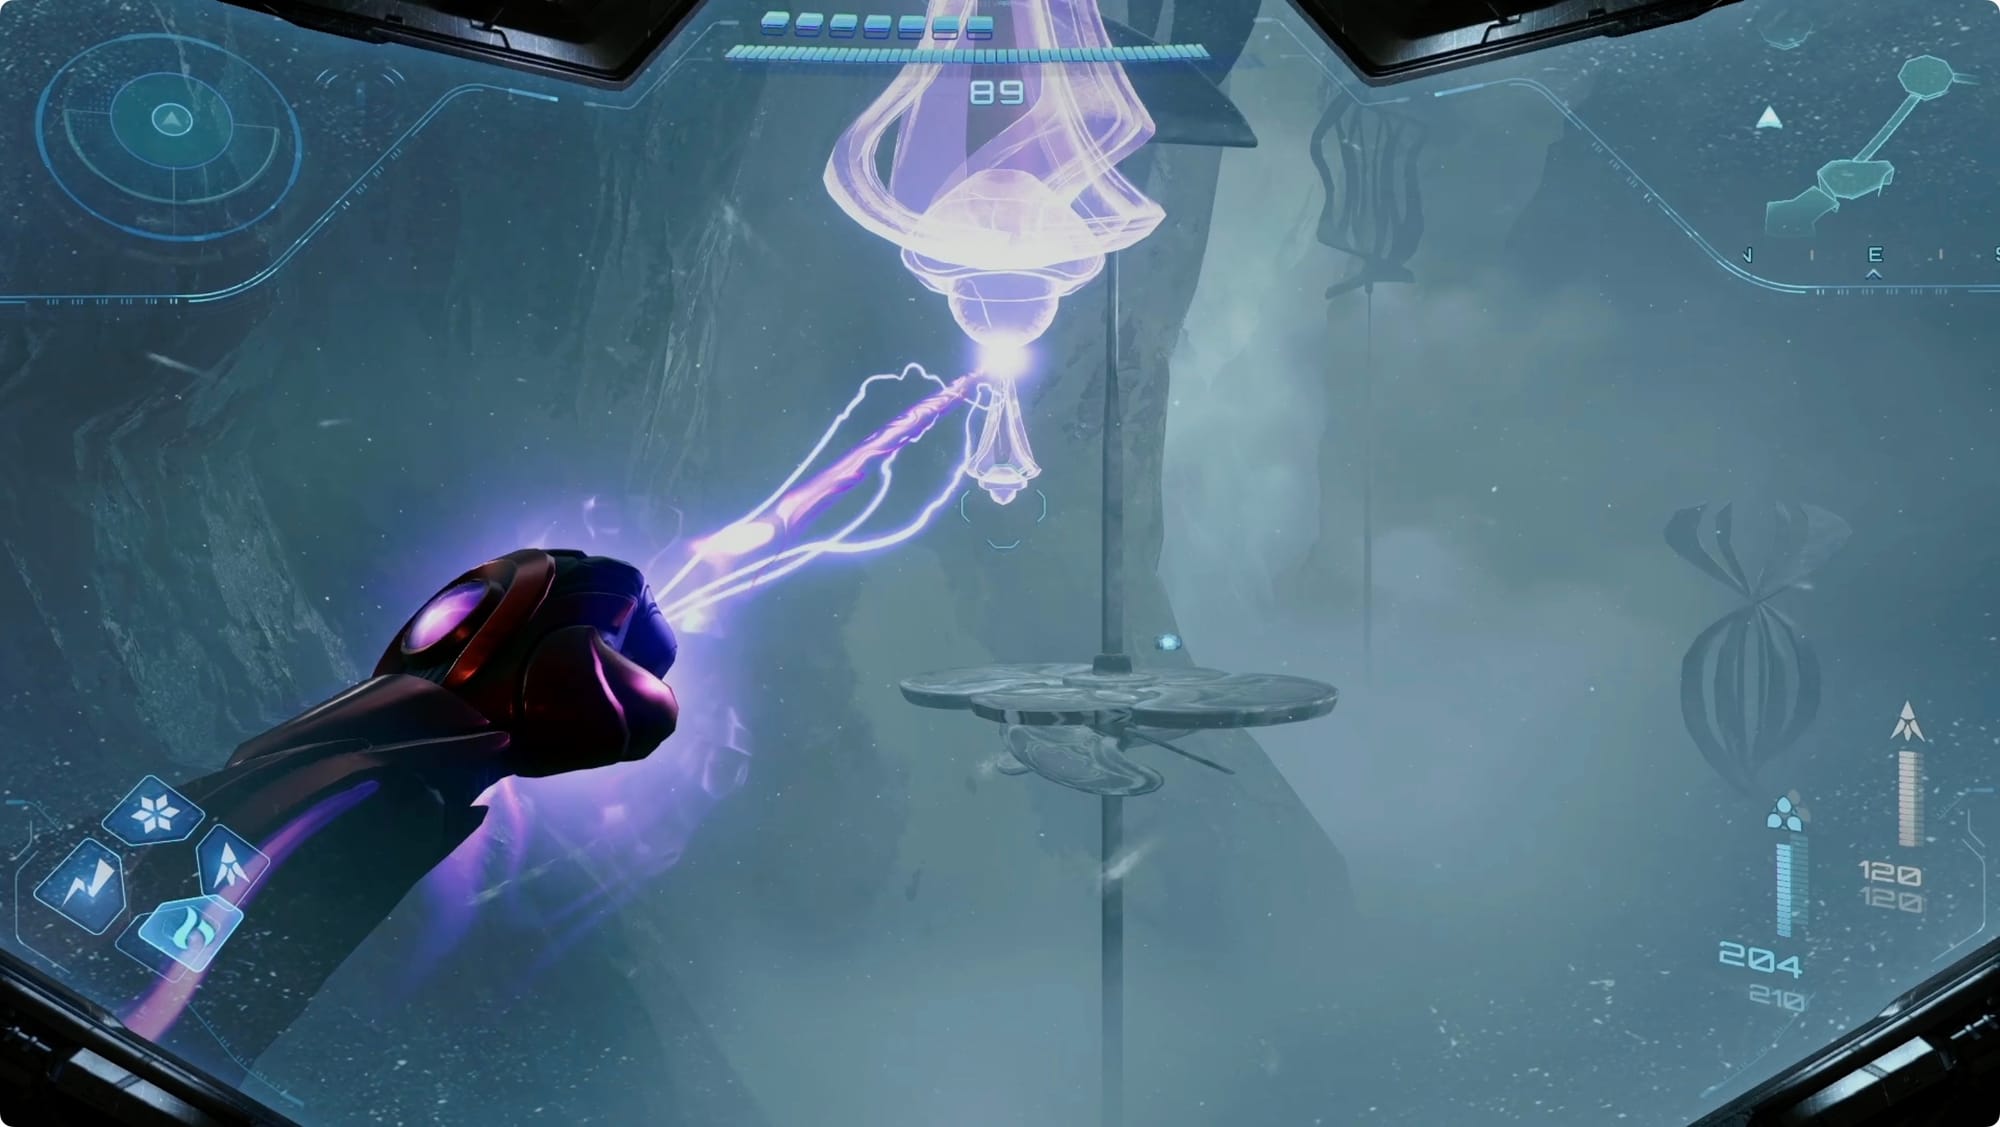
At the cliff, scan the purple mist to reveal some Psychic Grapple Points. Swing across — just hold on if the wind kicks up — and Fire Shot through the ice wall at the top of the stairs.

Inside, roll into the tunnel. At the other end, scan the Lamorn statue for some exposition. Behind the statue, Fire Shot all of the ice blocking the shaft down, and then hop to the bottom.
Scan around in the Ancient Temple. When you drop inside, loop around to look under the platform you were just on for a Missile Expansion.
Blast the ice off of the statues with glowing crystals, and then scan them to open their storage. Grab the Psychic Motes out of each, and place them in the base of the statue.
When it moves, it’ll reveal the Psychic Spider Ball ability.
Scan the Psychic tracks that appear to get out of the room. Back at the (broken) lift, scan the purple haze to reveal your path — more Psychic Spider Ball paths and some tethers. Getting out is a bit of an adventure, but there’s only one way to go (spoiler: up).
Head back to where you left VUE — he’ll have wandered off.
Back in the room with a VUE (I’m sorry) where you met him, use the magnetic track to go grab a Shot Expansion.
Go back to the Lobby and take the elevator down to Quarantine. Head forward and shoot the Thunder lock on your right to pick up a Missile Expansion — just watch for the Grievers.
Back in the Lobby, the way you used to get down the Bio Labs last time will be sealed, but the maintenance tunnel to the left will be open. Roll inside.
In the 2D section, drop all the way to the bottom and take a left. Use the anchor points to launch yourself upward. You’ll have to bomb both of those red dots within just a few seconds to open the lock holding the next Missile Expansion. It’s a little tricky, but it’s doable — the Psychic Bombs have a healthy blast radius.
Take the tunnels to the Cryopod Conveyor. Retrace your steps through the Bio-labs and down to the Medical Bays.
Head all the way south to the Surgery Bay. Take a left and enter the tunnel there.
When you hit the 2D section, jump and use the magnetic rail to climb up. At the top, stop just outside of the path the electricity arcs. Charge up a Boost and wait for the last second you see sparks. Shoot through, and then bomb the platform to pick up a Shot Expansion.
Continue through to the Storage Bay. This time, hop the railing and loop around the base of the room until you’re on the east side. Morph Ball into the socket there.
Follow the magnetic rails around to the left. At the end, you’ll find a Missile Expansion that’s out of reach. You need to use all three of your bombs to get it, but the timing is tricky.
Holding ZL the whole time, just in case, place a bomb, wait a beat, and place a second bomb. When the first bomb launches you up, place a bomb at the top of your climb. If you timed it right, you should land back on the rail just as the second bomb goes off, launching you back up to — also just in time — get double launched by the third bomb.
Take the Morph Ball tunnel leading north out of the Storage Bay. Head north to the Ravine.
Cross the Ice Canyon the same way you did the first time. At the halfway point, look on your right for some Psychic Grapple Points to manifest. Use them to reach the Energy Tank.
Head back and use the tram to get back to the Power Station. In the Deep Archive, there’s another Thunder lock. Hit it to fire up another Morph Ball elevator — this one is a shortcut back to the Control Room — don’t use it yet.
Spiral all the way down to the Power Generator and drop to the lower floor. Scan the terminal near the turbine to open a ramp down. Take it, and then missile the grate covering the Morph Ball tunnel.

Dodge the racing arcs of electricity as you move forward and then duck out the tube on the right side to go collect another Energy Tank.
Pull the clamp off of the gate to make your trip back easier.
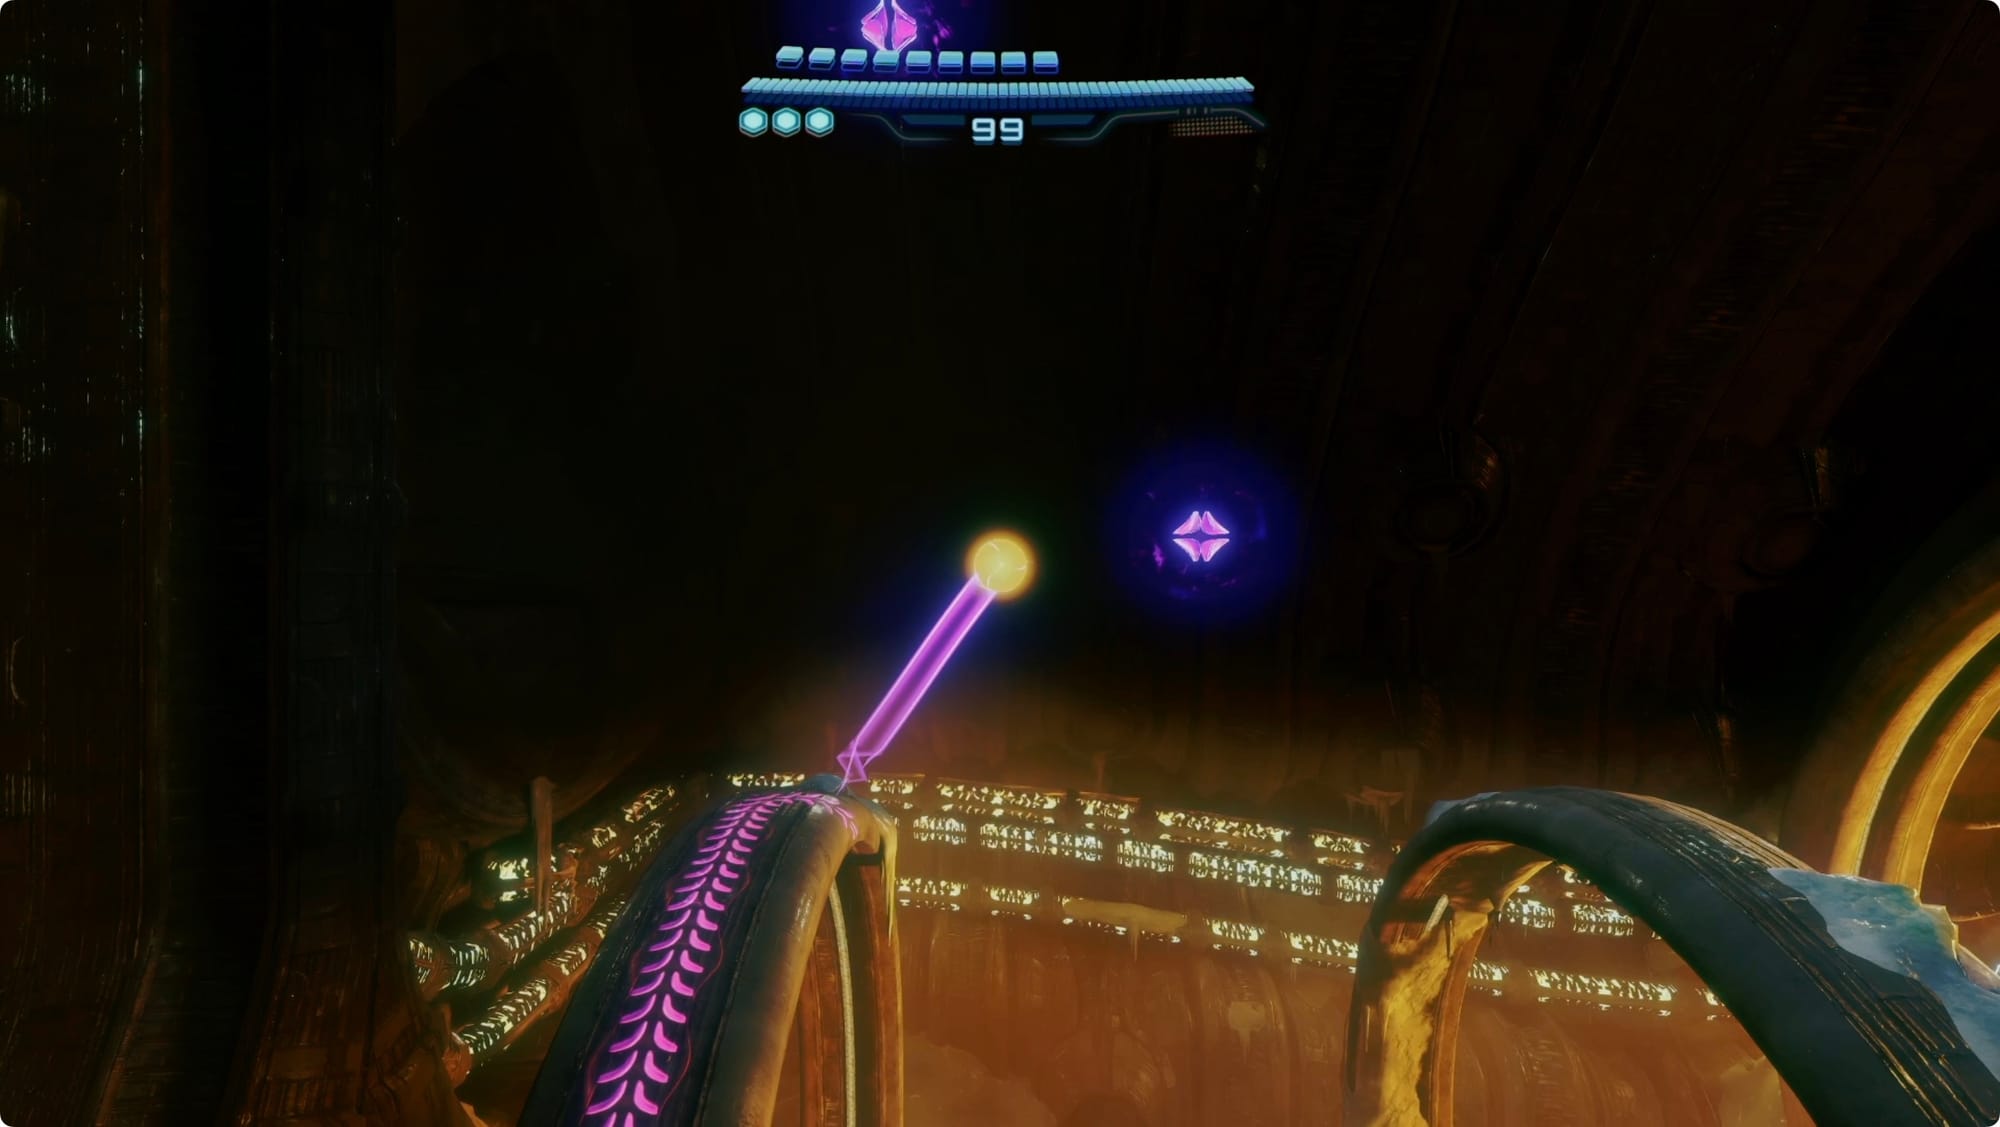
Now it’s time to use the Psychic Spider Ball rail we found last time. Take the Psychic rail up to the top of the turbine. Roll forward just a little bit so you’re basically perpendicular to the tether node nearby. Now, hold down B (it’s easier than holding down L) to charge up a boost. Let go of B to shoot straight toward the tether.
Slingshot up to the rail on the ceiling and follow it around to pick up a Large Shot Expansion.
That should be everything, so use the new Morph Ball elevator to get back to the Control Room, and back out to the Snowfield. Remember to use the mini cargo launcher to shoot back to the entrance.

At the top of the elevator, there’s a path we haven’t been able to take yet in the southwest. Grapple up, and then head outside.
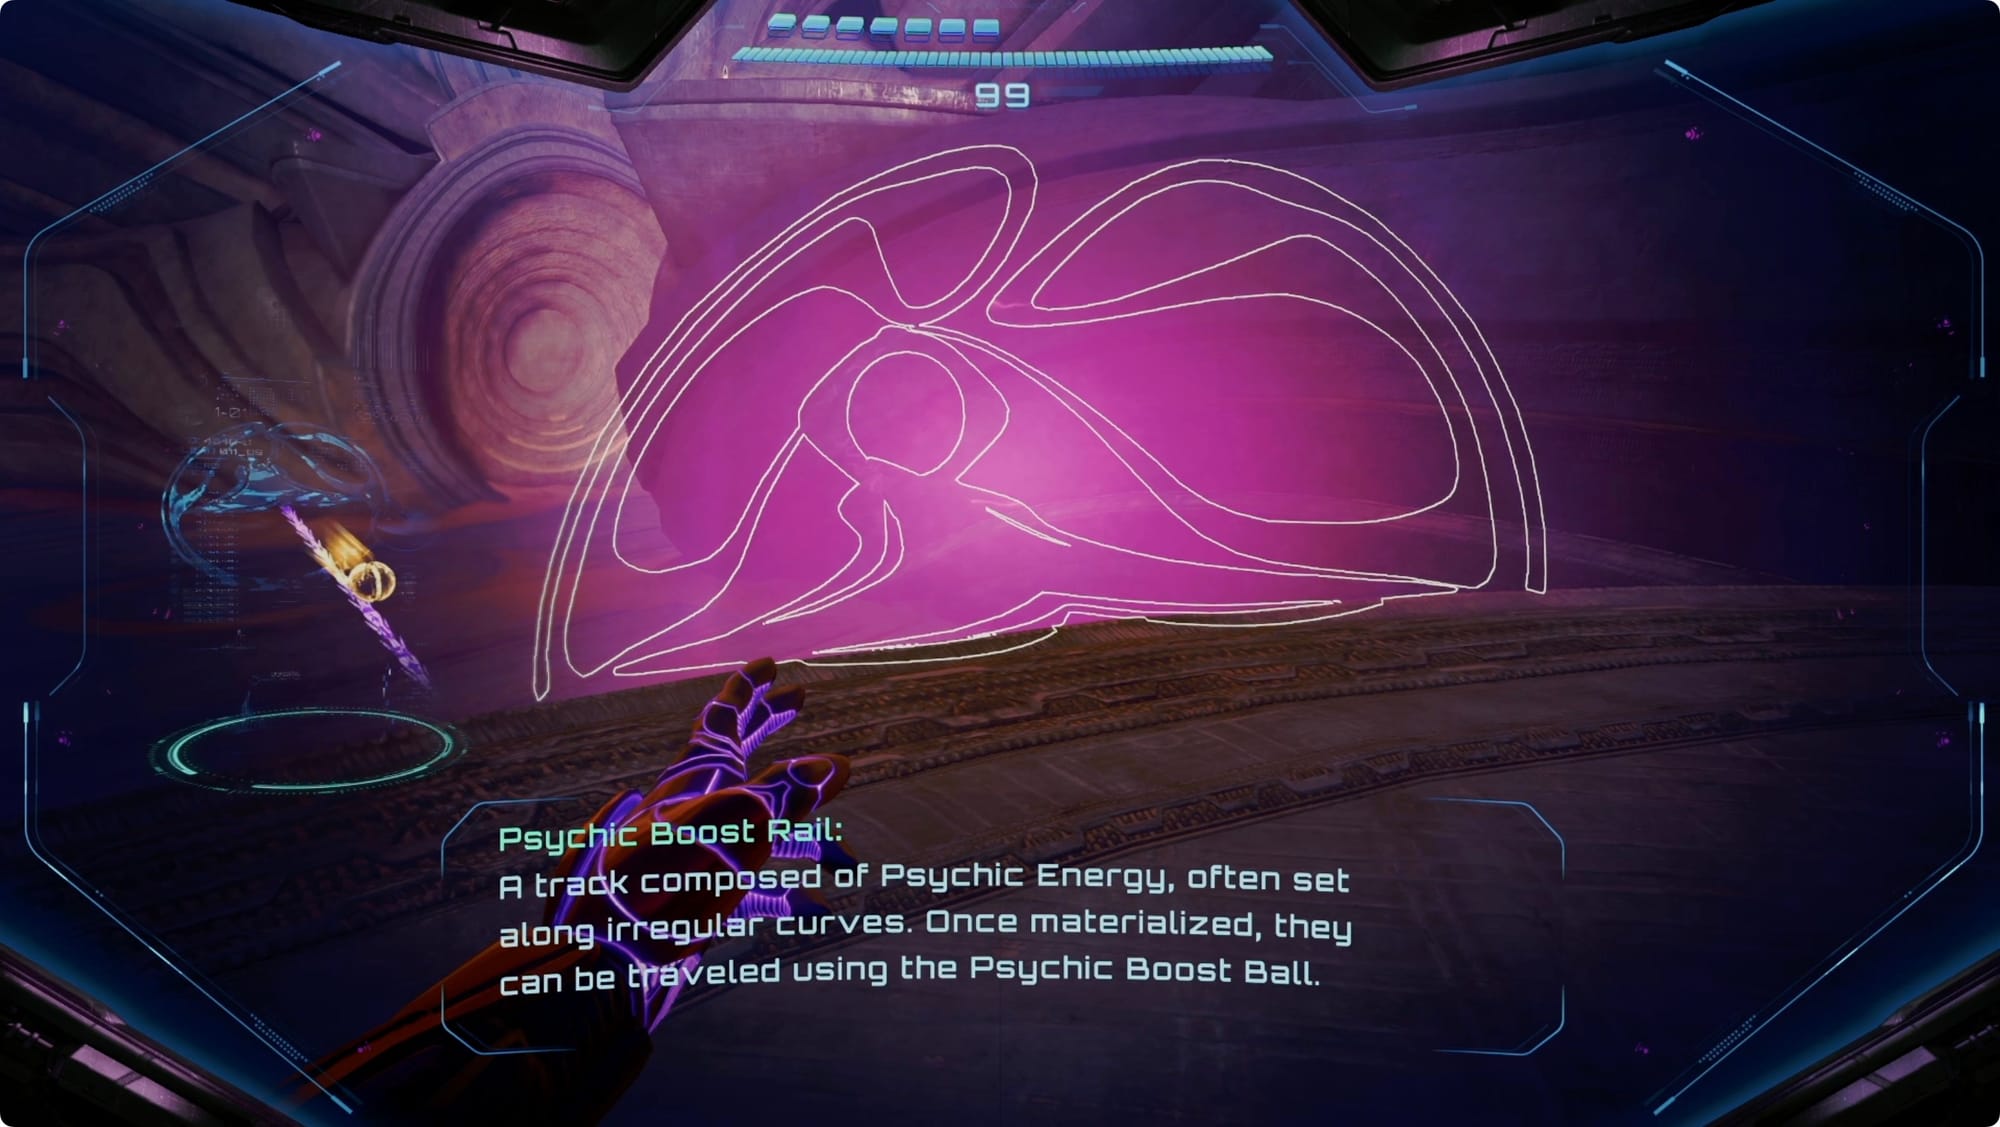
Scan the mech leg, and then scan the Psychic Boost Rail. Ball into it and boost to use it. At the other end, collect your Missile Expansion.
Head back out to the desert.
As you leave, point straight out of the gates heading southeast. At the top of the first dune you come to, there’s some debris. Lasso it for a crate with a Missile Expansion inside.
Ladder of Thought shrine
Next, we’re going back to the Volt Forge (again) — in a second. Point your bike south.
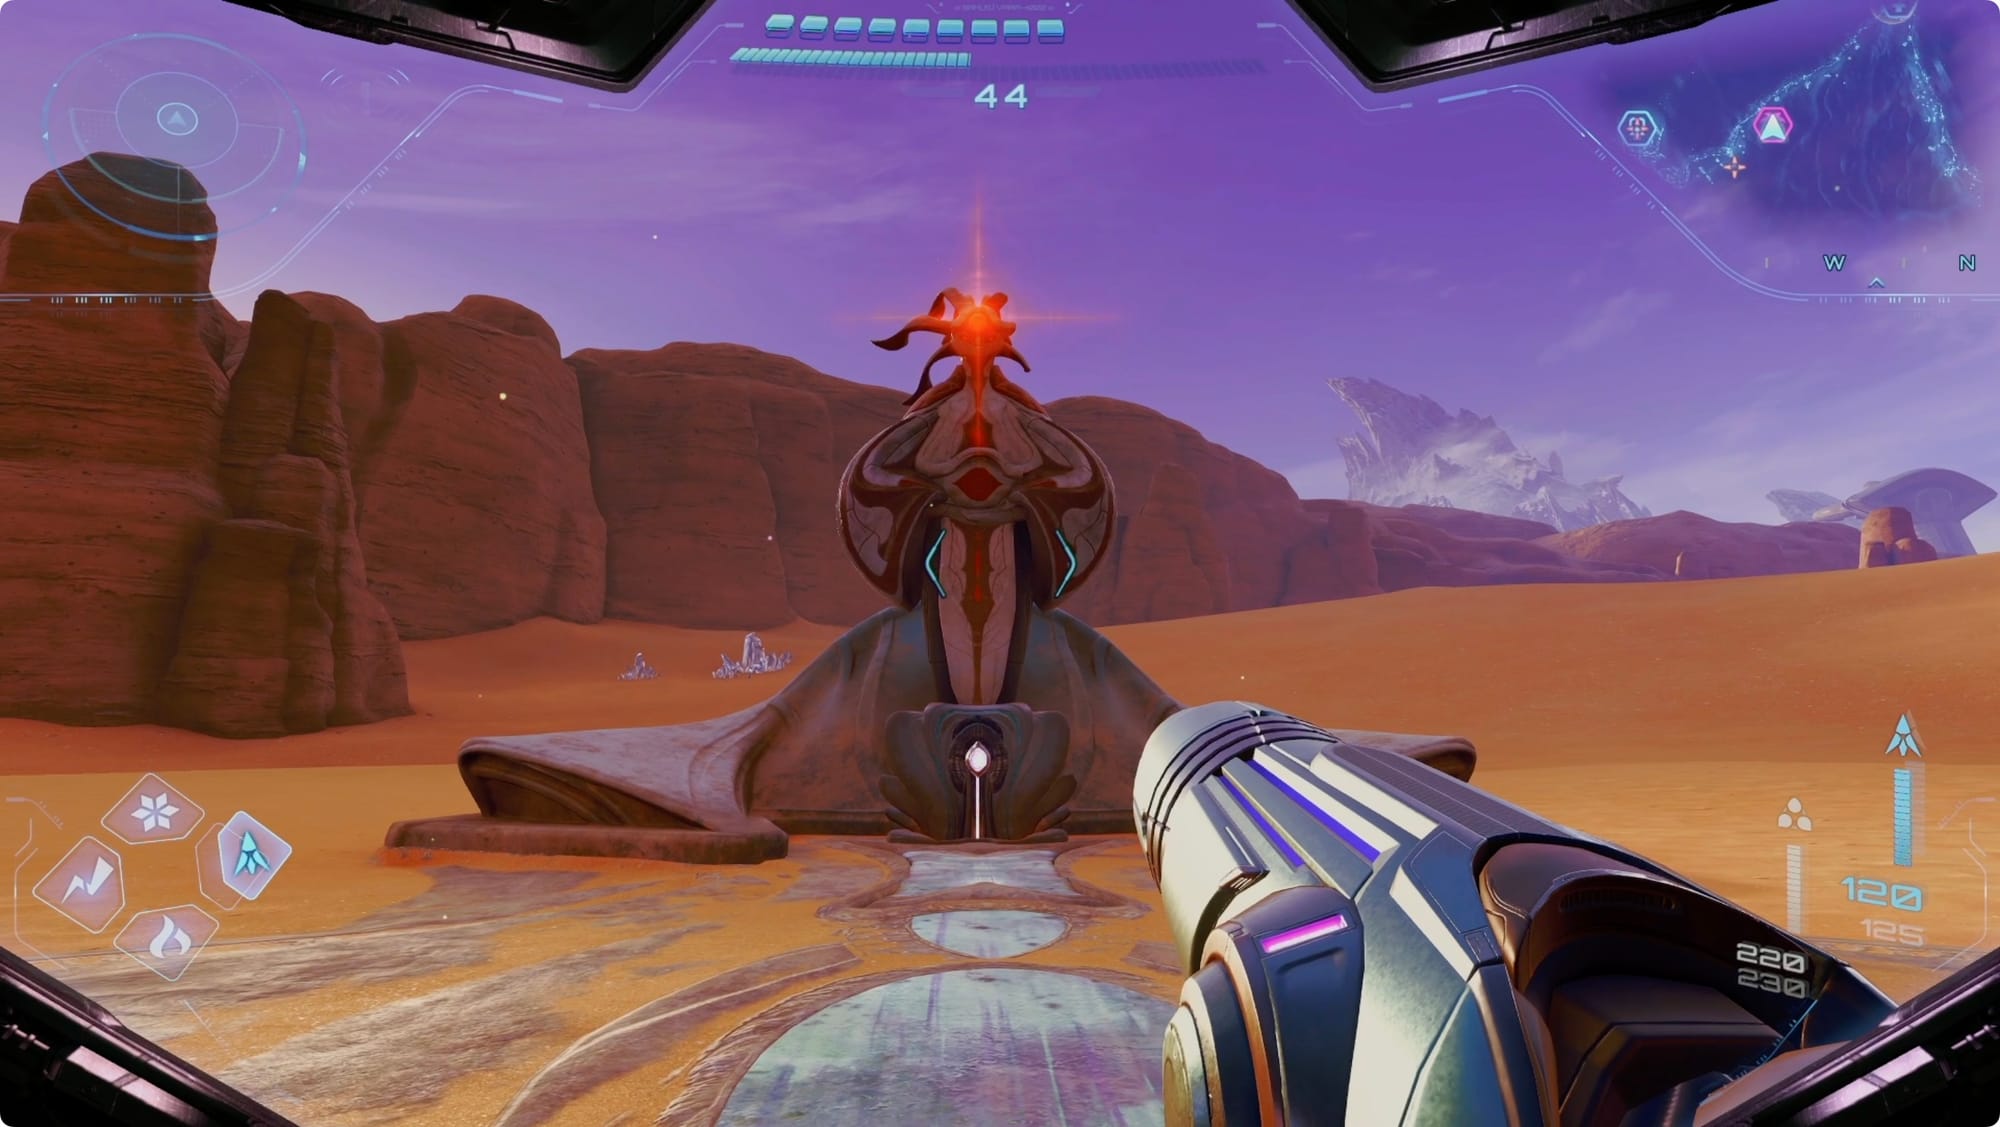
About two-thirds of the way to Fury Green, there’s an odd statue near the western edge of the desert (that I must’ve driven right past SO MANY times).
Go stand on the lift and use the Psychic Stone to go down. In the shrine itself, shoot all of the pottery and burn all of the webbing. The part that really matters is the webbing covering the door to the east.
Psychically open it and head inside. In the next room, burn all the webbing and missile any Green Crystal you see. Psychic the two pillars up to make double jump landings up to the balcony above you.
Before you go through the door, burn the webbing to the right. Switch to Morph Ball, jump with X, and drop a bomb at the peak of your jump. Wait a beat and then jump again. If you time it right, you'll double jump to the level of the tunnel. Roll through to grab an Energy Tank.
Back at the balcony, burn the webbing off the door and head through.
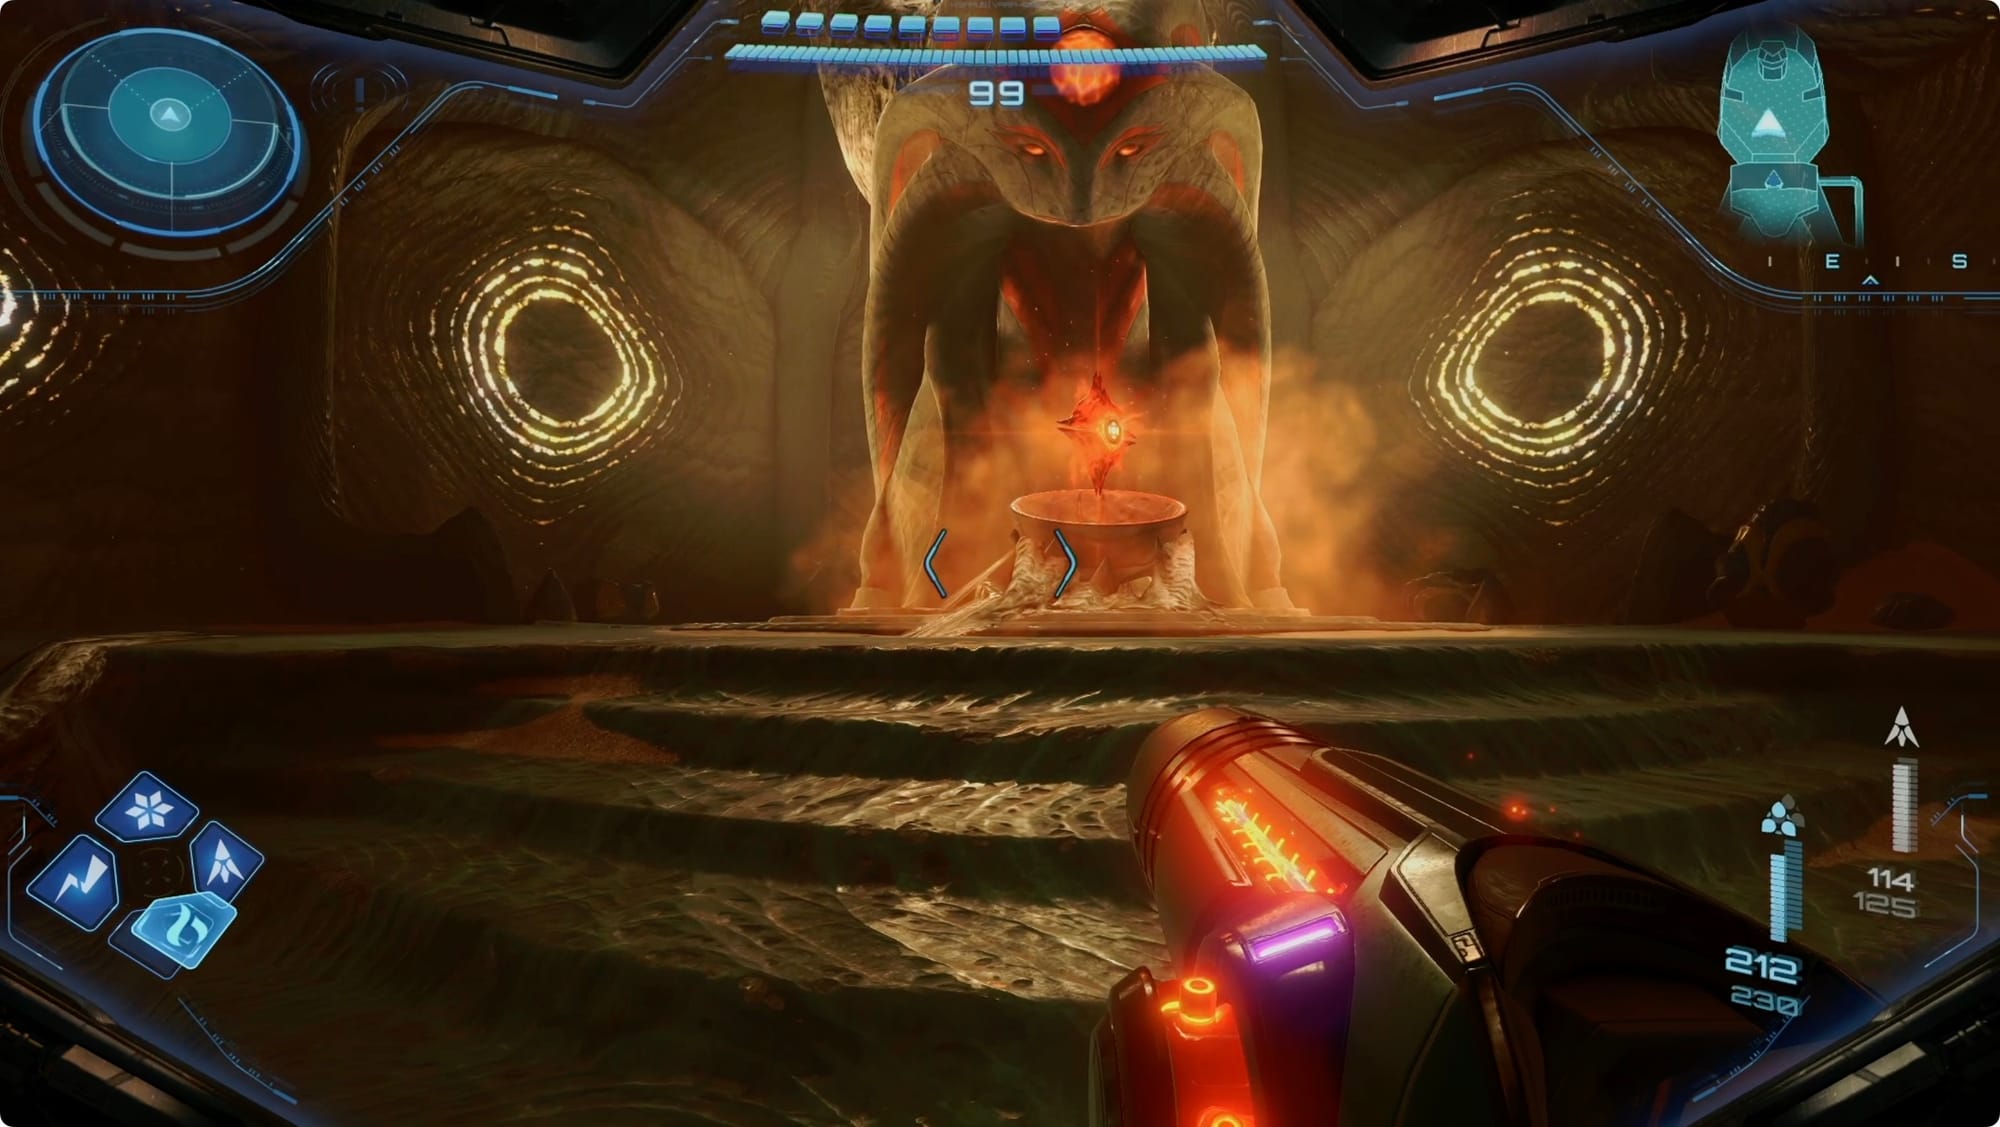
In the final room, pick up the Charged Fire Shot.
Back to the Volt Forge
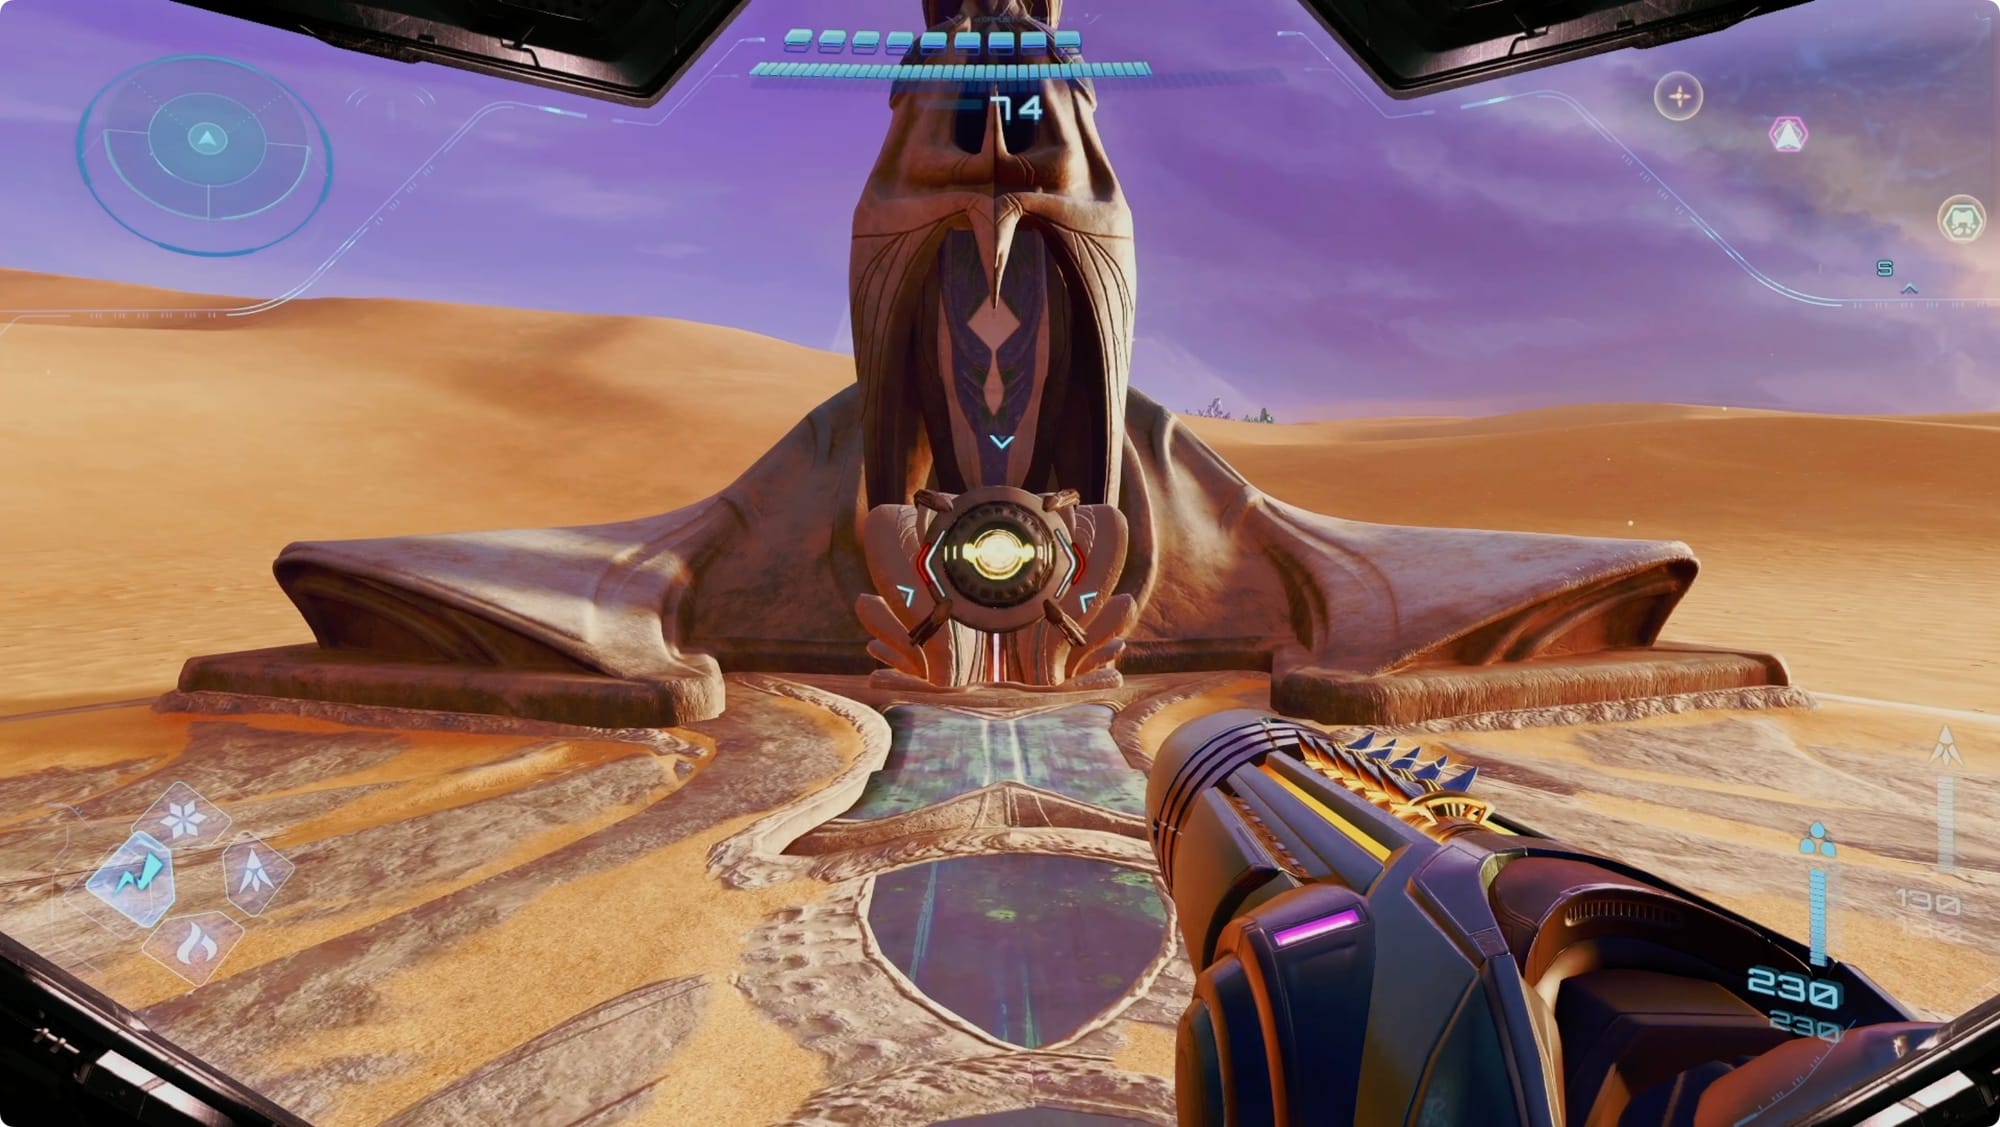
Keep heading south to the Volt Forge.

But we're not going inside. Instead, head over to the left (south) side and use a Thuder Shot to finally grab that Energy Tank.

Stand near the top of the ramp and look west. There’s a column there with Psychic Platforms leading up to it. Materialize them, hop up, and Thunder Shot the Scout Bot.
Scan it, and you’ll fill in your desert map. (If you’ve been traveling in straight lines like I have, it’ll almost look like you’ve been avoiding the items on purpose, so that’s neat.)
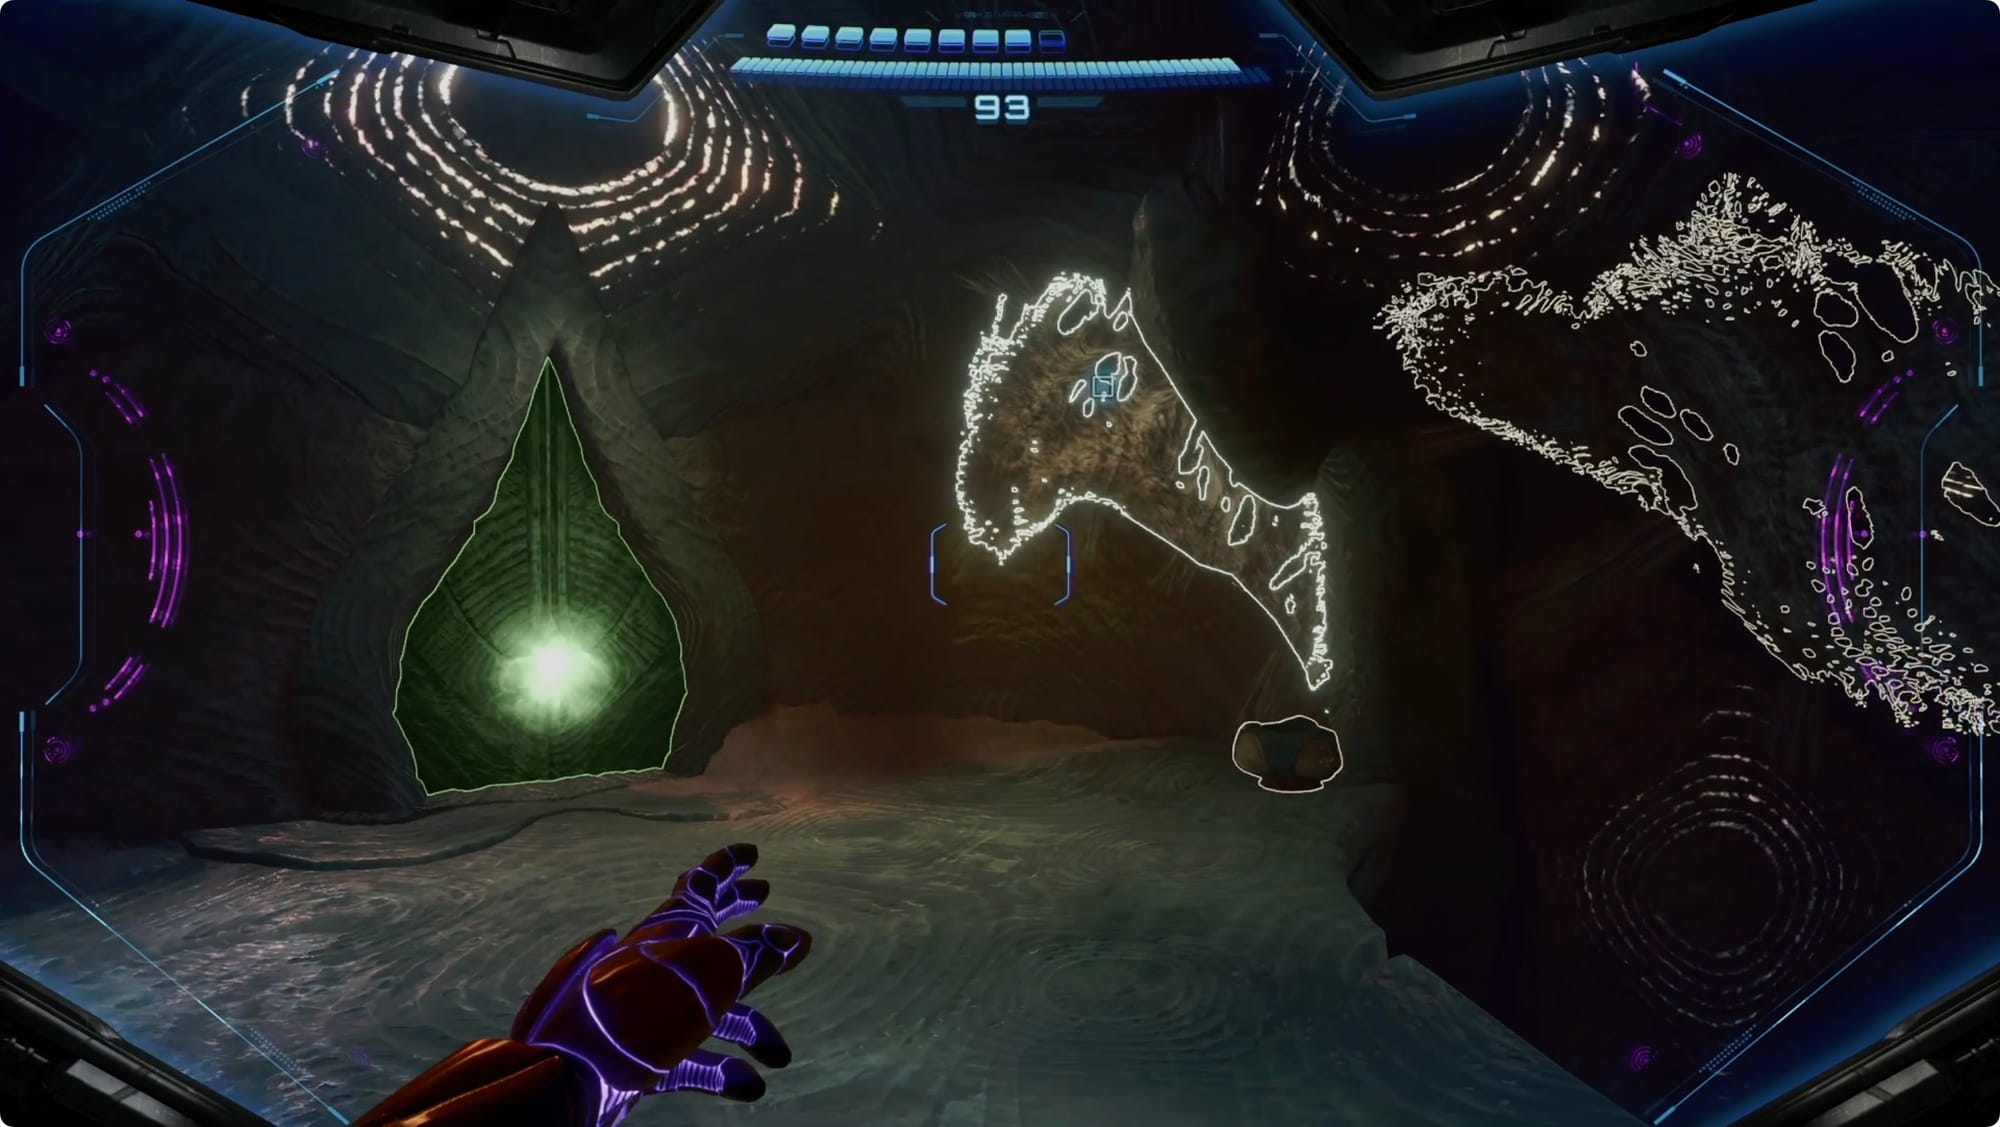
Floating Path Shrine
From the Volt Forge, head about four or five hexes northeast, and then turn east. There’s another tiny debris field where you can grab a Missile Expansion there.
Keep heading straight east to hit another shrine — this one is locked with a Thunder lock.
Inside, there’s nothing going on in the first room, so just shoot all the pottery to make sure your ammo’s topped up.
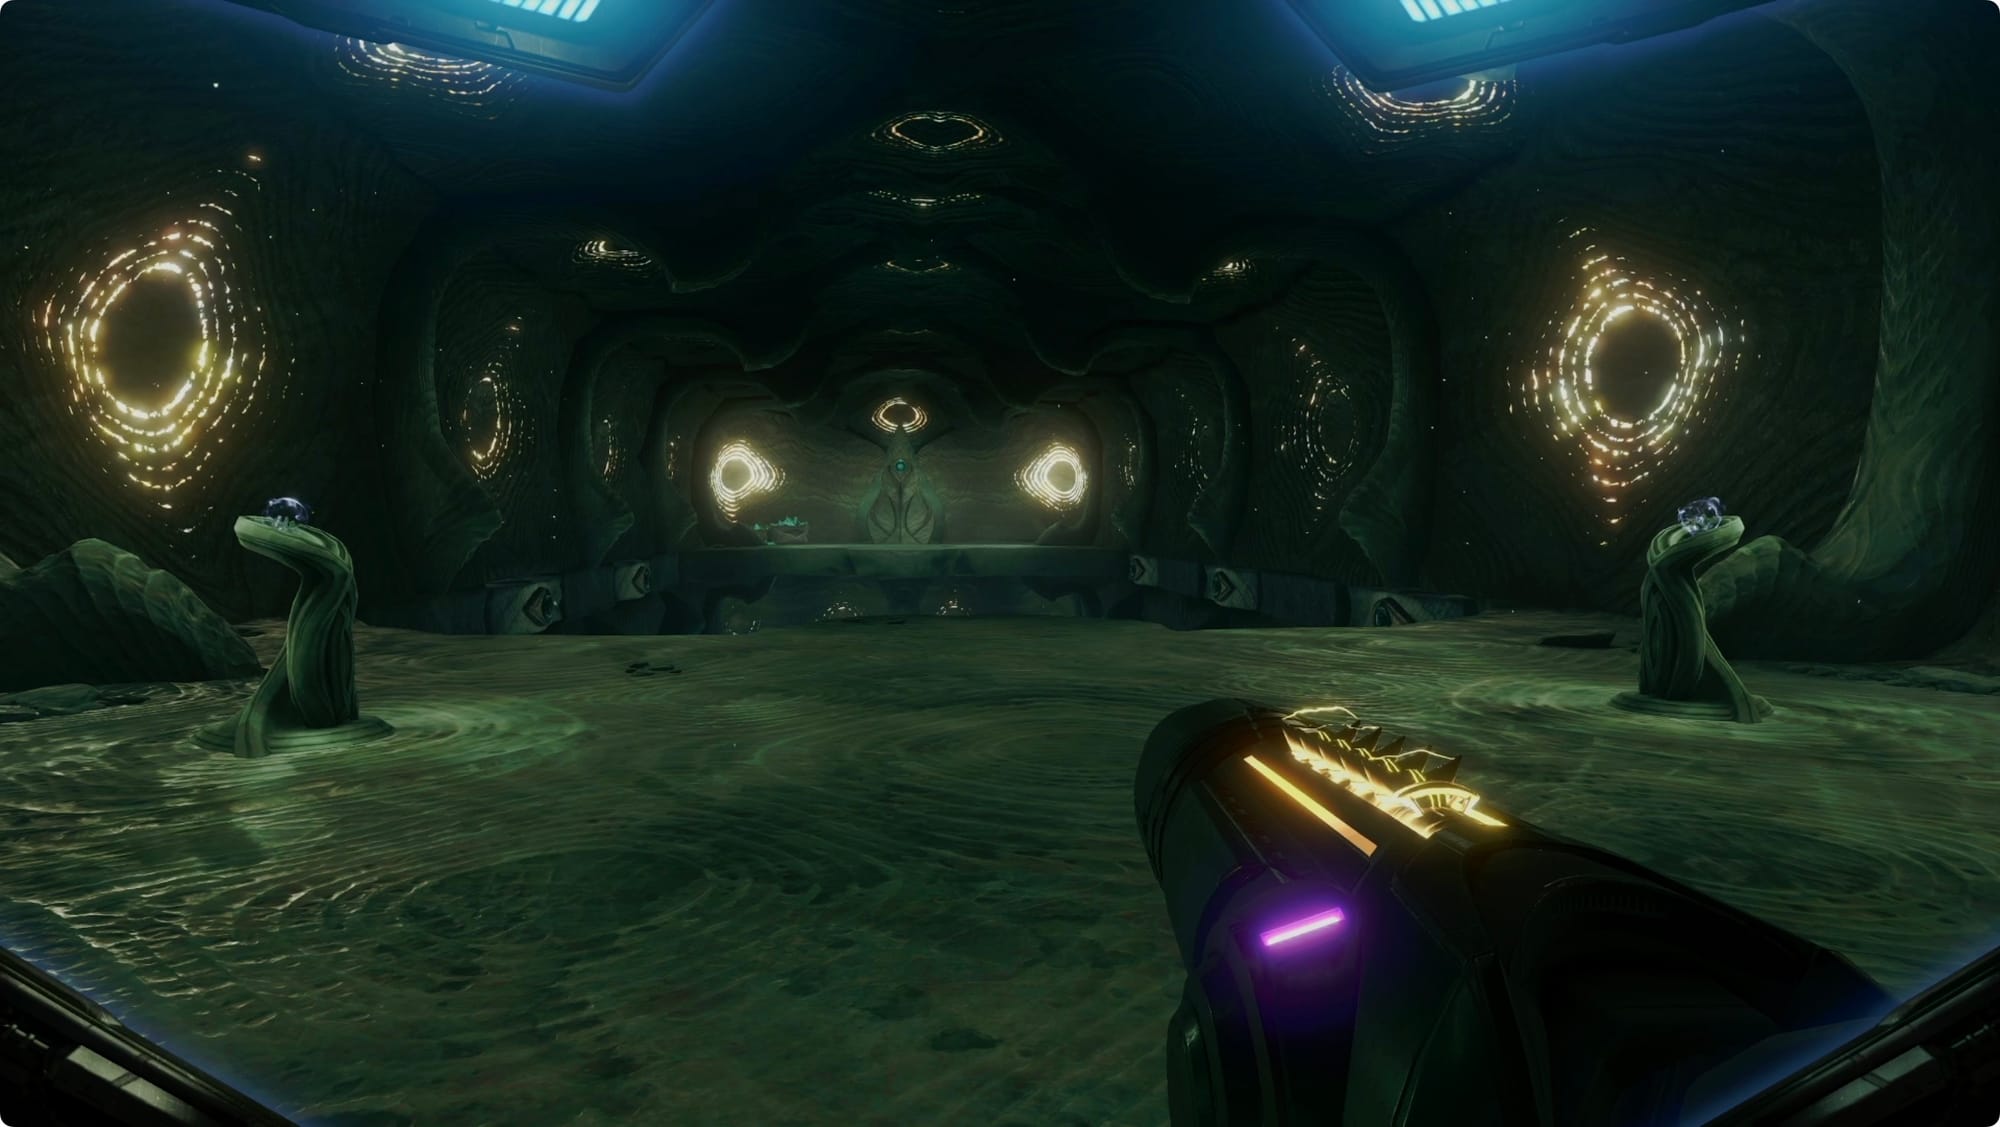
In the next room, take the first right and go down the ramps. Shoot the Green Crystals you see and then cross the not-water at the bottom of the room. On the far side, shoot the rest of the Green Crystals.

Turn around and look back the way you came to spot a Psychic Mote Slot. Grab one of the motes from across the room and slot it. A compartment will open up with a Shot Expansion inside.
Before you head back, grab the mote and shoot it into one of the slots along the wall. Head back to the start of this room.
Use the two motes to leapfrog back and forth across the room — you can’t just do two platforms on one side because you lose the angle to remove the motes. At the other end, use a mote to unlock the door.
Head through and grab the Charged Ice Shot.
Upgrade your Arm Cannon
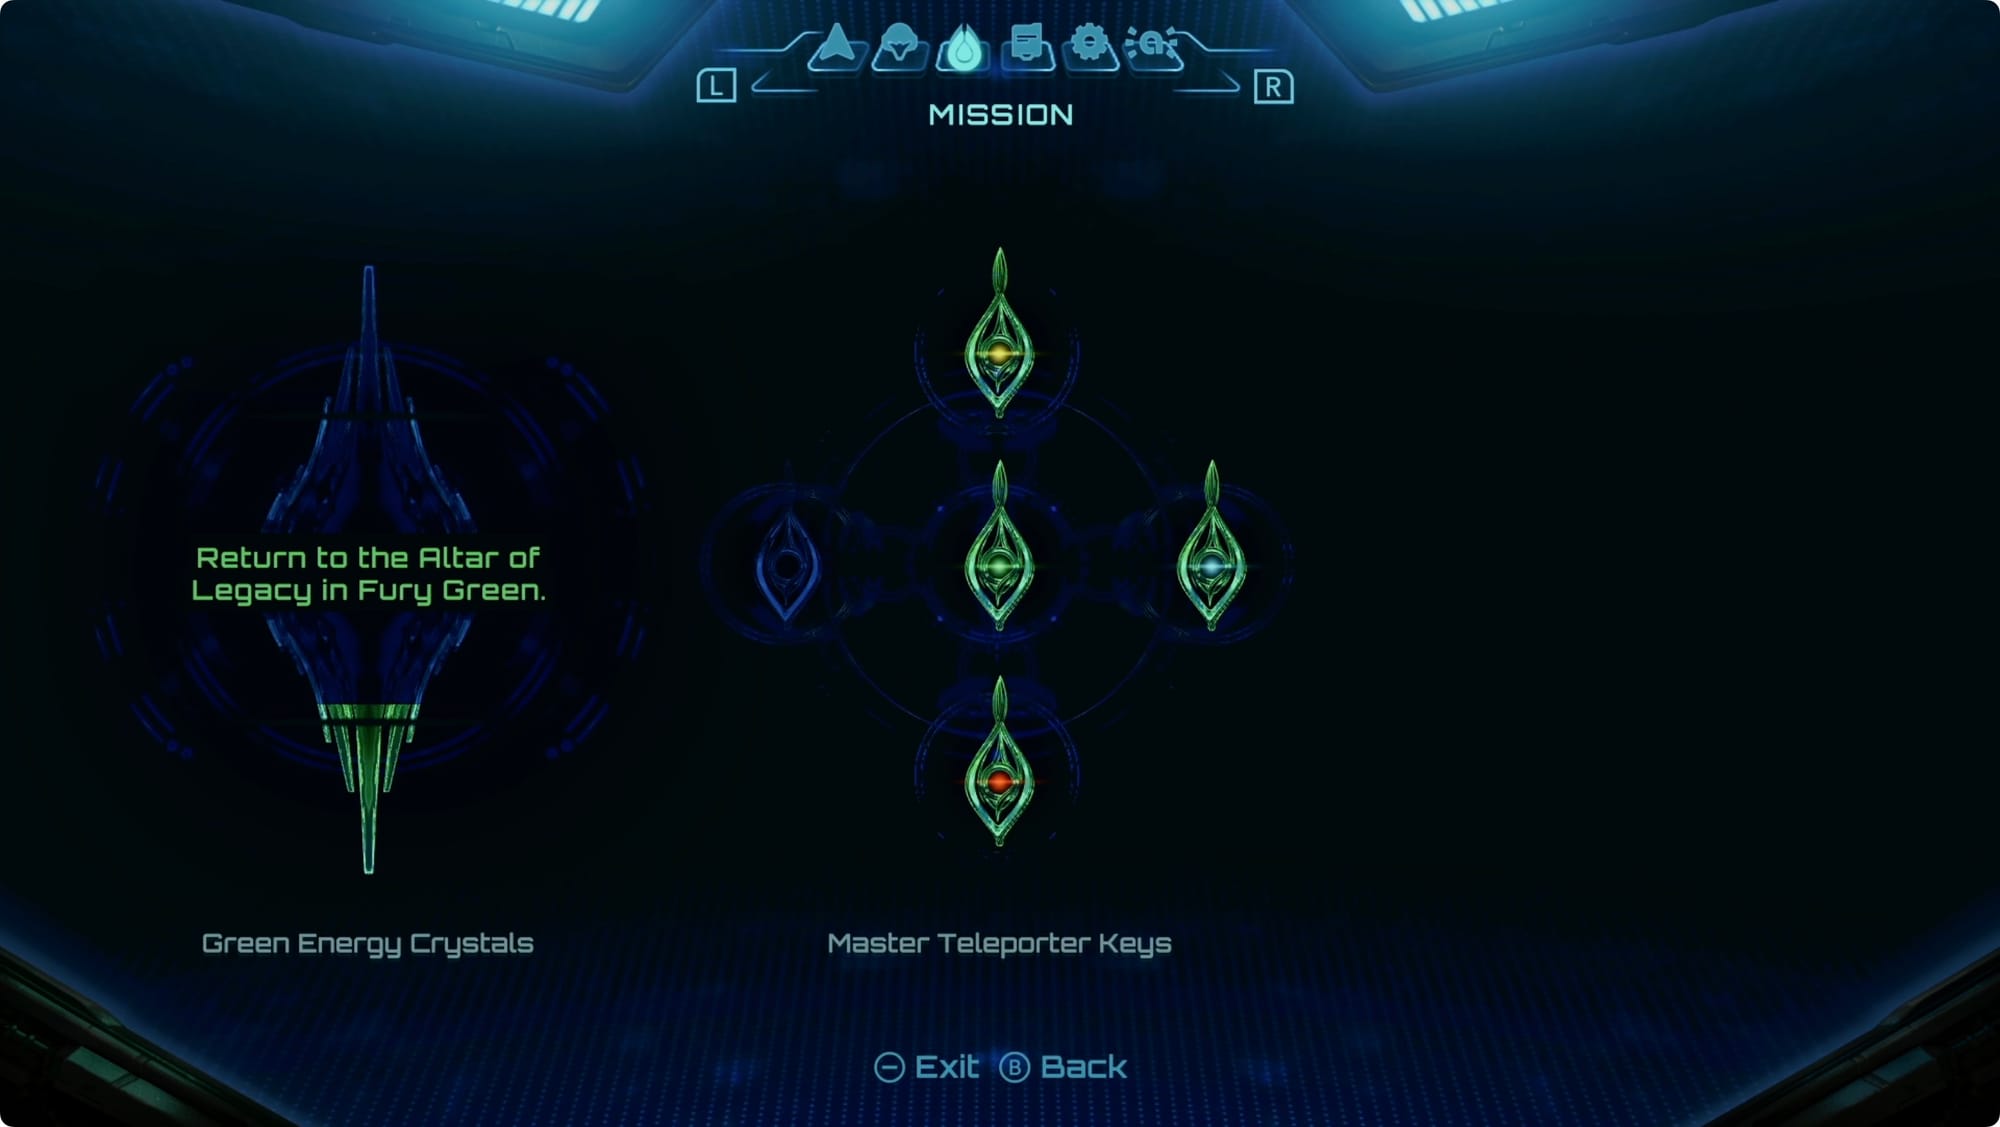
After that, you should have enough Green Crystals to upgrade your Arm Cannon back in Fury Green. You can check how much you have in the Mission menu — the Green Energy Crystals is just a vertical gauge and you’re looking to fill it about 25%. (If you’re short, you can always go whip some shitties in the desert to collect some more — it won’t get you a lot, but it can be enough to push you over the edge.)

Back in Fury Green, head for the Altar of Legacy south of Base Camp. Interact with it to dump in the Green Crystals you have and get the Psychic Beam Upgrade.