

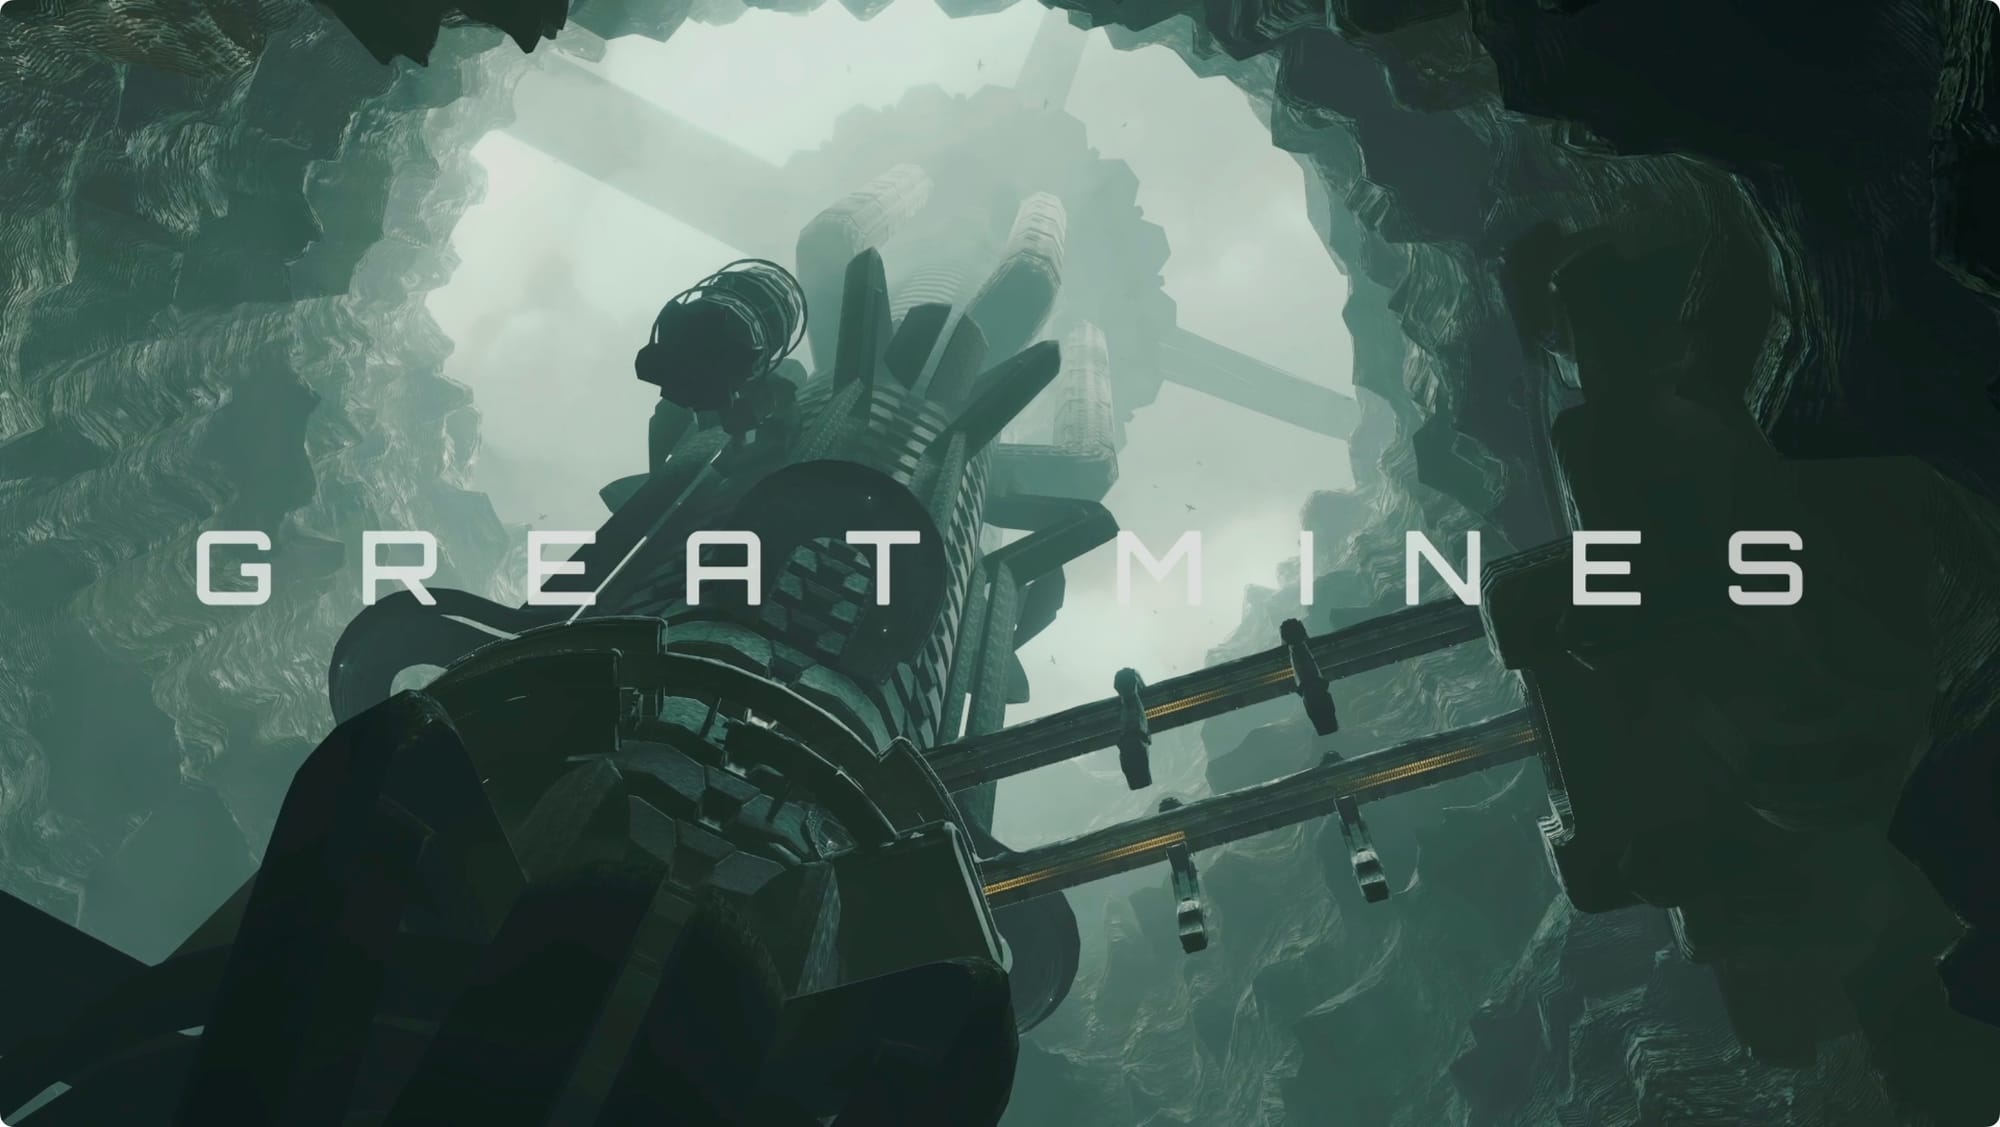
Metroid Prime 4: Beyond walkthrough pt. 7 (Great Mines)
Collect the final Master Teleport Key

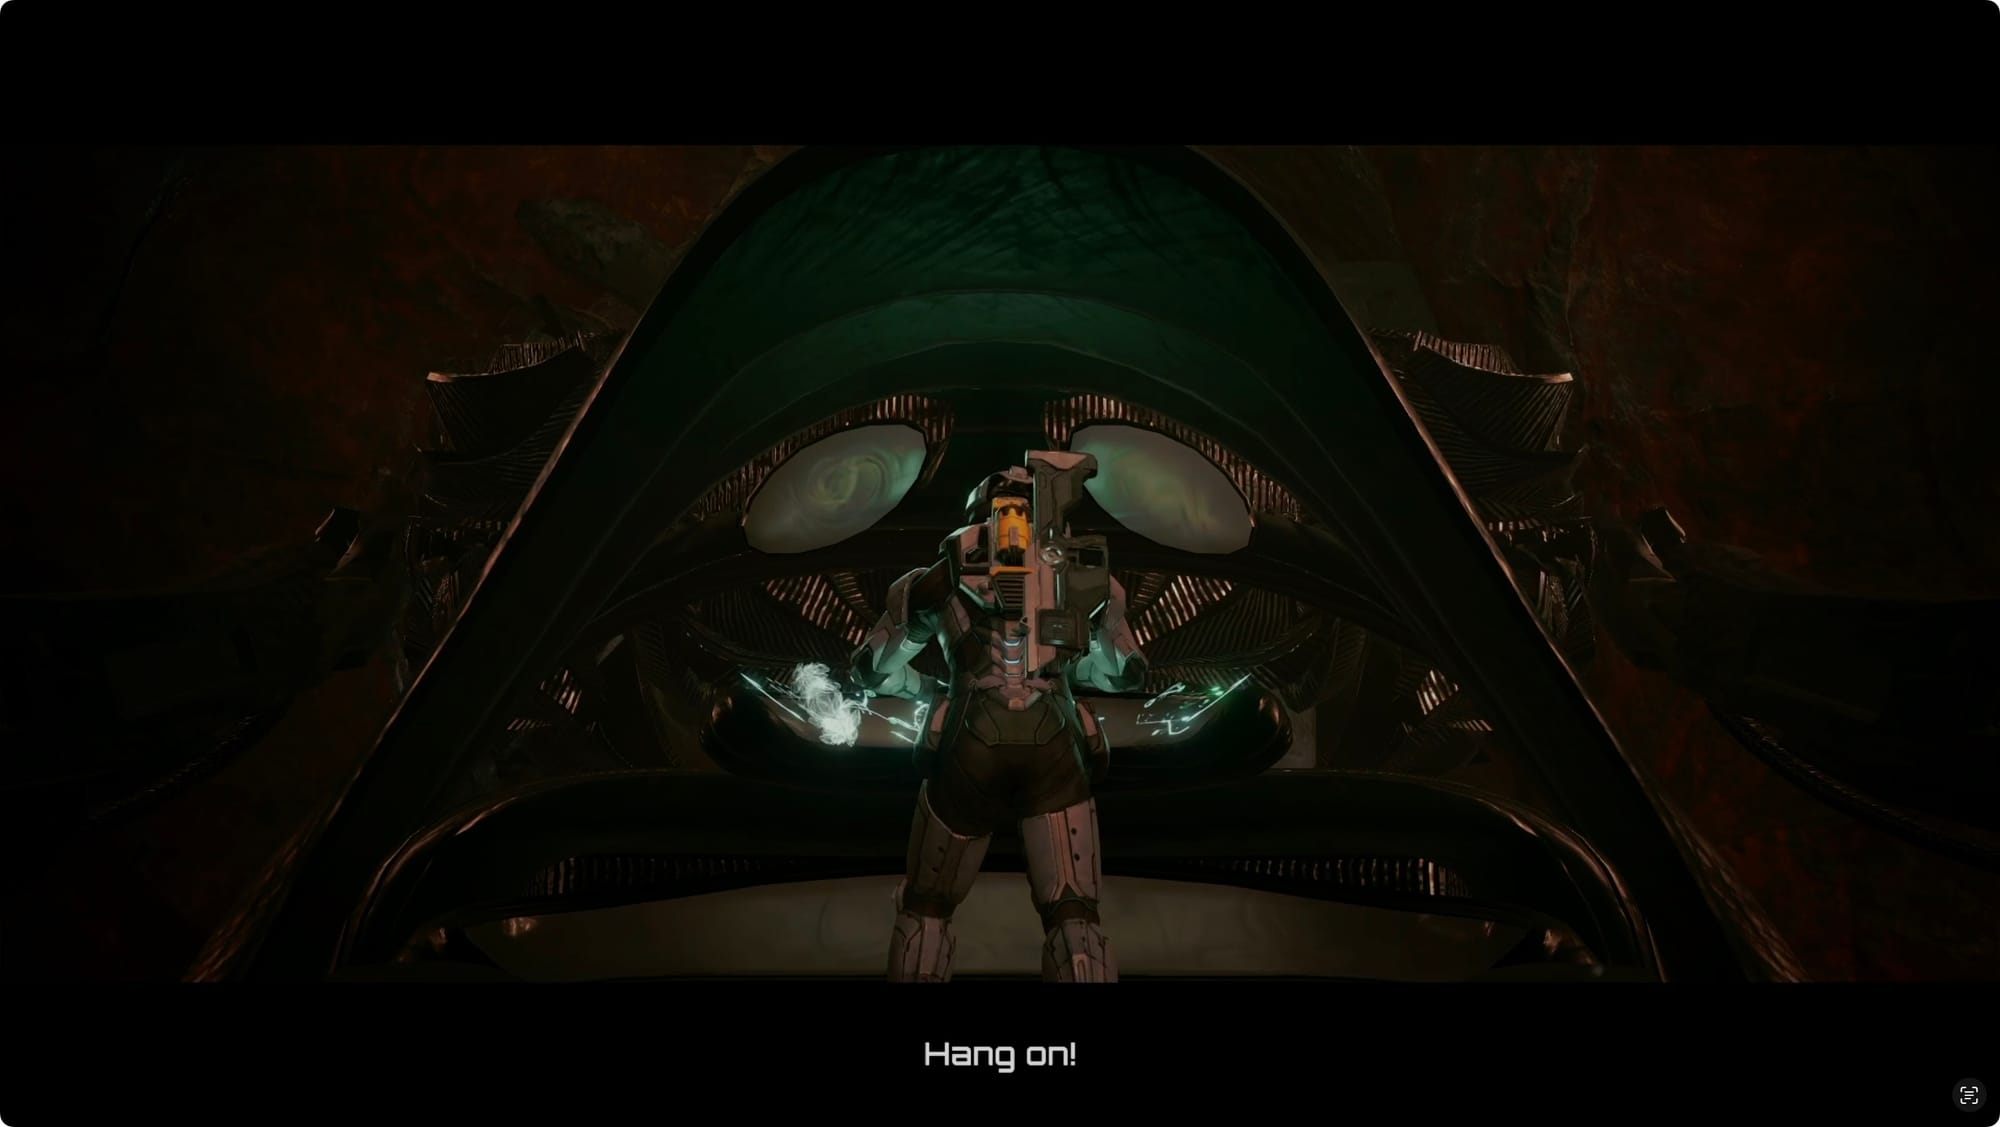
With all of the errands out of the way, let’s finally head to the mines in the northeast. As you ride up, you’ll see everyone waiting for you.
Great Mines Level 1
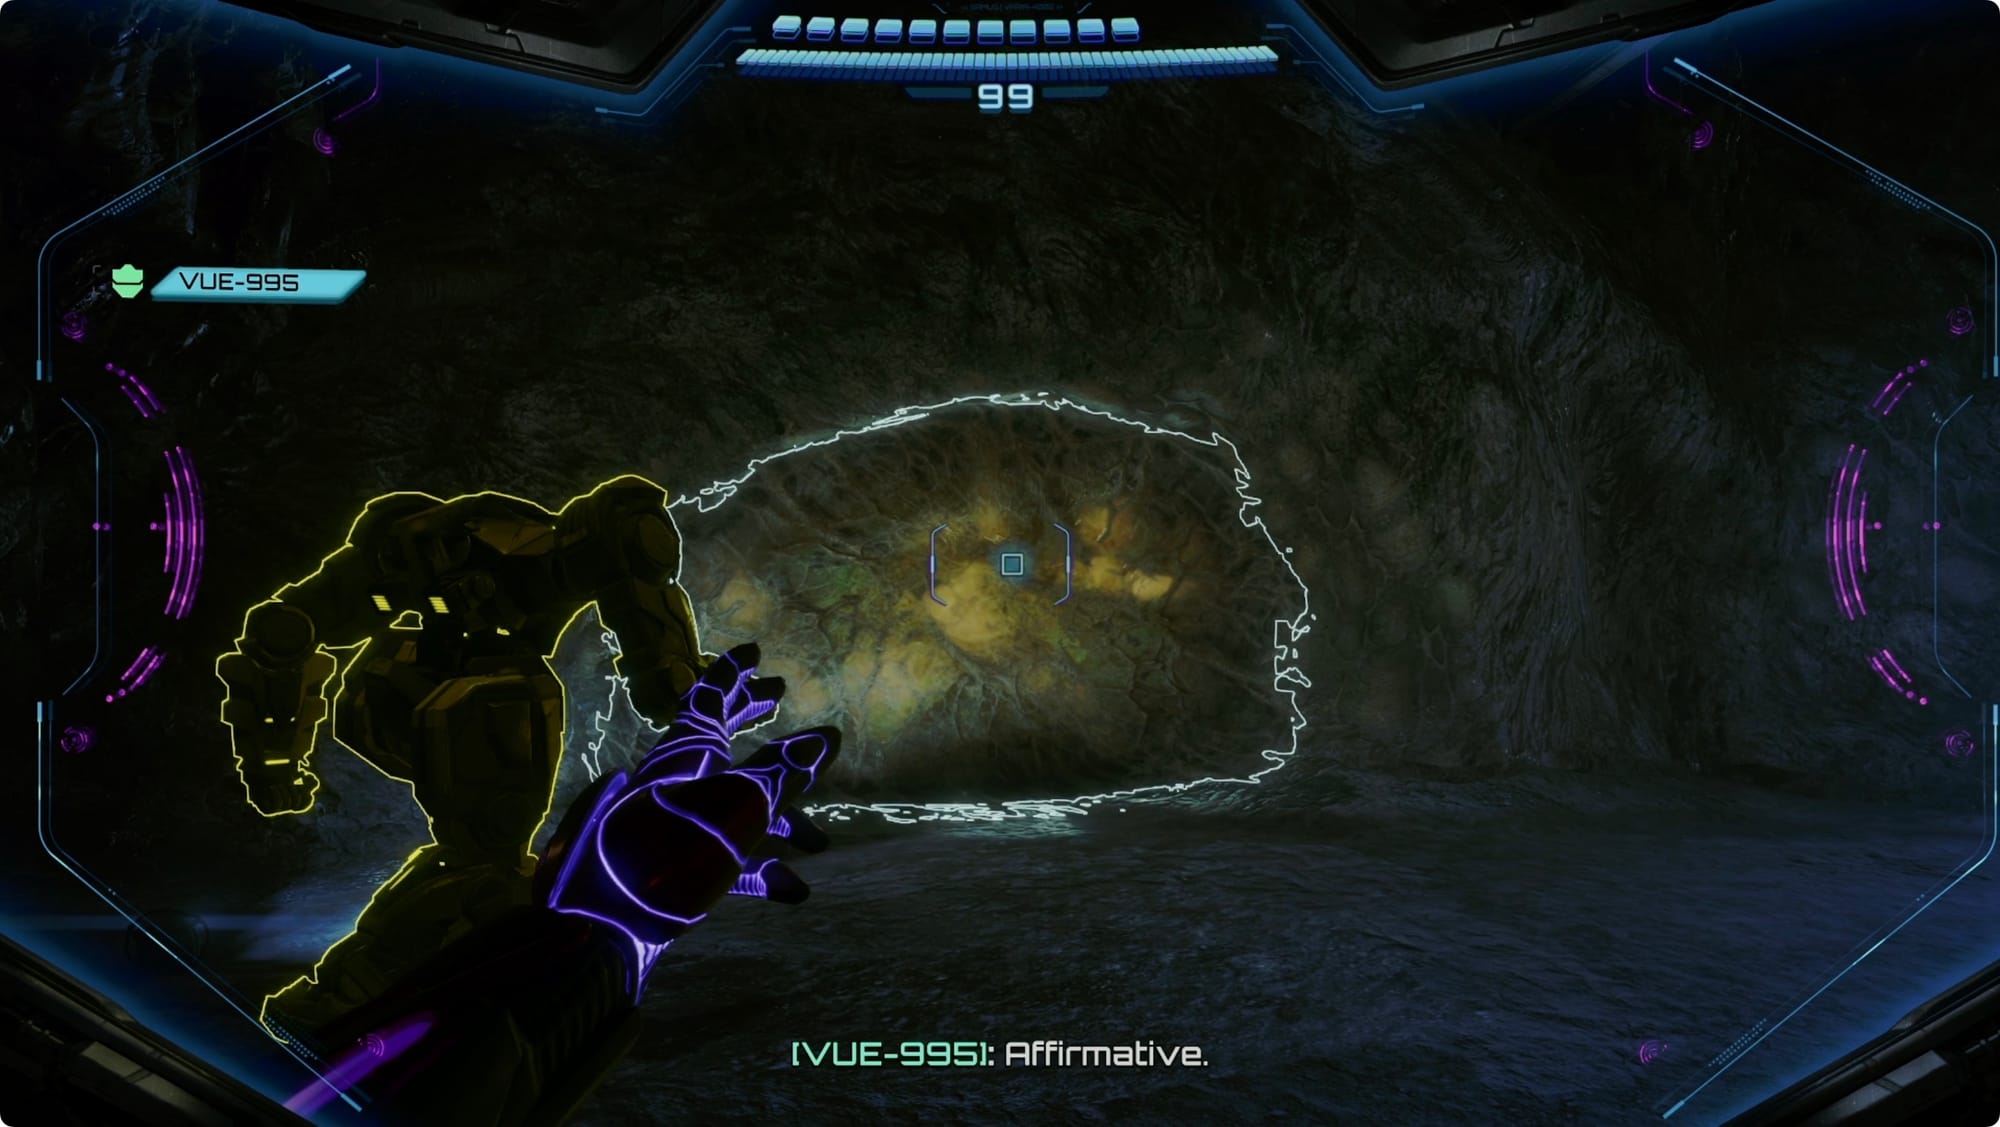
After the expositional cutscene, Morph Ball and use the magnetic rail to reach the other side of the gap. Hit the button to bring your friends over and then hit the next button that pops up.
Take the elevator down(ish), and take the door it stops in front of. Take a right (south) and follow the walkway around. Double jump the gap and use the Magnetic Rail to climb up. At the top, follow the walkway all the way around to the opposite side of the building.
This time, take the Magnetic Rail down. Continue counterclockwise to the east side. Magnetic Rail up and drop off to pick up a Missile Expansion.

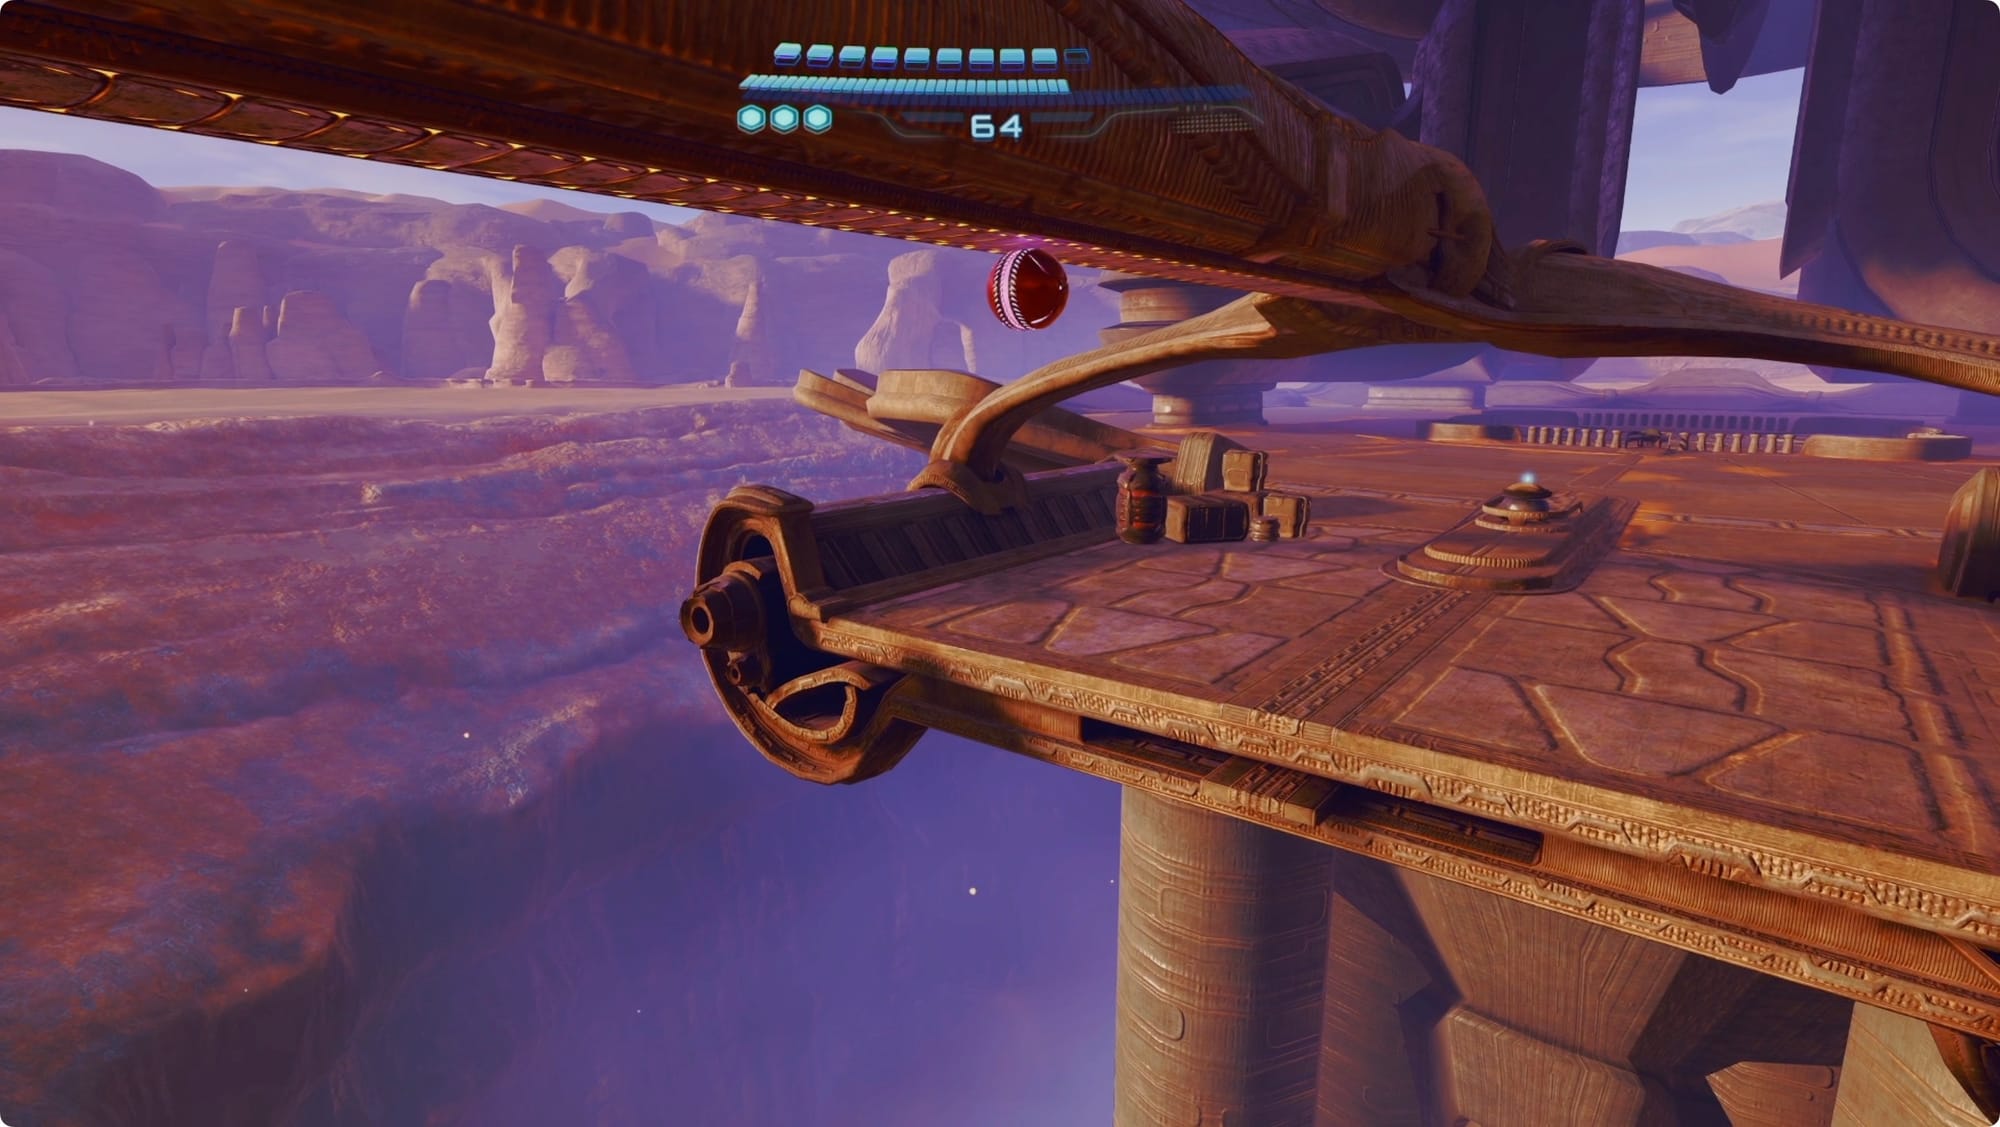
Backtrack to the balcony over where you started (west). Magnetic Rail up and start following the rails across the gap. Both times you run out of track, drop down to attack to a rail below you. Follow it not quite to the end, and then hold L/B to charge a Boost and shoot across to the other side. Roll up and boost again to get back to the overhead rail.
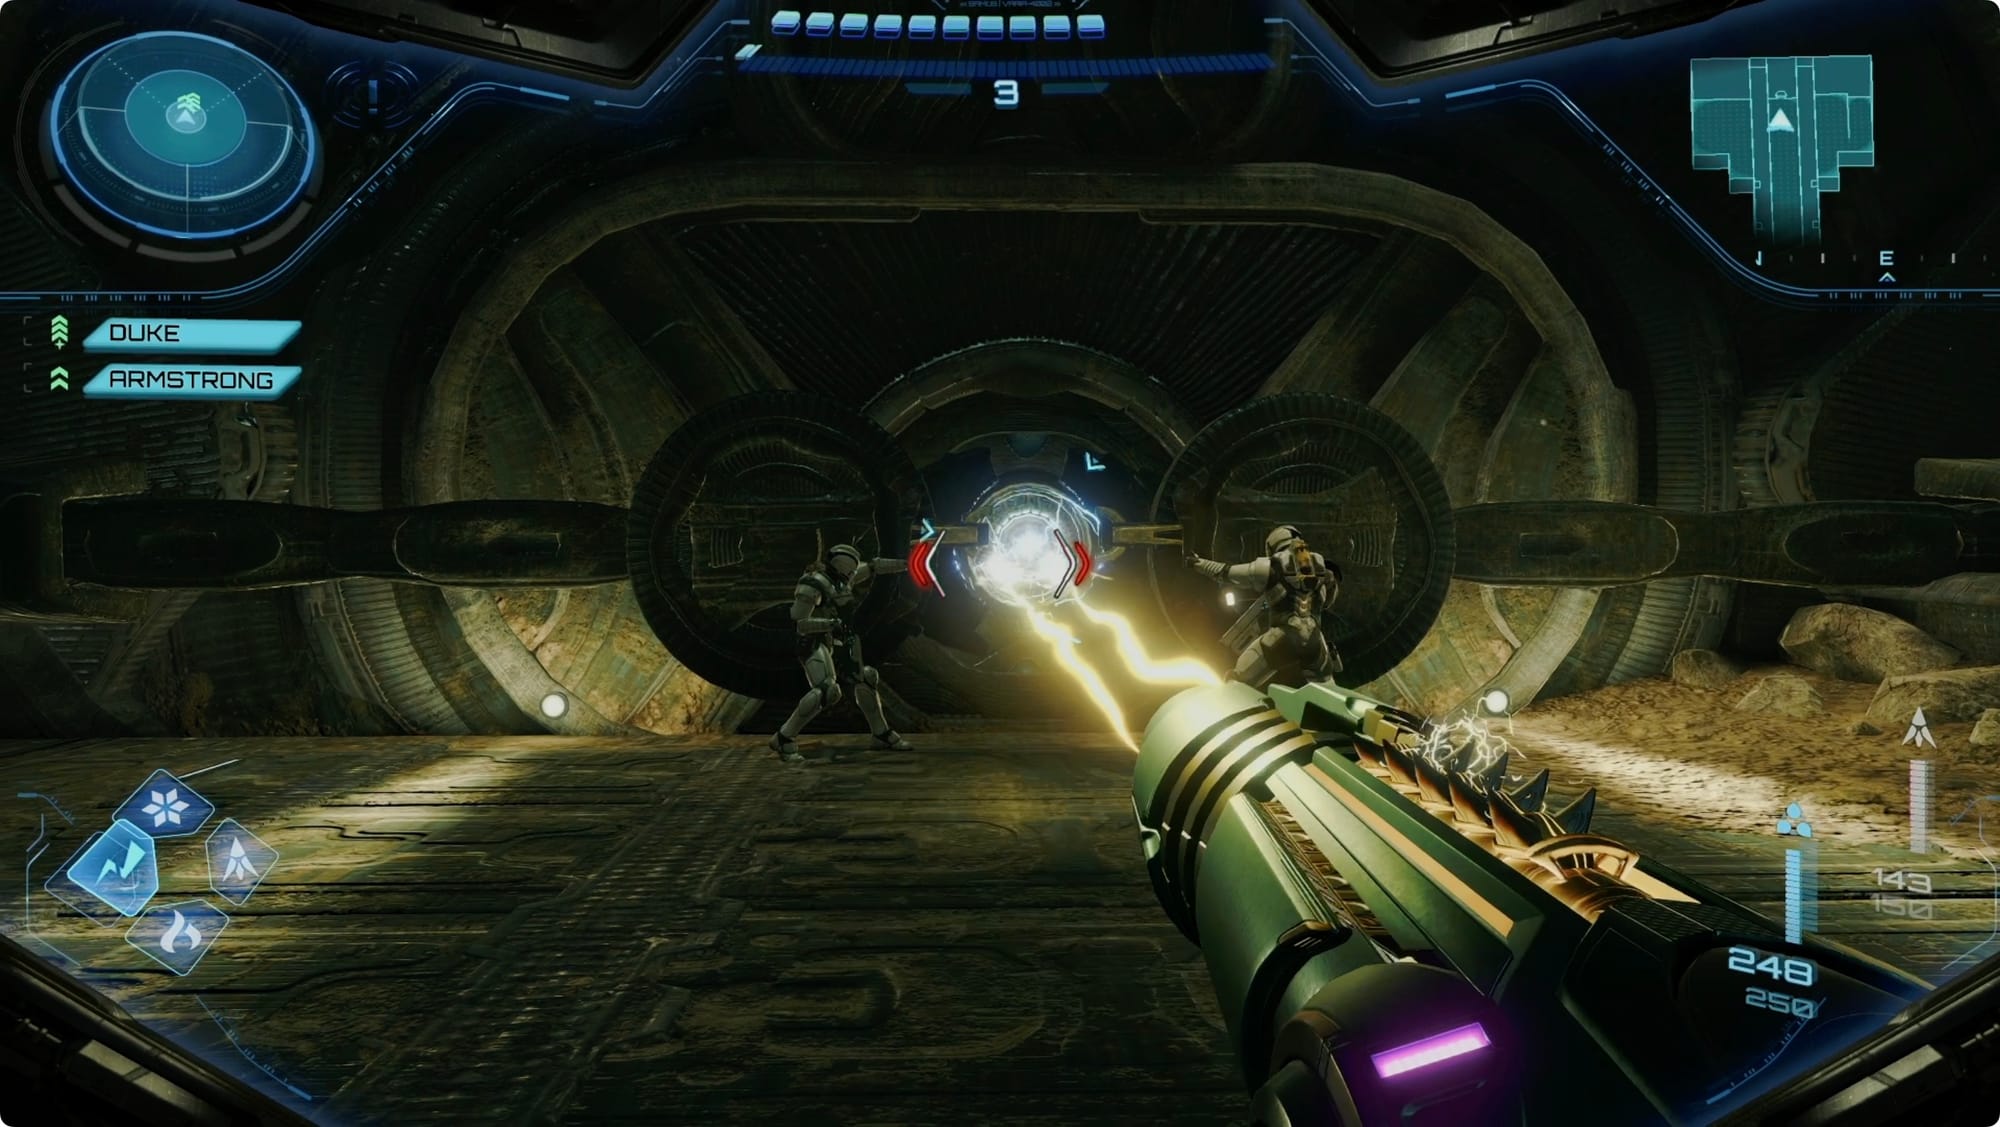
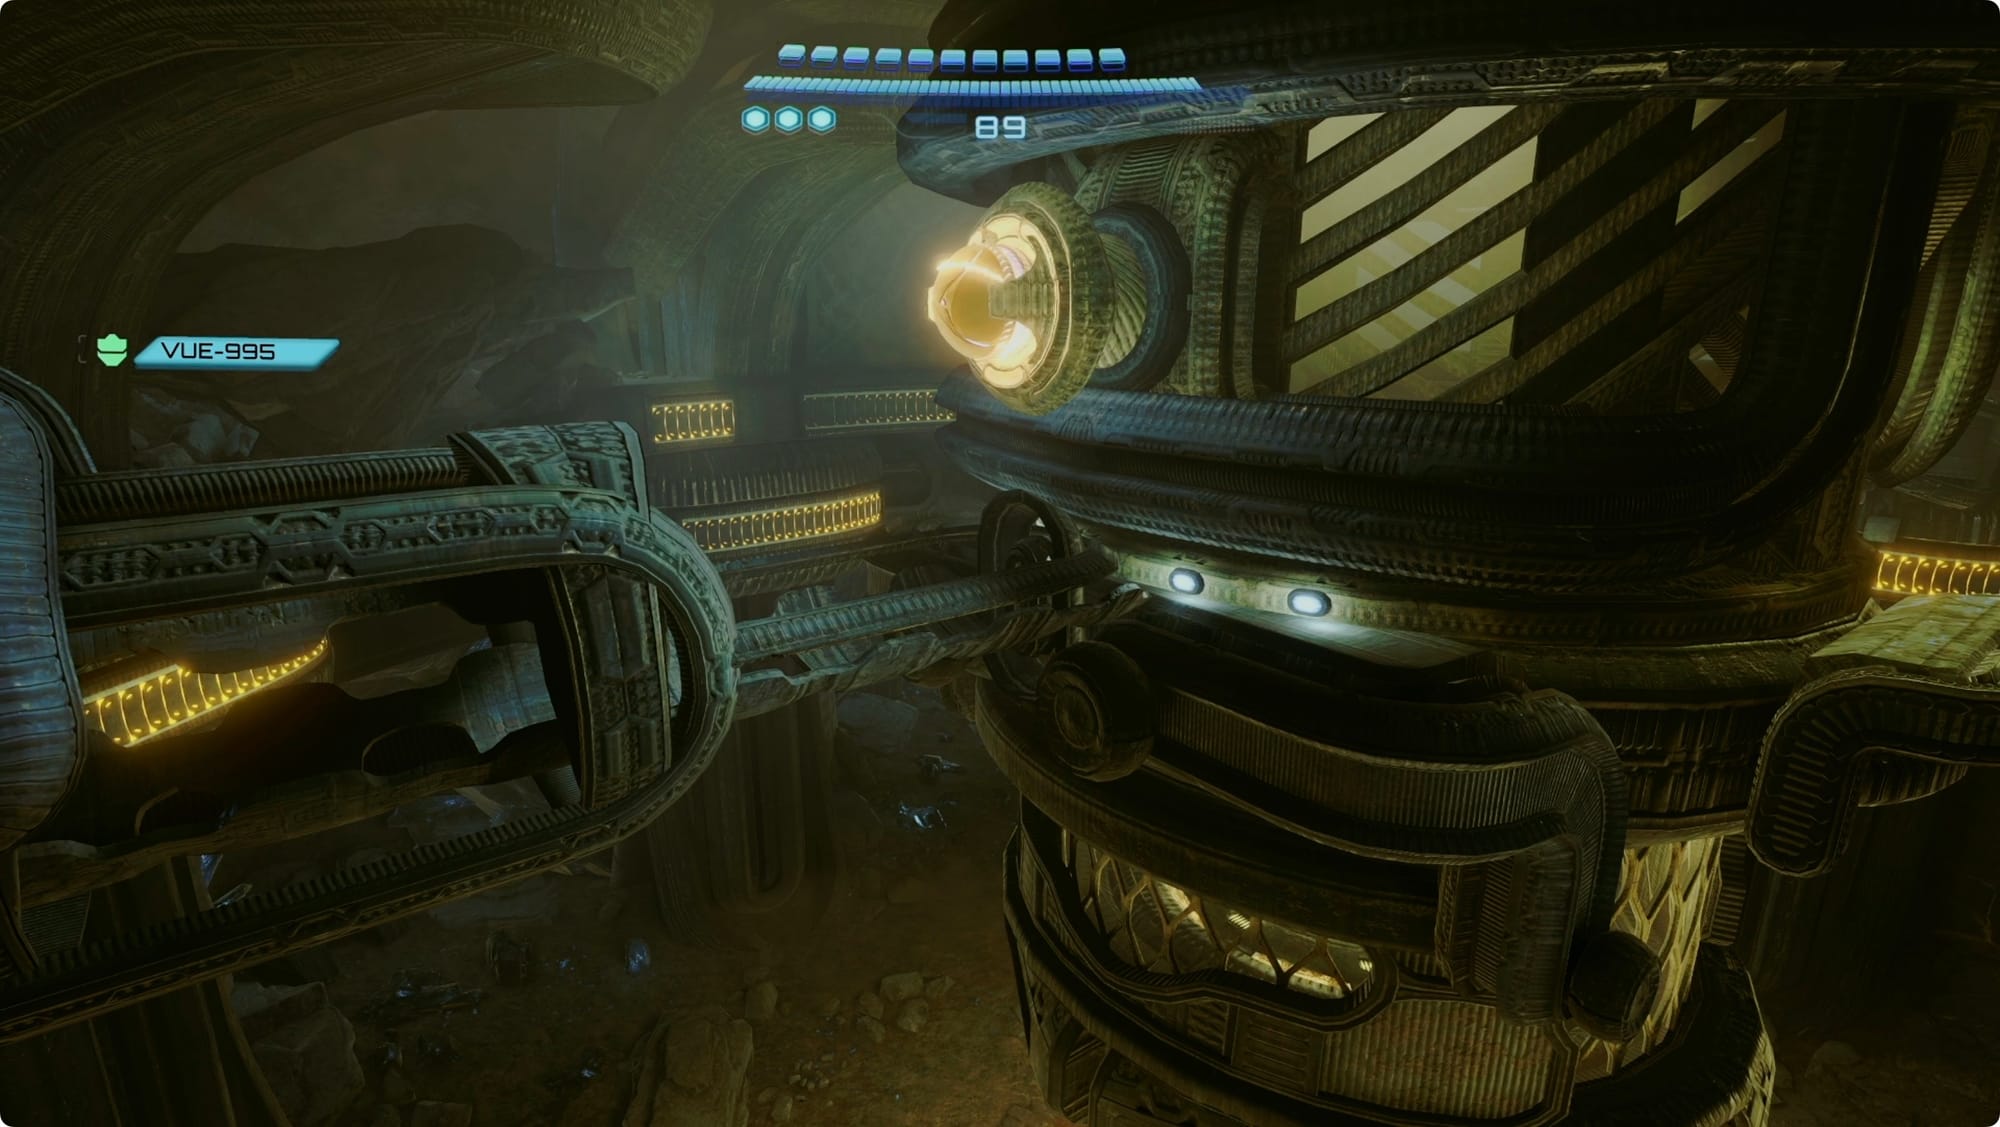
When you land, power up the Spinner to the right (south). Your friends will pull open the lock on the door exposing a Thunder lock. Hit it and head through.
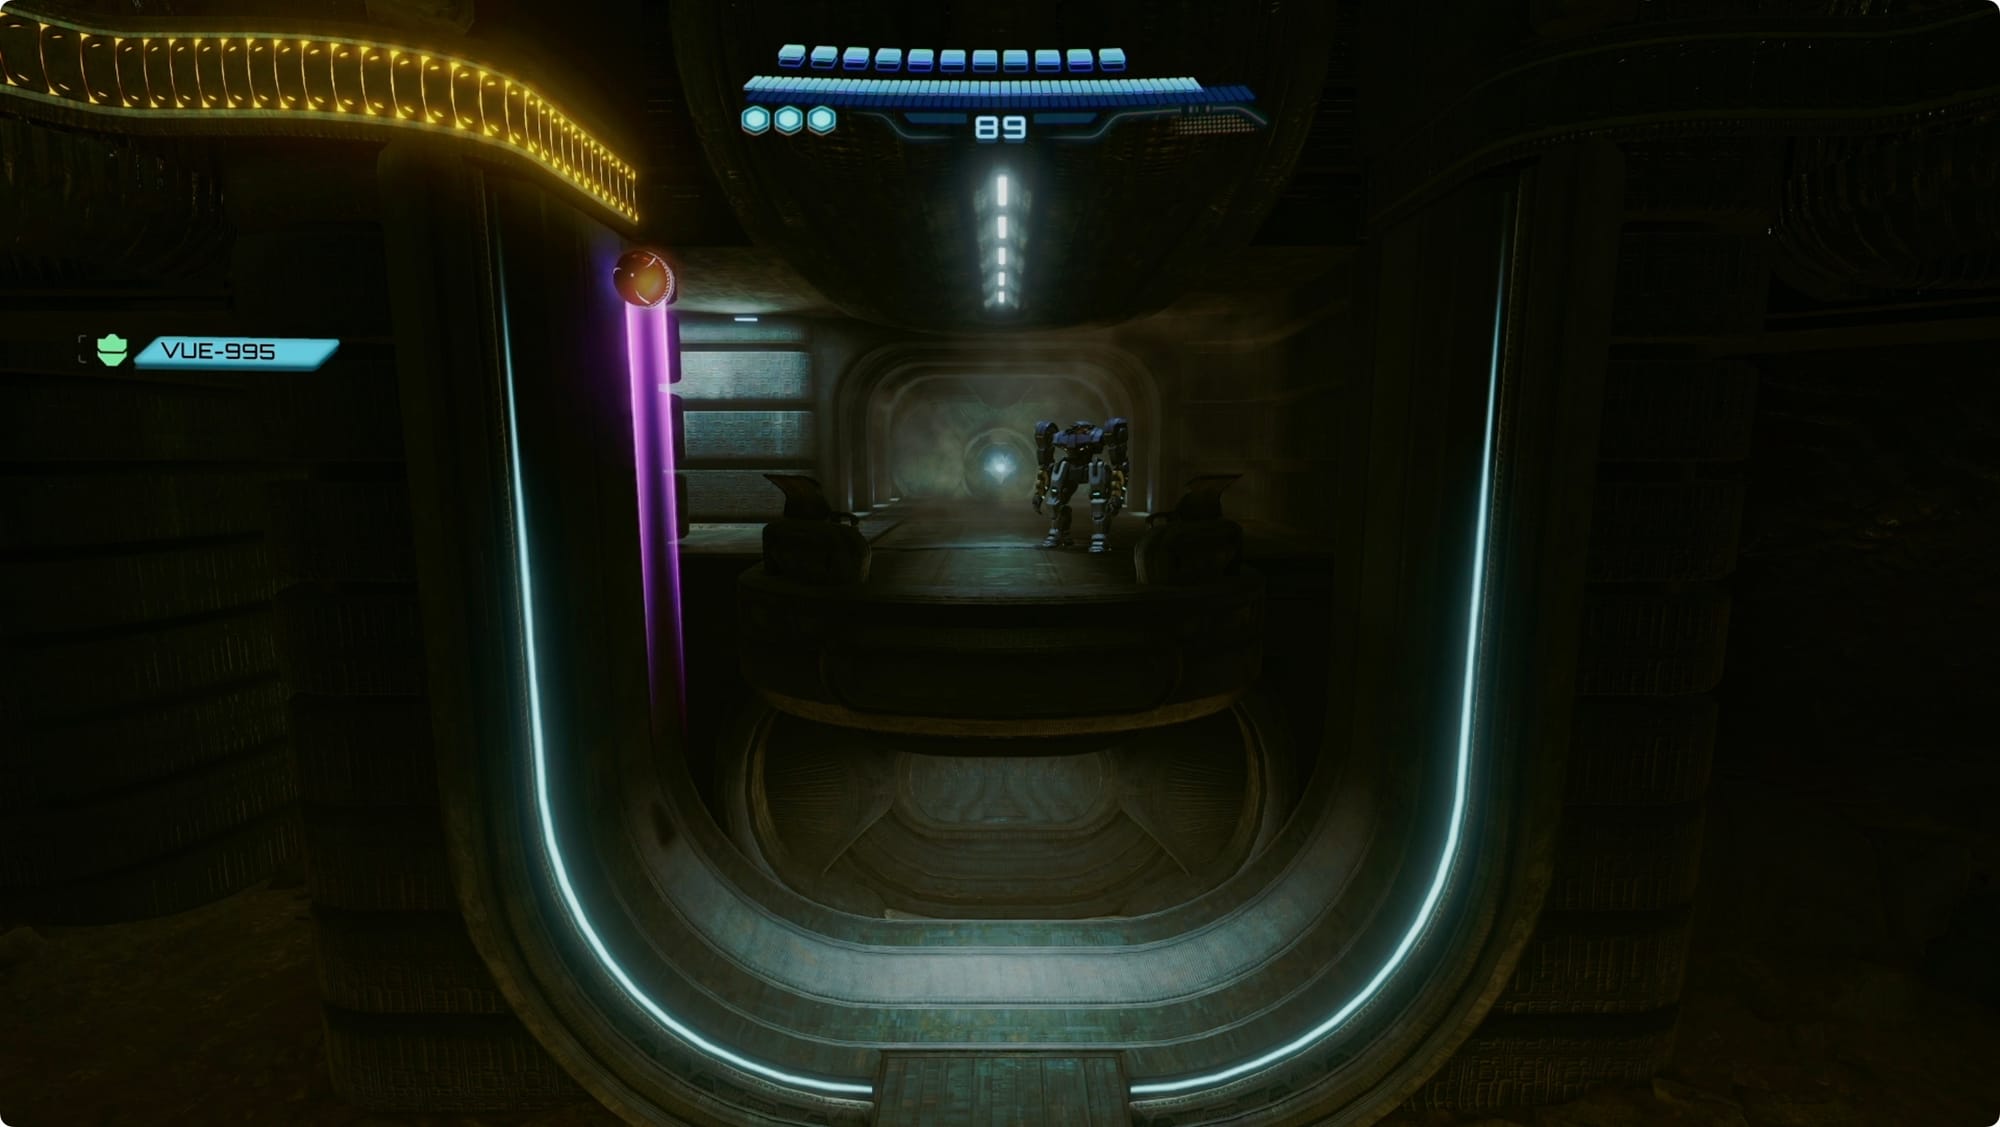
Head through the Entry Tunnel (there’s only one exit), and take a right in the Side Hall. Use the terminal you find to pick up the Area Map. Back up and use the other door in the Side Hall to find a Save Station.
Back in the Command Center, Bomb Slot the security shutter and take a left. Scan the Energy Lock to get Armstrong and Duke to help you out. Thunder Shot the door. In Transit Tunnel A, ignore impossible-to-open (“impossible”) gate on the right, and continue through.
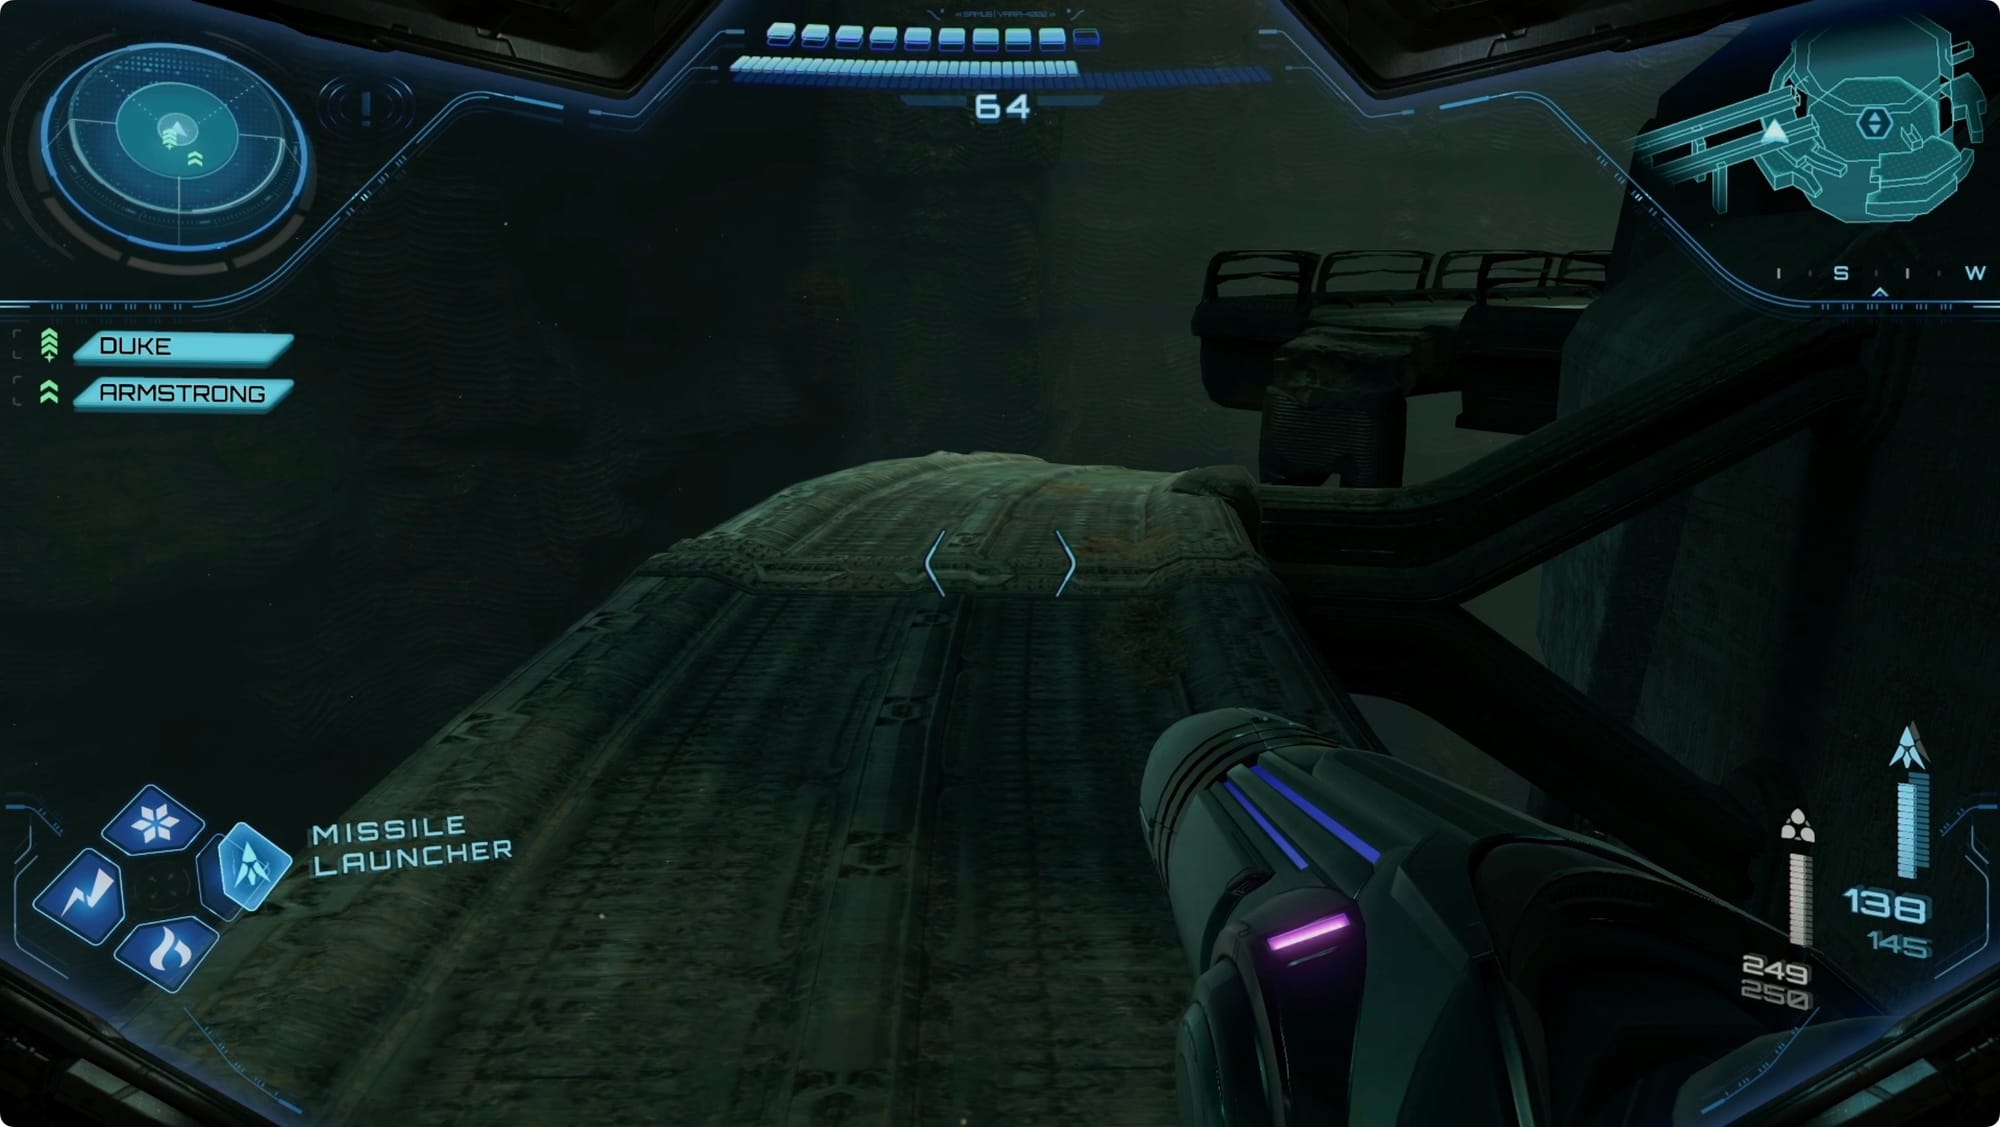
In the Drilling Site, head over to the left and scan the terminal. Hit the button to turn on the drill. Head over to the ass end off it and you’ll find a Morph Ball hole to get it jumpstarted. Roll in, and boost around clockwise until it starts up.
When the hinge jams, use the broken platforms to the left (south) to climb up for an angle. Lasso the pin out.
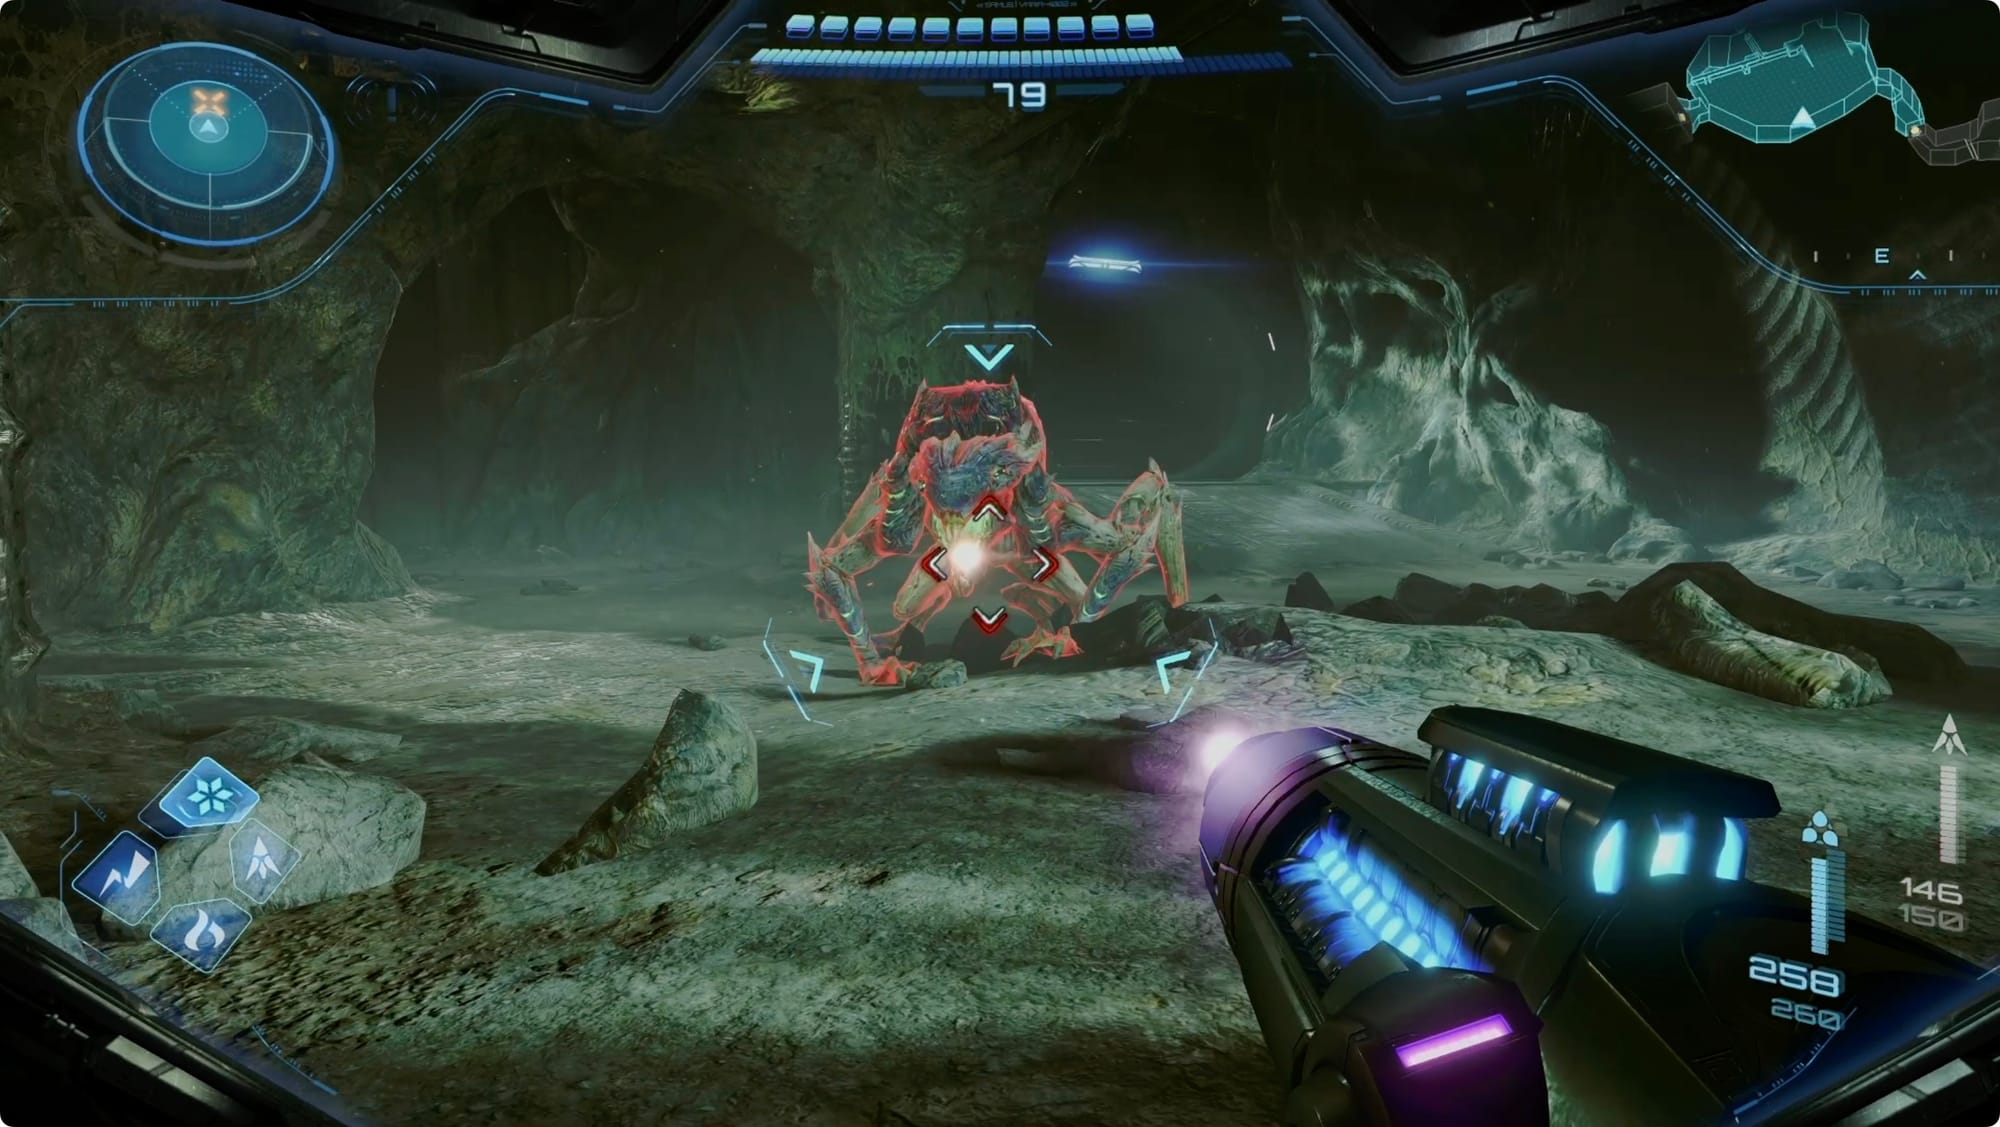
You’ll get jumped by a mob of Maul Grievers. Luckily, those Arm Cannon upgrades make pretty short work of them. Unluckily, some of them glow green and explode. Take Duke’s advice and Freeze Shot those.
After a bit, the drill will punch through and you can hop down.
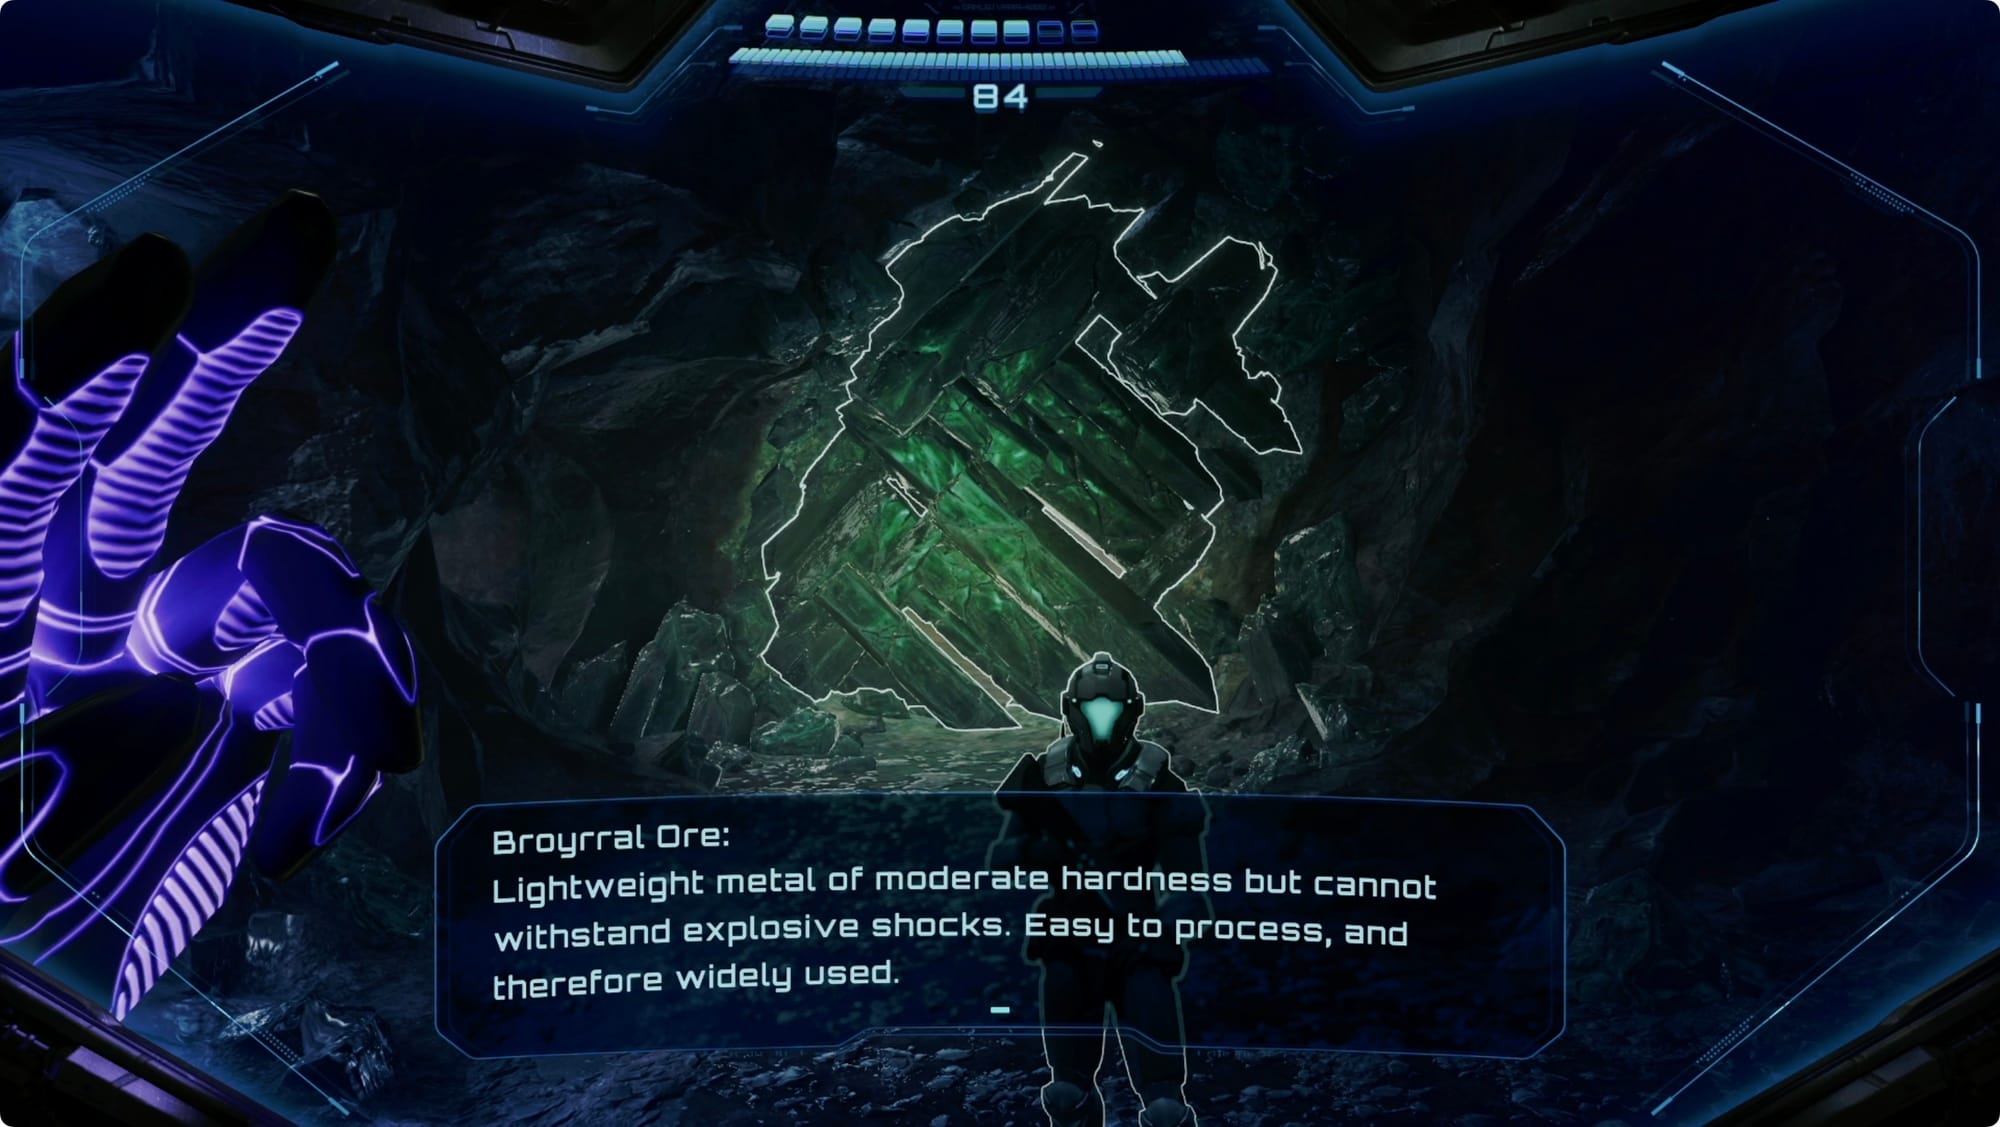
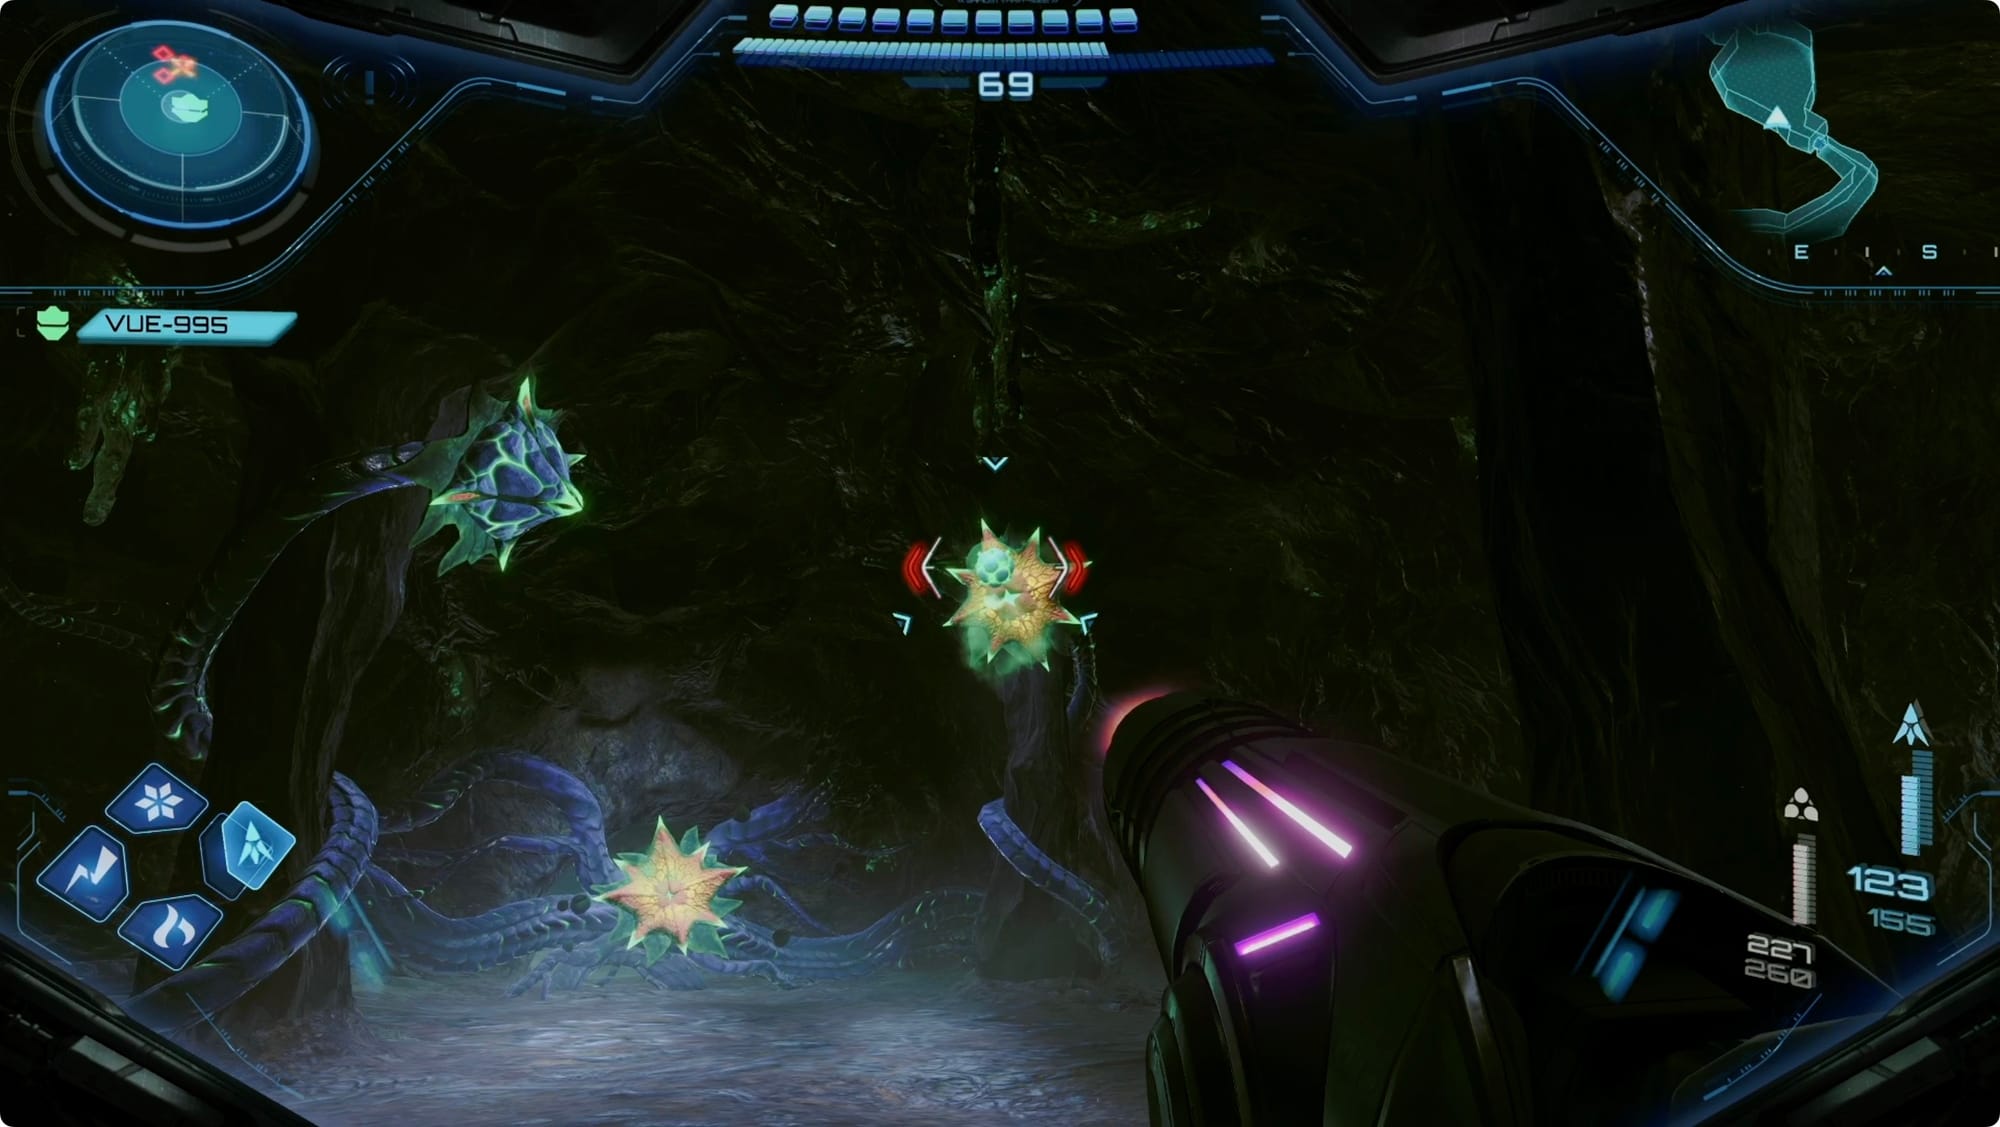
Just follow the caverns forward until you hit a green crystal wall made of Broyrral. Missile it a few times. On the other side, you’ll get swarmed by Grievers again — combinations of Ice Shot and lots of shooting work really well here.
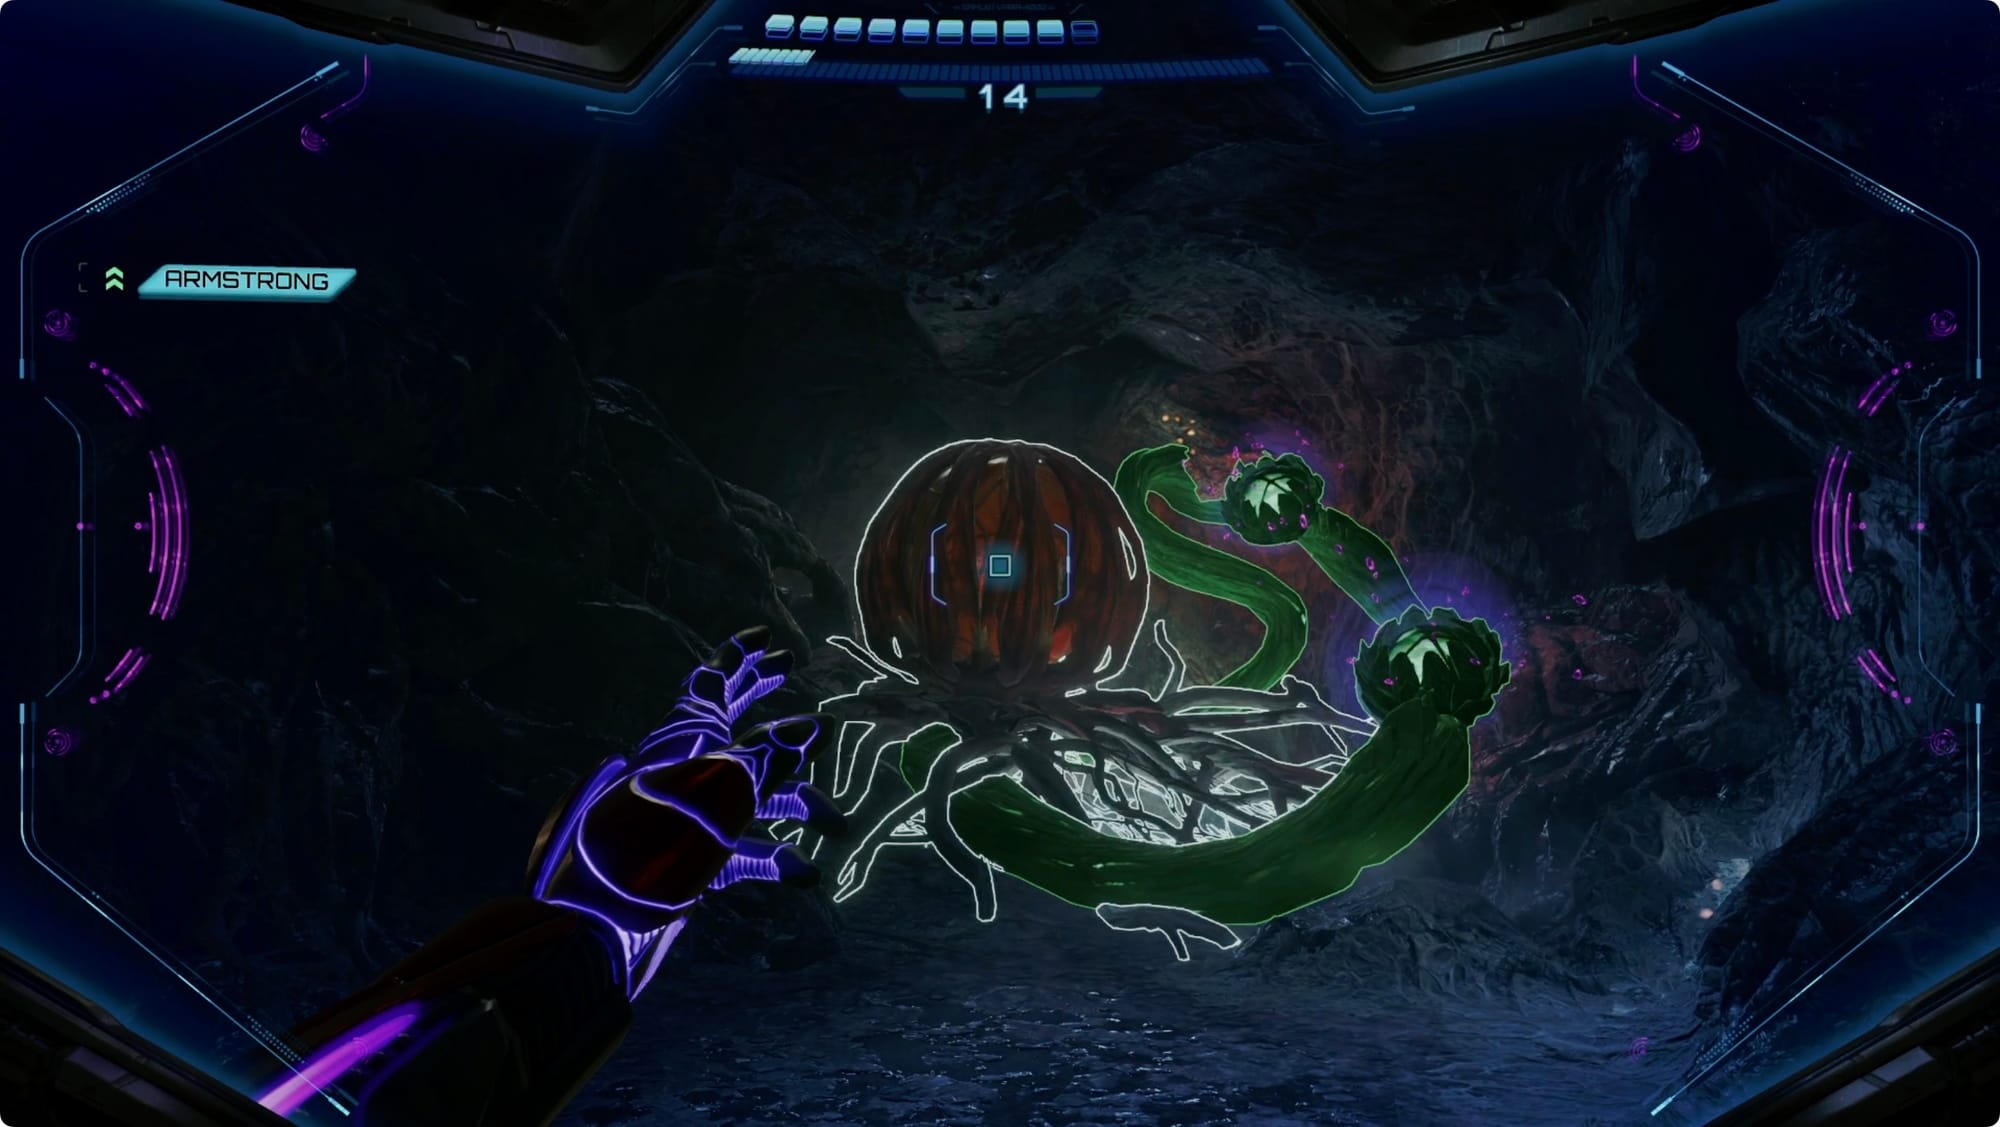
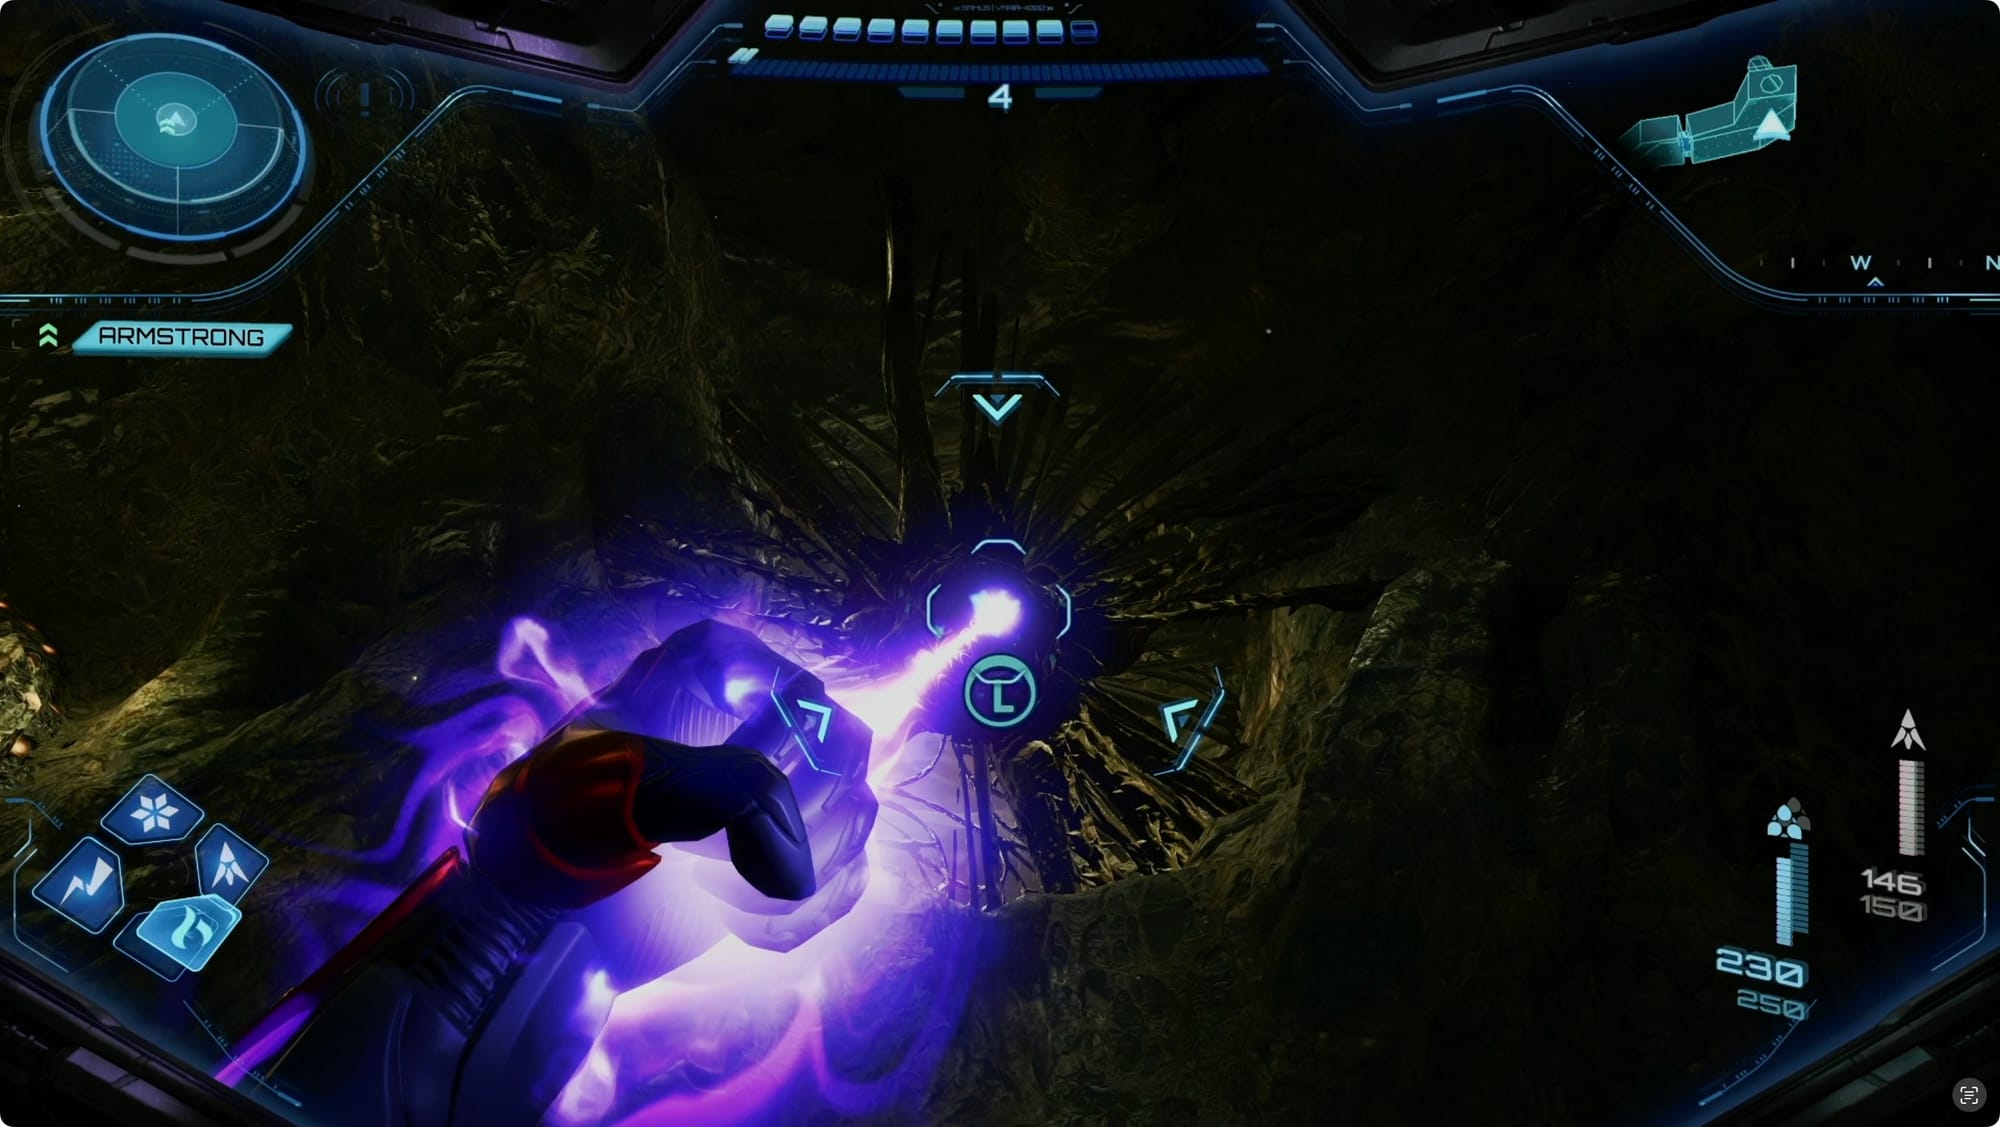
When you hit the Garnbocask — the giant, angry pumpkin — shoot the smaller growths on the right side to get it to wither, and then shoot the main pod. Drop down through the hole behind it.
In Garnbocask Site B, shoot all the Shriekbugs to summon a few Grievers (one less thing to worry about), and then shoot the Garnbocask pod you can see. The others are up above you and out of reach. Use Control Shots to hit those. Blow up the main pod and drop down.
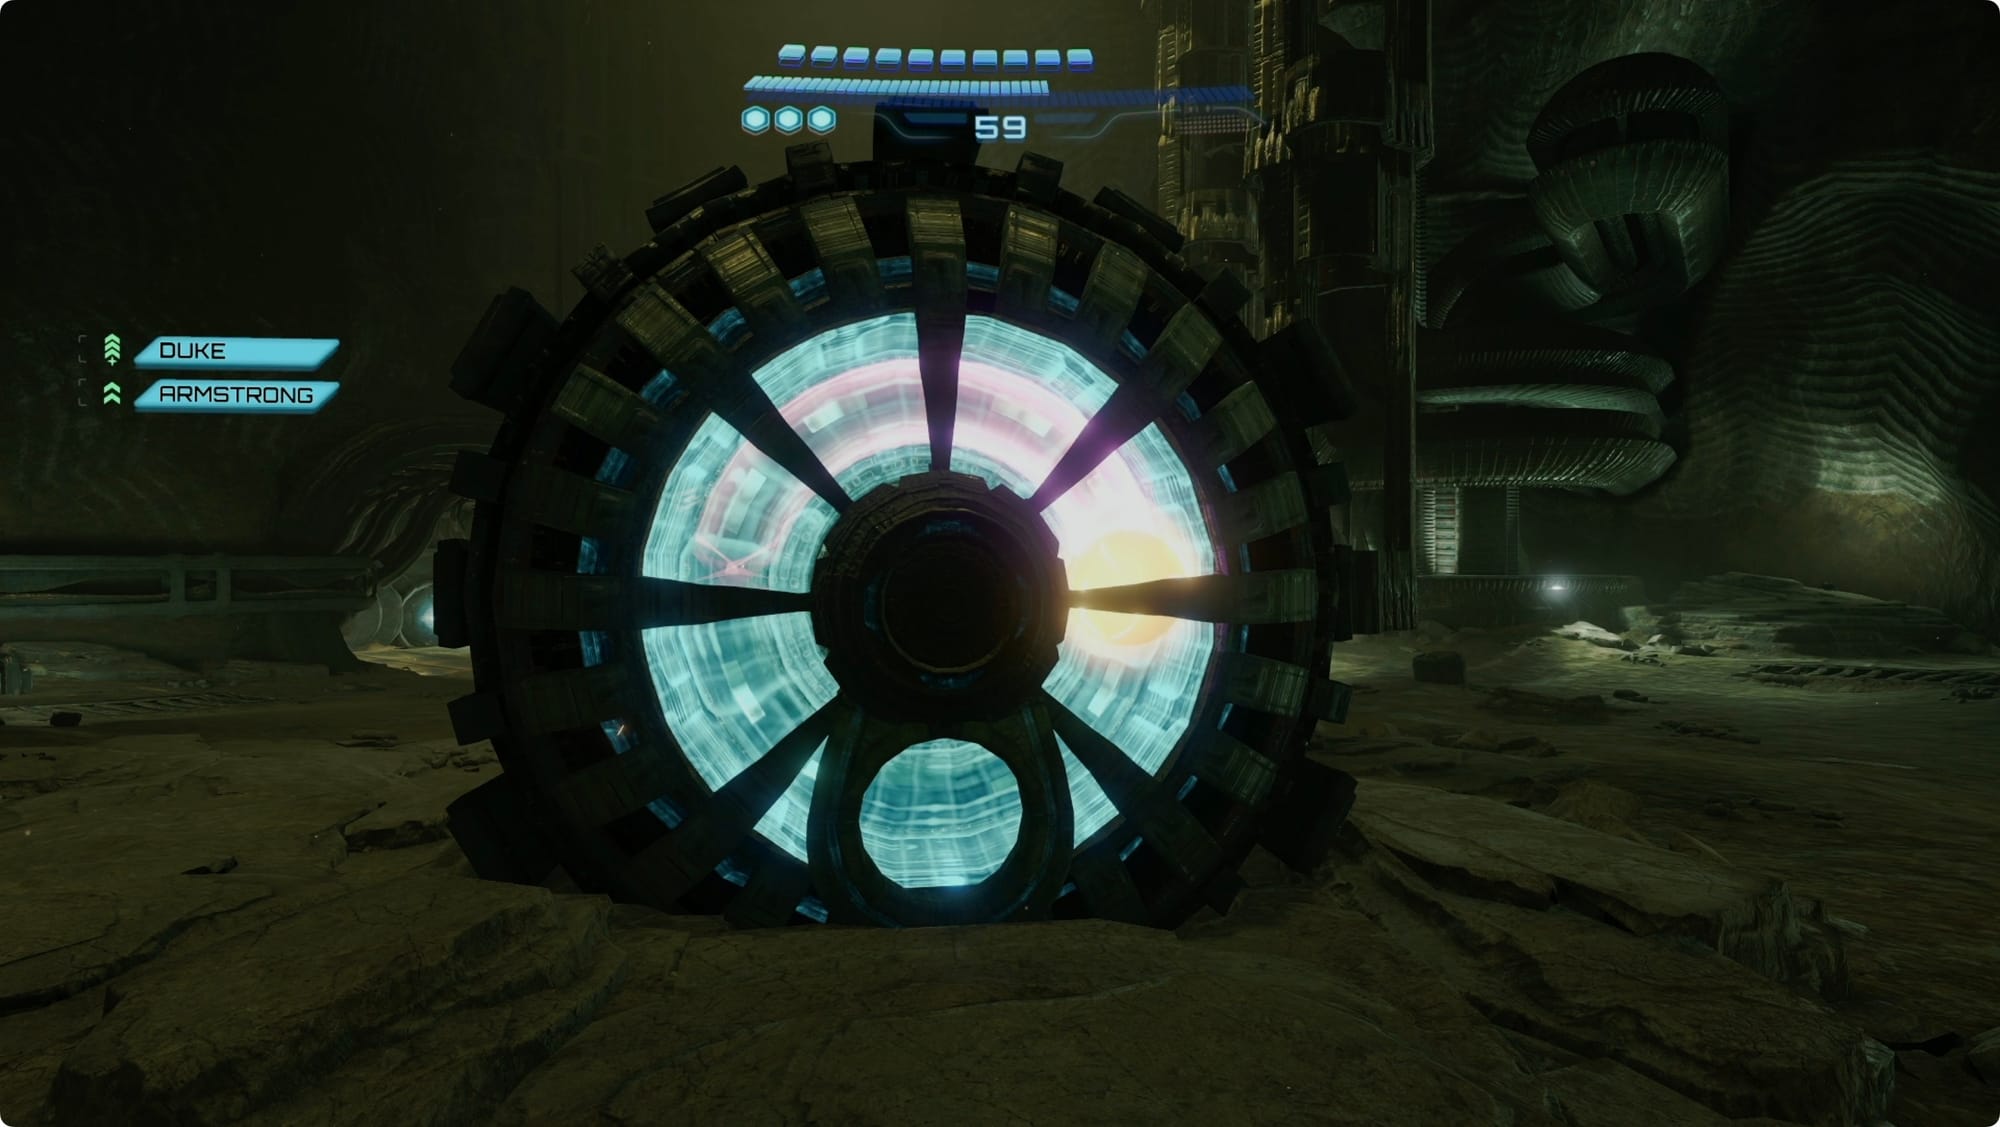
Keep heading forward until you hit a weird, web-like wall. Lasso it (at which point, for some reason, the “puzzle solved!” music will play. Lasso through the next web too.
Great Mines Level 2
In the Narrow Crevice, ignore the Metareetta corpses (probably nothing) and missile the crystal wall. Deal with the Grieves that show up, double jump the gap, and lasso the web door.
Follow the path through the Construction Site until you hit the powered down Maintenance Hatch. Look up and left to find some webbing. Burn it off, and then Psychic Glove a Psychic Bomb into the Bomb Slot.

Burn the webbing on the other side of the door and head forward to the conveniently placed Rock Eater drill. Burn the webs off of it, scan the terminal, and hit the button.
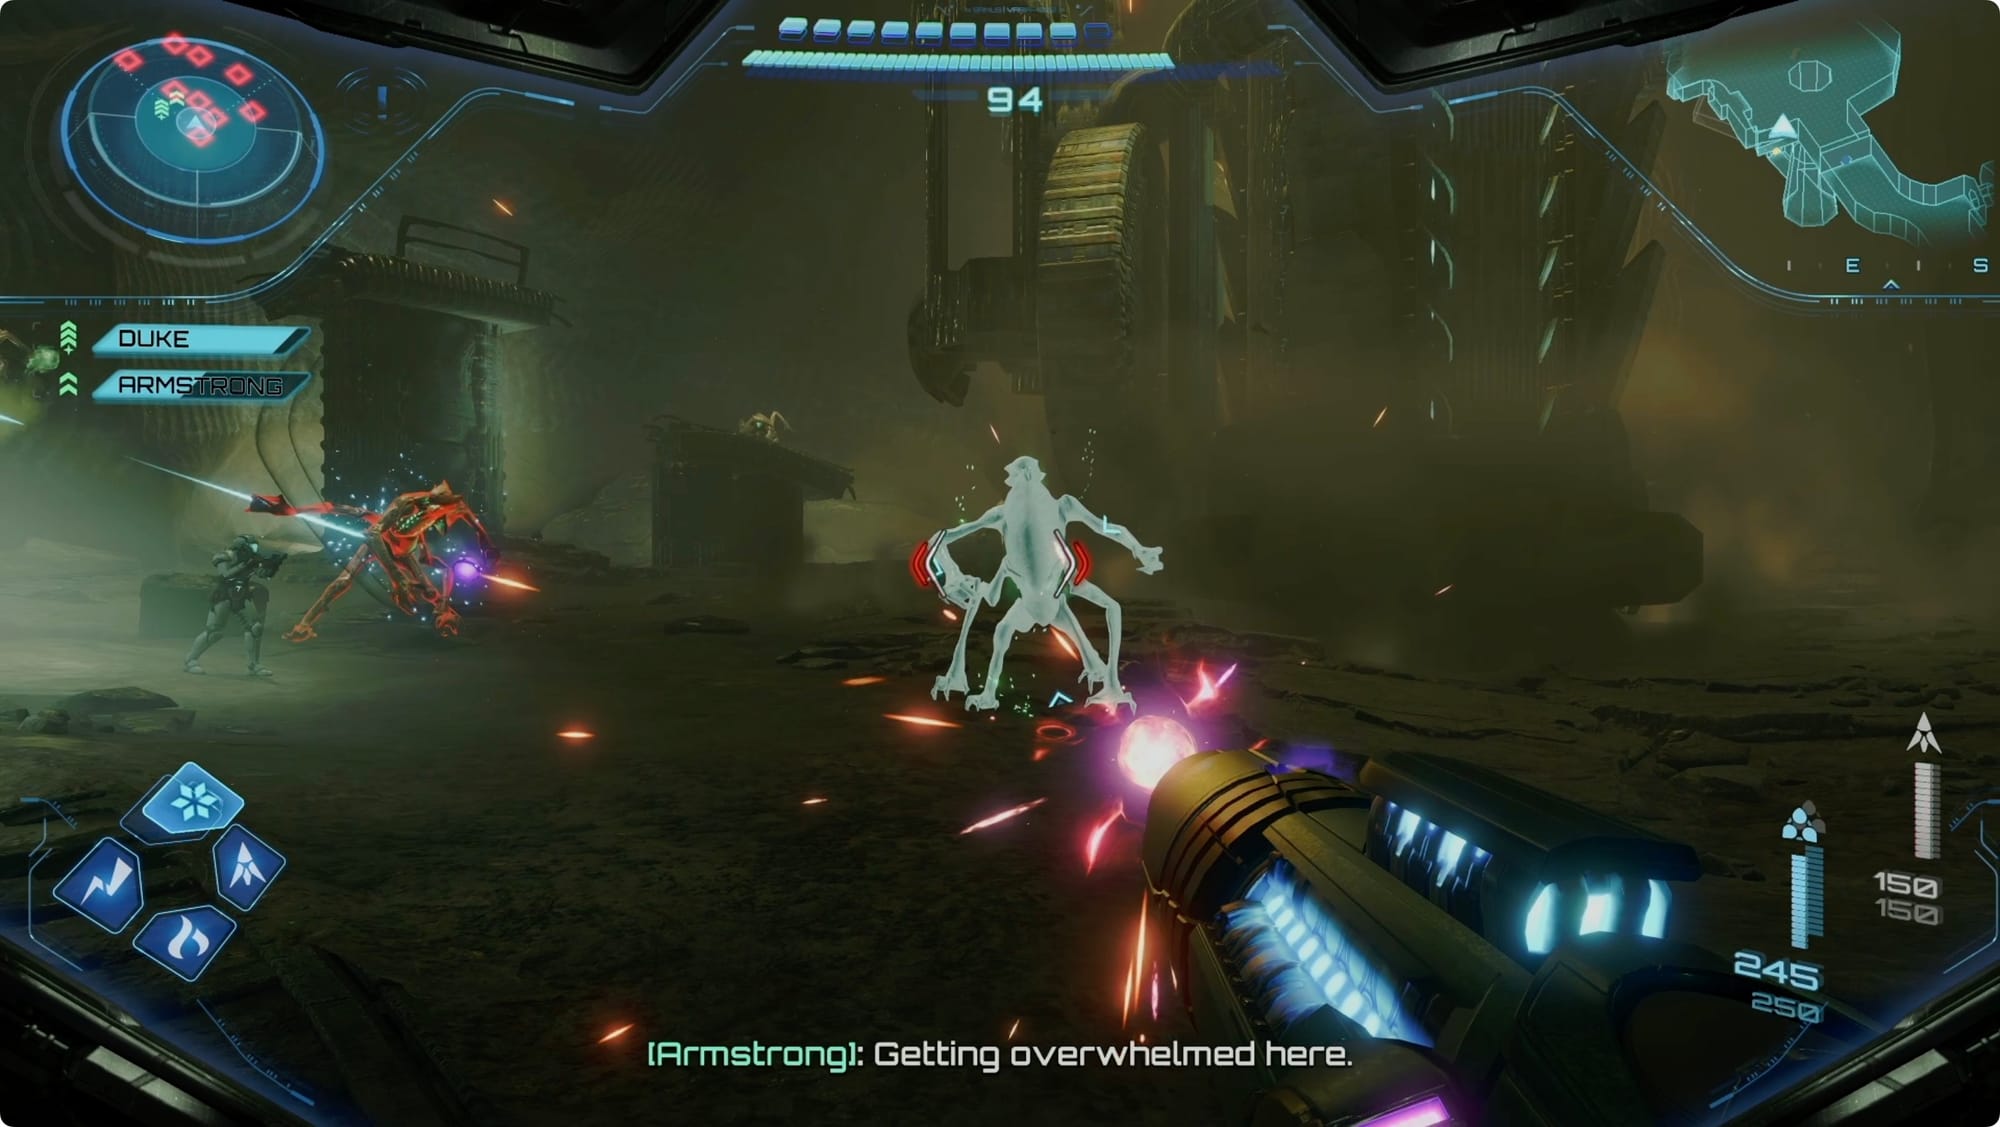
You’ll have to guard Armstrong for a bit — just keep Ice Shot-n-shoot-in-the-face-ing the Grievers. You’ll have to do a couple rounds of this. Once Armstrong collapses the tunnel, head forward until you reach the Transit Junction. Take the first right for a Save Station.
Back in the Transit Junction, burn the webbing off the door and head through. In Transit Tunnel B, shoot the crates on your right and roll into the tunnel you expose. Psychic Bomb anything that gets in your way and continue forward.

In the Main Shaft - Level 2 area, missile any Shren nests and just keep double jumping to the south. When you hit the shaft itself, take a right and double jump across. Ahead of you and to the right, there are some Psychic Platforms that you can’t reach yet.

Take a left and loop to the other end of the walkway. Scan the Psychic Boost Rail, roll inside it, and boost to pick up a Shot Expansion.
When you land, use the Psychic Tethers nearby to climb up to a Magnetic Rail. Your goal through this next section is just to use the Tethers and rails to reach the far side — there’s no trick here. Just use a bomb any time you need to jump and mostly keep ZL held down.

Use the Grapple Points to swing across to the platform in the west and then use the Spinner to extend the bridge. Use the bridge to reach the Psychic Platforms we saw earlier and grab an Energy Tank. Drop back down and go through the door to the west.
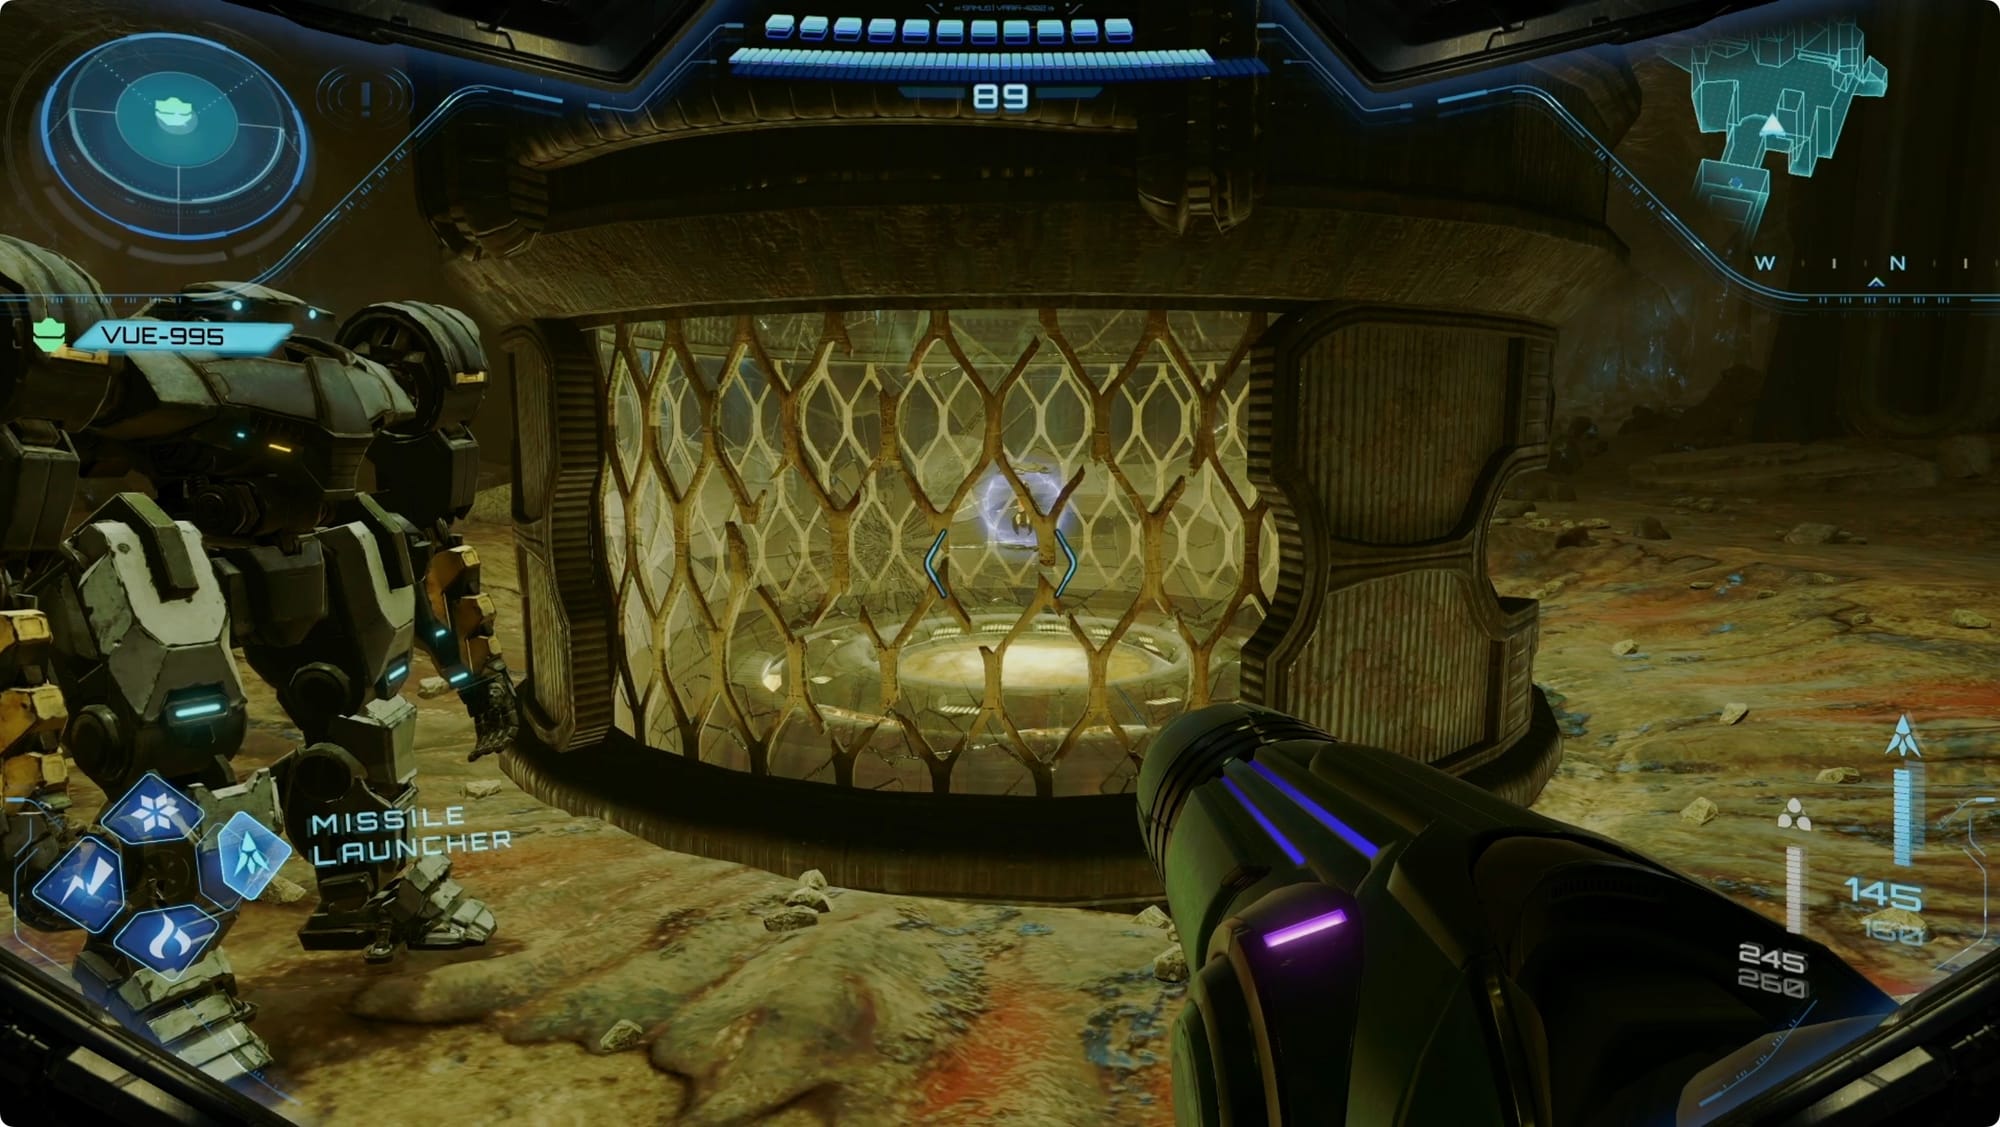
Continue through to the Quarry. Approach the perfectly harmless glowing egg thing and then fight the Maul Griever Brute that pops out. When VUE shows up to help, try to keep your focus on the Brute as much as you can.
After the fight, there’s a weird Griever Gate-like wall to scan. VUE should take care of it when you scan it (it took two tries for me). In the next room, skip through the Easing Tunnel (don’t bother with the lock on the right side yet — shooting it will only draw Grievers).
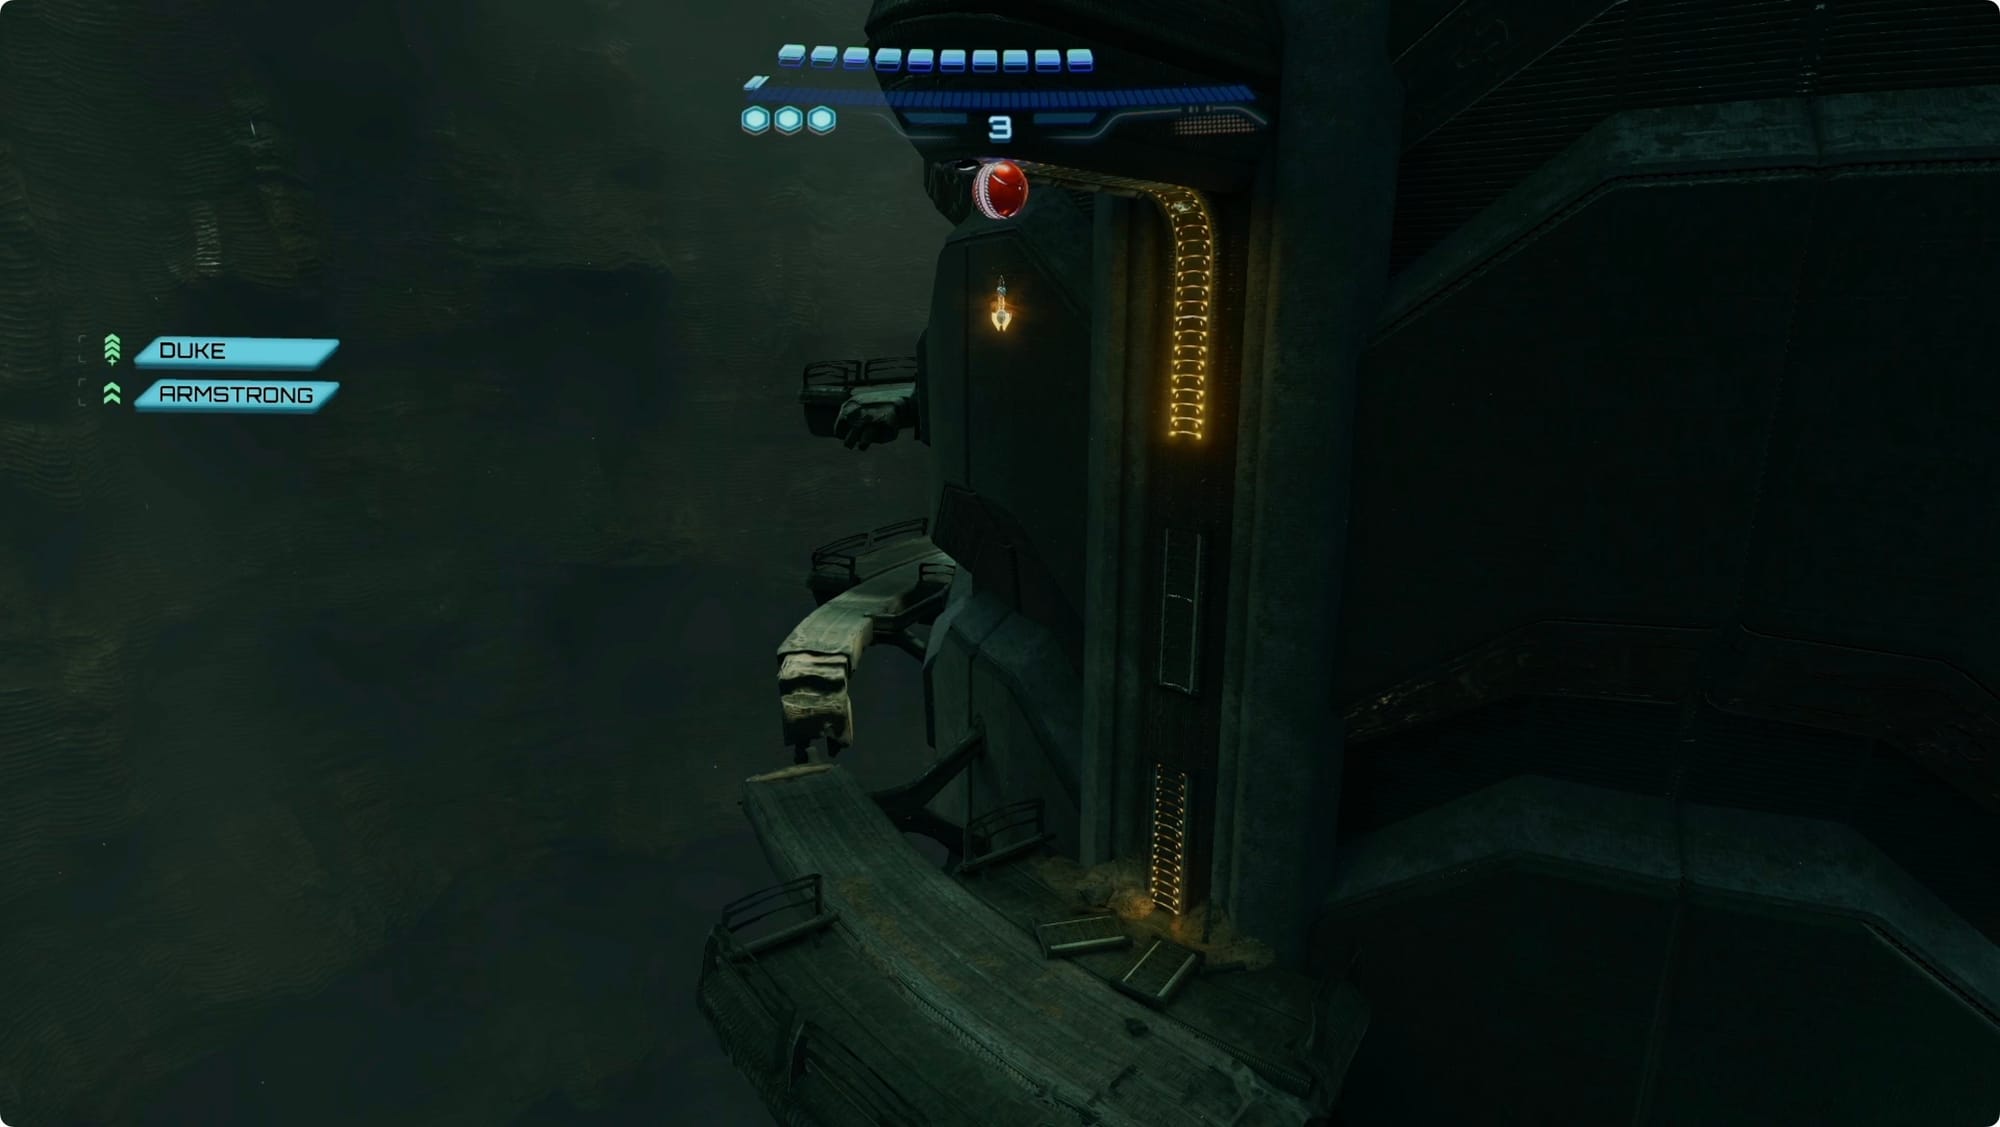
In the Blast Mining room, jump down to the floor and look back at the platform you just came off of. Half-pipe-boost until you can reach the Magnetic Rail on the left.
Follow that around until you run out of rail, and then Boost to jump across to the next. When you can, Bomb-jump up to the rail above you.
Follow that over to the Spinner to unscrew the first of two locks.
Backtrack to the wall, and keep heading counterclockwise. At the next gap, jump up, down, and up again. On the short rail, bomb-jump up and roll through the tunnel until you’re above the next rail.
Carefully drop down and grab the rail. Boost across the next gap, and then go unscrew the second lock.
Clear the Grievers that show up, and then scan the cannon frame to get VUE to punch it. Missile through the damaged wall to claim the Super Missile.
A few more Grievers will show up. When they’re dead, look to the northeast for a Koornicite Wall you can blow up now. Grab the Missile Expansion and then deal with the Grievers the explosion called.
Half-pipe up to the exit and backtrack to the Quarry. Super Missile the wall in the southeast.
Go through the tunnel until you reach the Crystal Crevice. Use the Crystal Crawlers to grapple-swing across. Look back toward VUE and then down and to the left. Super Missile the base of the pillar to knock it down.
Scan the membrane blocking your way and VUE will destroy it. Follow the tunnel and drop through the hole.
Great Mines Level 3
When the Goura Ghaspore membrane in the Hive Entry shoots out spores, shoot the hell out of one to blow up the blockage (gross). The next hall has more corpses to not think about.
Clear the Ghaspores in Ghaspore Habitat B the same way, and continue forward until you hit the Main Nest. Scan around and then ask VUE to smash the membrane at the back of the room.
Kill the new Griever Maul Brute — he really hates your new Super Missiles — and any other Grieves that show up. VUE will open the door once you’re done.
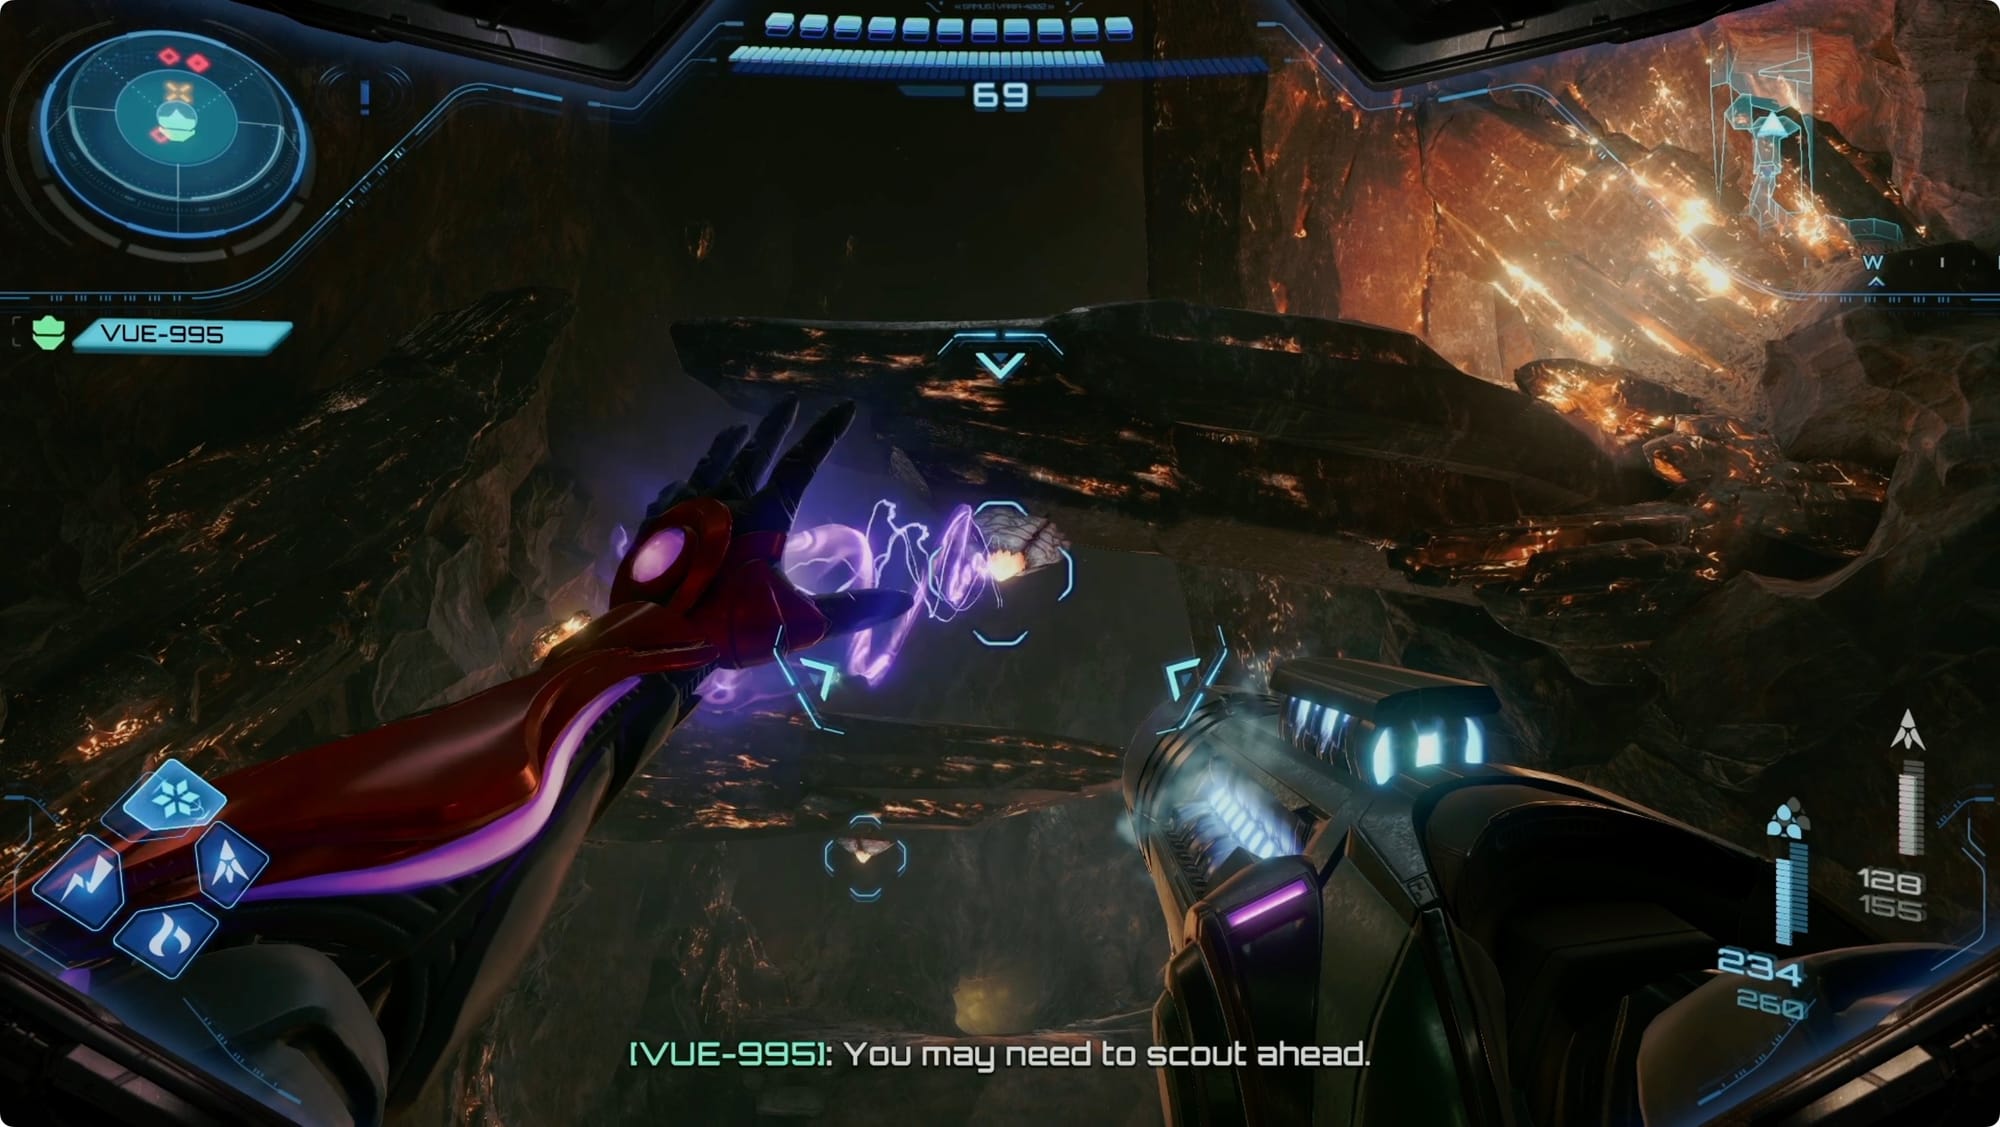
The next section is just a few rounds of running down a tunnel, scanning a membrane, and then Ice Shotting the Grievers chasing you. You’ll eventually come to a chasm where you have a bit of a last stand.
Eventually, VUE will Fastball Special you across the Chasm’s chasm. Head forward and lasso the excavator hatch open. Hop into the tunnel, take a left, and Morph Ball all the way to the next door.
When you hit the corner, double jump to the right and open the door to the next area.
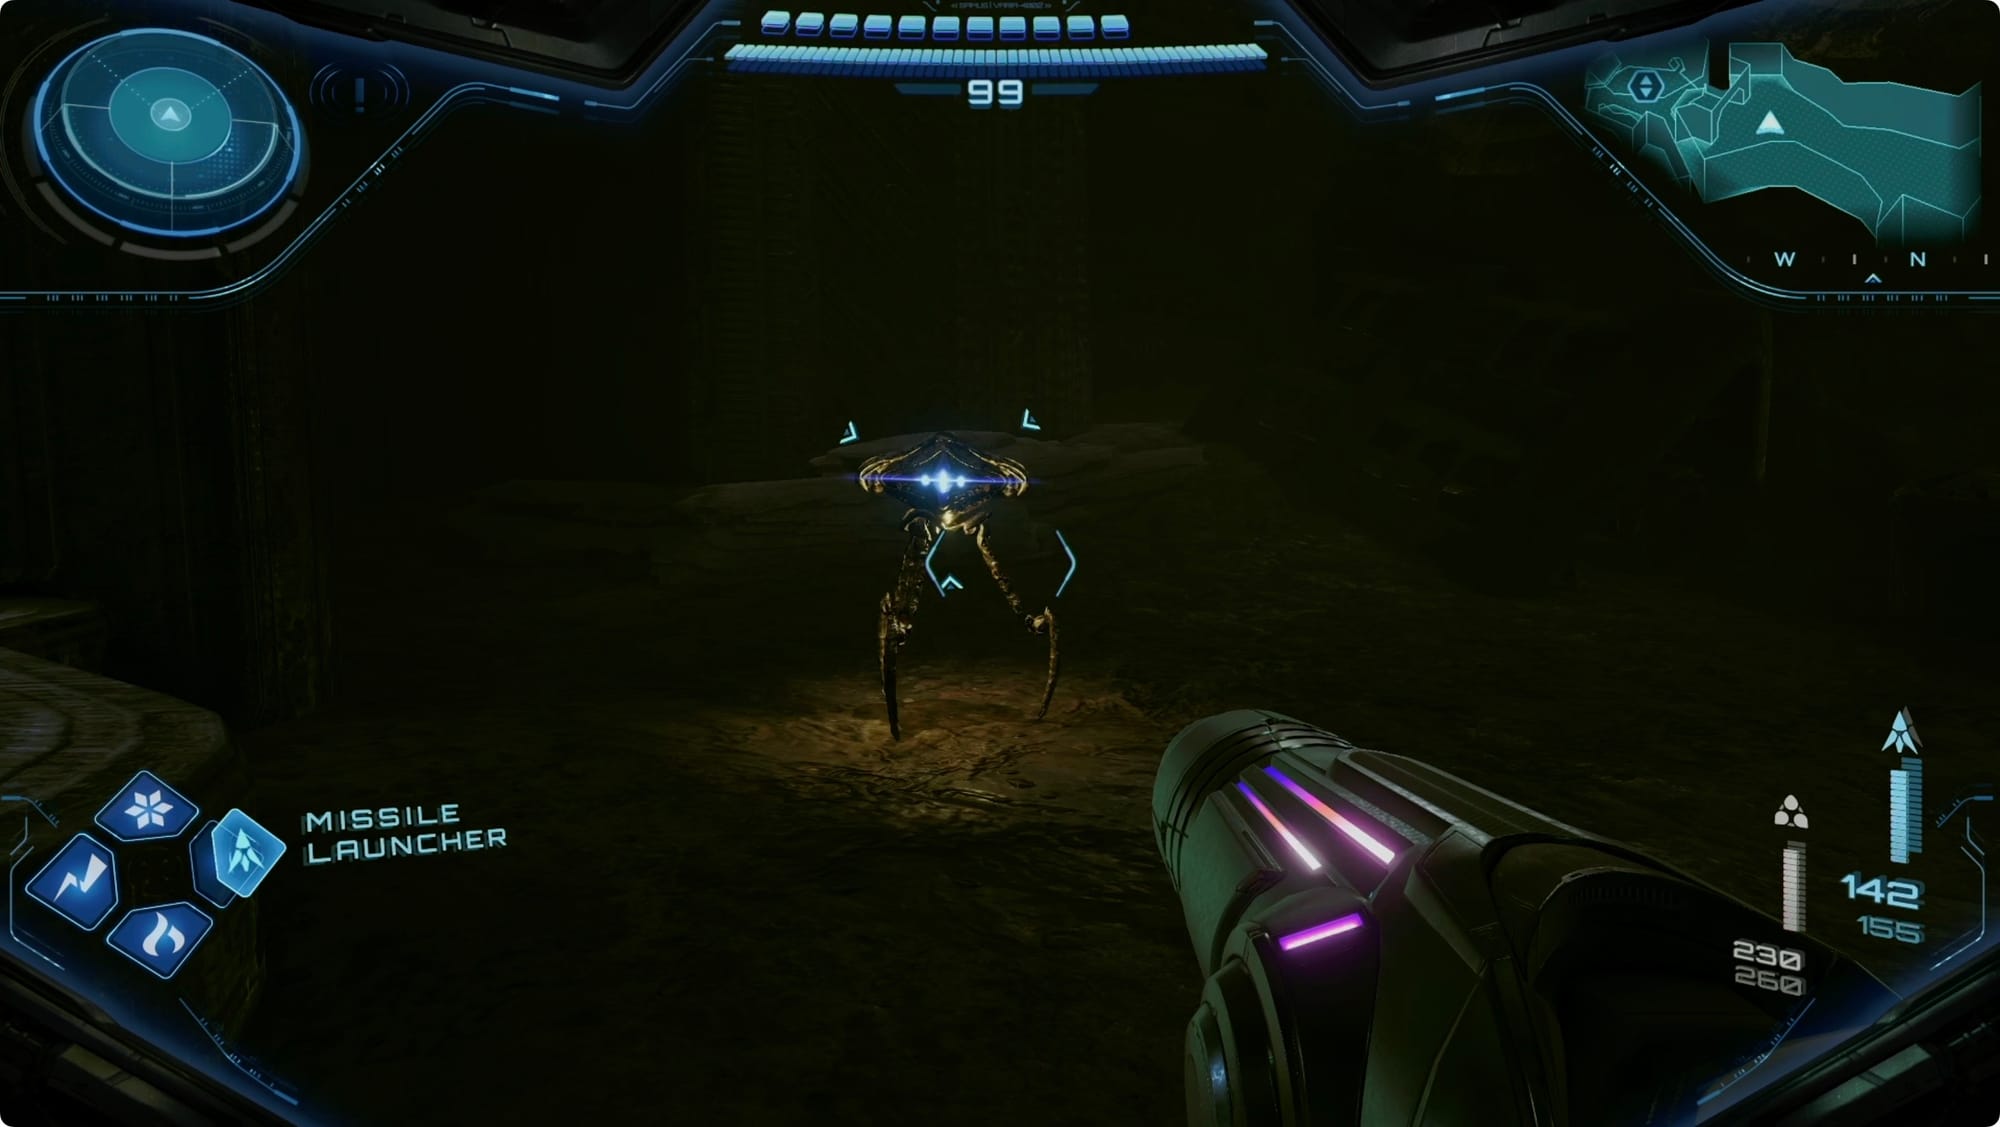
Ignore the giant Griever cocoon and turn left to find a Scout Bot. Thunder Shot it to turn it on and scan it to add the rest of the collectibles to your map. Head through the door to the east.
In Transit Tunnel E, hop onto the machinery on your right. Lasso open the hatch, and Morph Ball to follow the tube left to grab another Missile Expansion.
Take the left to find a Save Station (never a good sign).
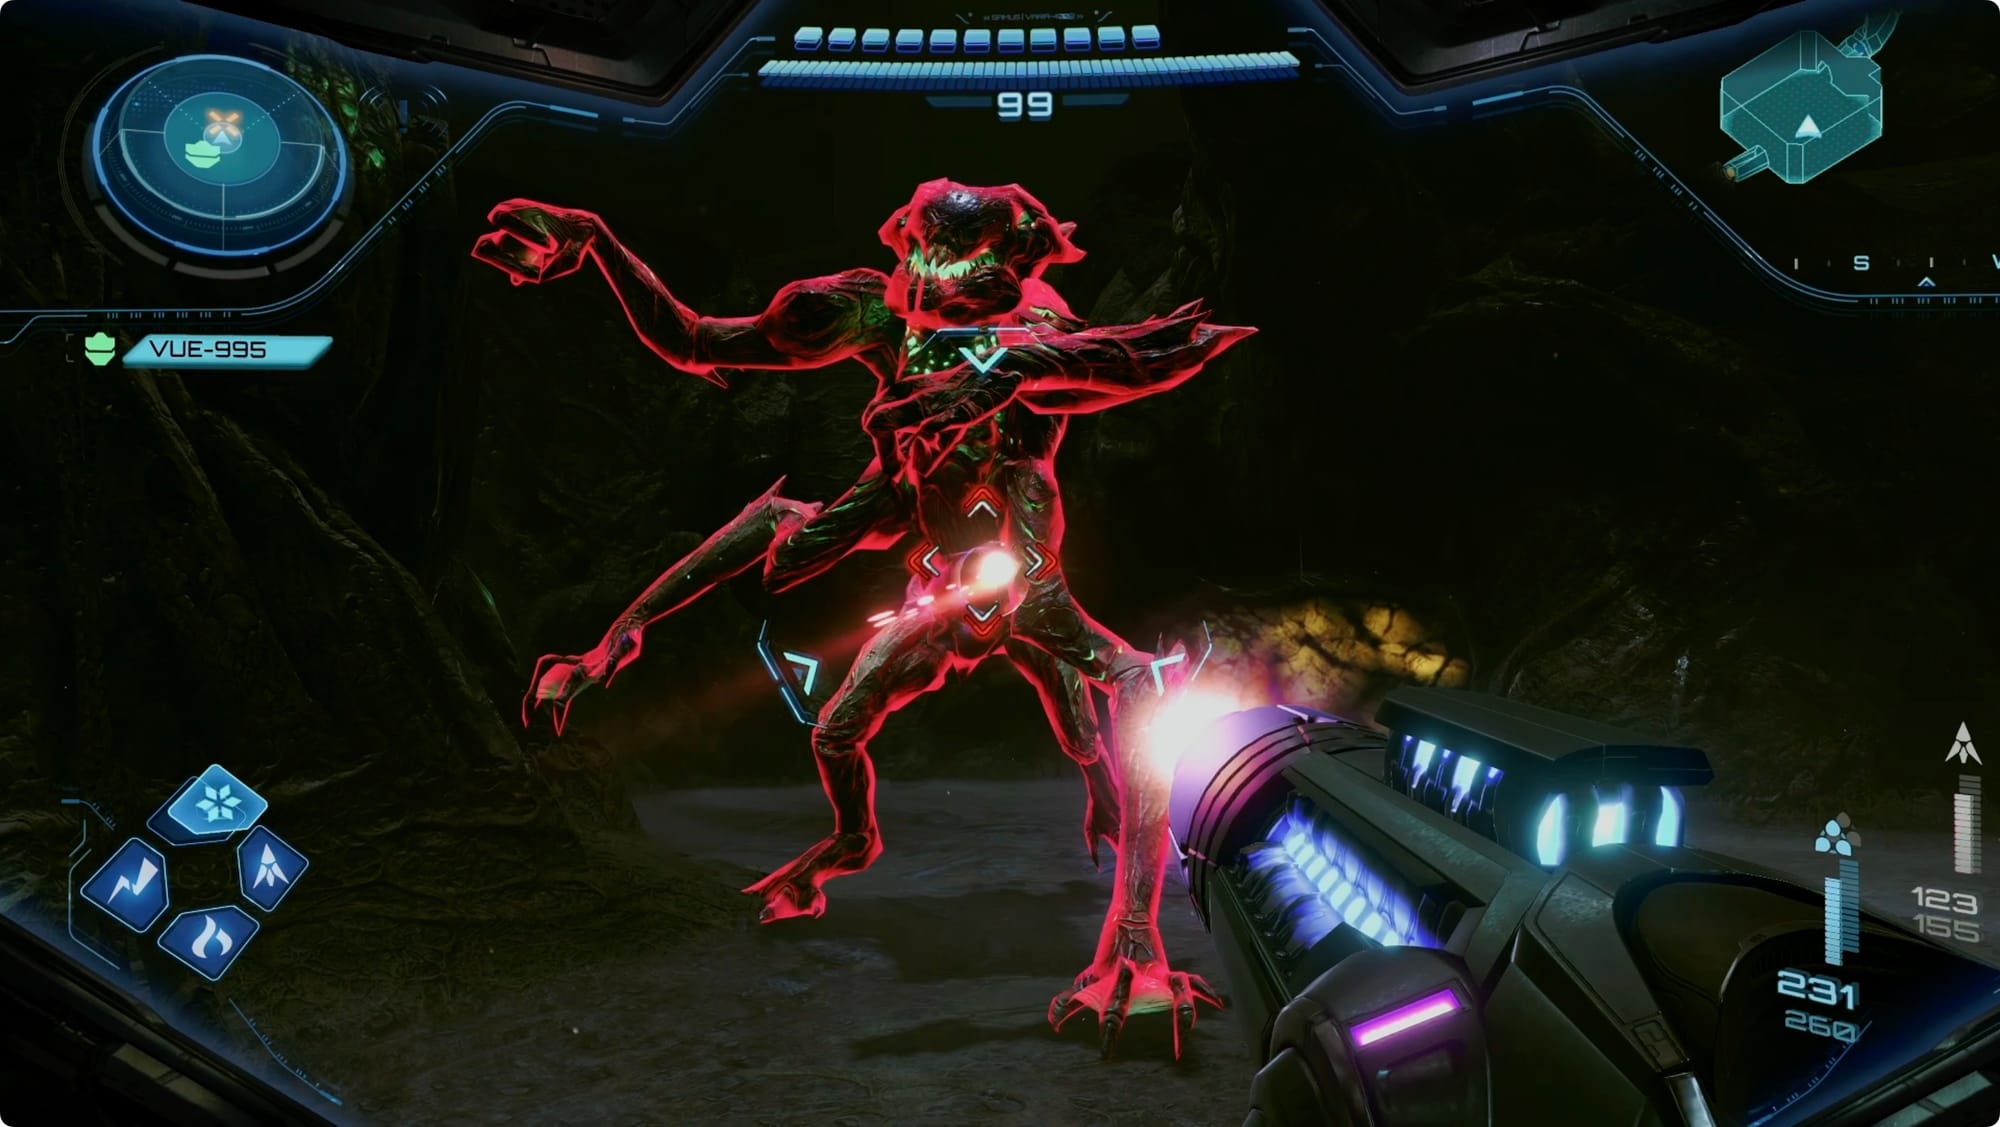
Omega Griever boss fight
Keep following the halls to Crystal Extraction which is suspiciously boss-fight-arena-shaped.
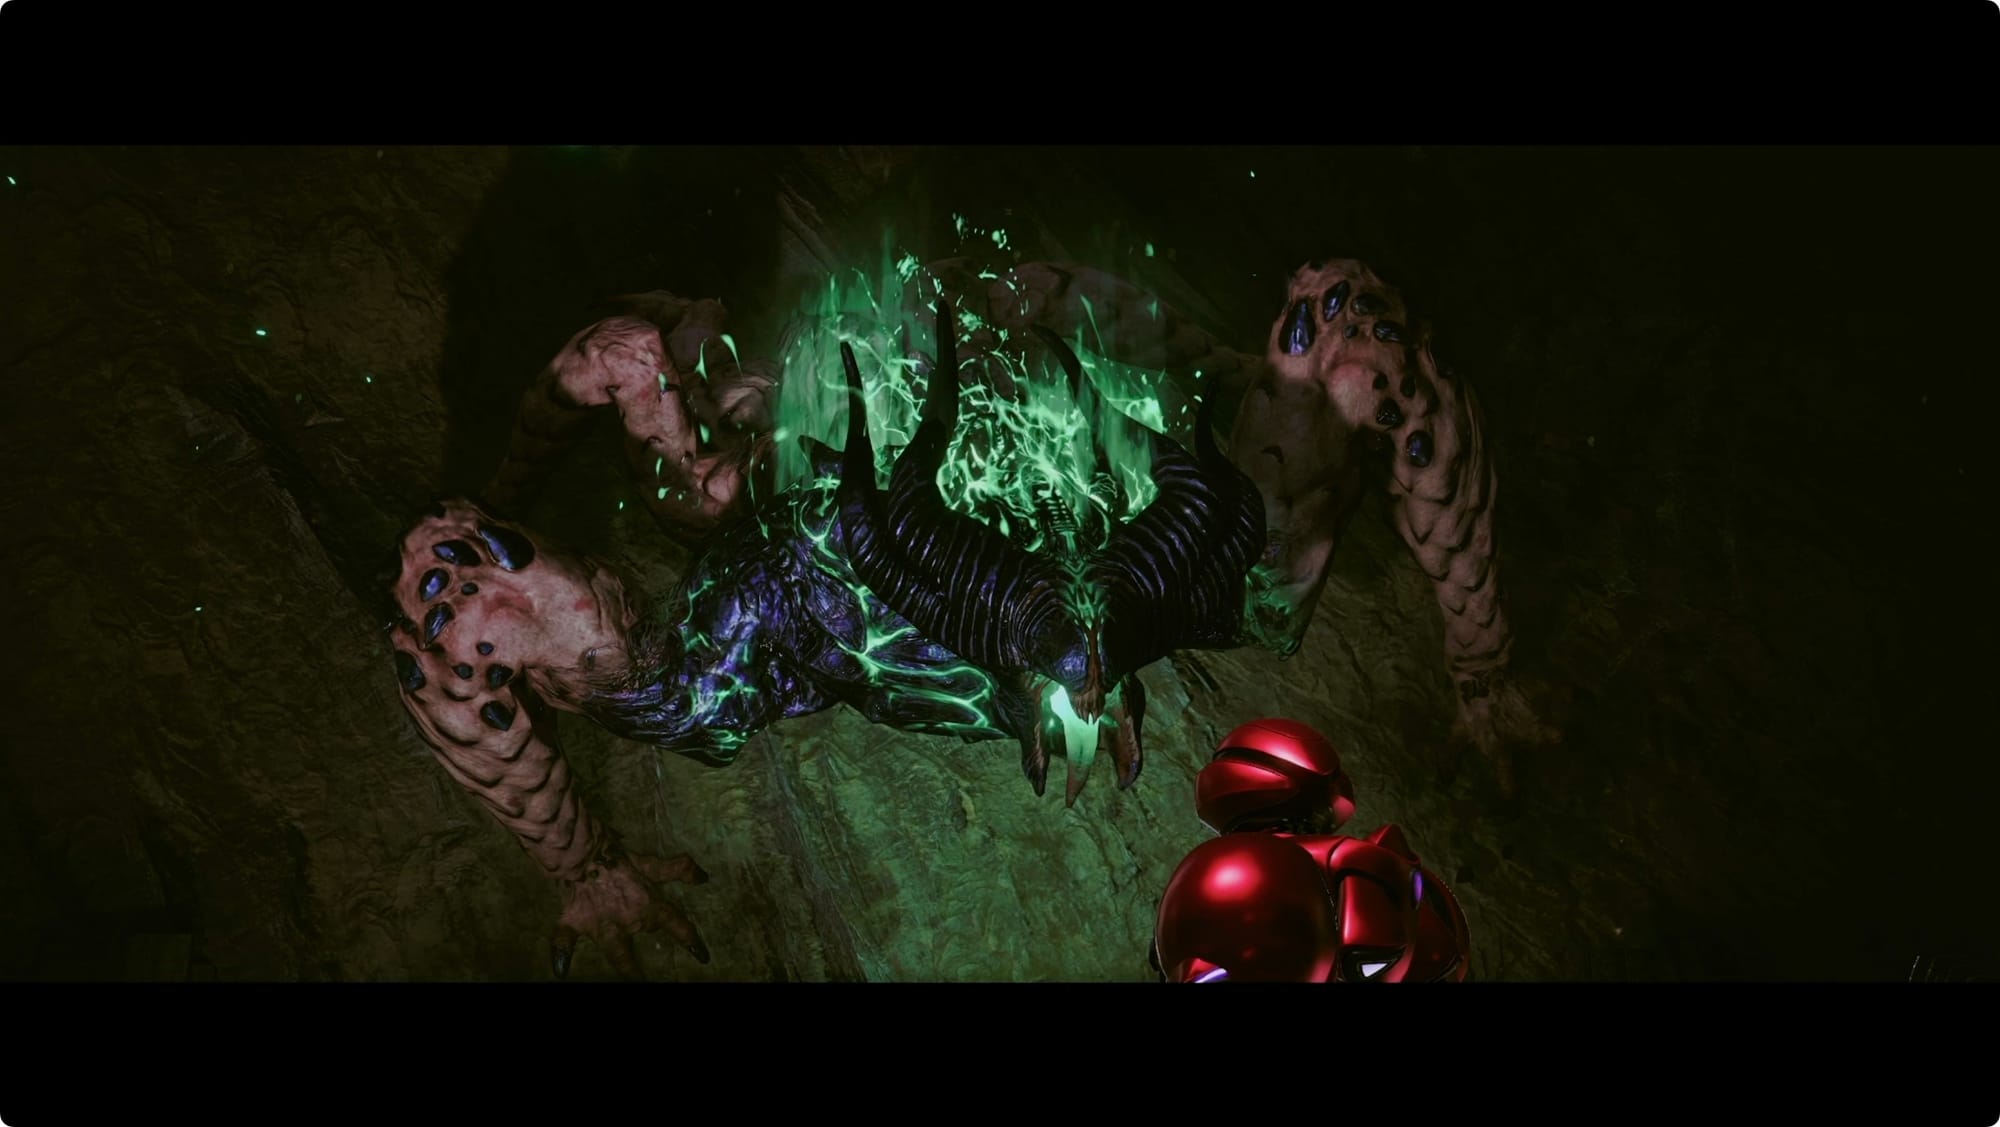
This fight is confusing visually (at least for me). The glowy bits around its torso are not your target, instead, the lumpy arms and legs — that are not, as I originally assumed, armored — are.
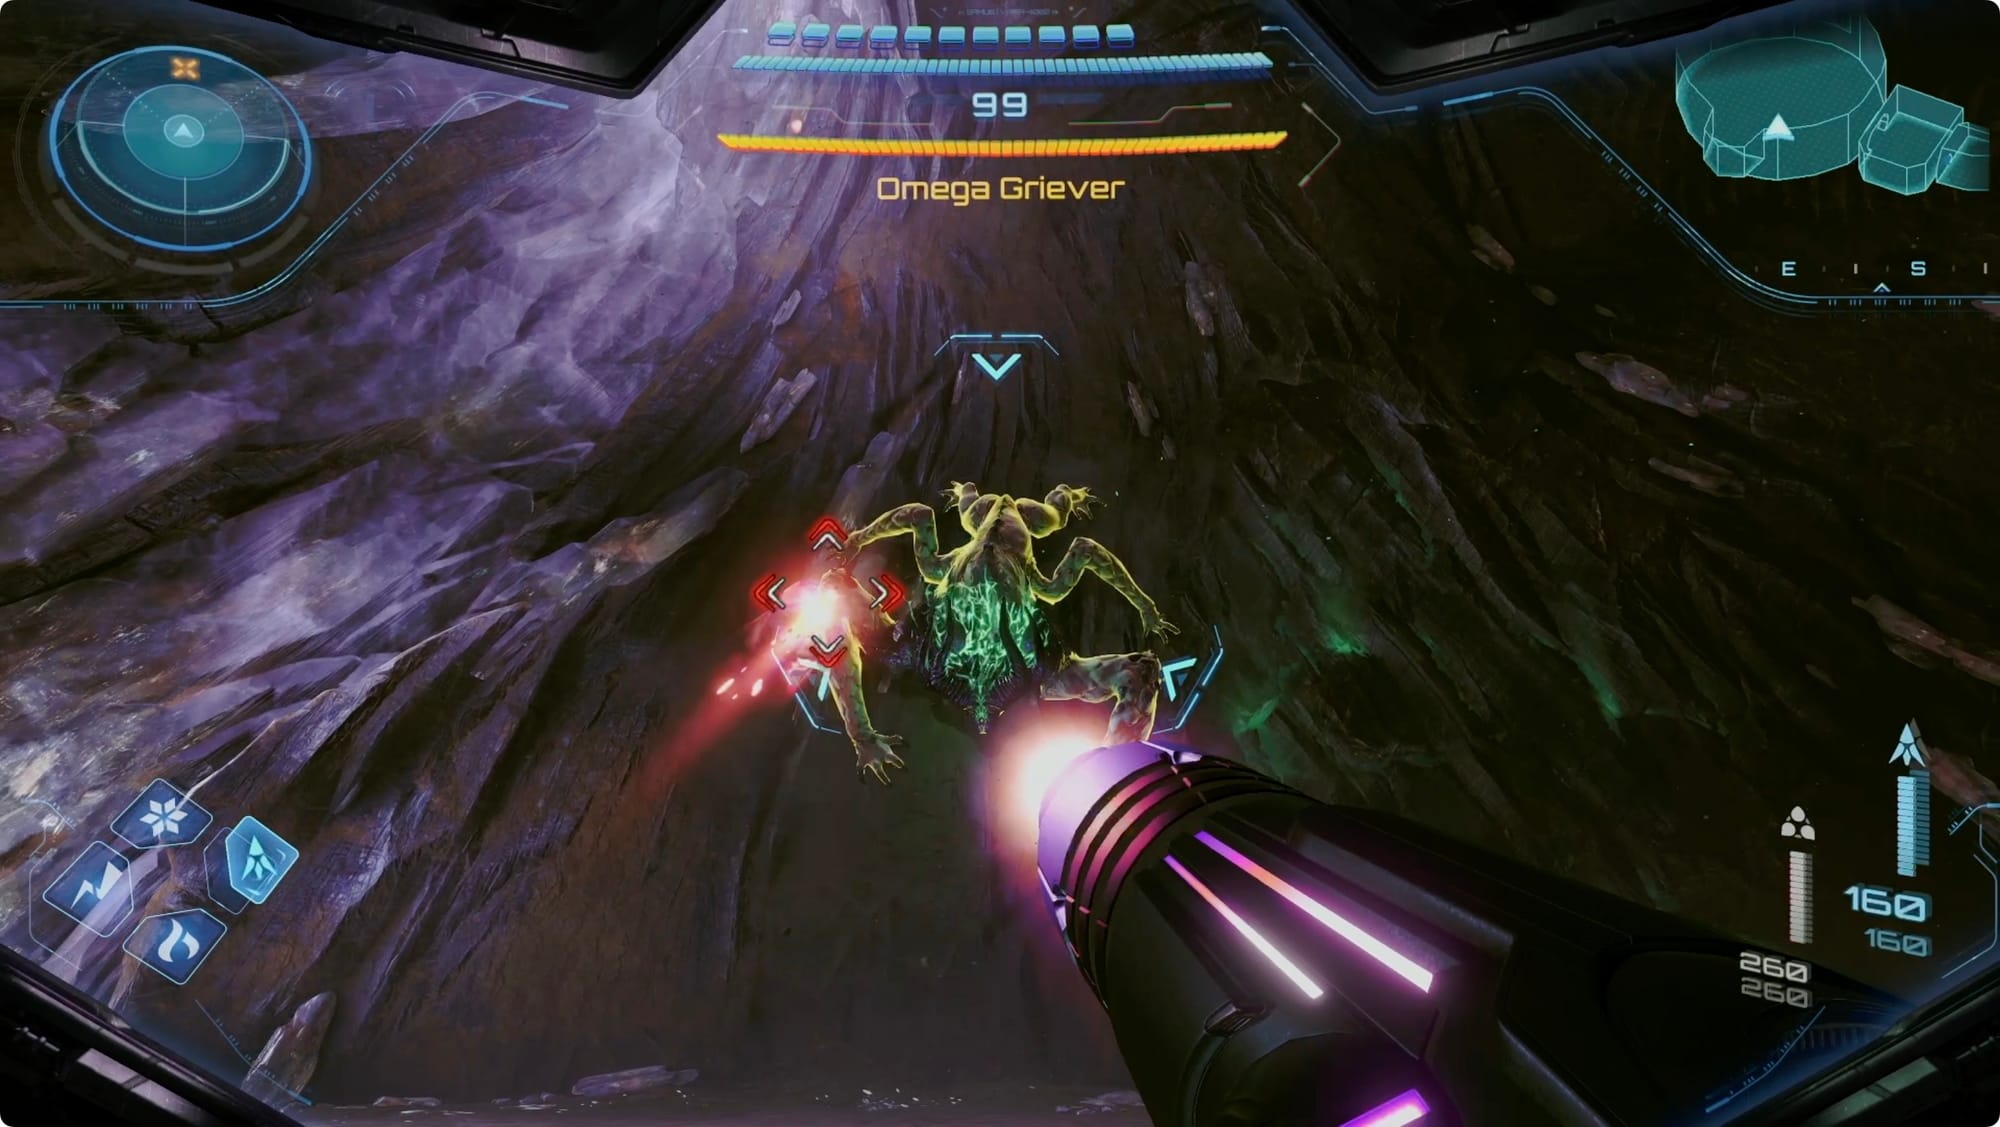
It’ll start off the fight on the walls. Keep the Omega Griever targeted so you can dodge its spit attacks. While it’s running around, target the hands and feet with whatever you can throw at it. For this, stay locked on and use the right thumbstick to move your target to the side.
After a bit of this, it’ll flip over and expose a glowing red spot on its belly (use the right thumbstick trick to actually target the giant glowing spot). Shoot that, and it’ll fall to the ground.
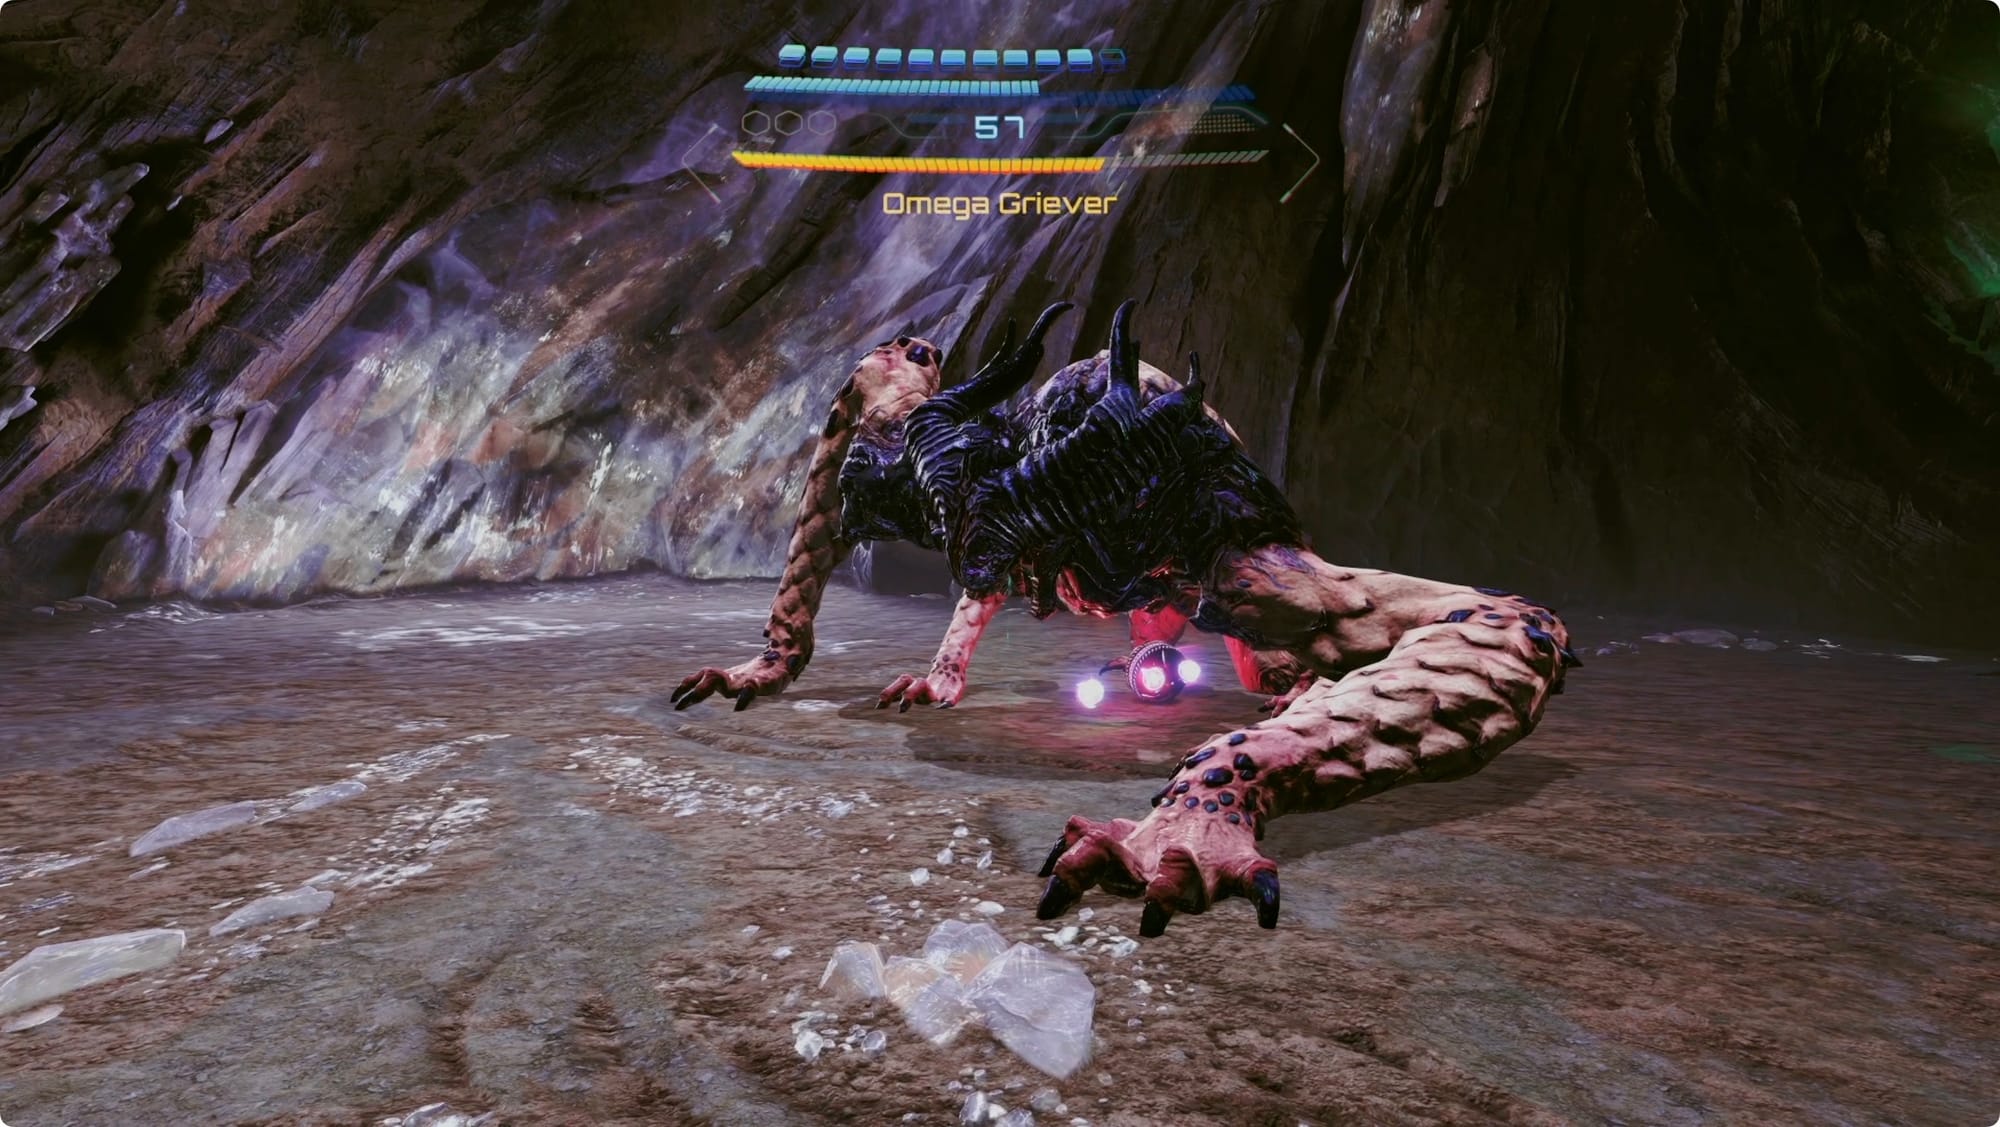
For the ground phase, stay locked on and try to (you can’t really, but try) to outmaneuver it. You want to avoid its front (where the attacks come from) while continuing to shoot its legs. Just keep dodging and shooting. You’ll even occasionally get a shot at the glowing red spot.
The main thing to watch for is when it slams the ground and a wave comes at you. You have to release the lock-on to jump over it.
When you deal enough damage, it’ll get overwhelmed and freeze (same). When this happens, Morph Ball and drop a few Bombs underneath it. Try to roll back out on its face side.
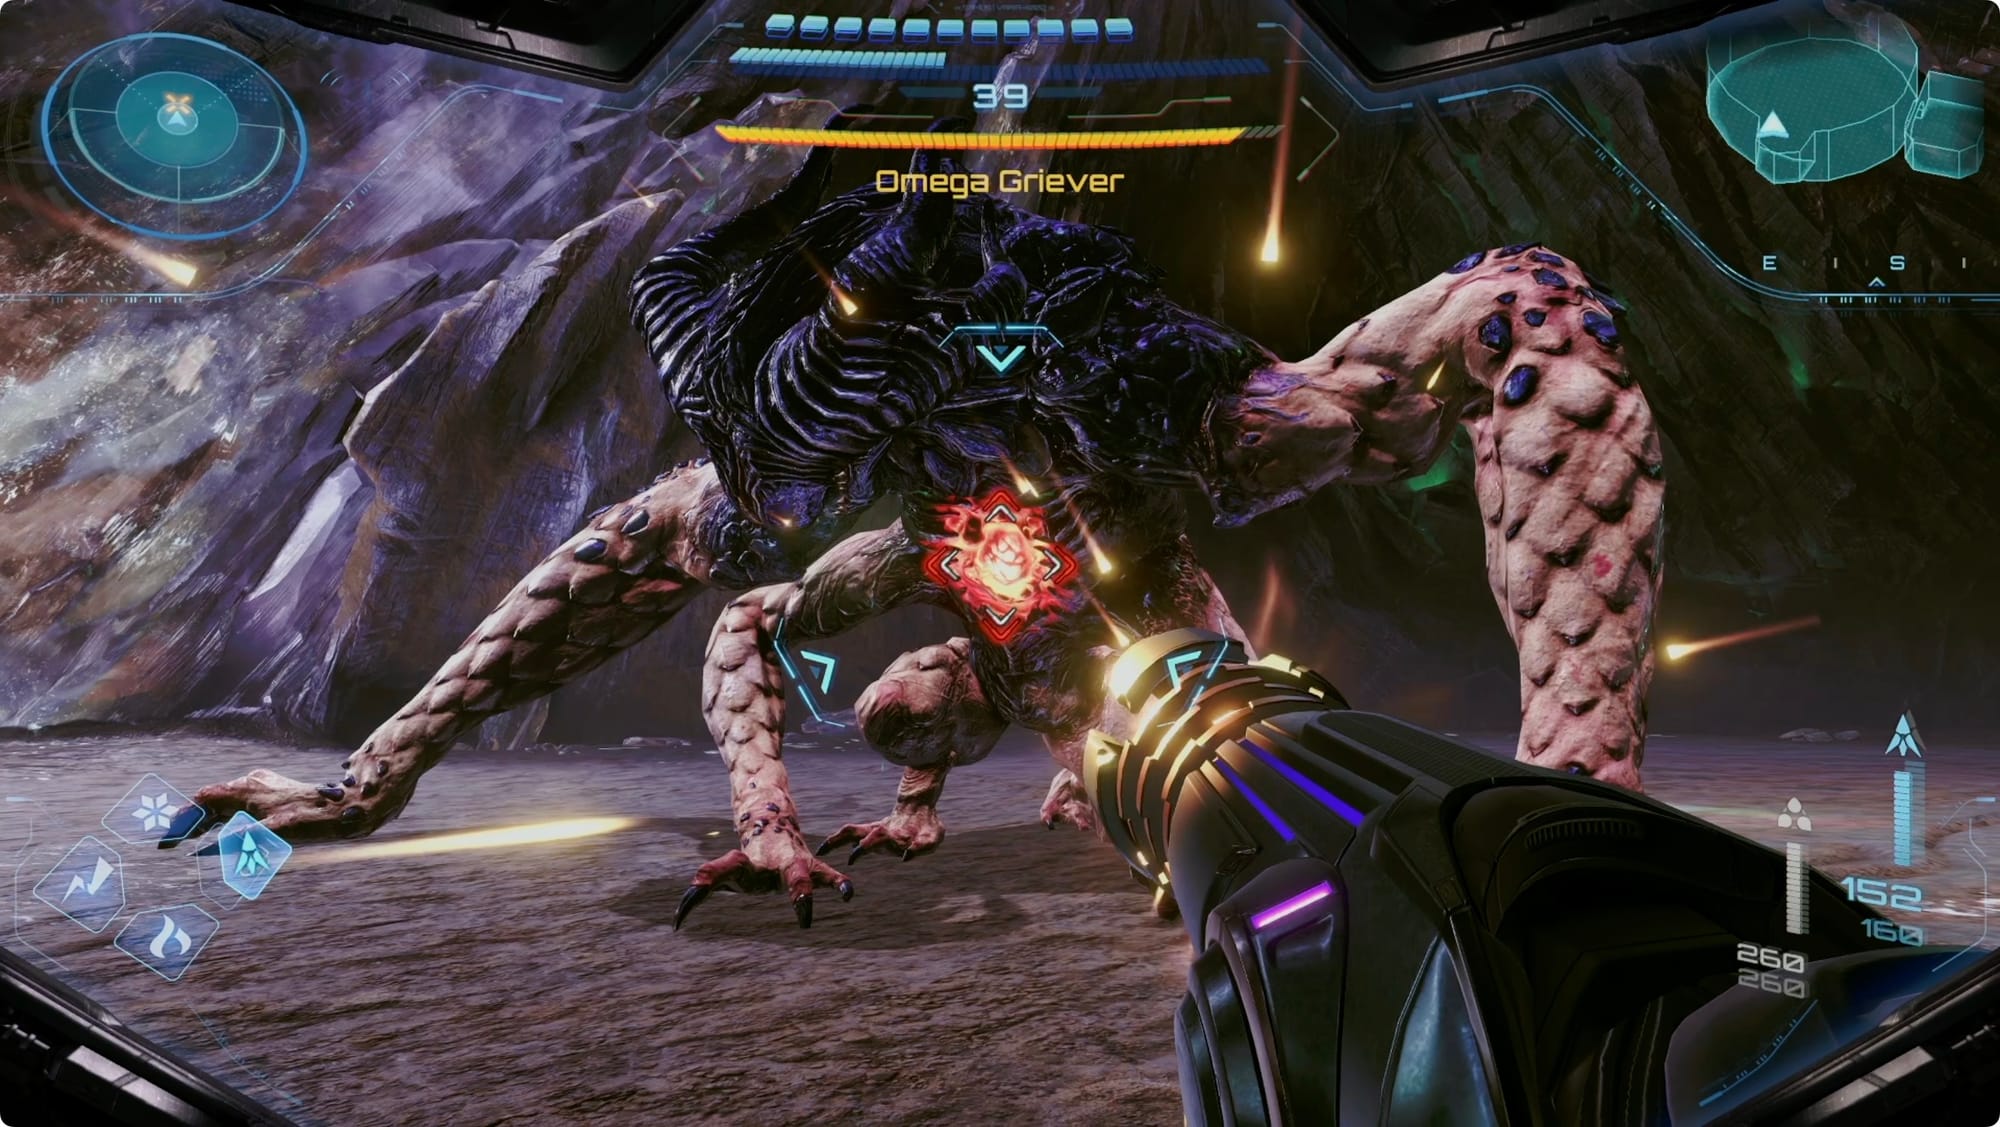
When the bombs go off, it’ll rear up a little and expose its belly. Charge up a Super Missile or two to hit the glowing weak point and follow it up with a few more regular Missiles.
This whole process will repeat a few times (with a couple waves of extra Grievers thrown in for good measure). Nothing really changes during the phases. Just make sure you vacuum up any ammo or health it exposes crashing around.

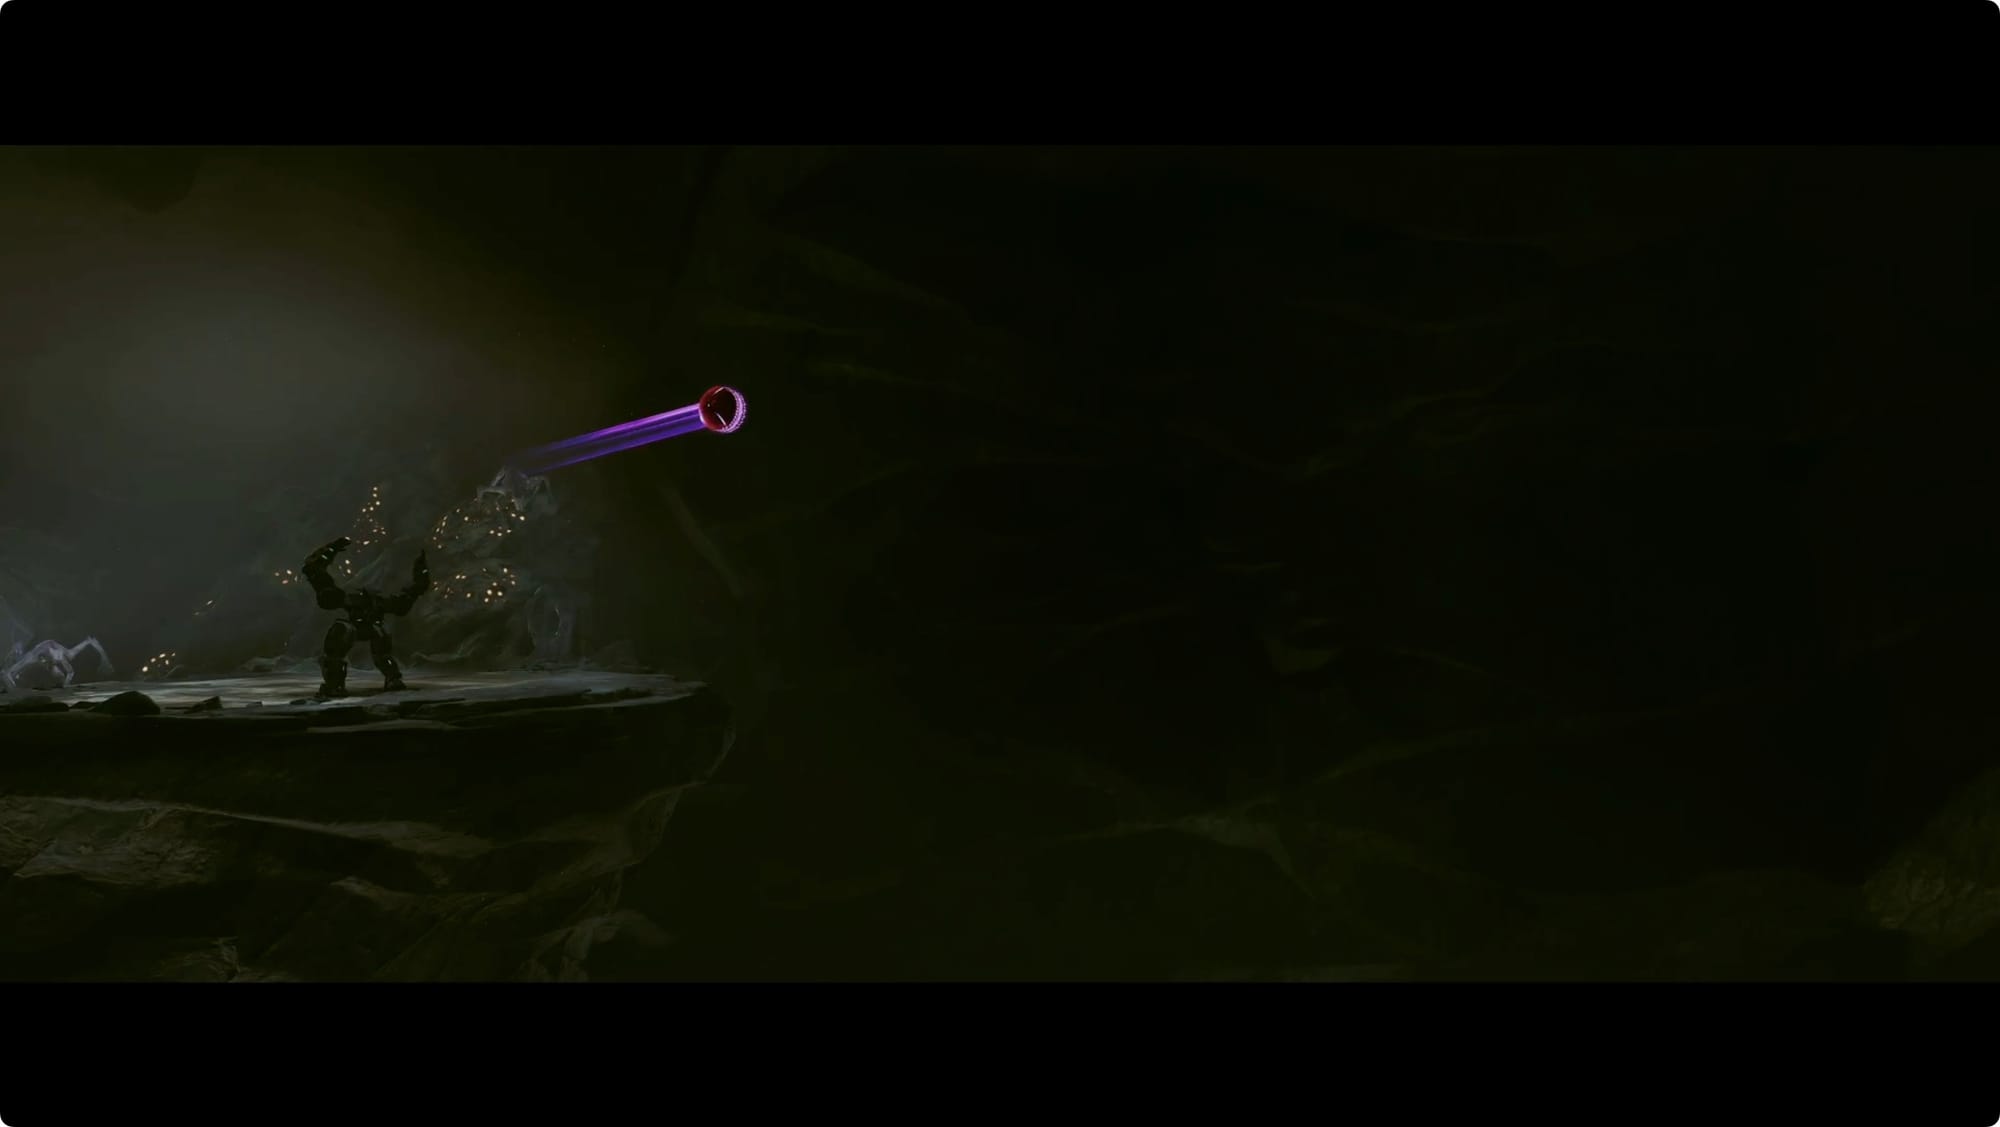
Eventually, it’ll collapse and reveal your prize. This is a trap. If (when) you fall for it, shoot it in the mouth a lot. After another round of fighting, finish it off.
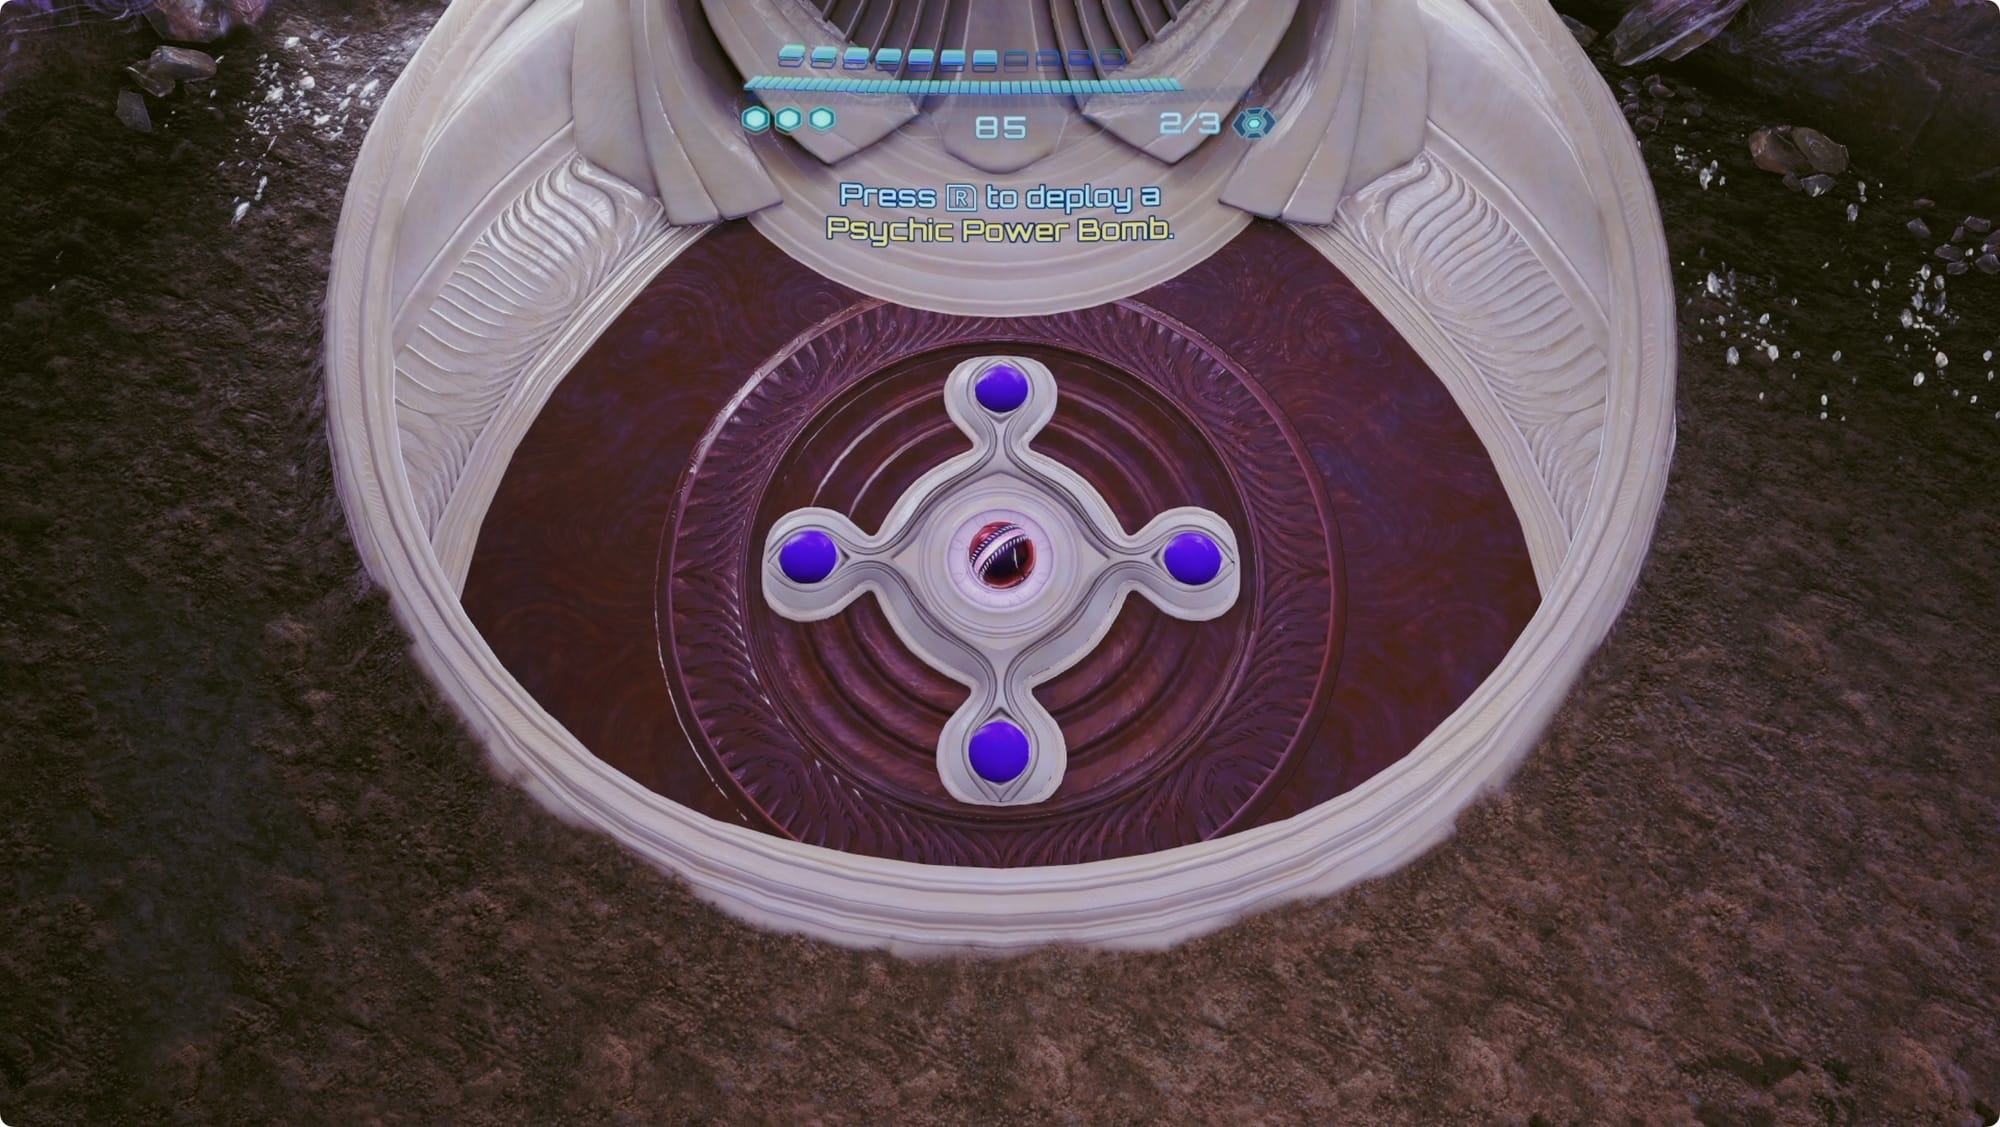
Collect the Psychic Power Bomb. Roll into the Bomb Slot in the statue and tap R to use your new power. Go collect the final Master Teleport Key.
Exit the Great Mines
Go to the door leading west and Power Bomb it. Keep backtracking to the Save Station (first right). Keep heading west to the elevator in the corner.
Drop to the floor and Super Missile the Enhanced Lock on the wall to your right. This will expose another lock. Morph Ball and then hold R to float a Power Bomb. Switch to the Psychic Scanner, grab it, and toss it into the lock.
This will turn on the elevator.
Use the Magnetic Rail over to the left to climb up, and then jump over to the terminal to call it. After a quick reunion, ride the elevator back up top.
There’s a bunch more stuff to wrap up before we finish the game, so we’ll pick back up in the next part.