

Metroid Prime 4: Beyond walkthrough pt. 8 (Mech Parts)
Get the Legacy Suit and prepare for the final battle


After your trip through the Great Mines, we're almost at the last call for collecting items, have a couple more collection missions to wrap up, and need to get ready for the end of the game.
And that starts by heading back into the Great Mines.
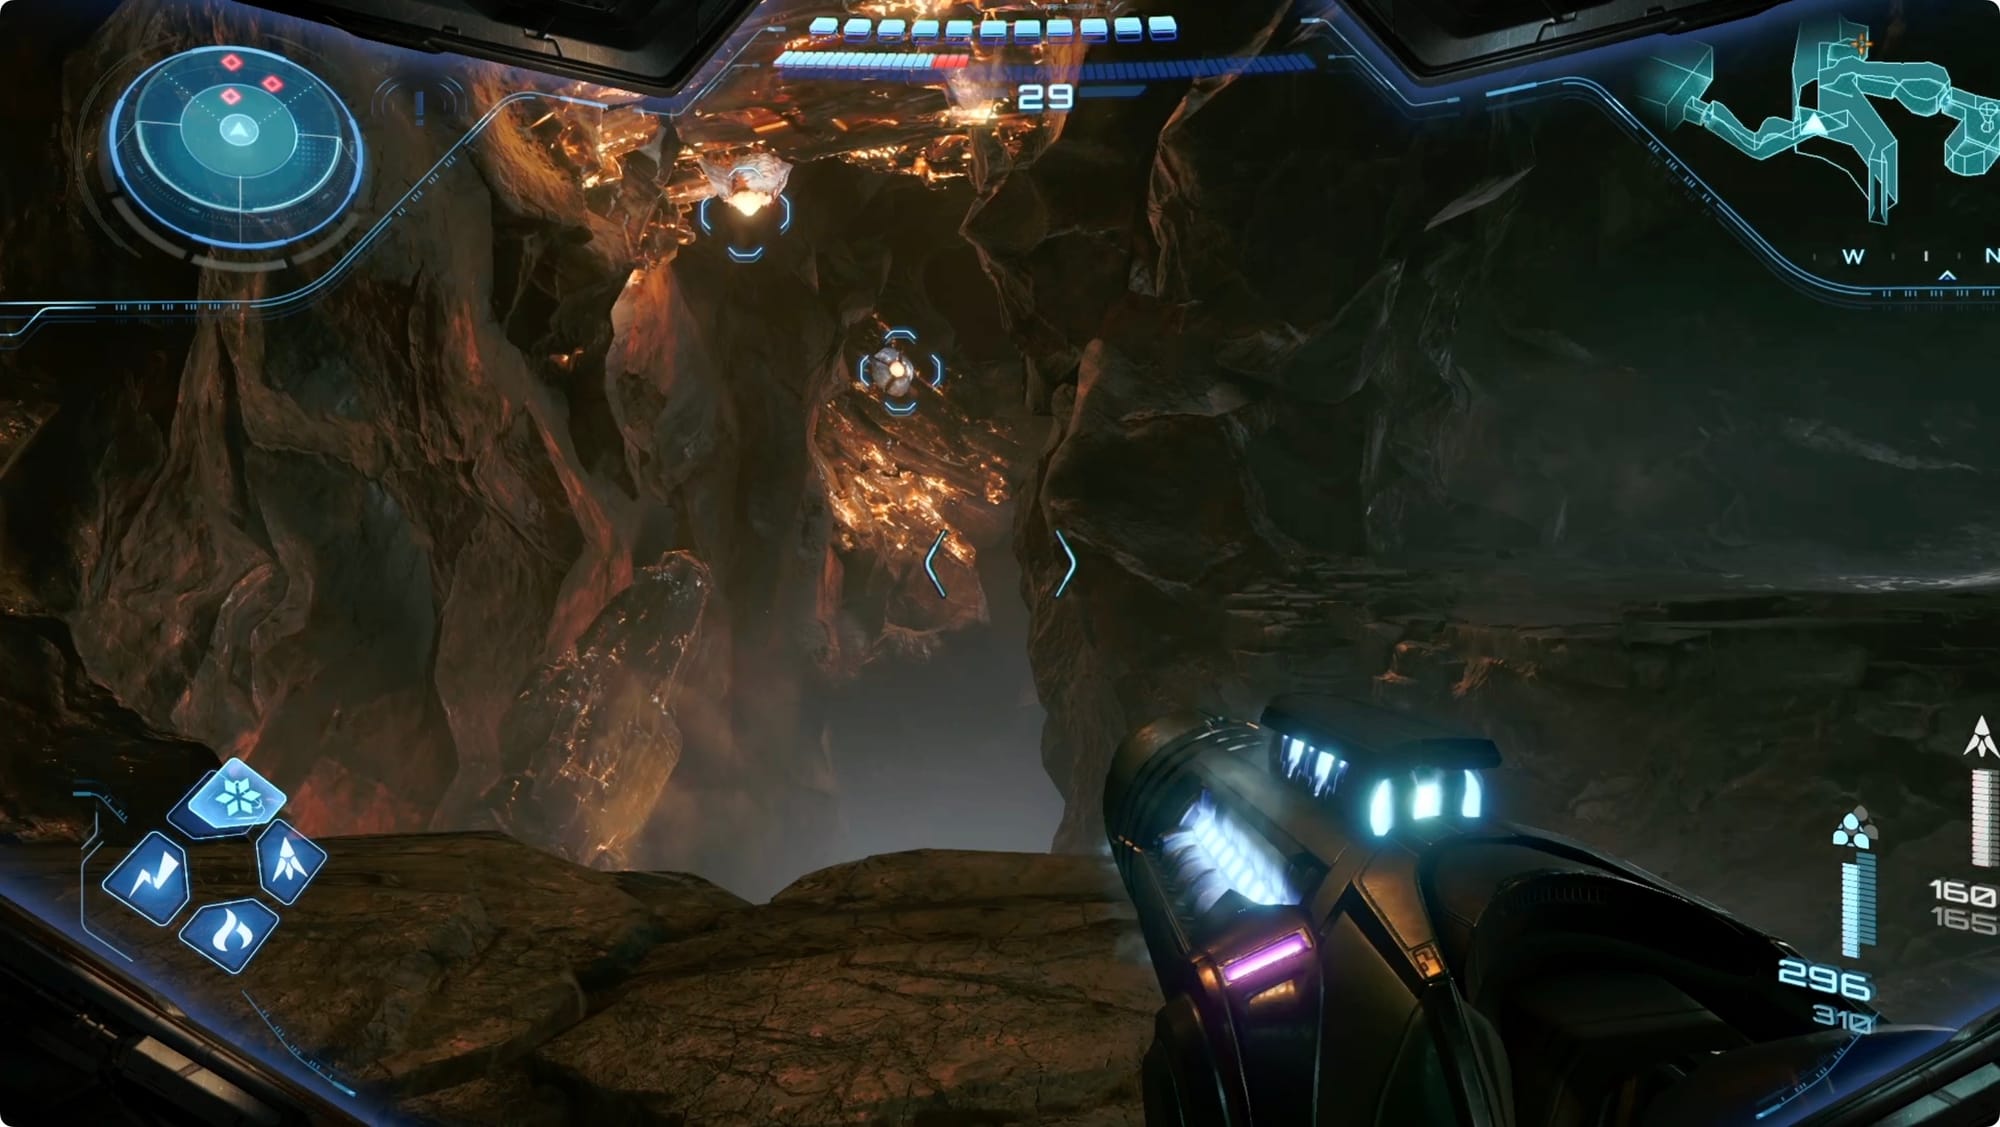
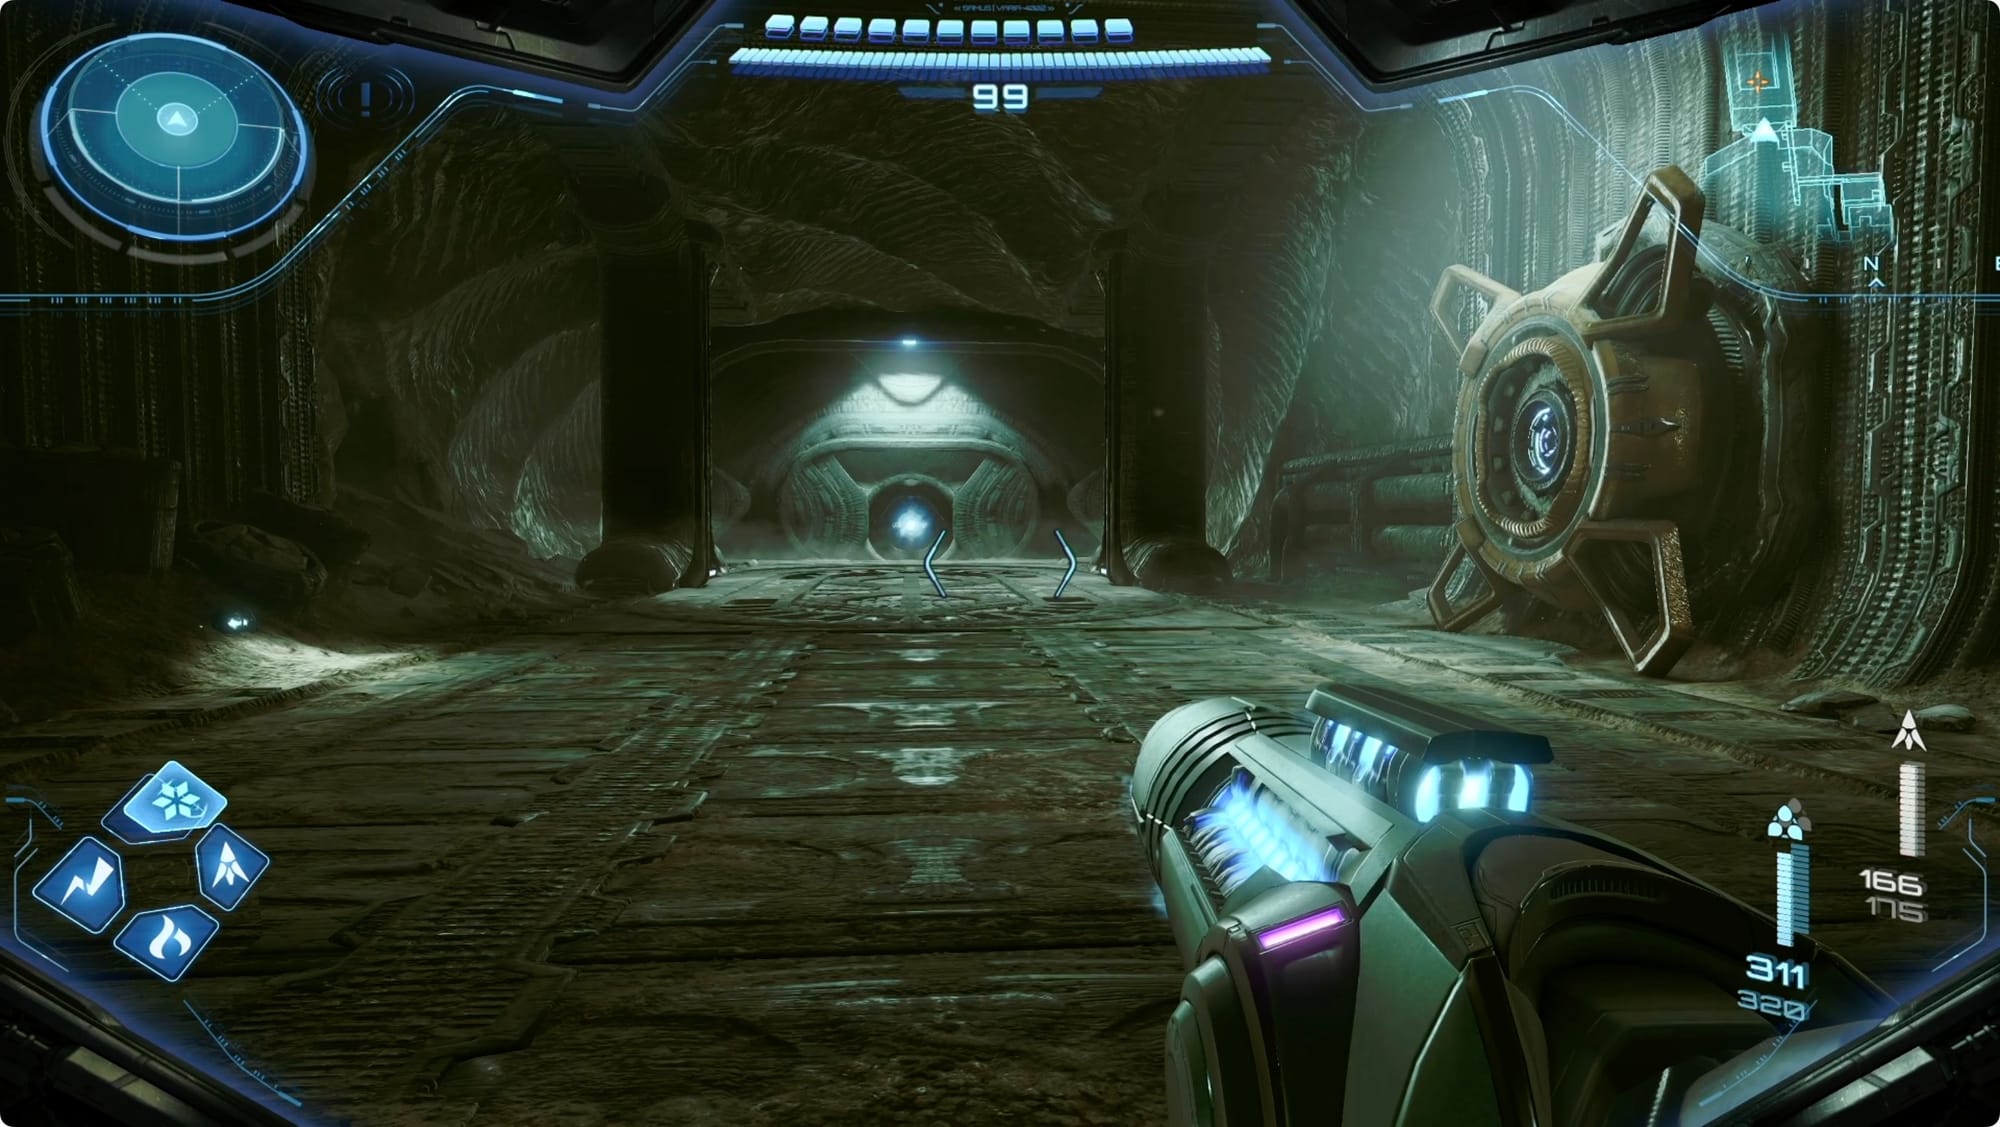
The Great Mines
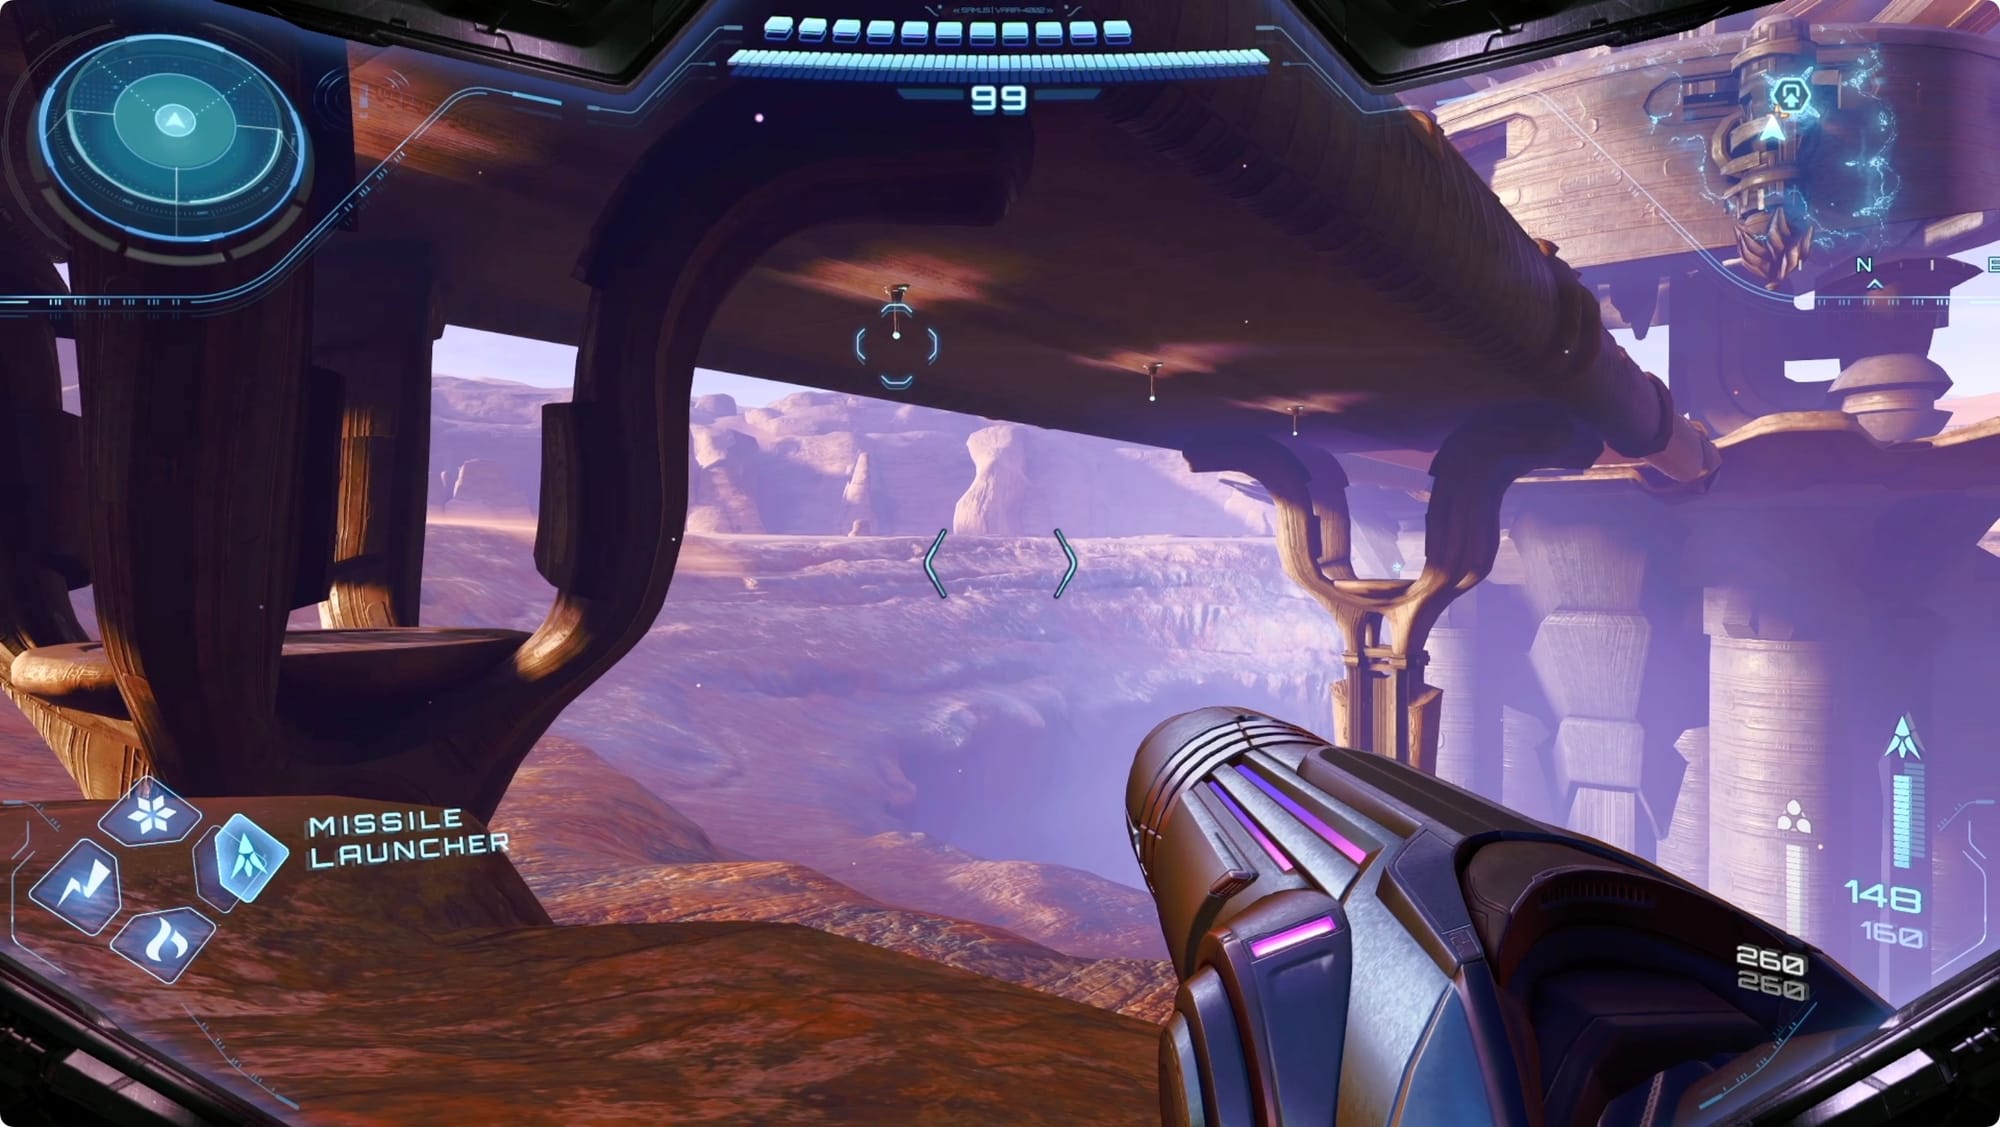
Before you head inside, though, hop off of the main bridge and then follow along beside it and down toward the pit a little bit. Watch in the supports for a spot you can stand.
Use the Grapple Points along the bottom of the bridge to reach the Large Shot Expansion.
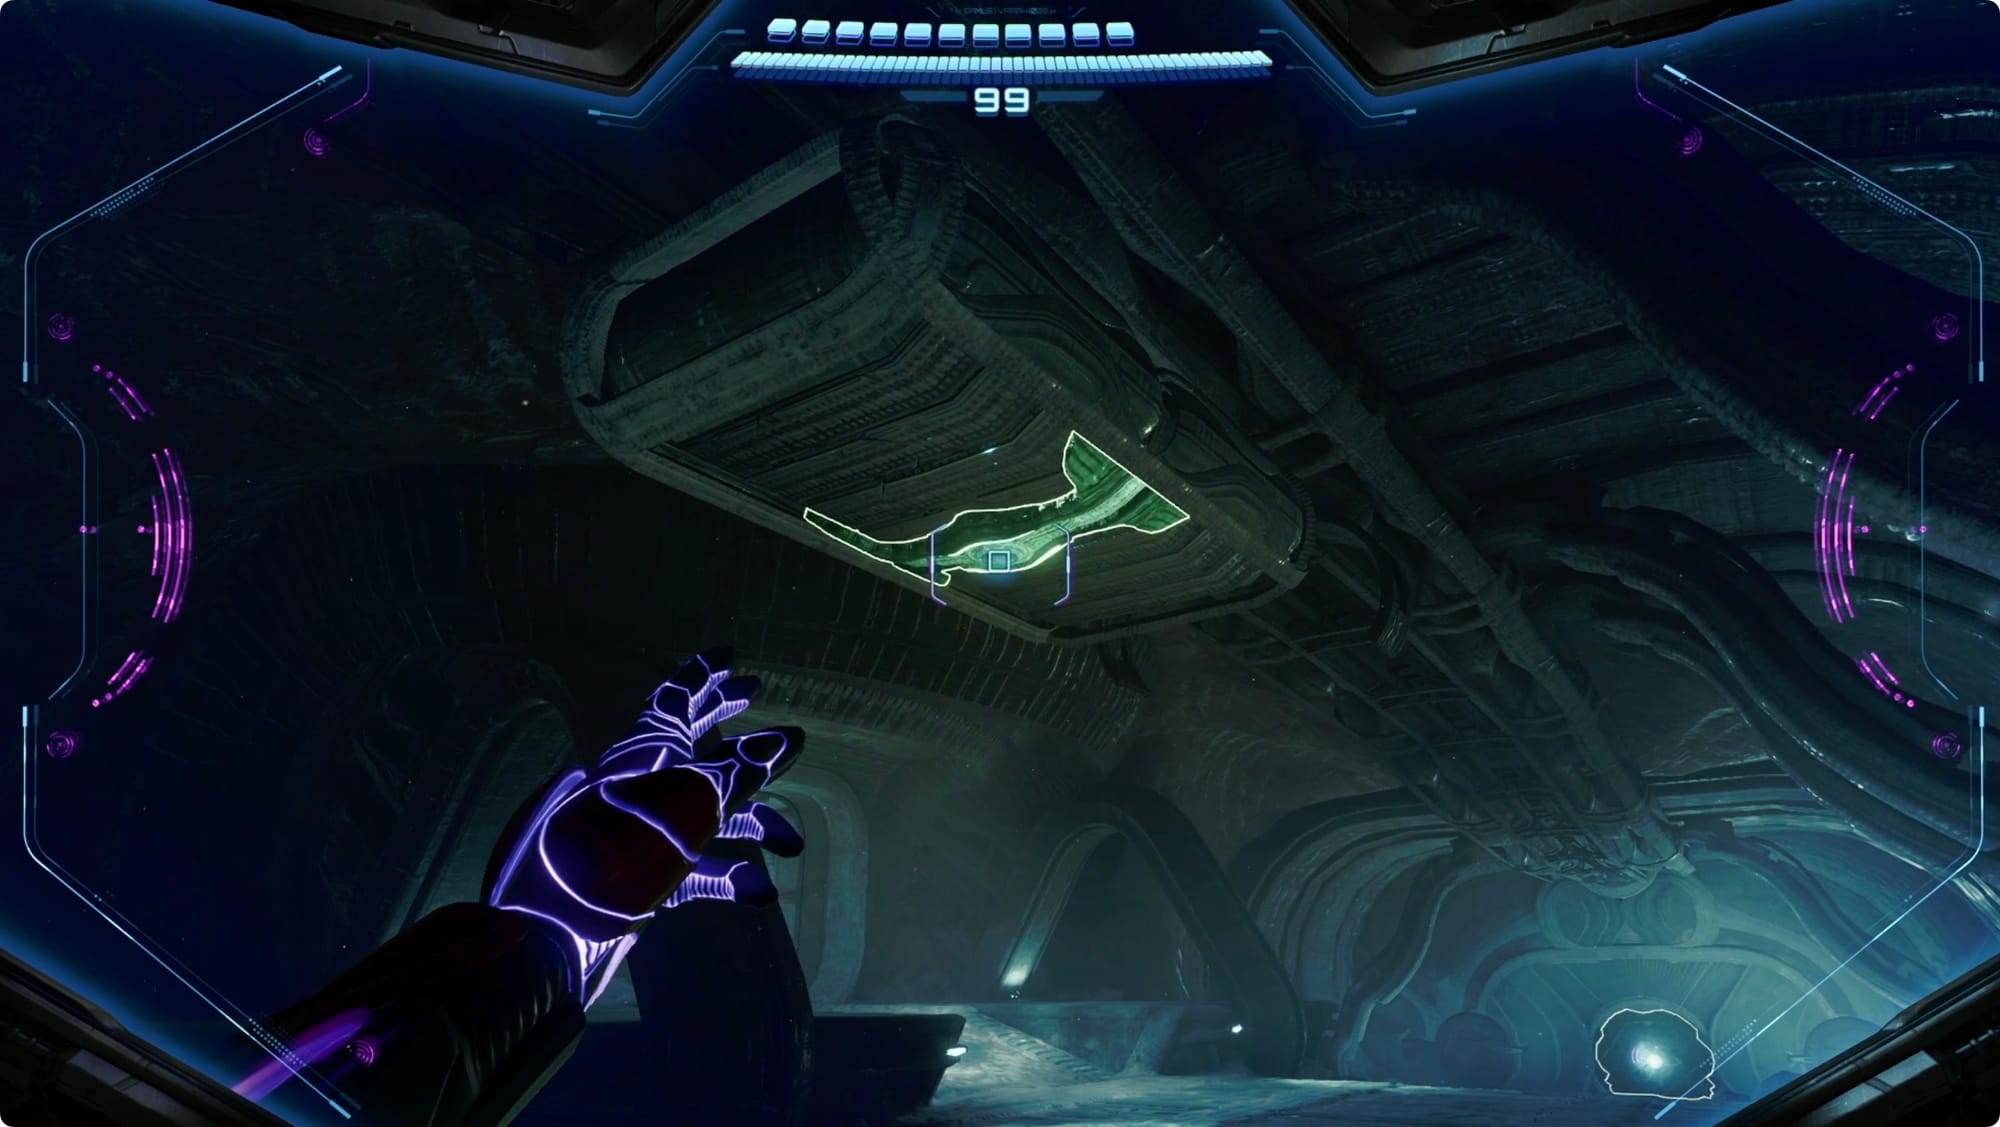
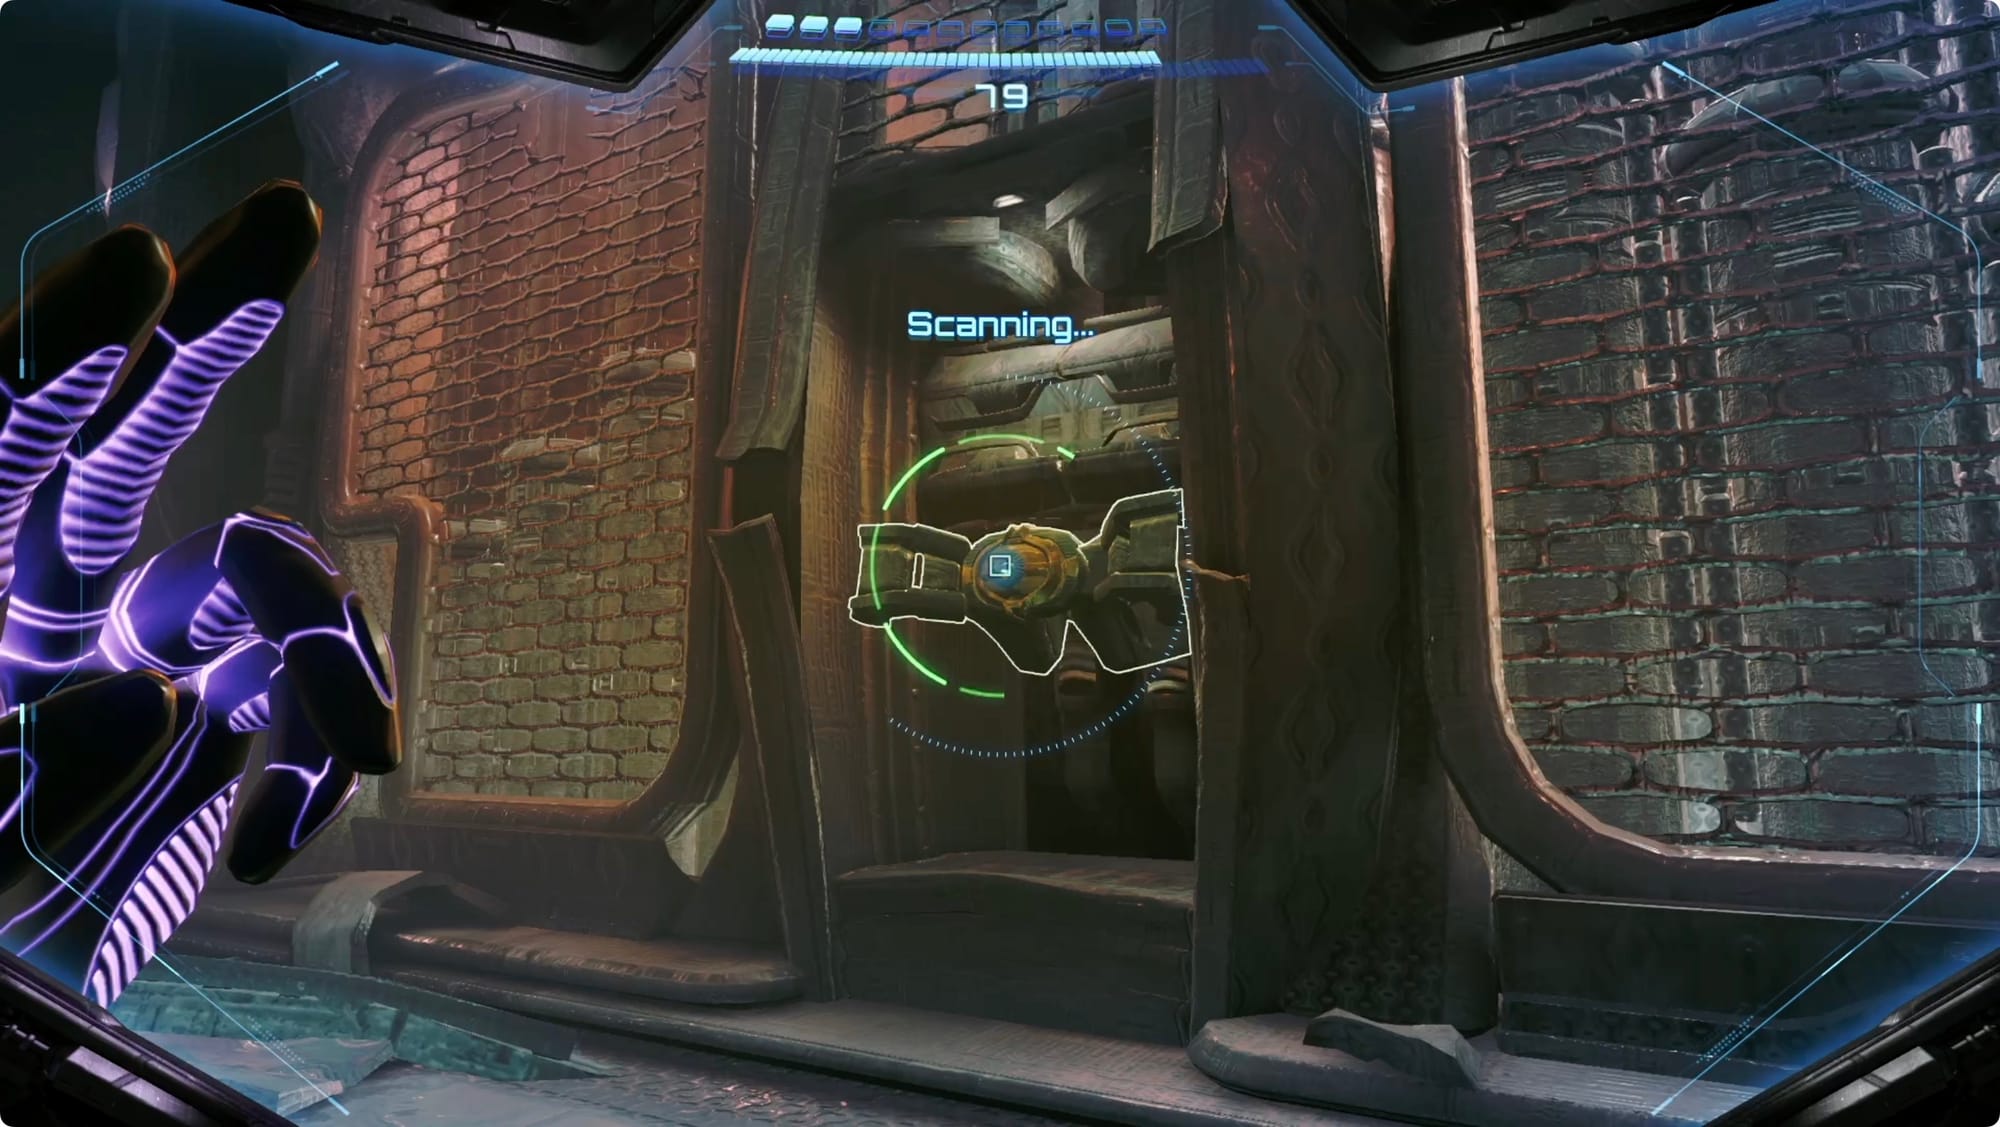
Back at the mine entrance, take the elevator to Level 1. Go forward to the Command Center (this is a good time to stop at the Save Station as you pass). In the tunnel on the south side, look up at the ceiling for a cargo pod. Scan the latch to open it, and then lasso the pod open. Jump up to grab the Shot Expansion inside.
In a room to the east, there will be an Enhanced Gate Lock on your right. Super Missile it, grab the Missile Expansion, and deal with any Grievers that show up.
Drop through the hole in the Drilling Site, and then retrace your path all the way around to Garnbocask Site B. On the right, there’s a Gibardaum Ore wall that can only be destroyed with a Power Bomb. Do that, and grab the Large Shot Expansion inside.
Back in the main room, drop through the hole and continue all the way forward to Level 2 of the mines. Continue forward to the Narrow Crevice where you have to jump a gap. When you do, turn around and look to your left. Use the three Crystal Crawlers to go deeper into the Crevice for a Missile Expansion.

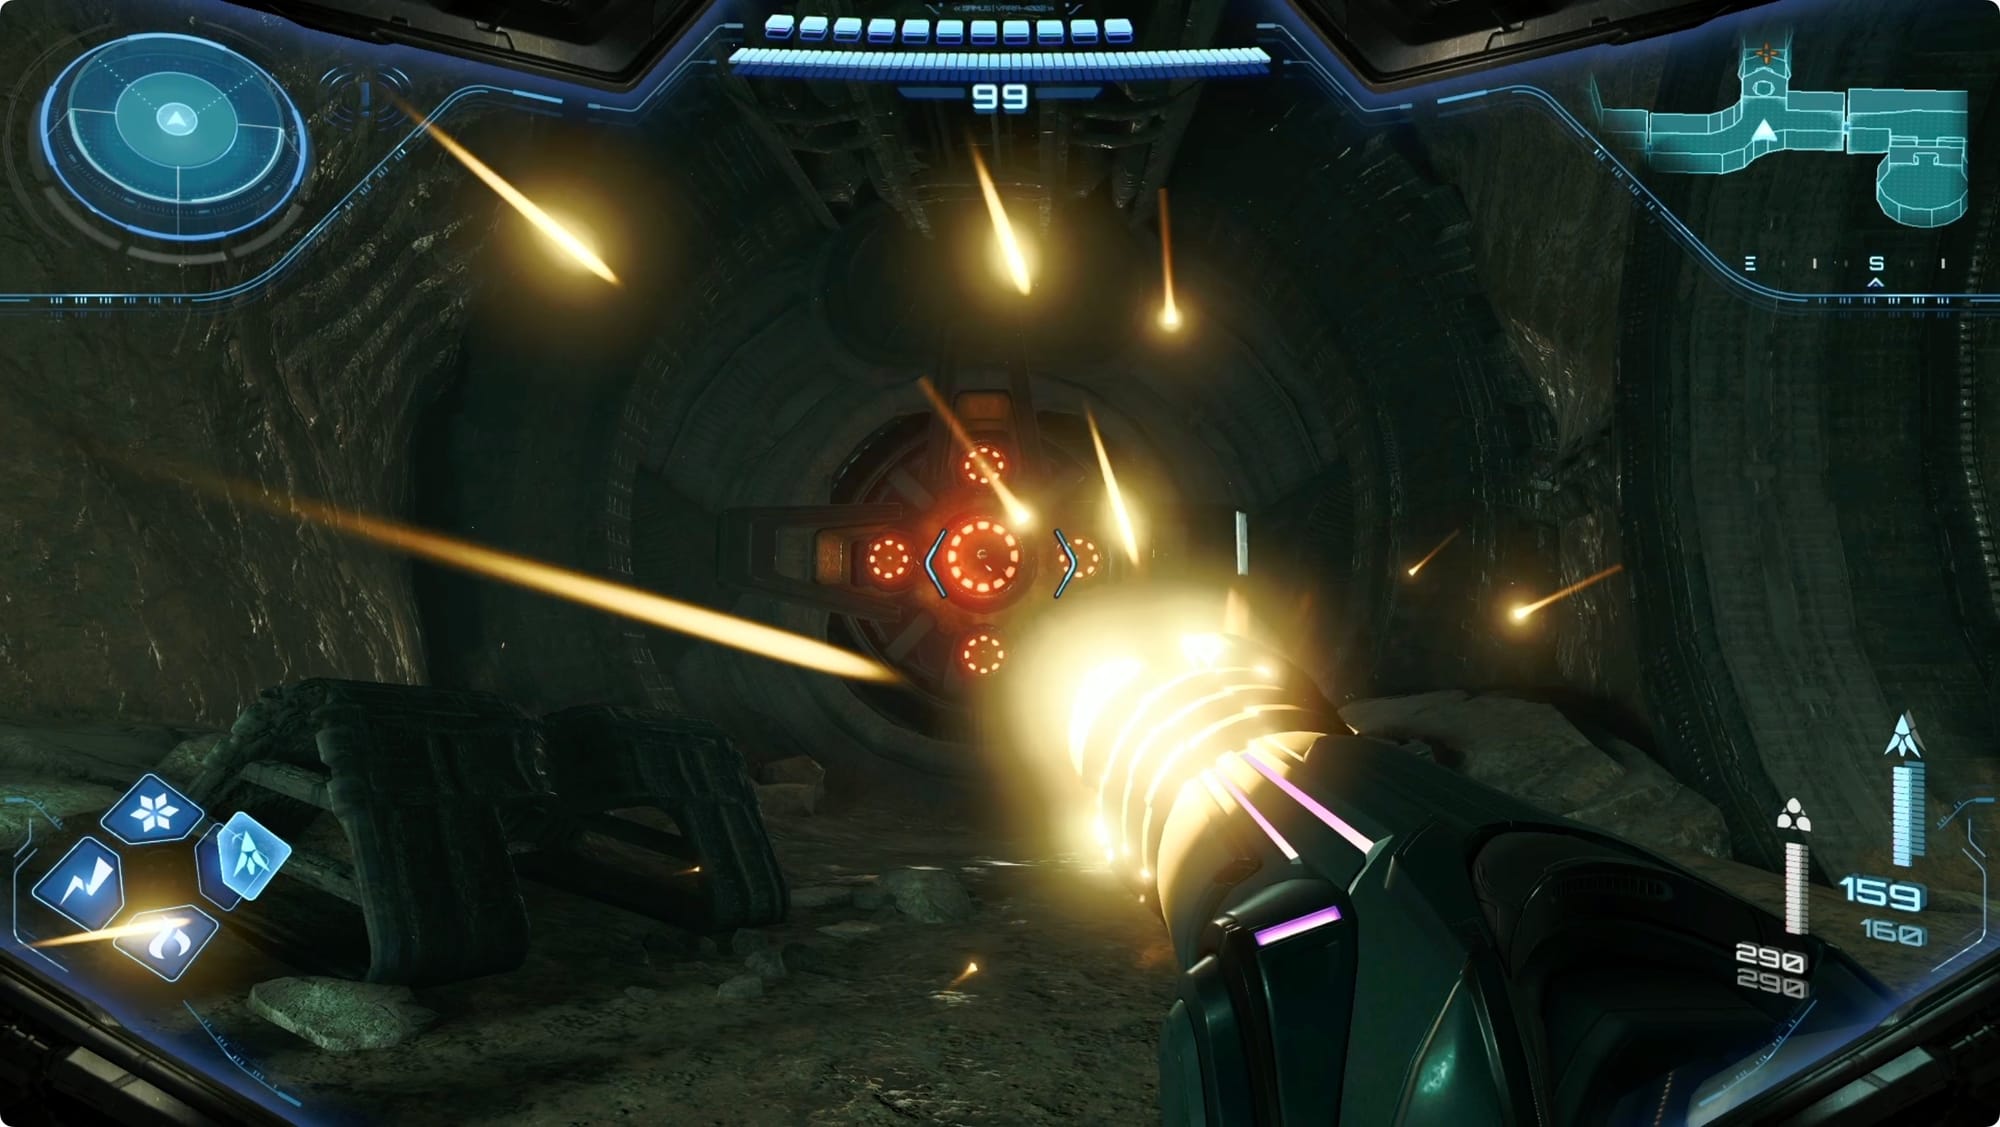
Head all the way to the Transit Junction for the next Save Station. In the next room to the south, there’s a crate directly ahead of you with glowing red dots. Hit it with a Super Missile to crack it open and collect your Missile Expansion.
Keep retracing your path all the way to the Quarry. As soon as you reach the Quarry, turn right to find another Super Missile lock. Head inside and lasso the gate open. Morph Ball into the hatch and jump up and to the left.
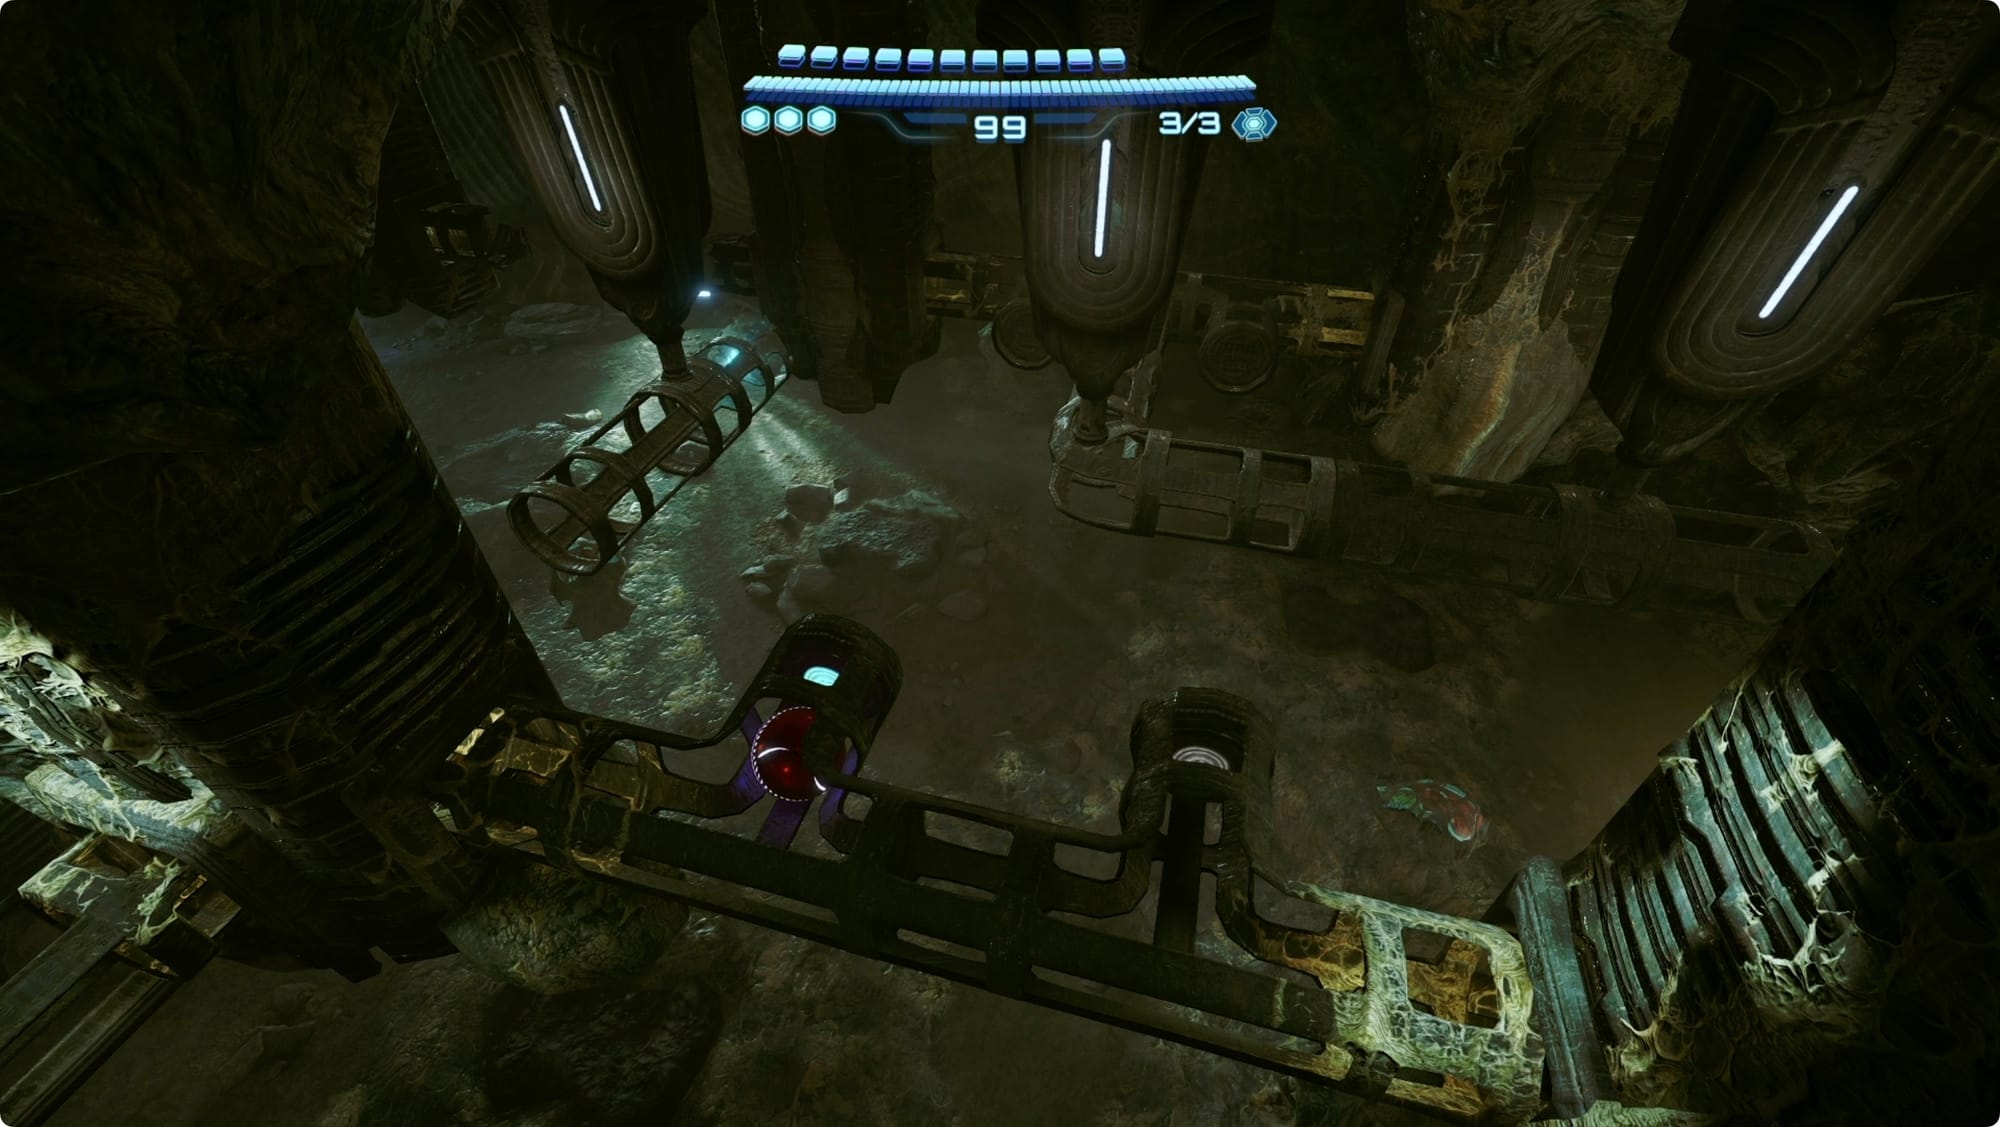
You’ll be in the tunnels above the Quarry. Take the first right. The two stumpy tubes are actually controls — bomb the left one five times, and the right one once. You're trying to connect the tube on the left to the tube on the other side. Keep heading right and take the first left. Take the next left, and follow the tubes you just connected to the opposite side of the room.
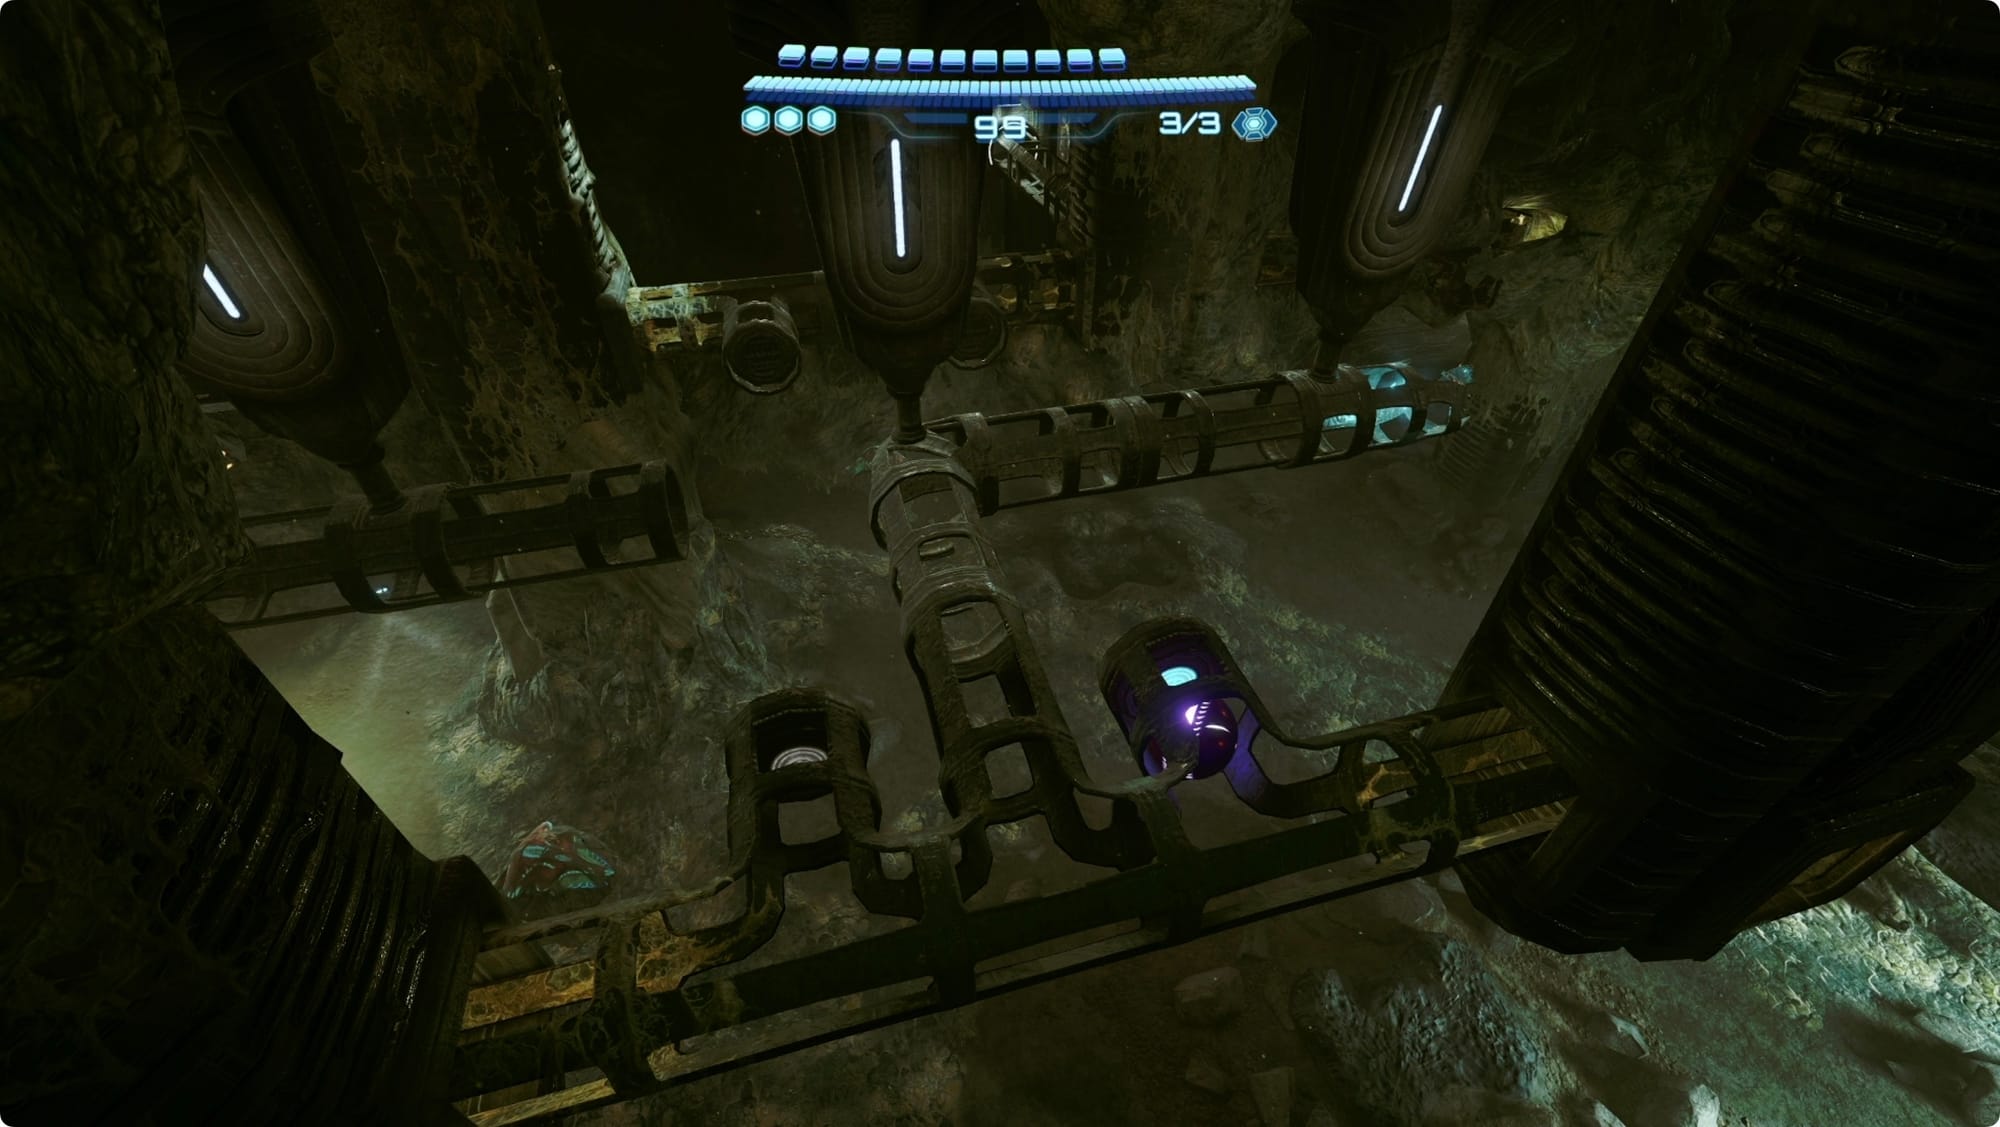
On this side, bomb the right control one time to swing the tubes around so you can collect the Shot Expansion. Drop down to the floor.
To the north in the Easing Tunnel, turn to the right. Hit the Bomb Slot with a Power Bomb to raise a mine cart. Super Missile the ore inside for a Missile Expansion (and to call a bunch of Grievers).
Head back to the south and take the other exit out of the Quarry in the southwest. In the Crystal Crevice, before you do any swinging, look above you and to the left for a secret third Crystal Crawler. Grapple up to the top side of the crevice. Jump across the rocks to collect another Shot Expansion.
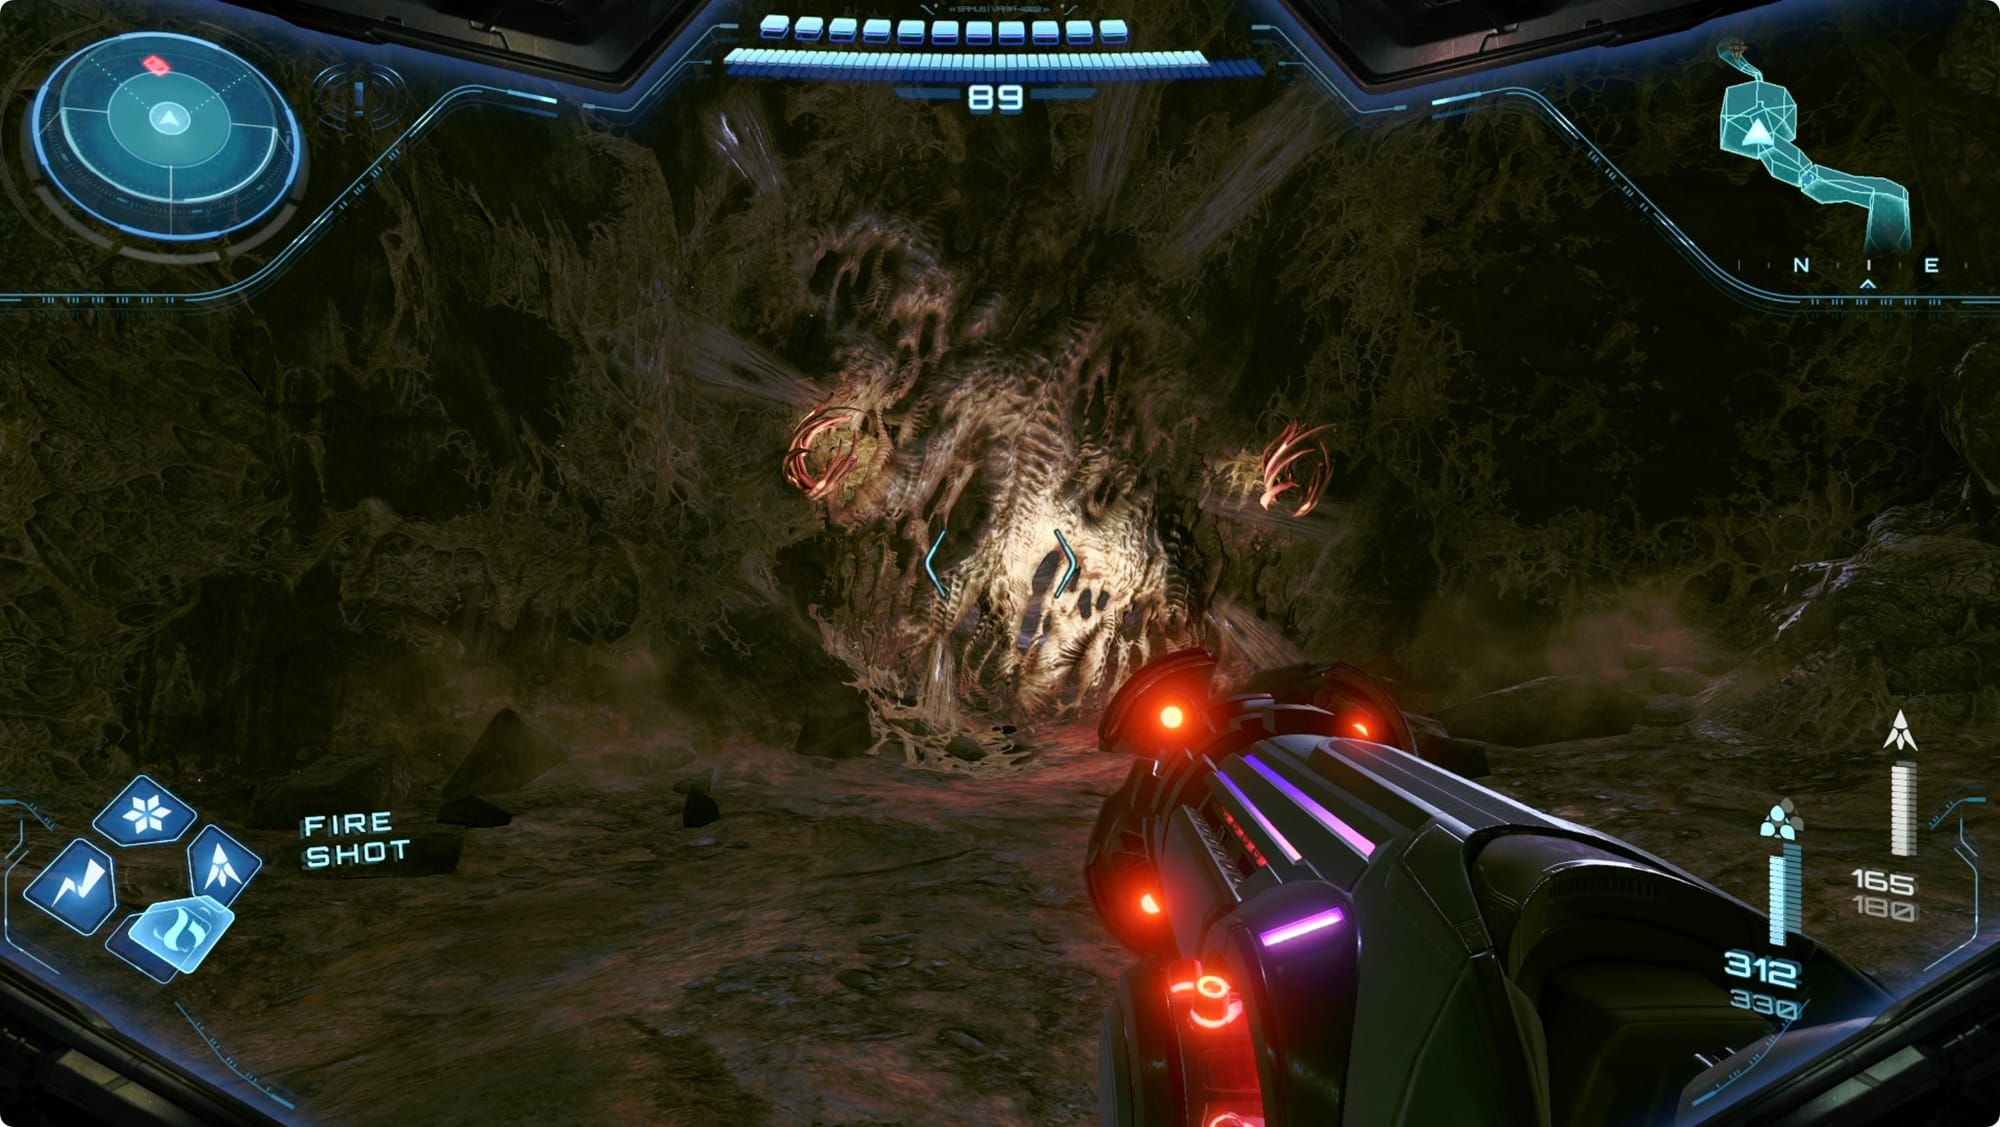
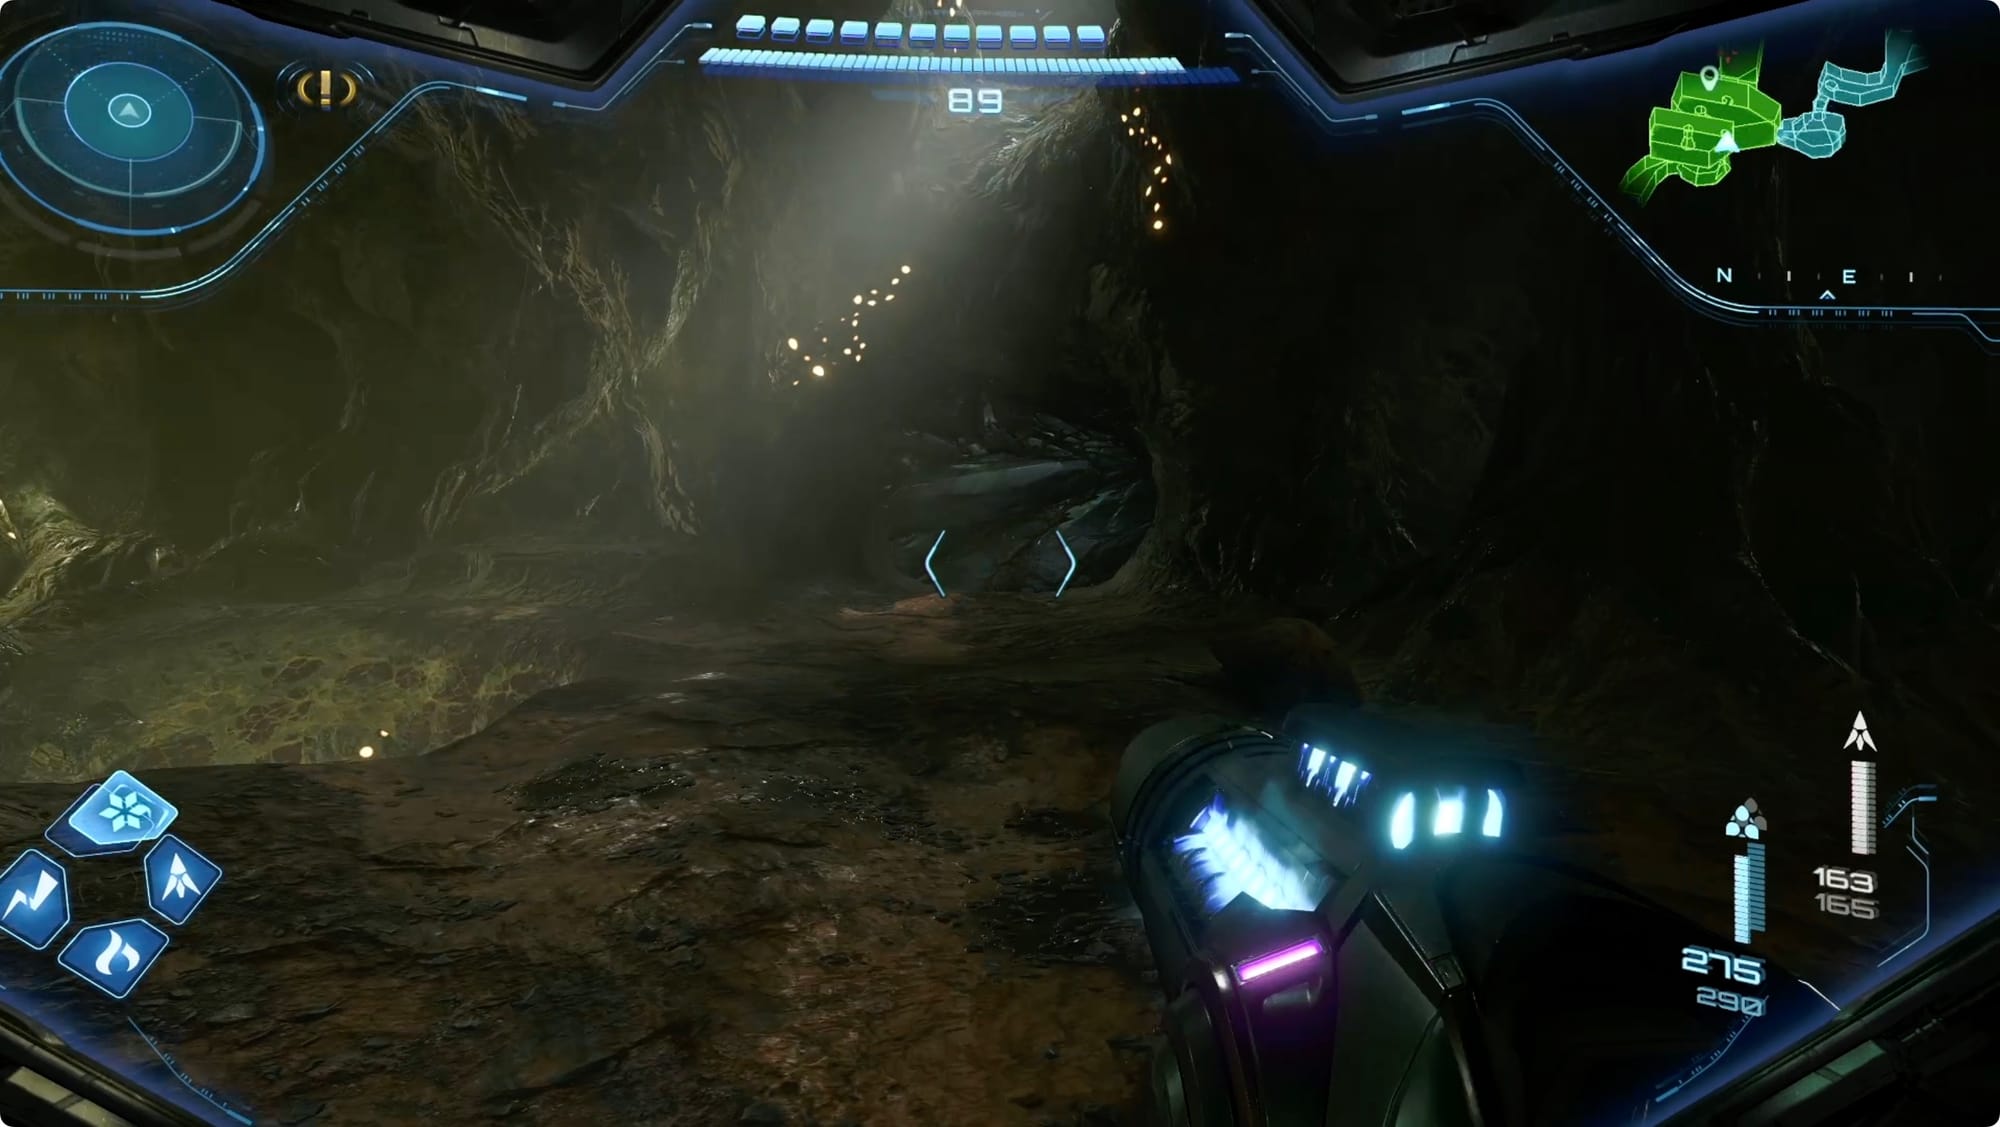
Keep heading forward and drop down to Level 3. When you land, turn around and burn the webbing on the wall behind you. Roll through the tunnel to the end, and then jump and drop a Power Bomb. Collect the Psychic Power Bomb Expansion.
Follow along until you hit the Main Nest Tunnel. This time, go to the south end where you’ll find a wall. Power Bomb it and continue through the door. Burn the webbing on the wall, and then roll into the tunnel. Follow along until you hit a Tether. Use it to launch up and drop a Bomb. When you destroy the wall on the left, Tether yourself up again and roll through.
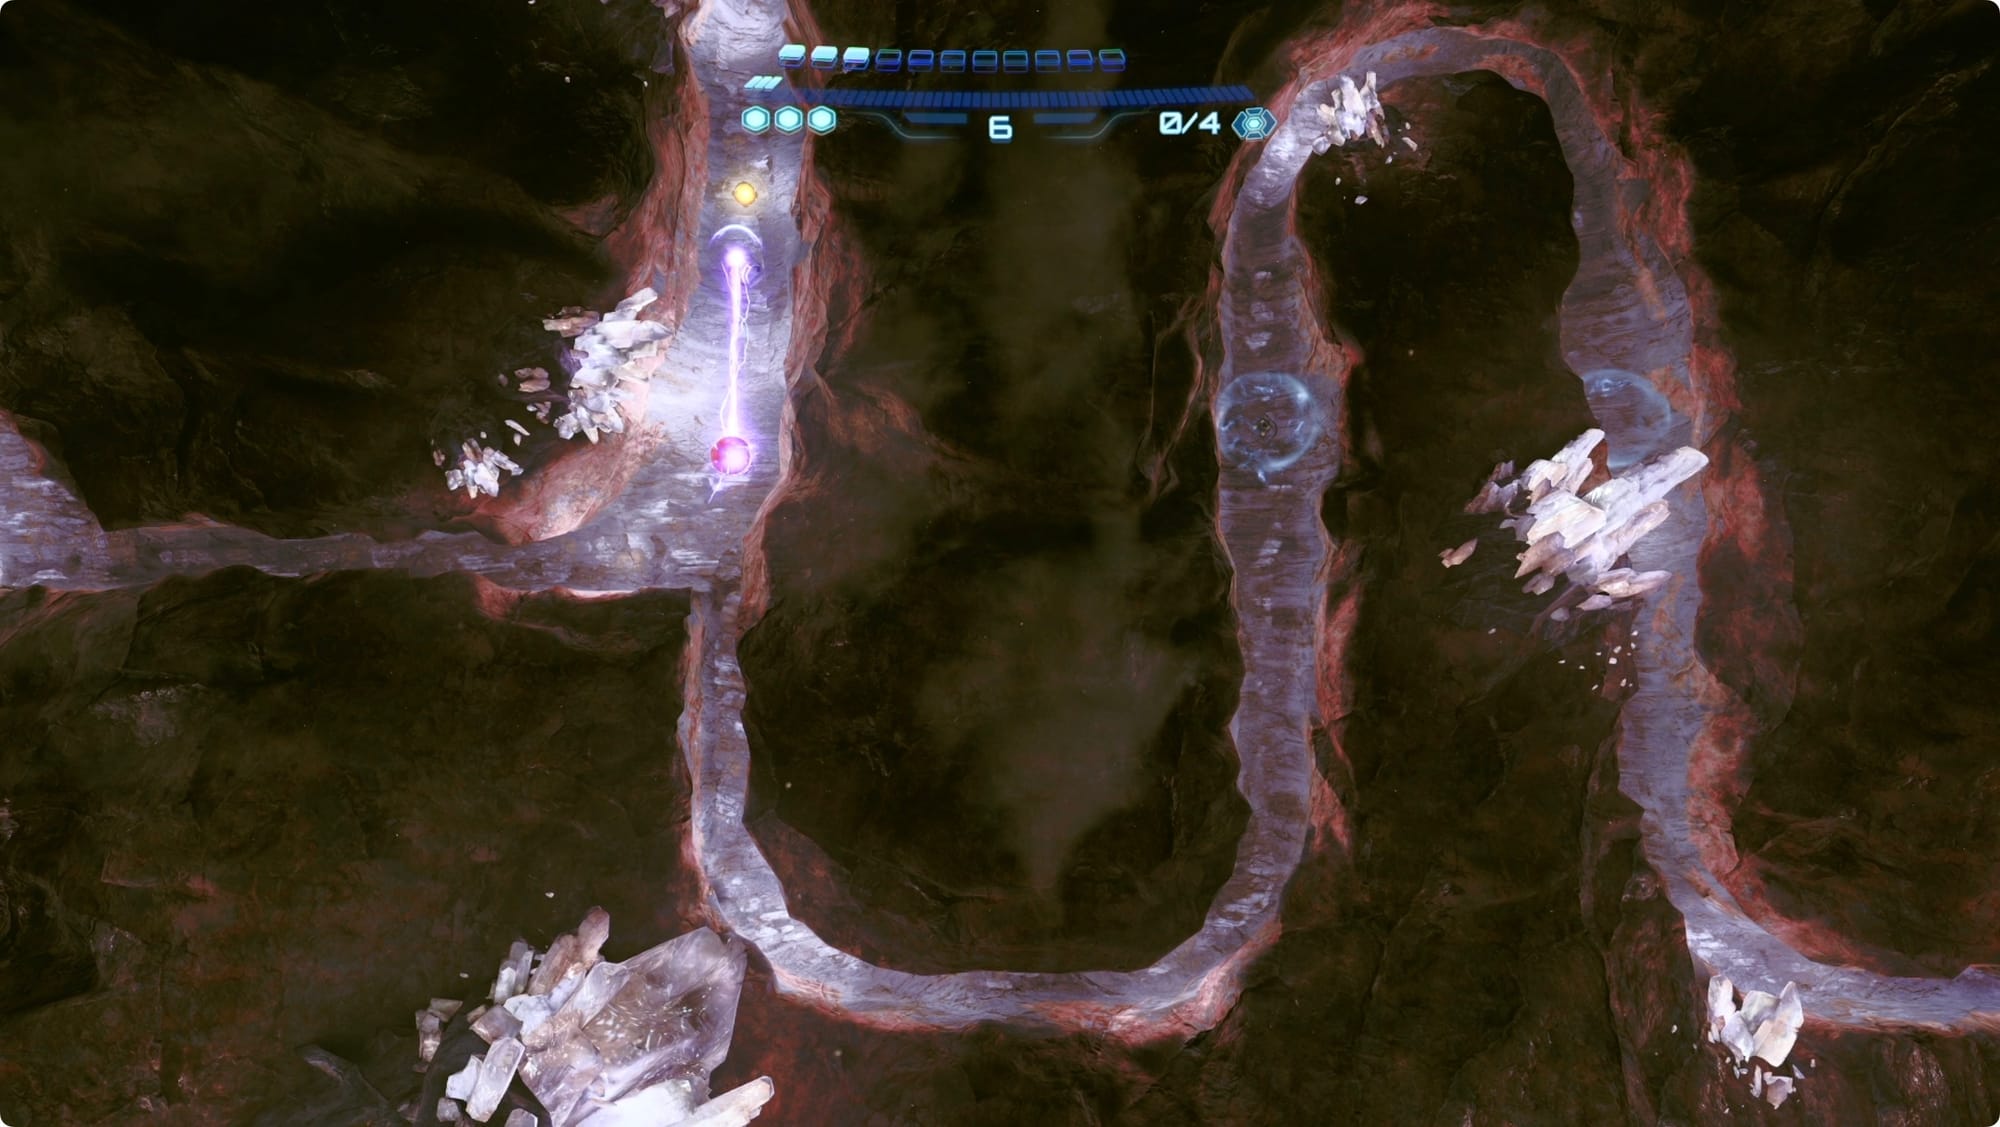
In the next area, you’ll have halfpipe-boost yourself up and over to continue left. Halfpipe-boost again to drop a Bomb against the debris blocking your way up. When it’s destroyed, use the Tether to launch yourself up and follow the path right. Bomb more debris, and then use the jump-Bomb-jump trick to double jump up to the Energy Tank.

Continue left until you drop into a room and are blocked by a drill. Power Bomb it to destroy it and roll through the tunnel (you’ve been here before.)
Keep heading north until just before the final elevator.
Before you go in, look around on the right side of the entrance. Shoot the sensor, and use the Magnetic Rail to climb up. Around the time you hit the roof, the charge will wear off. Use a Control Shot to repower the rails, and then climb up to grab another Shot Expansion.
Head into the elevator shaft and use the terminal on the right to call the elevator. Take it all the way back up to Sol Valley.
When you leave, look at the arch above the bridge to find a secret Grapple Node. Super Missile the hatch up there, and roll into the tunnel. You’ll grab one more Shot Expansion at the far end.
Sol Desert item cleanup, Tokabi, and a shrine
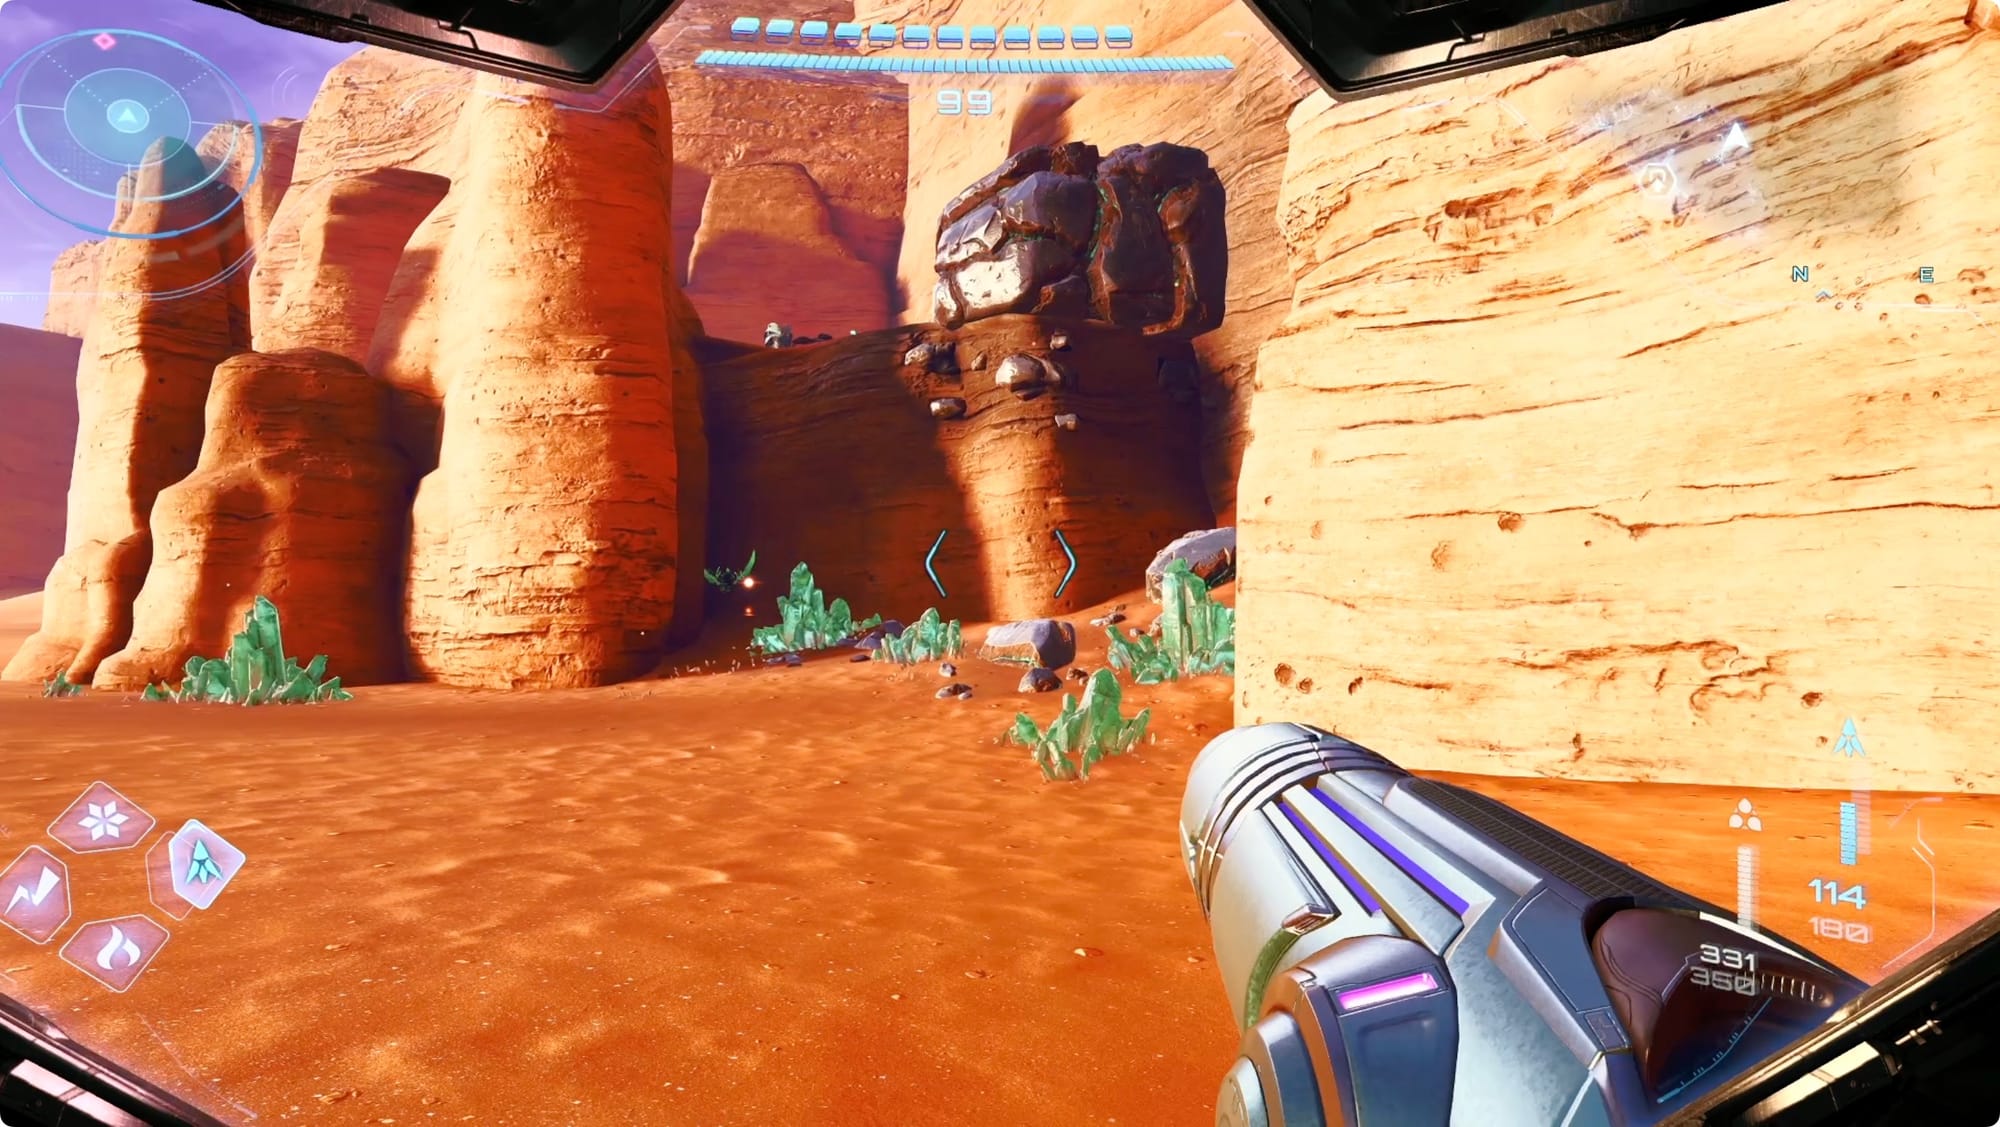
We’ve got few more stops on the way back to Fury Green. While we go collect stuff, you’re also going to want to collect any and every Green Crystal you find.
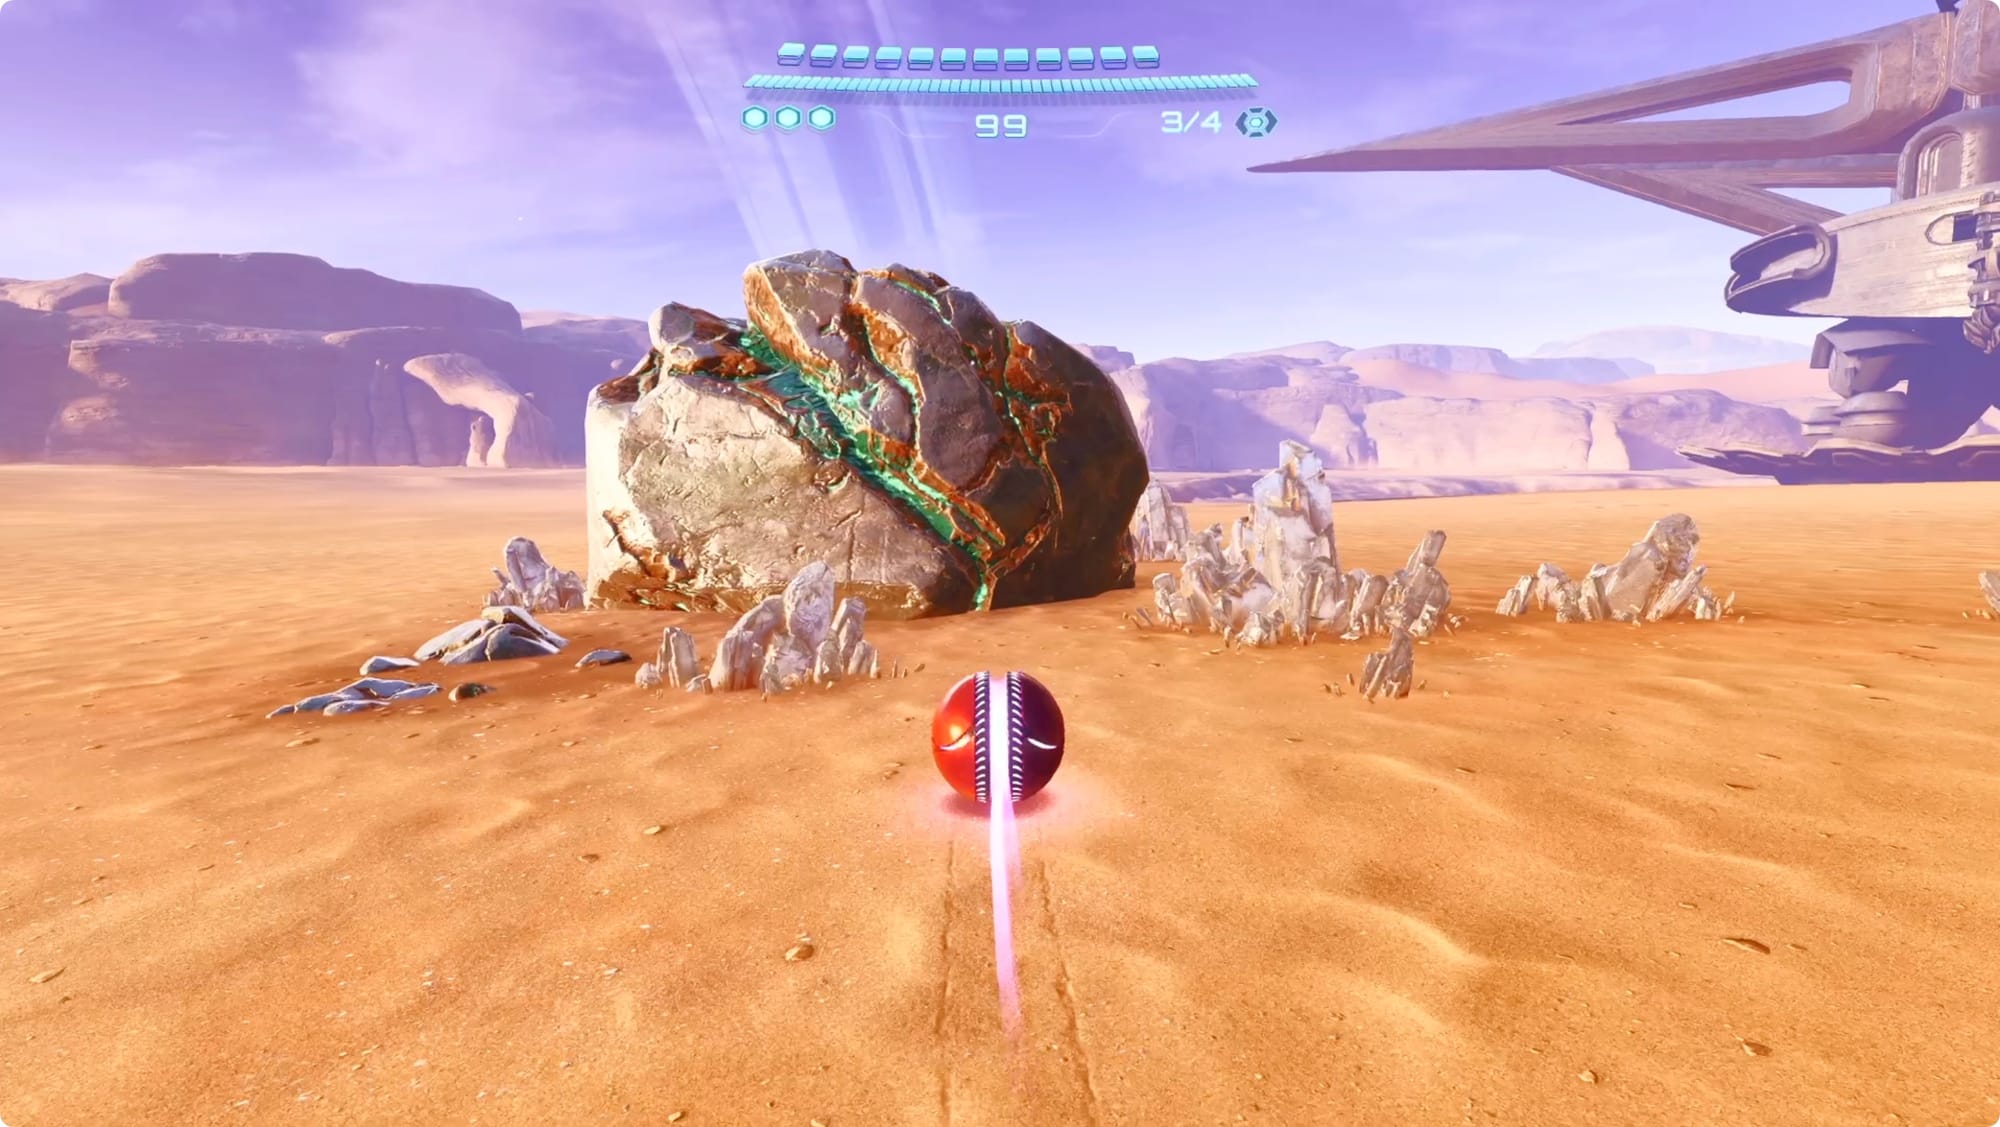
To that end, you have a new way to collect Green Crystals now — the Power Bomb. Anyplace you see one of those big boulders with Green Crystal veins, Power Bomb it for a healthy bunch of crystals. There’s one just west of the Great Mines.
There’s another due east of the Great Mines. Head all the way to the wall and look for a dense cluster of crystals (and Shren nests). Jump up along the ledges and Psychic Glove a floated Power Bomb into the gray boulder for a bunch more.
Past that boulder, there’s a Lamorn Statue to scan (it’s just more exposition).
As you continue west, there are crystal deposits all along the edge of the desert. Try to stick to the raised ledge as much as you can to get all you can.
Head to the Rings of Stone Shrine. In the last room, at the final statue, turn around and look up at the ceiling. Fly a Control Beam into the tunnel there to open a tiny door behind the statue. Roll through to find a Shot Expansion.
Head northwest from the Rings of Stone shrine and keep heading west along the upper edge of the map. Jump through the stone window to find another boulder.

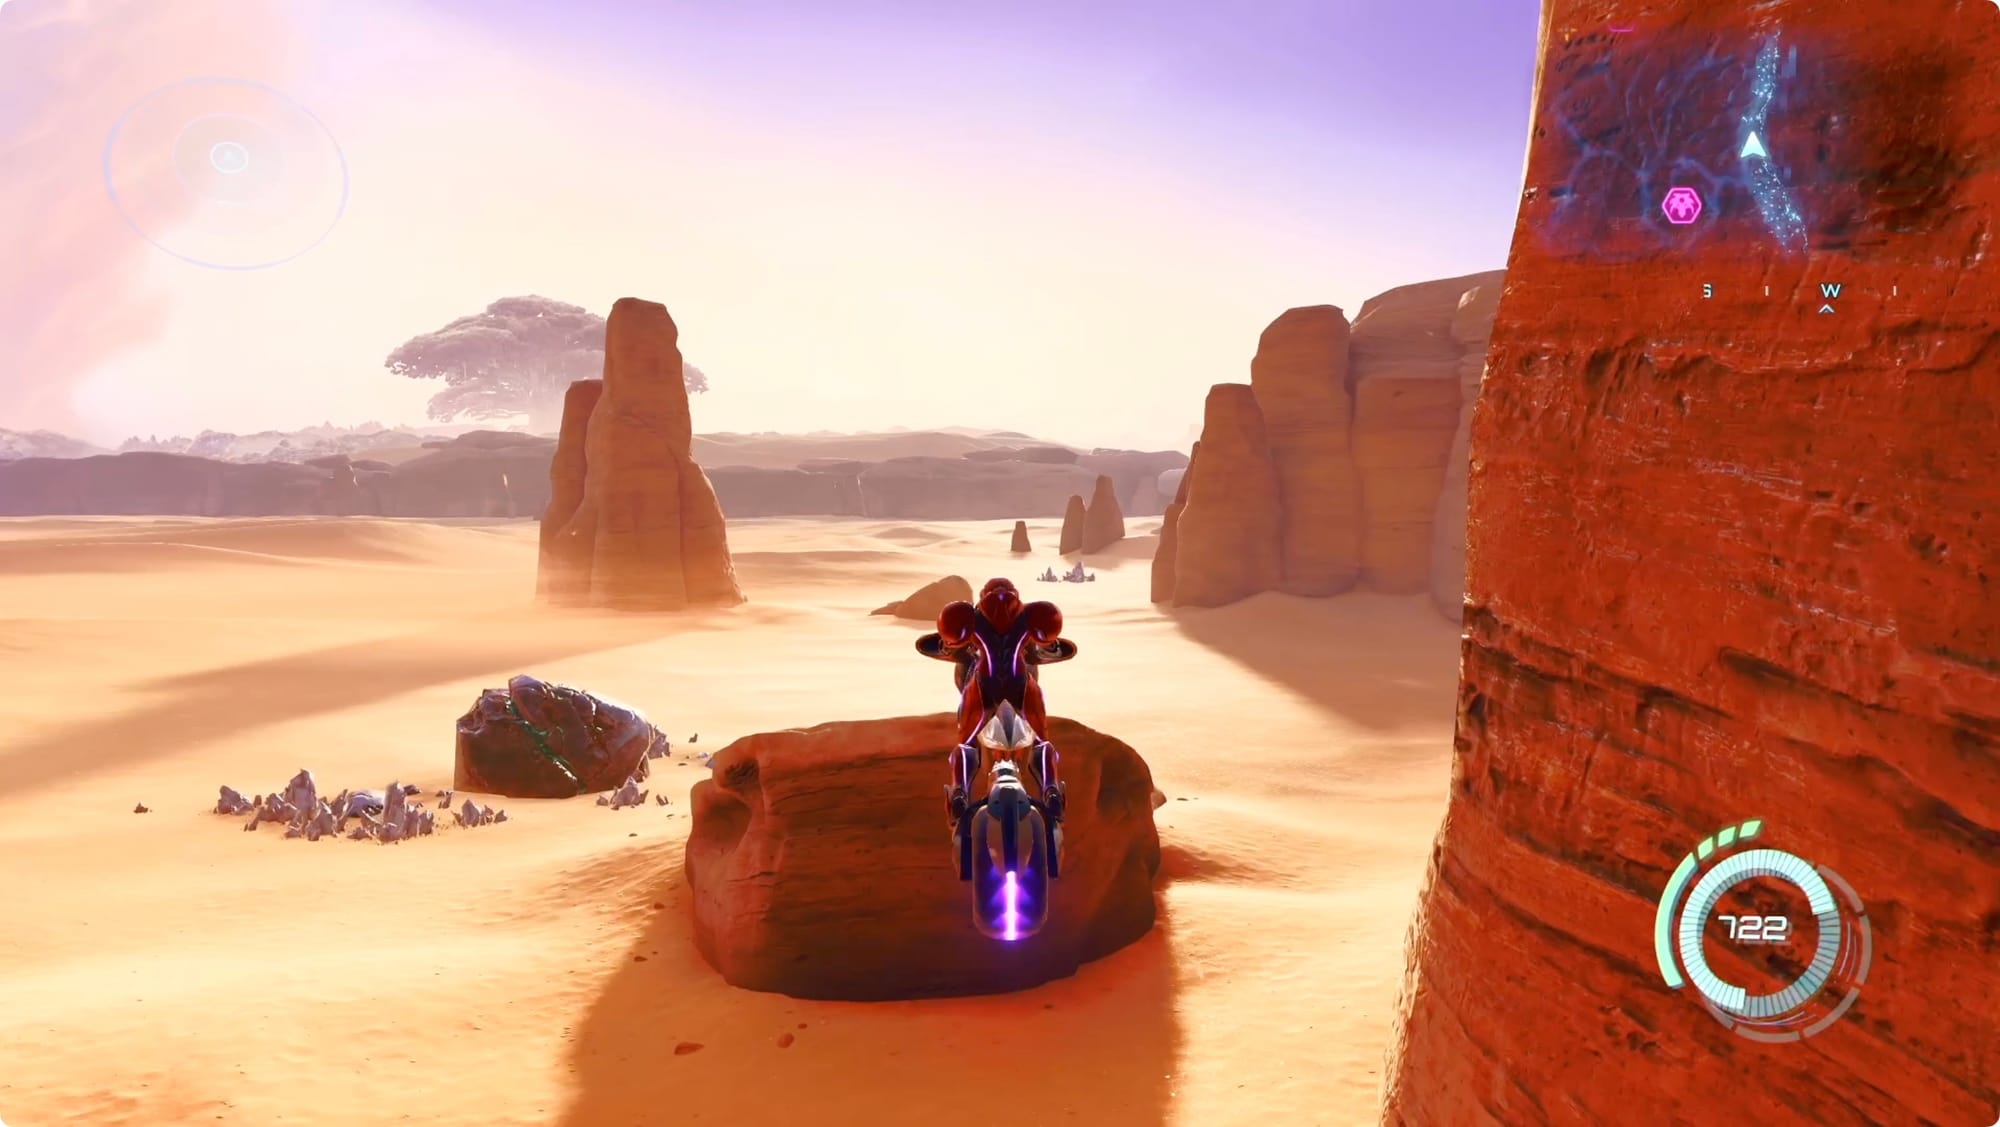
From there, it’s time to take Myles’ advice. Point your bike southeast and head all the way over to the Flare Pool entrance area. As you approach, you’ll see Tokabi’s campfire. Hop off your bike and Power Bomb the boulder in front — this should get you close to your next powerup.
Talk to Tokabi to get a … poetic soliloquy and the Teleporter Chip.
Source of Spring shrine
Head straight east from him to find a shrine we (I) missed. Inside the Source of Spring shrine, skip through to the second room and collect all of the Green Crystals.
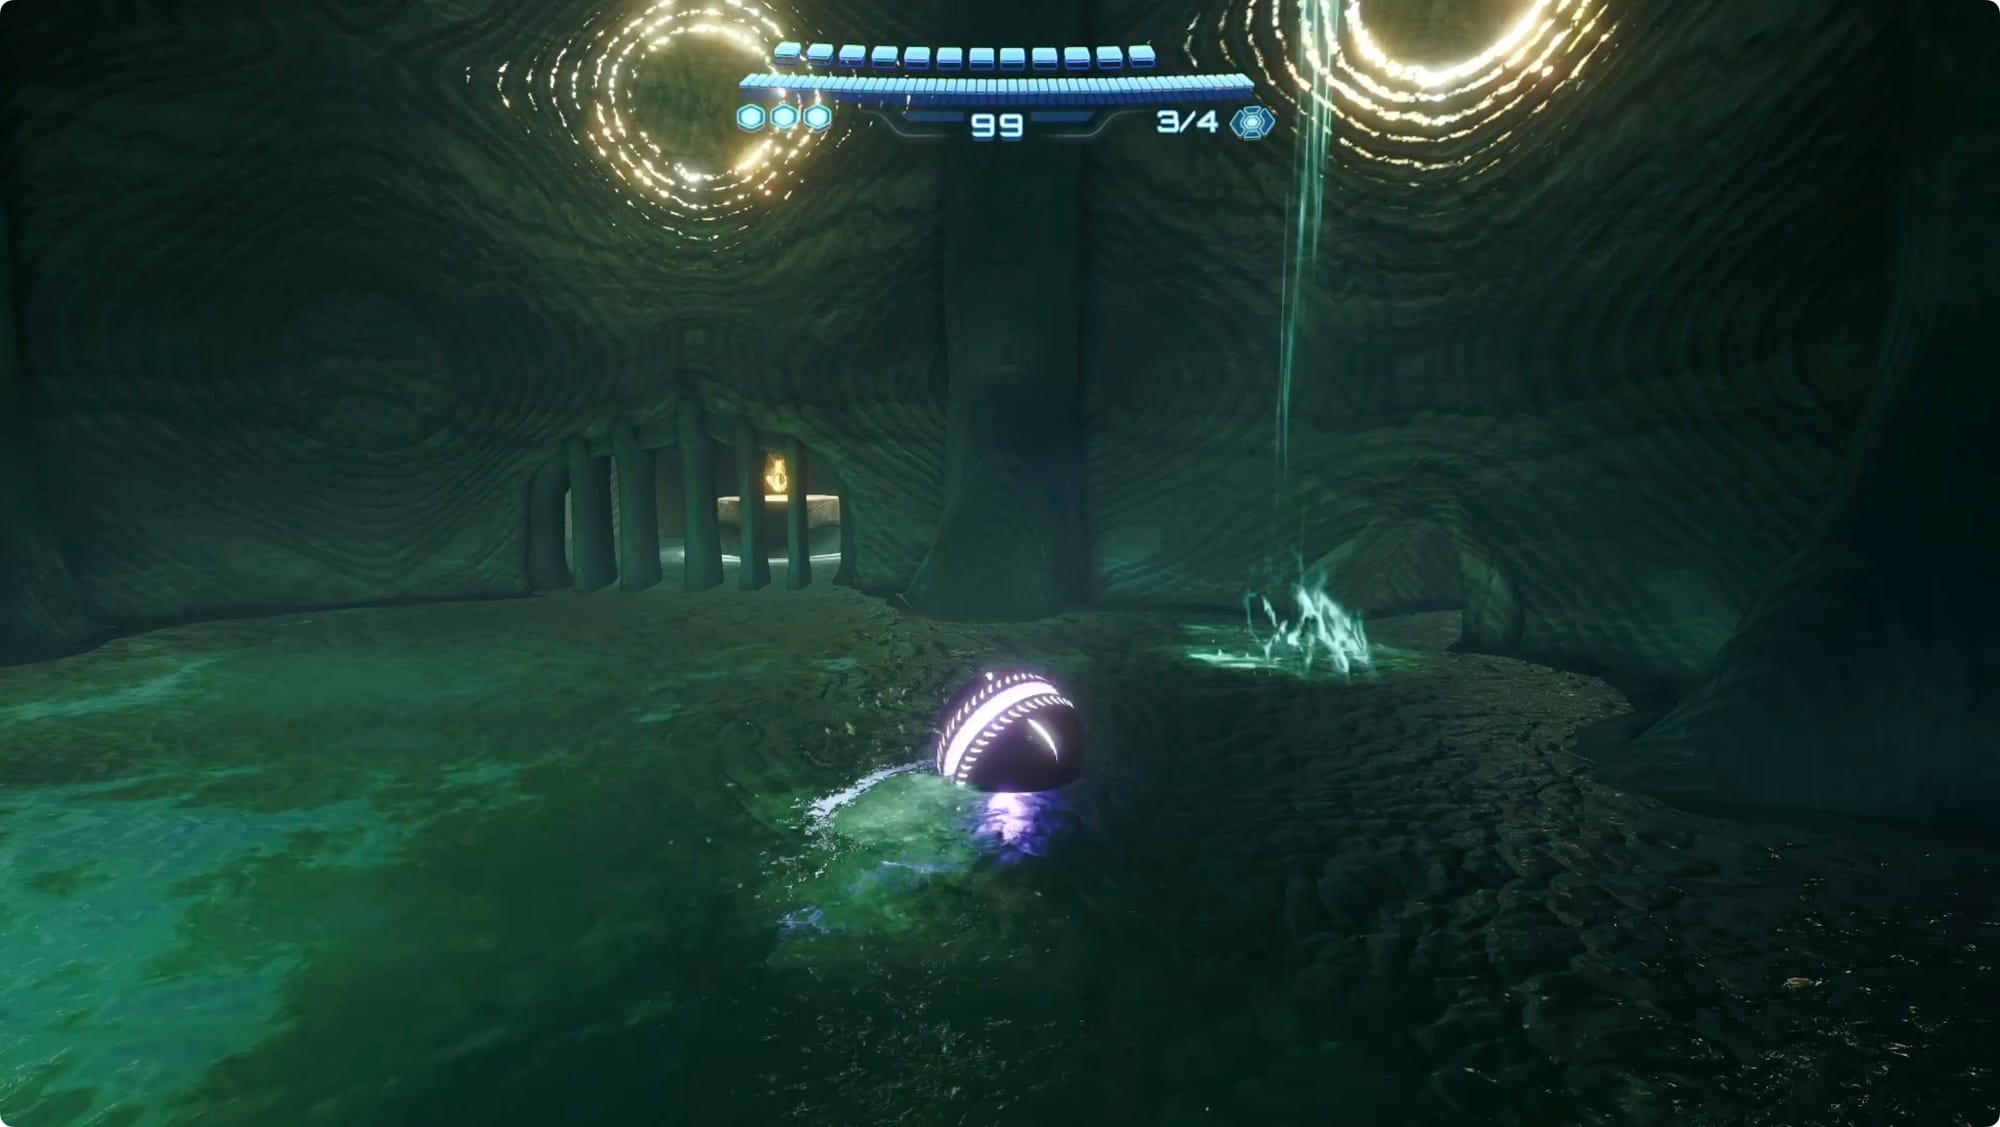
At the base of the water on the left side, roll through into the tunnel to find a Missile Expansion (and some more Green Crystal).
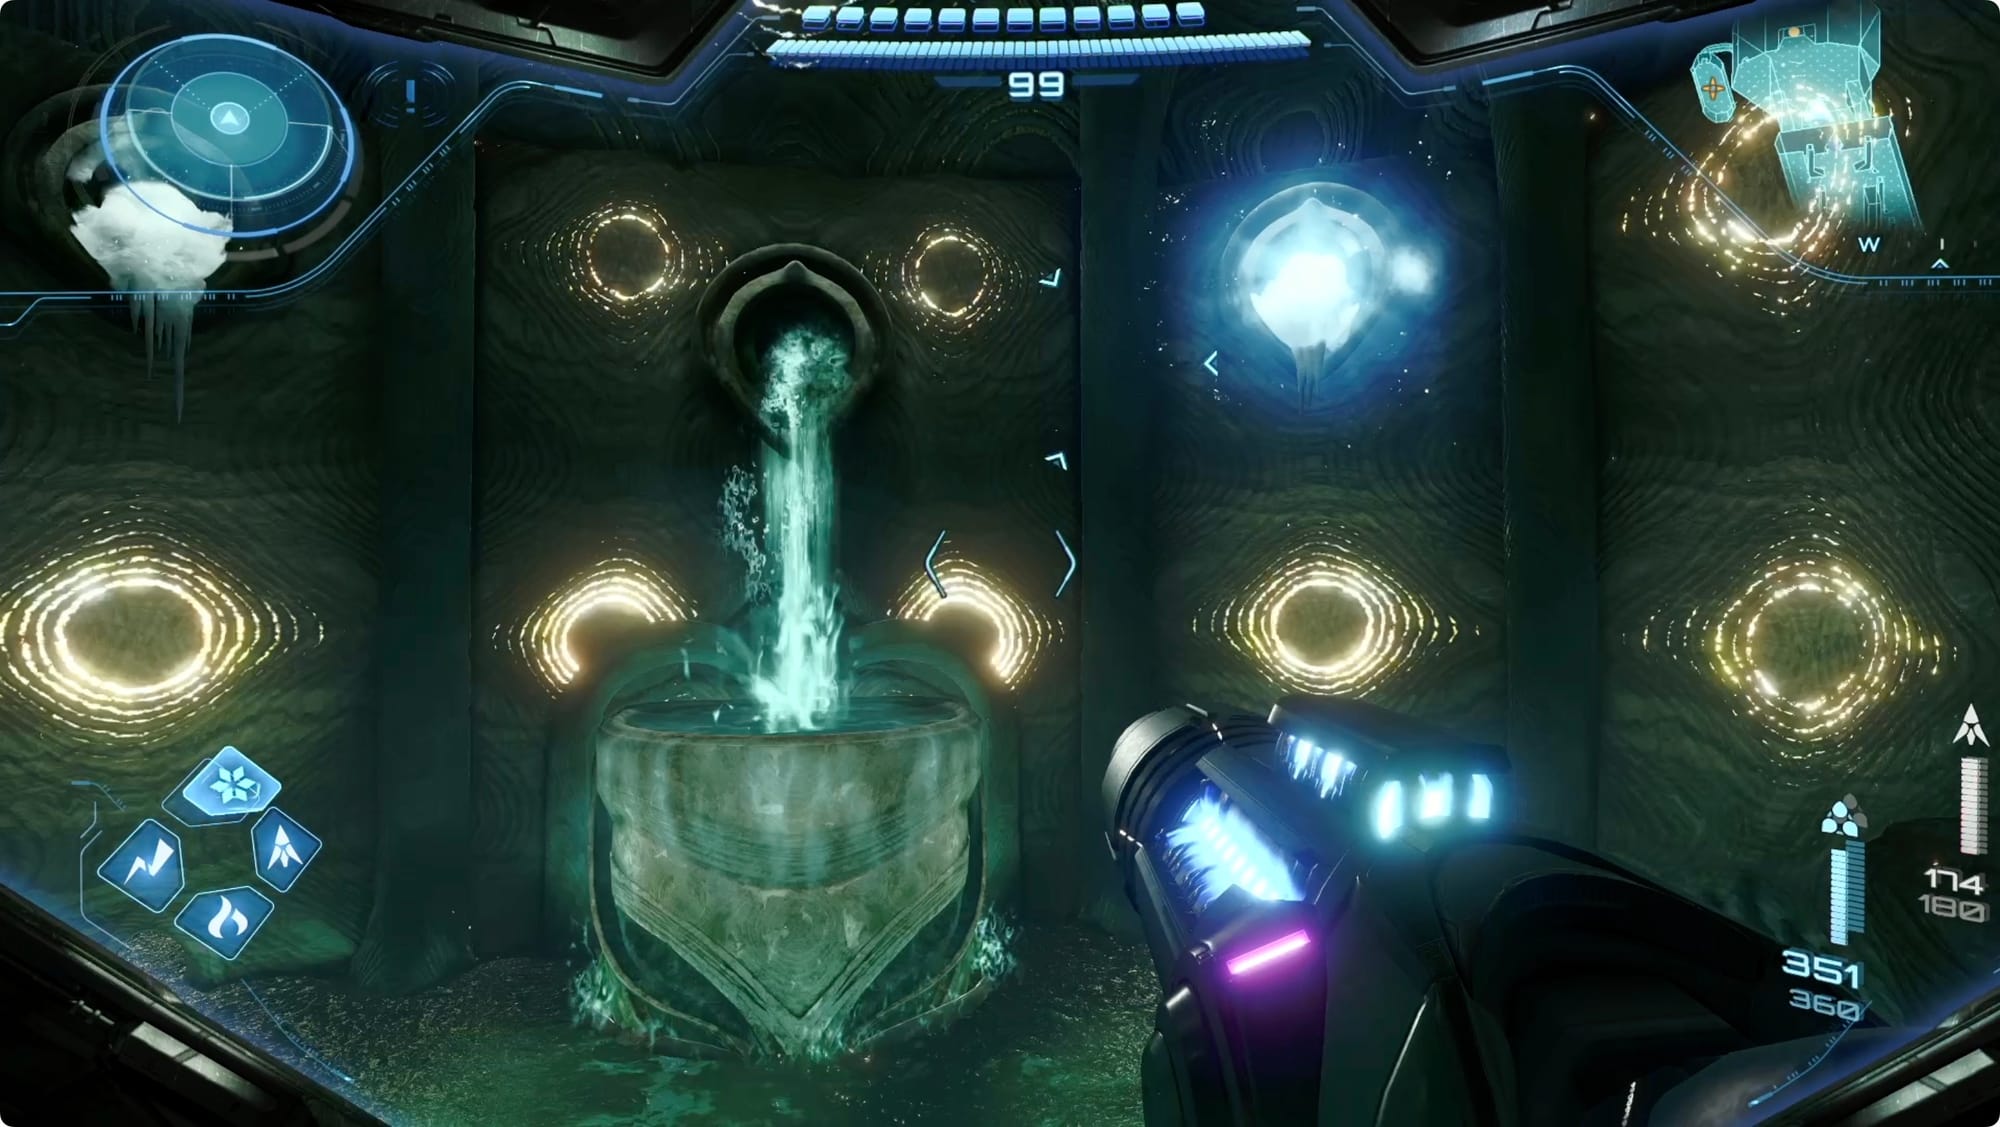
Back out in the main room, Ice Shot the left and right pipes. The extra water in the middle will push down the pillar and reveal the exit. Head through and pick up the Super Ice Shot.
Fury Green
Back up top, point your bike more or less straight west. You’re heading back to Fury Green again. Watch for a couple more Green Crystal boulders near the entrance.
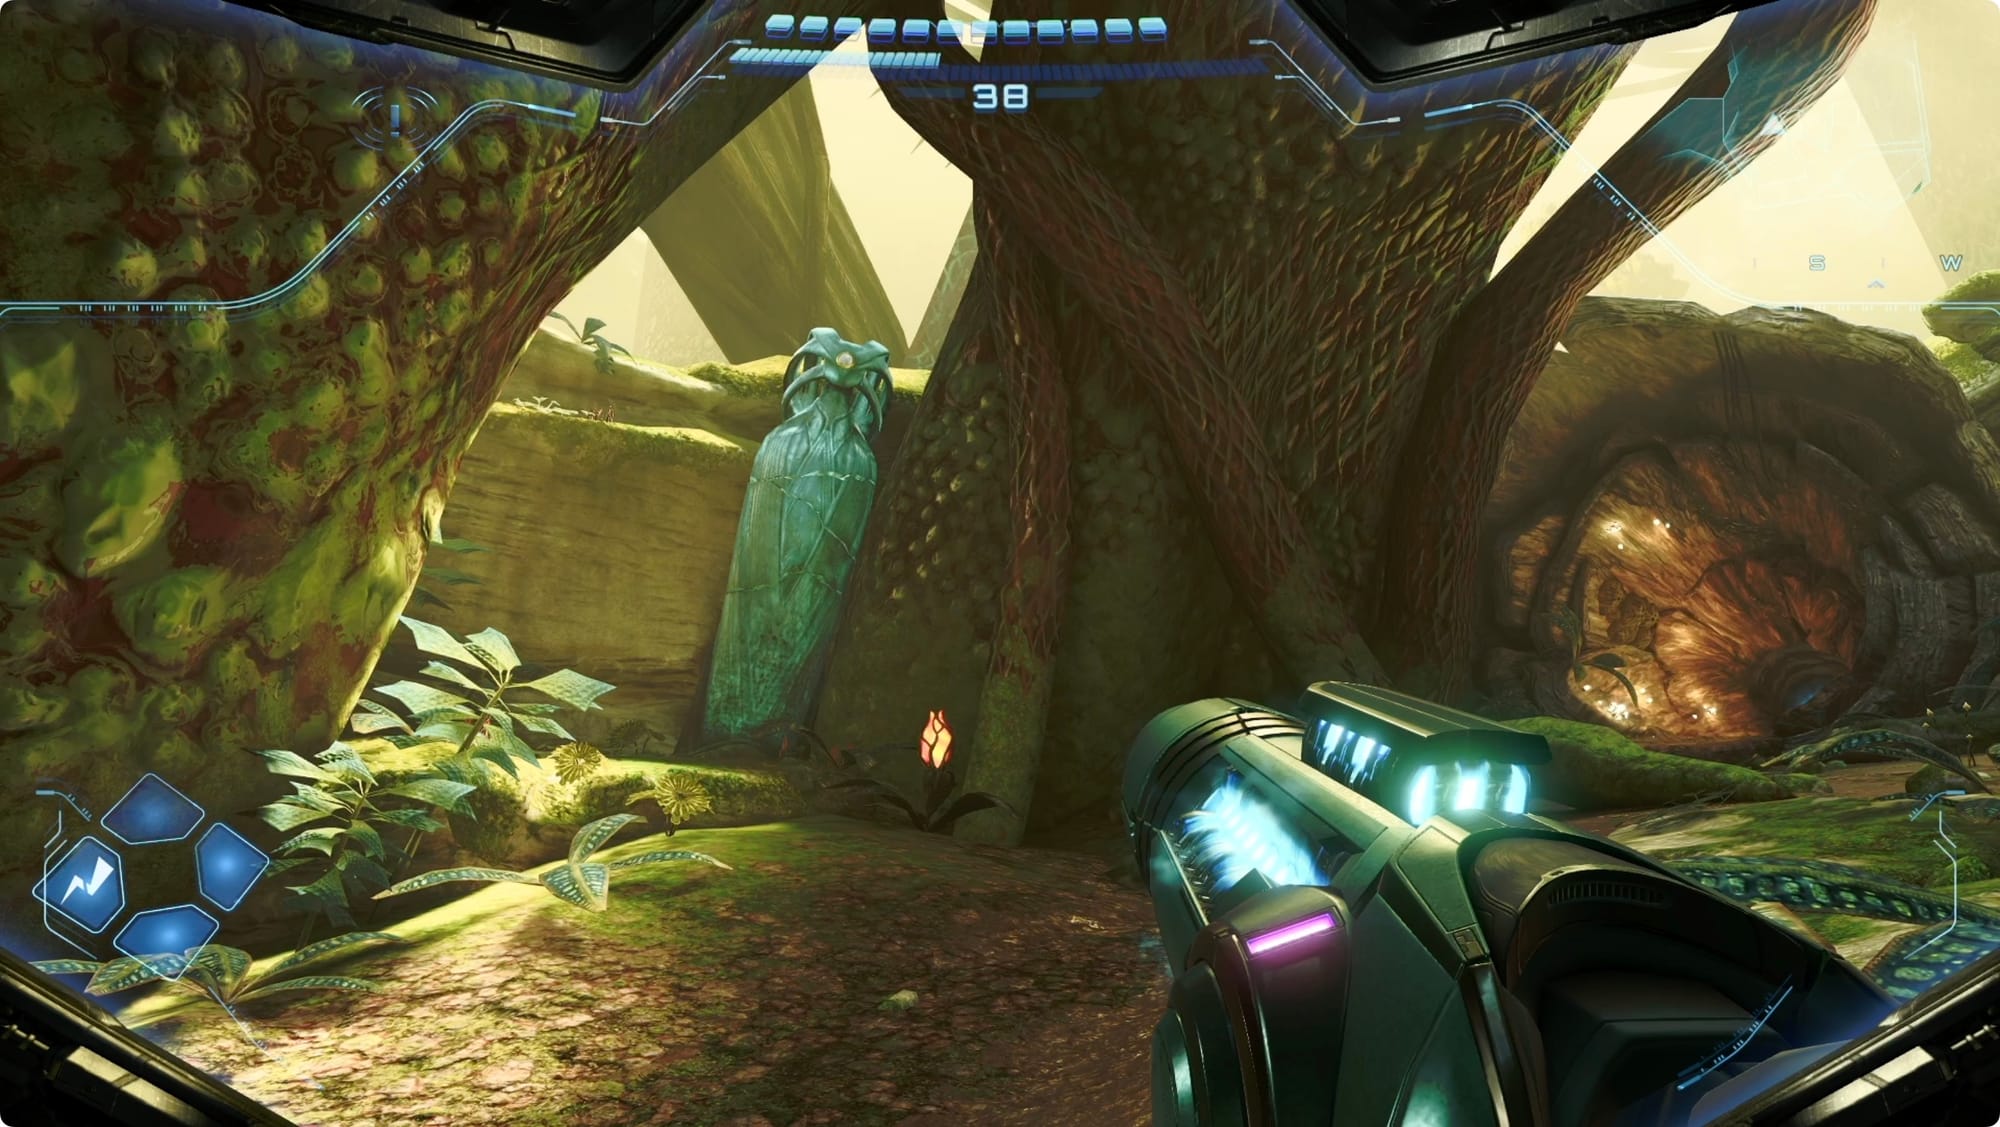
Don’t take the Cargo Launcher yet. Instead, use the tunnel to the left to start back at the beginning. In the very first area, the Quiet Clearing, watch on the left for a Lamorn statue. Power Bomb it for a Psychic Power Bomb Expansion.
Now you’re heading back to Base Camp. Backtrack to the Cargo Launcher. This time, take a left at the tunnels. Burn through the webs to eventually reach a Shot Expansion.
Okay, for real this time, take the Cargo Launcher to the Base Camp.
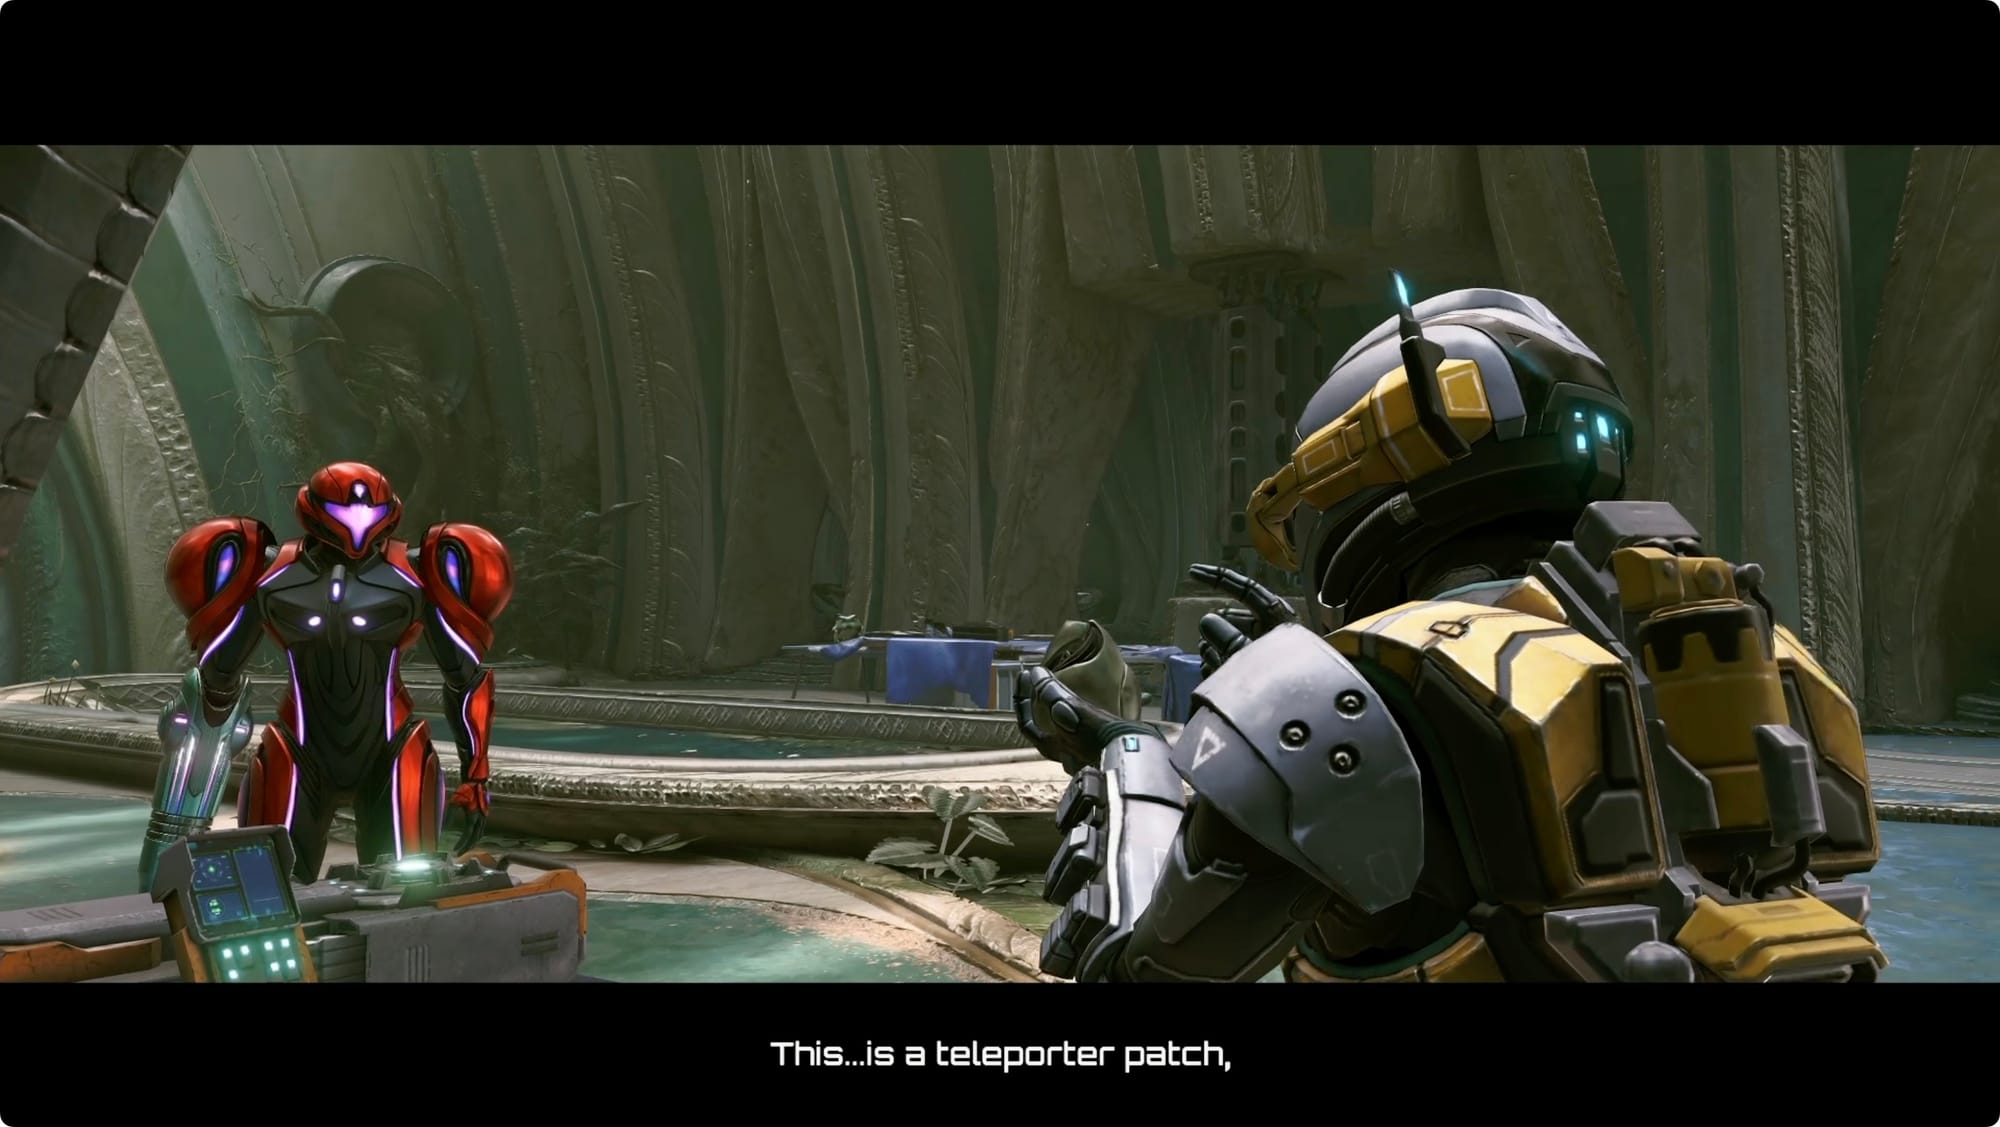
Talk to Myles to get some Teleporter Patches.
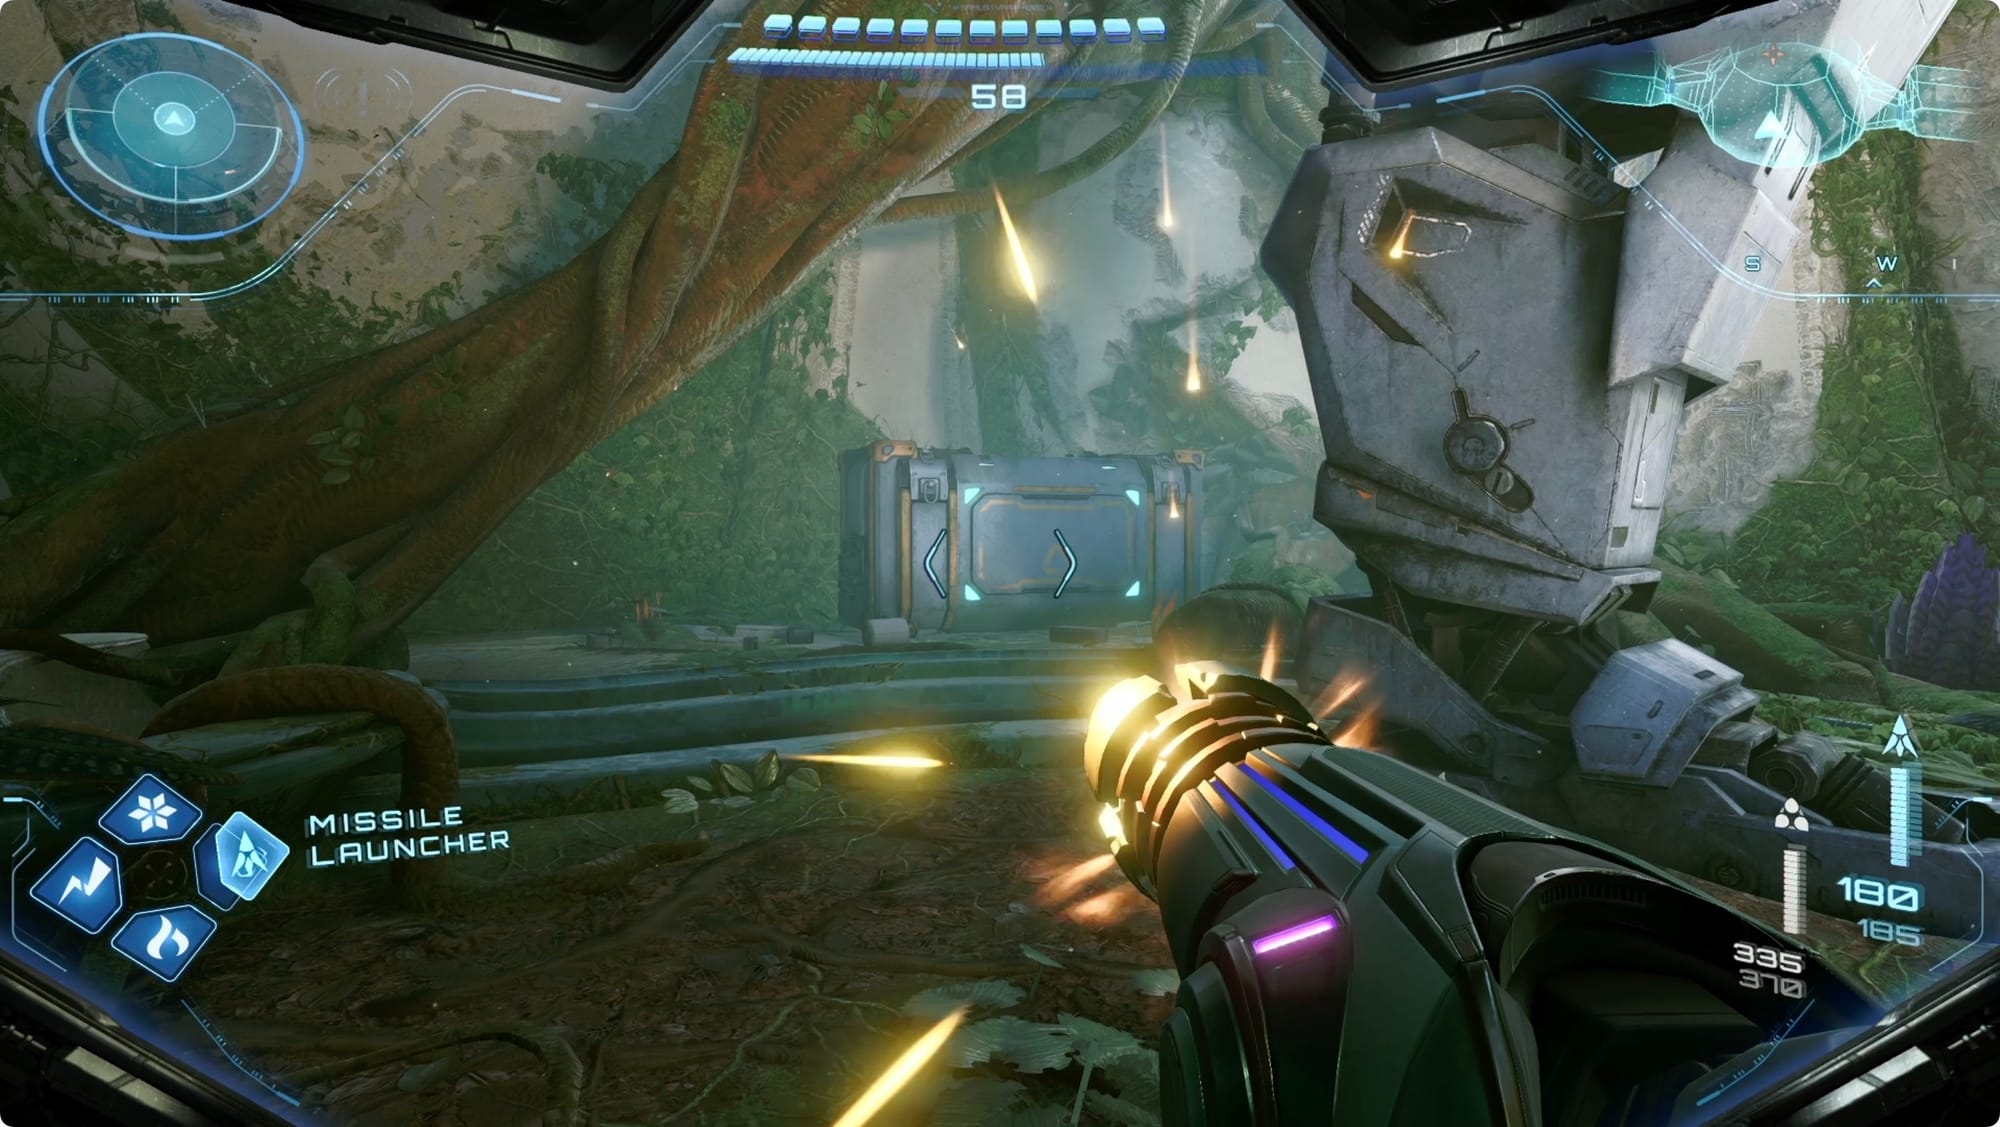
Head north to the mech — you can finally Super Missile that crate behind it. Grab the Missile Expansion inside.
Turn around and pass through the Base Camp on your way to the Altar of Legacy. The third upgrade is the Green Energy Crystal Finder (thank god).
We’re done in Fury Green for now. Head back to Base Camp again, save, and then get out of there.
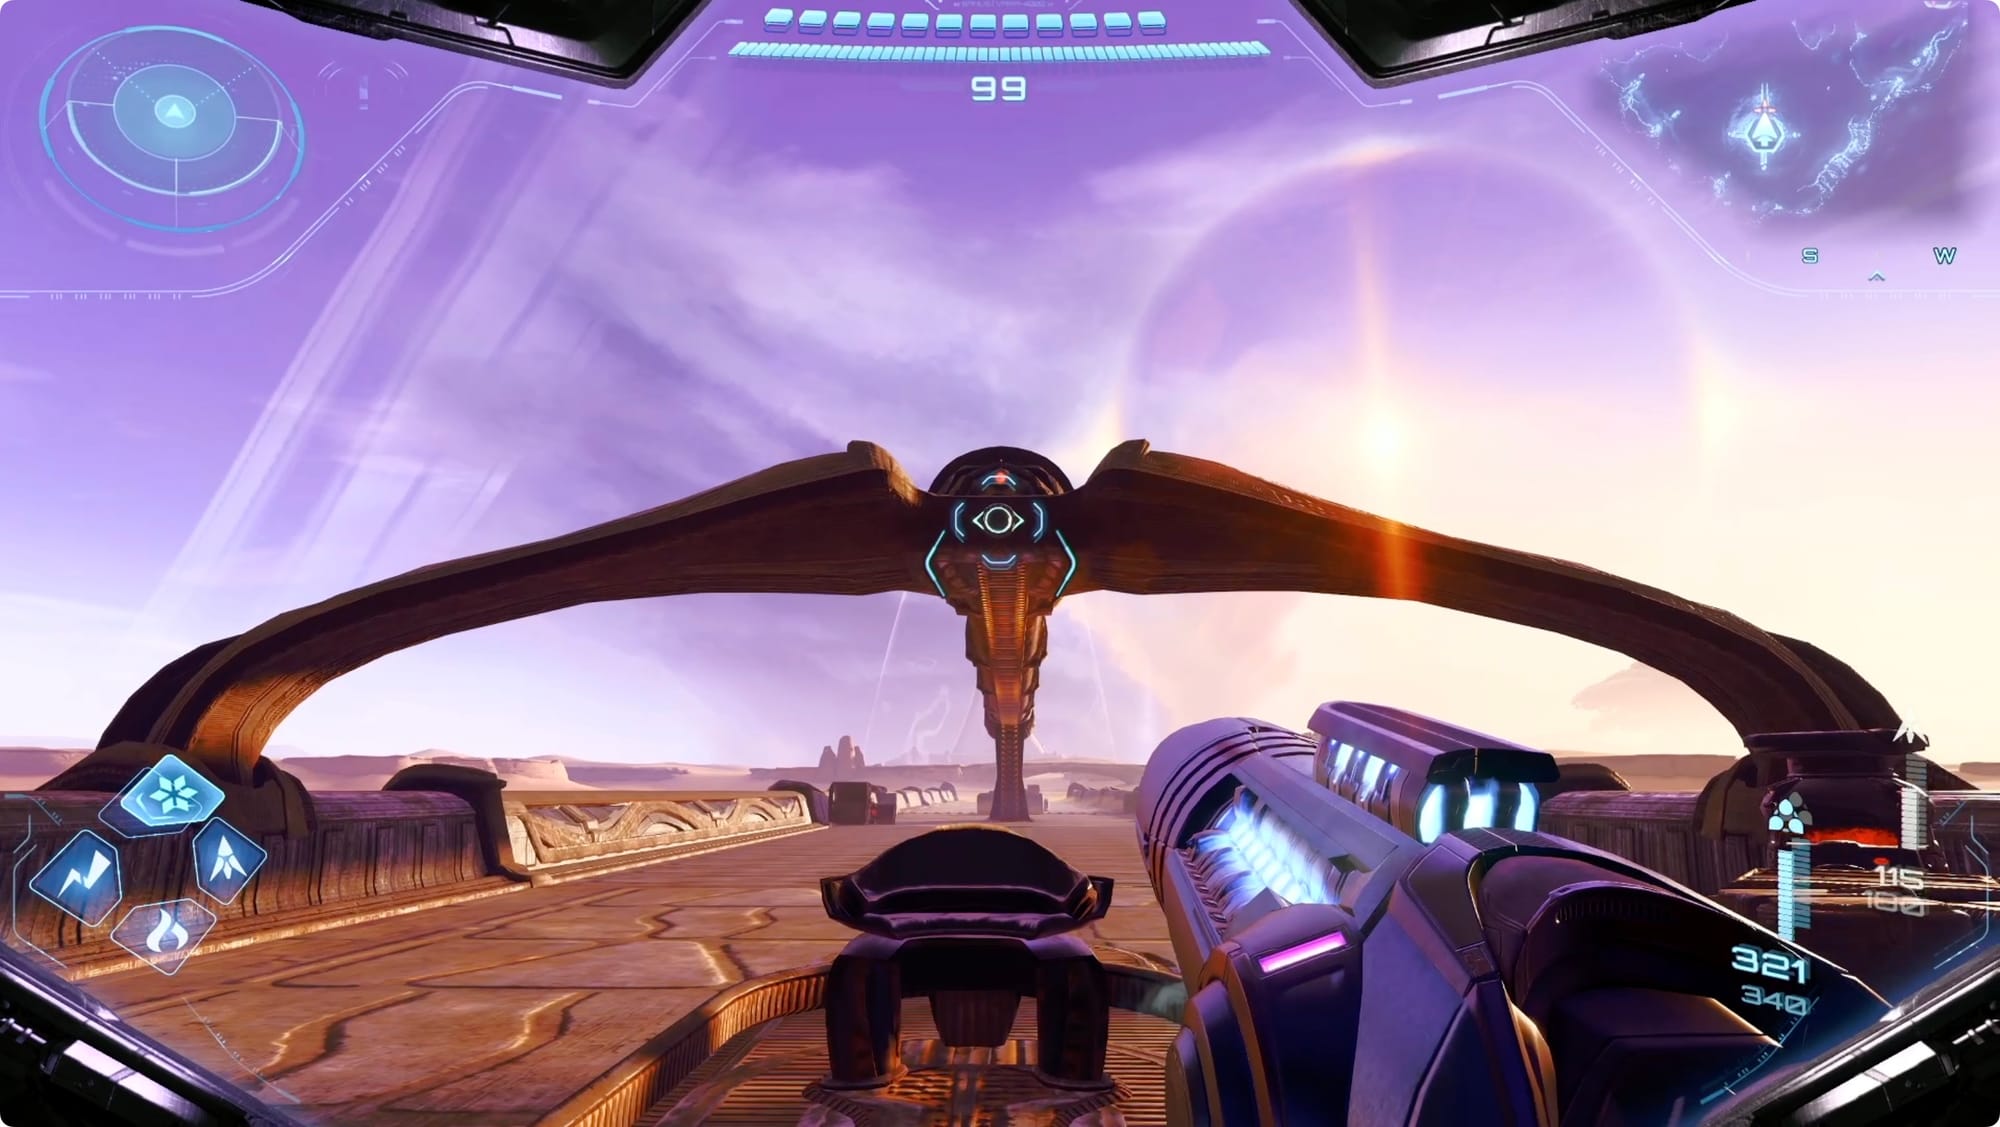
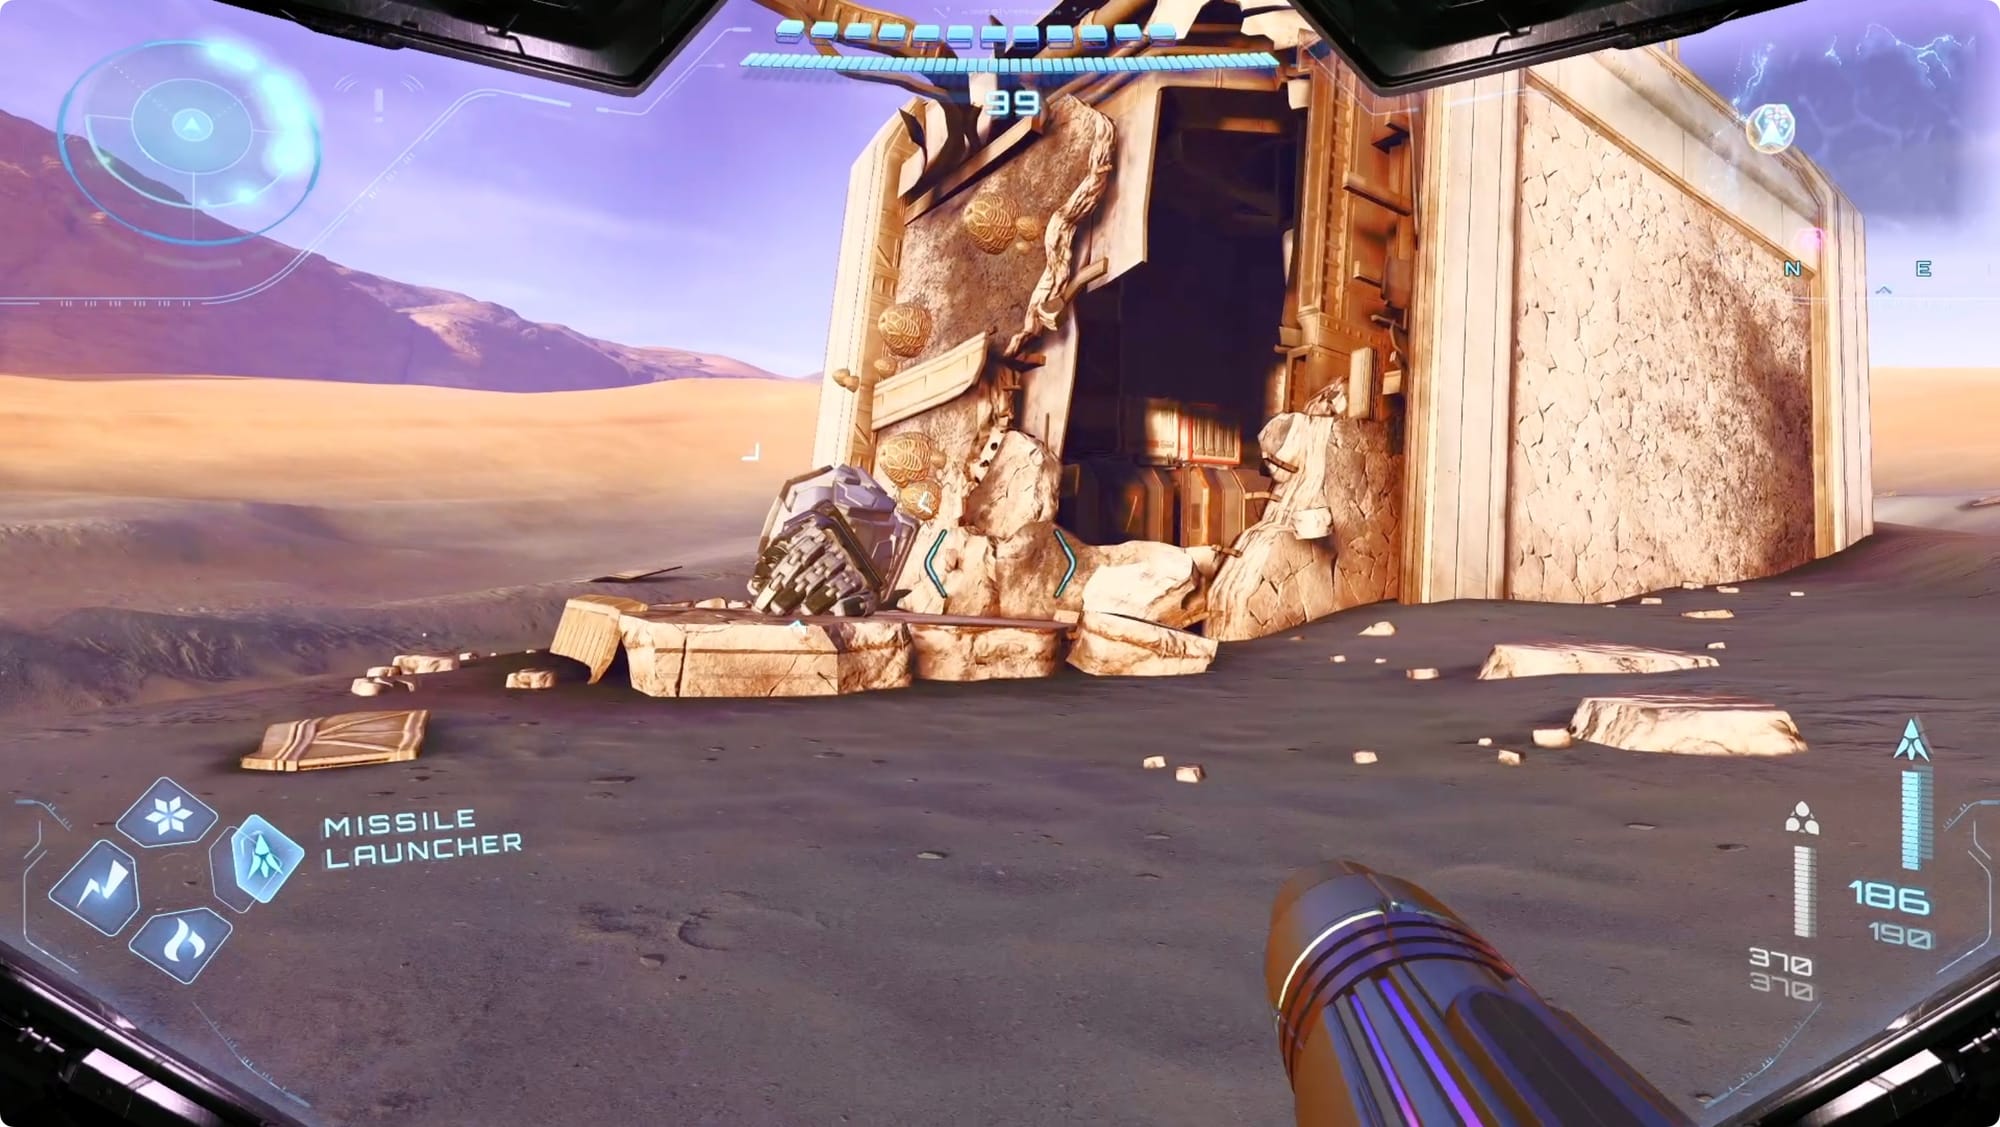
Find the mech parts
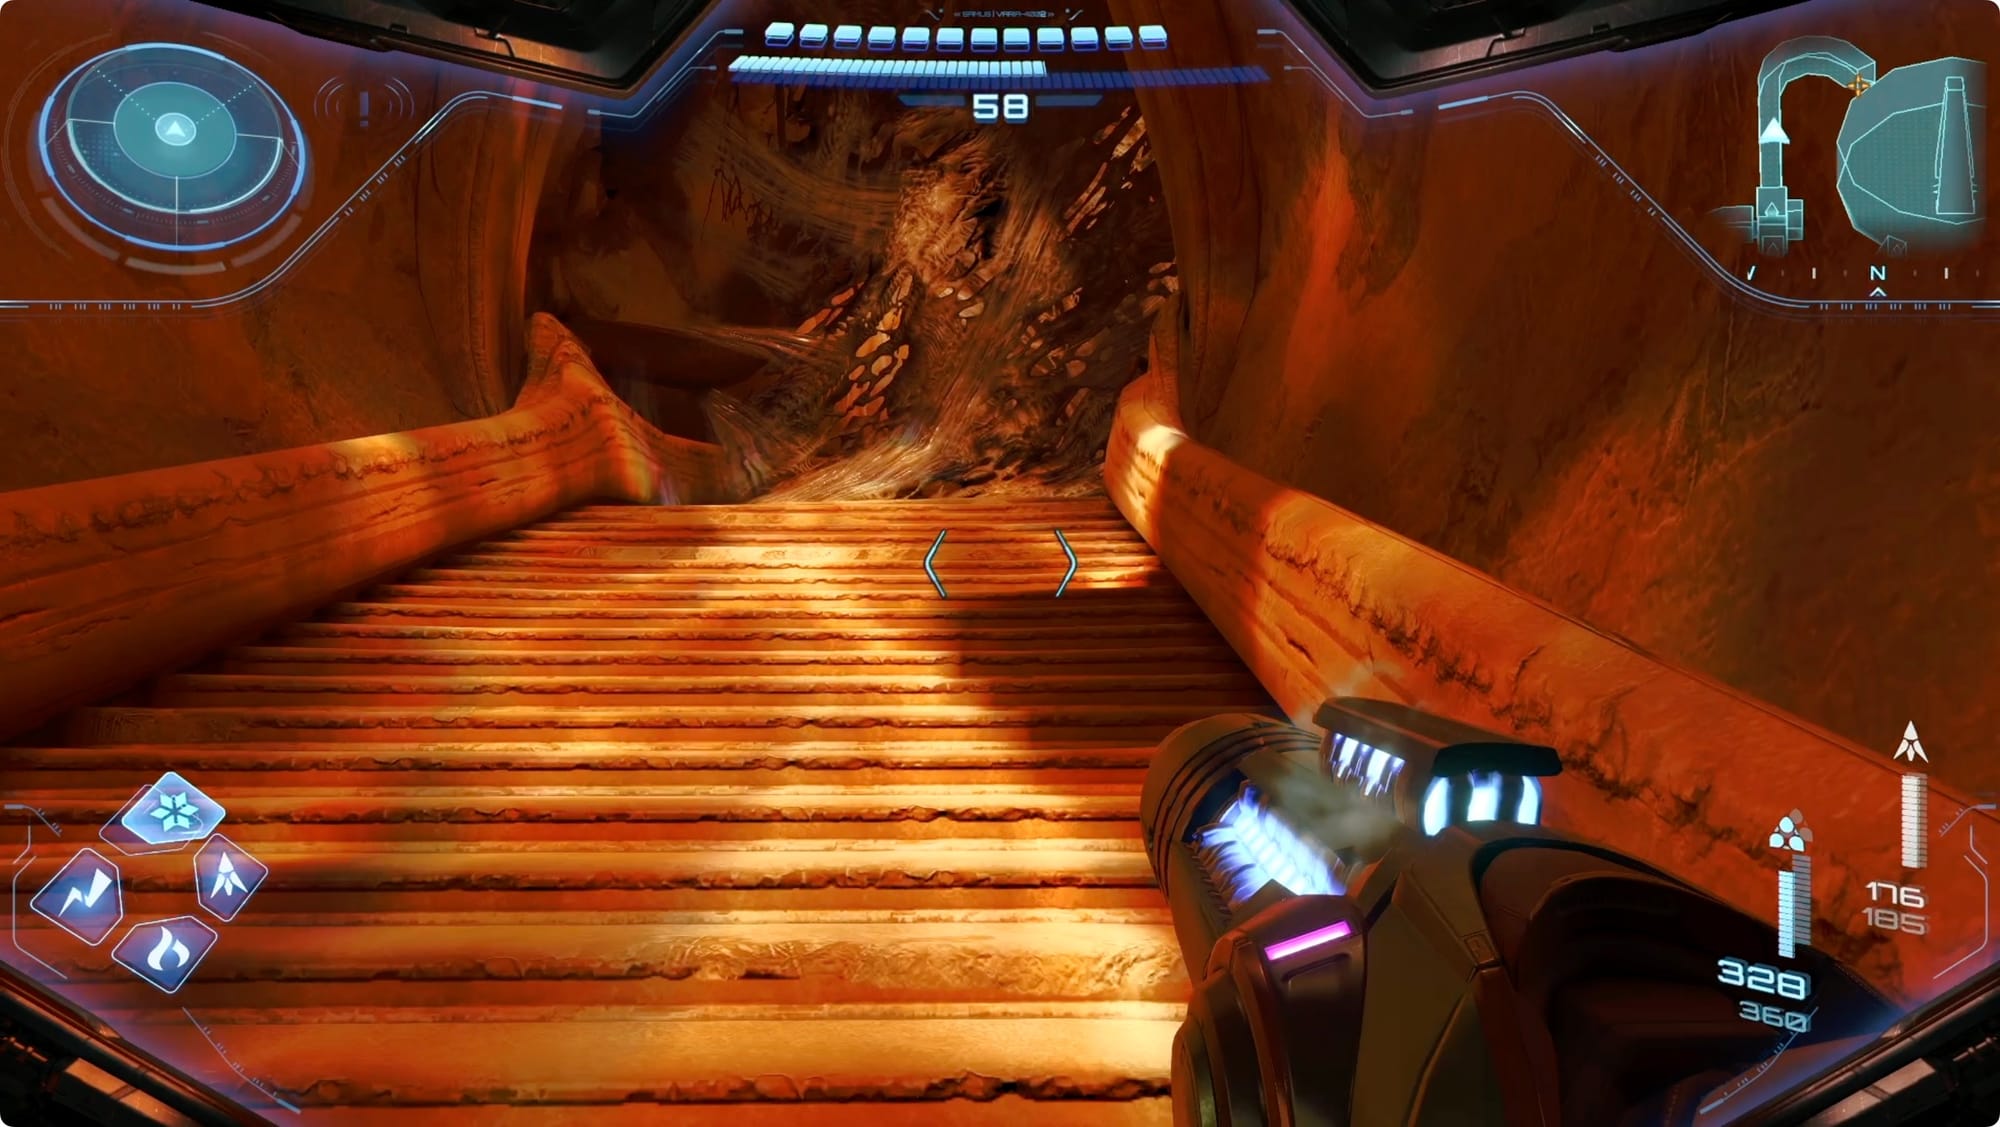
There are six mech parts to collect — and we’ve scanned five of them at some point. Point your bike north toward the Ice Belt. Power Bomb the crystal boulder out front and then head inside.
You have to loop through the entrance — up on the right, in, skip the elevator, grapple, back outside — to reach the mech part here.
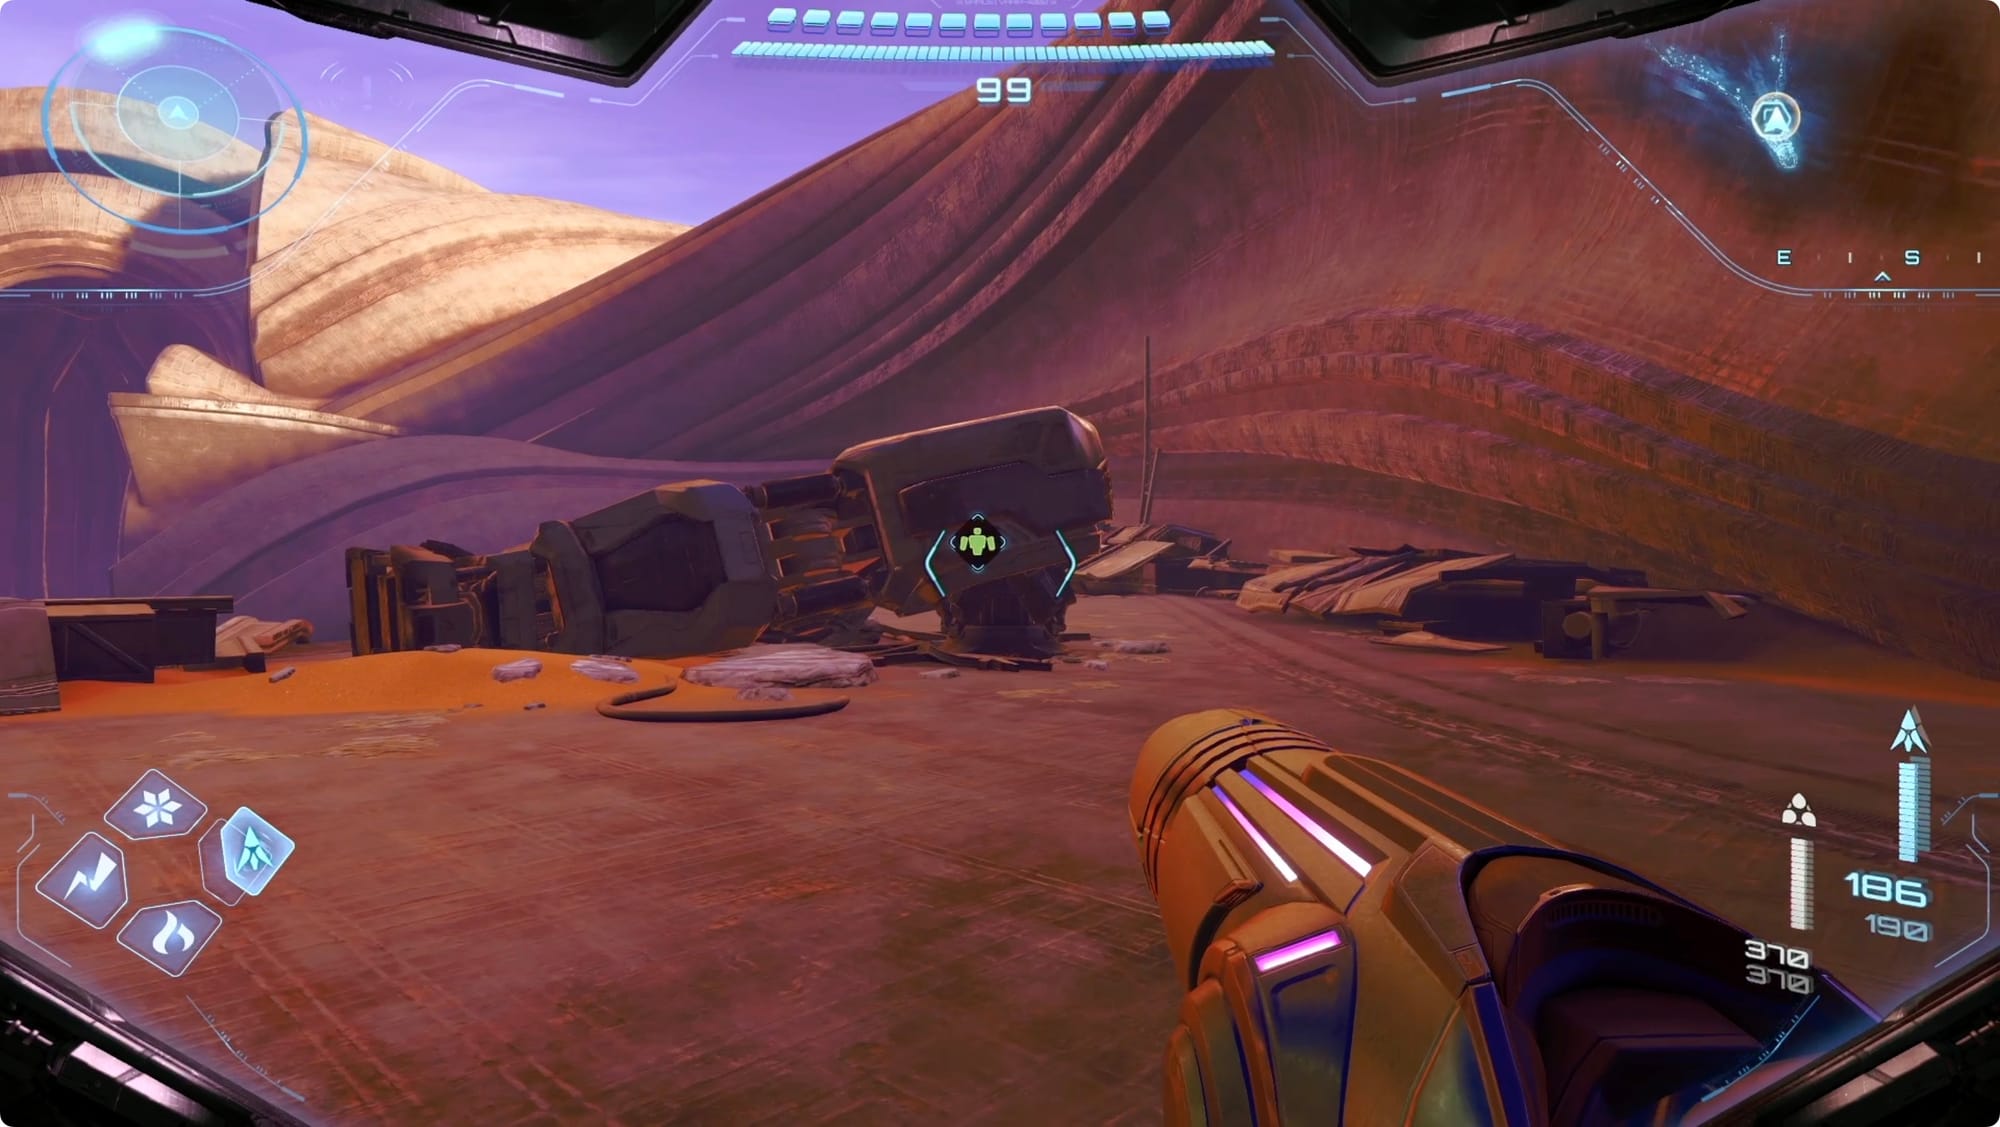
Approach it and interact to slap the Teleport Patch on.
Head straight east to the GF Debris along the top of the map. Tag the mech arm to send it back.
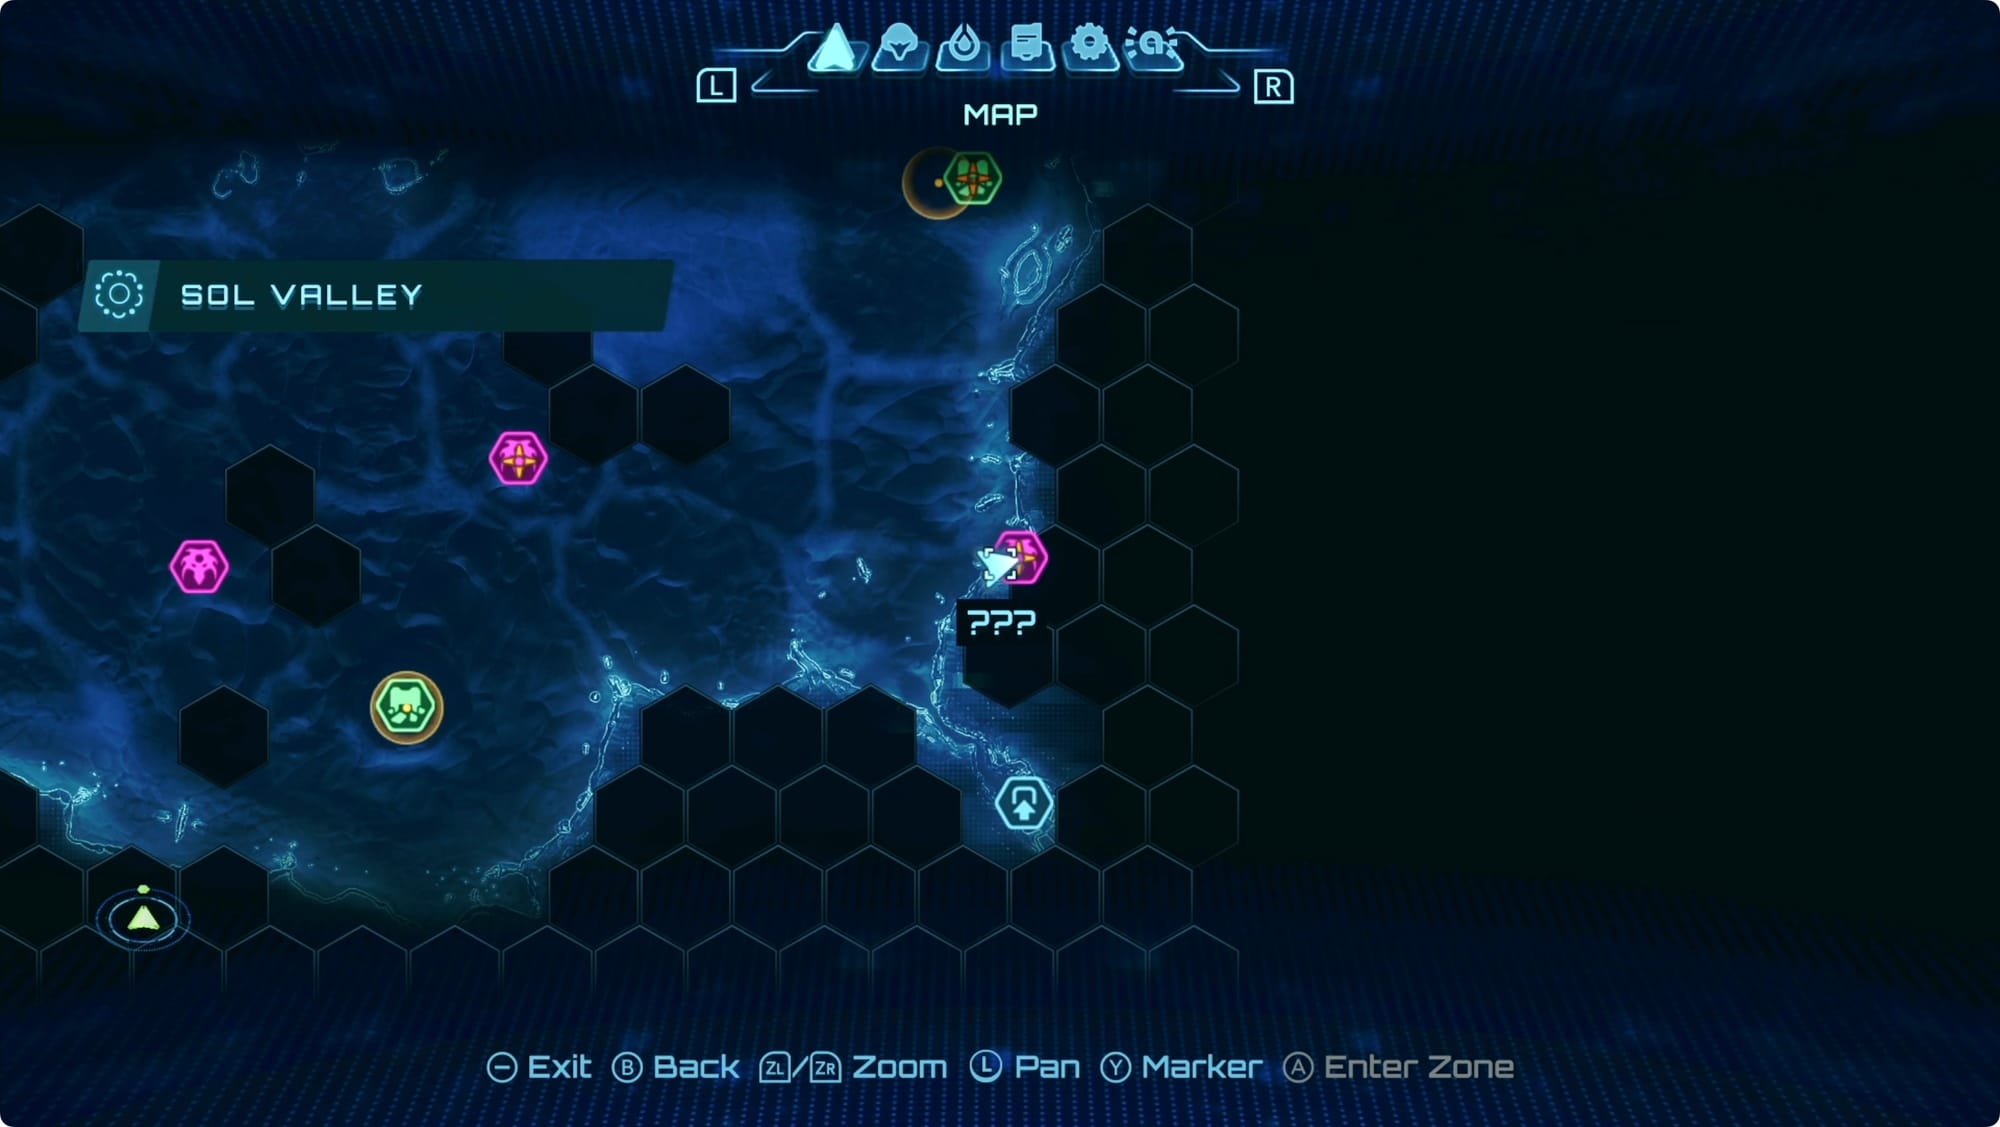
Your map, by the way, insists there’s something else to pick up here, but we can't get it until one of our companions makes camp there. Just ignore it and keep grabbing mech bits.
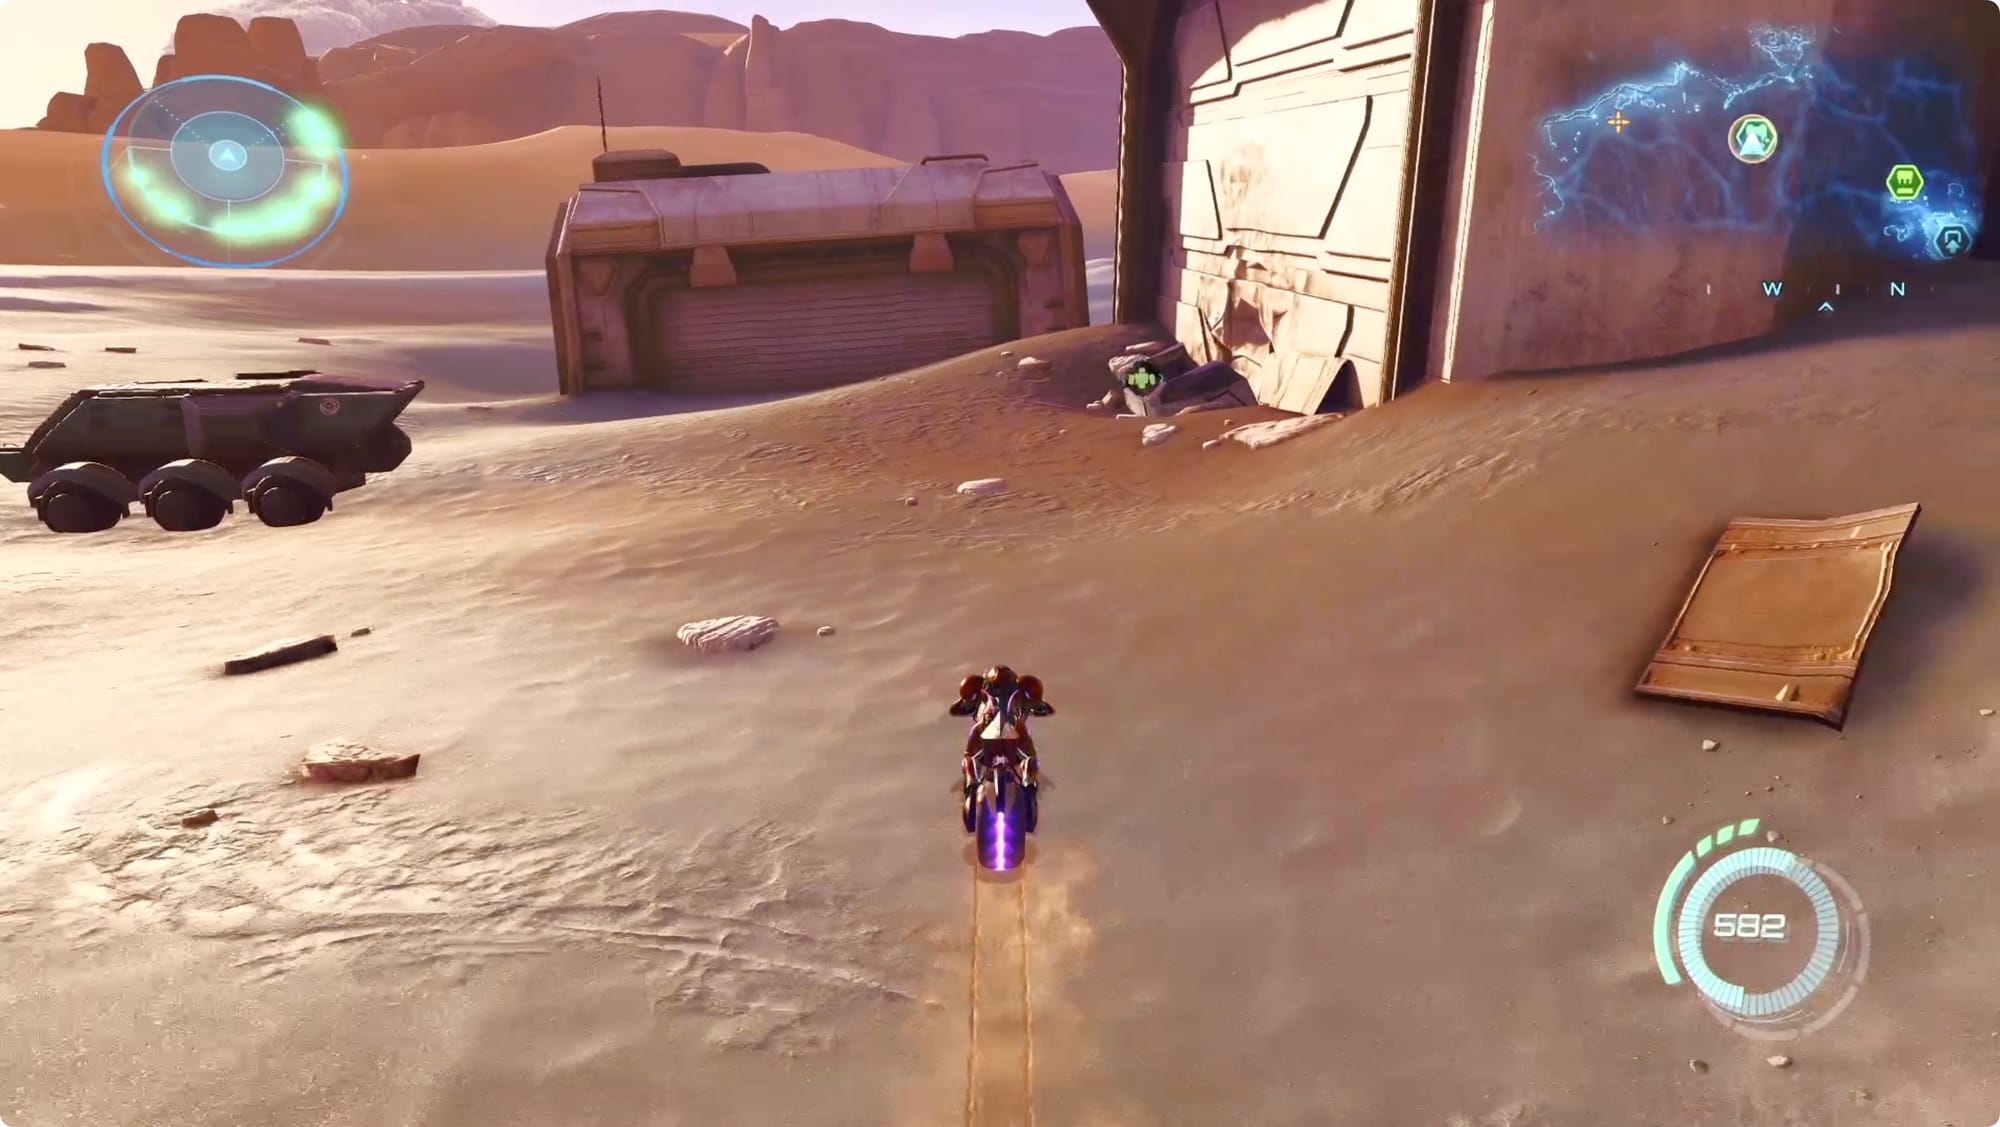
Point yourself southeast toward the next GF Debris a bit north of the Flare Pool. When you arrive, grapple up, and then loop all the way around the building once to climb up to the roof. Power Bomb the crate there for a Power Bomb Expansion.
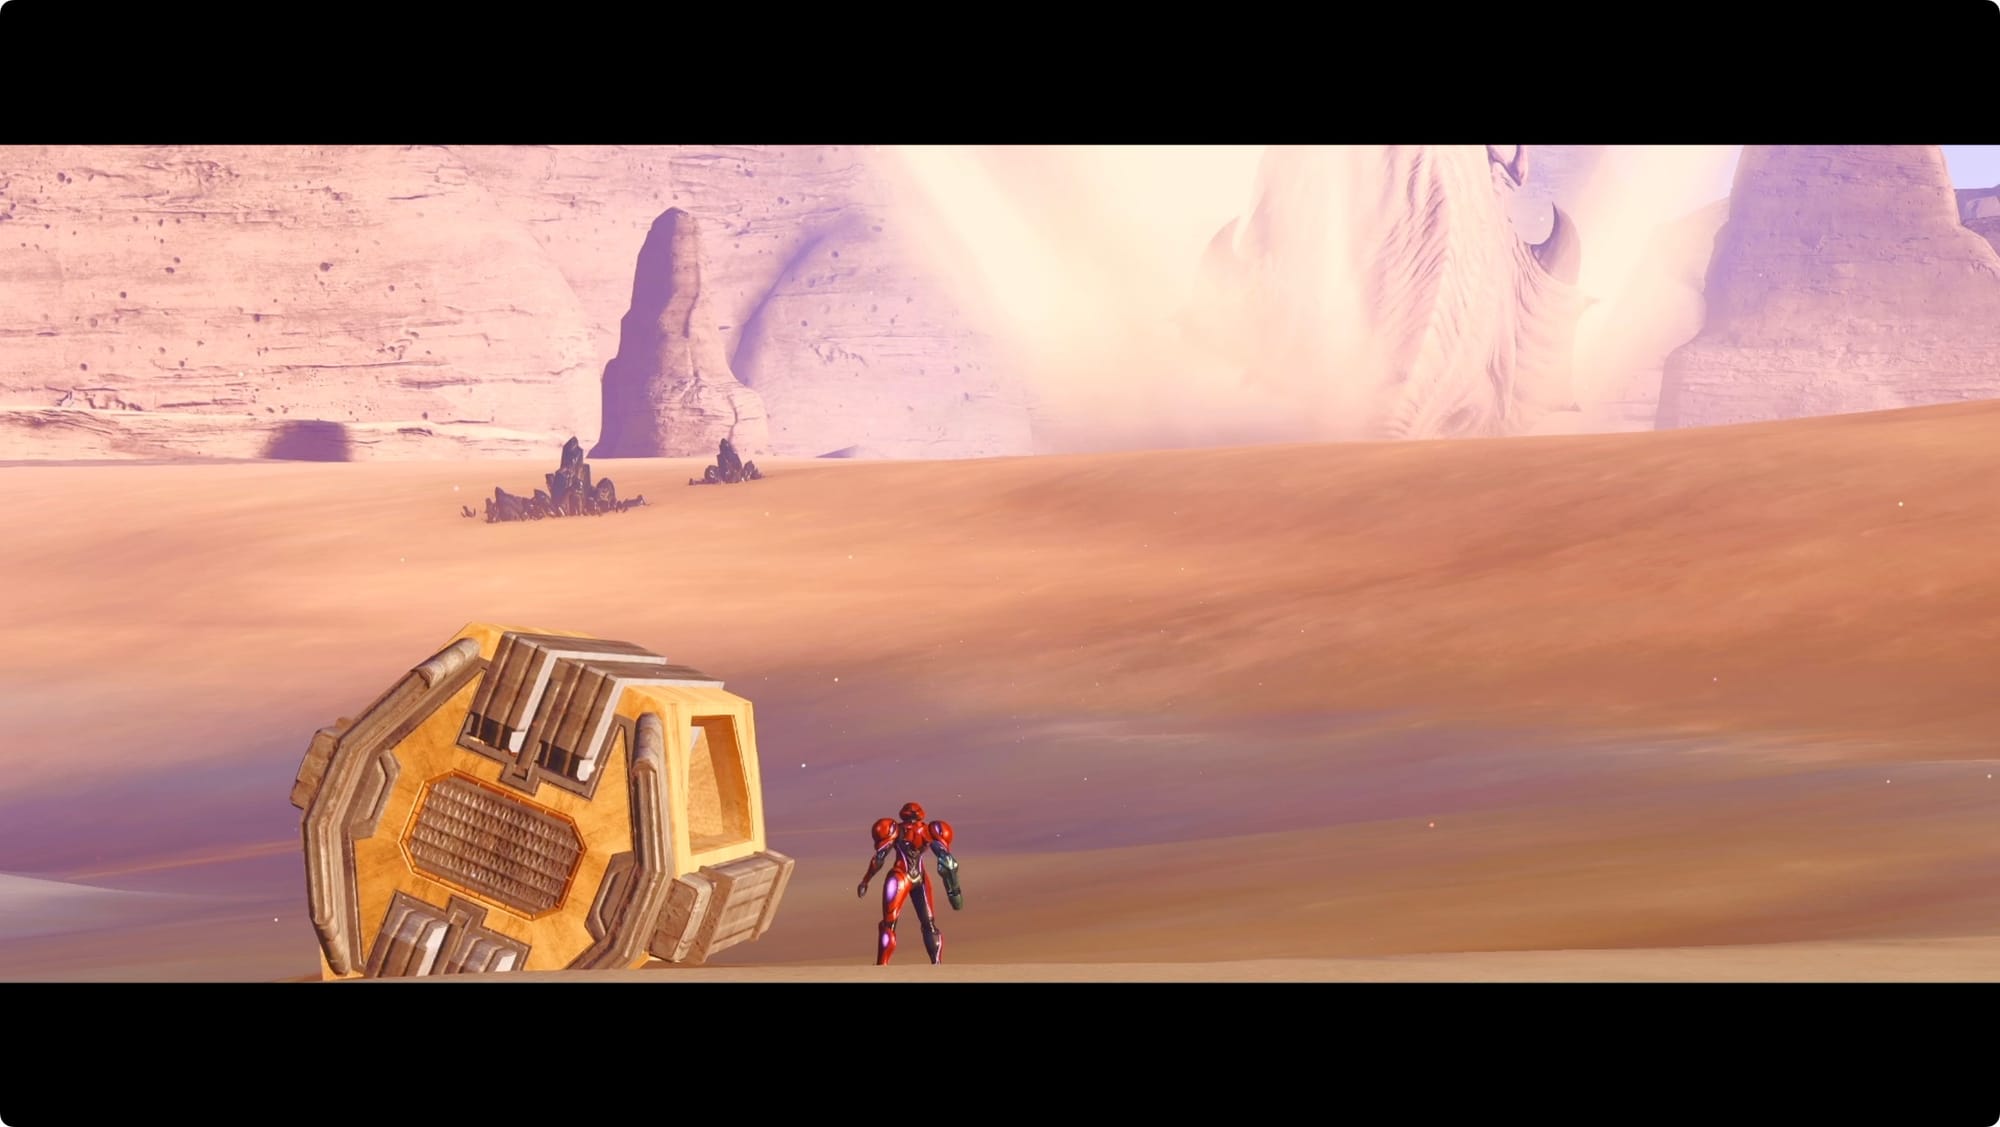
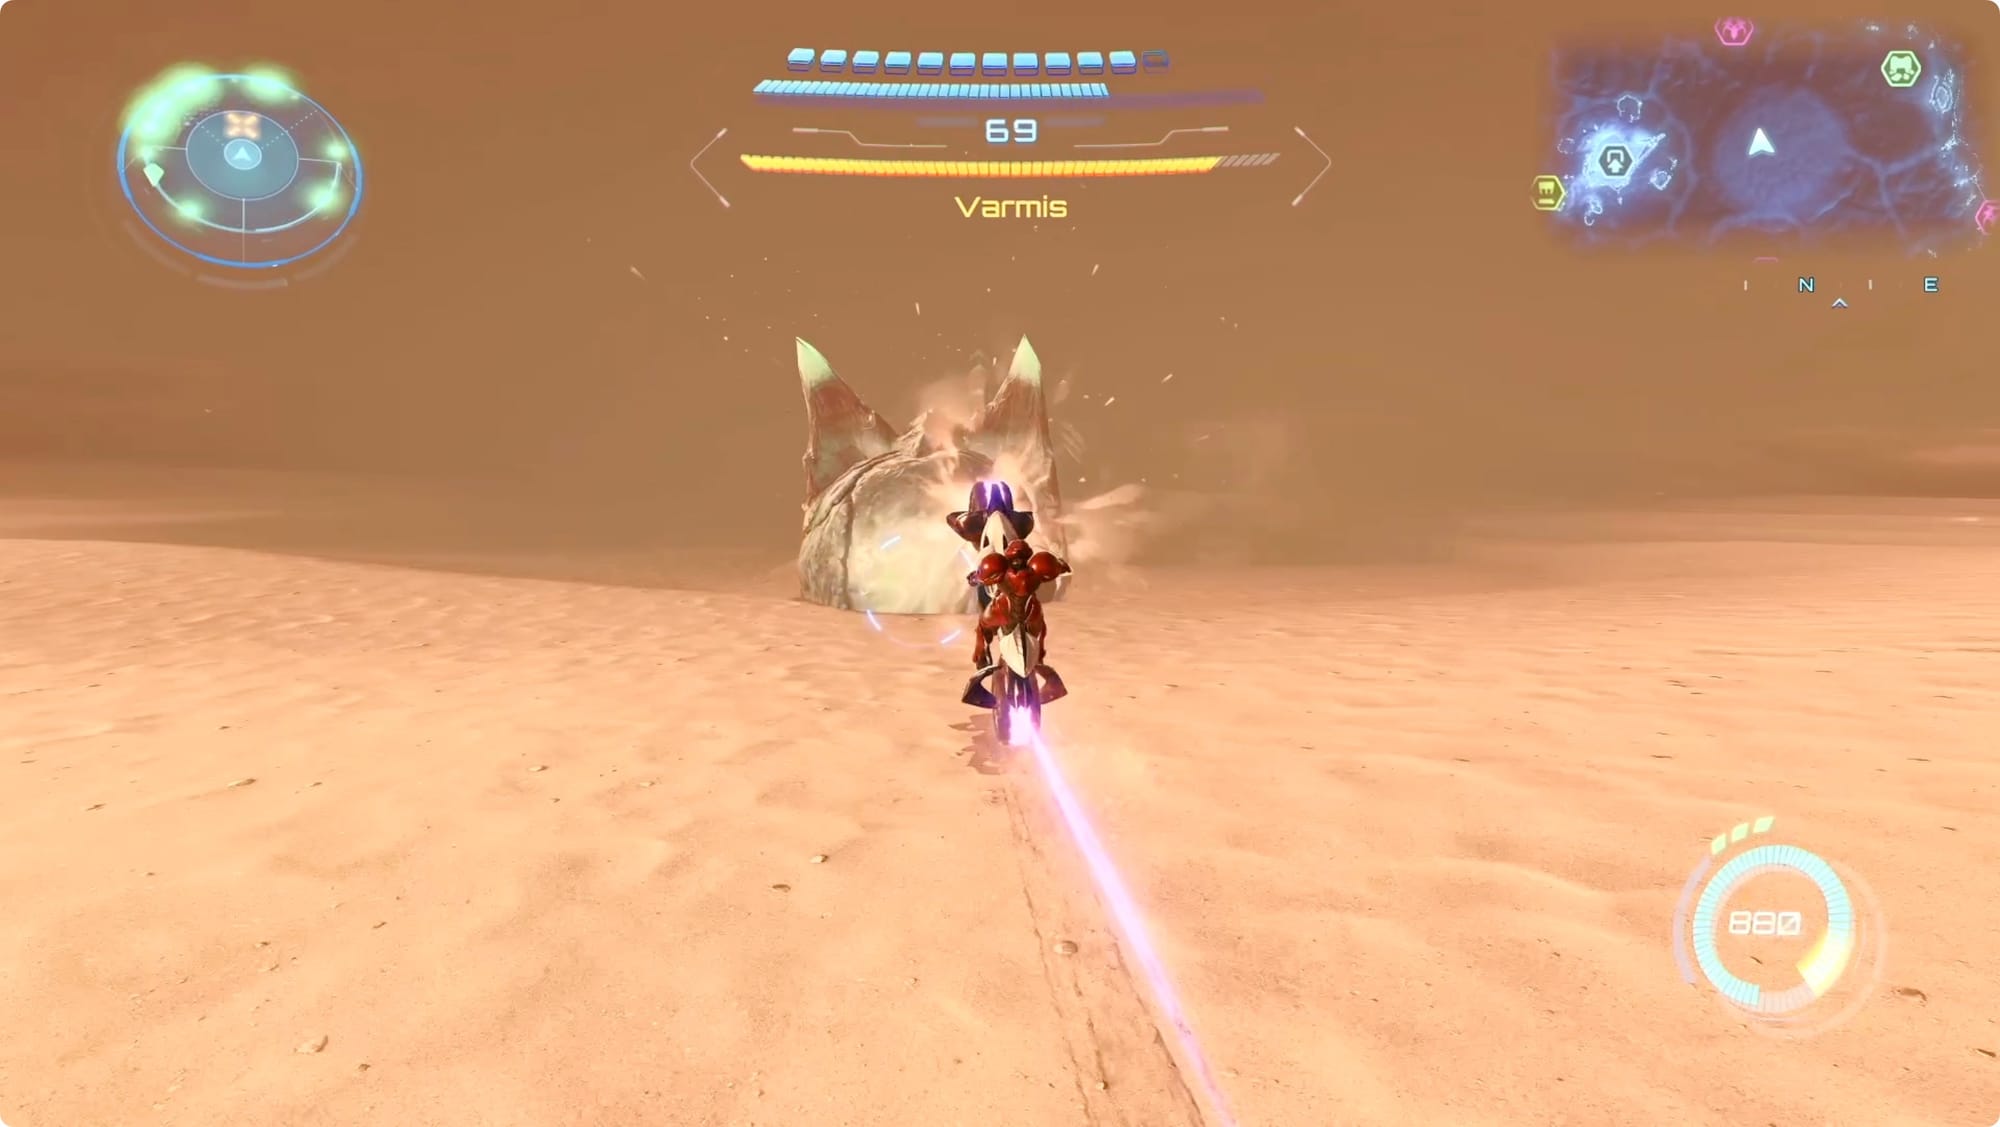
Back down on the ground, look for the crate that’s flashing. When you get close, though, Shai-Hulud shows up and swallows it. Hop on your bike and chase the dot on your minimap.
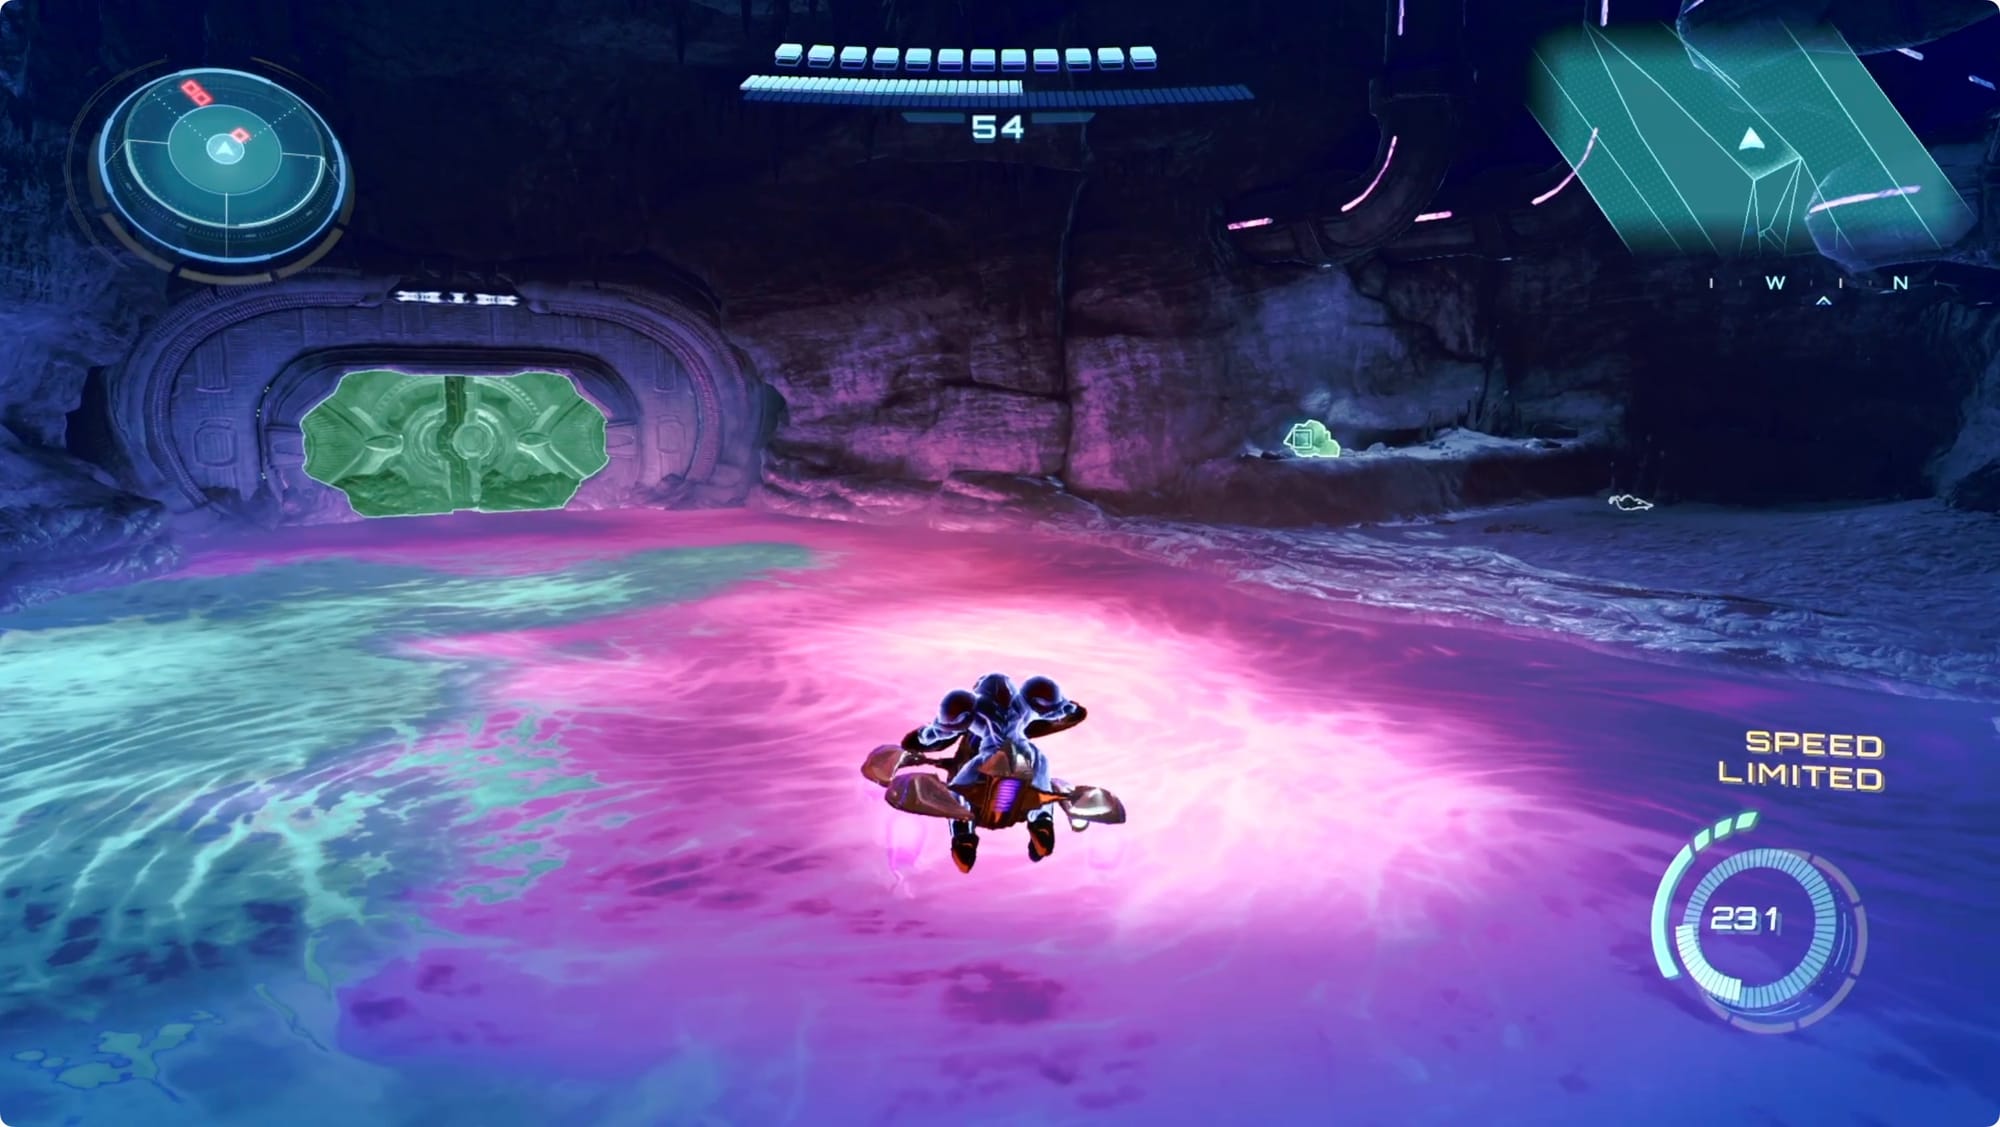
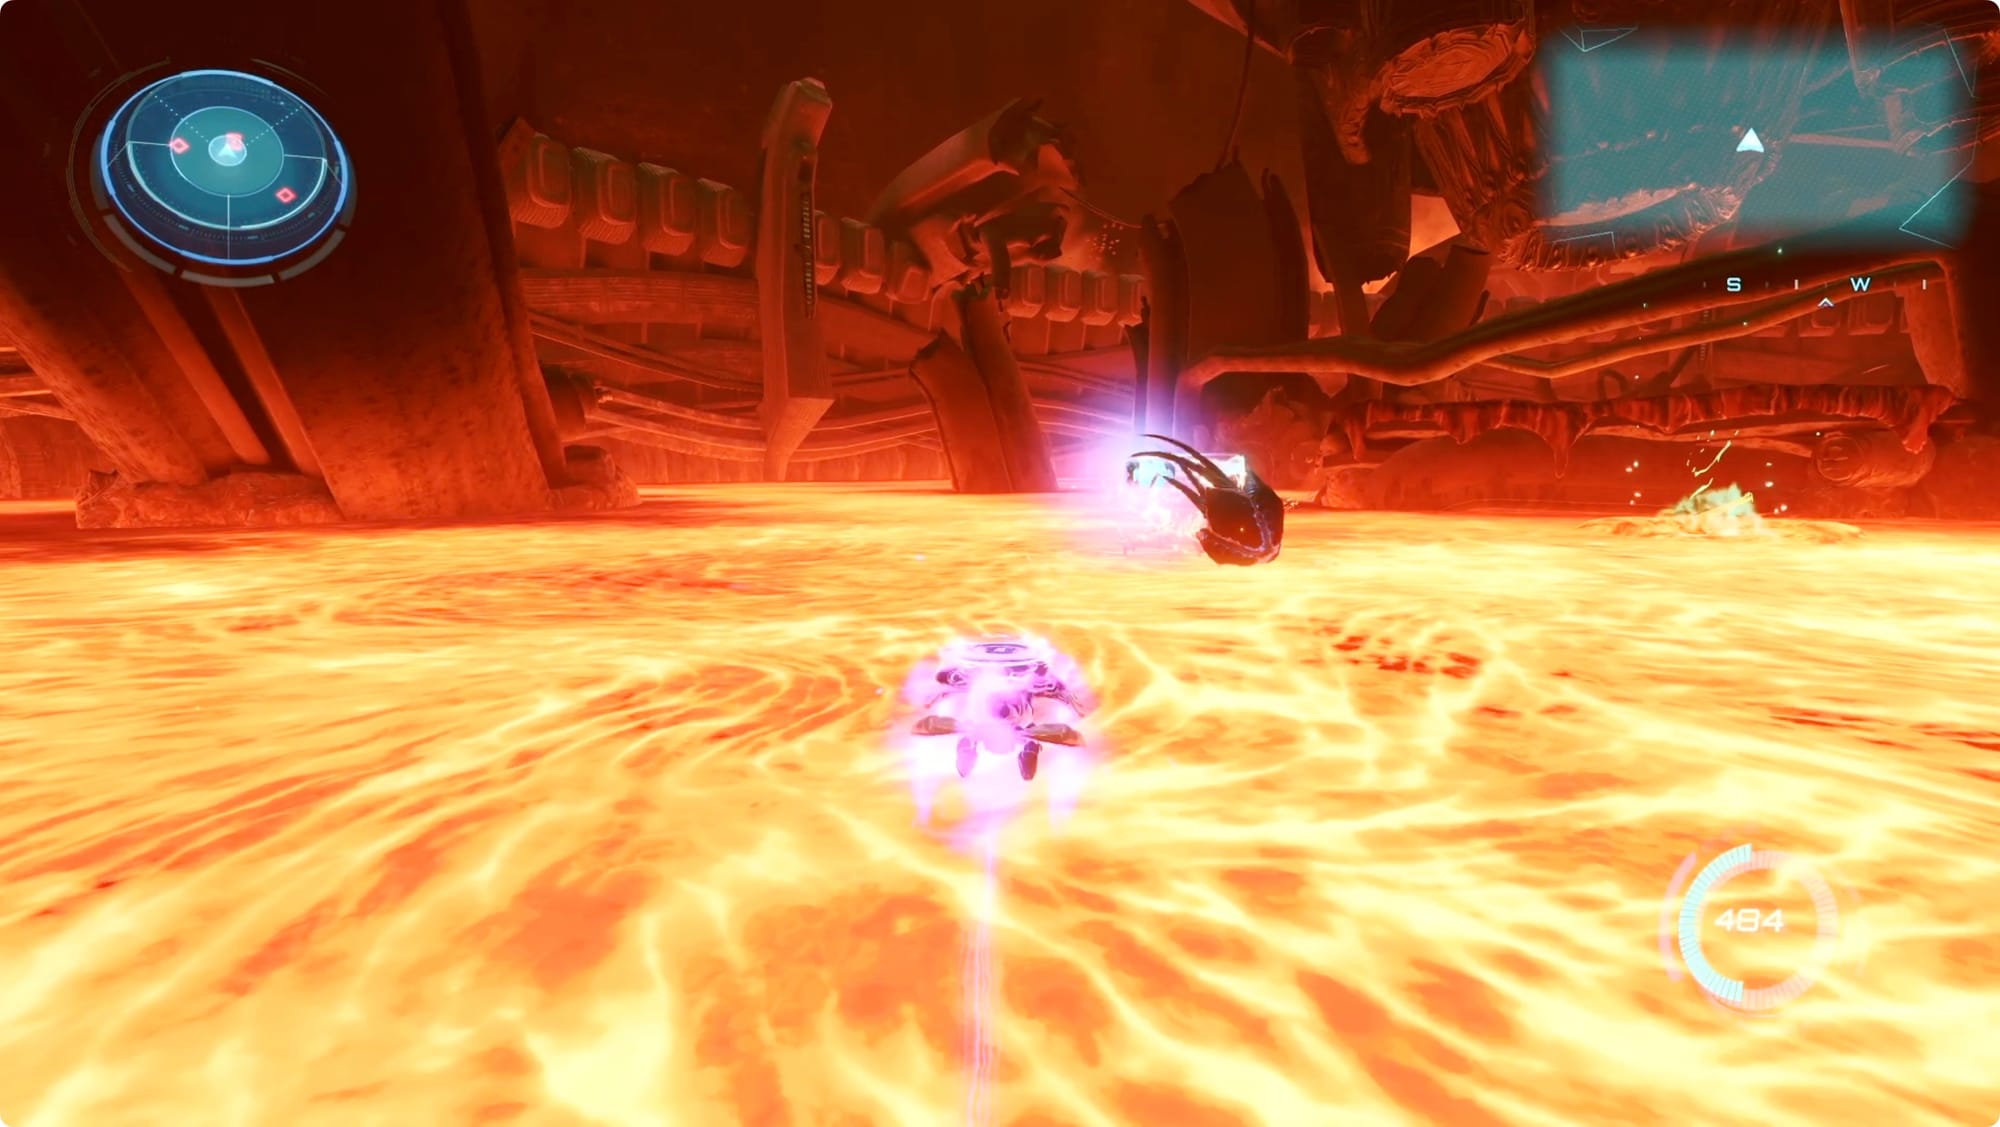
Varmis boss fight
What follows is another Vi-O-La-based boss fight.

You need to wait for Varmis to surface, and then turn mostly perpendicular to it. It will keep charging you, but if you keep the trigger pulled all the way, you can (almost always) get out of the way.
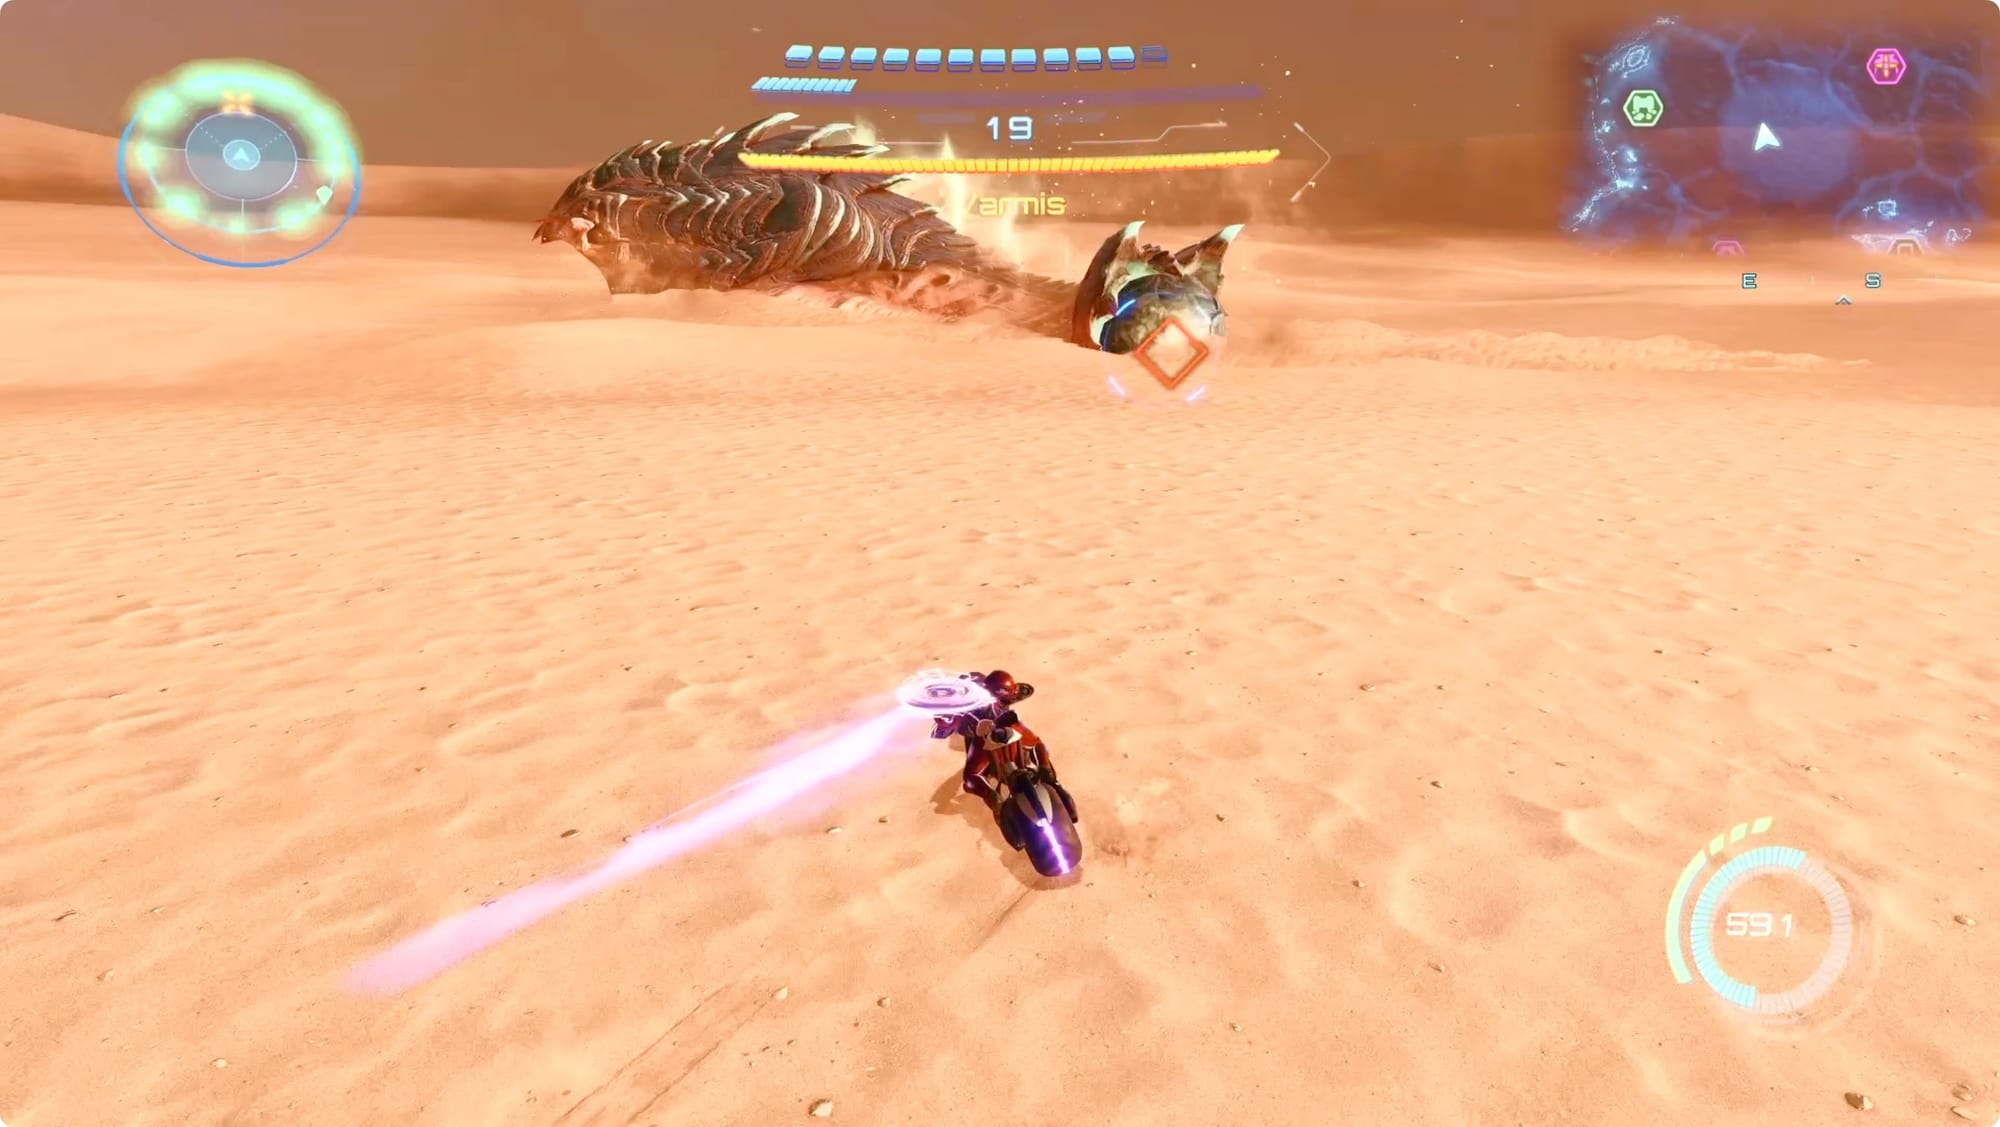
As Varmis passes you, tap the left trigger to slide into a U-turn. When you’re behind Varmis, hold A to target the glowing bulb on its tail. Hitting it doesn’t damage it, but it slows it down.
When it’s slowed, line yourself up behind it and Boost your bike into its butt — this will deal damage.
And that’s it. Keep doing that six or seven times and you’ll defeat Varmis.
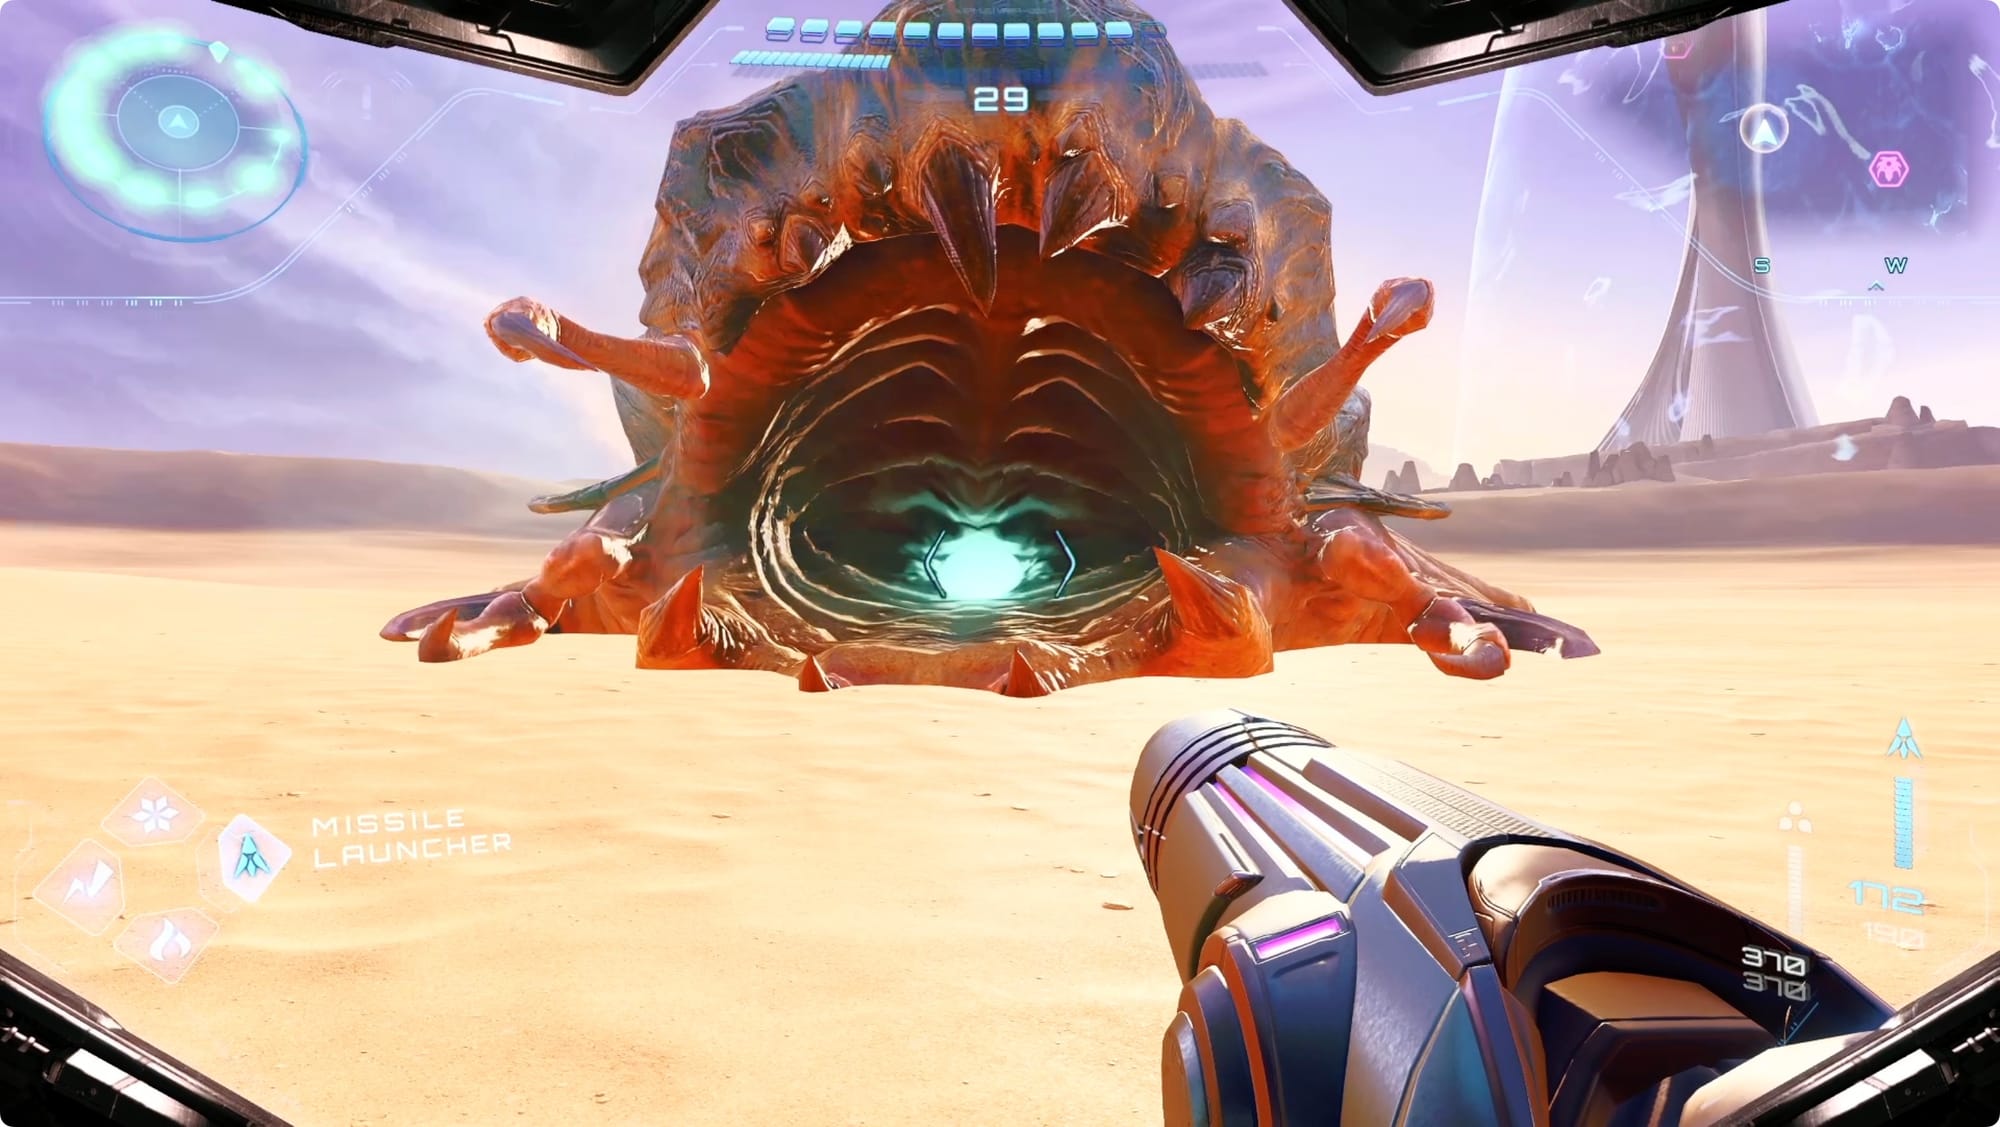
When it’s dead, the mech part is still stuck in its belly. Morph Ball into its mouth and down its throat. When you land in the belly, drop a Power Bomb near the crate.
Back outside, tag the mech part for teleportation.
More mech parts
Point your bike south-southwest to head for the next GF Debris.

When you get there, double jump your way to the roof to tag the mech head.
Point yourself northwest. At the next GF Debris, you’re looking for the mech chest we pulled the truck off of earlier.
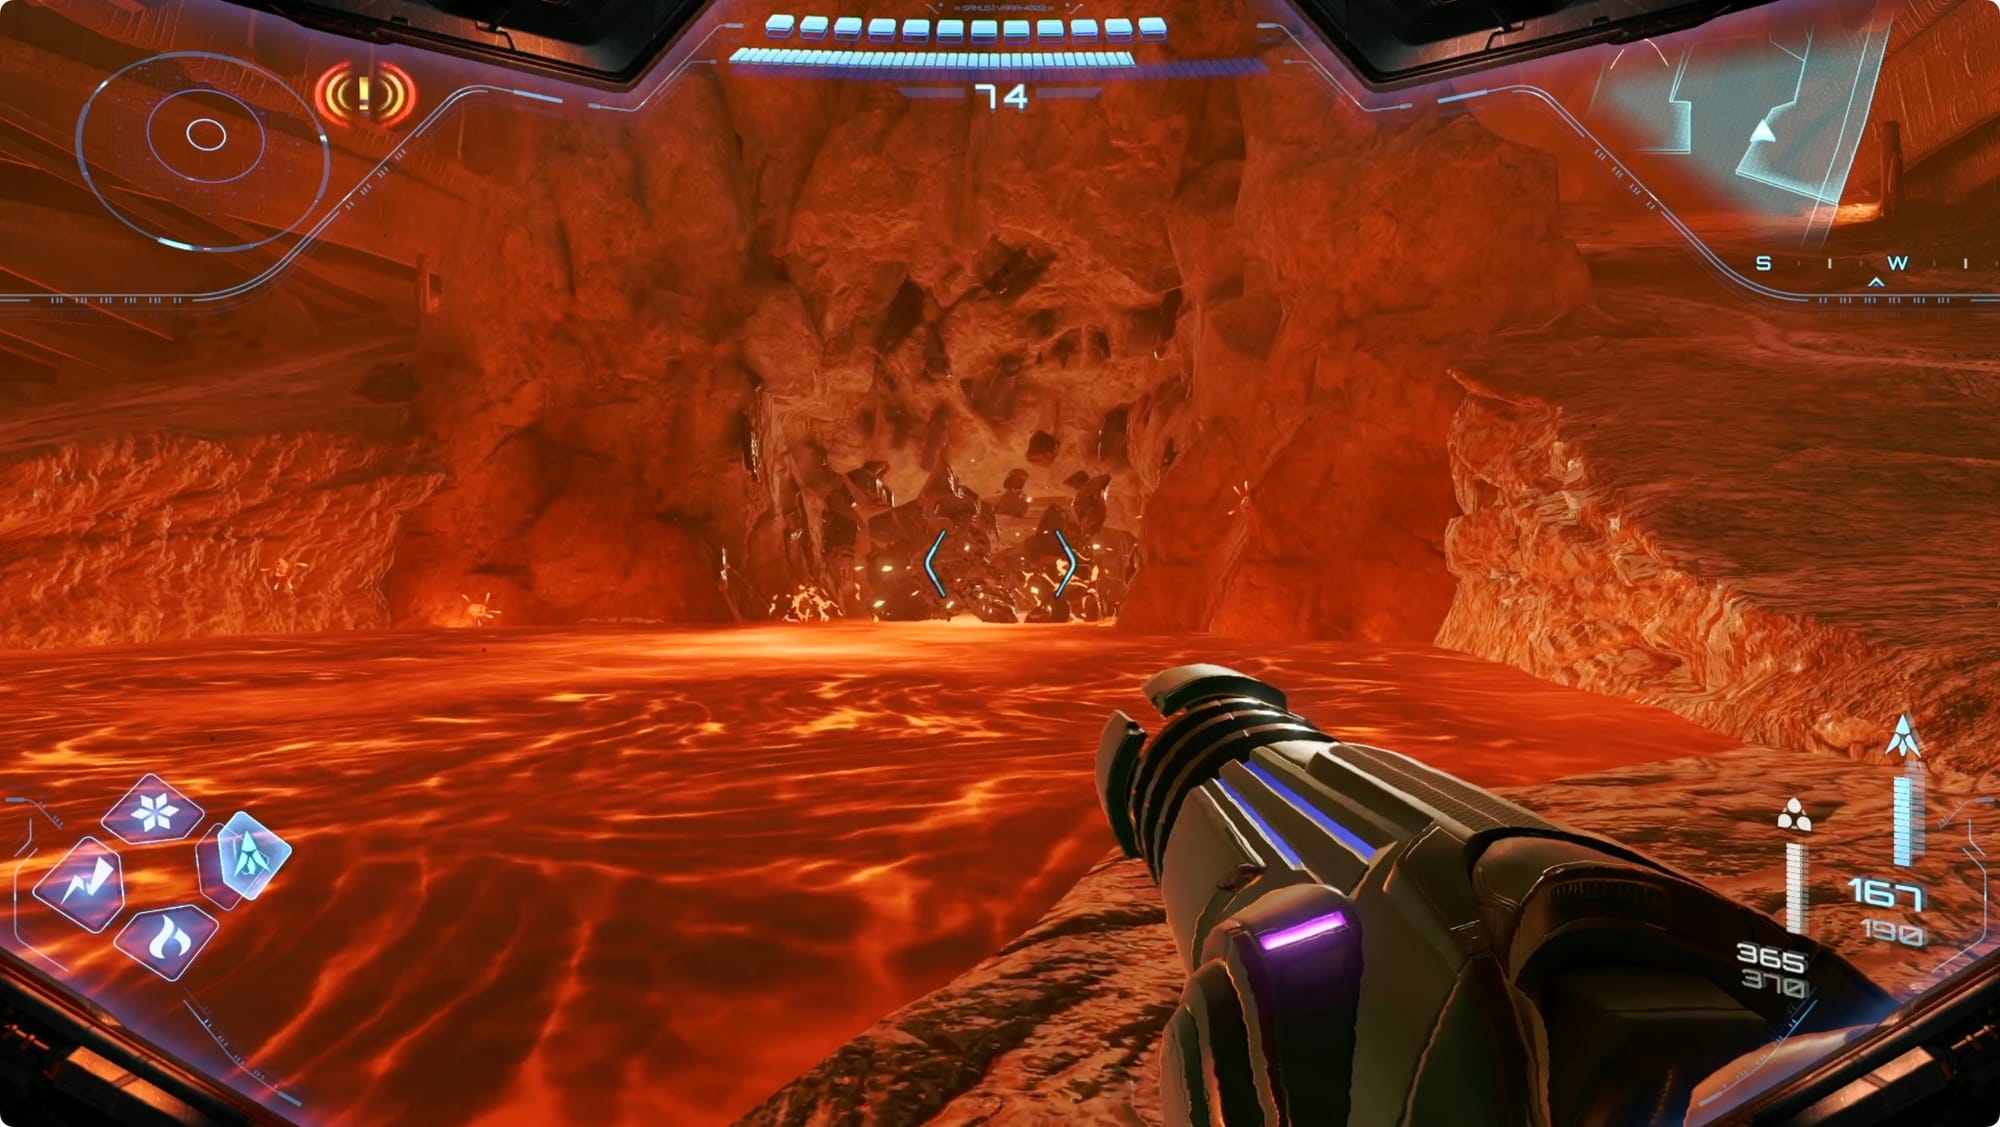
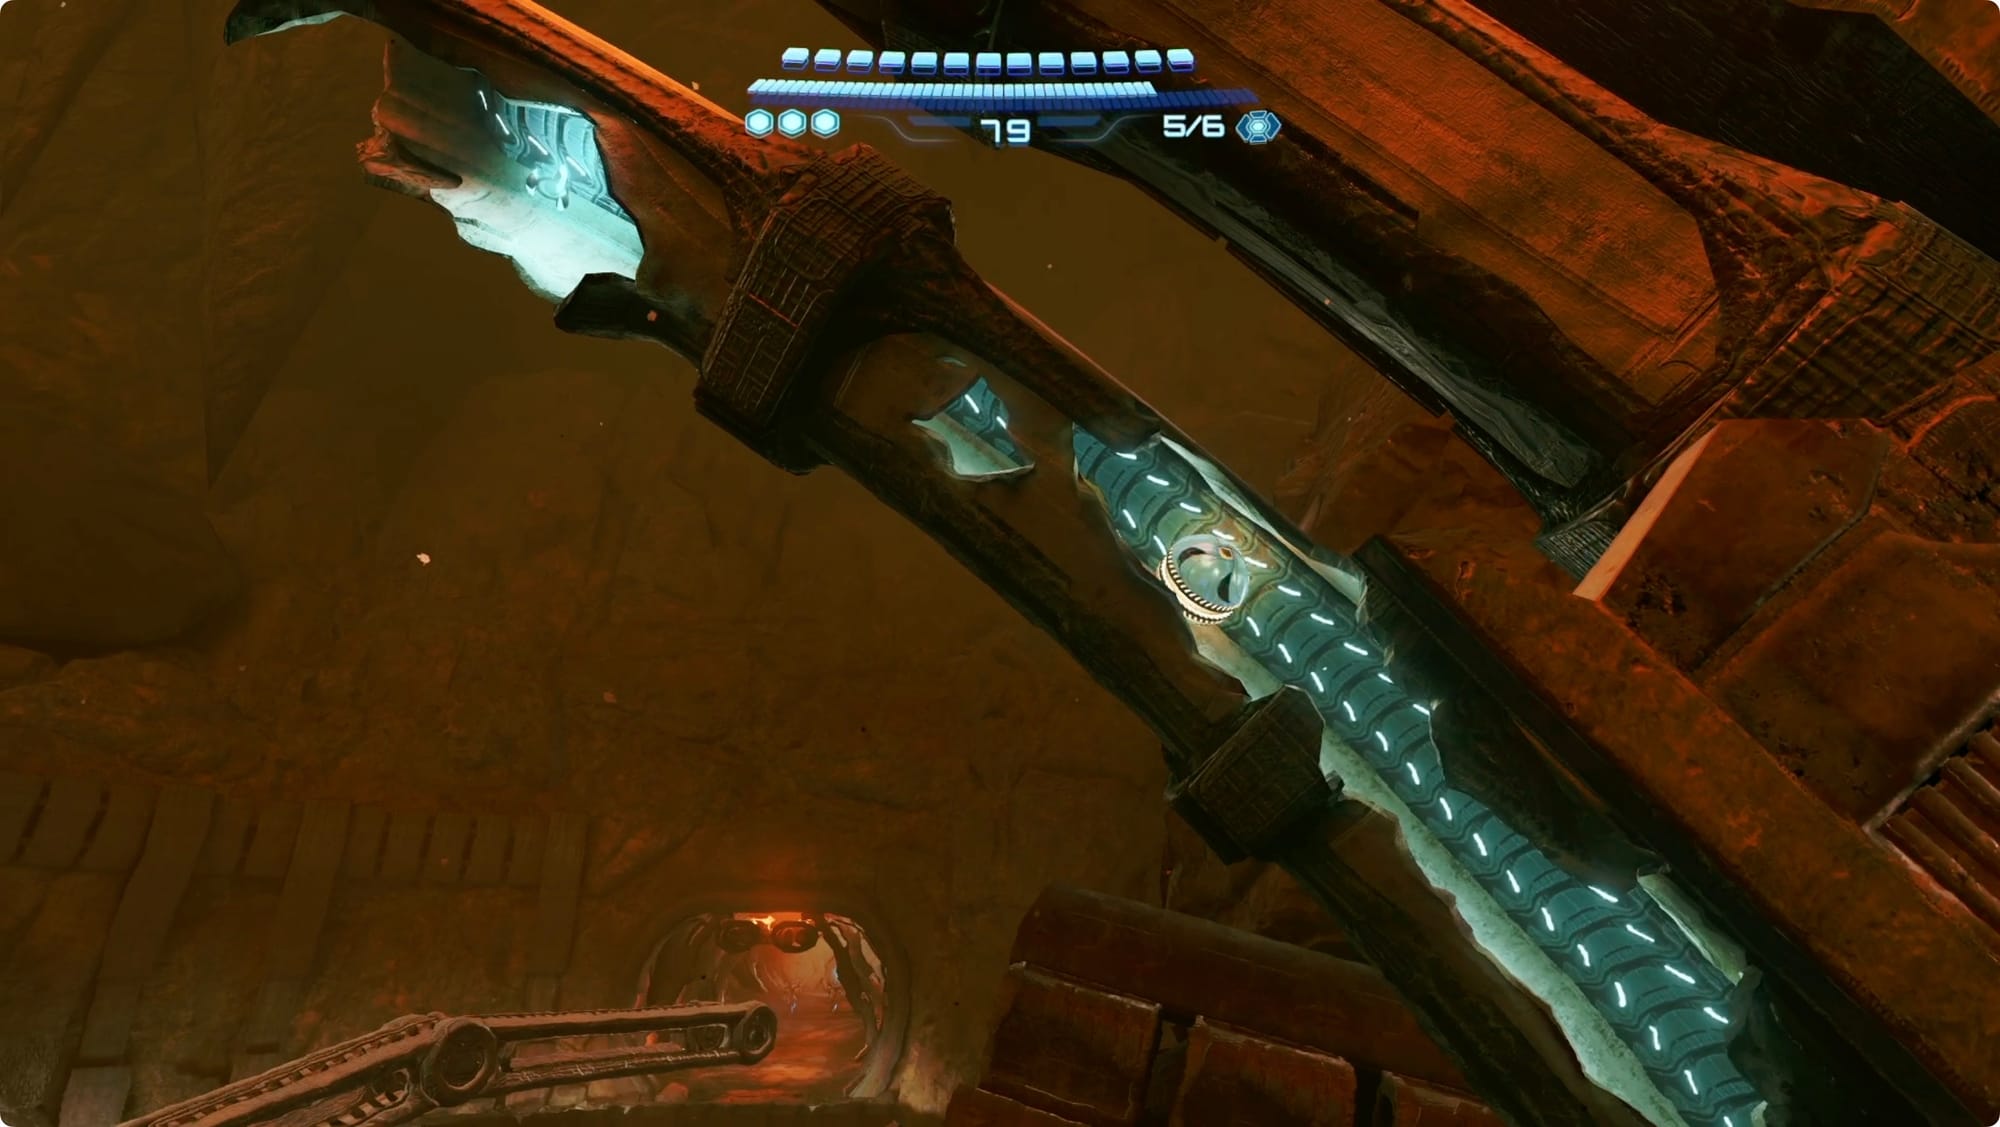
The final mech part is inside the Flare Pool. Ride there, and just keep riding all the way to the Lava Lake. Take a ramp down to the bottom and look back under the bridge for a Super Missile-able wall. Shoot it and ride in.
In the next room, bomb the debris on the right to open a tunnel. Work your way through it to the far end.
When you exit, turn back toward the room you just crossed and look for the grapple point. Use them to work all the way back across the room where you’ll find a Spinner. Spin it up to turn off the lava flow.
Swing back across and go back into the tunnel to grab a Shot Expansion. Head back again to continue west through one more door into an arena-shaped room.
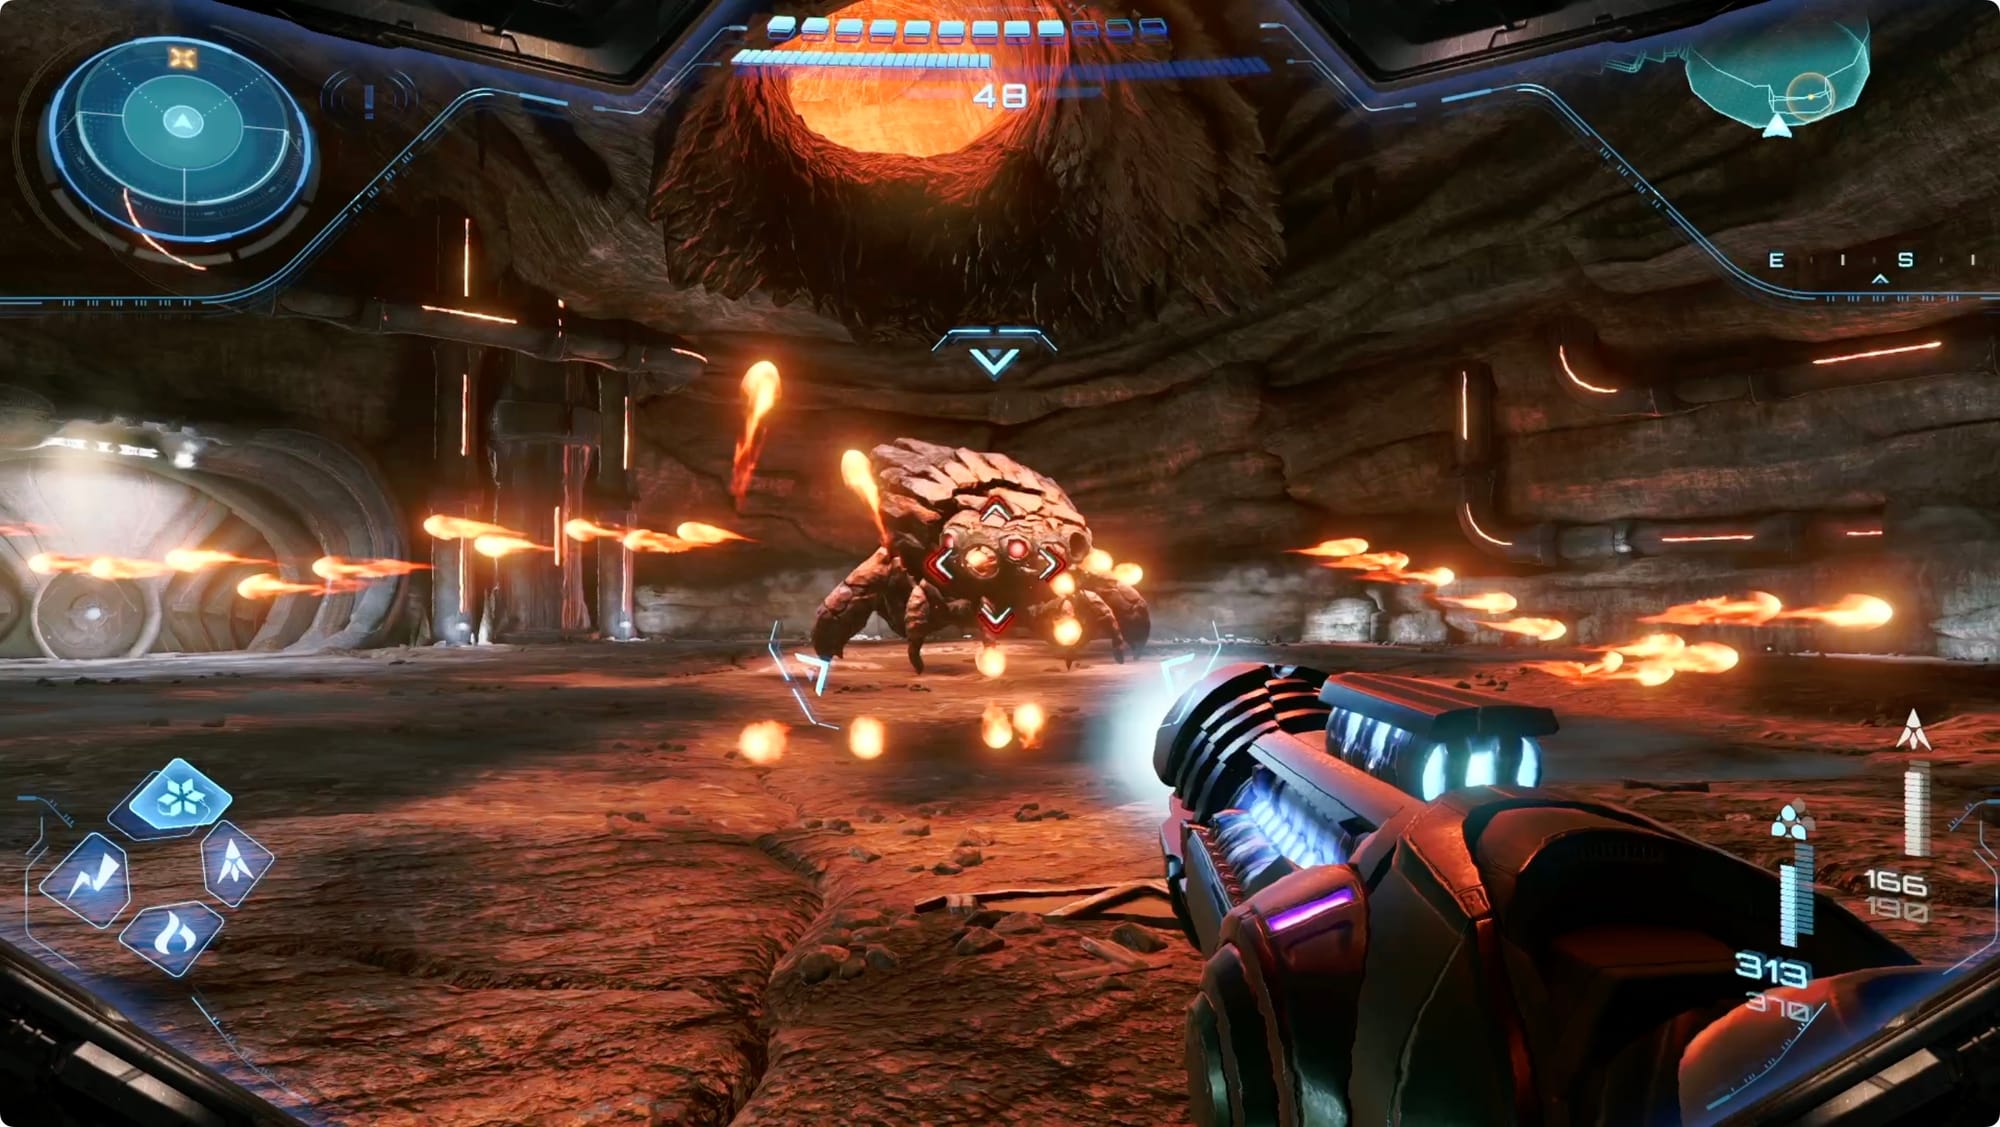
What’s here is a miniboss fight against a Behemoth (it doesn’t get a health bar or a name, so I’m not calling it a boss). Your job is to shoot the red eyes on the sides of its head a lot. While you’re working on that, Ice Shotting the shooty parts of its face will save you a lot of headache. Just keep unloading on its eyes until it falls and knocks down the last mech part in the process.
More Flare Pool items
Back at the Lava Lake, cross to the east and hop out on the right side. Jump the railing on your left to find this area’s Scout Bot. Zap and scan it.
On your left, use the tether to shoot straight up to collect a Shot Expansion.
Keep heading inside the Flare Pool. In the Ventilation Works, you’re going to halfpipe-boost some more, but this time, you’re looking for a Magnetic Rail high on the wall.
Follow it left for a Missile Expansion.
In the Inspection Station, head to the east door and stop. Look right, and burn the grate off of the tube. Head inside and follow it to the end to find a Shot Expansion.
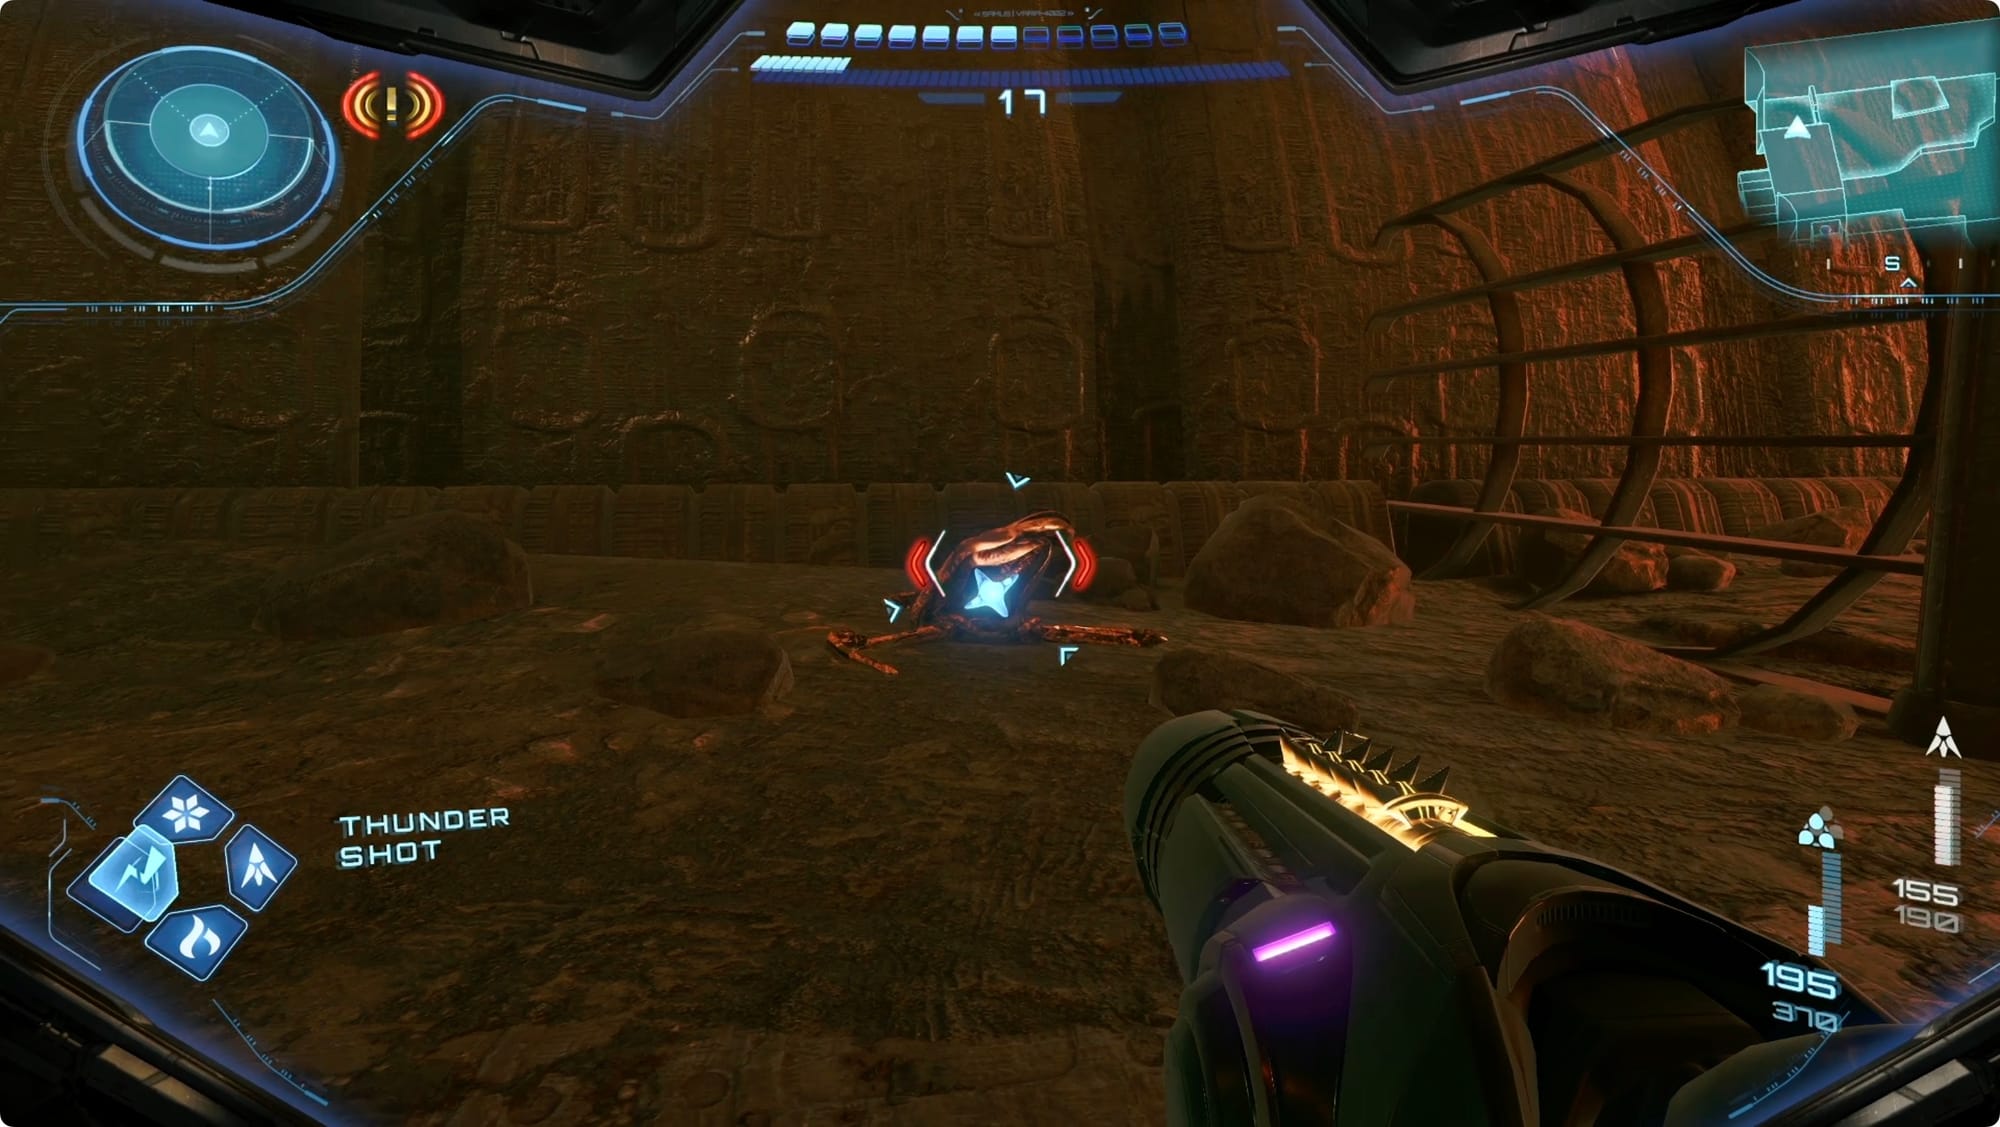
In the Entry Bay, head north to where you met Duke. There’s a Thunder lock door here. Head through it. Scan the generator on your right.
Lasso the hatch cover off, and then charge a Thunder Shot to get both a Missile and a Shot Expansion.
Go cross through the Entry Bay again to reach that Save Station — don’t forget about that damned turret on the way.
Back in the Entry Bay, head east this time. To the right of the two-person lock (that you can’t open now anyway), there’s a Thunder lock. Shoot it. Deal with the turret through the door and grab a Missile Expansion as you pass.
Continue east to Quality Control. Take the left and head into the Map Station. Take a right to find a Thunder-locked door. Head through.
At the end of the path, you’ll come to a room and get jumped by a few waves of Psy-Bots. When you’re safe, missile the cover on the wall to the east, and then lasso the latch. Morph Ball into the wall behind where the latch was. Hop up to the top, and then use a jump-Bomb-jump double jump to reach the Missile Expansion.
Scan the Maintenance Tank Shooter (Bomb Slot) on the west wall and then Bomb it to return to the Entry Bay (it’s slightly easier than backtracking). Also, you can save there.
In Energy Extraction, look to the left side of the entrance. Use the Magnetic Rail to work you way up and grab a Missile Expansion.
Head east to Energy Injection. At the very bottom, hop into the ditch and head for the west end. Next to the (deactivated) Spinner, Thunder Shot the exposed circuit and then use the Spinner. It will expose some sensors along the sides. Shoot both sides with Thunder Shot to unlock the Shot Expansion.
Use the Grapple Points to make your ascent faster. Ignore the two Psy-Bots until you get to the top. Take them out and then face the center of the room.
To the left, there’s a couple Grapple Points you can’t quite reach. Double jump out to them and swing across to the far side of the room for a Shot Expansion.
Swing back to the exit at the top of Energy Injection. In the Overseer Room, cross to the east, and then look up above the terminals. Lasso the hatch there and then Psychic a (regular) Bomb into the slot you expose.
Three “targeting holograms” will start popping in and out of the central pillar. Control Shot a shot through all three at once to drop a Missile Expansion.
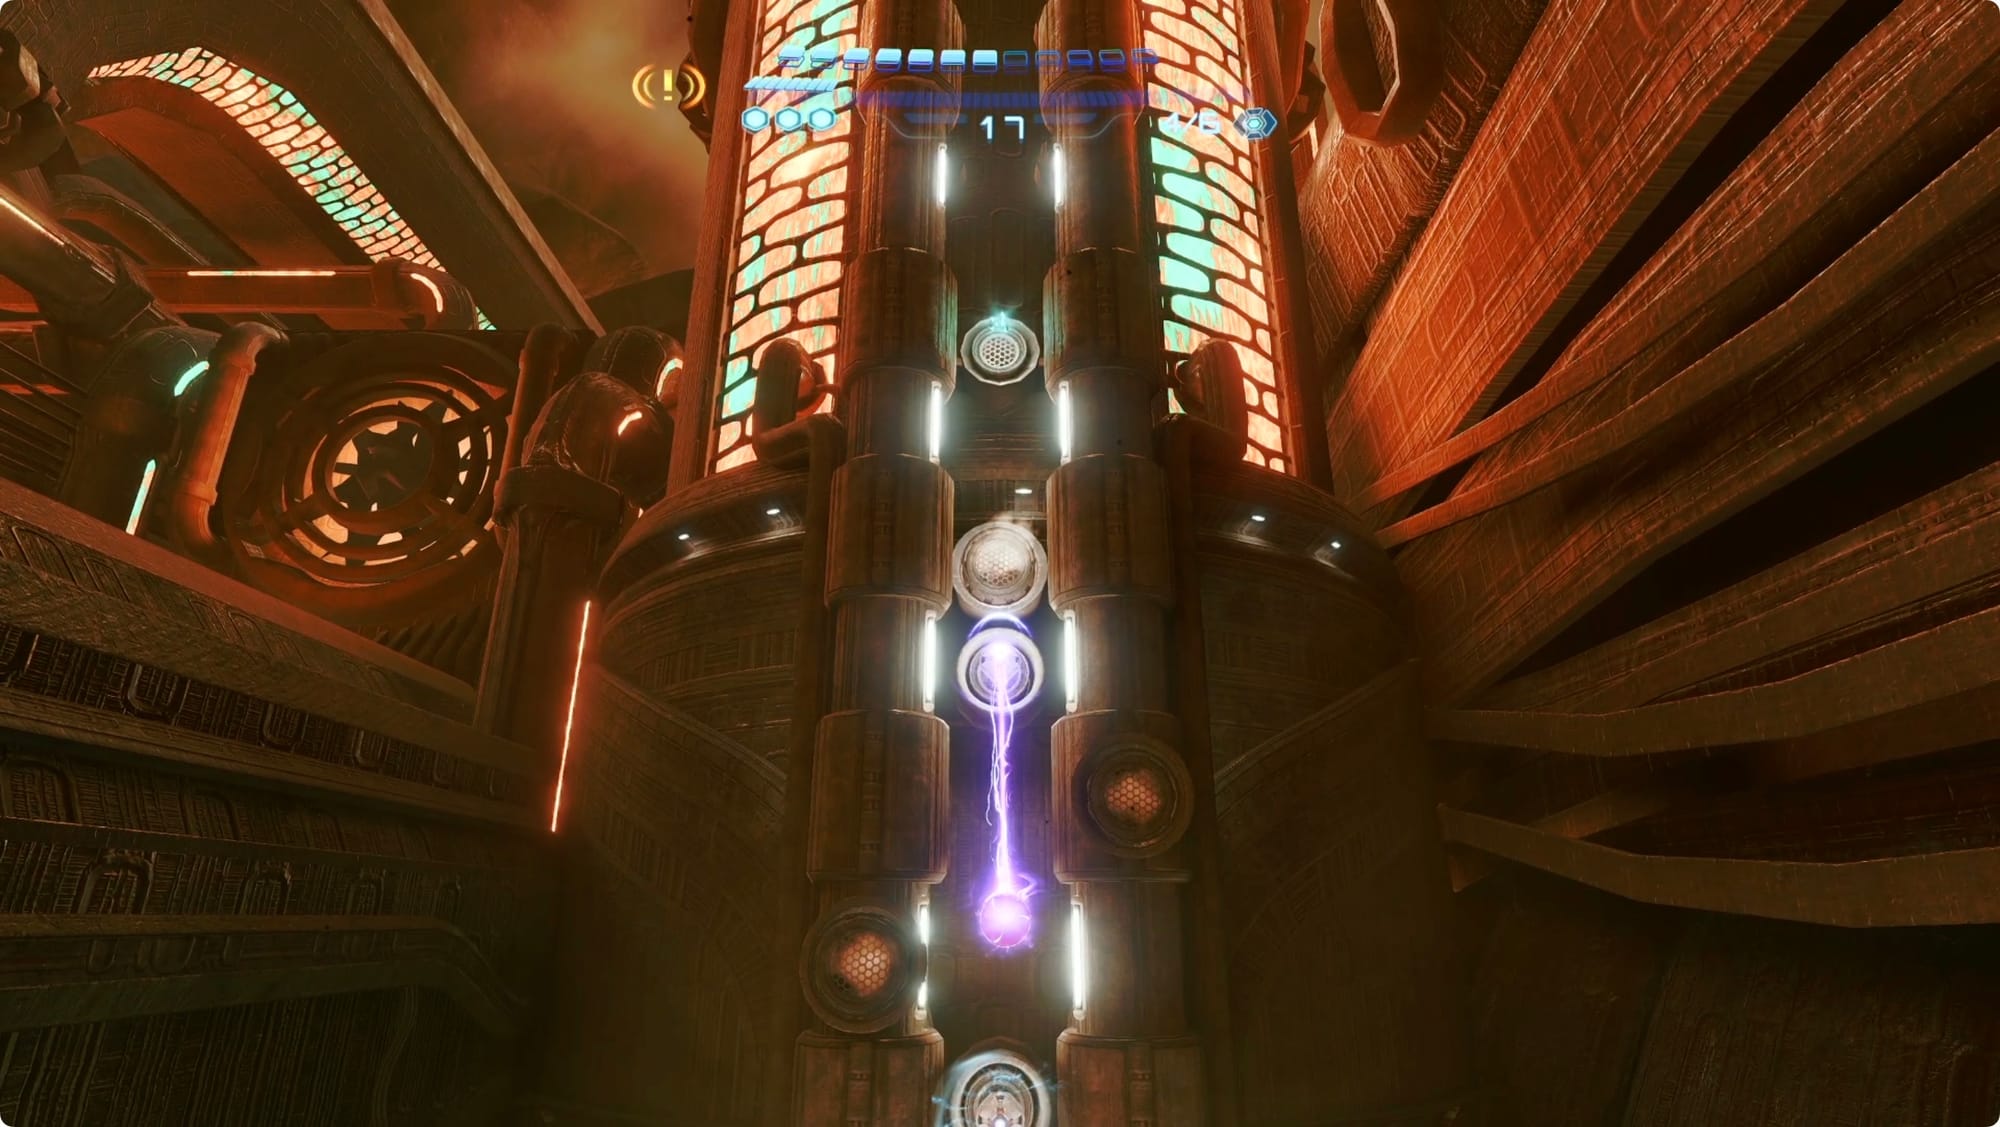
The east side of the Overseer Room is broken and blocked, so take the door to the north. Inside, Thunder Shot the lock ahead of you and hop into the Morph Ball elevator. We’ve already cleared this room, so just deal with the Psy-Bots and move on.
Backtrack all the way to the Lava Lake. Head through the eastern door at lava level as if you were going to redo the boss fight.

Over on the south side, look for a Missile Expansion behind a column of rock. Just north of the middle of the room, look for a glowing crate. Shoot it to reveal an Energy Tank … that immediately gets stolen by a Swim Snatcher.
Chase it around for a while and shoot it five-ish times to claim your prize.
On the north side of the room, look for a Shot Expansion on the backside of a ramp.
On your way back out of the Flare Pool, take the left and go past the Save Station all the way to the scrapyard where we picked up the Fire Chip a million years ago. Scan around for a Power Bomb-able pile of debris. Behind it, use the Magnetic Rail to climb up and grab a Shot Expansion.
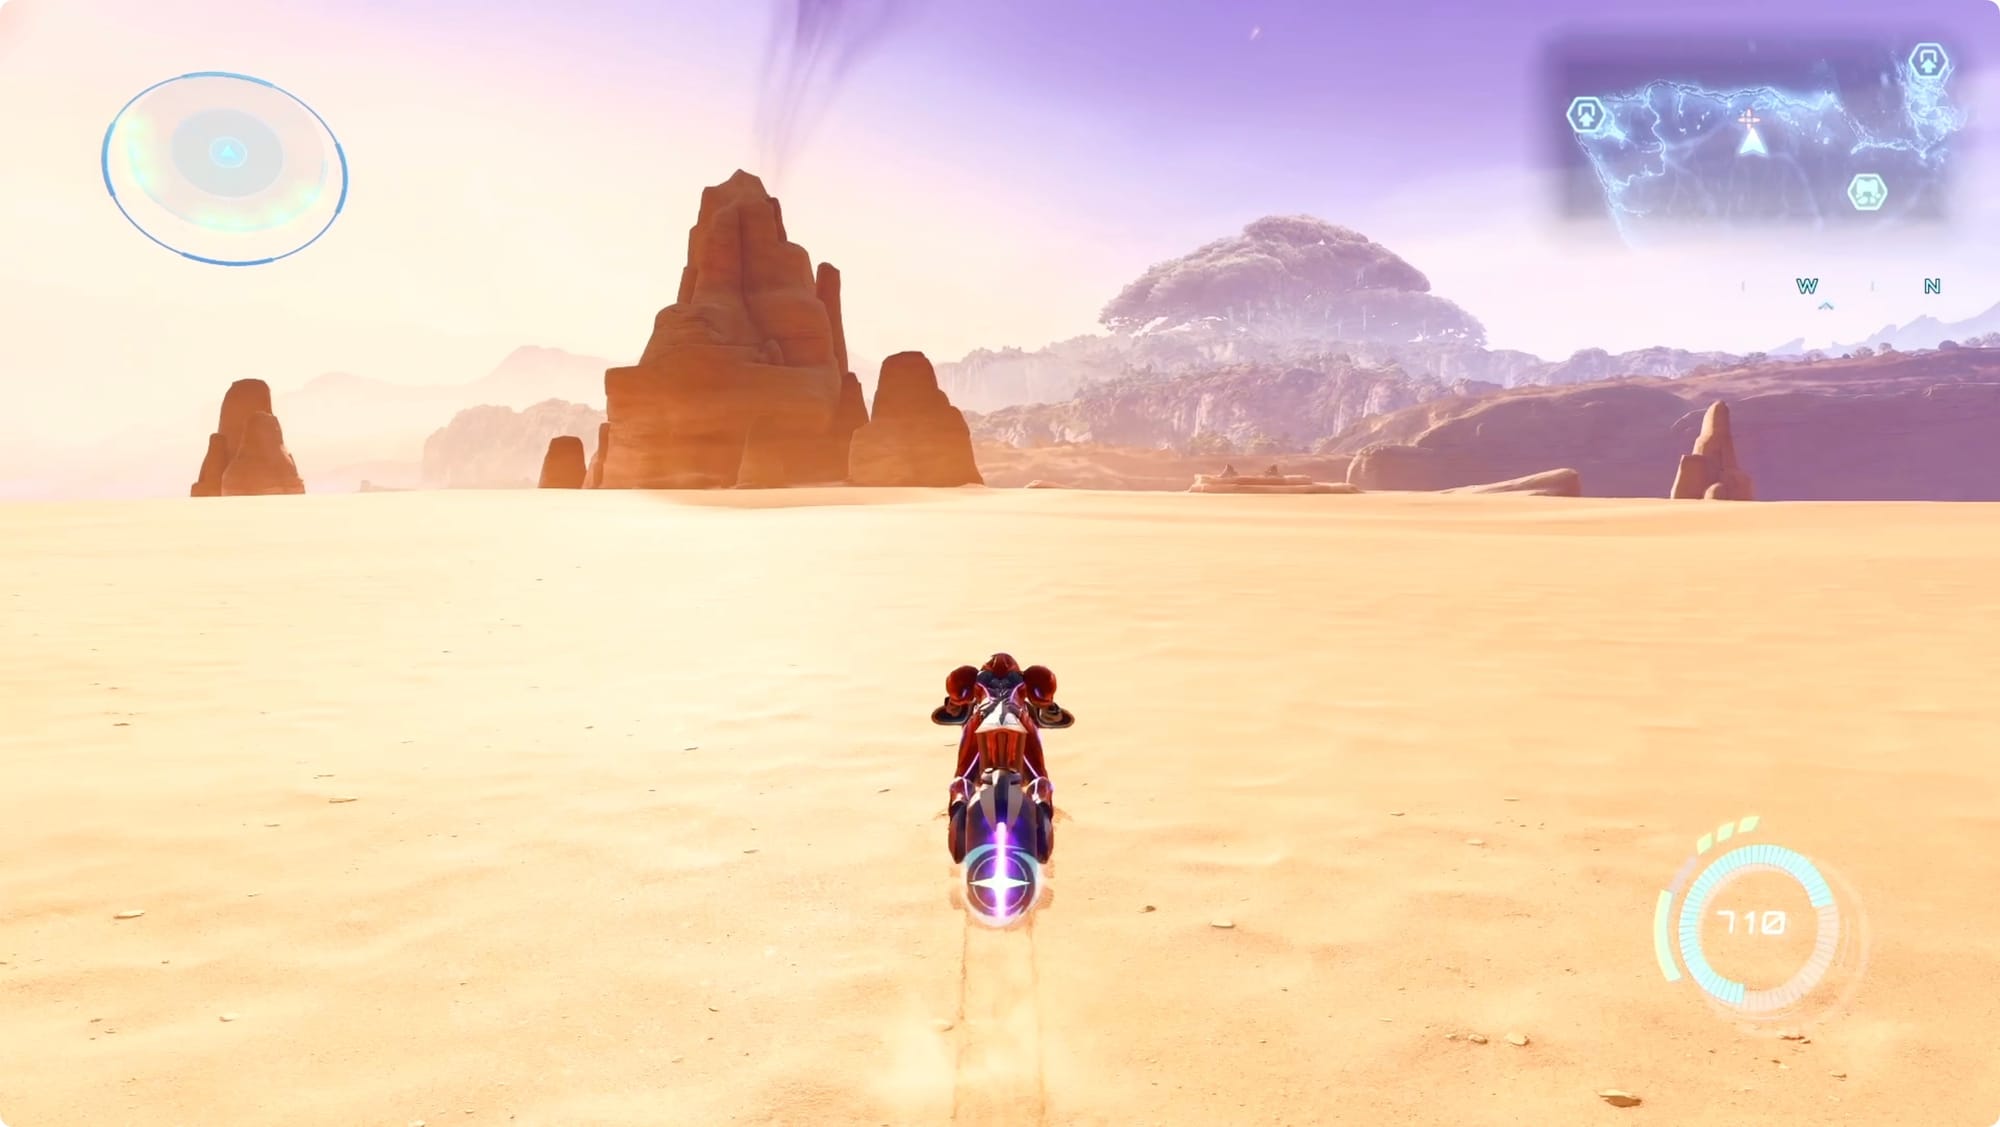
Head all the way back out to the desert and point yourself at Fury Green.
Fury Green

On the way to Fury Green, grab as much Green Energy Crystal as you can. If you stick to the southern edge of the desert, there’s actually a huge deposit to the southeast of the GF Debris. (This one was enough to finally fill up my meter.)
On your way, tend a little south of the entrance and you’ll spot another of Tokabi’s campsites. After a chat, he’ll give you a Missile Expansion.
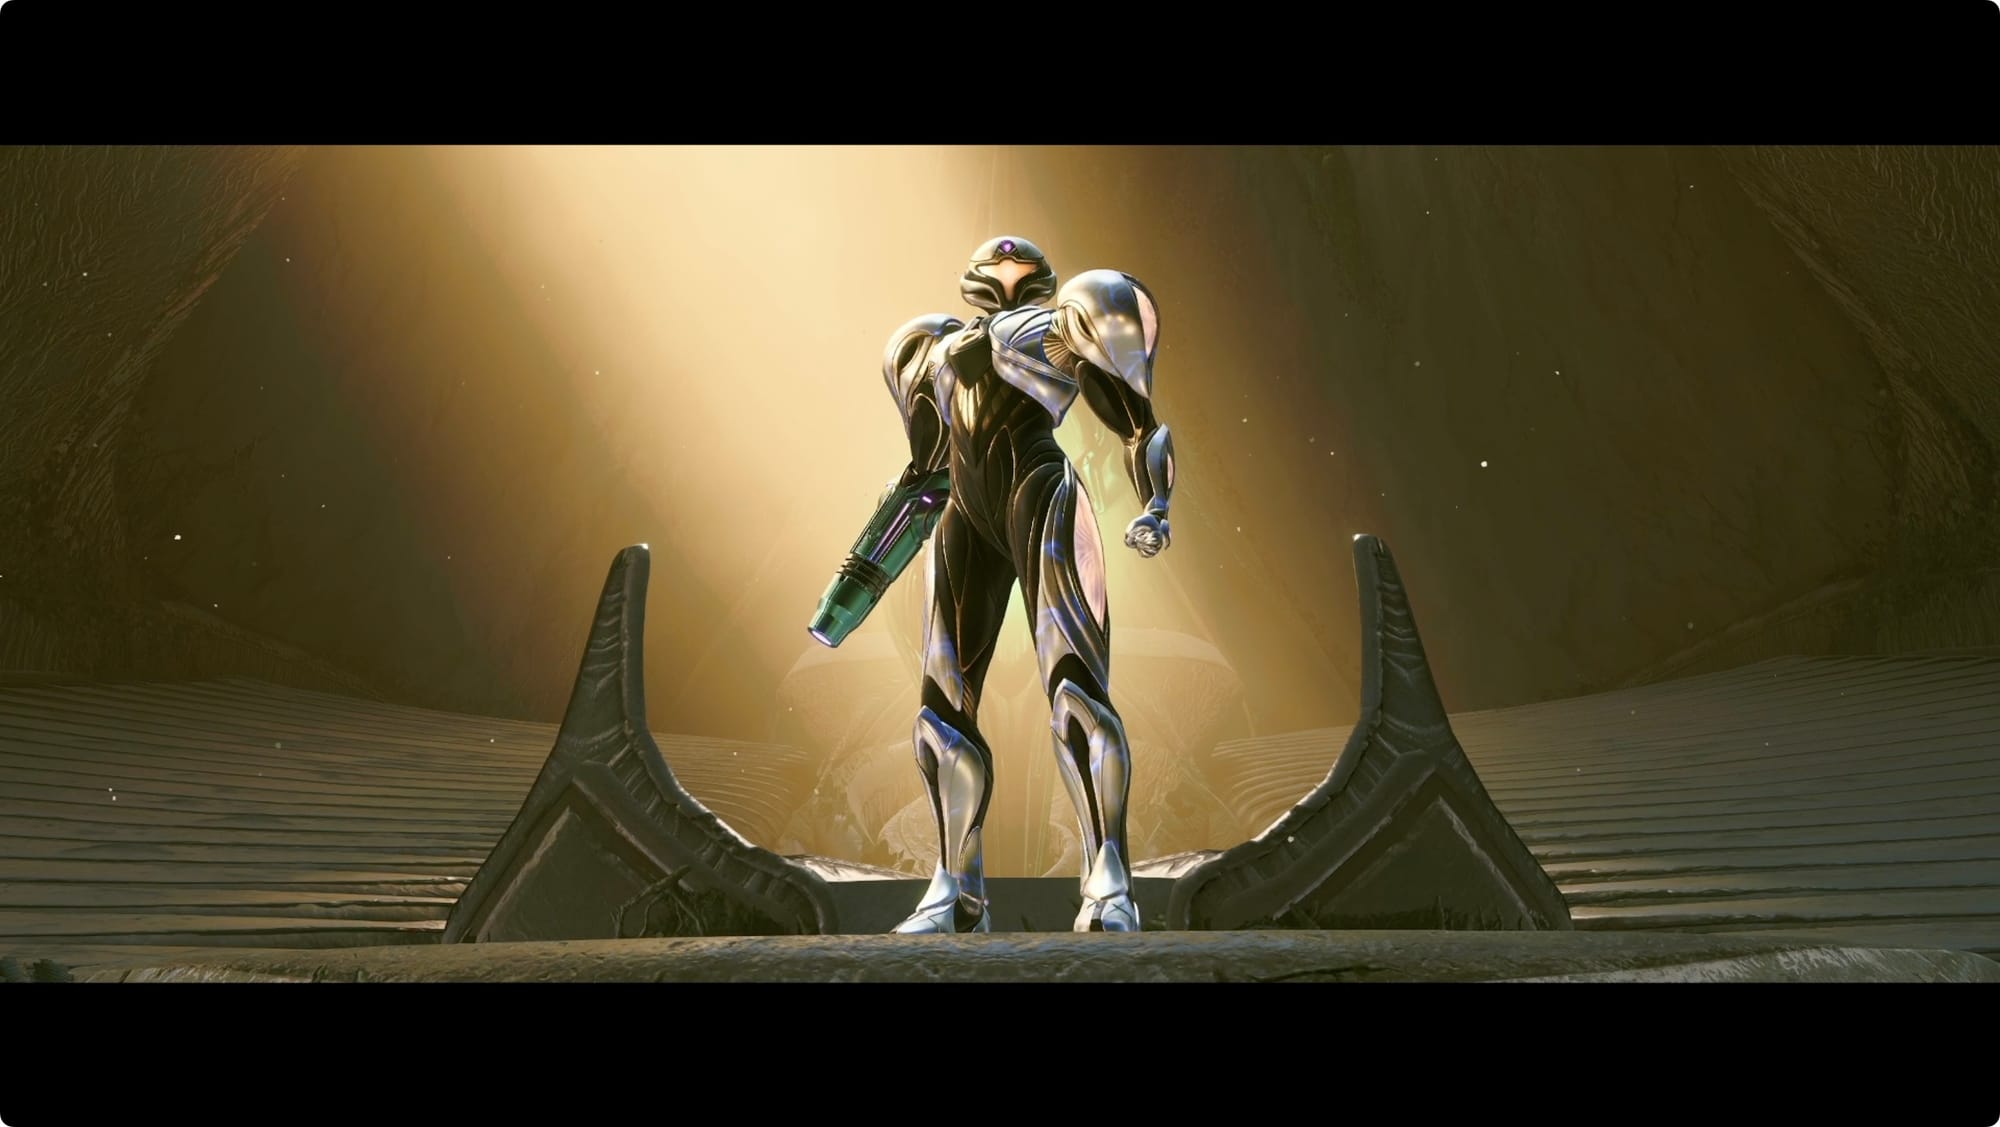
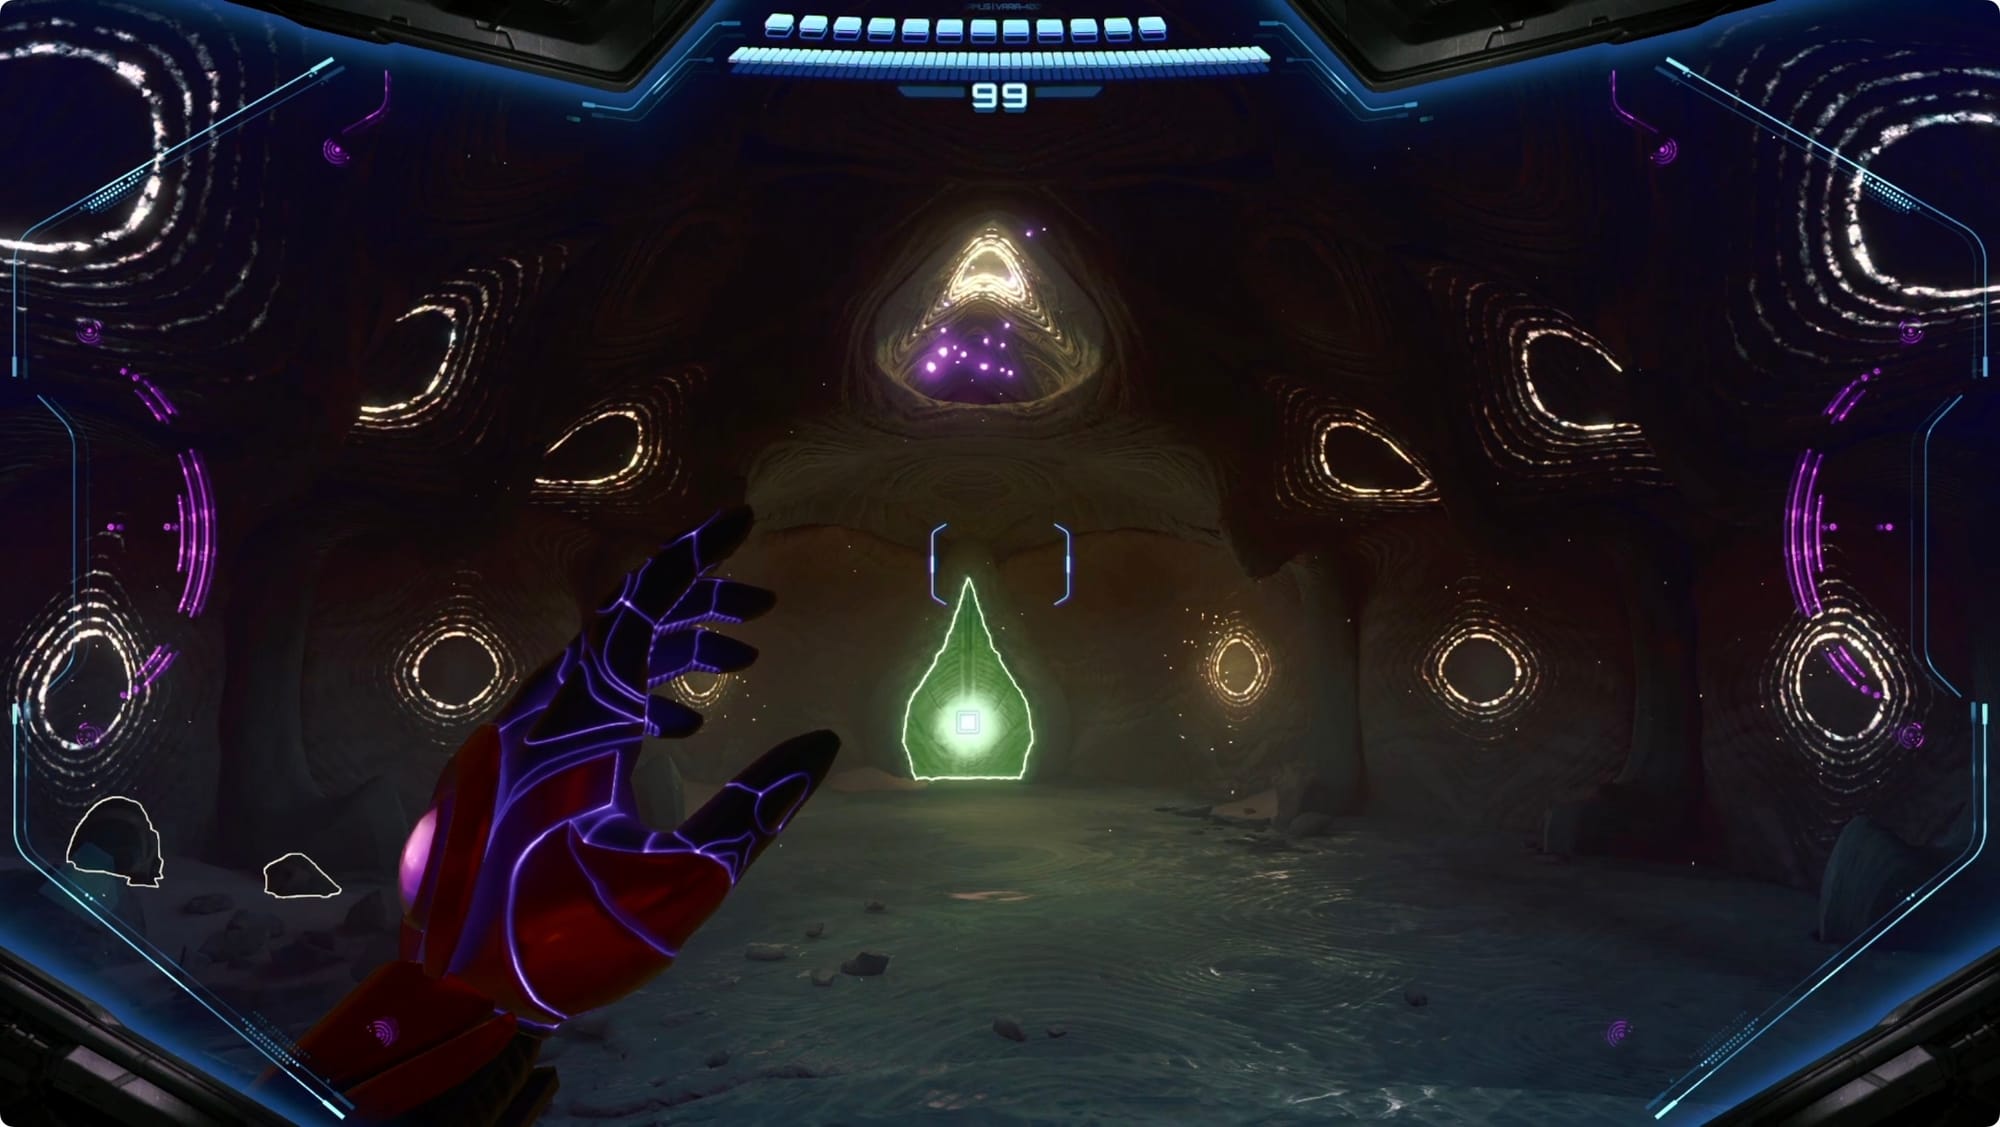
Inside Fury Green, Cargo Launch yourself to the Base Camp side. Myles will give you a rundown on his progress with Betsy. Head through to the Altar of Legacy and cash in the last of your crystals to grow the Memory Fruit.
That green statue will unlock and you’ll pick up the Legacy Suit (which, if I’m being honest, looks cool as hell).
Hit the Save Station and then go talk to your friends.
Giving the order to proceed (twice) is the point of no return for the game. My game is at 92% completion — and I’m pretty sure we’re not done chasing Tokabi around. If you’re good with where we are, the next walkthrough will pick up at the Chronos Tower. This walkthrough will continue chasing those last few percent.
More Tokabi

Tokabi’s next location is at the GF Debris along the north edge of the map. This time, he’ll give you a Shot Expansion.
Tokabi’s final location is back by the entrance to Fury Green. But if you go straight there, he won’t be there yet. Going into a shrine doesn’t get him to spawn, and neither does bouncing in and out of Fury Green.
Pick someplace on the other side of the map — I went to the Flare Pool to double check something. That seems to have done the trick. More importantly …
Head to the Ring of Thunder shrine in the southeast, but don’t go inside. Look around to the back of the statue and scan for a Psychic-able door. Lower it, and grab the Energy Tank hidden inside.
You’ll find Tokabi’s last campsite at a rock formation just a little north of the Fury Green entrance. His last gift to you is a Power Bomb Expansion.
This got me to 95% completion and I don’t have any more items showing on my map(s) — I actually think the last 5% is just stuff I didn't scan — so it’s time to head back to Fury Green, and give the order to attack Chronos Tower.