

Resident Evil Requiem walkthrough, part 1
Part 1 — Wrenwood Hotel


Well folks, it’s time for another entry in the Resident Evil series and that means I'll be doing a full walkthrough. I’m sure this time, everything is going to go exactly as planned and the game will be a nice, cozy farming sim. Let’s get into it.
Grace - Wrenwood Hotel
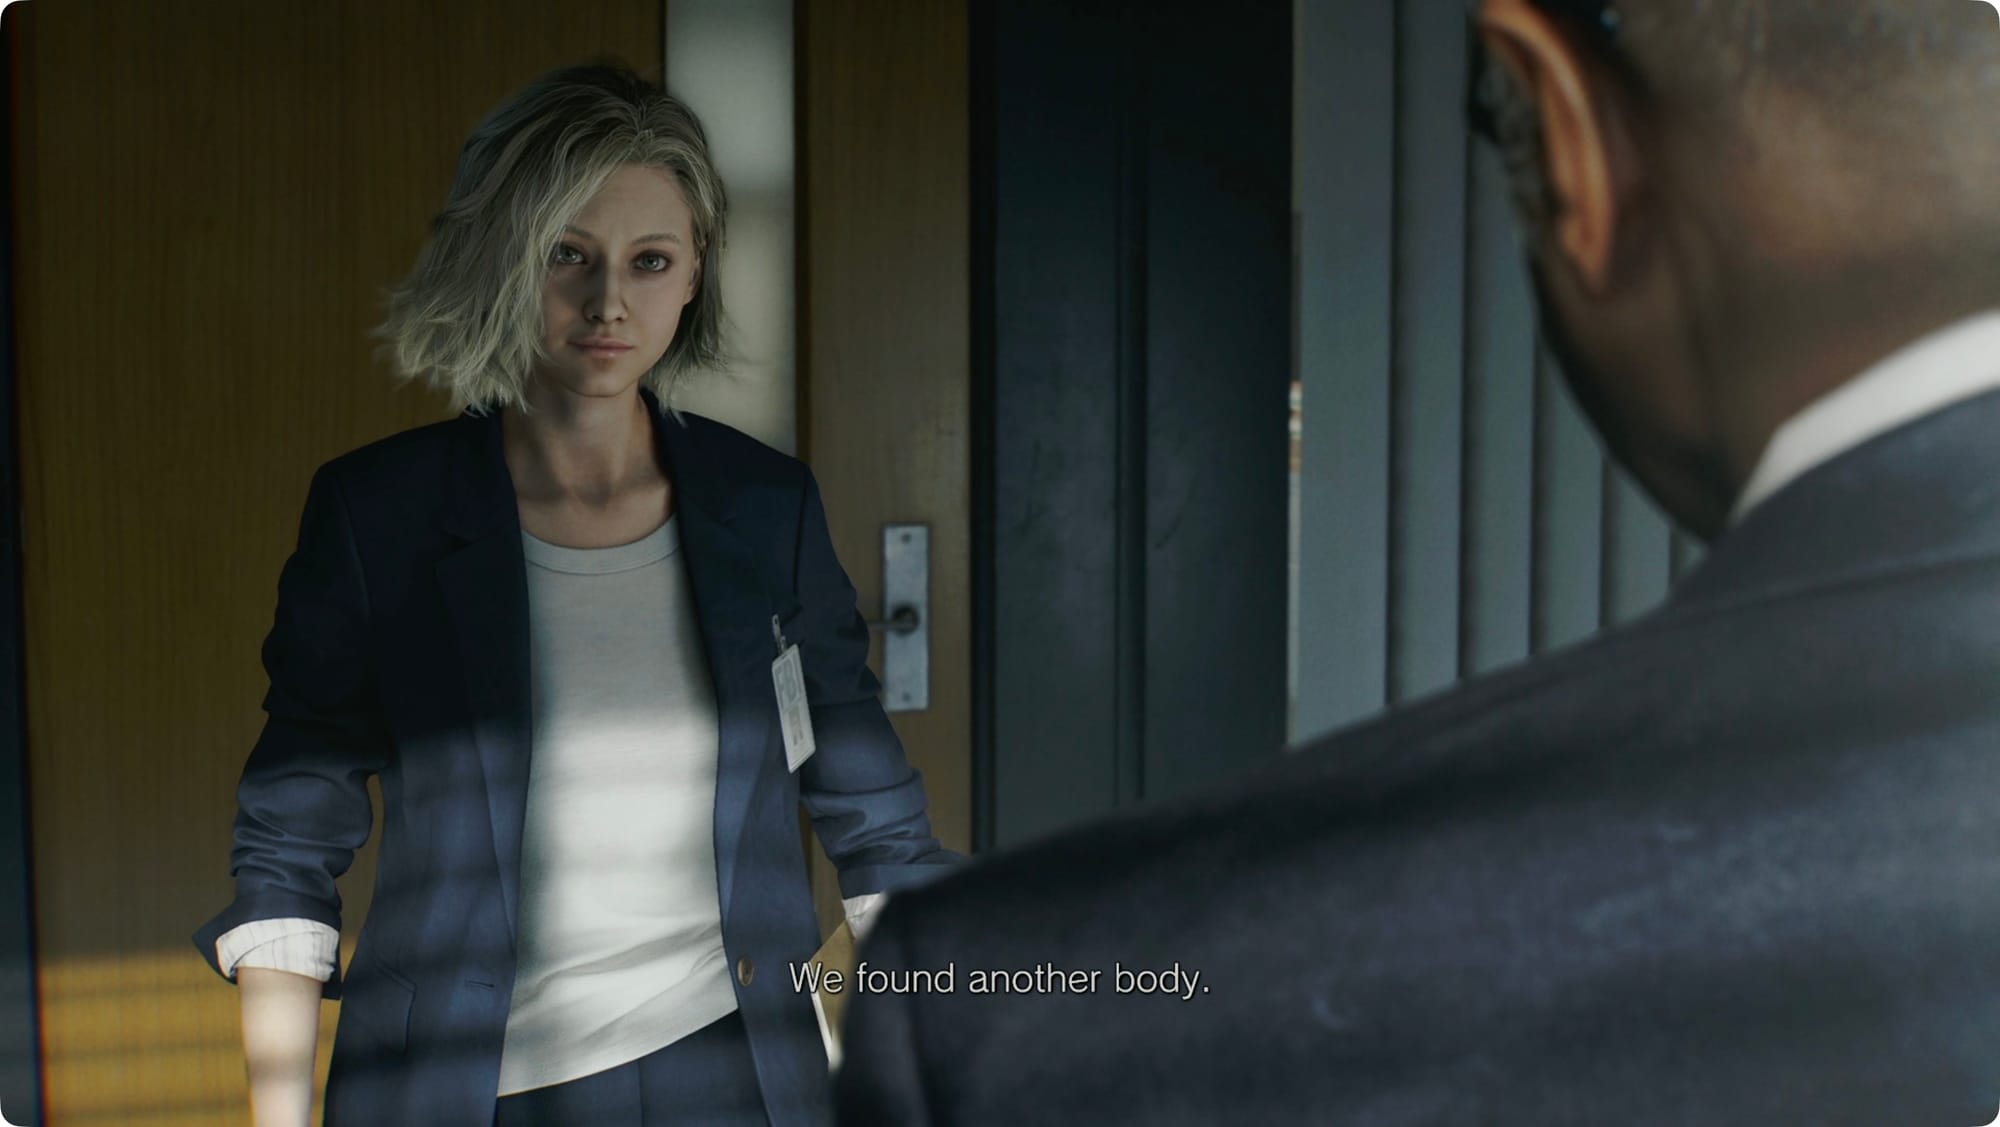
Aw beans. It's not a farming sim, is it?
After the (kind of long) introductory cutscene, you’ll get sent to the Wrenwood Hotel as Grace. When you get control, keep walking along the sidewalk. Watch along the right for a city map where you can pick up the Wrenwood City Guide file.
A bit farther along, check the side of the newsstand for some Missing flyers. It’s probably nothing. Don’t worry about it.

A bit past there, you’ll come to the crime scene that is the hotel. After another cutscene, you’ll head inside. Take a right at the forklift and keep following the alley.
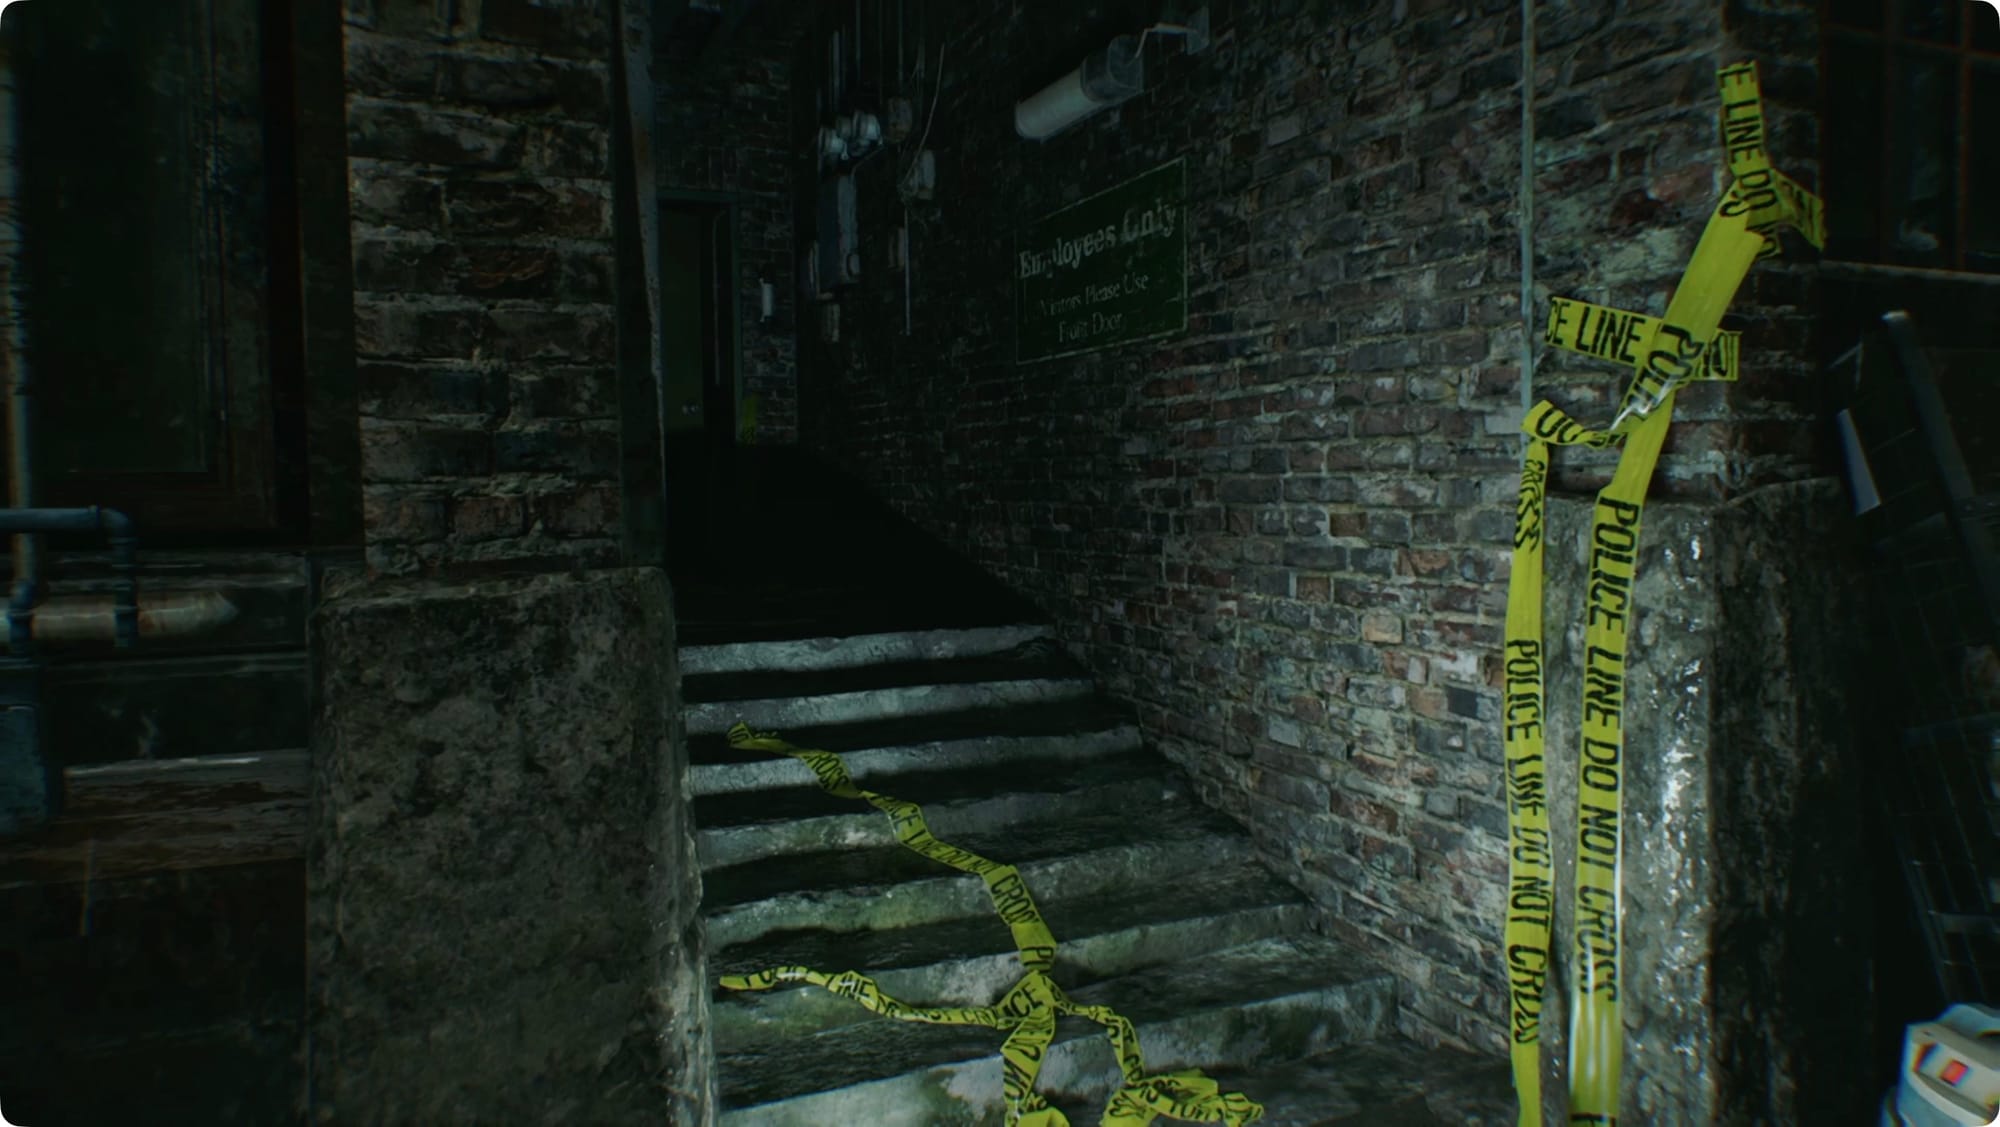
Go past the boarded up main entrance and take the next left for the Employees Only door.
Kitchen
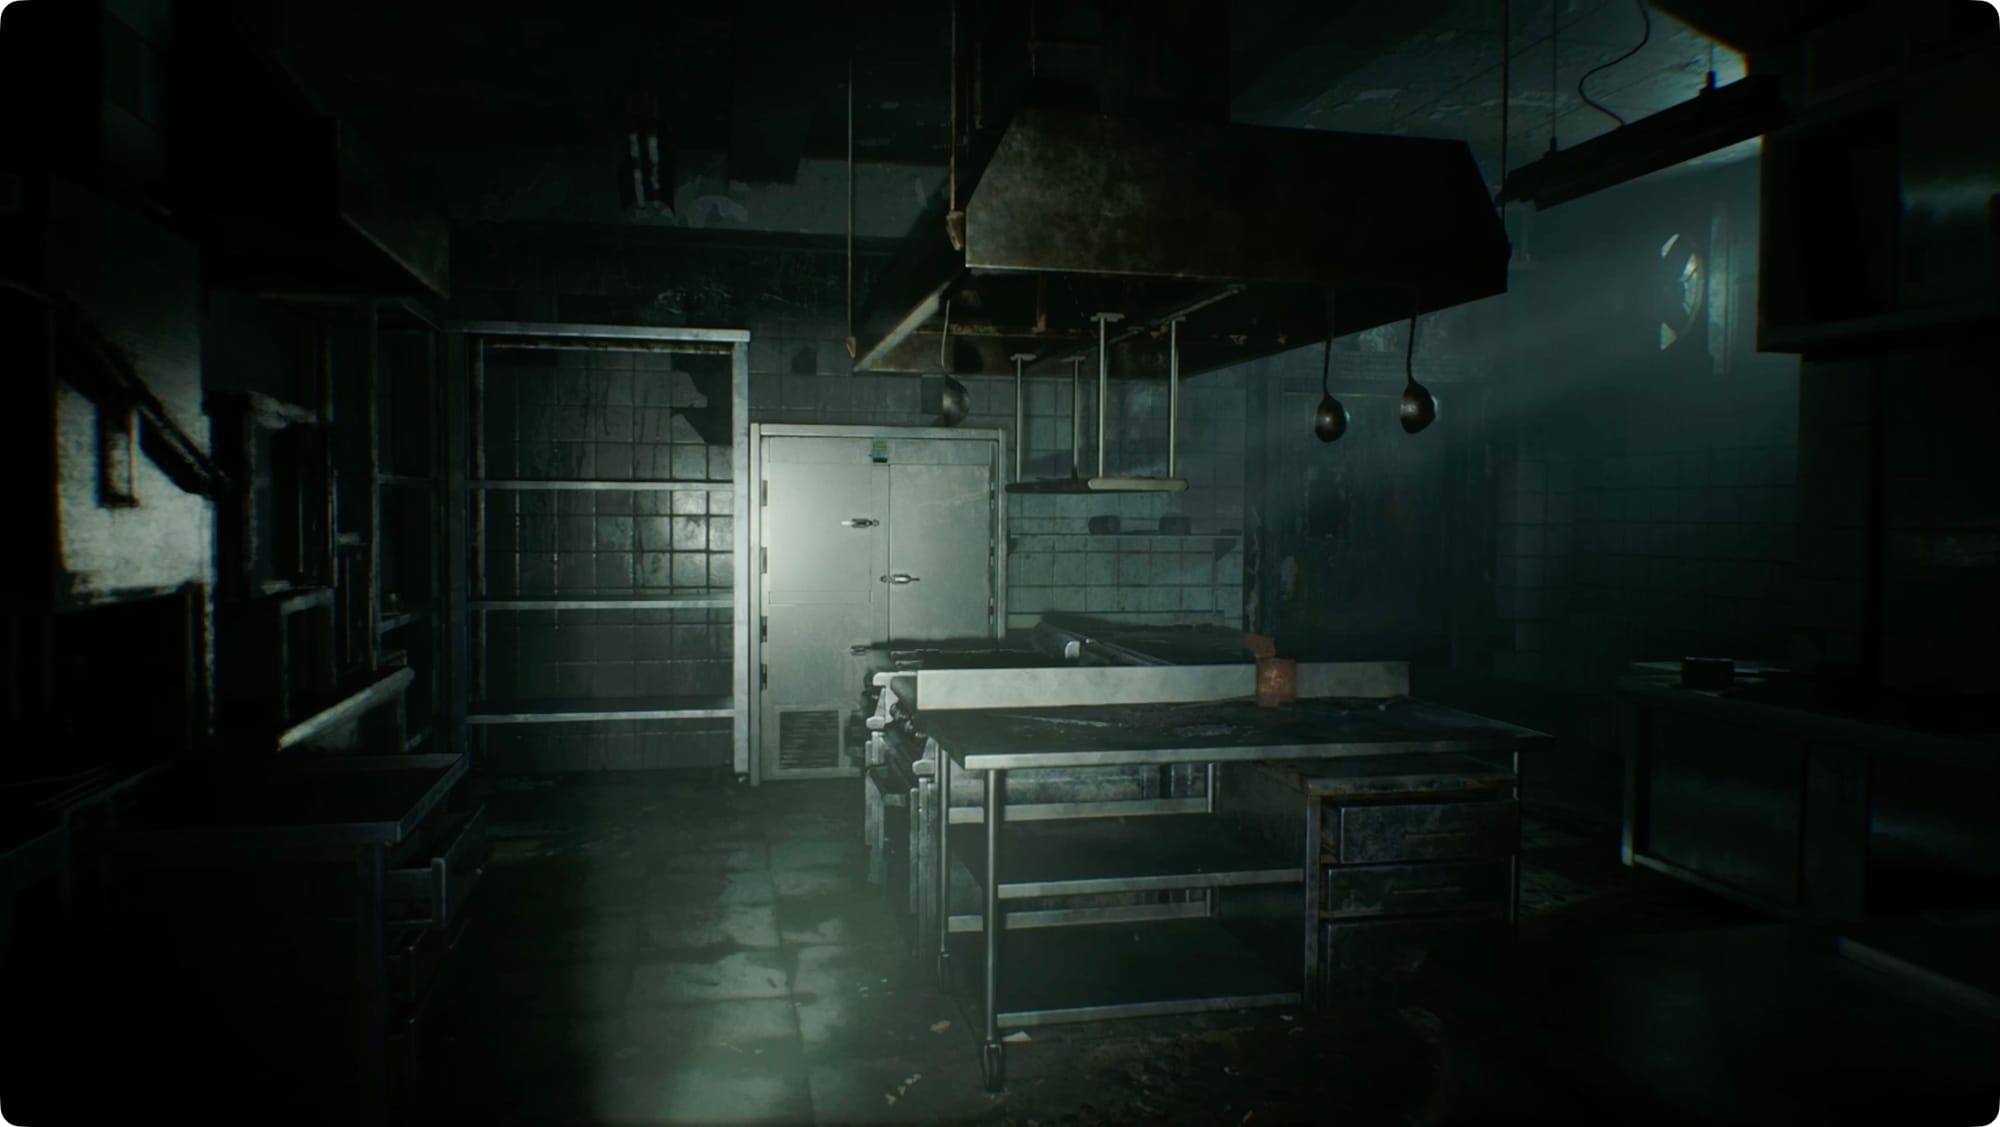
When you enter the kitchen, stick along the left side. Grab the pot on the shelf and open the refrigerator to see why the hotel’s sanitation rating probably isn’t great at this point.
Continue around to the door and head through. When you get the prompt to read the Investigation Report, you have to turn the folder so the open edge is facing you before you can open it. Read through everything inside.
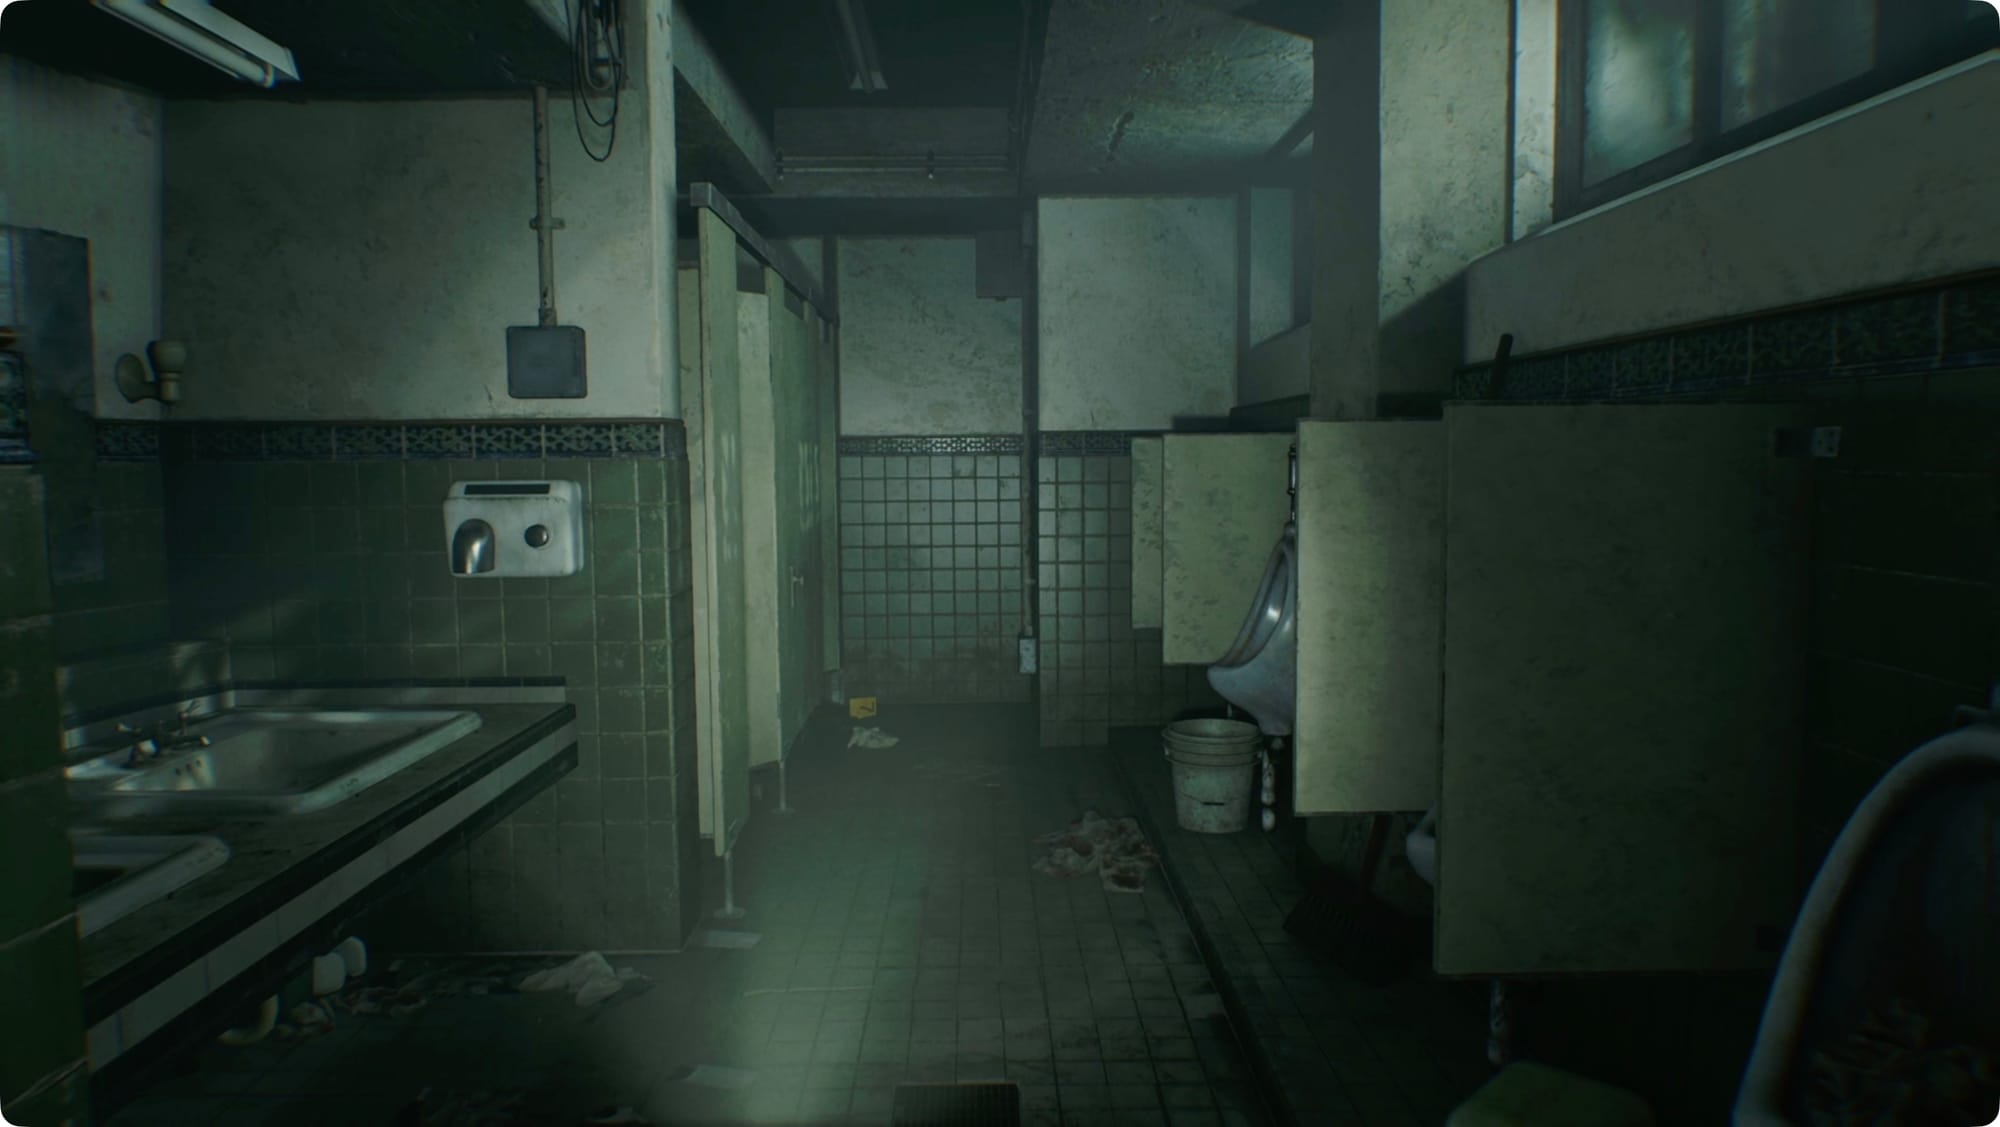
Past the bar, the door on your left is locked. Follow the Lounge around to the right and into the Restroom. There’s nothing in the locker, so take the left and head into the third stall.
Open the toilet lid and, against all better judgment, examine the contents.
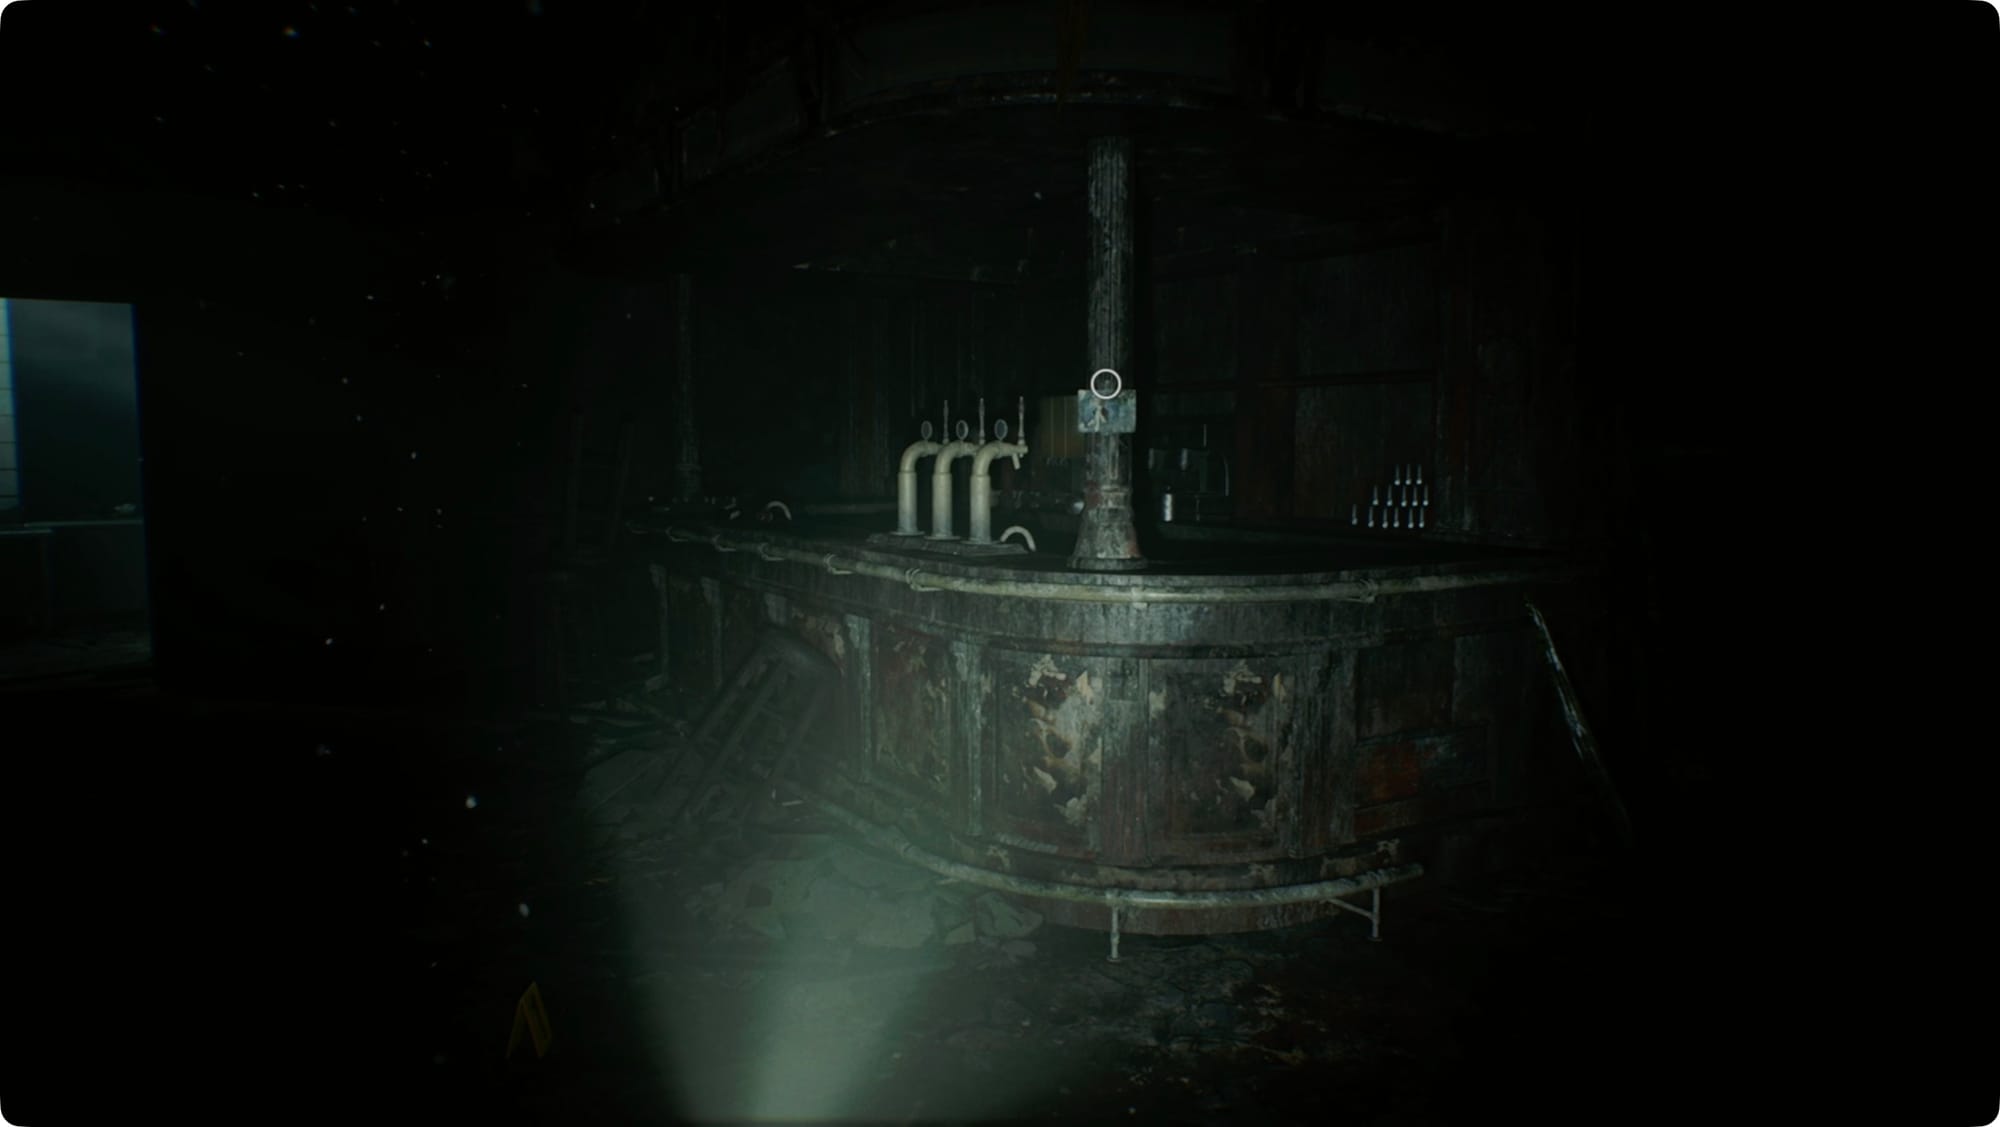
Head back to the Lounge. As you approach the bar again, you’ll notice a not-creepy-at-all photo pinned to a column. Pick it up and flip it over to find the Old Key.
Use the key on the door next to the bar and head through. Take the hallway to the Lobby.
Lobby
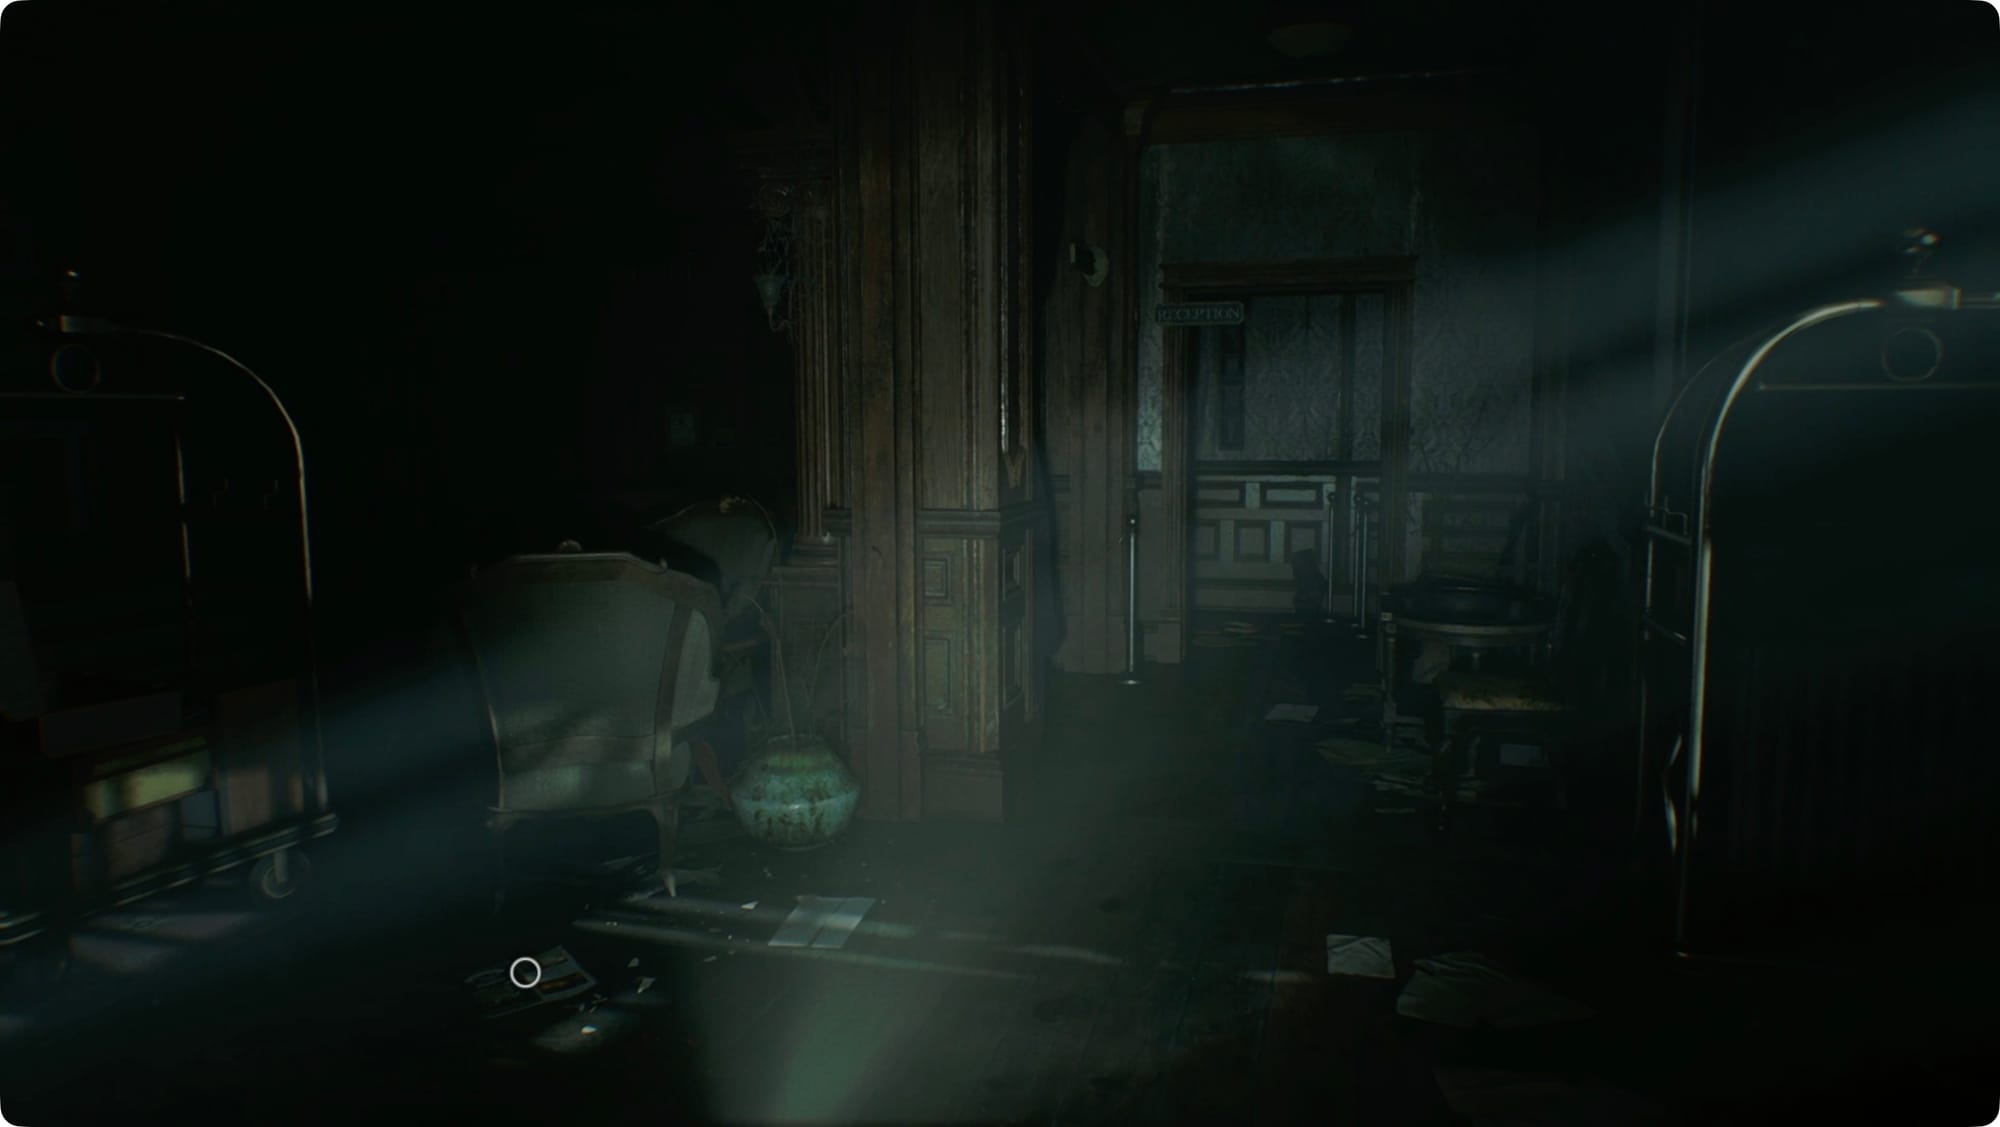
As you enter, watch for the Hotel Pamphlet on the floor. Head straight across to the reception desk and take a left to find the Office.
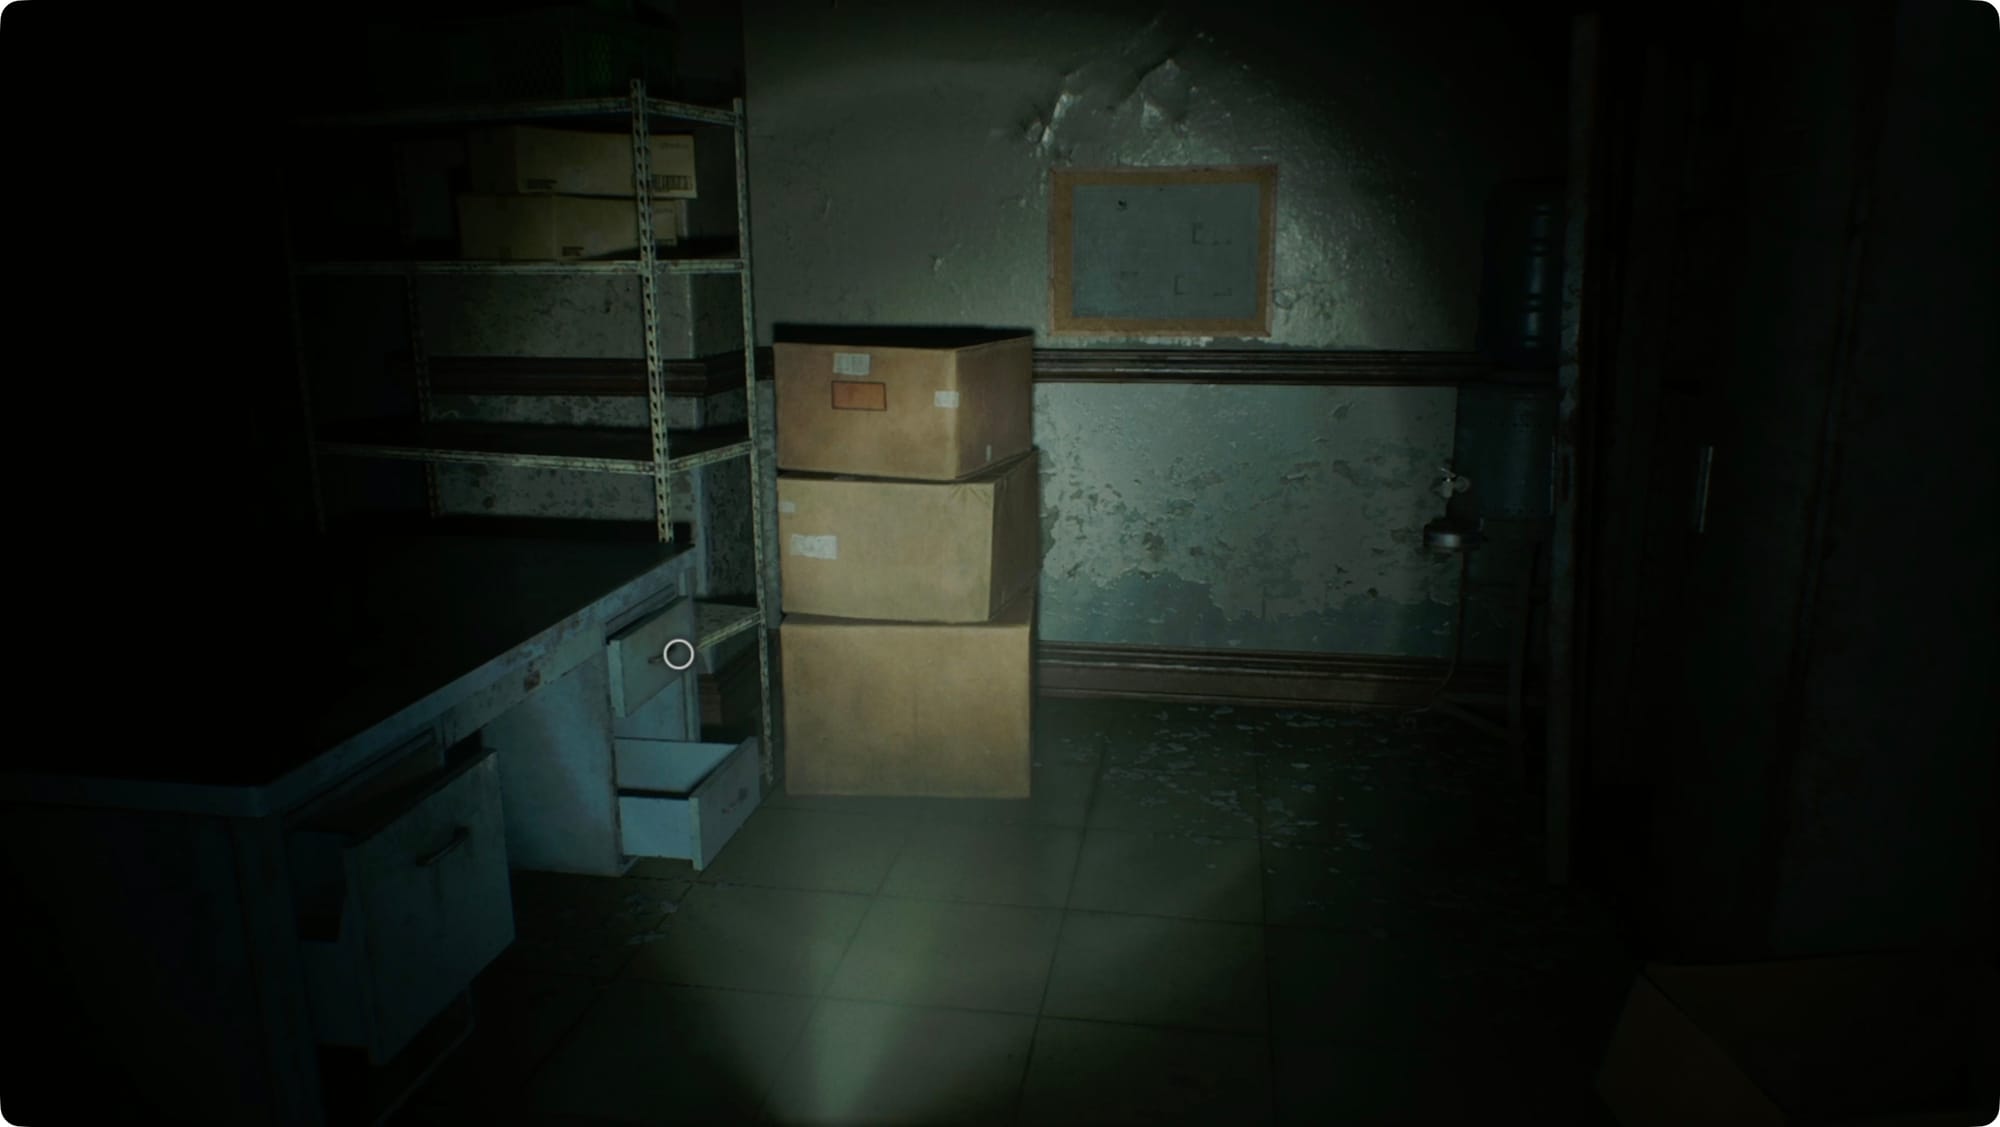
Inside, there’s nothing in the lockers, but you’ll find the Notice of Closure in the desk at the back and the Wrenwood Hotel Floor Plan on the wall. There’s nothing else in the Lobby, so take a right when you exit the office and head up the stairs. Take them all the way around to the Rec Room.
Rec Room
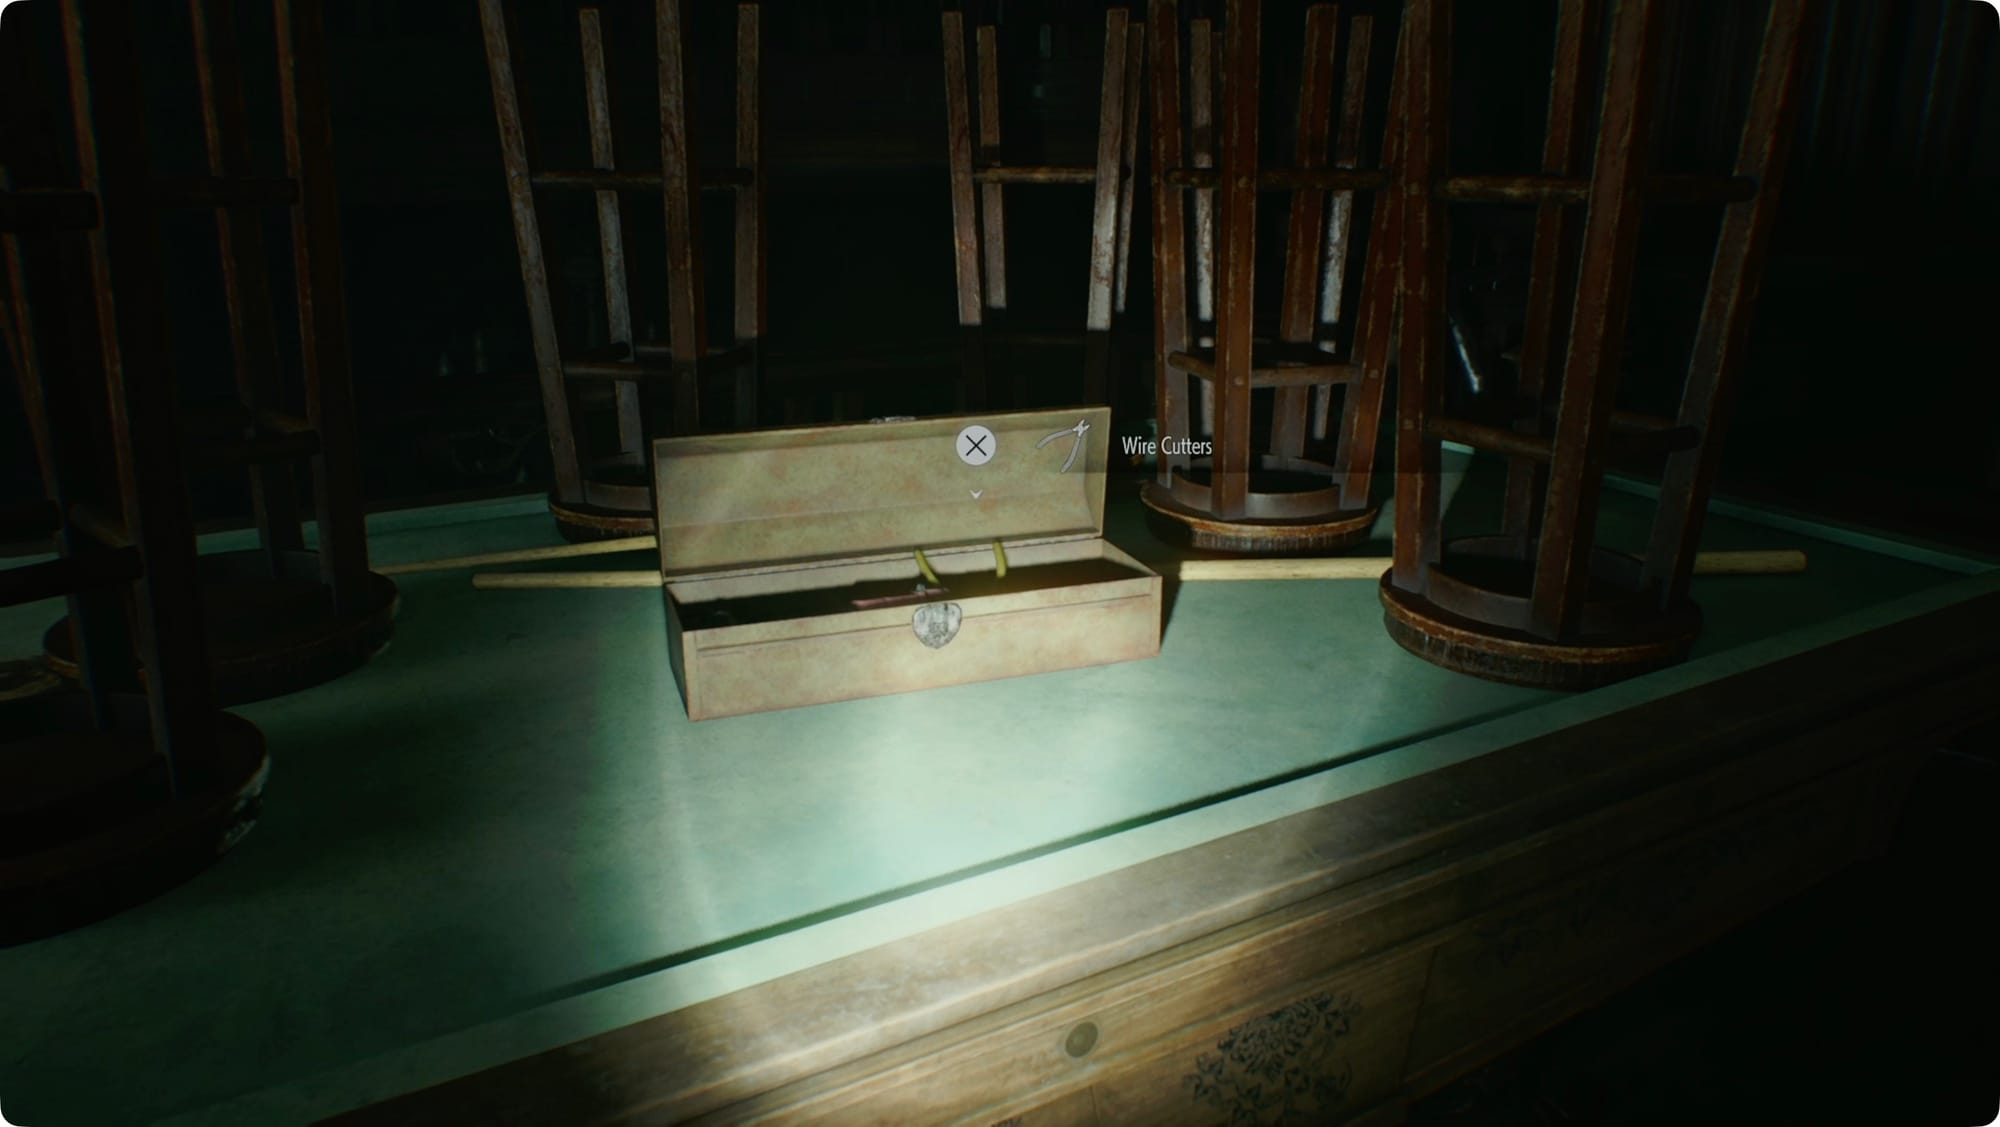
The Emergency Exit here is locked (which is a fire code violation, I’m pretty sure). Look to your left and grab the Wire Cutters from the box on the pool table.
There’s nothing else here, so use the Wire Cutters on the wire holding the doors shut on the far side of the room.
Room 204
Follow the hall around to Room 204. Inside, turn off the radio, and then head to the bed.

Examine the photos to take a closer look, and then examine the special(?) photo in the upper right to trigger a flashback cutscene.
It’s fine. Everything’s fine.
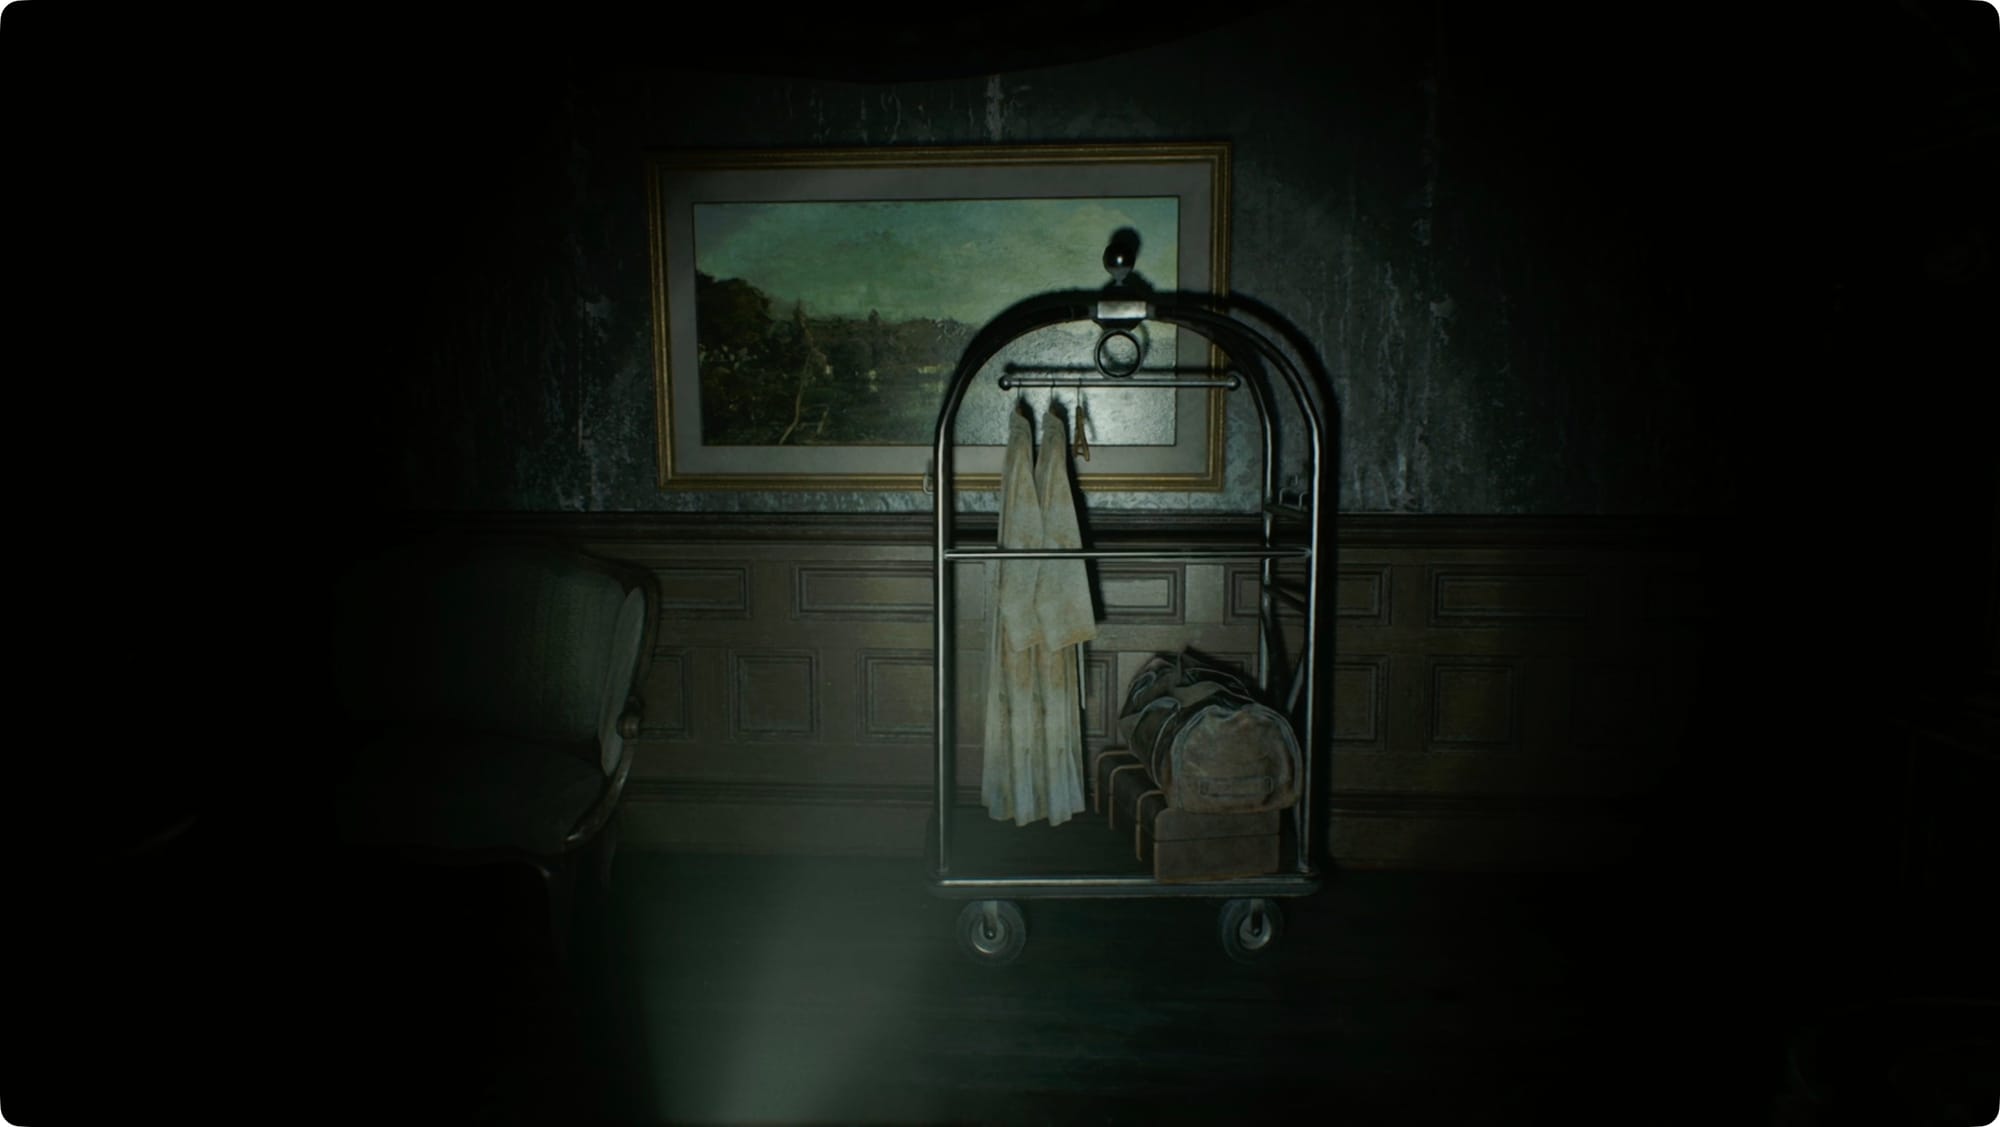
Head all the way back down to the lobby and cross over to the painting from the flashback. Move the cart and grab the package Grace’s mom left. Inside it, you’ll find Alyssa’s Journal and an unnamed (yet) disk.
Once the cop shows up and everything remains totally fine, you’ll have to dodge some shotgun blasts while you free yourself from your trapped coat.
When you're free, grab the Emergency Exit Key and make a break for the stairs.
Everything after is pretty linear and cutscene-heavy, so we’ll pick up in part 2.