

Resident Evil Requiem walkthrough, part 2
Rhodes Hill Chronic Care Center

You’re never going to believe this, but Grace investigating the condemned hotel where her mother was murdered eight years ago didn’t go well.
Leon — Elbridge
After Leon’s introductory cutscene — including a prominent Porsche product placement — you’ll spot Grace and Victor on the sidewalk.
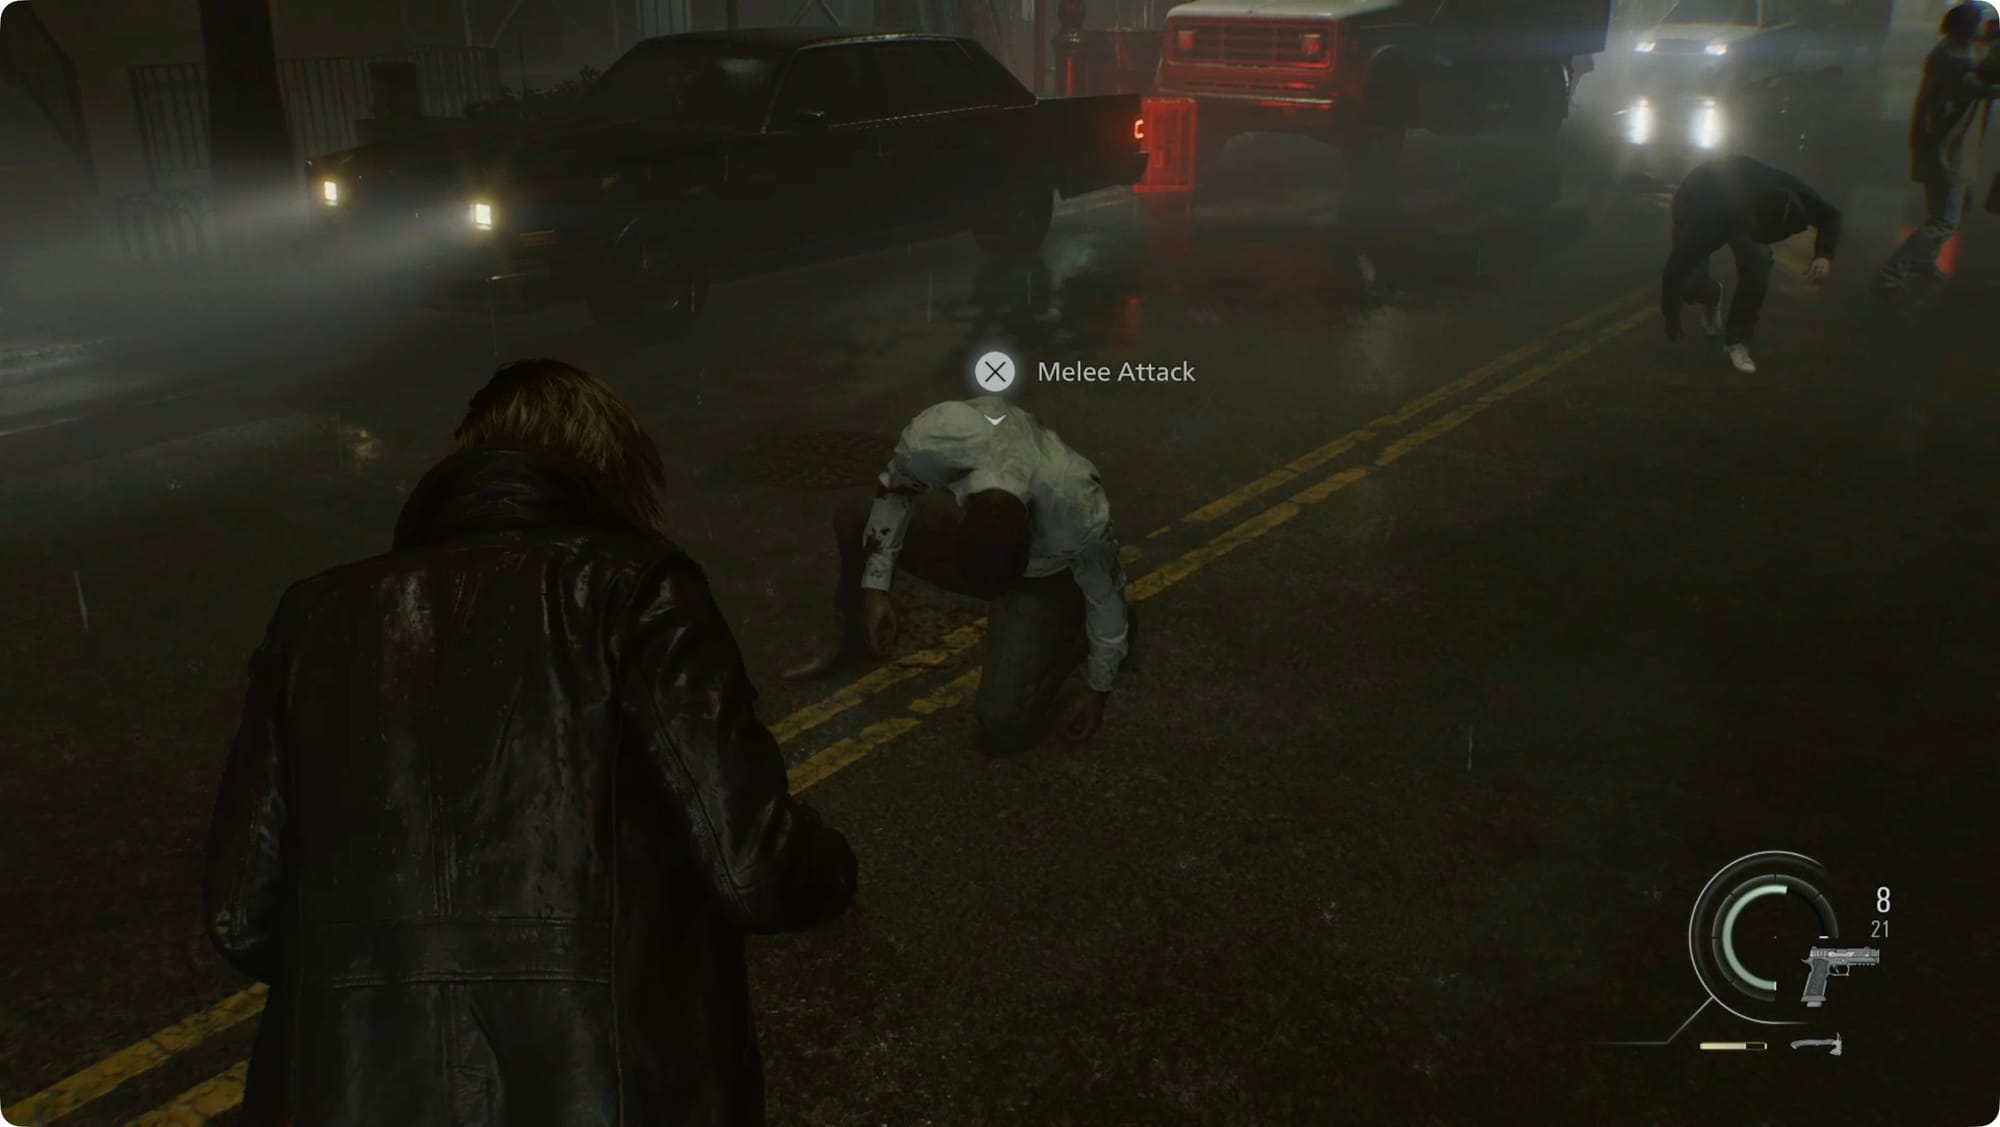
Victor leaves a bunch of new zombies in his wake, so you’ll have to fight your way through them. Aim for their heads or, better yet, shoot their legs to knock them down and then melee them to save on bullets. (Most of these zombies will drop ammo, so watch for that.)
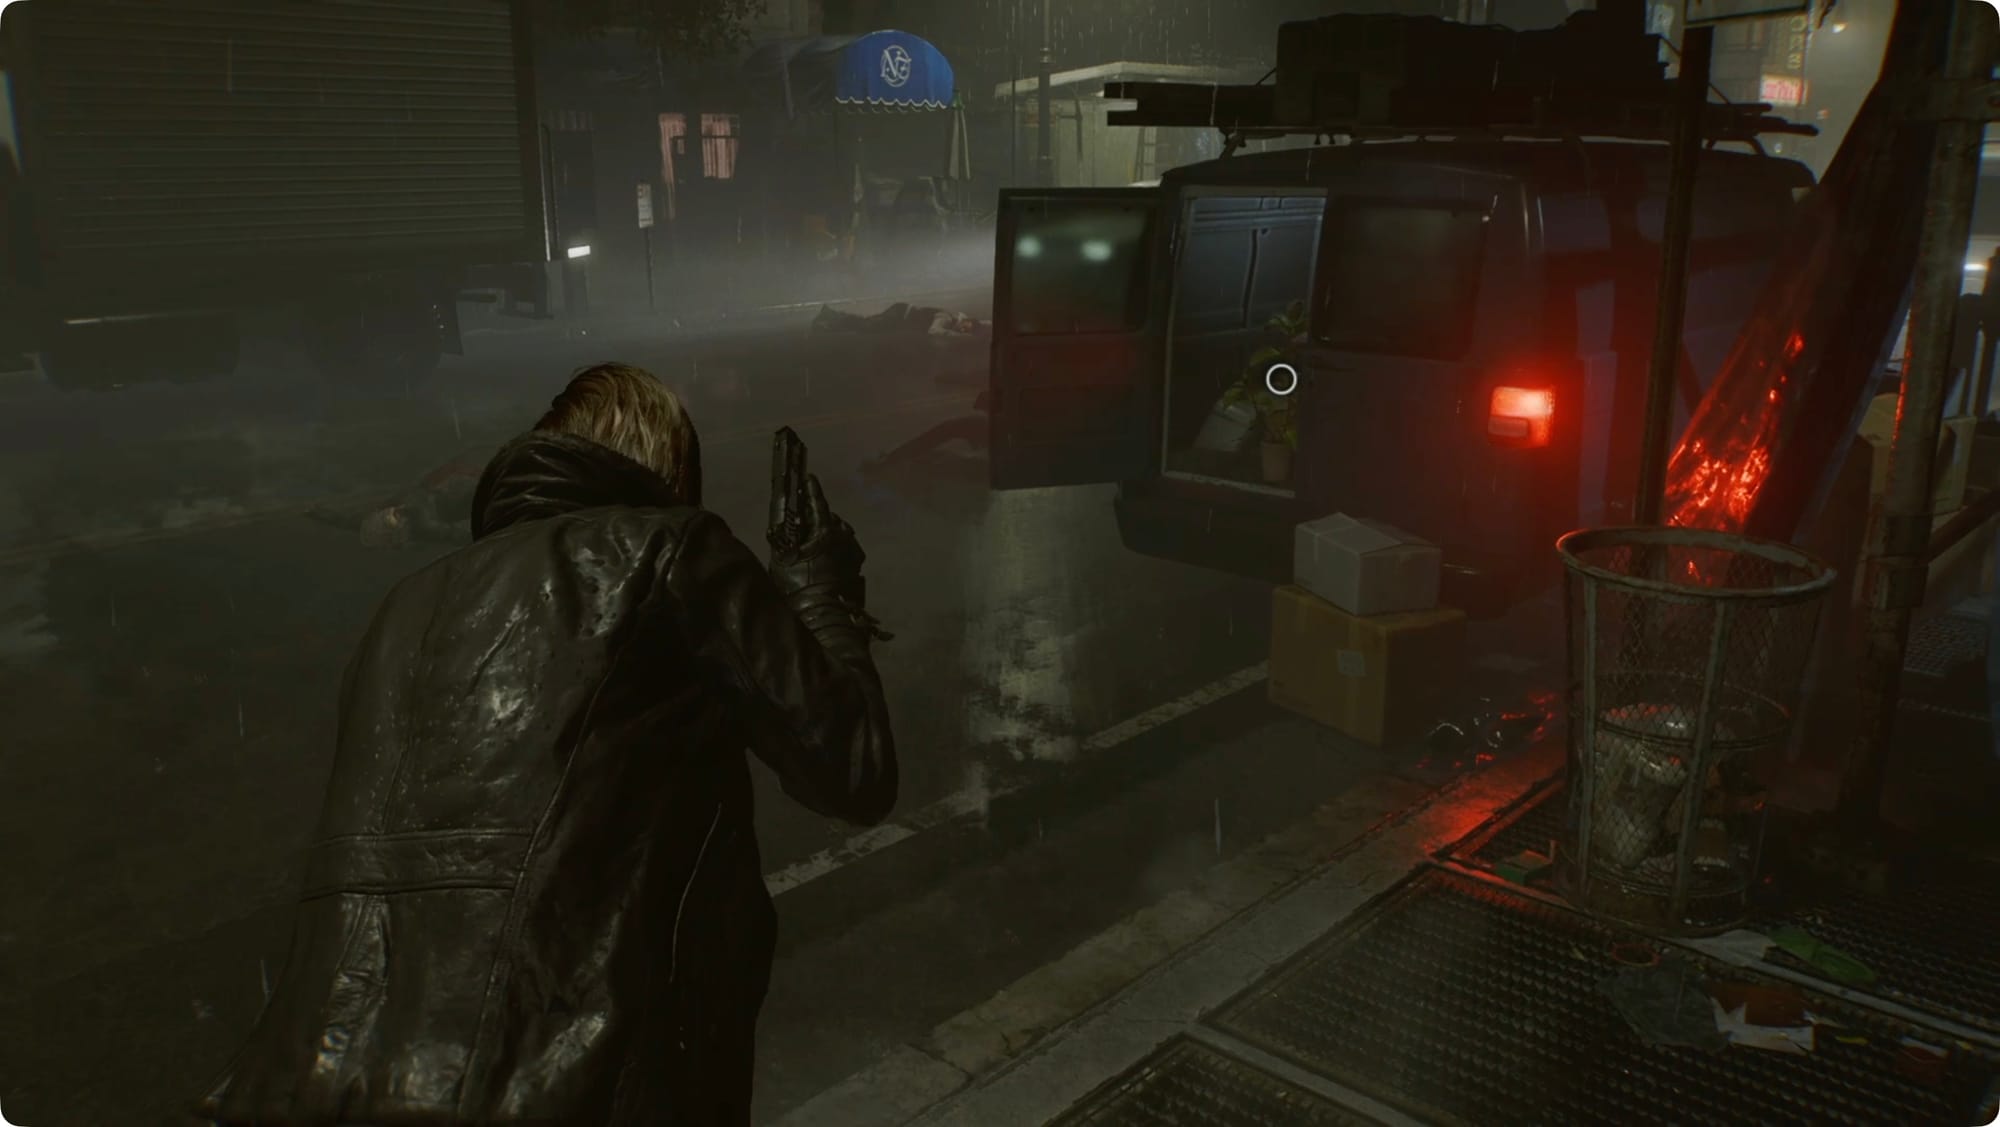
Once you cross the street, watch for a Green Herb in the back of a van along the right side of the road. Keep fighting your way forward until you get the prompt to equip Requiem — it’s a bad-ass revolver.
A bit more shooting later, you'll finish the action sequence and switch back to Grace.
Grace — Care Center
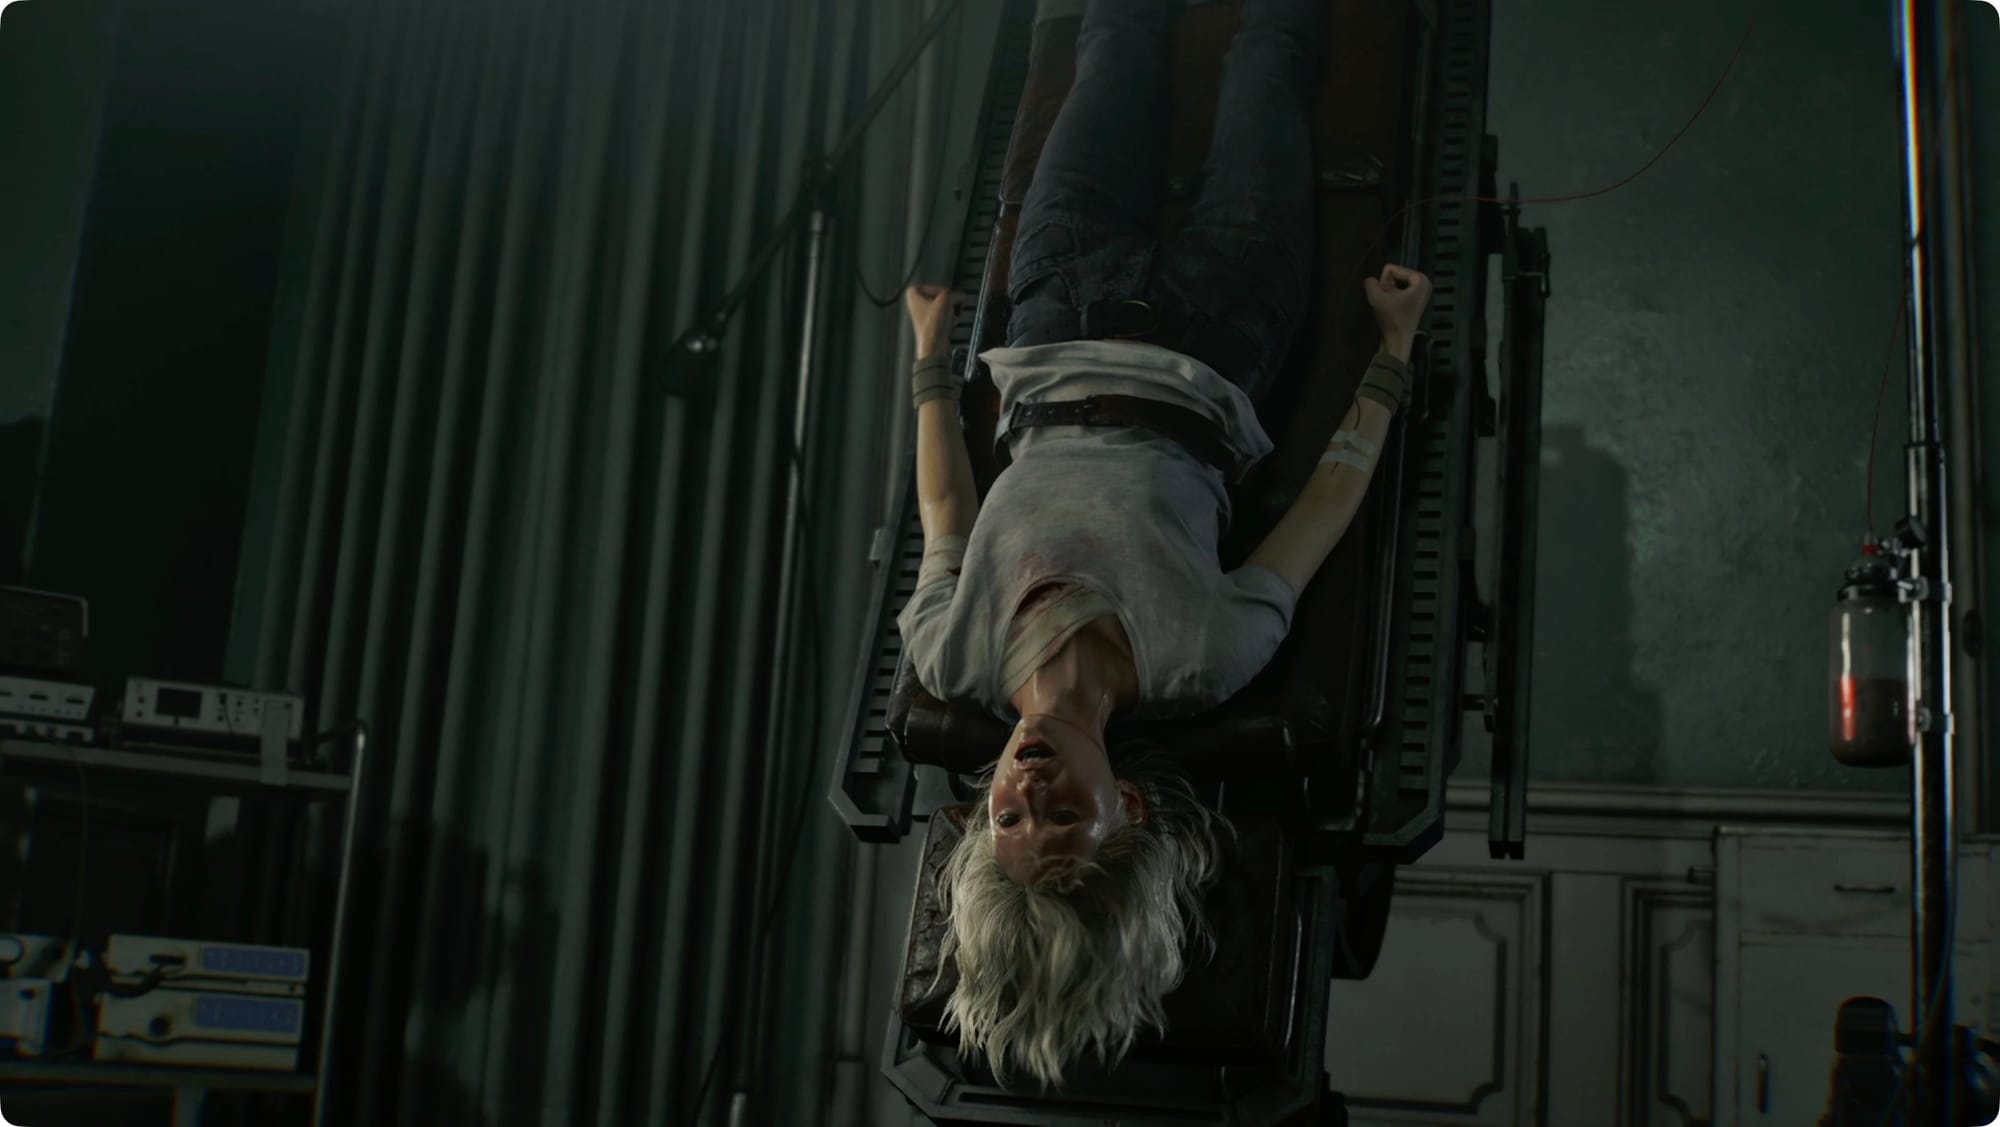
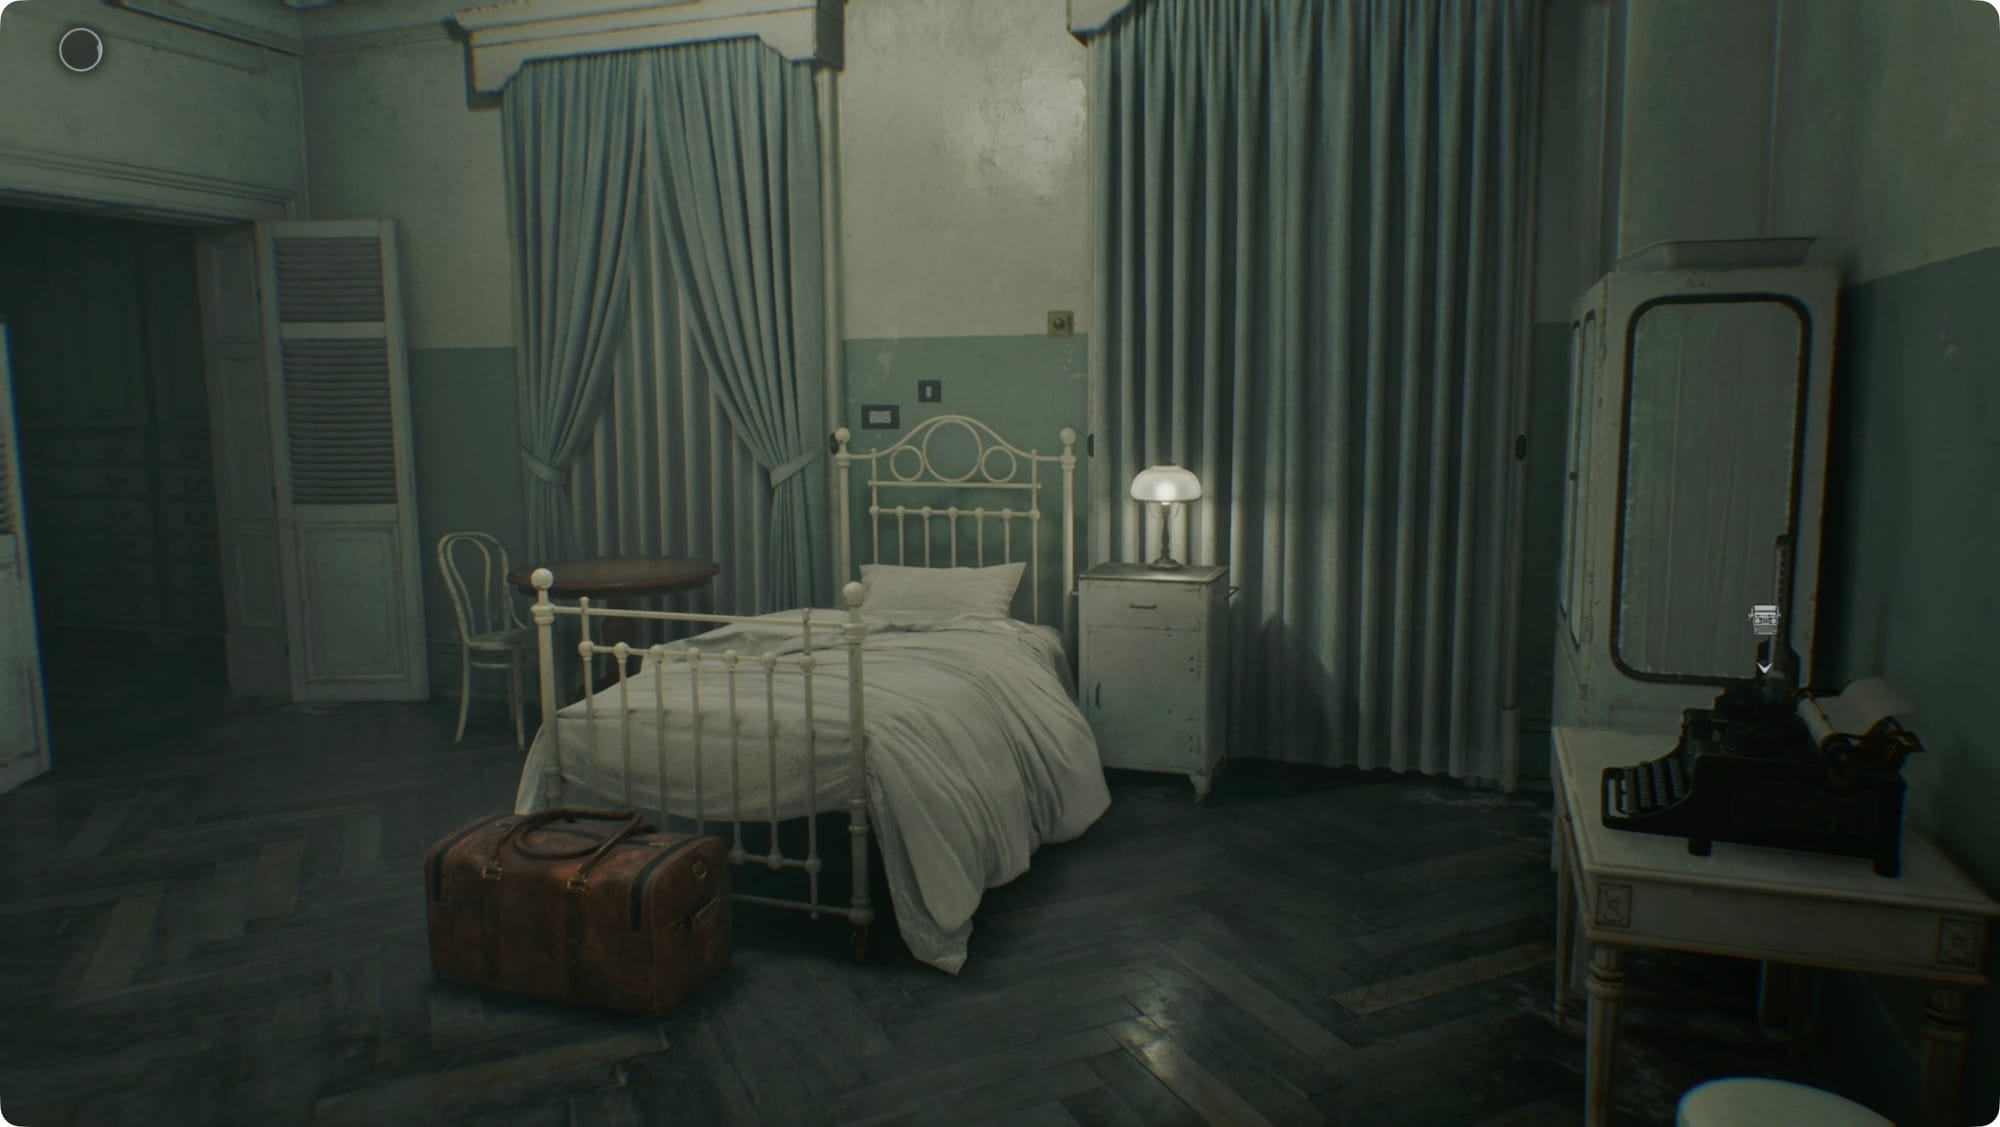
Back with Grace, you’ll wake up upside-down in an exam room. After another product placement (her watch), you’ll gain control.
Check the IV and the monitors next to your bed(inversion table?), and then grab the Progress Notes from the table next to the chair in the middle of the room.
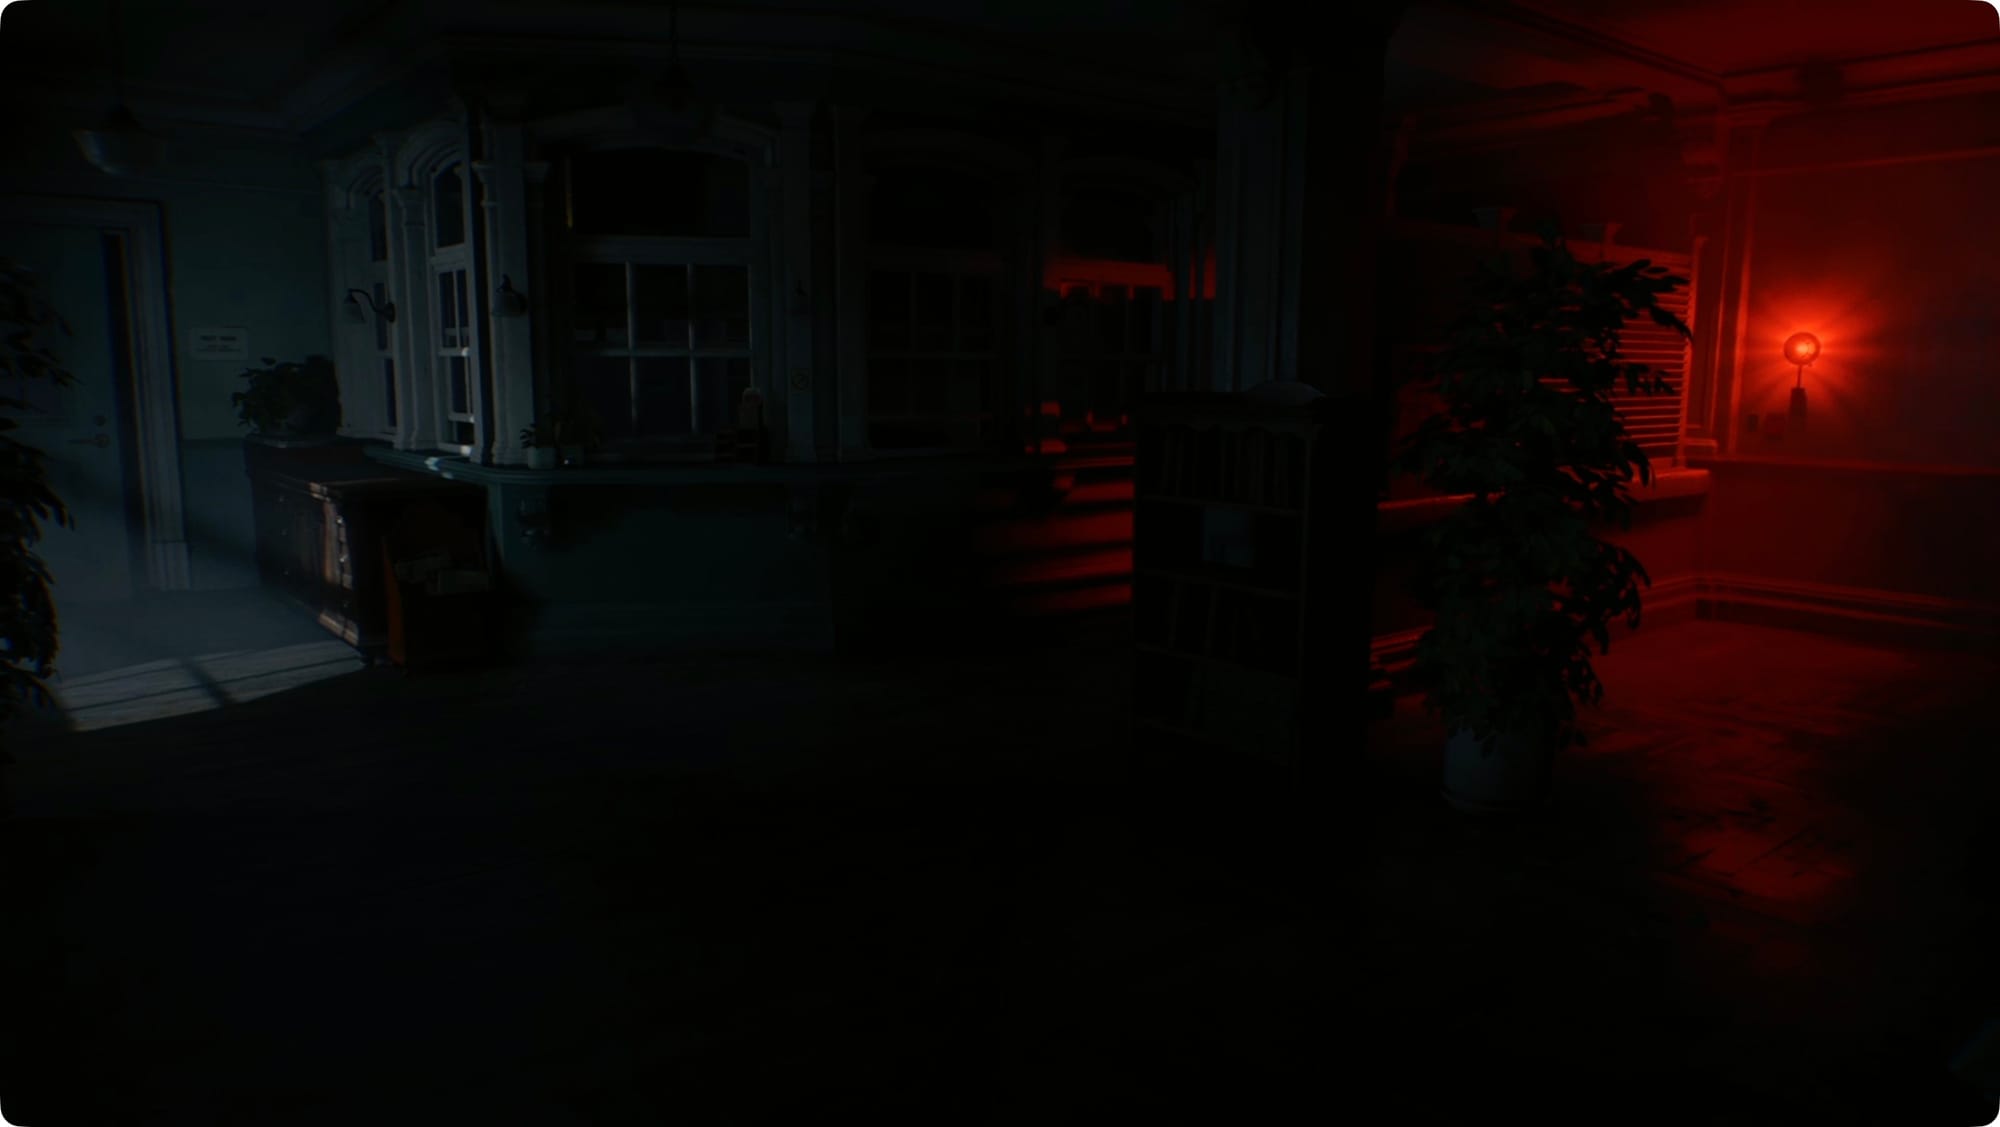
You don’t have your flashlight or gun, so just head out into the dark hallway. It’s too dark to do much (and you can’t interact with things you can’t see). Follow the hall to the reception area and keep crossing it straight to the prep room. Push through the door, and flip the switch inside. The light is mostly useless, but keep heading inside.
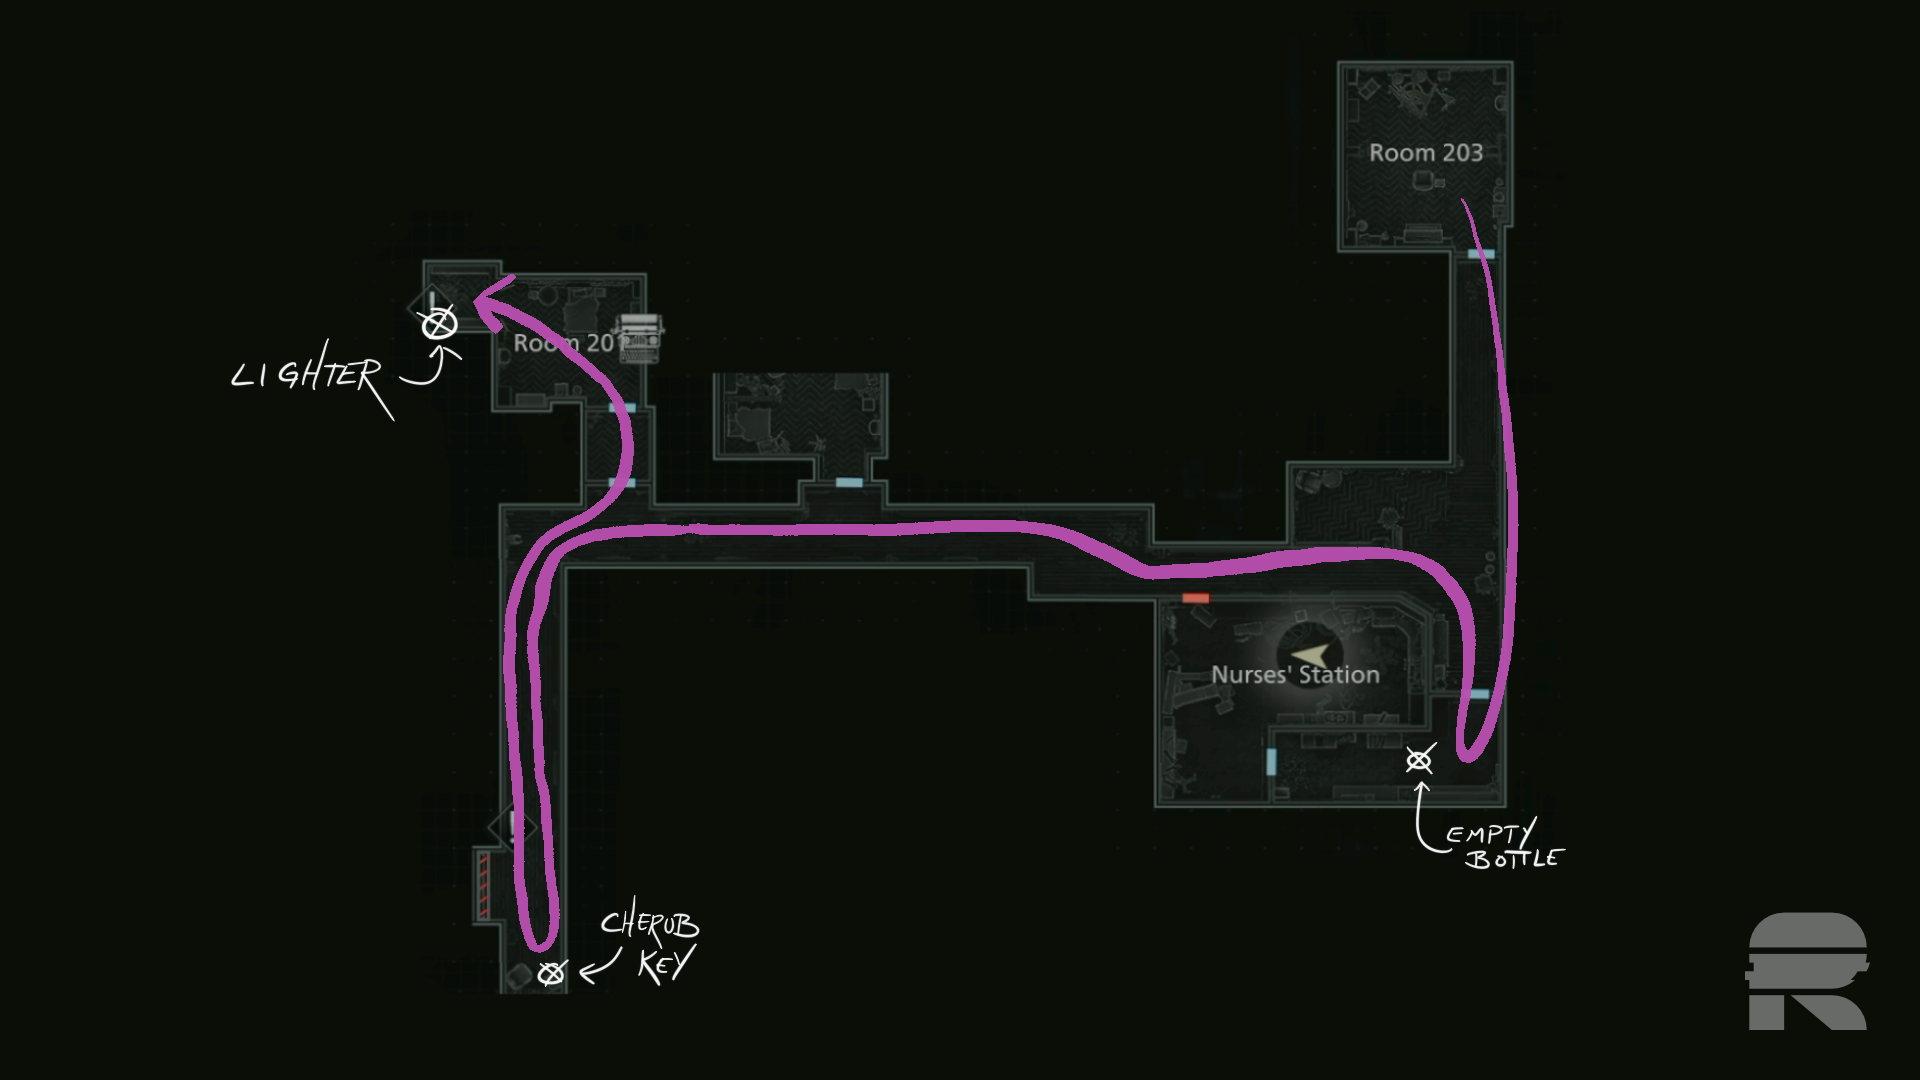
There’s a quick noise jumpscare, and you can pick up the Empty Bottle. That’s all we can do in here for now.
Head back into the reception area and follow the long, dark hallway. At the dogleg, flip on the light and then keep heading toward that terrifying horse statue. Room 202 is open, but the light switch doesn’t work, so you can skip it for now. The next door on the right is the Cherub Relief Door which I’m sure we’ll be back to shortly.
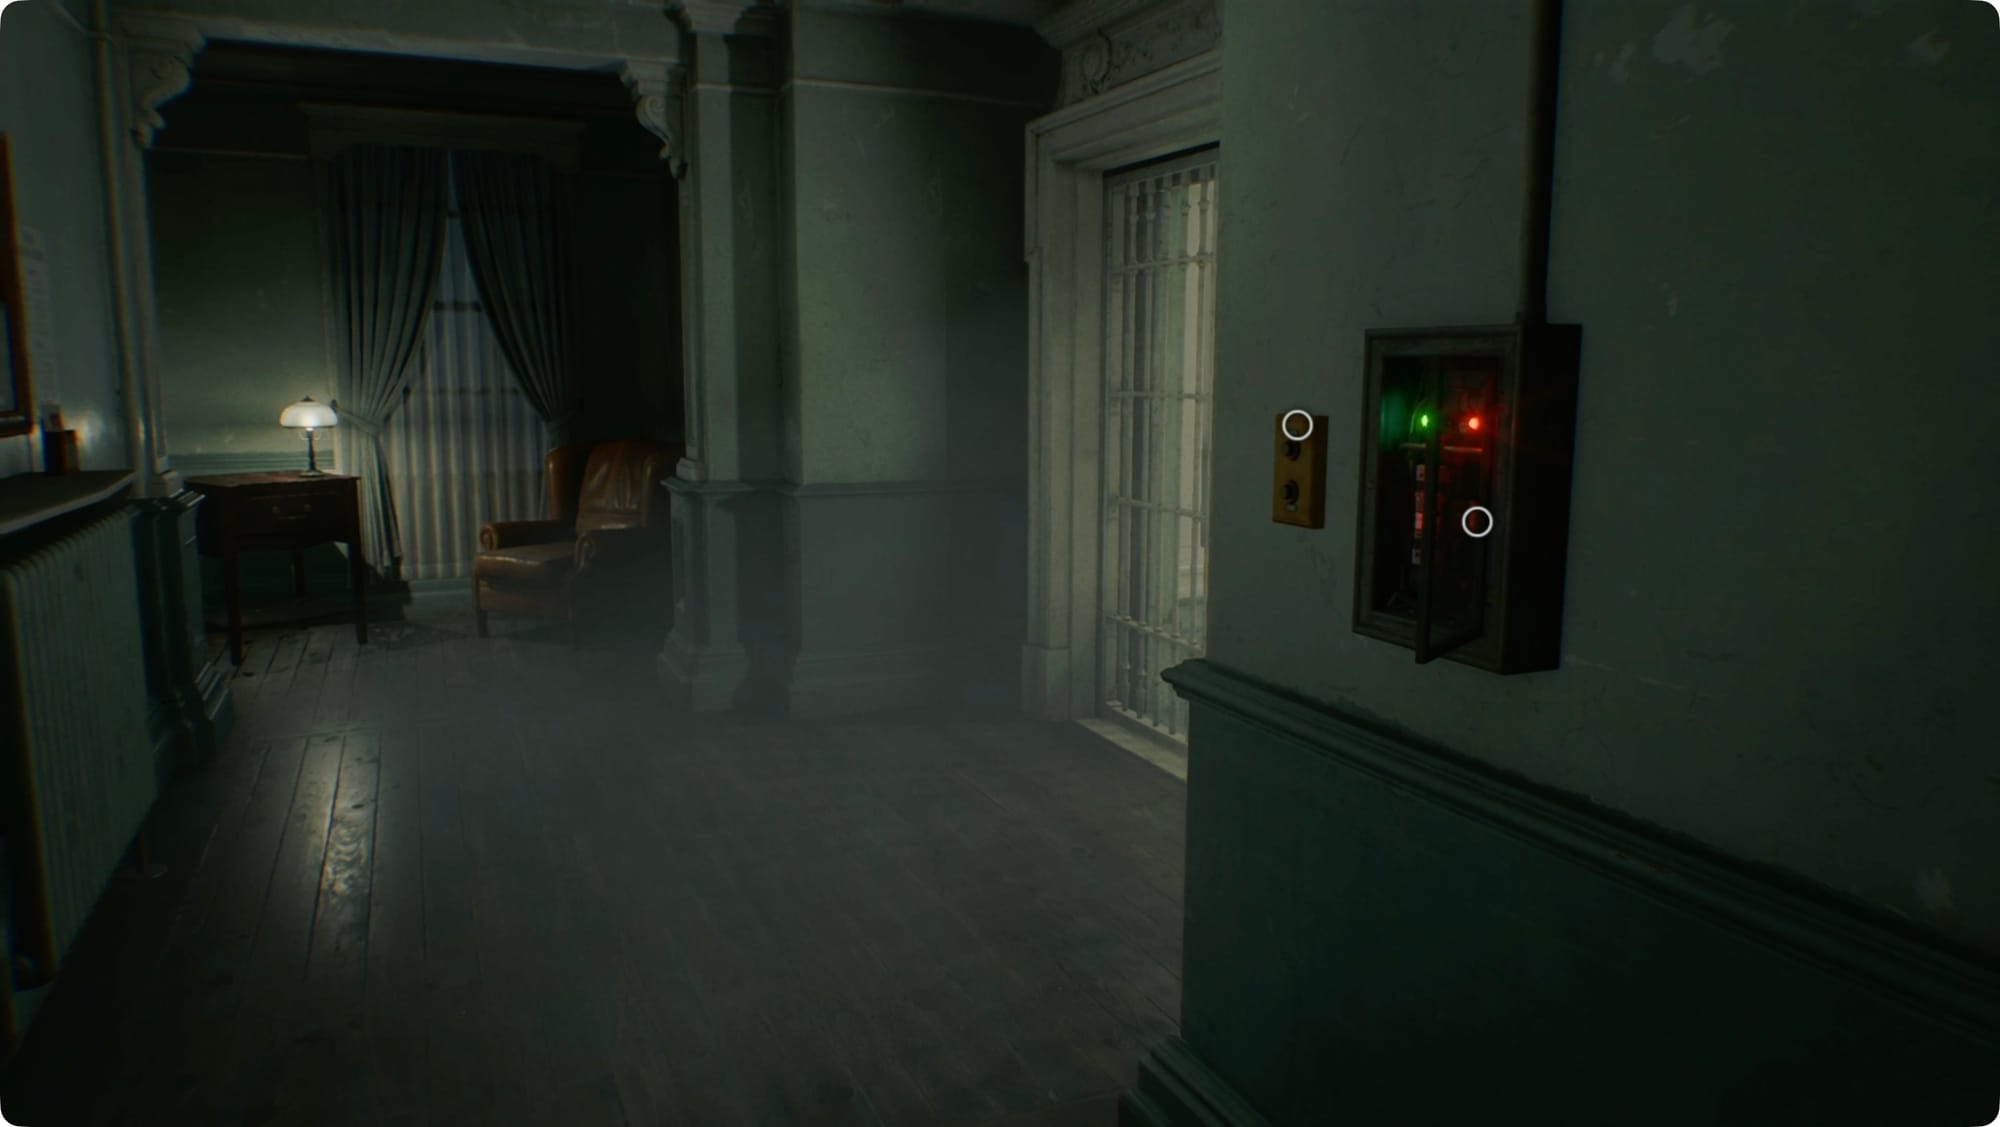
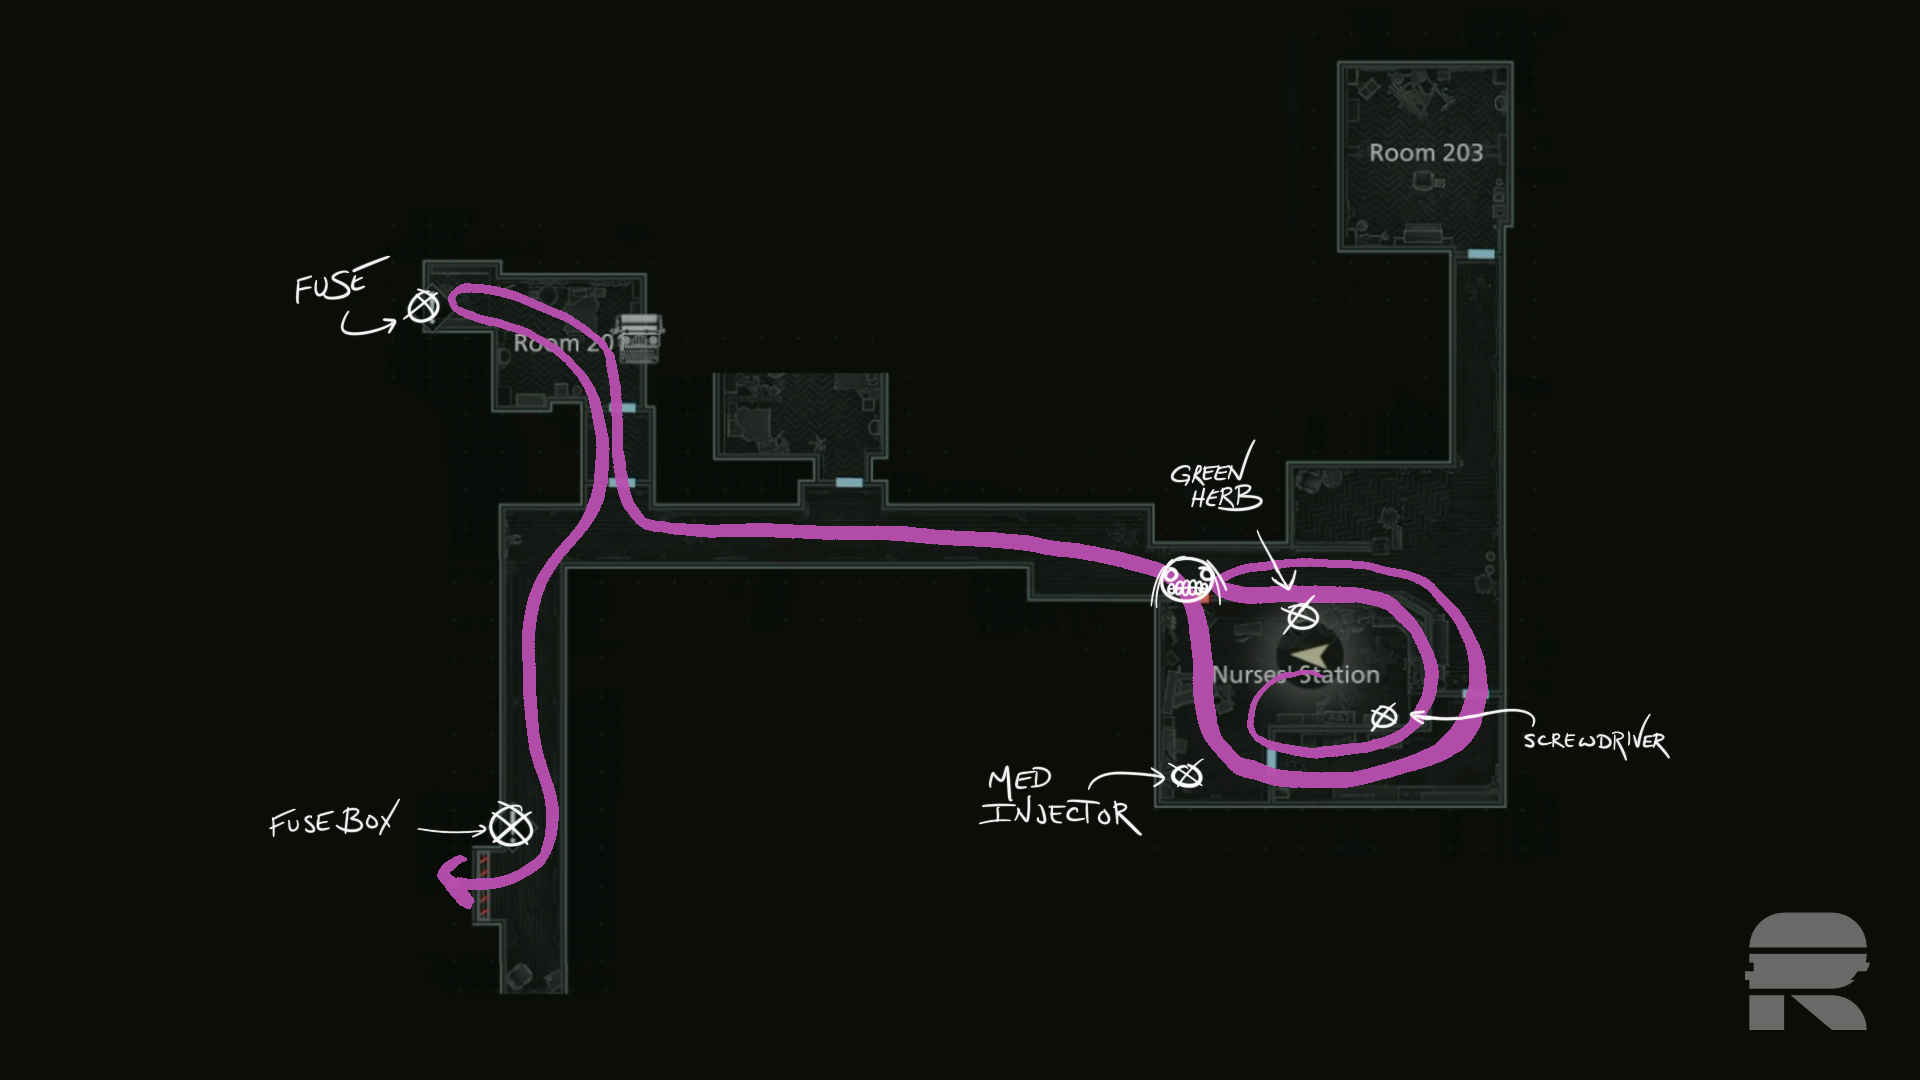
Take the left at the statue of Death, and keep following the hallway to a Fuse Box that’s missing a fuse. Continue past it to the chair and table at the end of the hall. Open the drawer for the Cherub Key.
Room 201
Take the key back to the Cherub Relief Door and open it.
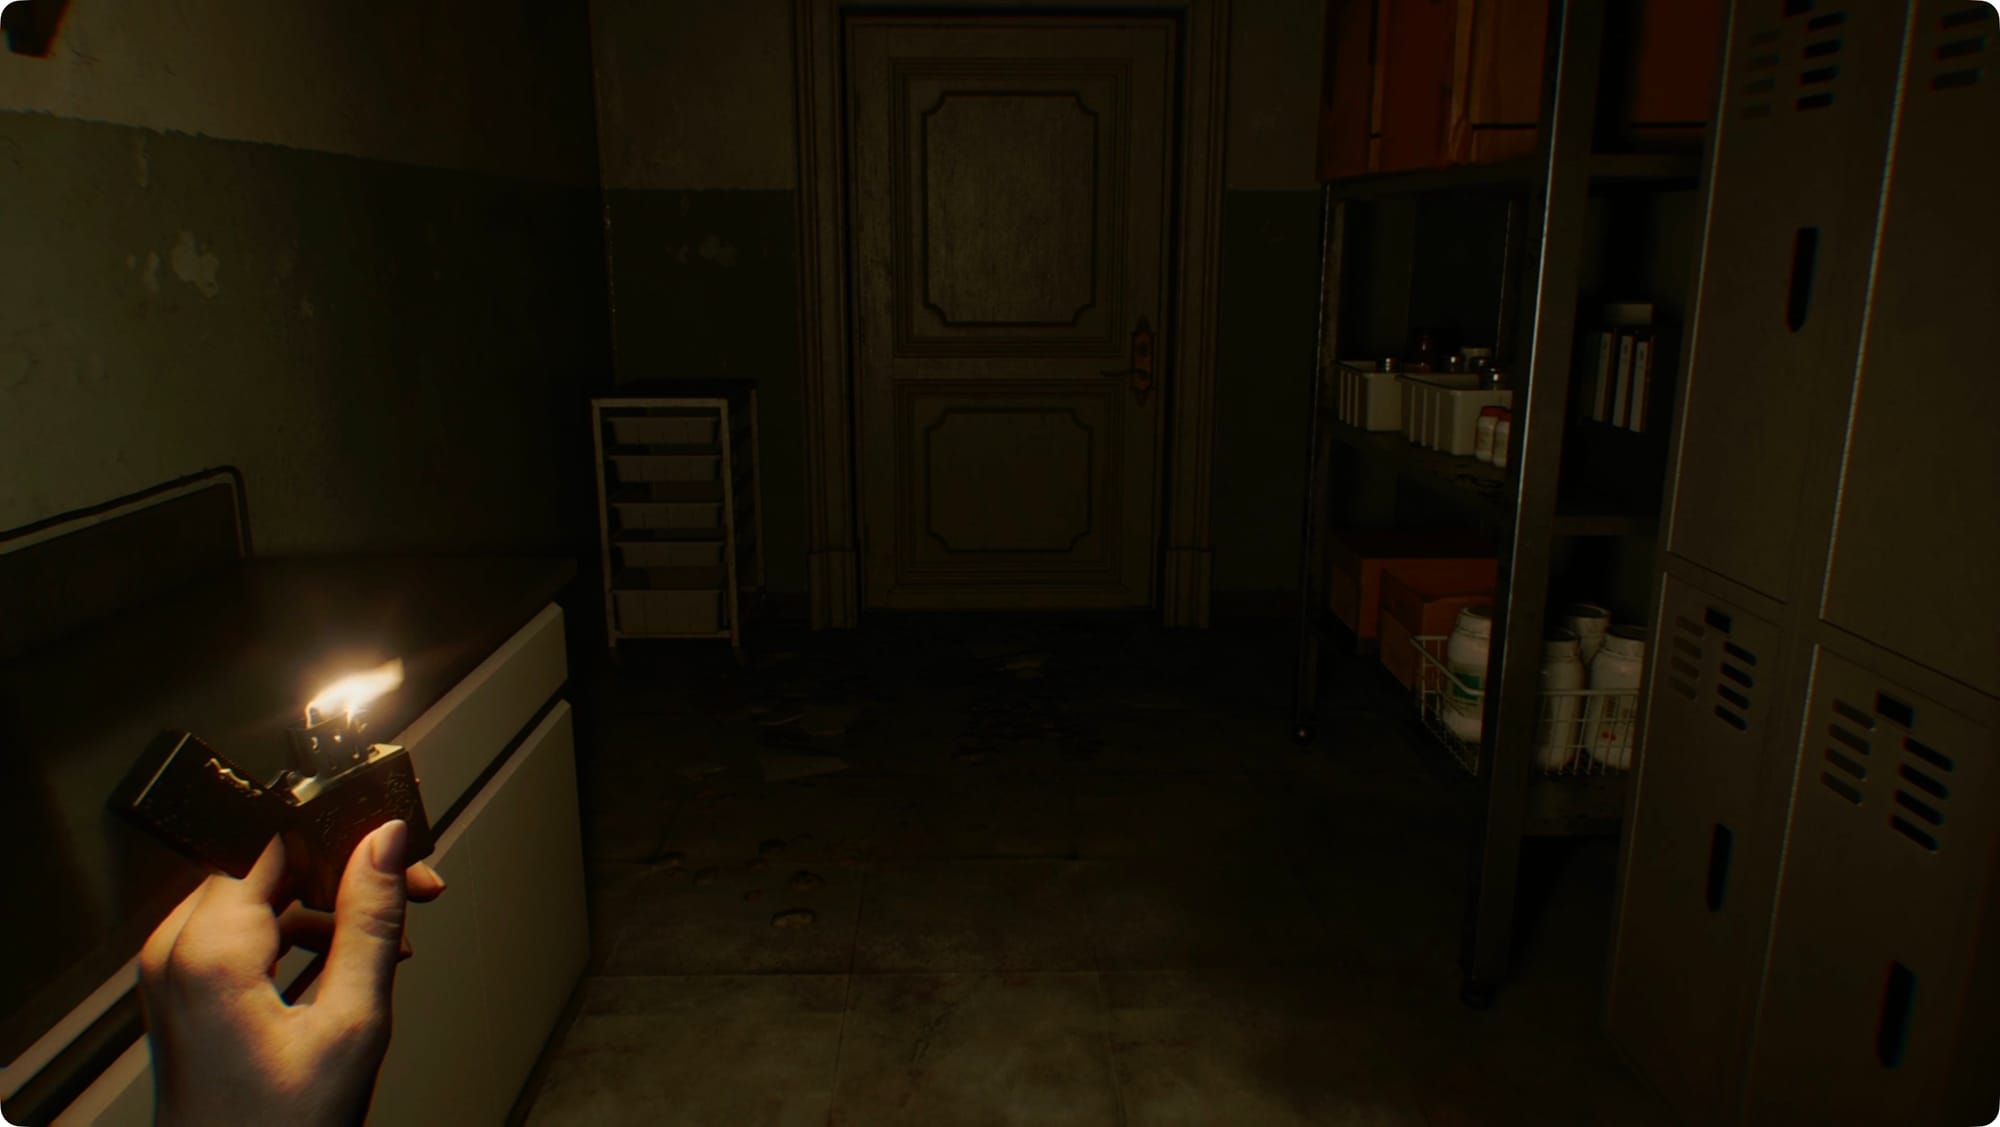
Inside, you’ll find your first typewriter save point. Open the wardrobe (armoire?) in the corner for another Empty Bottle and head through the open doorway by the sink.
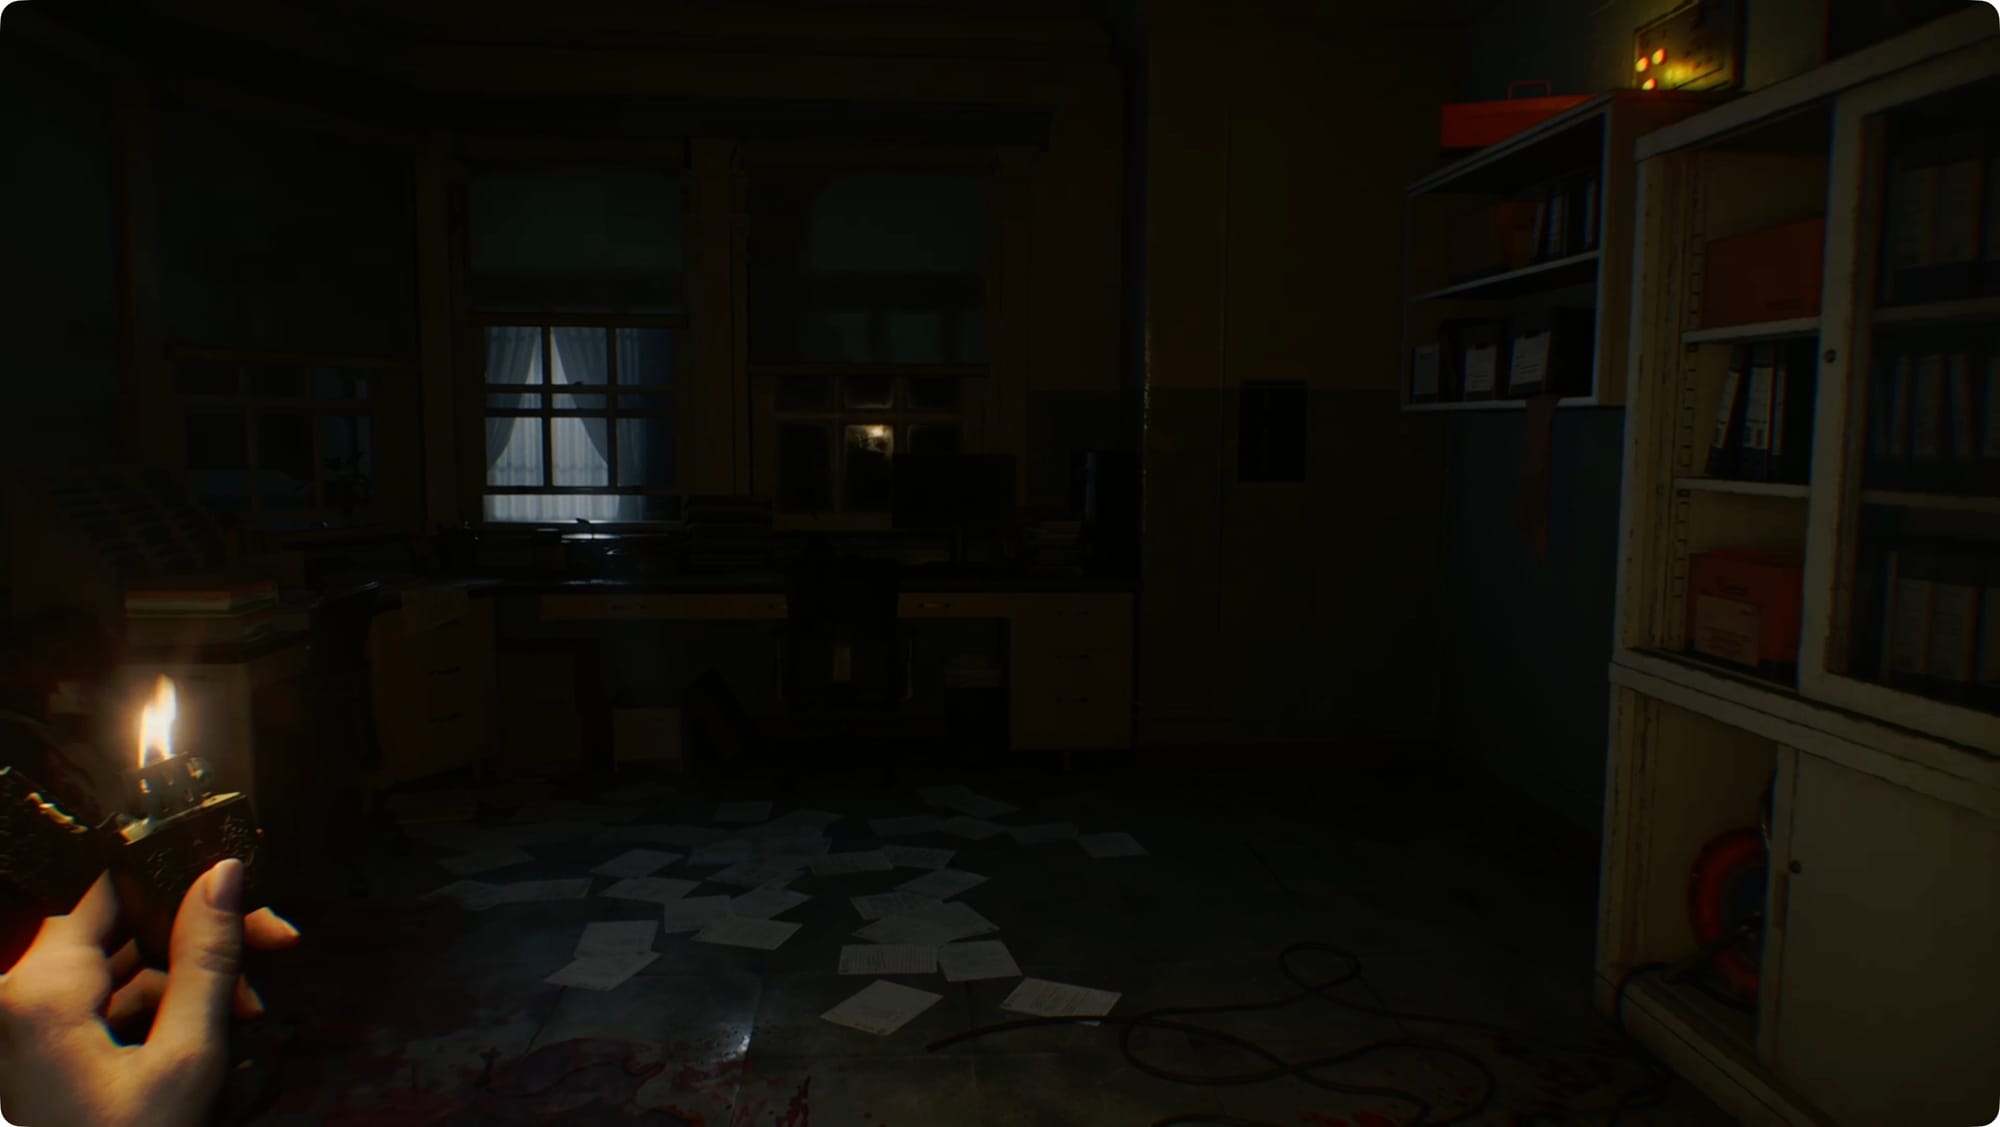
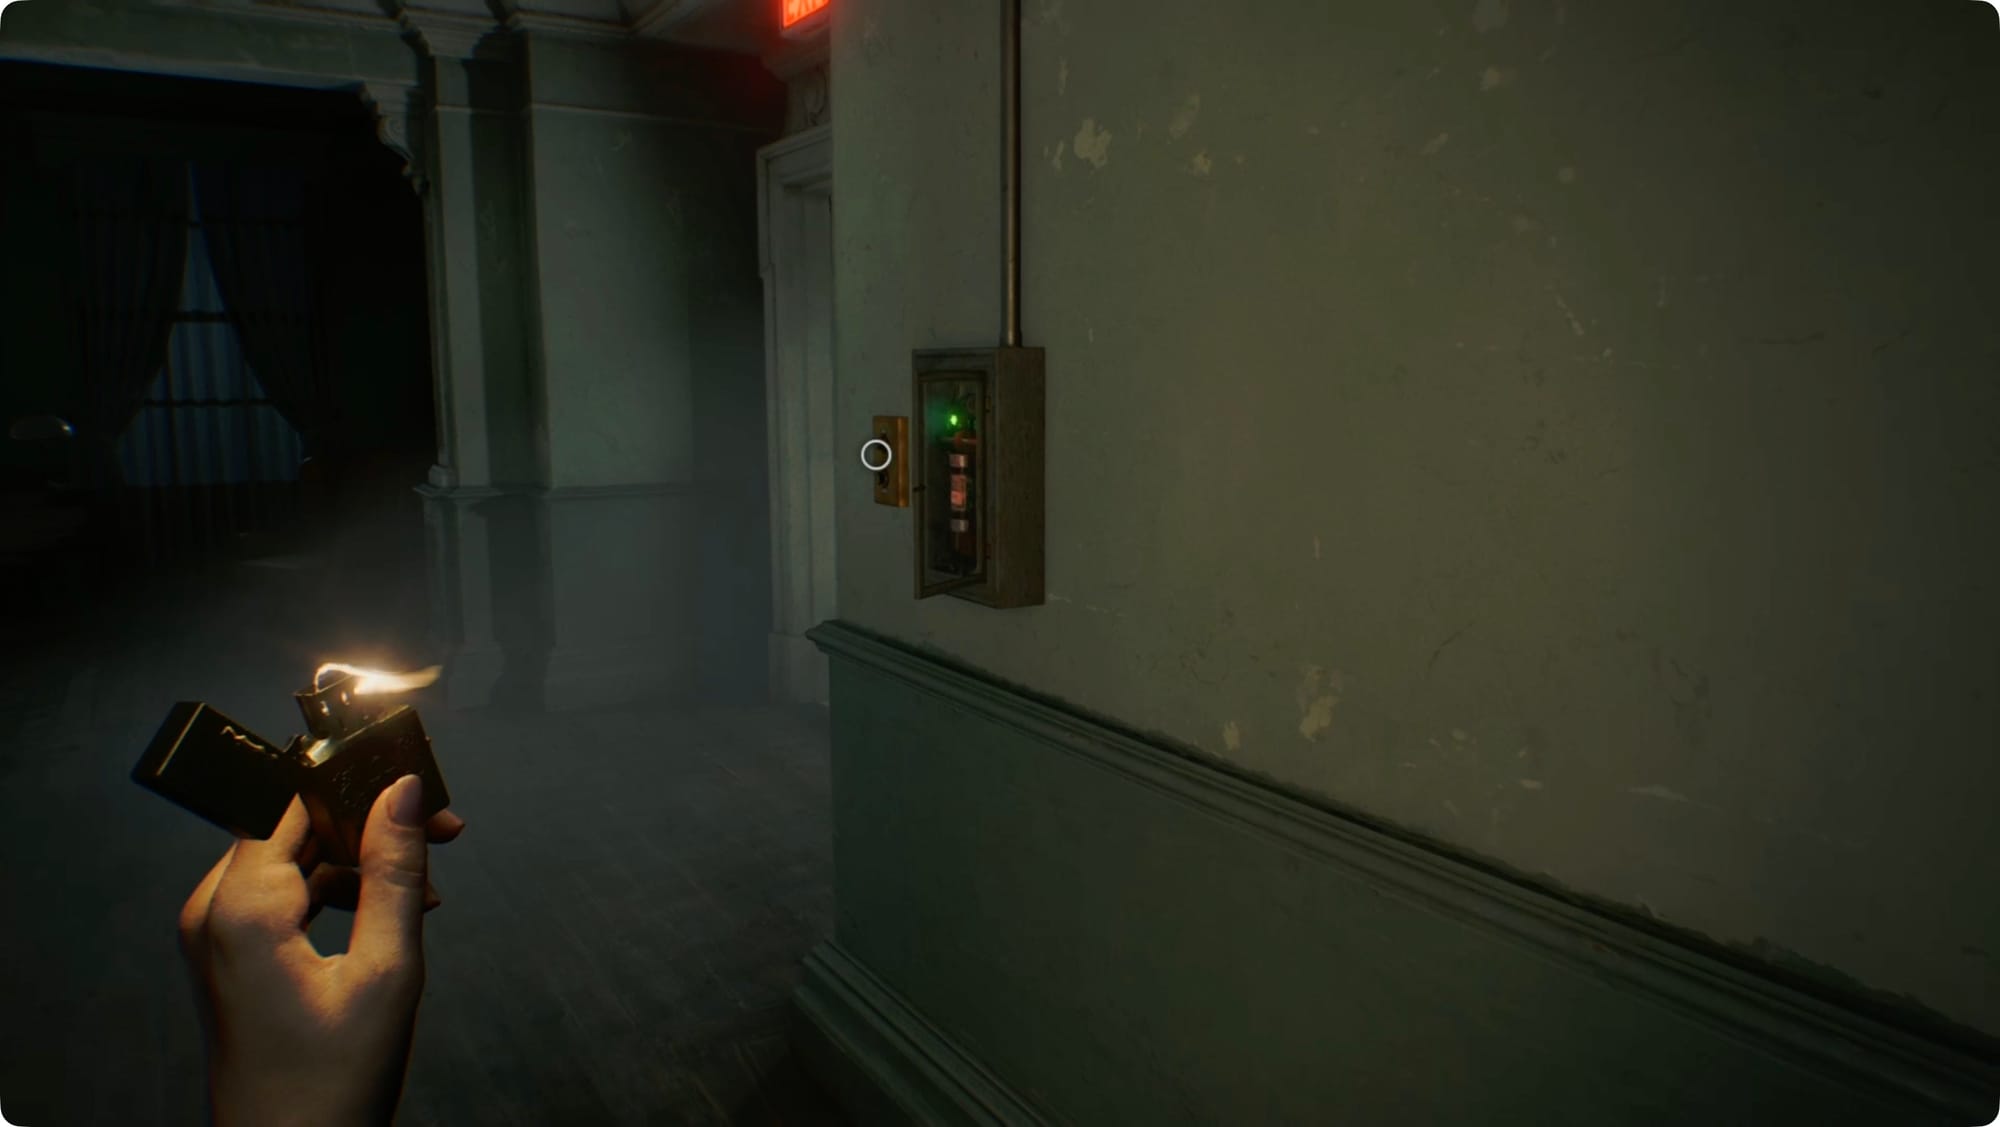
Grab the Lighter from the shelf on your left. You can’t get at the fuse yet, so head back to the hallway and turn left. Go back to room 202.
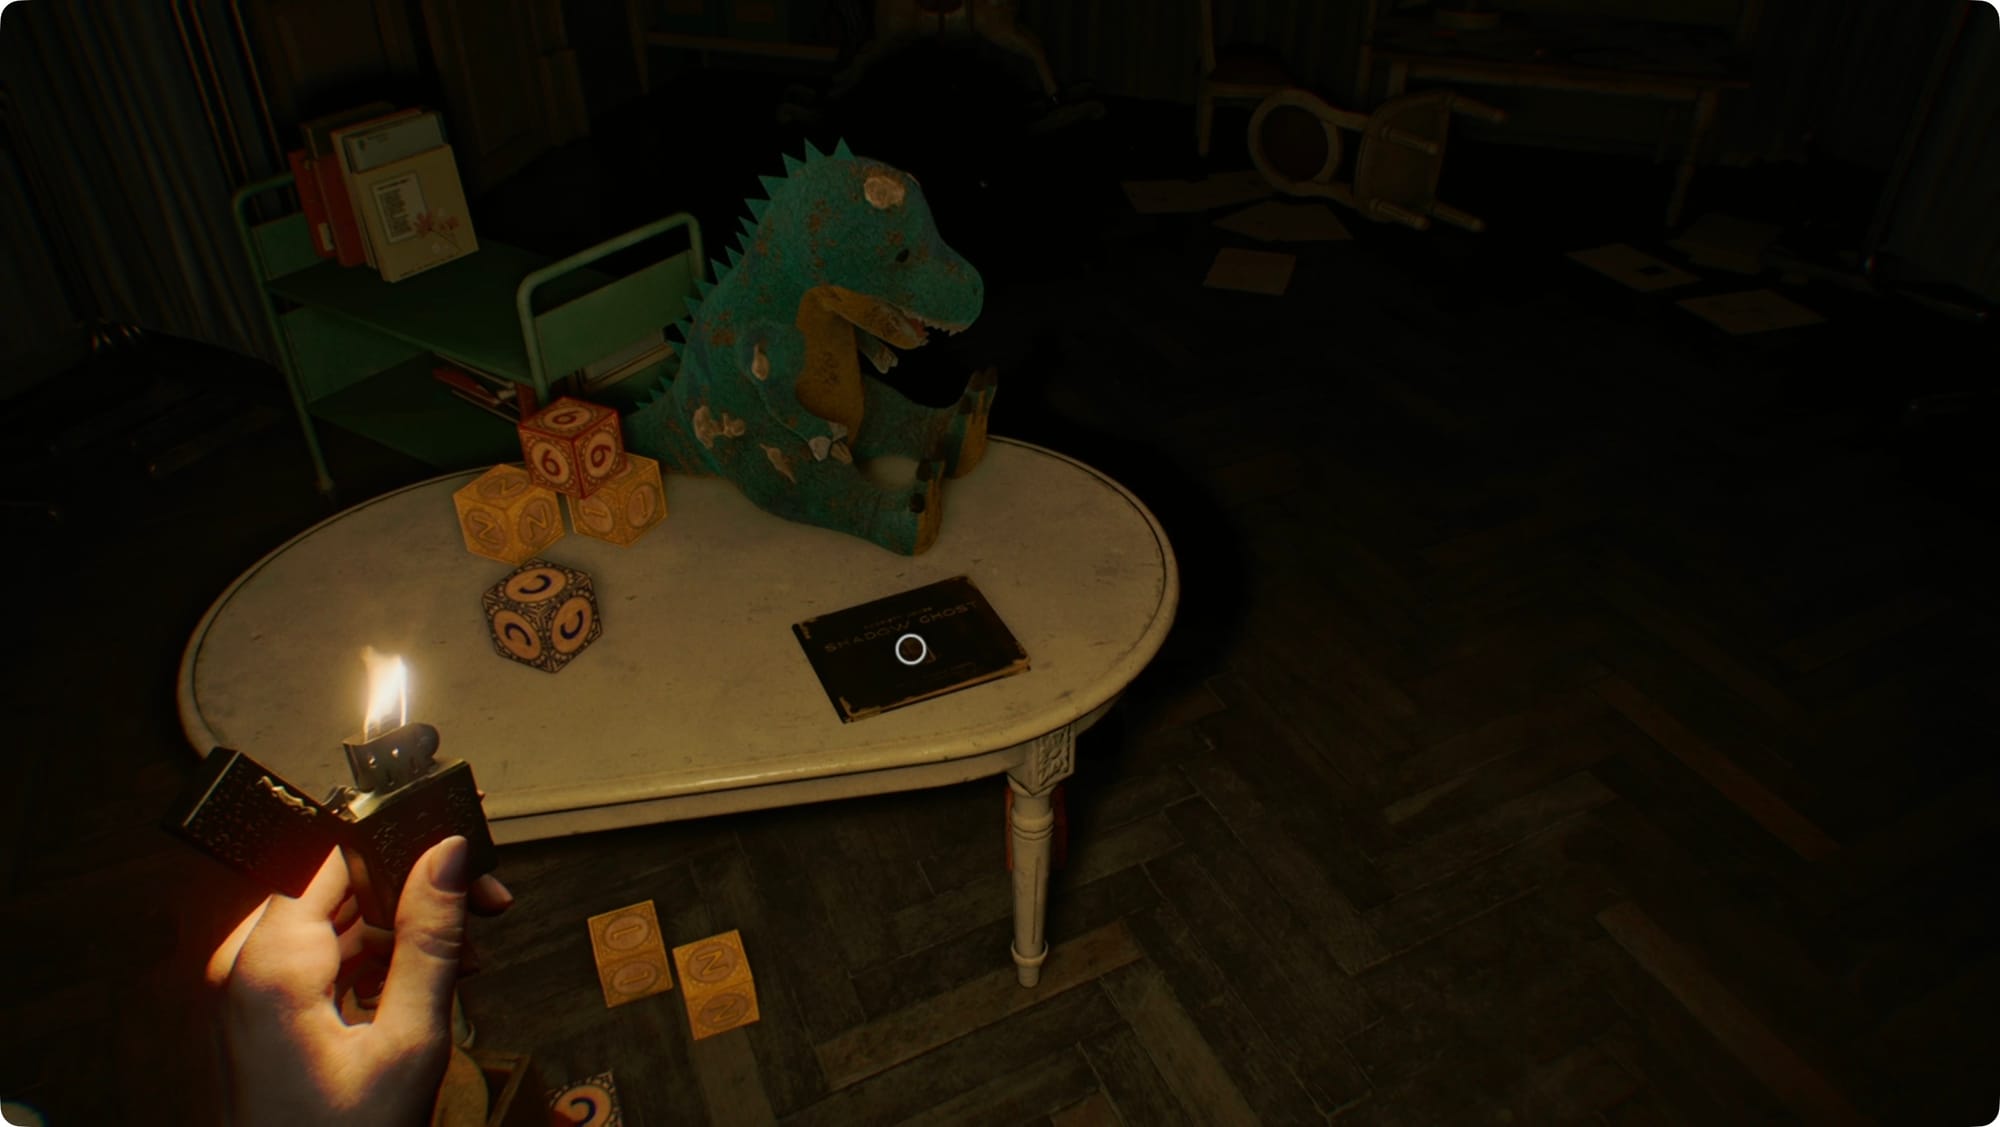
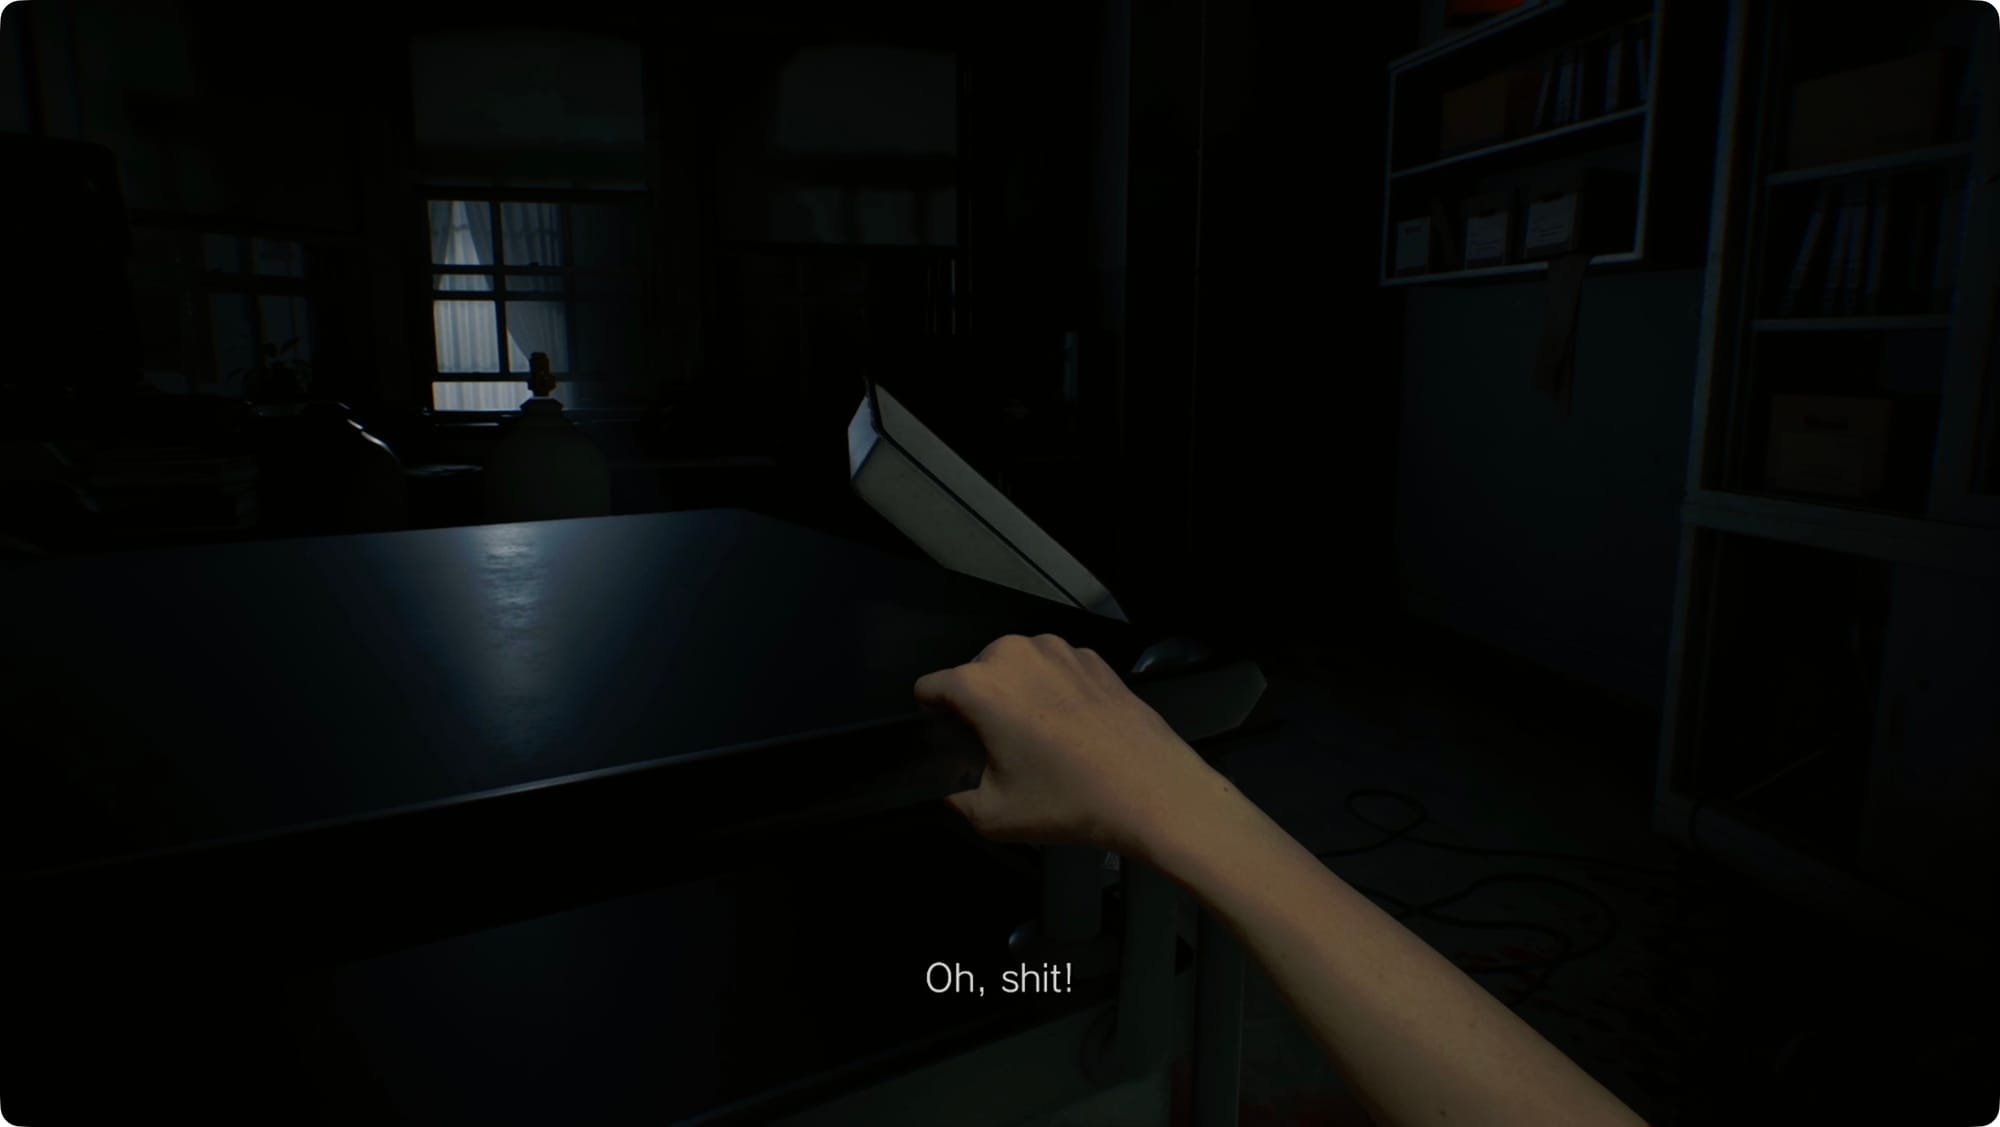
Inside, use the Lighter to see. Read the Shadow Ghost book on the table (and then regret it) and check the drawing at the back of the room (and regret that too). Open the closet to the left.
Read the Note on Cardboard Box to find out where to find a screwdriver.
It's worth it to go back and save — this next section sucks and you’ll probably have to replay it a few times. This is going to be your restore point (sorry).
Head all the way back down the hall and back into the prep room on the right. Head to the back and open the door there to make a new friend.
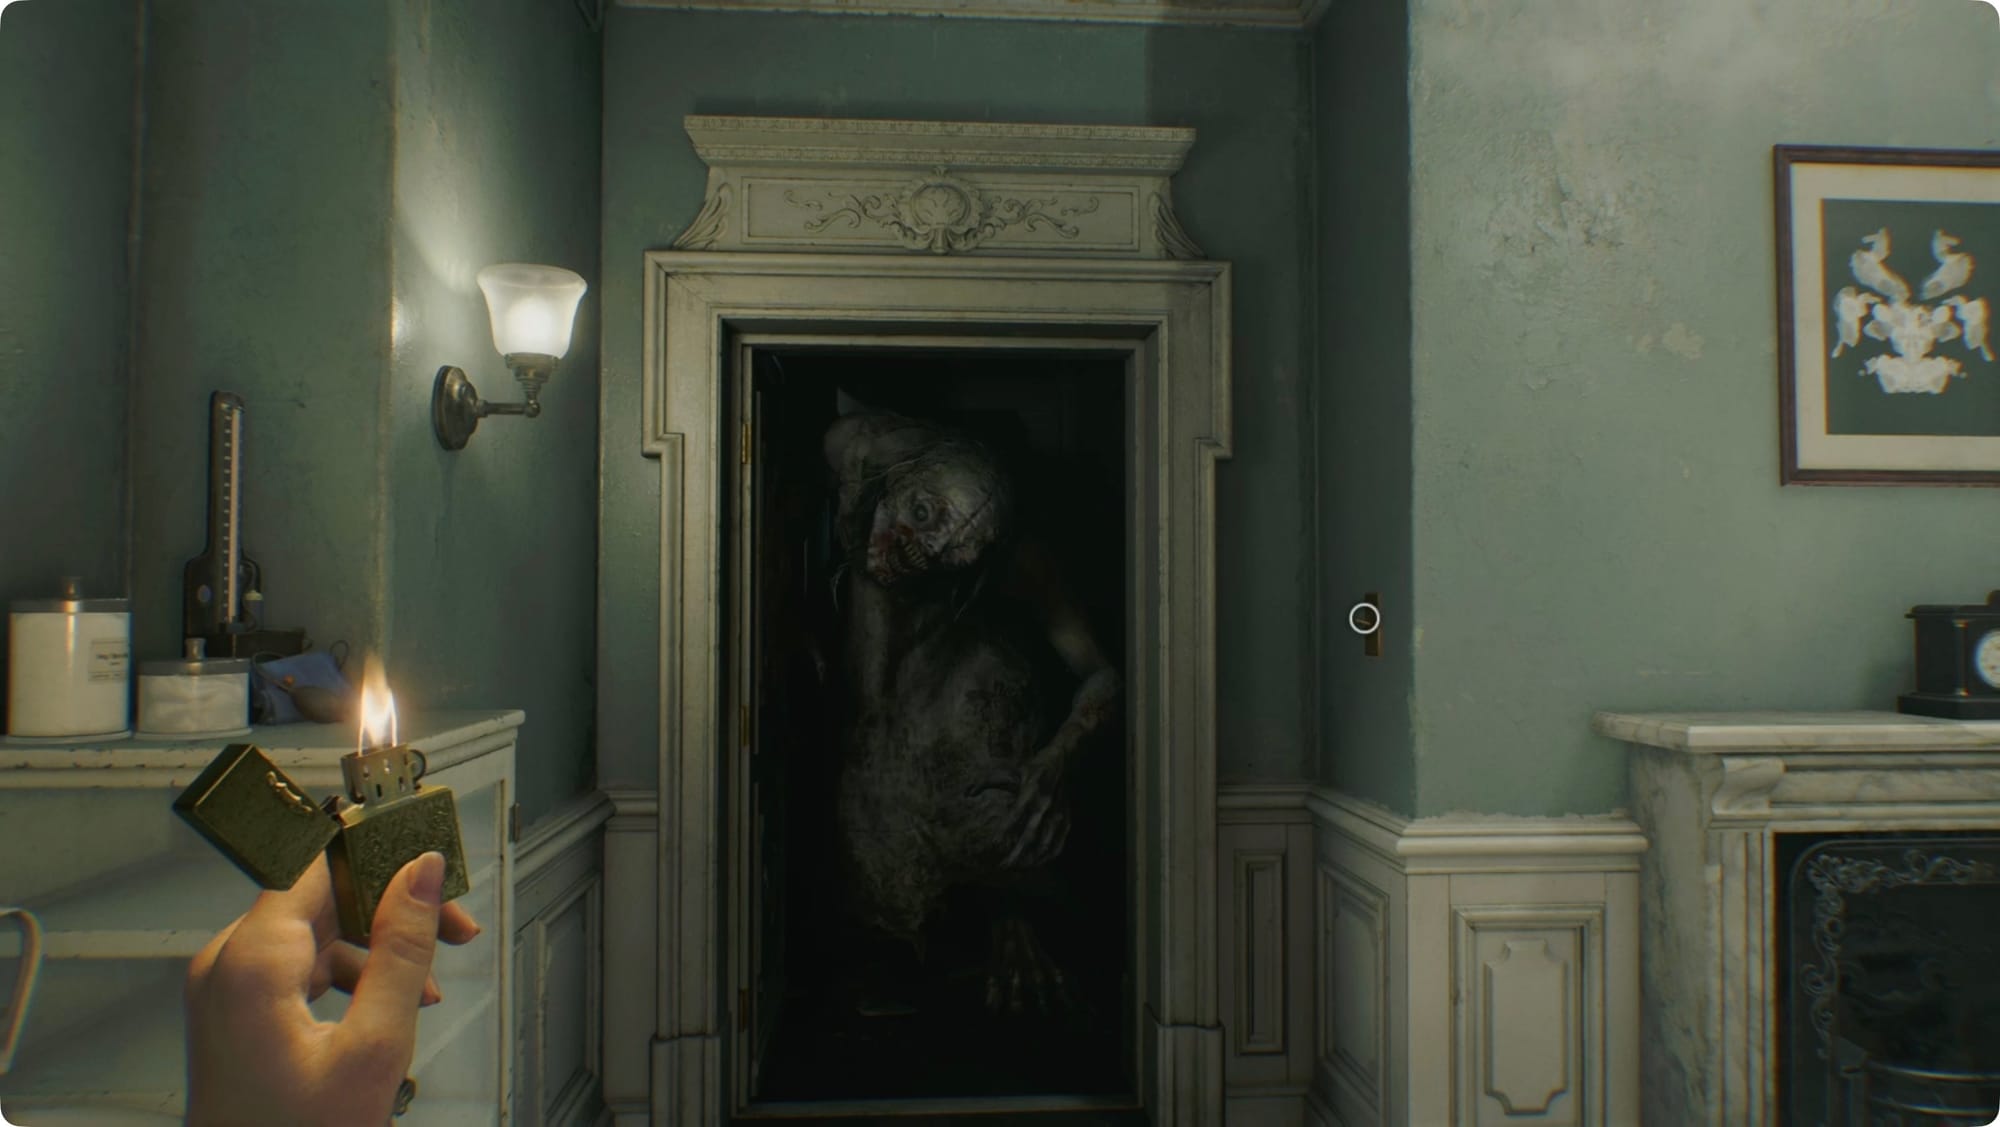
Your only goal for the next few seconds is to get to some light like that kid’s book said. Also, remember that back on the left thumbstick + B/◯ is a quickturn. Do that, and head through the door. Sprint (well, “sprint”) back across the reception area to Room 203 where you started this level.
The Girl will follow you, but get burned by the light and climb back into the ceiling.
Find the Screwdriver
Head back to the prep room and back through the door you just opened.
Grab the Med Injector from the corpse, and then turn right. If you pass through the tunnel in the debris ahead of you, you’ll make a little noise (more on this in a second). Follow the room around to find the toolbox on a shelf along the right wall, but you won’t be able to reach it.
On the opposite wall, there’s a cart. Go grab it, BUT be careful moving it. You have two options. One is a pain in the ass, the other is scary. The first is technically possible, the second is far more likely. Both require you to put away your lighter.
- You can just move the cart. But, if you make too much noise, The Girl will come eat your head. Bumping into anything will knock something off the cart. So will stopping abruptly. Start by moving it back for a few steps. Then, switch to moving it straight right. As you get to the middle of the room, mix in a little forward. Keep making small adjustments and small moves until you get the cart over by the toolbox.
- If (when) you knock something off the cart, you’ll hear The Girl start looking for you. Make sure you’ve passed through the debris tunnel at least once on your way back over to the door. Crouch and press yourself against the wall. You can’t actually get behind the door, but you’ll be out-of-sight enough that she’ll walk right past. When she gets to the other part of the room, crawl over into the debris tunnel and stay there. She’ll rage around for a minute, but she won’t uncover you. When she leaves, go move the cart over to the wall.
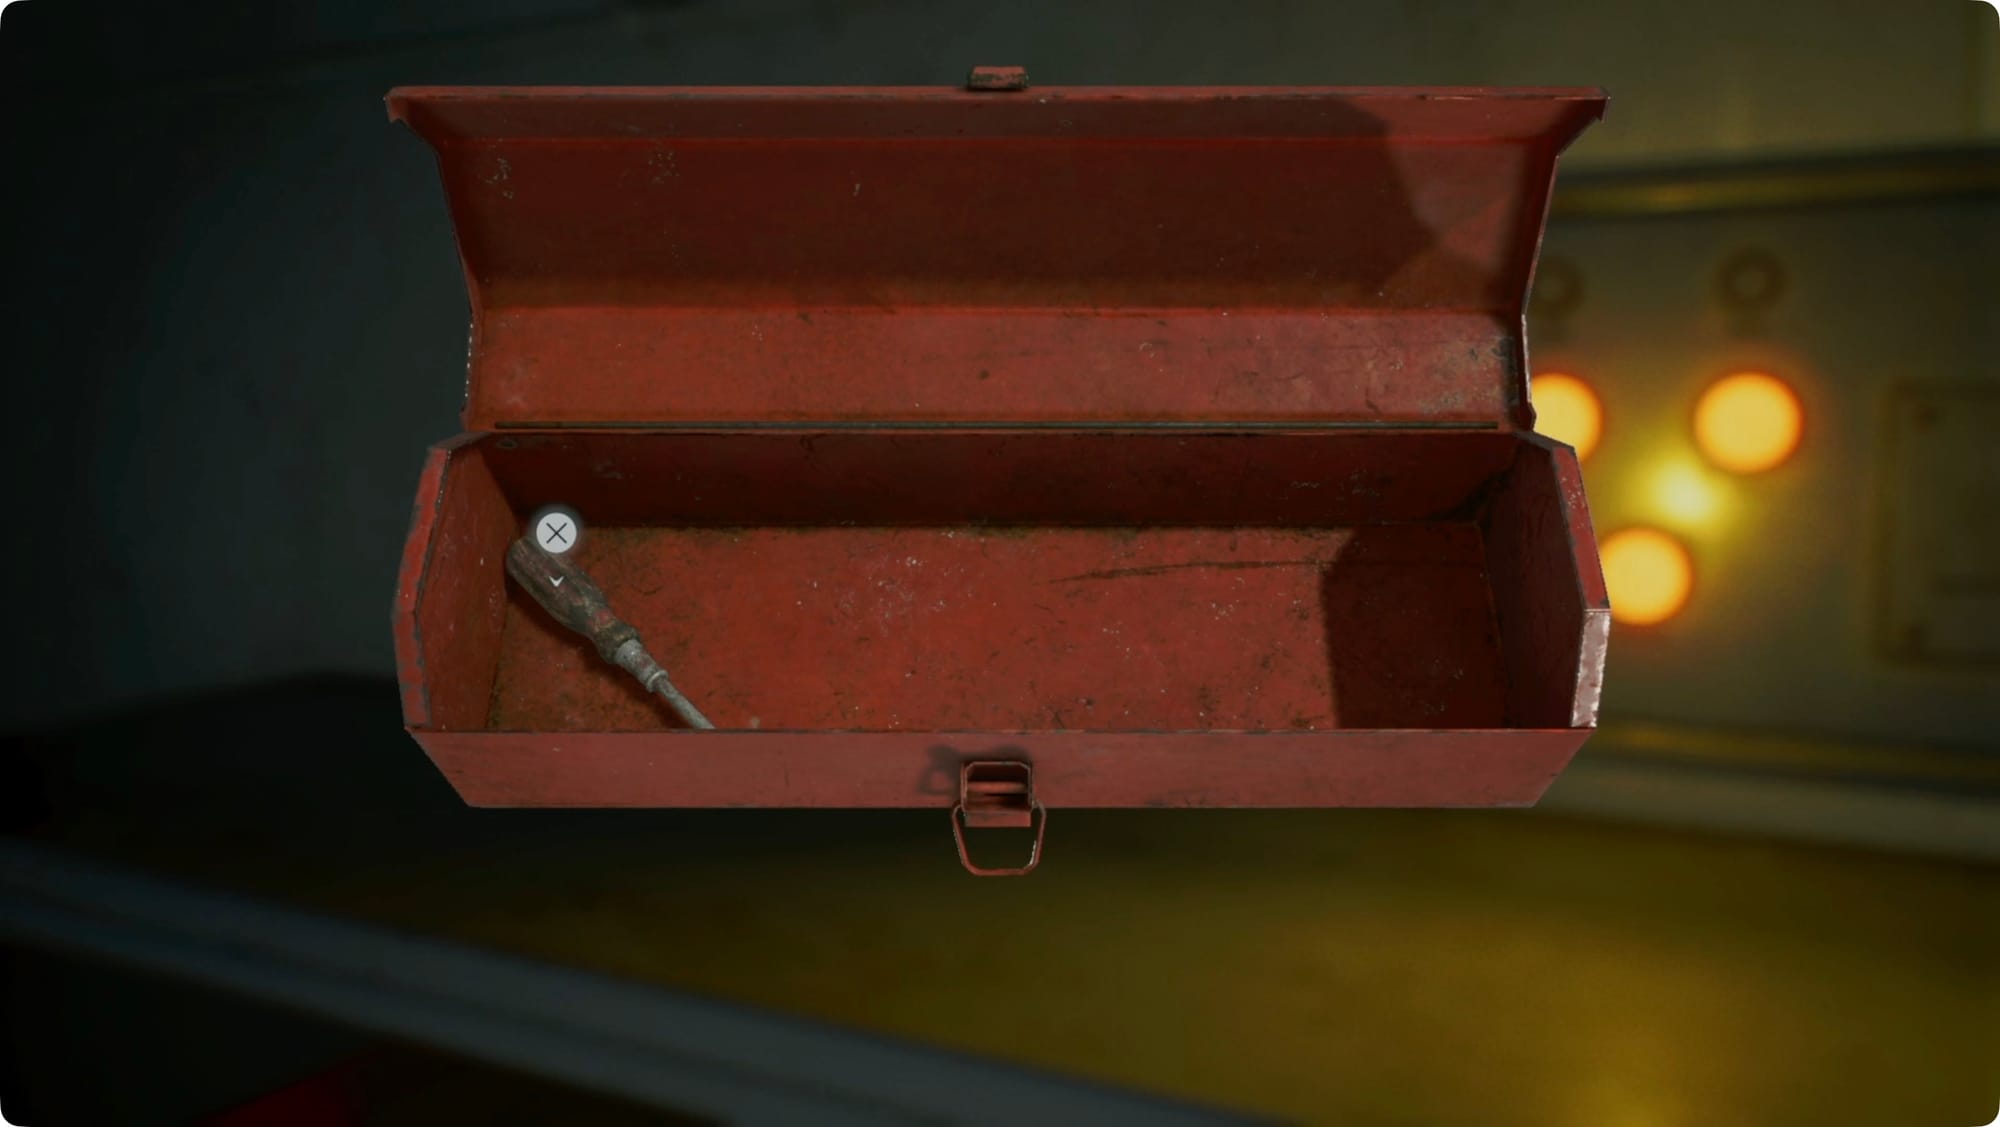
Climb up and open the toolbox for the Screwdriver.
Open the locker you just unblocked for a Green Herb.
Find a Fuse
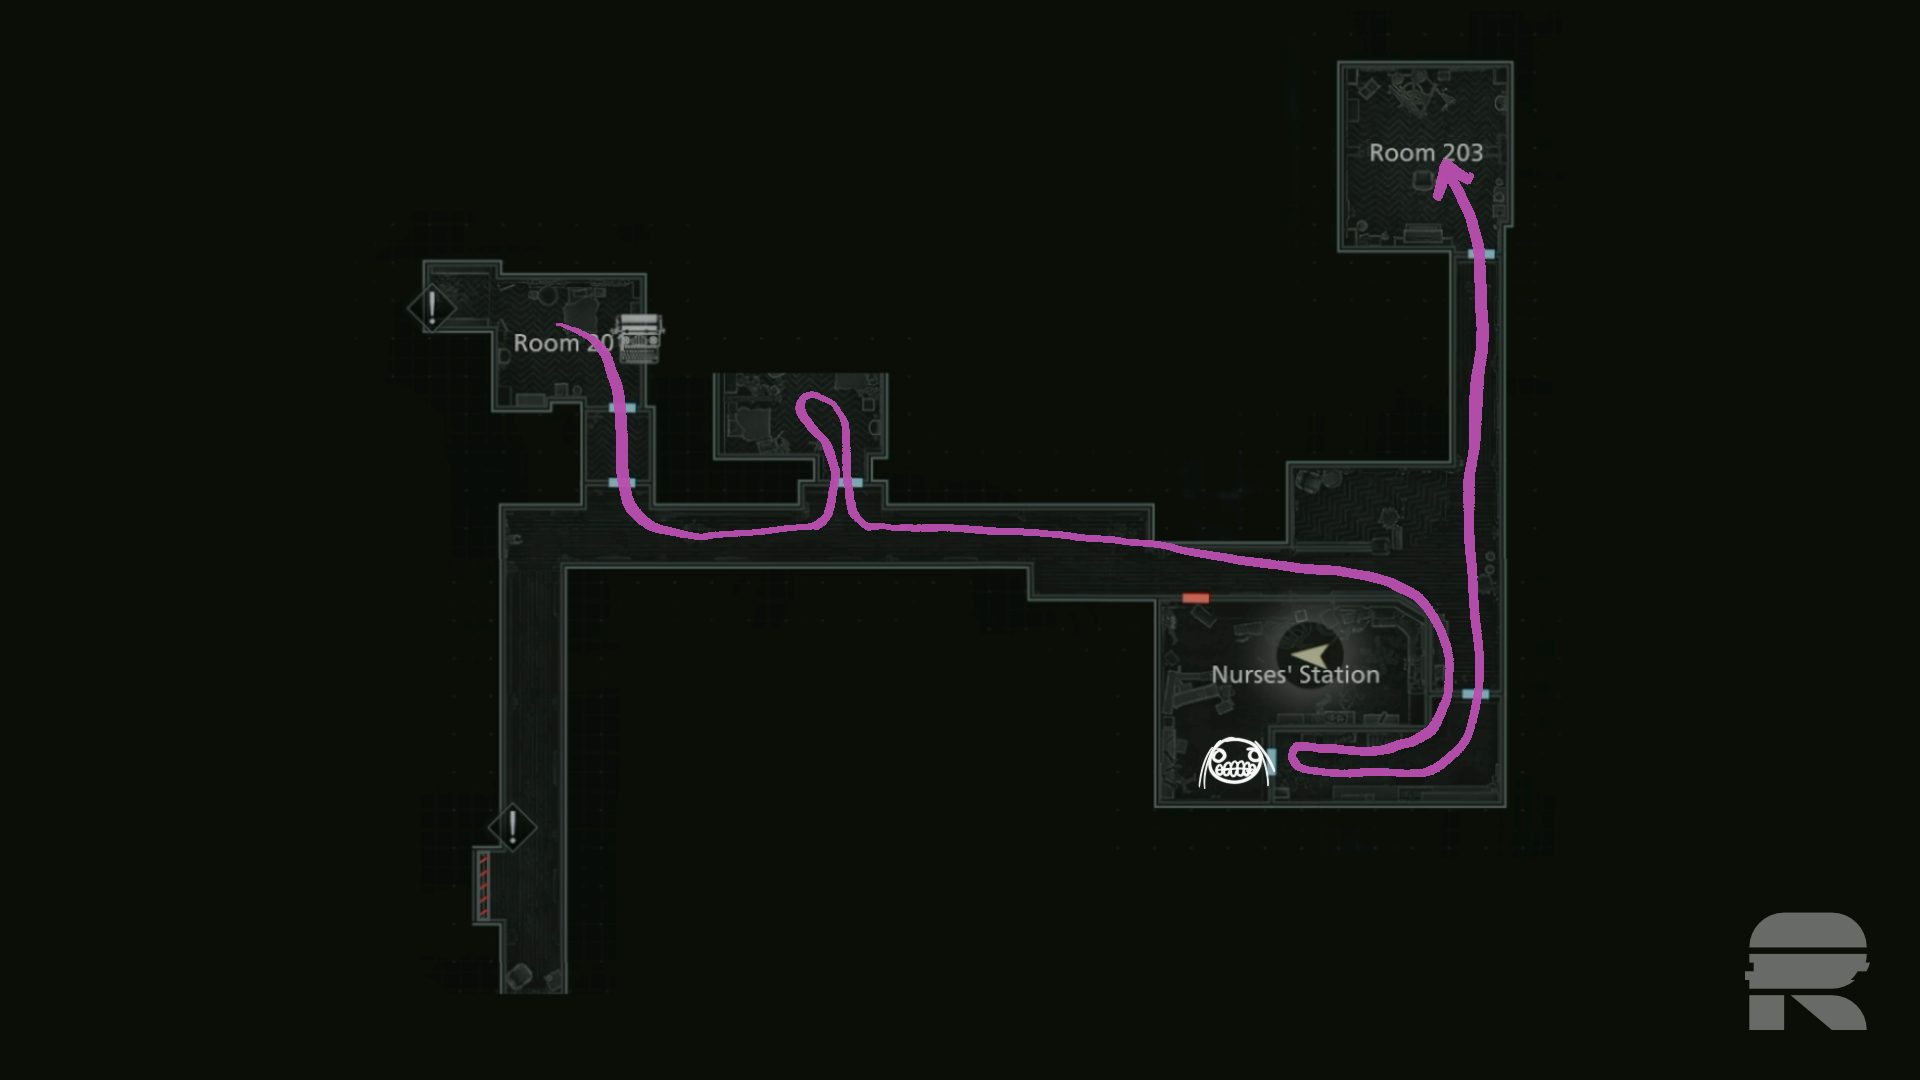
Turn around and head back to the reception area. This time, when you enter the hallway, The Girl will smash out of the nurses’ station you were just in on your left. But the lights are out in Room 203 this time, so that’s not an escape option.
Instead, run back through the prep room to get behind her, then take the left to sprint toward the hallway. The lights are, of course, out. So just keep running all the way back to Room 201 (the Cherub Door room).
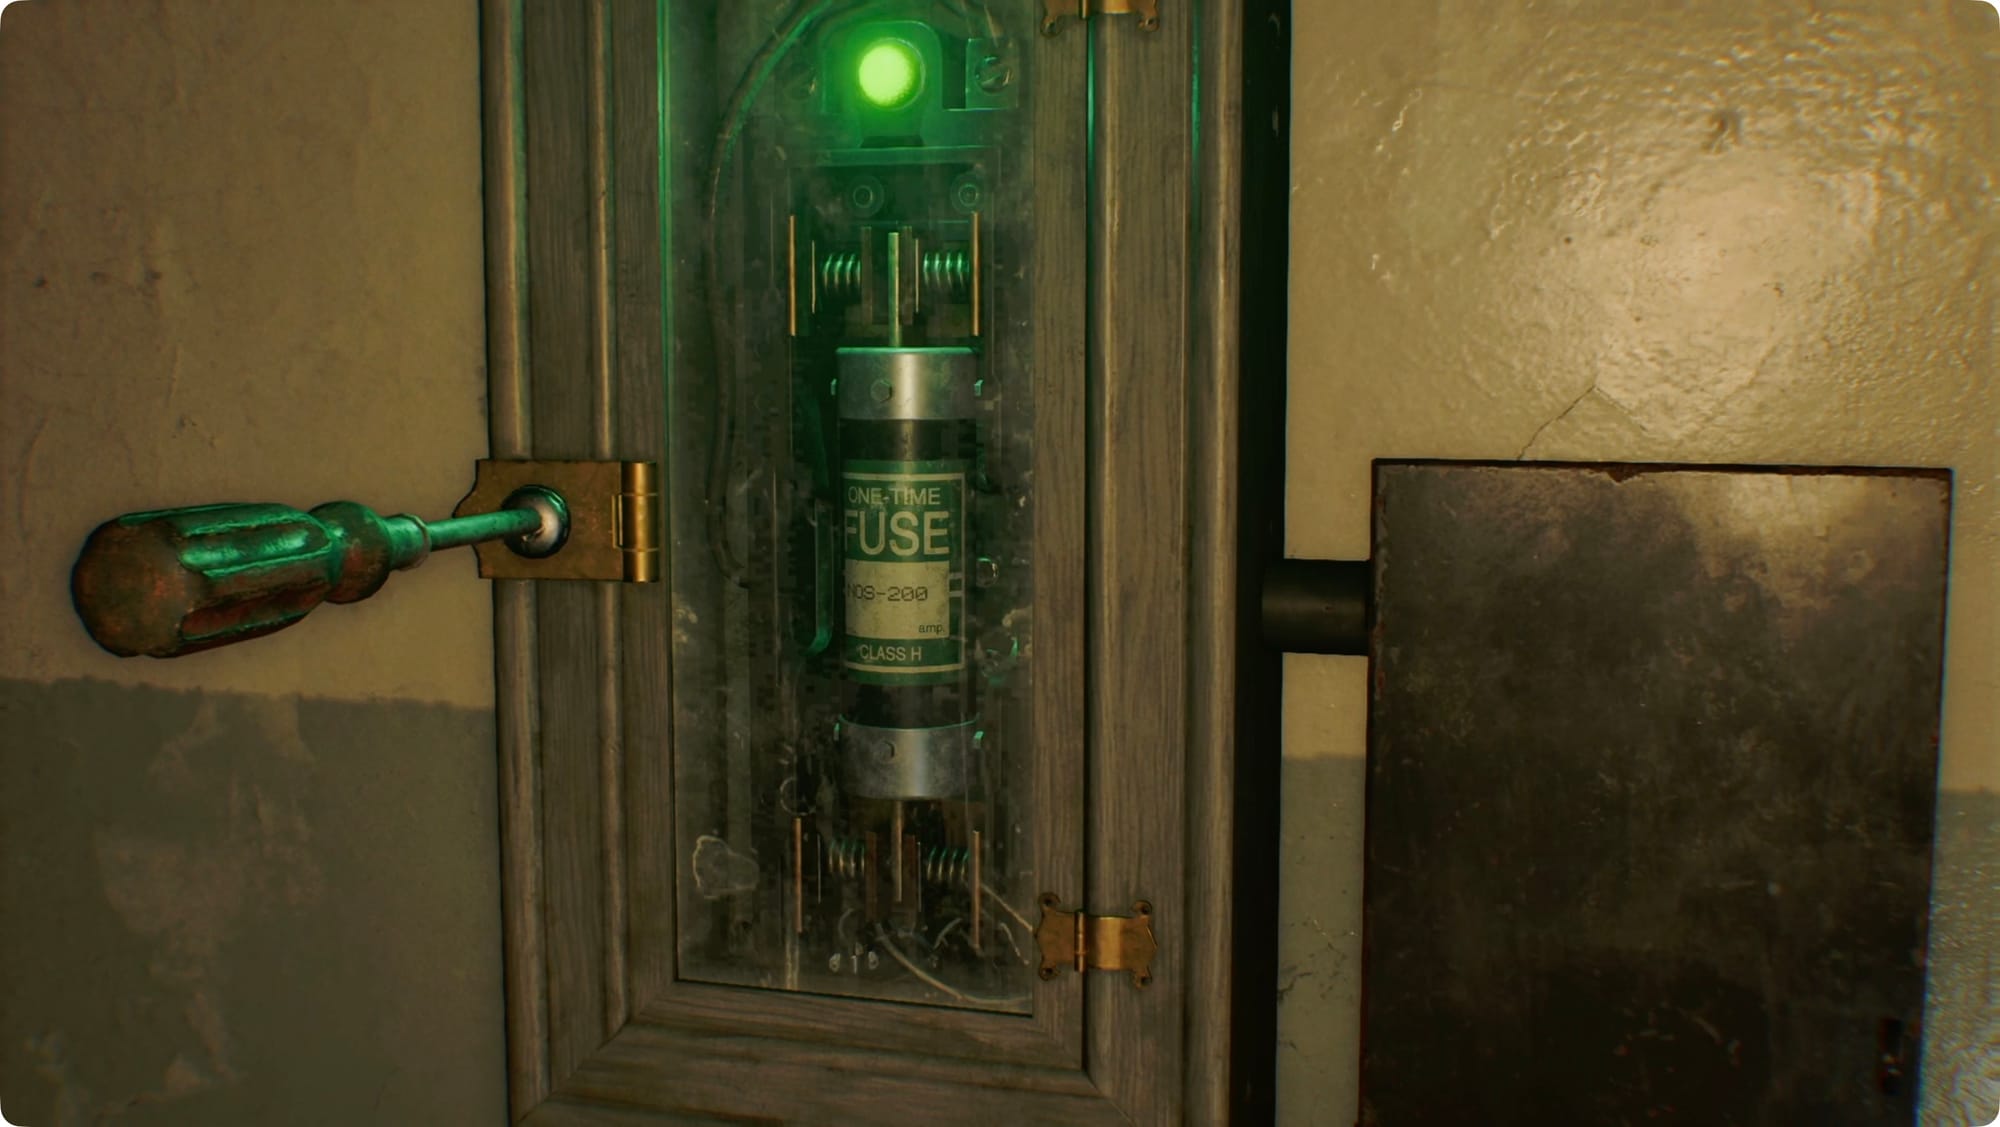
Hit the save, and then go use the Screwdriver on the Fuse in the closet.
As soon as you have it, things will go sideways. Turn around, run into the hallway, turn right and then left, and sprint all the way back to the Fuse Box. Mash the button to get the Fuse installed.