

Resident Evil Requiem walkthrough, part 4
Care Center East Wing

Last time, we found the key to the Lounge and bought a Hip Pouch, and then we found the East Wing Keycard. So it’s time to go there.
Programming note: this is a long one, but that's because we start unlocking things and it kind of snowballs from there.
Grace — East Wing
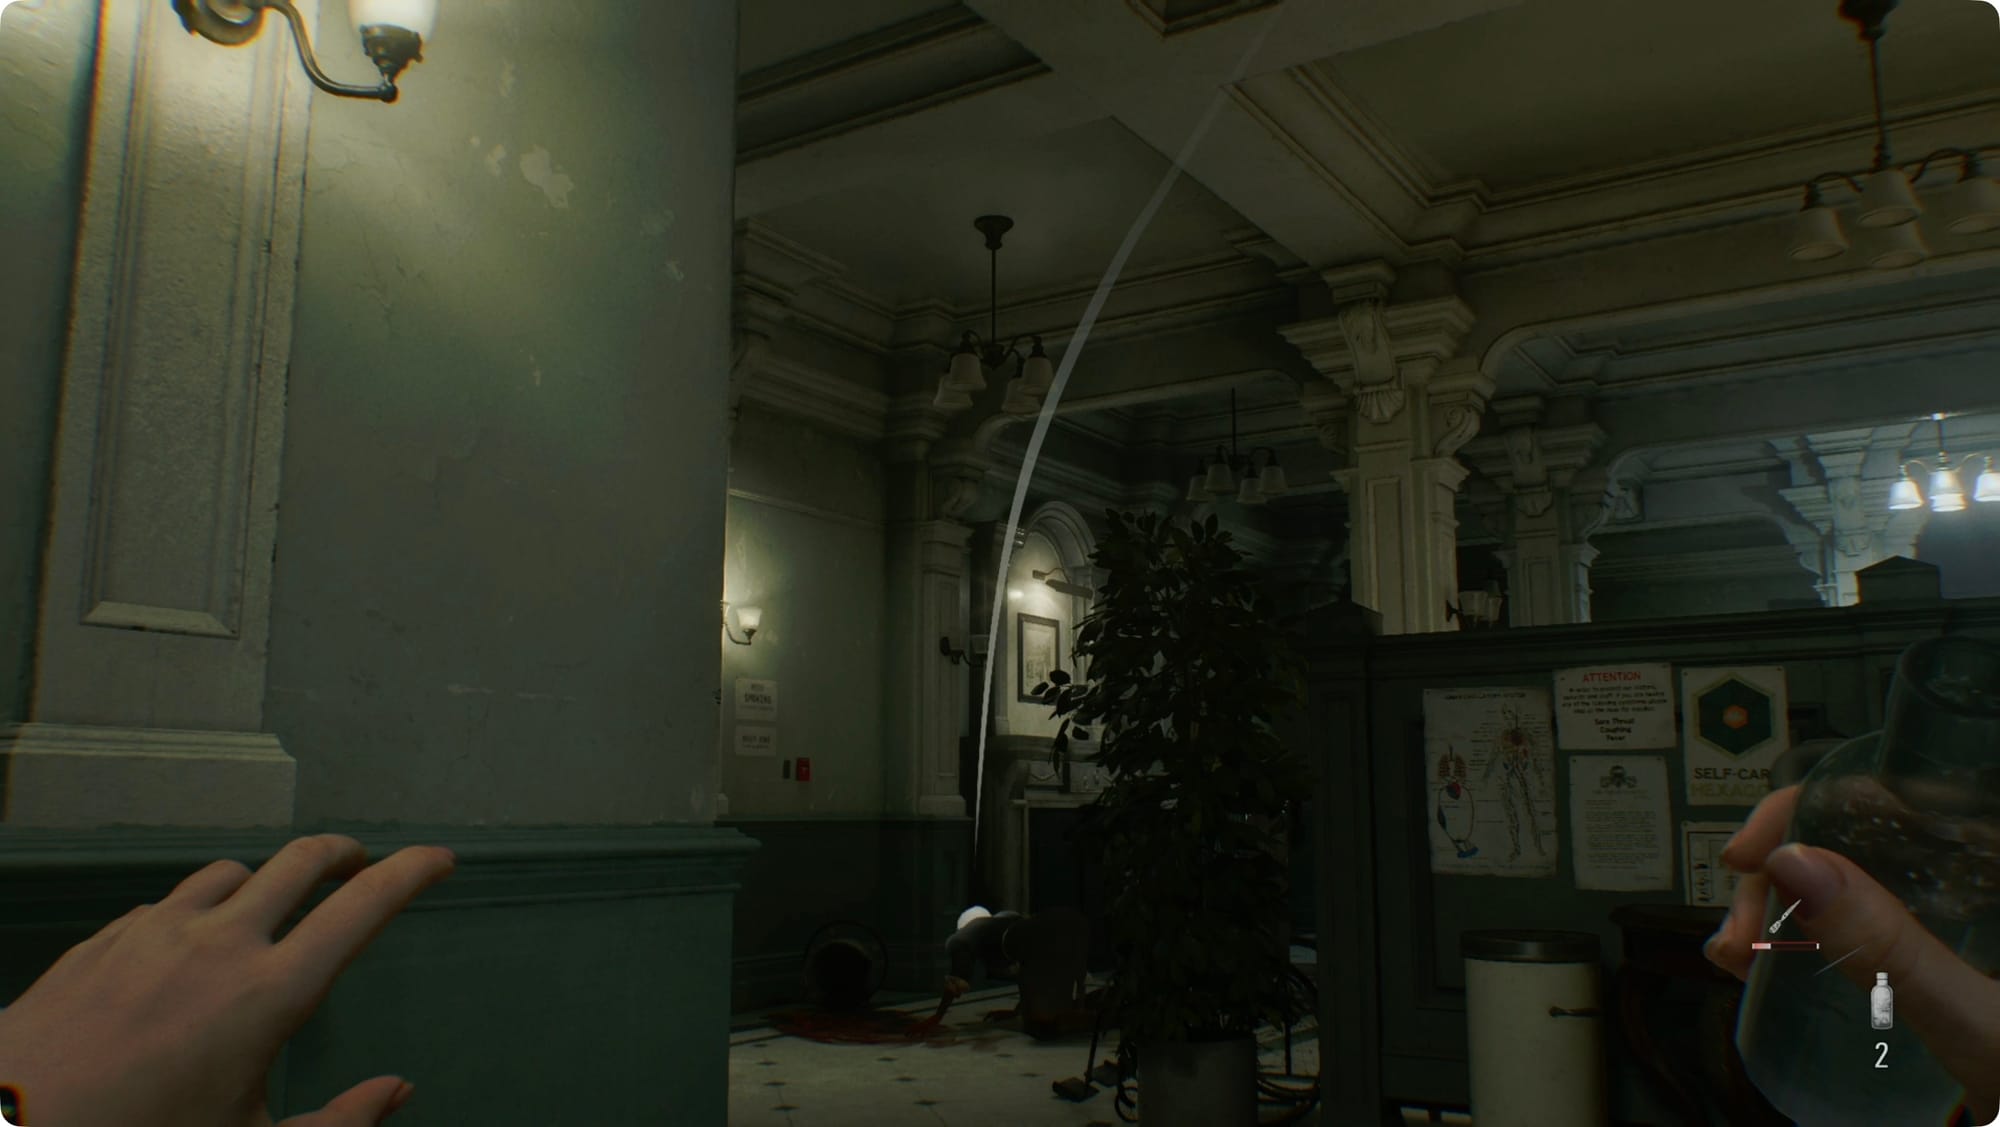
Before anything else, let’s make sure we’re ready for the next section because, and trust me on this, it can be a real pain in the ass if you don’t do it just right. Make sure you have at least one Empty Bottle in your inventory and keep Requiem with you (even though it’s only got one bullet).
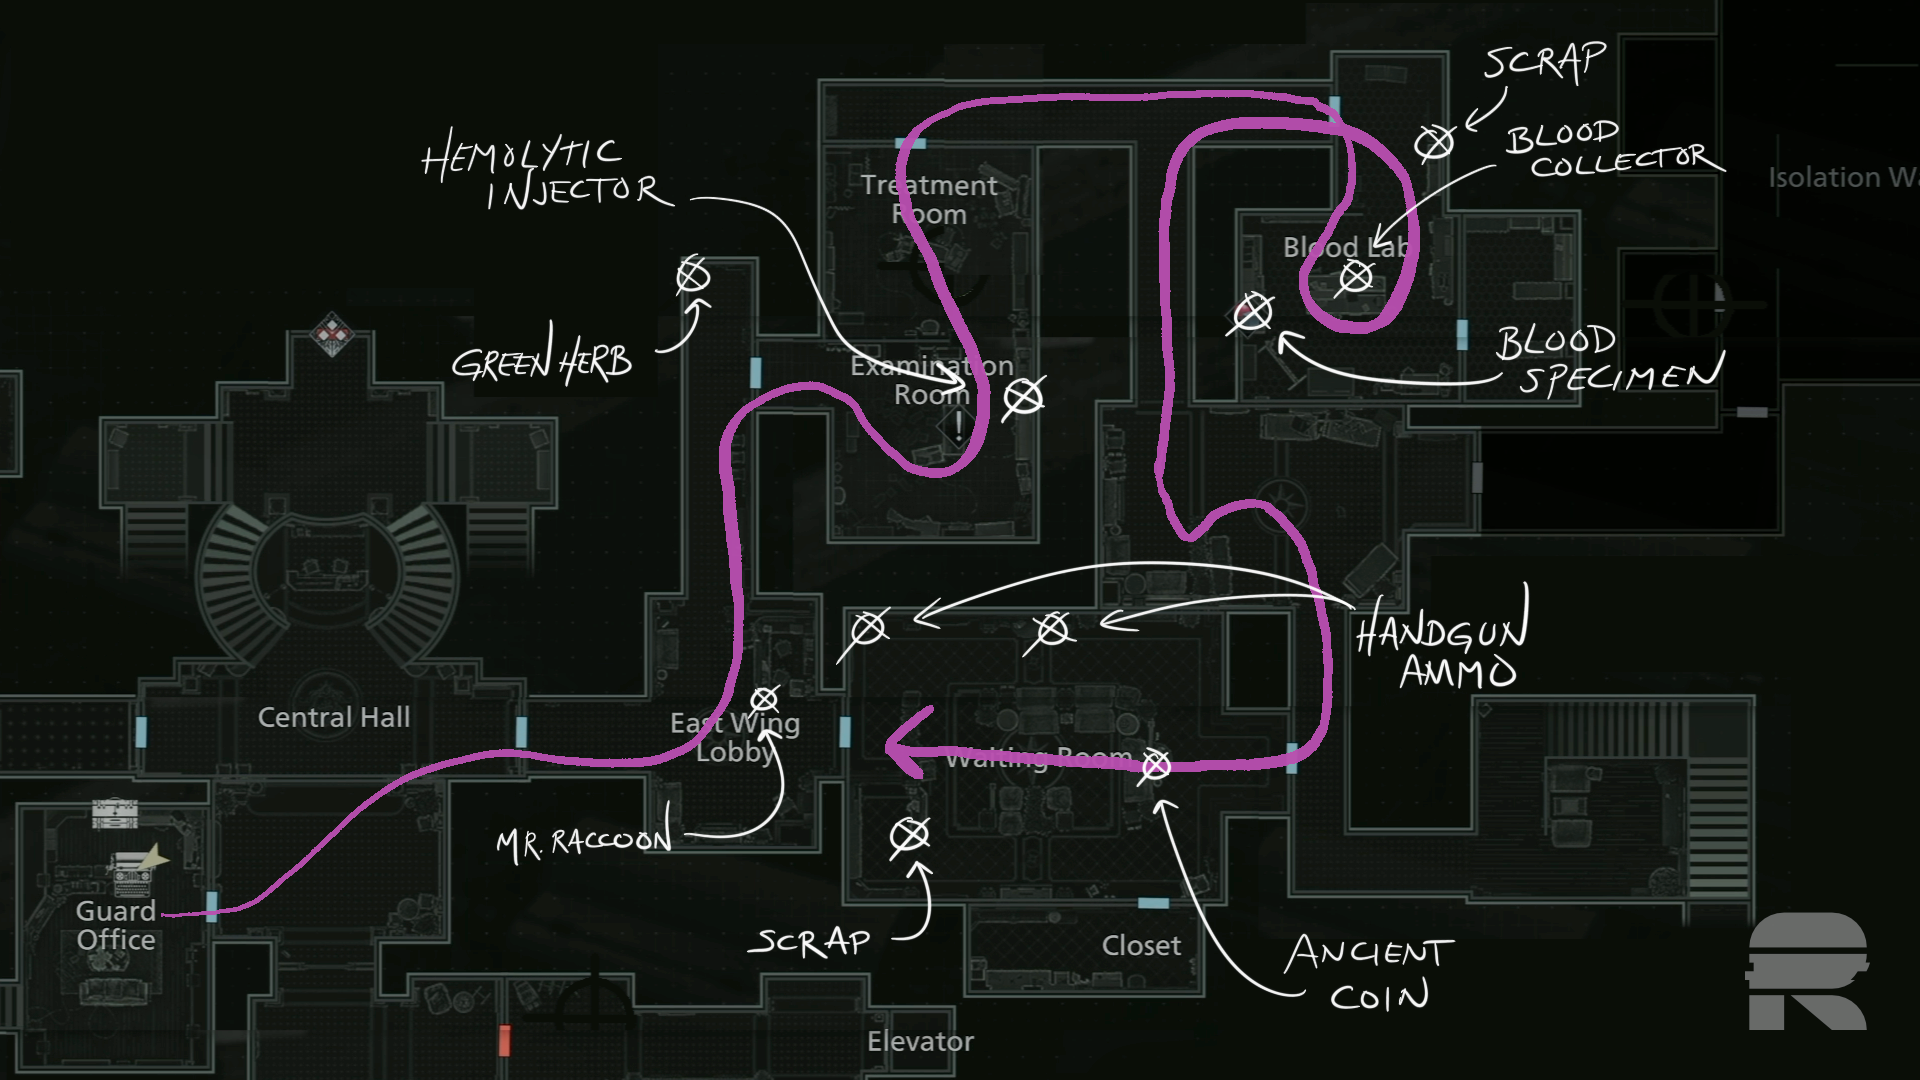
As soon as you walk into the East Wing, there’s a Mr. Raccoon on the desk ahead of you. There’s a locked drawer on your right and a locked door ahead of you. Take a left.
Skip the door and go to the end of the hall for a Green Herb. Head back to the door to find the Examination Room. If you inventory gets full, combine any herbs you have into stronger recovery items.
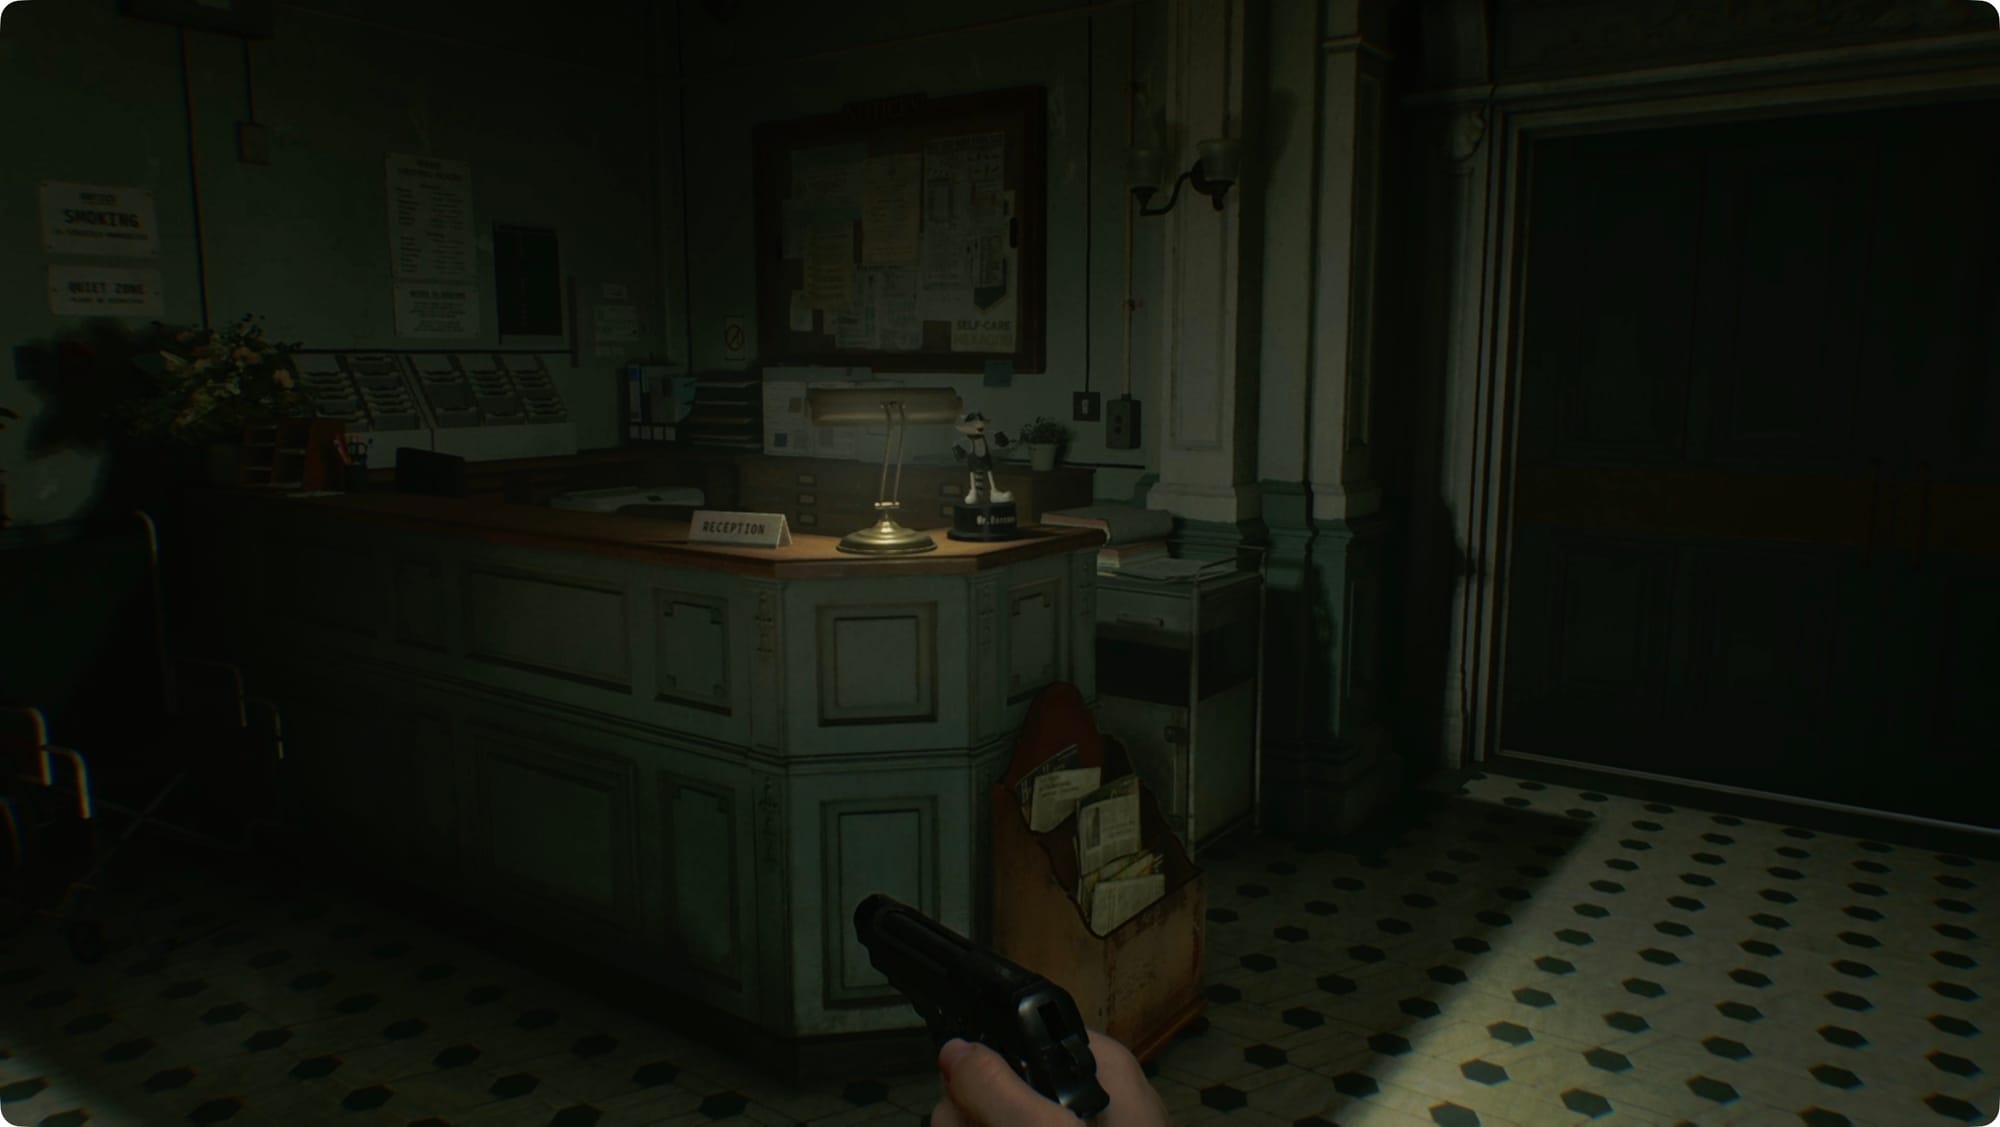
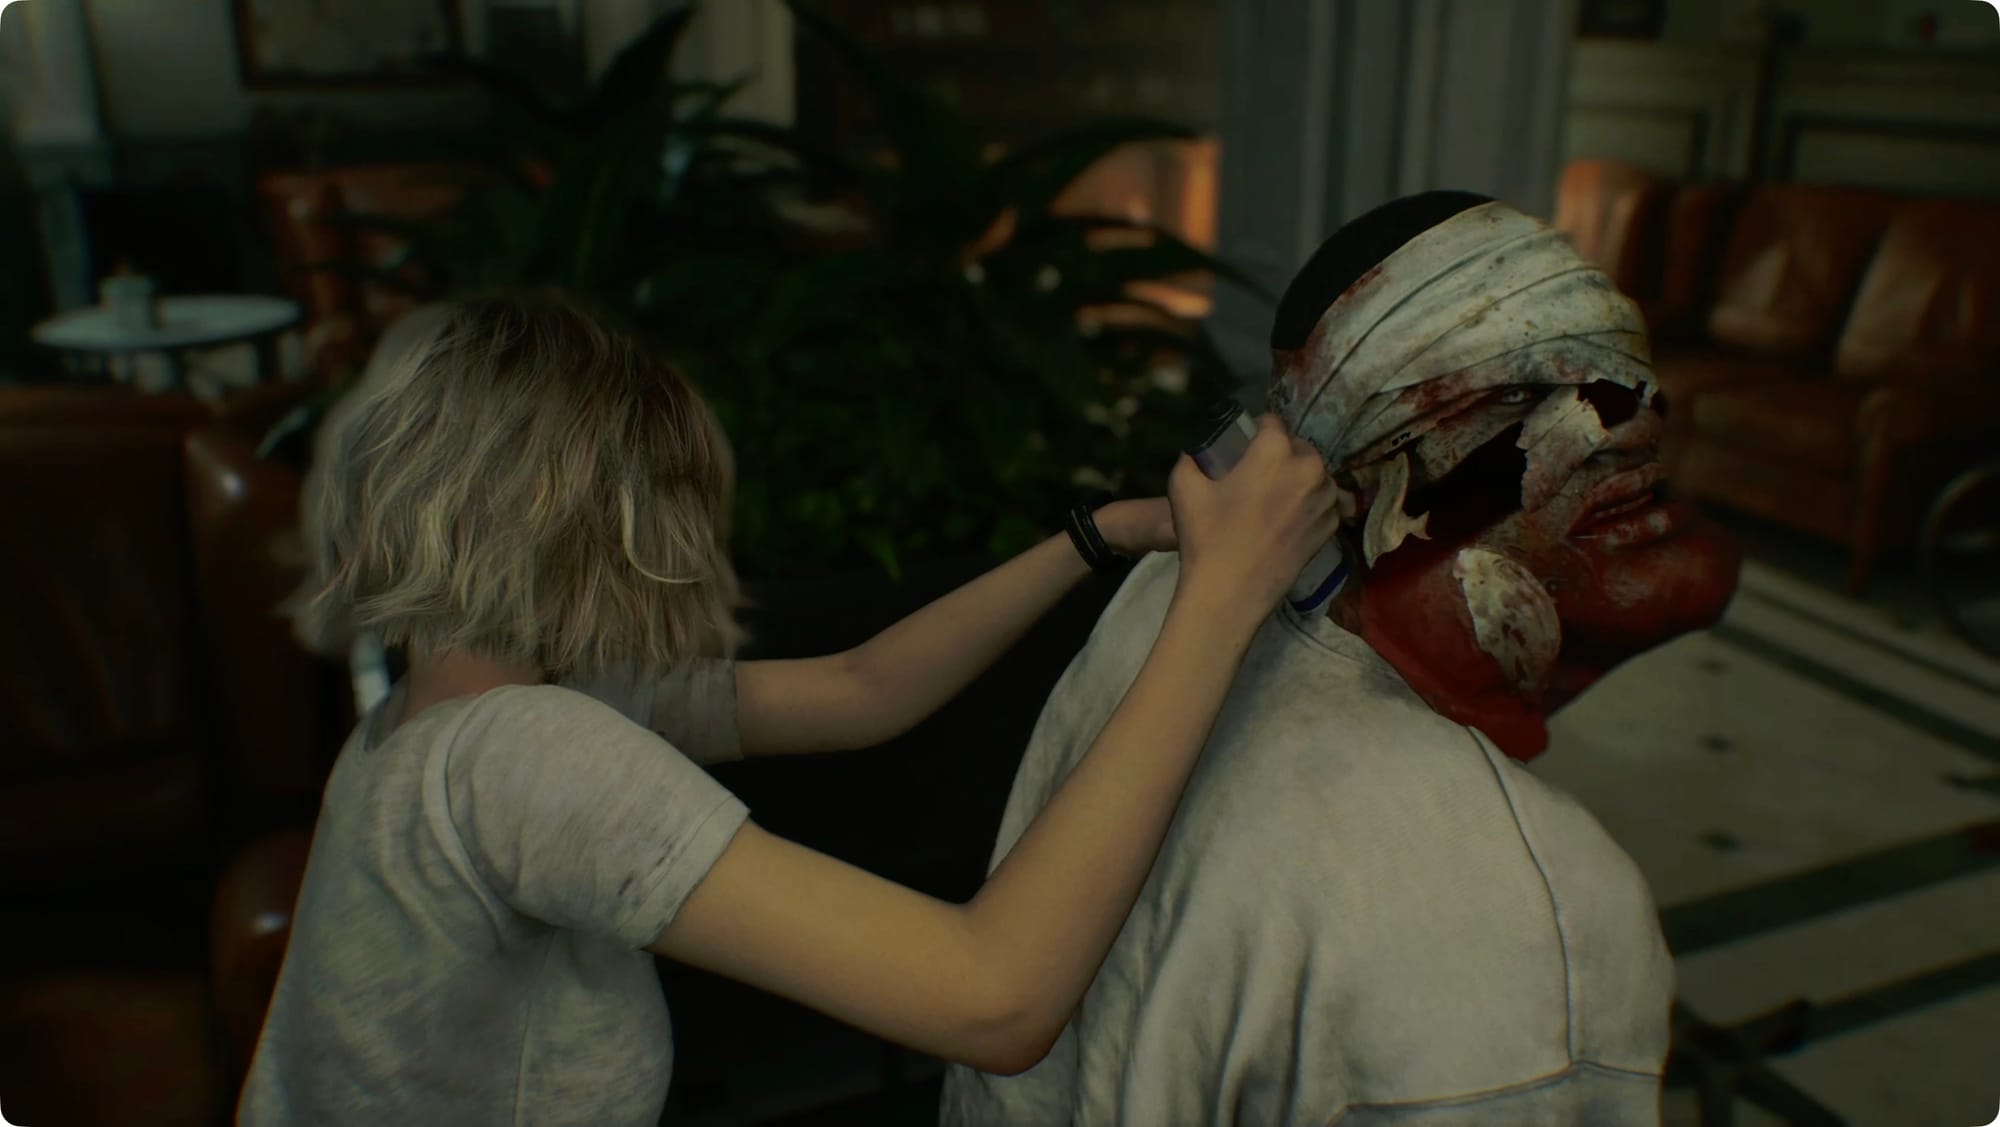
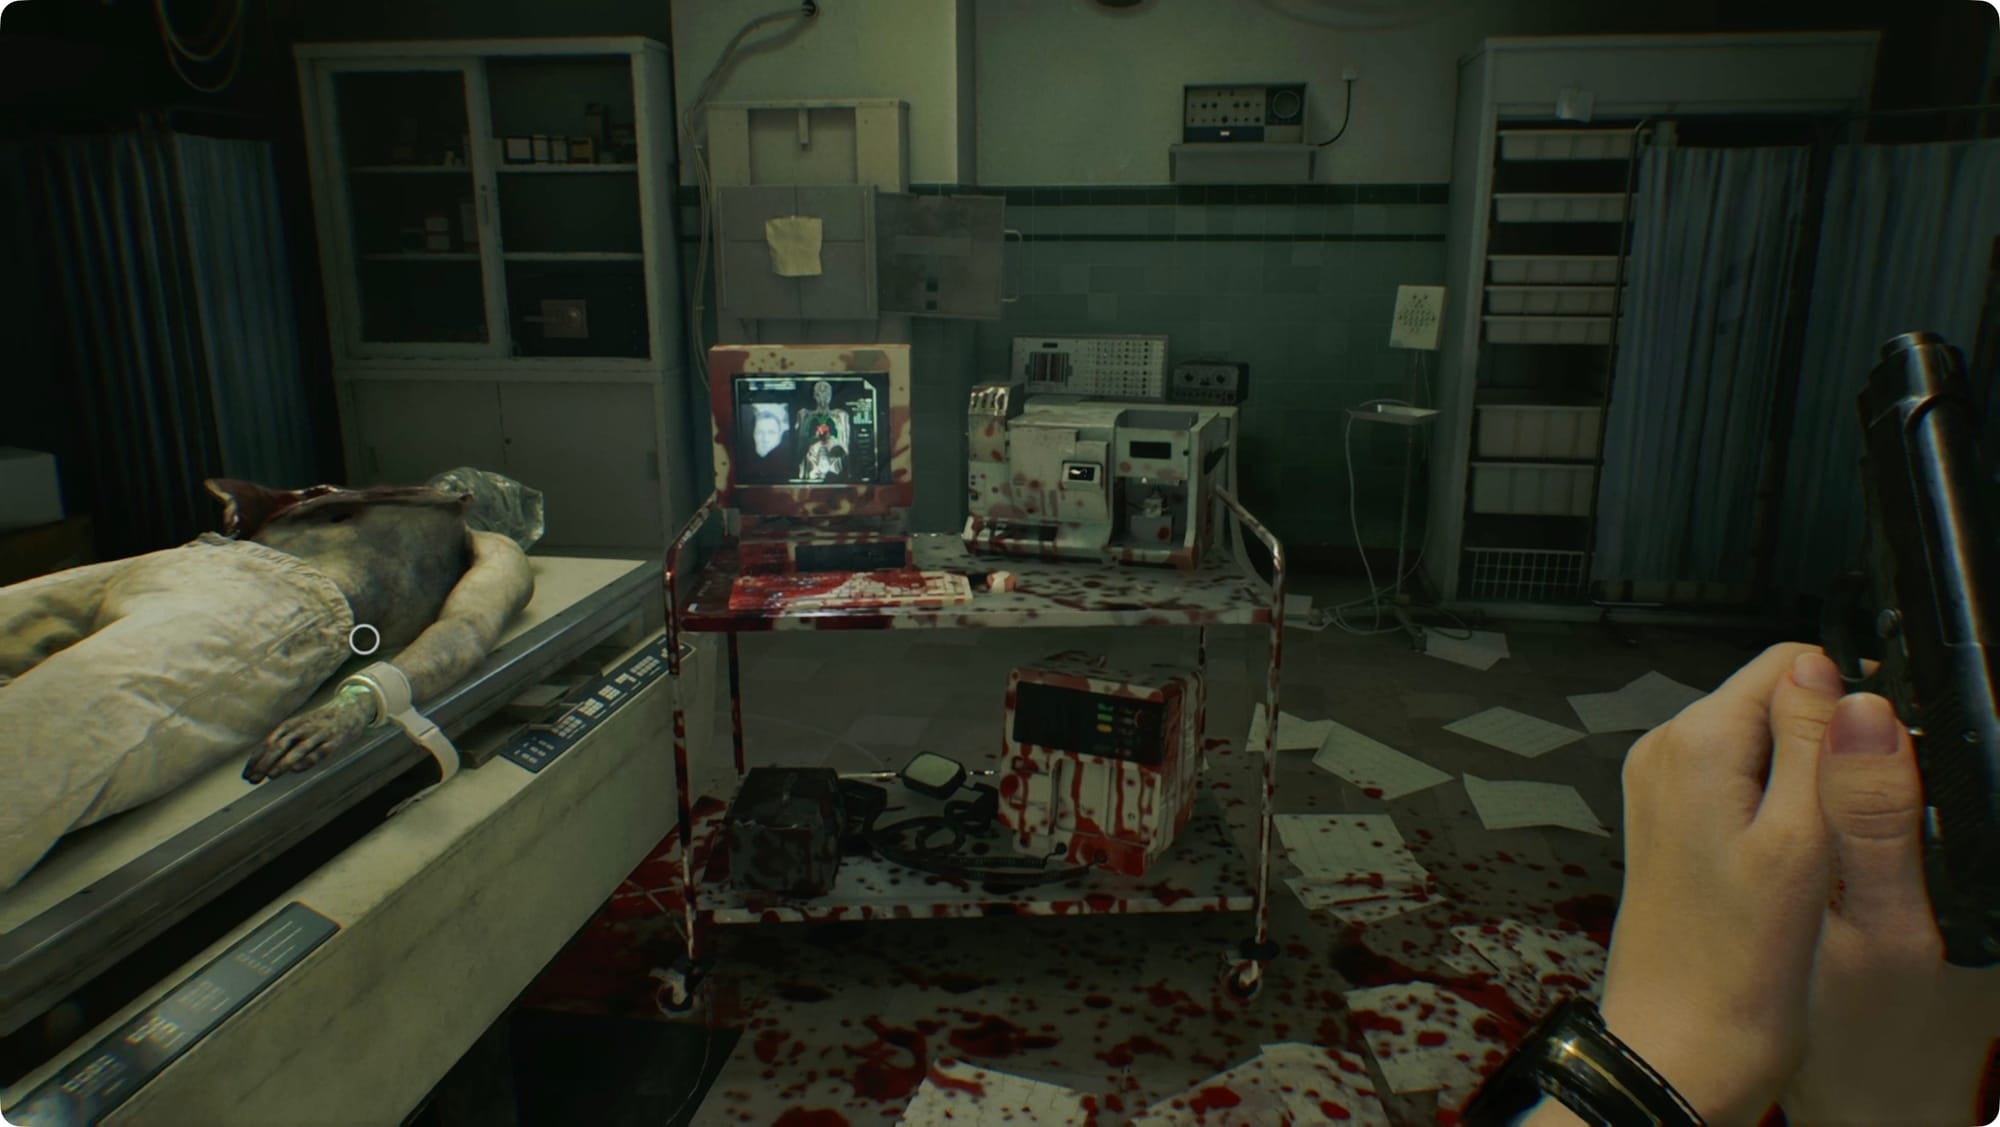
You need to grab a super useful item before the zombies in the room to the left notice you, so crouch down. Loop around the exam table going around the right side to find a safe we can’t open. Keep going until you spot the Hemolytic Injector on the counter. Grab it.
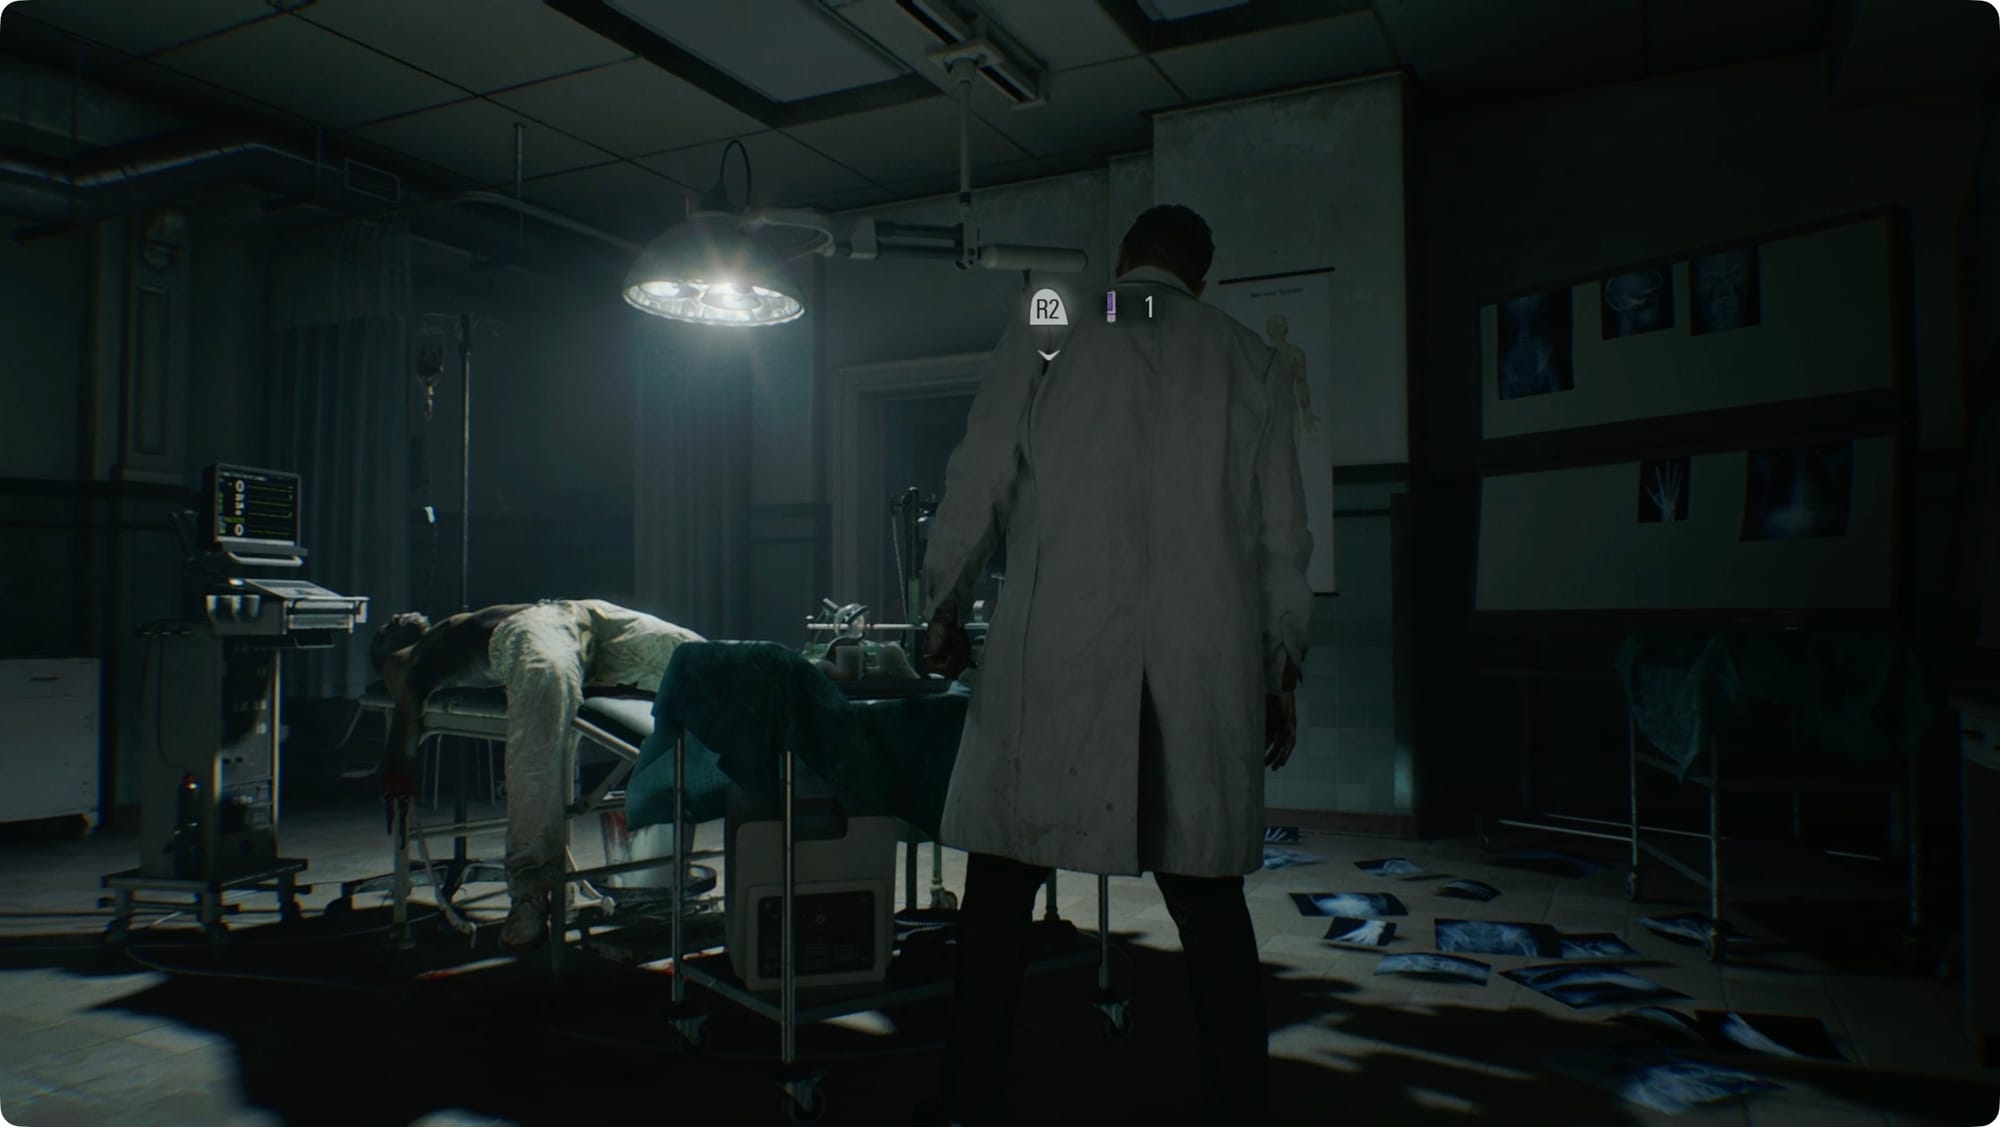
Sneak up on the doctor zombie (zombie doctor?) and use it for a stealth (well, “stealth”) kill. You’ll still have to deal with the other zombie the old-fashioned way. Go out through the door on the north wall.
Take a right. There’s an intersection not too far away with another lights-out zombie. Ignore him for now. Keep heading east to the end of the hall to find the Blood Lab (fun!).
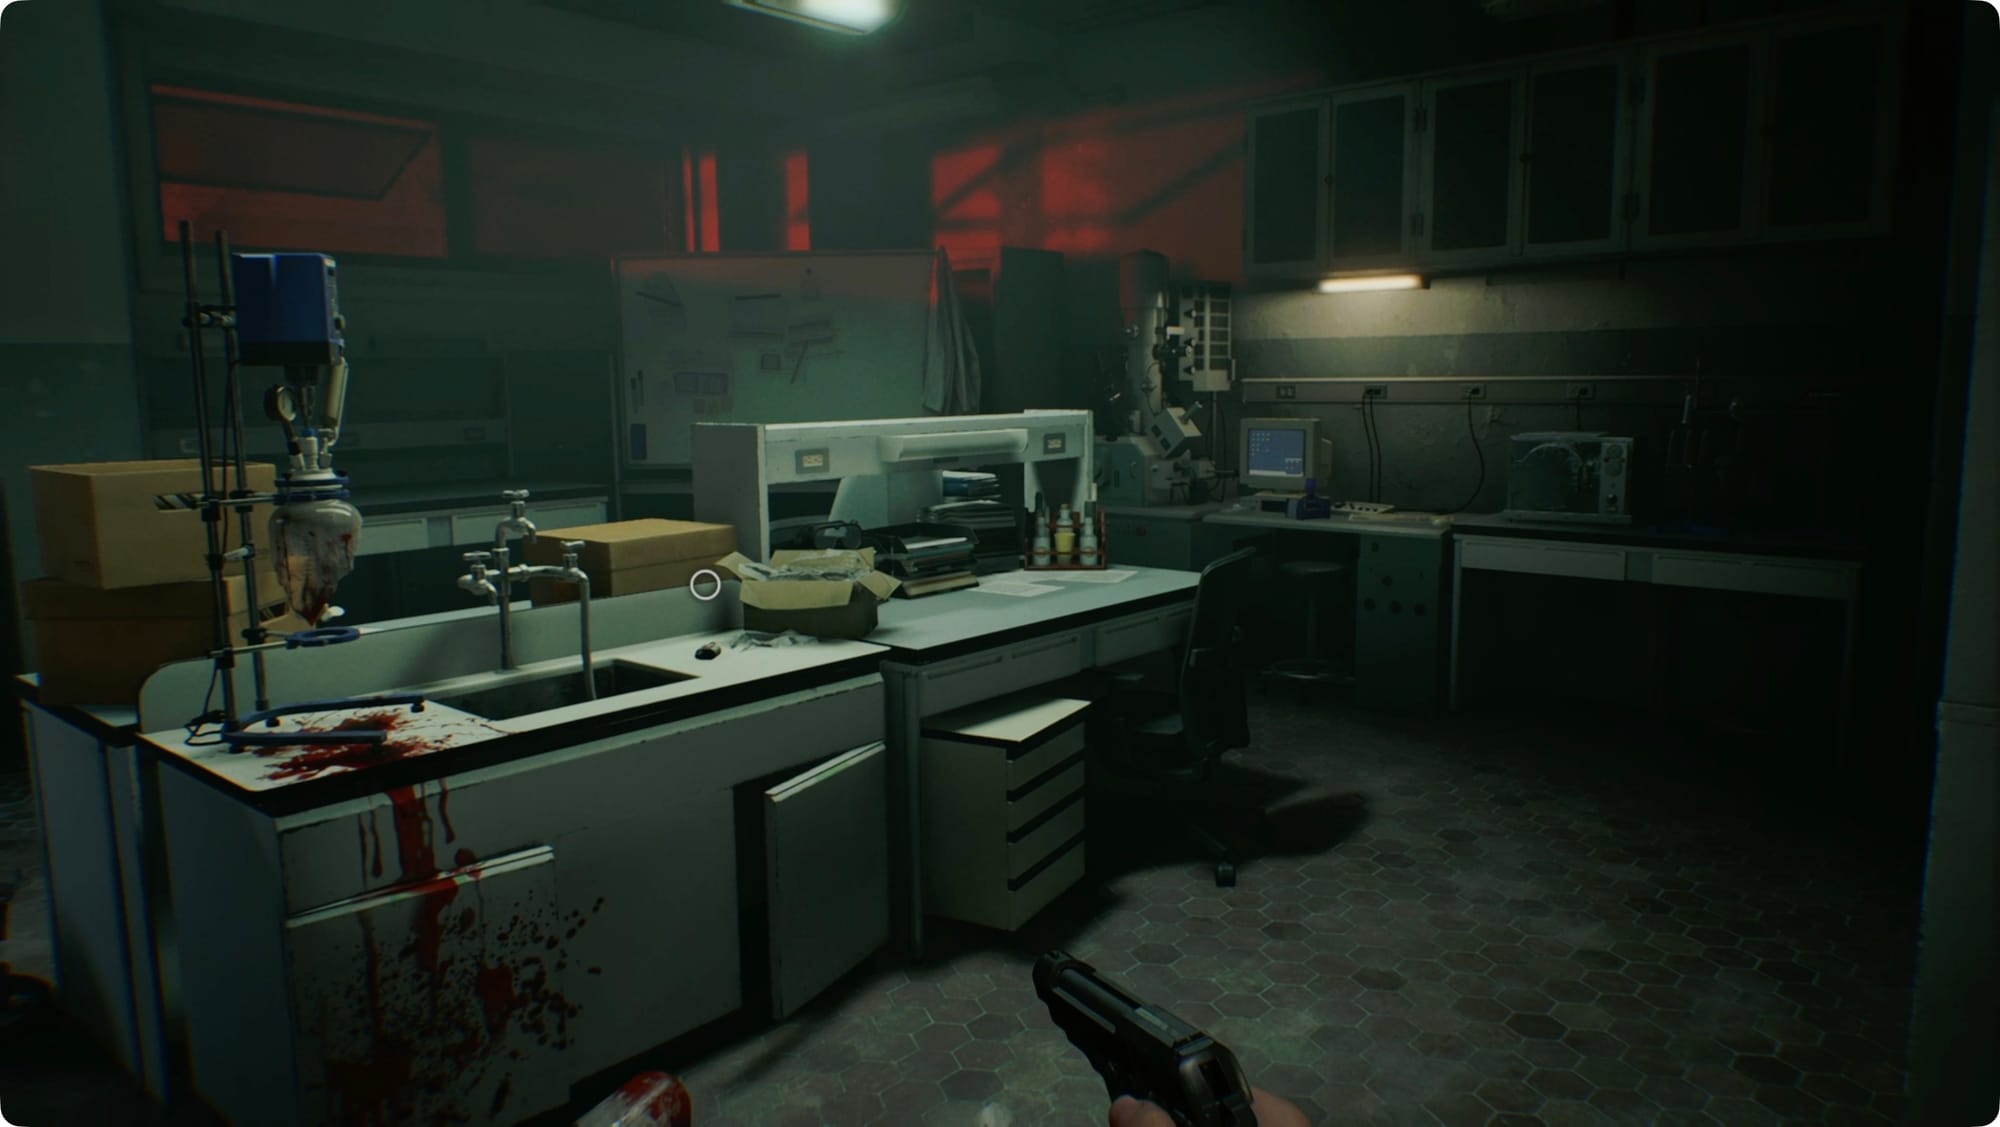
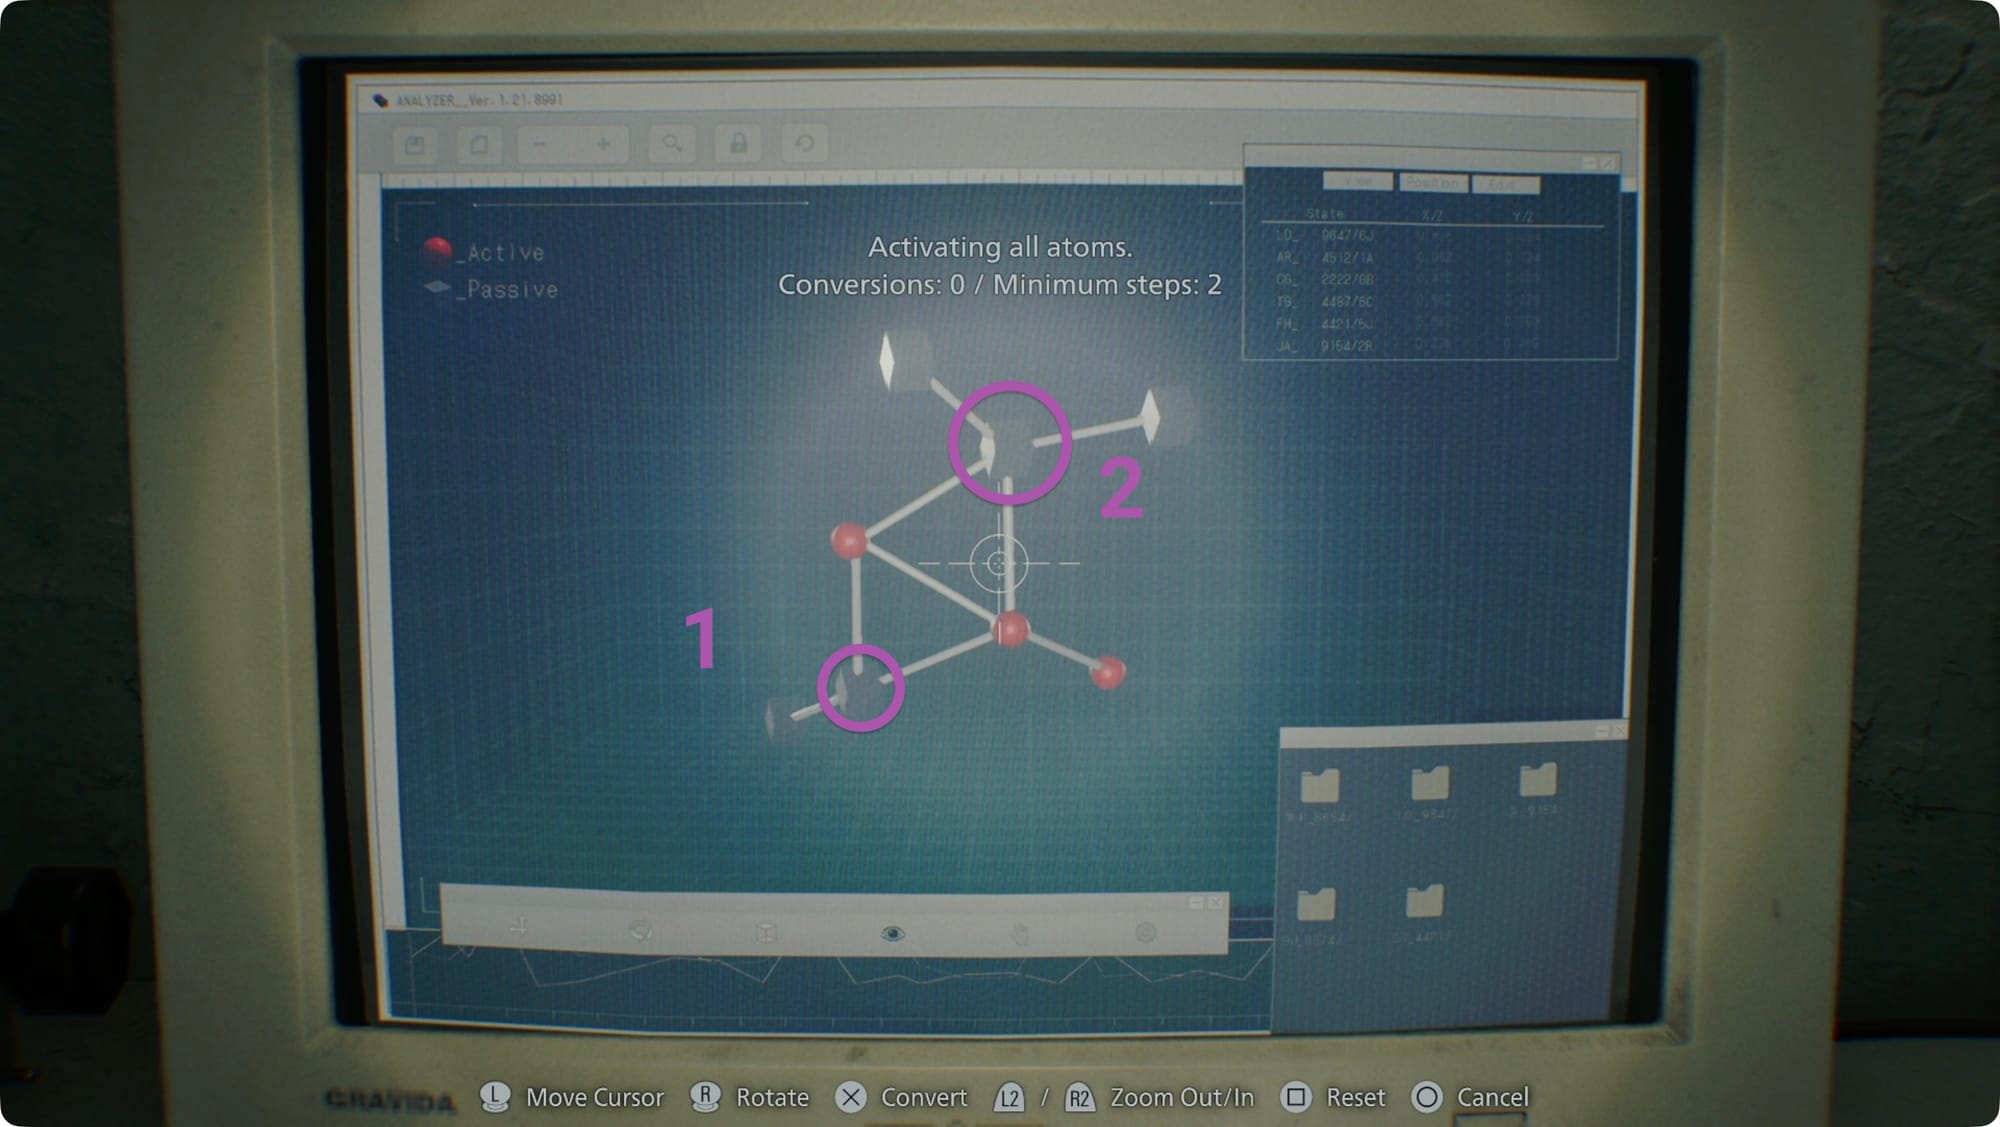
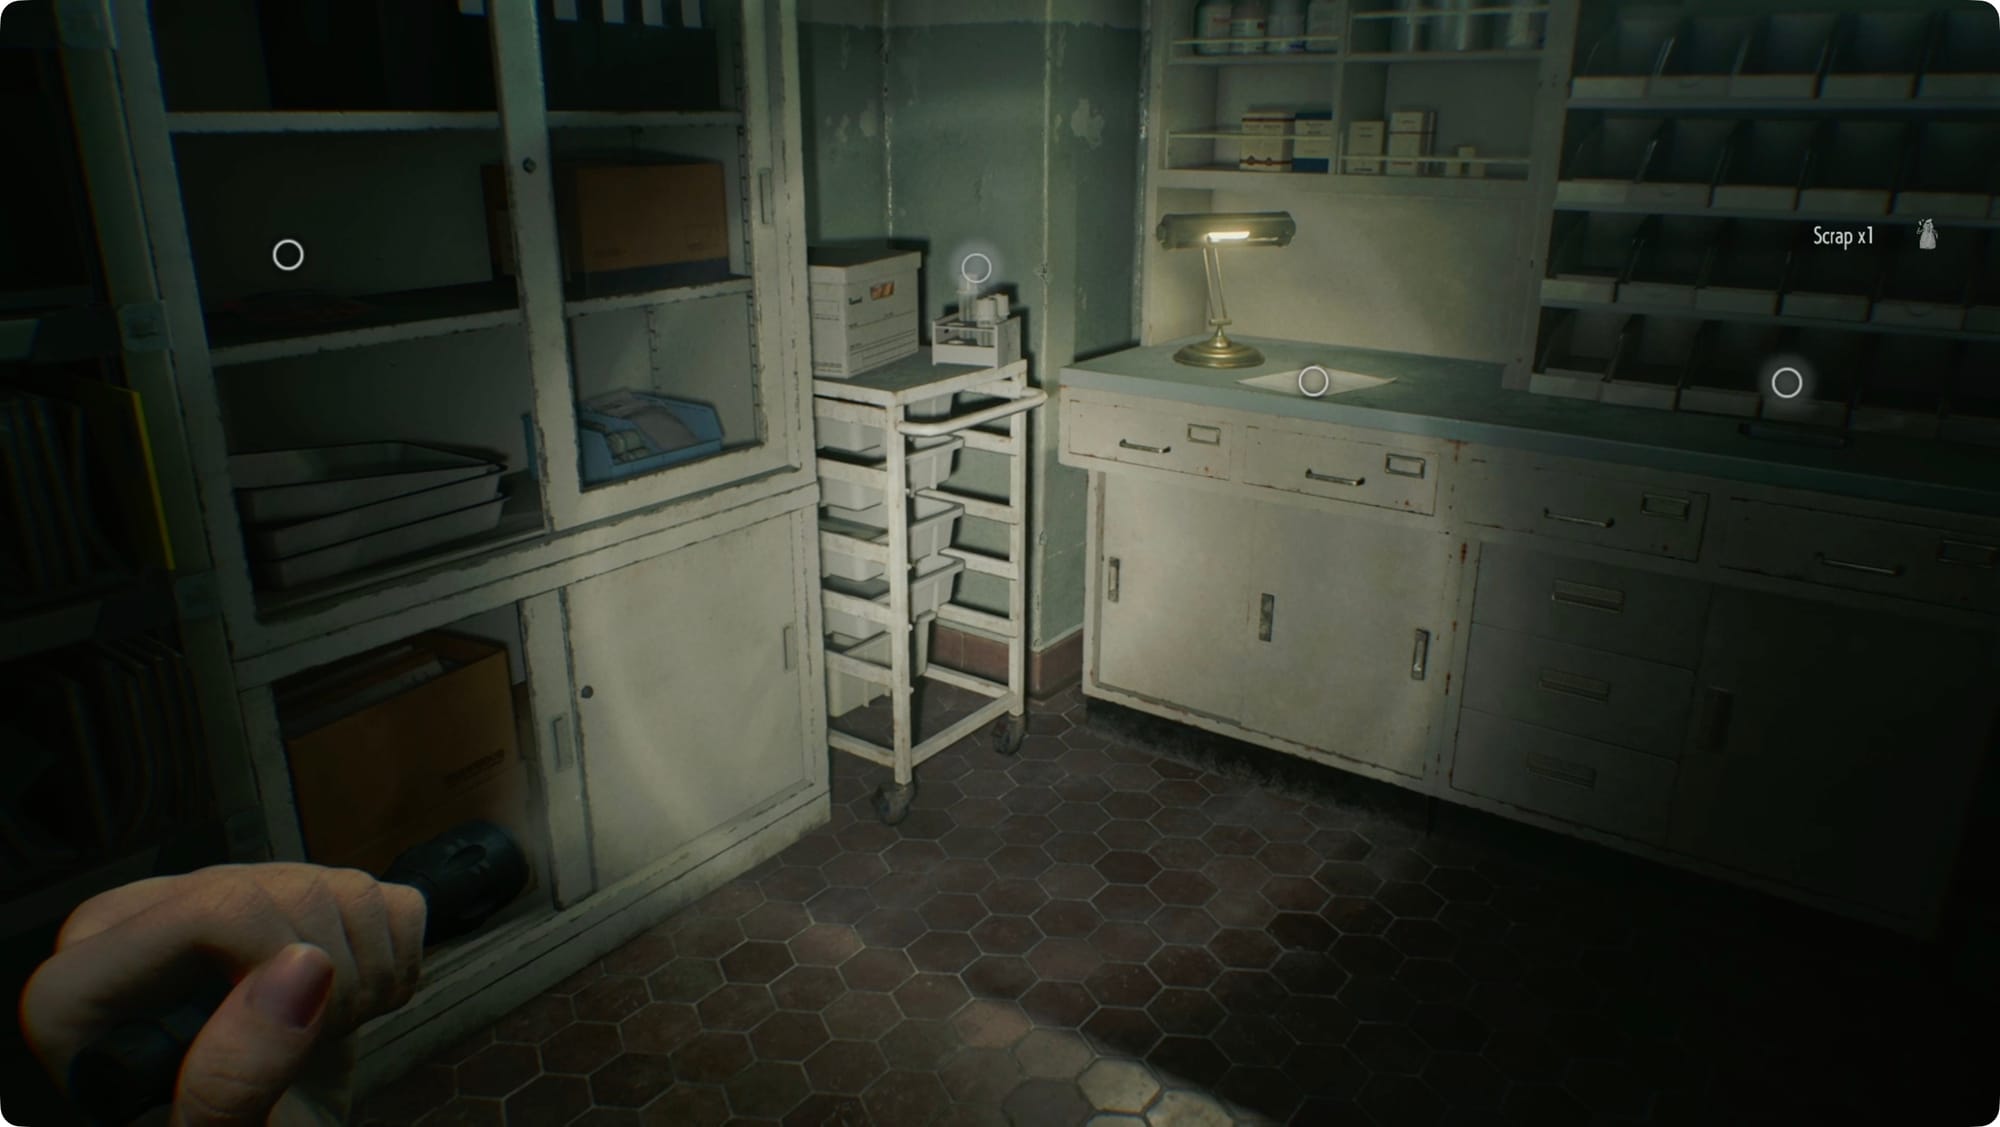
In the locker right ahead of you, grab the Scrap. In the main room, grab the Blood Collector ahead of you and then go to the computer on the right. Grab the Blood Specimen (Denatured) and put it in the laser microscope to the left.
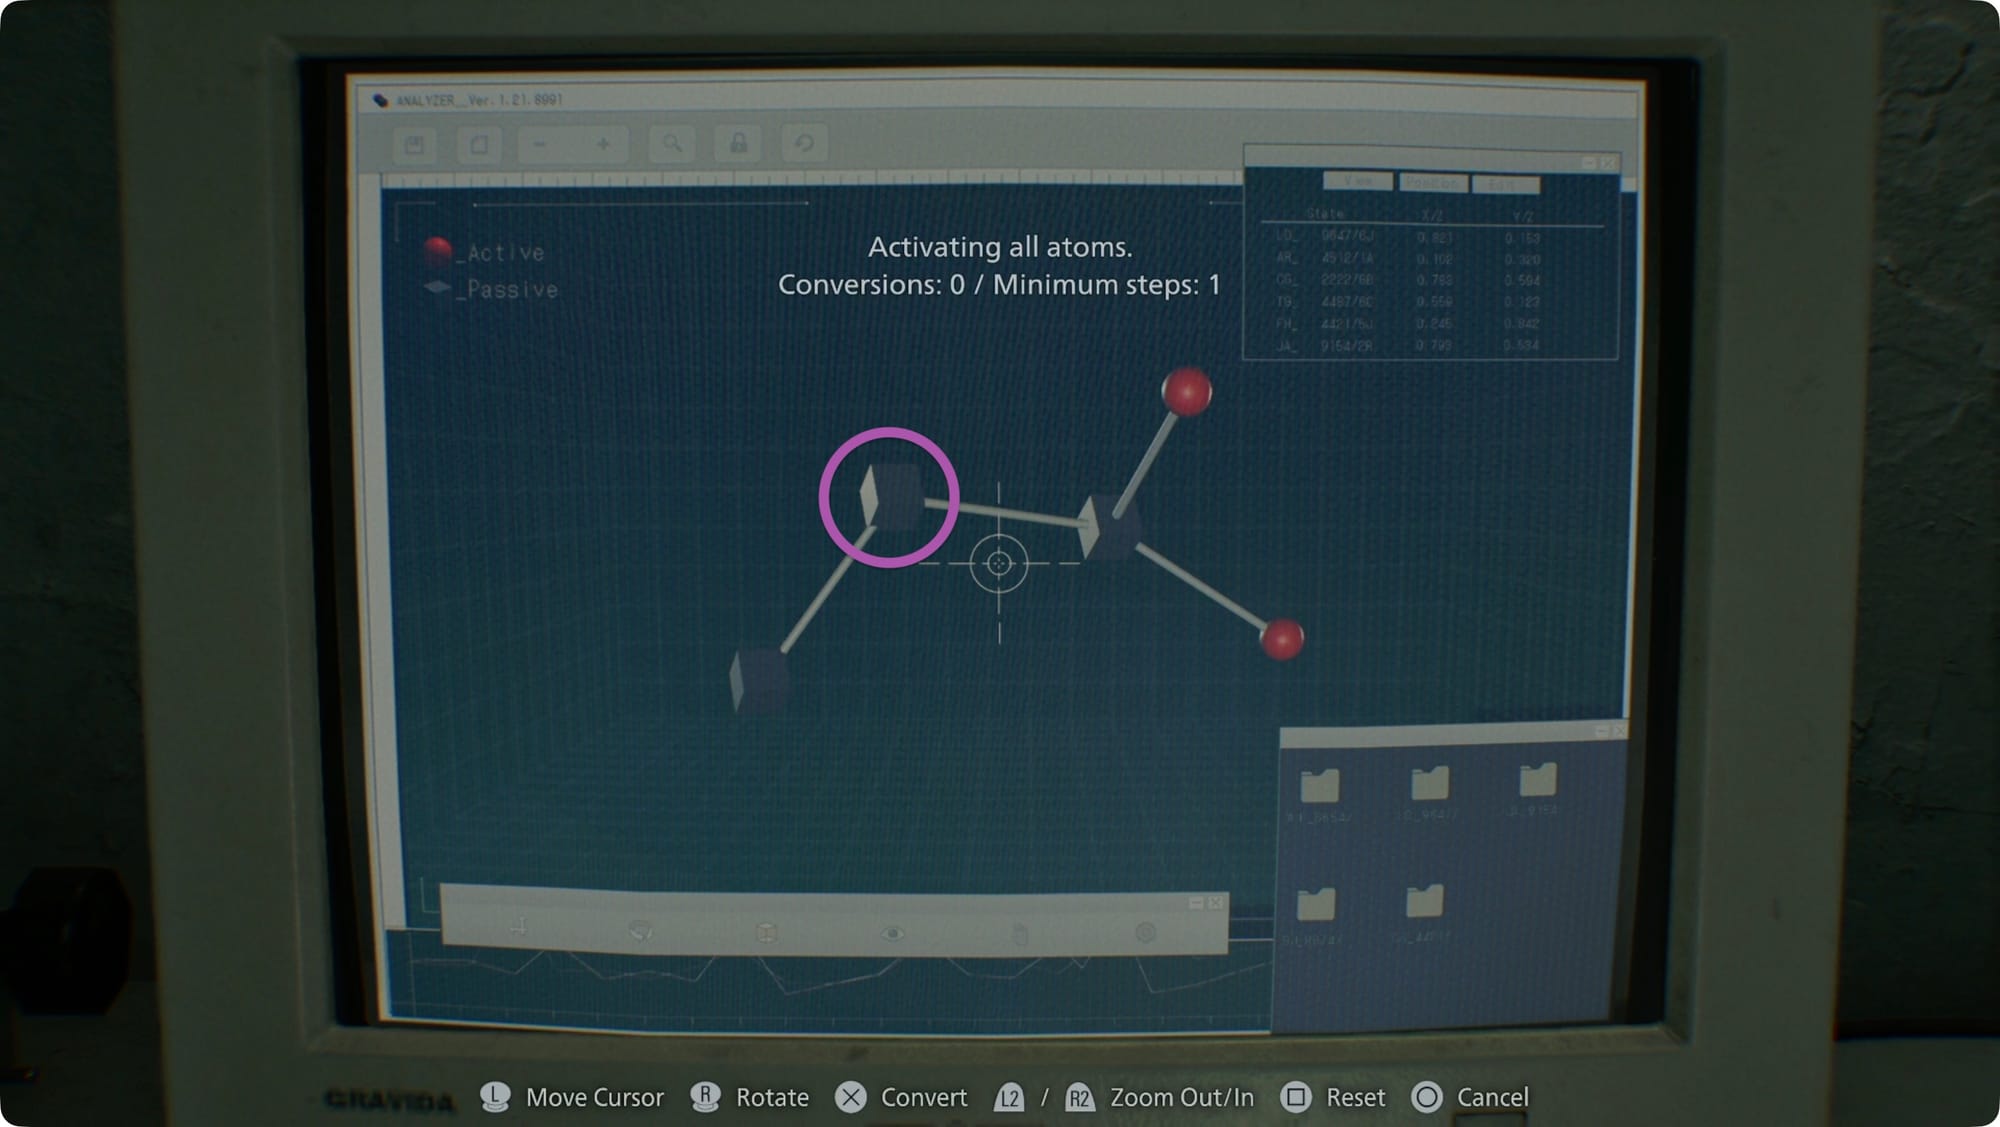
There’s a quick minigame to do where you have to light up atoms. It’s hard to explain, but you’ll know the kind of puzzle when you see it. Just click on the second one from the left.
More importantly, that Blood Collector now lets you suck up those buckets of blood laying around everywhere and use the blood in crafting. Do that at the bucket in the middle of the room. That blood plus the scrap we just picked up equals another Hemolytic Injector. Make one now.
Grab the Blood Compound Synthesis note from the desk in the middle of the room while you’re there.
Head back into the hallway. Run back past the intersection again and back into the Treatment Room. Suck up the bucket of blood and whatever you can get from the zombie on the ground.
Go back into the hallway again. Go past the intersection one more time, but, this time, flip the light switch and then run back the way you came. The lights-out zombie will come turn it off and you can sneak past him without wasting any ammo.
Waiting Room
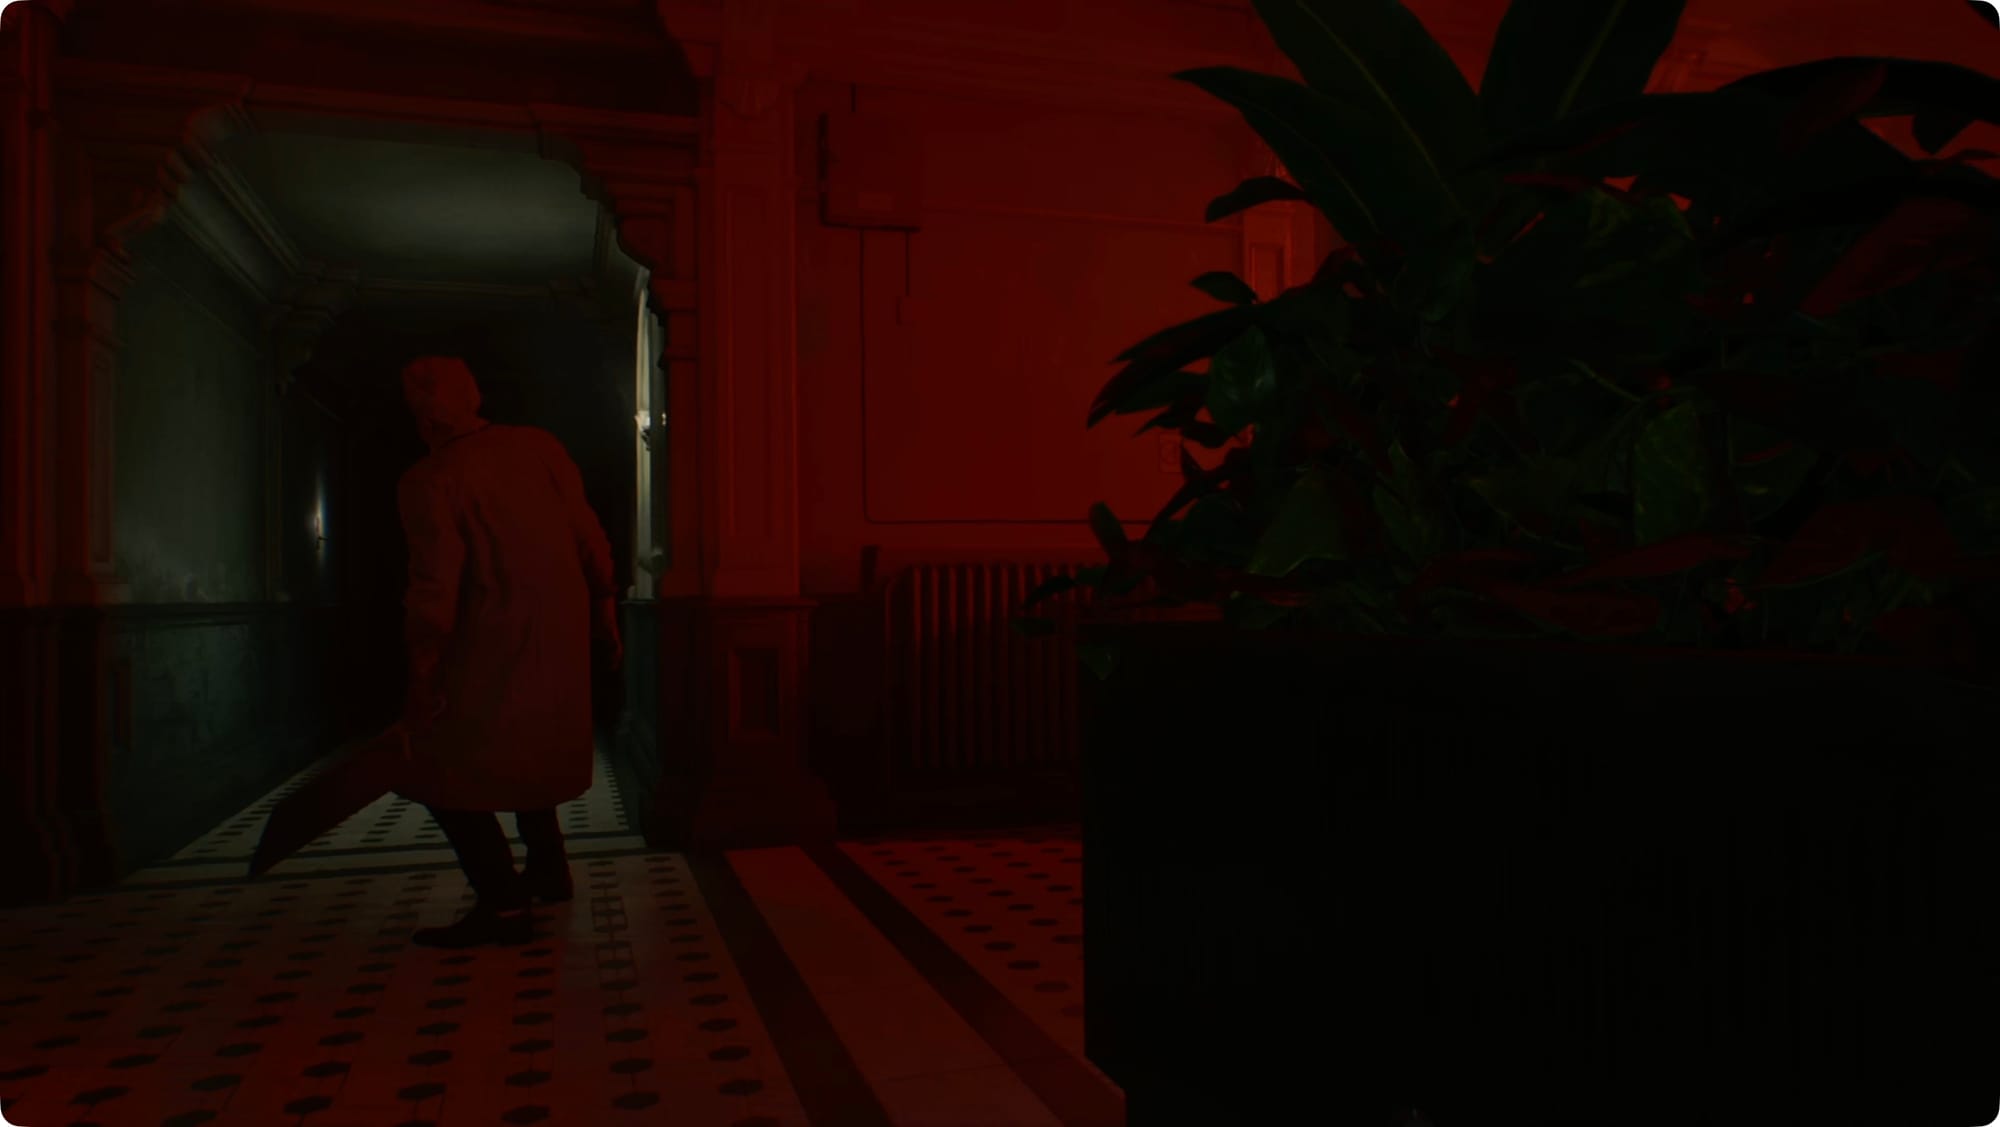
Take the hall to the right (south). In the next room, there’s a locked security gate to the left, a hallway ahead of you, and a waiting area to the right. Start toward the hallway until you see a zombie poke her head around the corner. When you see her, duck behind the planter on the right side of the room.
Three zombies will come out. Two will go back, and one will continue past you. (It’s tempting to sneak attack the one with the bone saw, but he doesn’t drop it — I tried). When the coast is mostly clear, follow the two zombies down the hall.
Take the first right and freeze in the doorway. There’s a cleaning zombie to your left and another, sound-sensative zombie at the back of the room who is tougher. Toss a bottle just past the cleaning zombie — don’t hit her or she’ll come right for you. You want her to face away from you. The sound will draw the angry zombie who should kill the cleaning zombie (you’ll get an achievement).
When she’s down, cut to the right and loop around behind the IV-carrying zombie. Hemolytic him from behind. He’ll drop a Transfusion Bag that you can use to fill your Blood Collector (but don’t yet). Suck up the blood the other zombie was cleaning.
Back at the entrance, grab the Antique Coin and then go back to the right side. There are two vases to smash, both with Handgun Ammo. Cross all the way to the left and behind the desk. There’s another safe we can’t open and a Safe Replacements note. Turn around and open the drawer for some more Scrap. Use it to make another Hemolytic Injector (and then you can dump the Transfusion Bag in).
Pantry
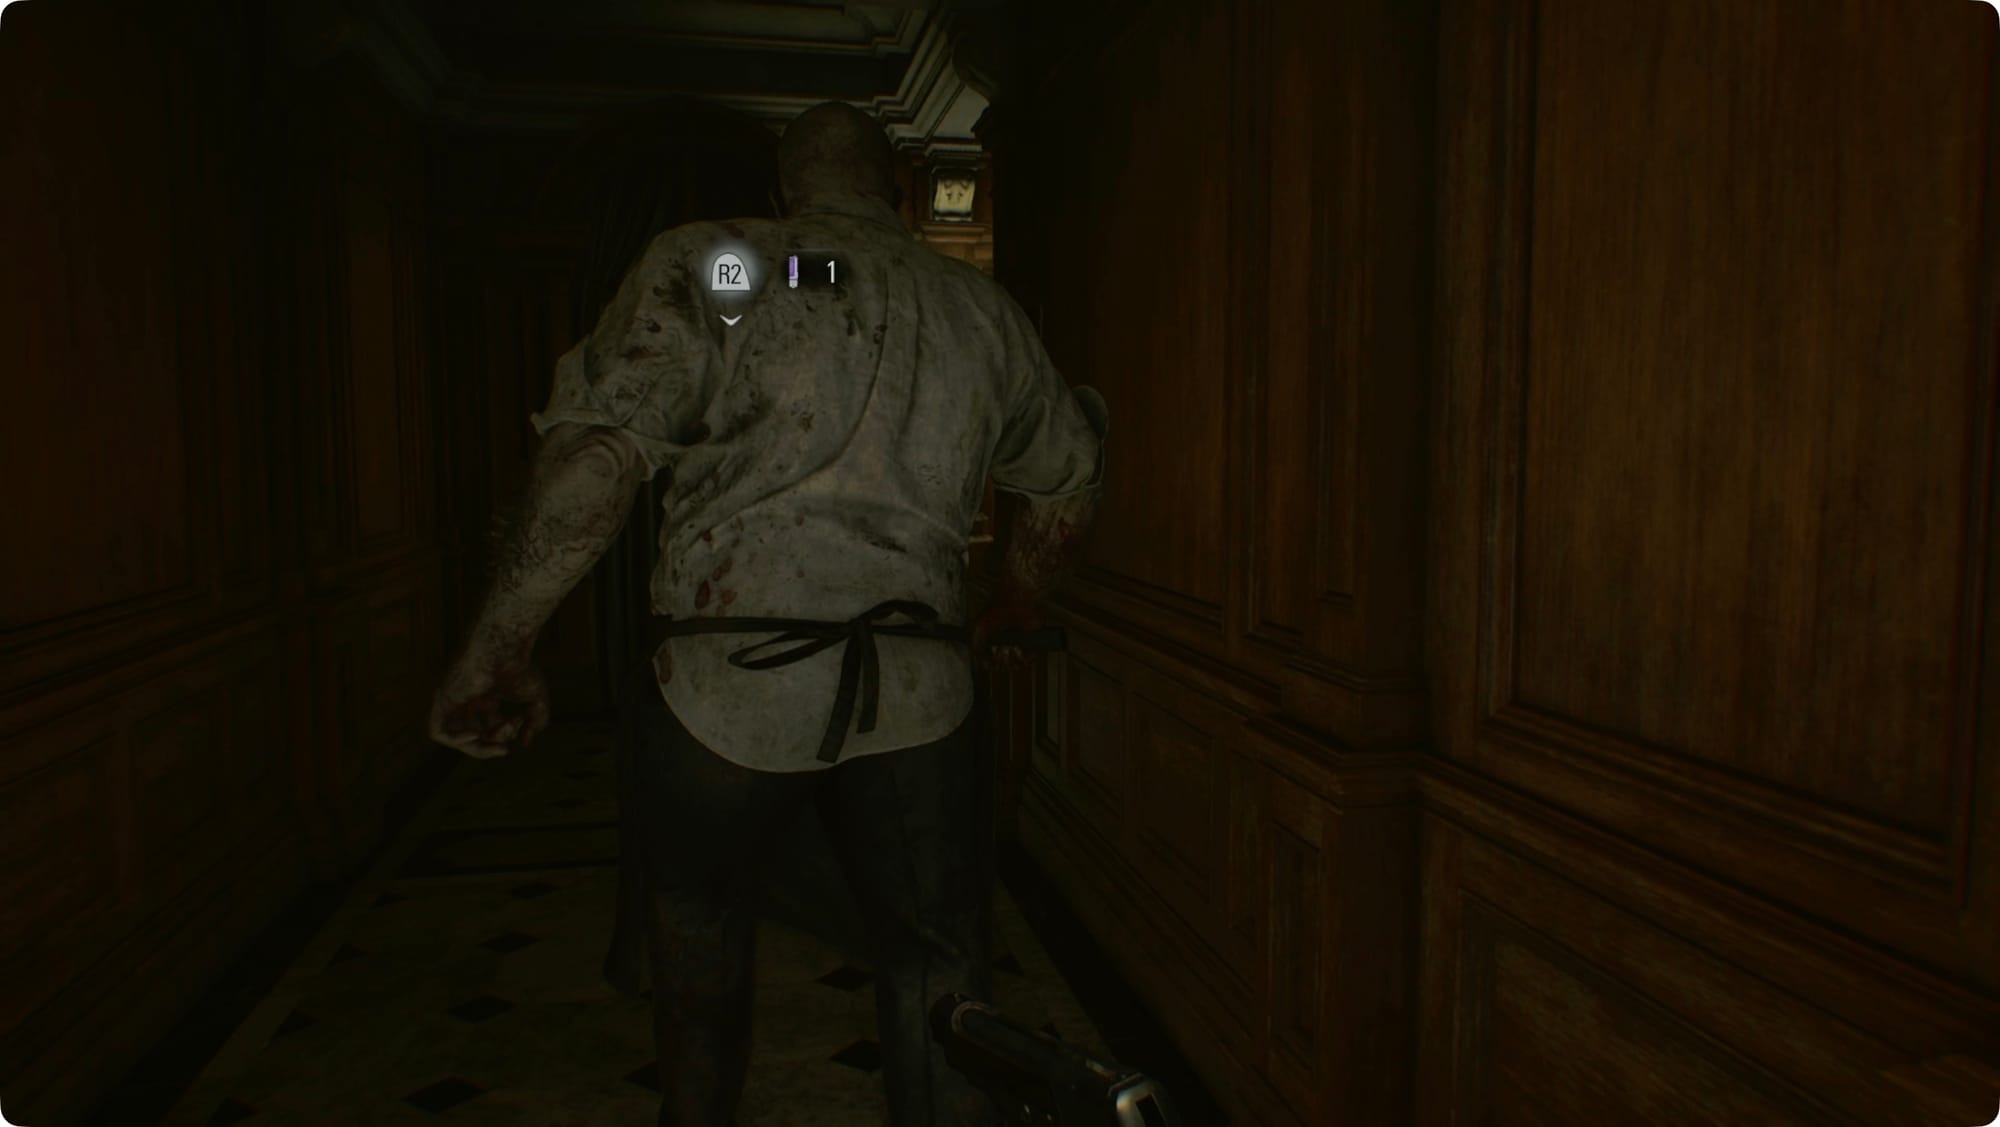
Unlock the door leading west and cross back to the West Wing. Pause in that first hallway until you know where the patrolling butcher is. Wait for him to pass, and then Hemolytic Injector him. He’ll drop the Pantry Key.
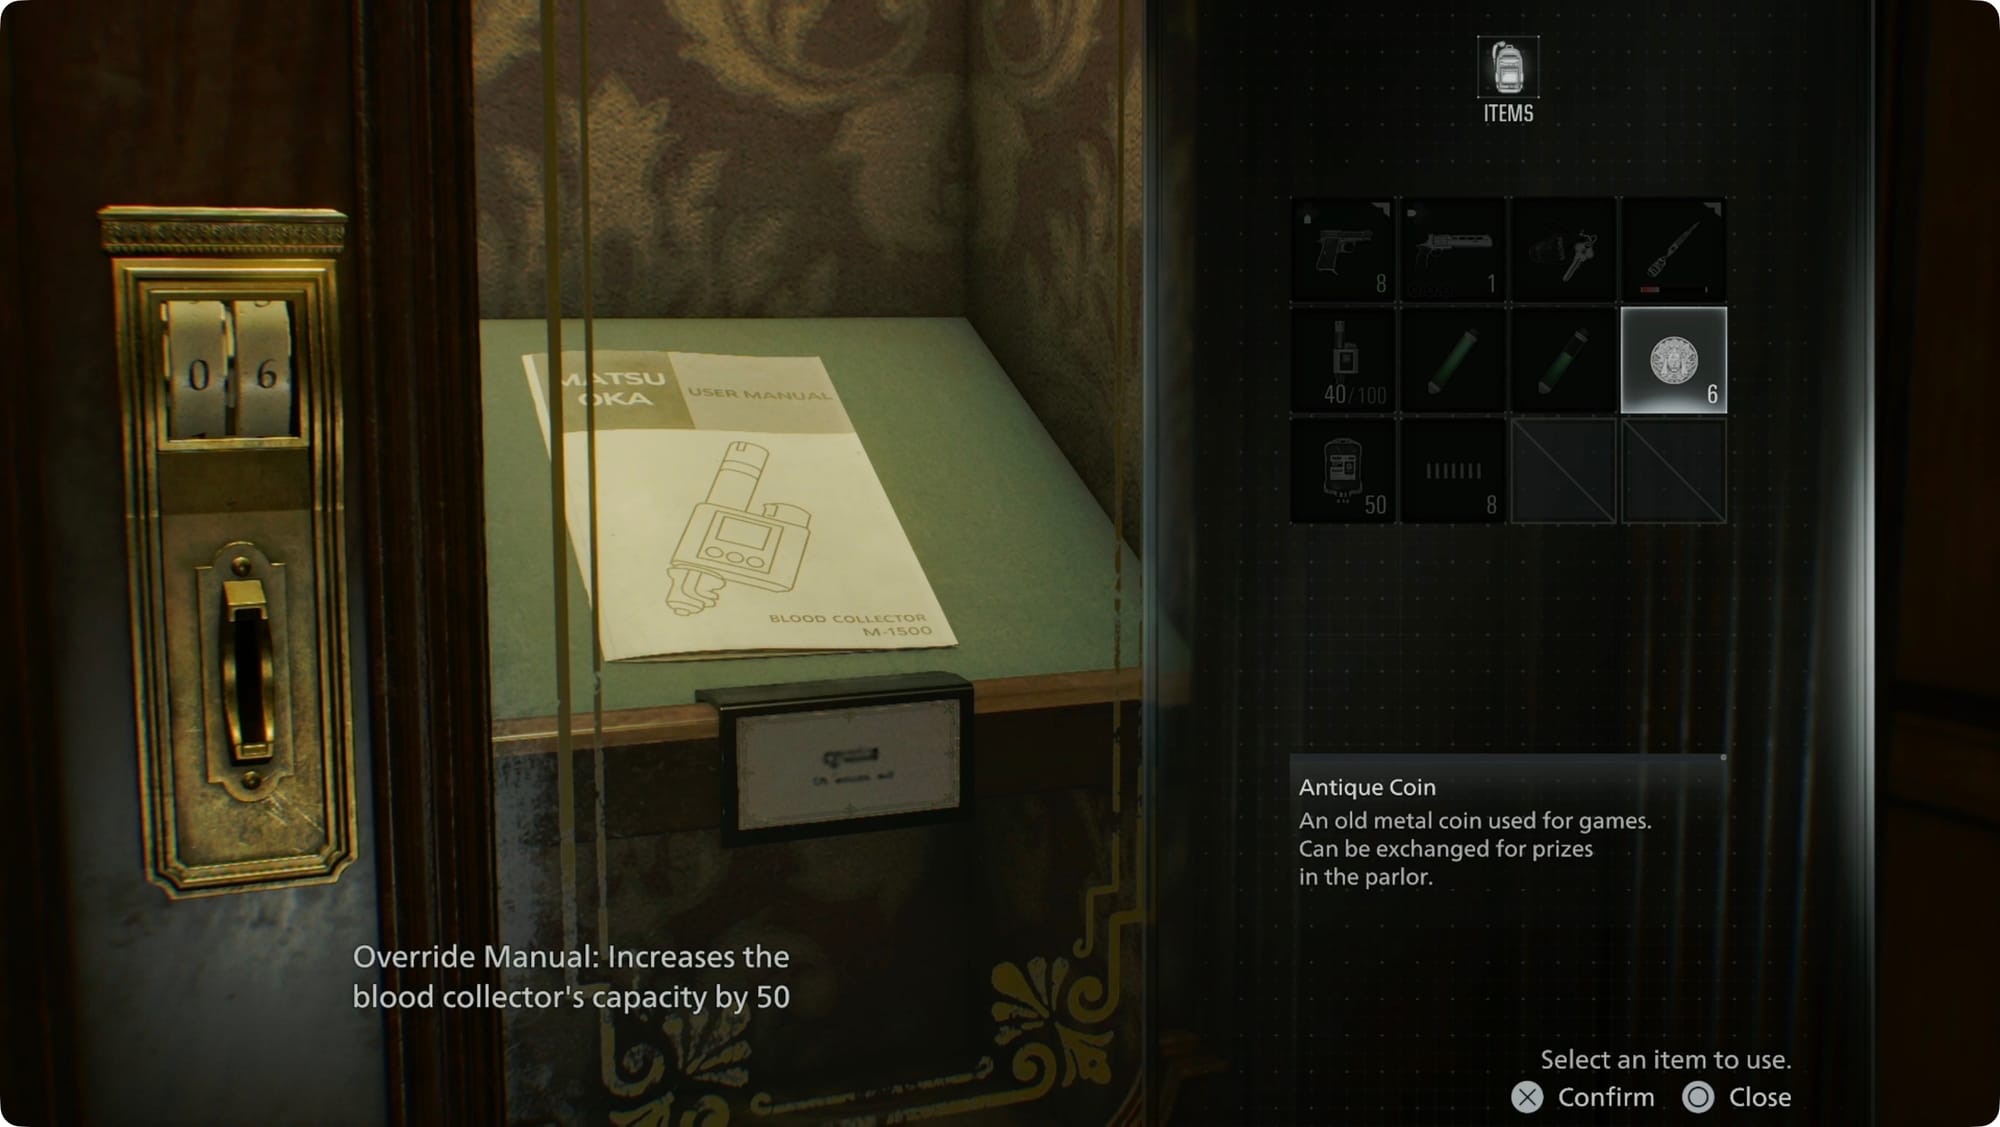
Duck into the Parlor and buy the Override Manual for the six Antique Coins you have. This increases how much blood you can collect.
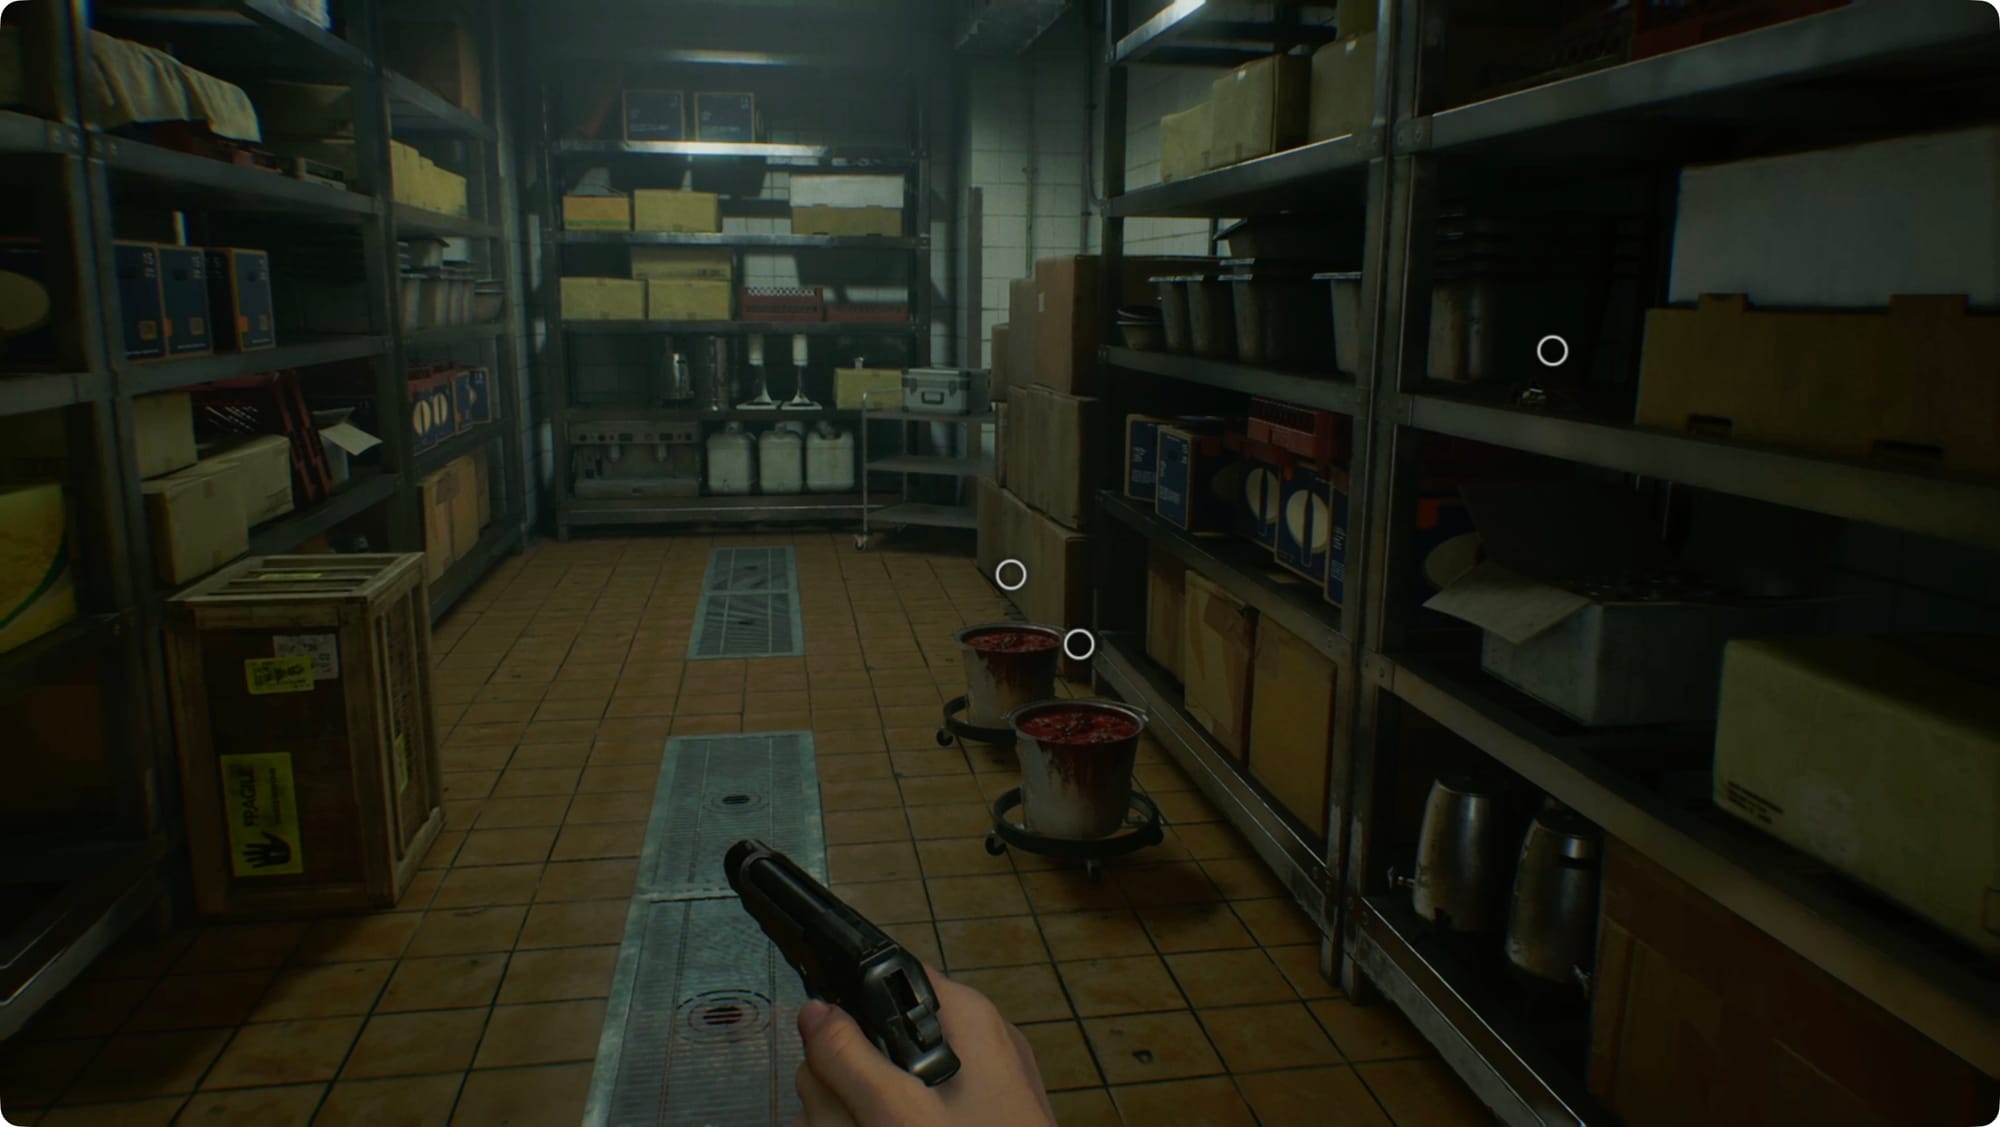
Keep going to the Kitchen and unlock the Pantry. Grab the Scrap and collect both buckets of blood to make another Hemolytic Injector. Smash the crate for some Handgun Ammo. Open the box at the back for one 12.7x55m round for Requiem (and reload it to free up the inventory slot). There’s also a Stakeout Takeout Charm there.
Head back to the lobby save room and drop off the charm — the inventory slot is too valuable. Save, and then head back into the East Wing.
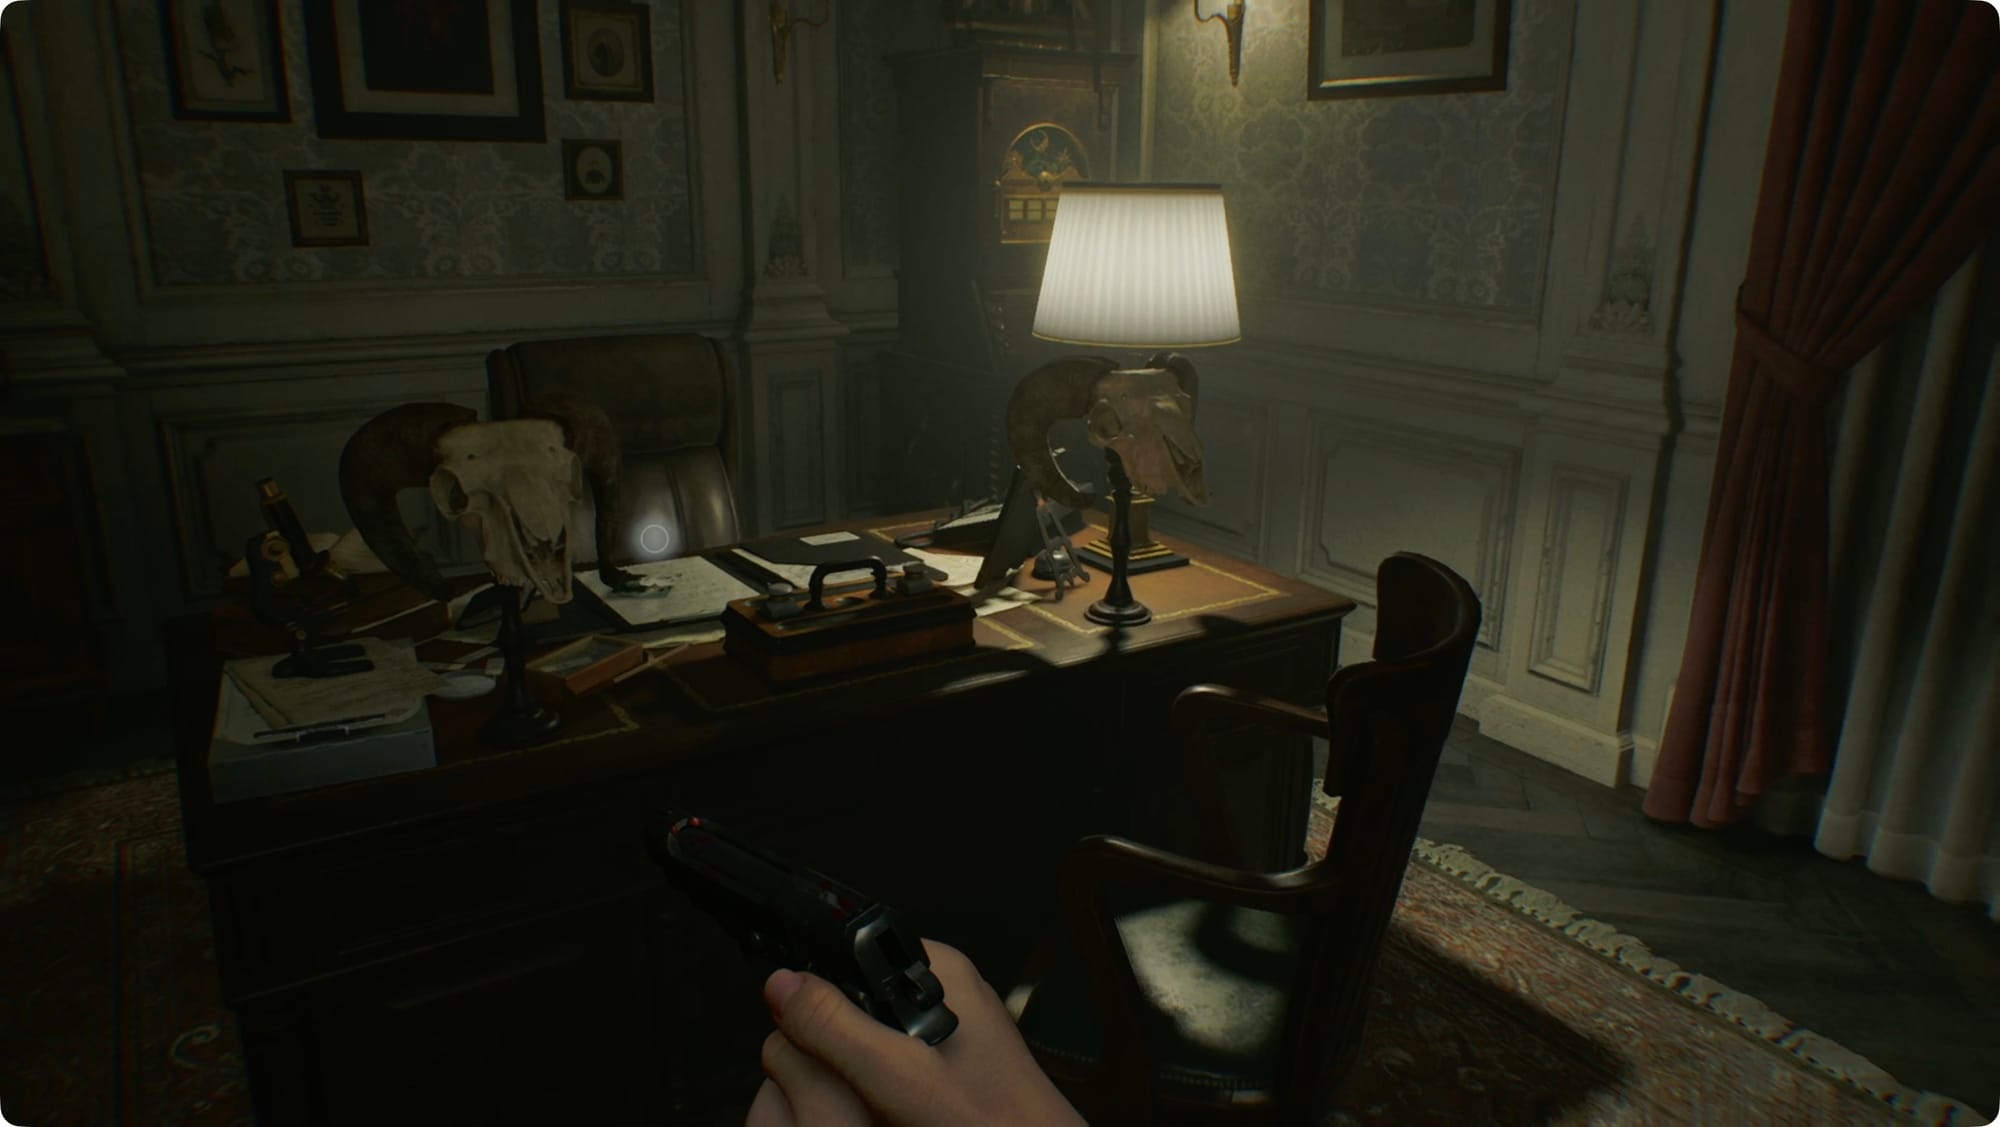
Lead Researcher’s Office
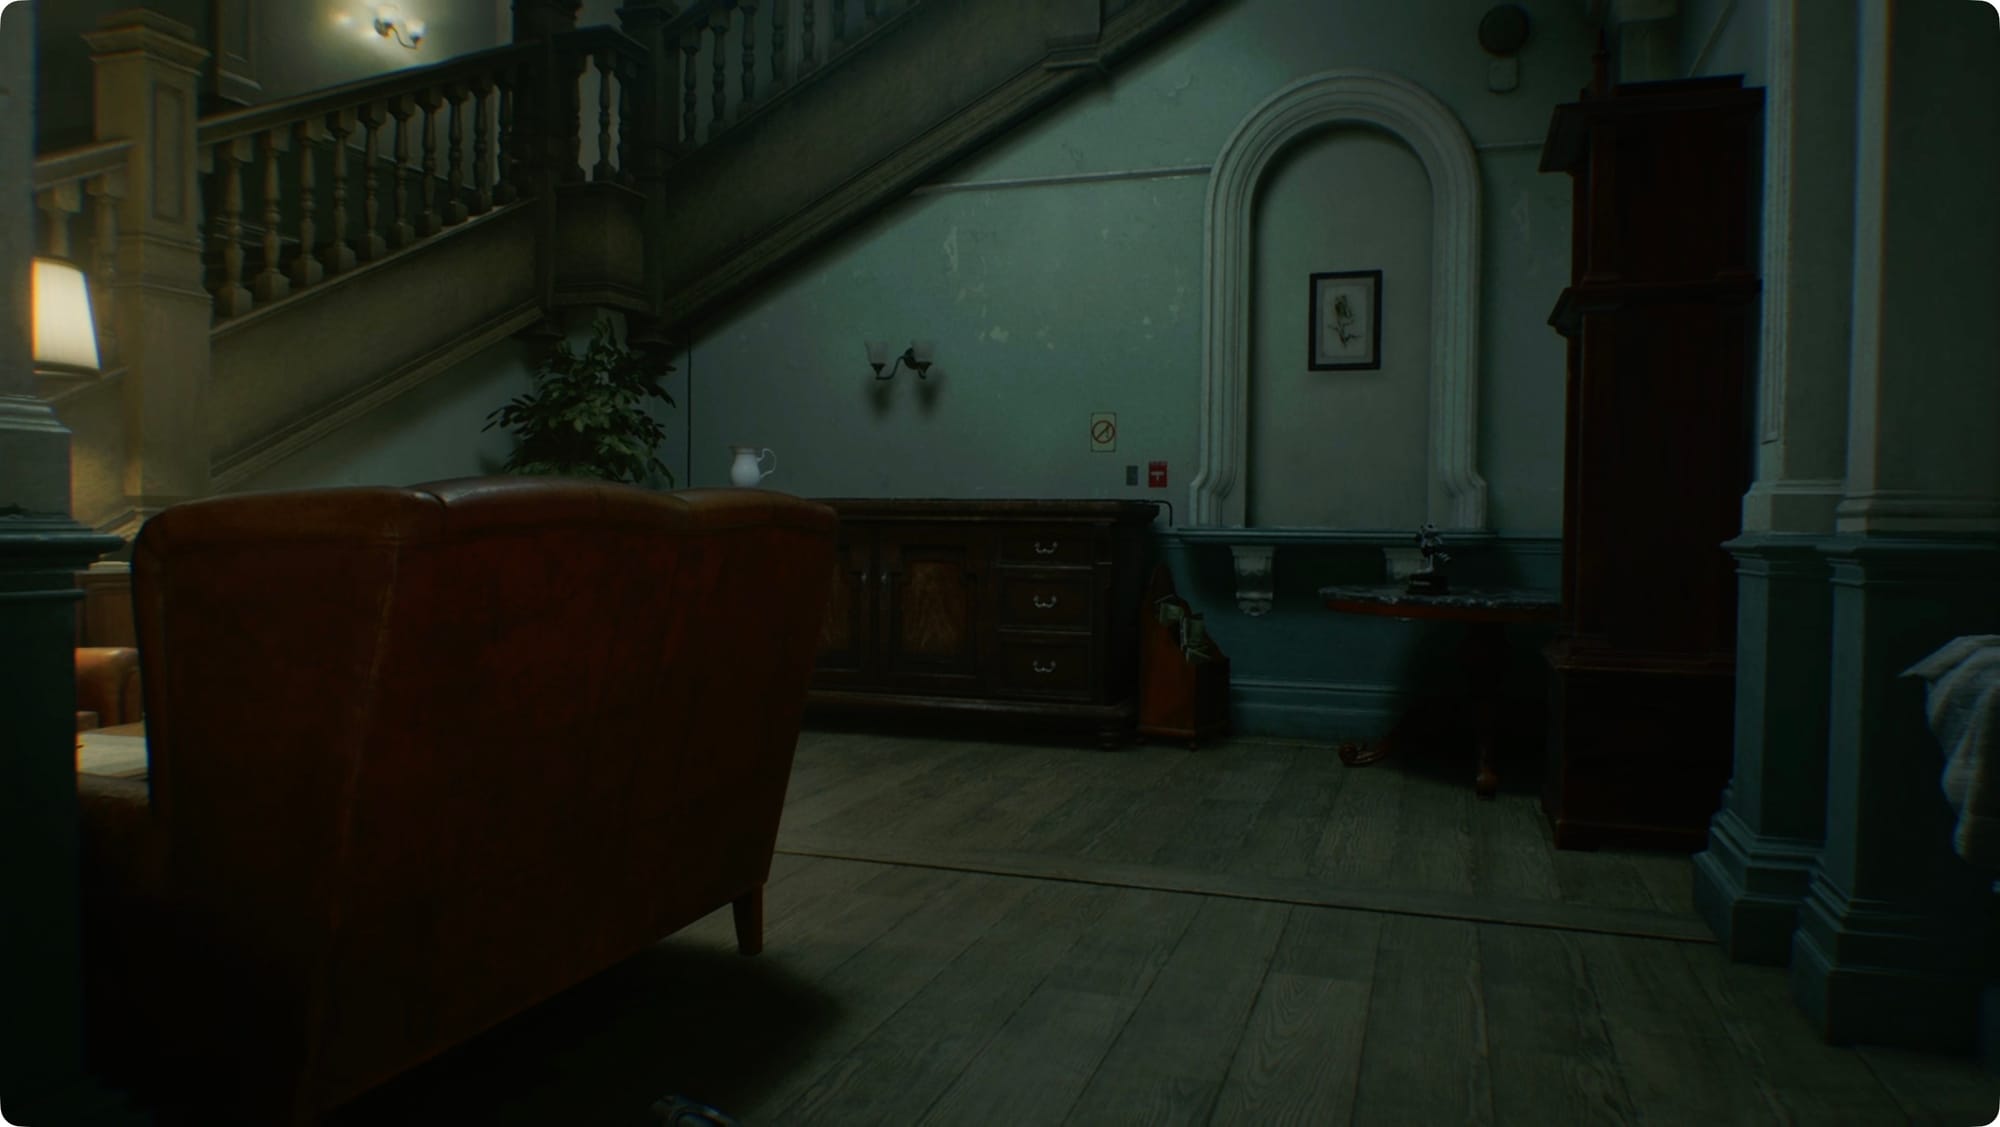
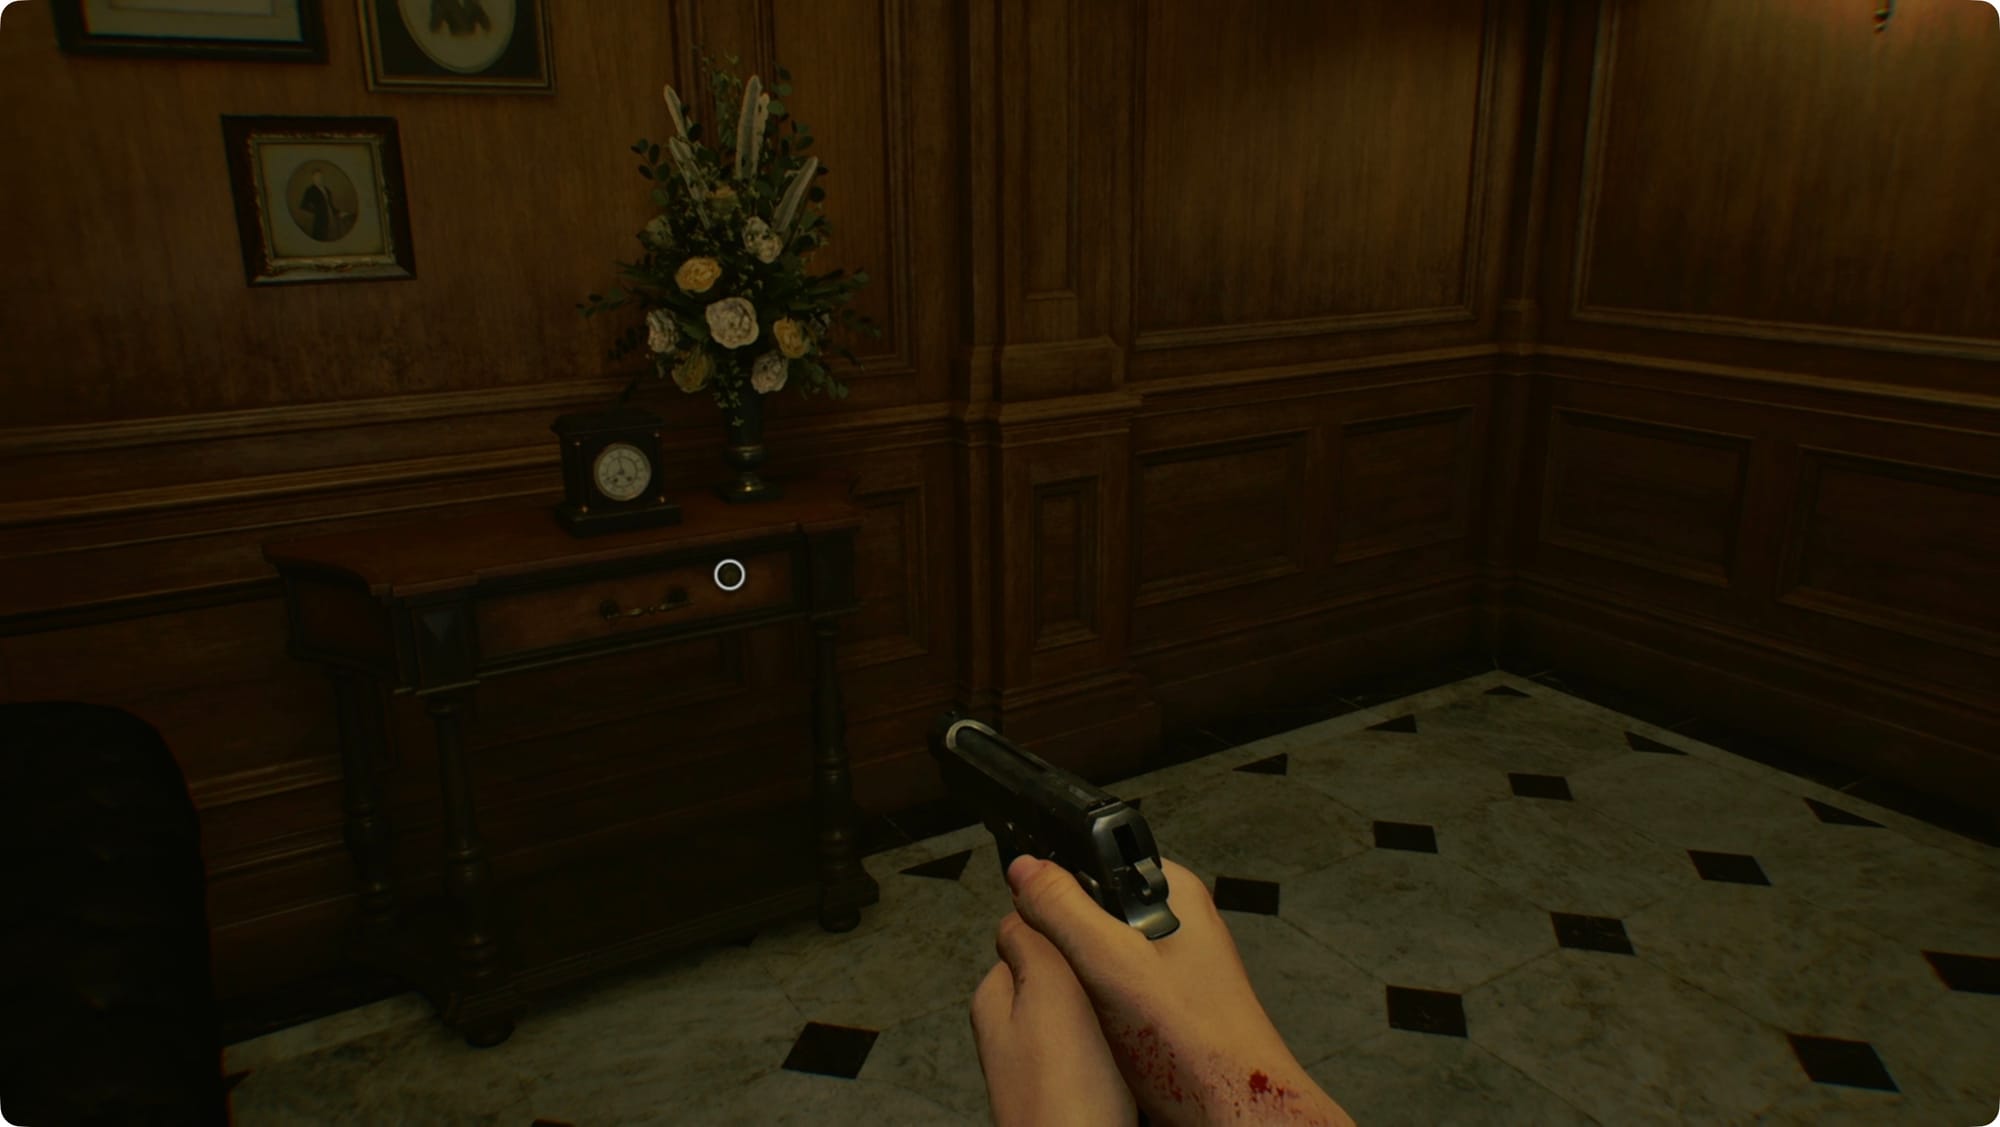
Cut back through the Waiting Room and take a right. Ahead of you is another Mr. Raccoon. There’s another Antique Coin on the coffee table.
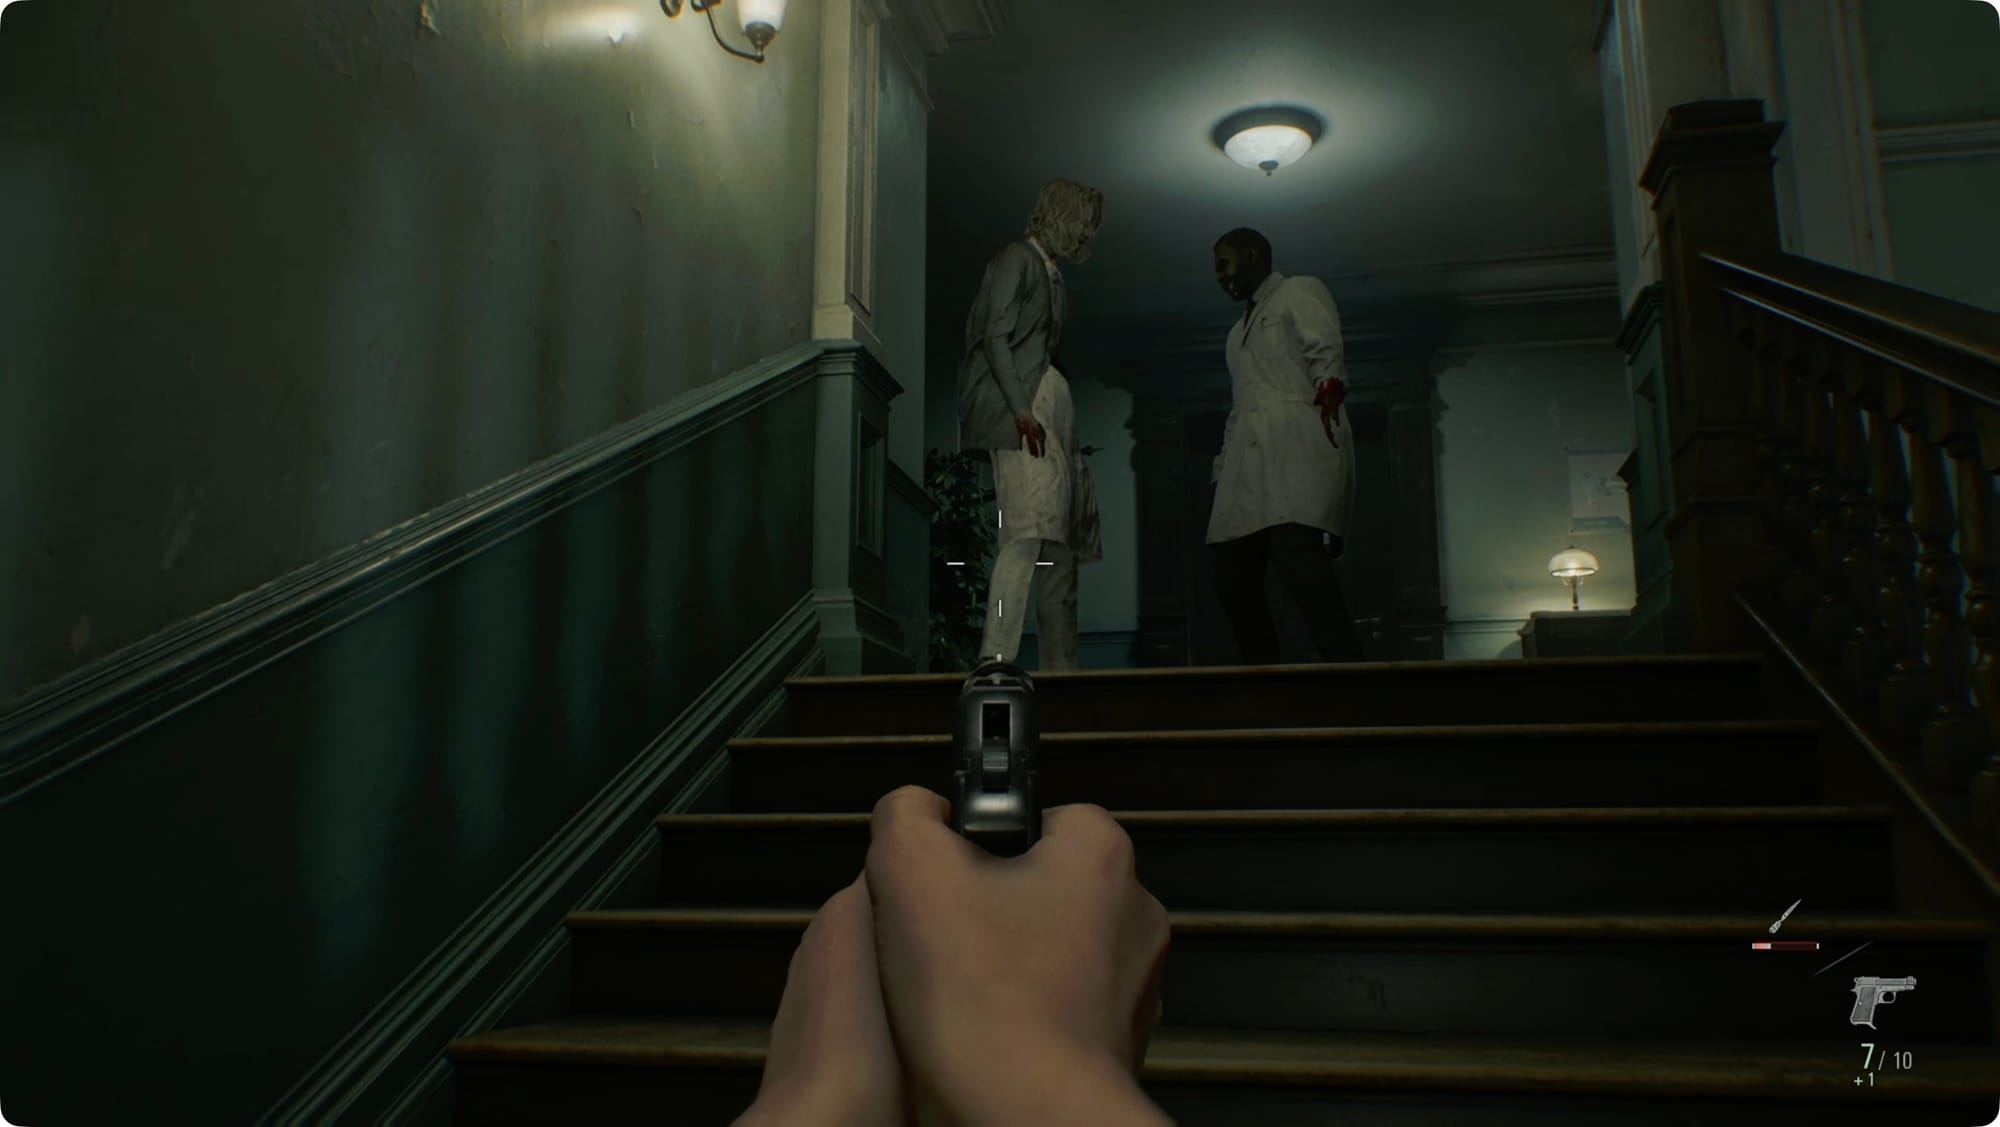
When you’re ready, head upstairs. There’s no trick here, you just have to shoot the pair of zombies at the top. Suck up any blood you can and make another Hemolytic Injector if you have space for one.
At the top of the stairs, update your East Wing Map and then head into the Lead Researcher’s Office. Smash the vase behind the door for some more Scrap. Stick to the left, and grab the Lockpick. There’s a typewriter off to your right.
Past the typewriter, push through the door into the next room. Working counterclockwise, grab the Green Herb, Lead Researcher’s Picture 2, Lead Researcher’s Picture 3, and Lead Researcher’s Picture 1. Picture 3 is a red herring. Pictures 1 and 2 give you another code for another puzzle box — Star, Sun, Moon, Sun — but the puzzle box in the corner is locked. Opposite the puzzle box, you’ll find the Lead Researcher’s Message with a hint for how to destroy that lock.
Meet (and kill) Chunk
Things’re about to get hectic, so let’s recap. You should have at least one Hemolytic Injector in your inventory and Requiem should have two bullets. That’s all we have to worry about right now.
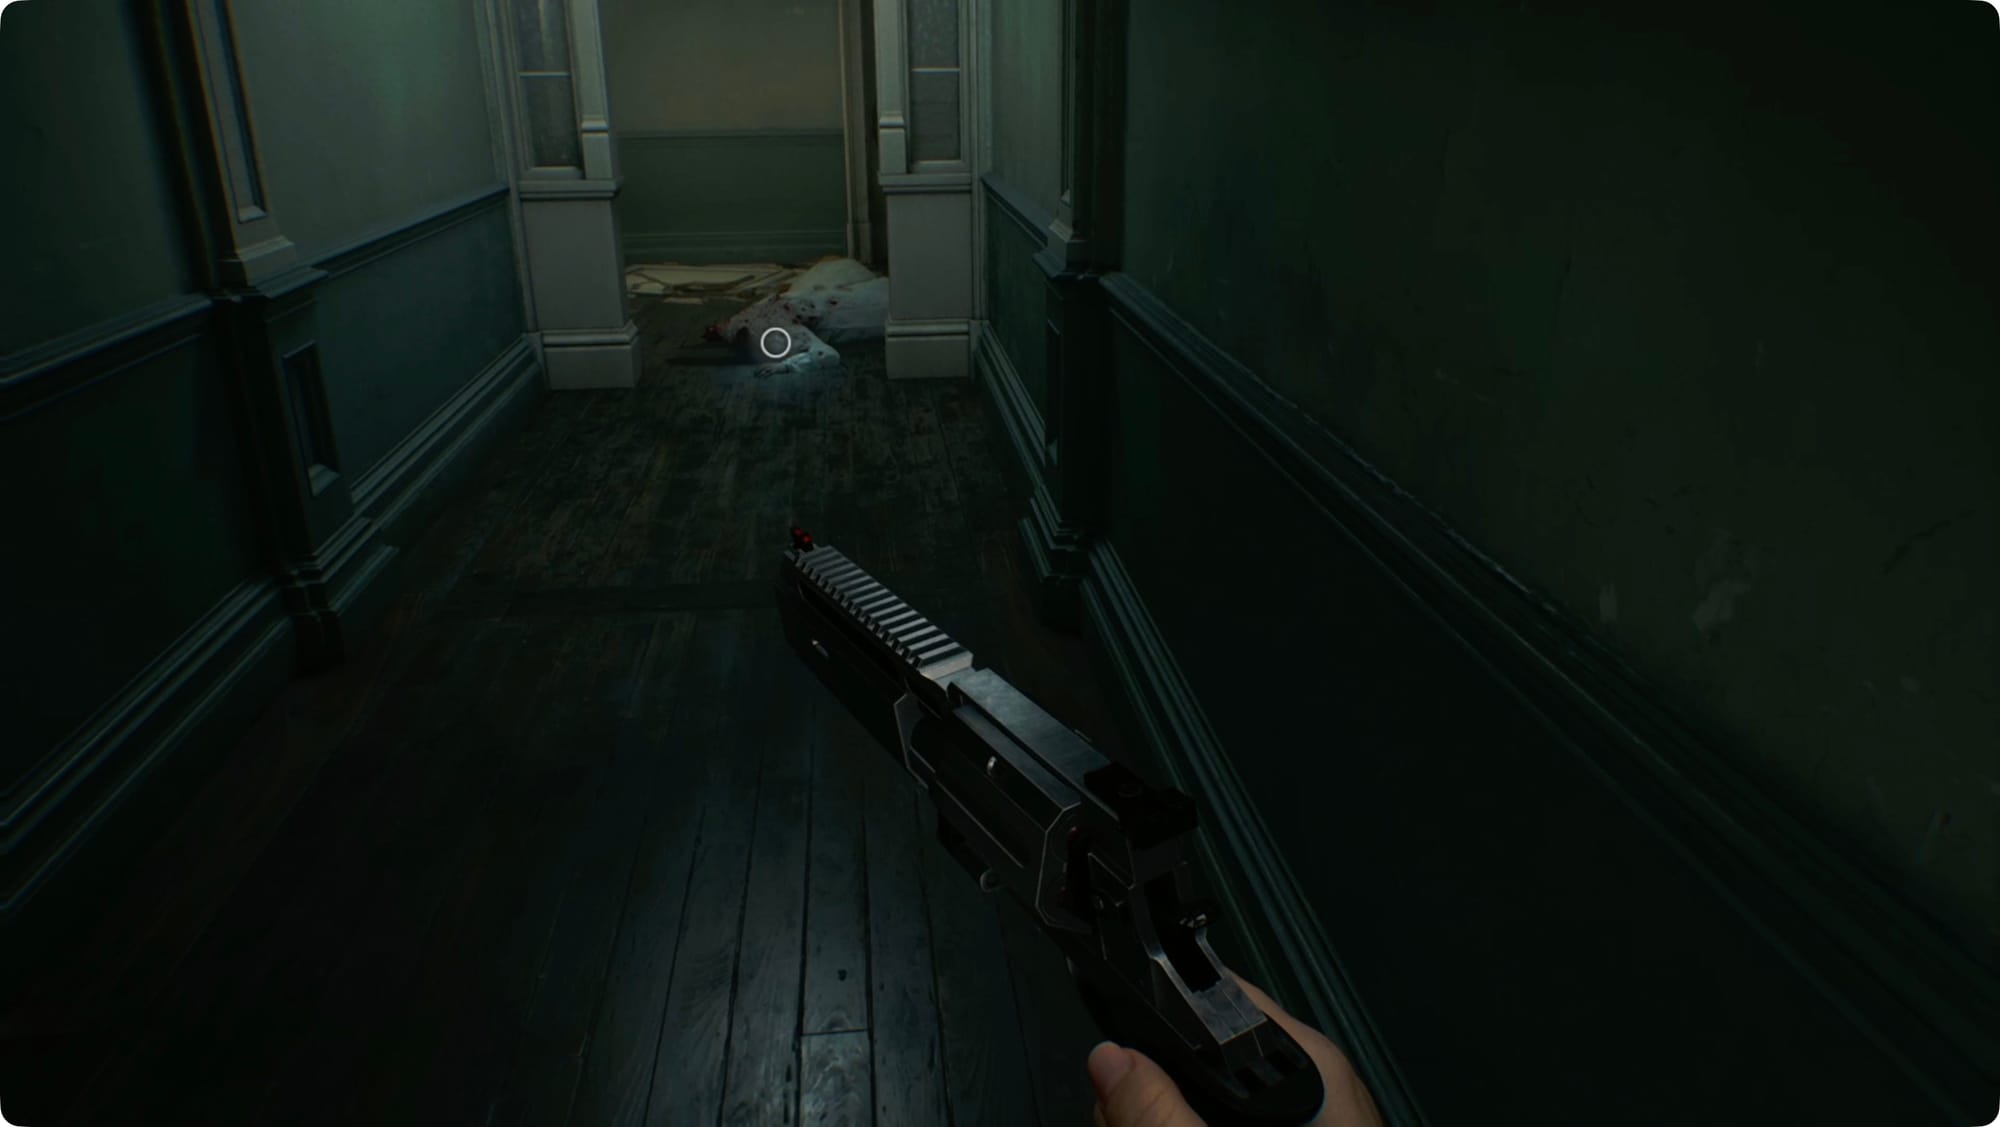
Step back into the hallway and take a left. At the end of the hall, there’s a corpse with an ID Wristband (Level 1). As soon as you grab it, though, you’ll meet Chunk, a hall-filling zombie with a foul mouth.
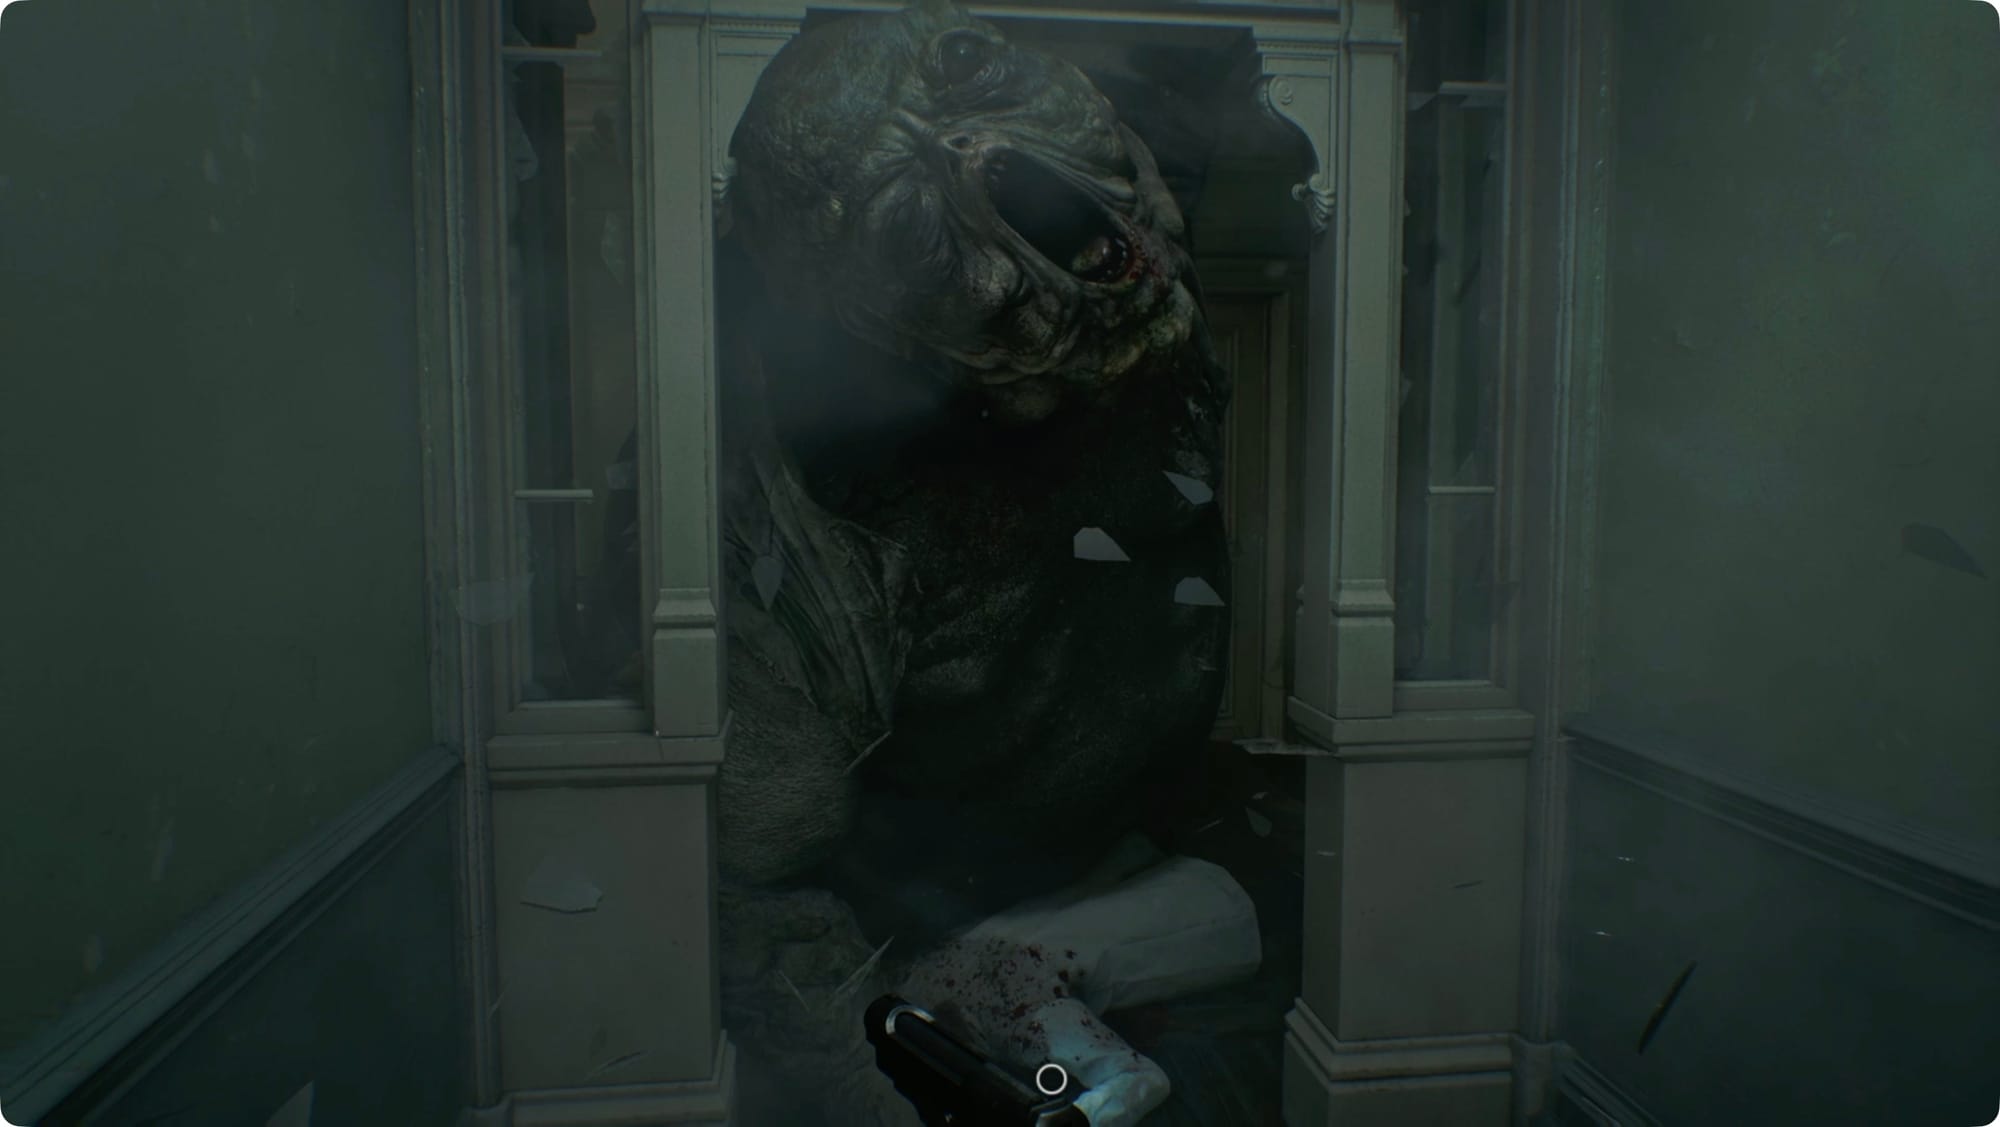
You can outrun him easy enough and he can’t fit through doorways, so you’ve got options here. However, for the next step to work, you can’t run into the office (I don’t understand why — I think because he doesn’t turn around in the hallway). Instead, run downstairs and back into the Waiting Room.
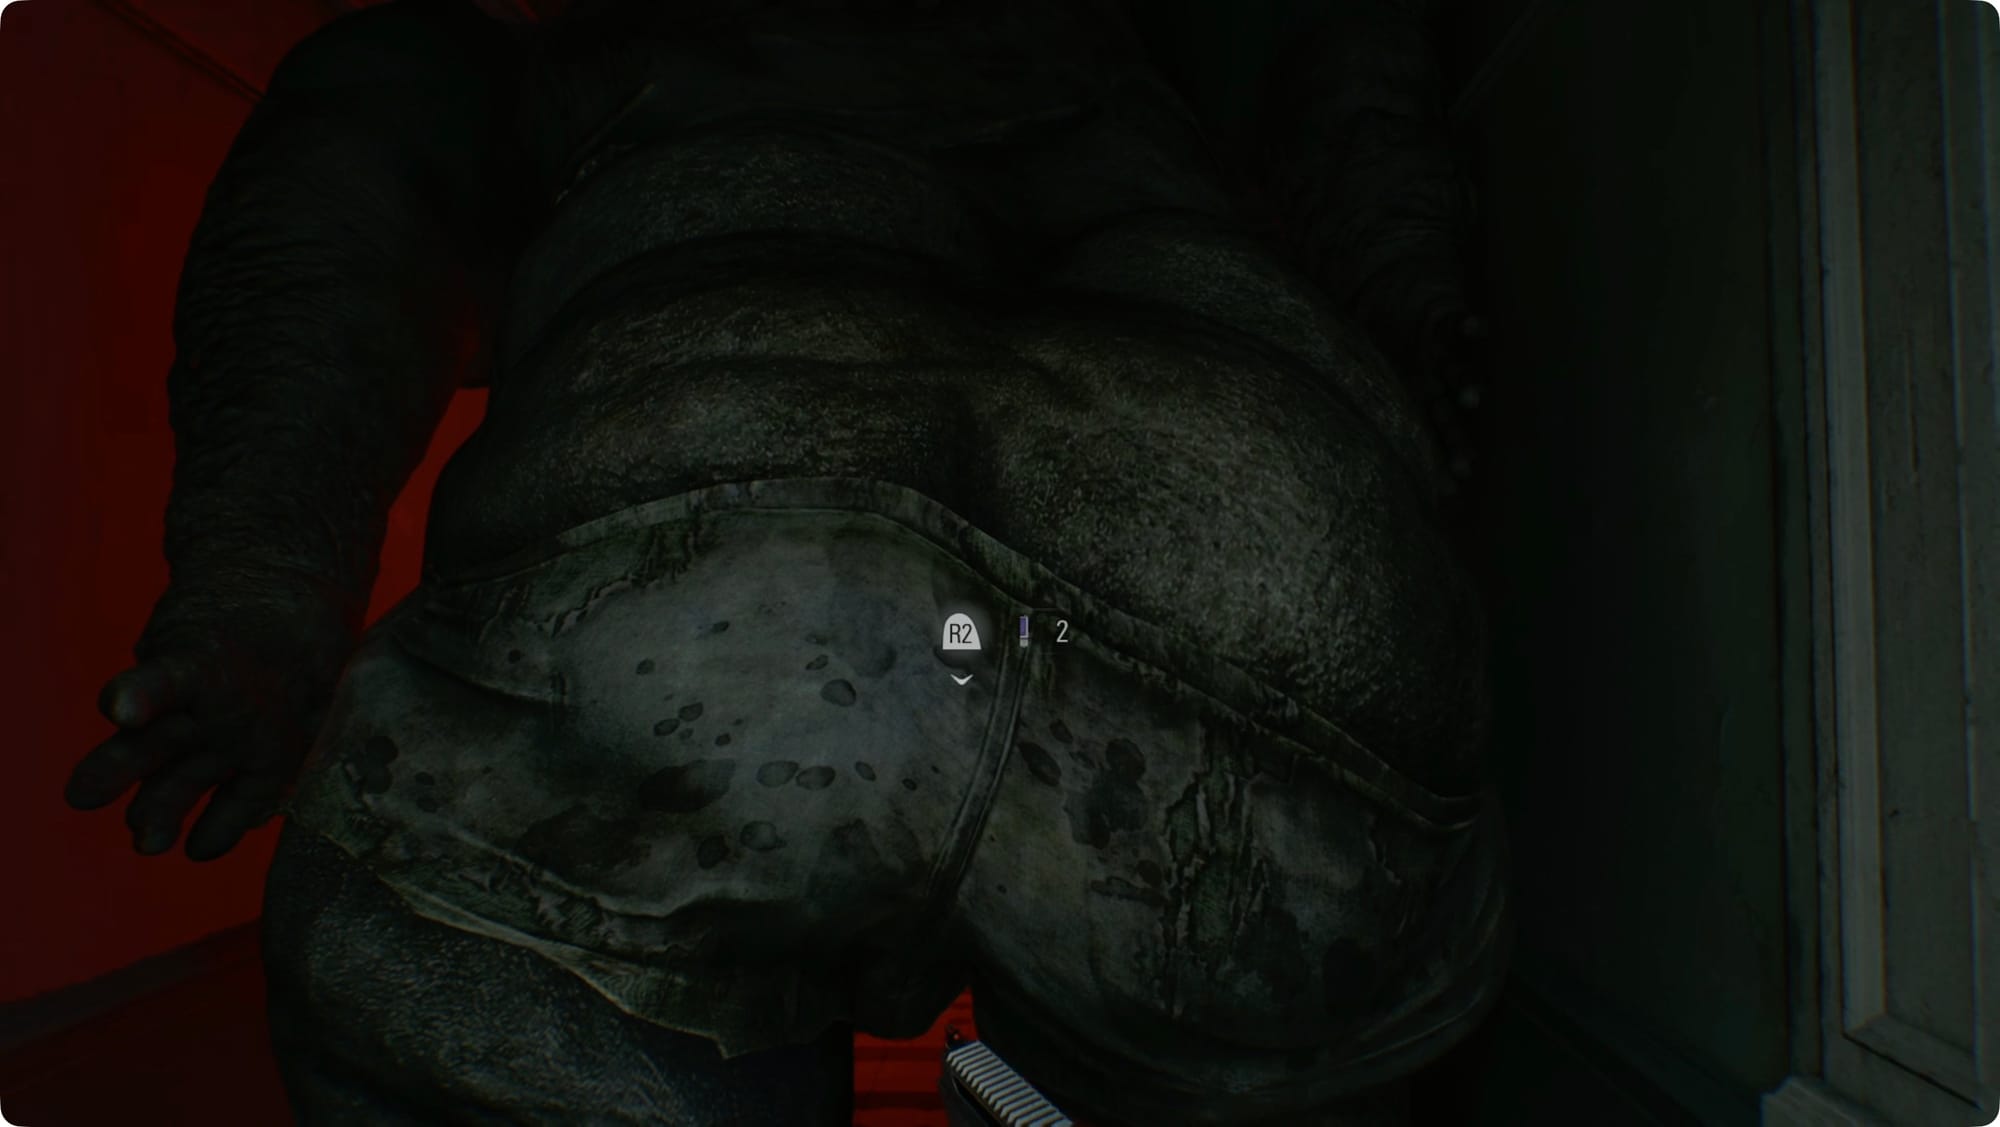
Back up from the doorway a bit and wait for Chunk to show up. Stay out of reach and wait for him to back up. When he starts down the hall, run out behind him and put a Hemolytic Injector into his butt. Run back to the Waiting Room.
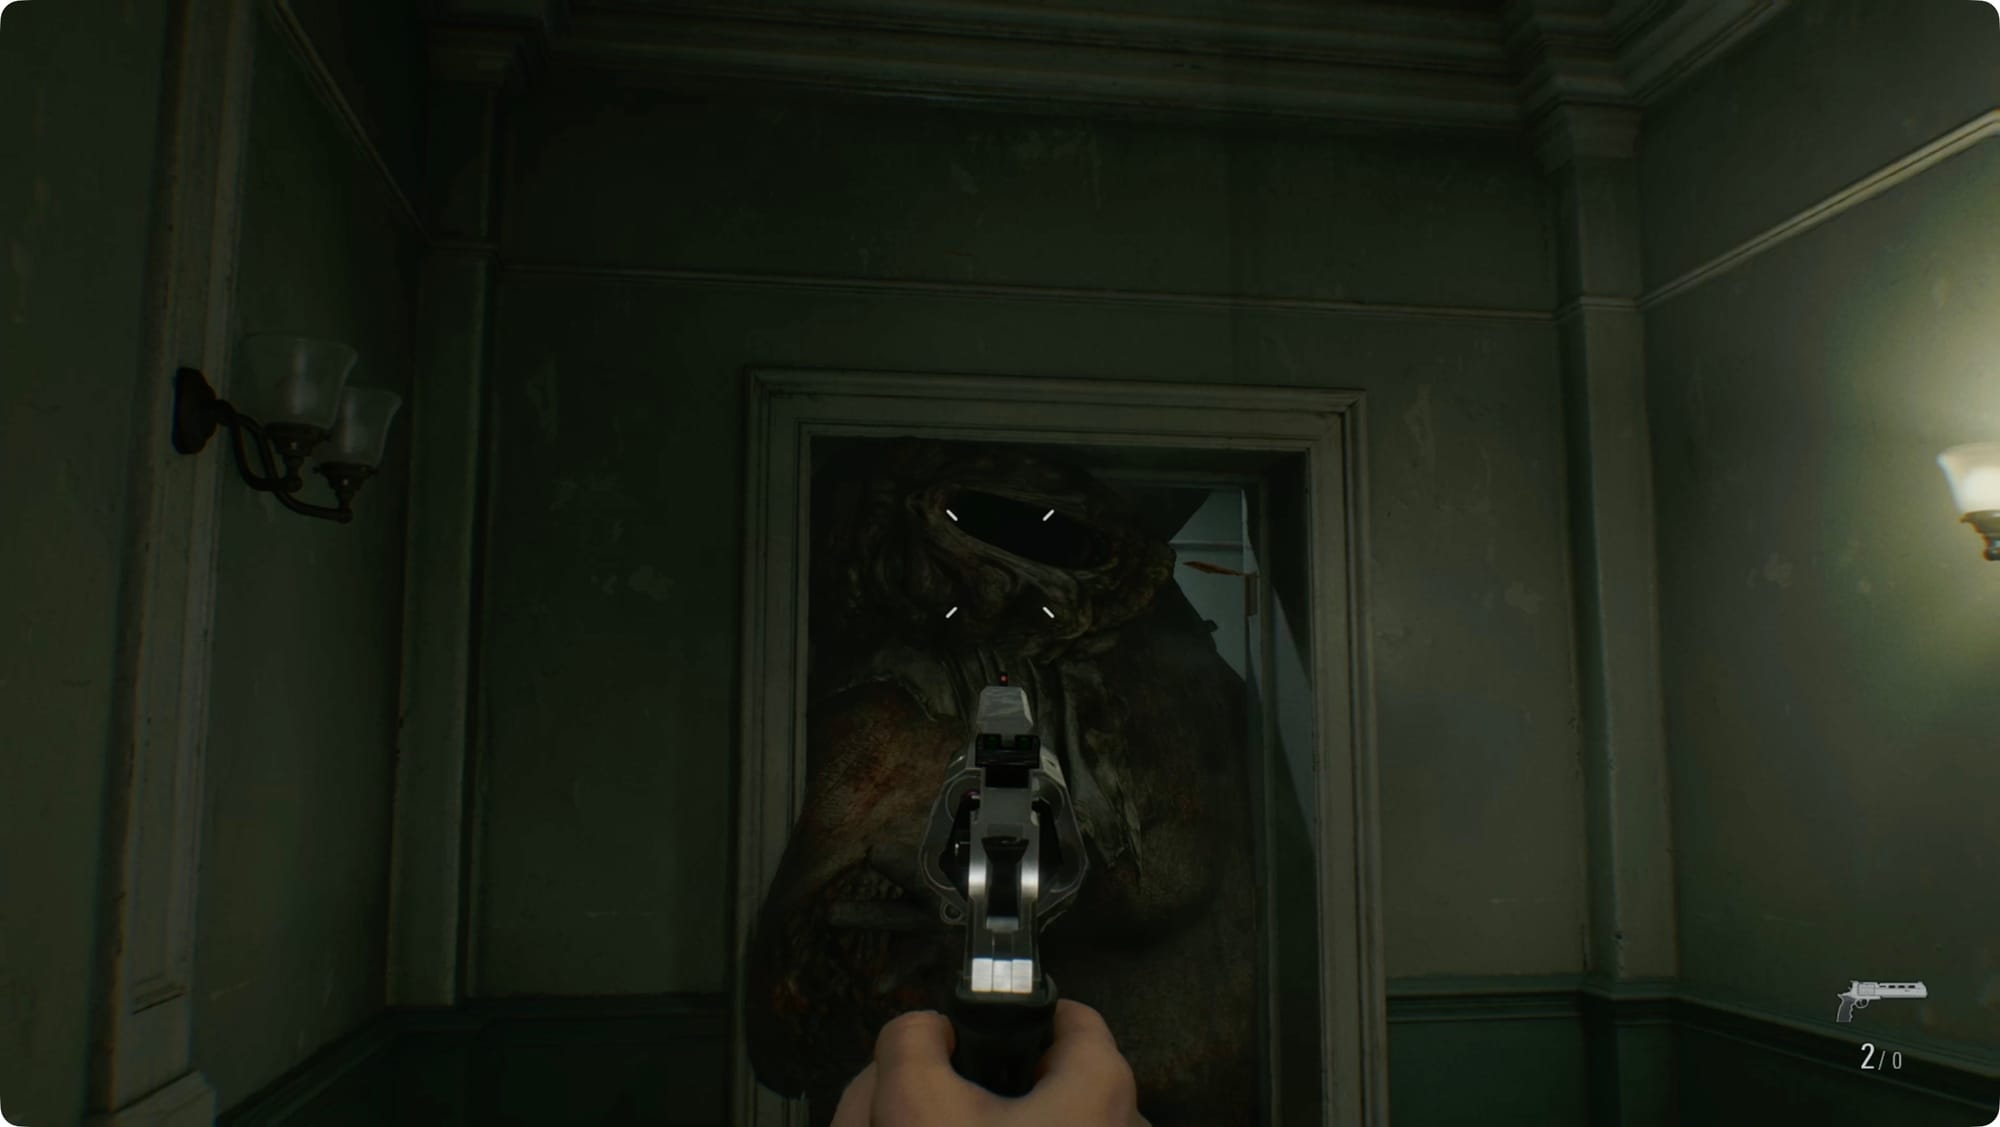
Put both of your Requiem rounds into his skull to deflate and kill him. He’ll drop the Eye Spy Charm. You’ve earned a break (and really need that inventory slot), so run back to the Item Box and save.
Filing Room
We’ve got three doors to use that ID Wristband on and one lockpick (so far) to use. We're about to get a ton of supplies, so it's worth a stop in the Central Hall to save and use the Item Box.
Let’s start with the farthest Level 1 door.
Head back into the East Wing and through the Dining Room to the Filing Room. You should be clear, but you might have to put down one zombie around the Filing Room.
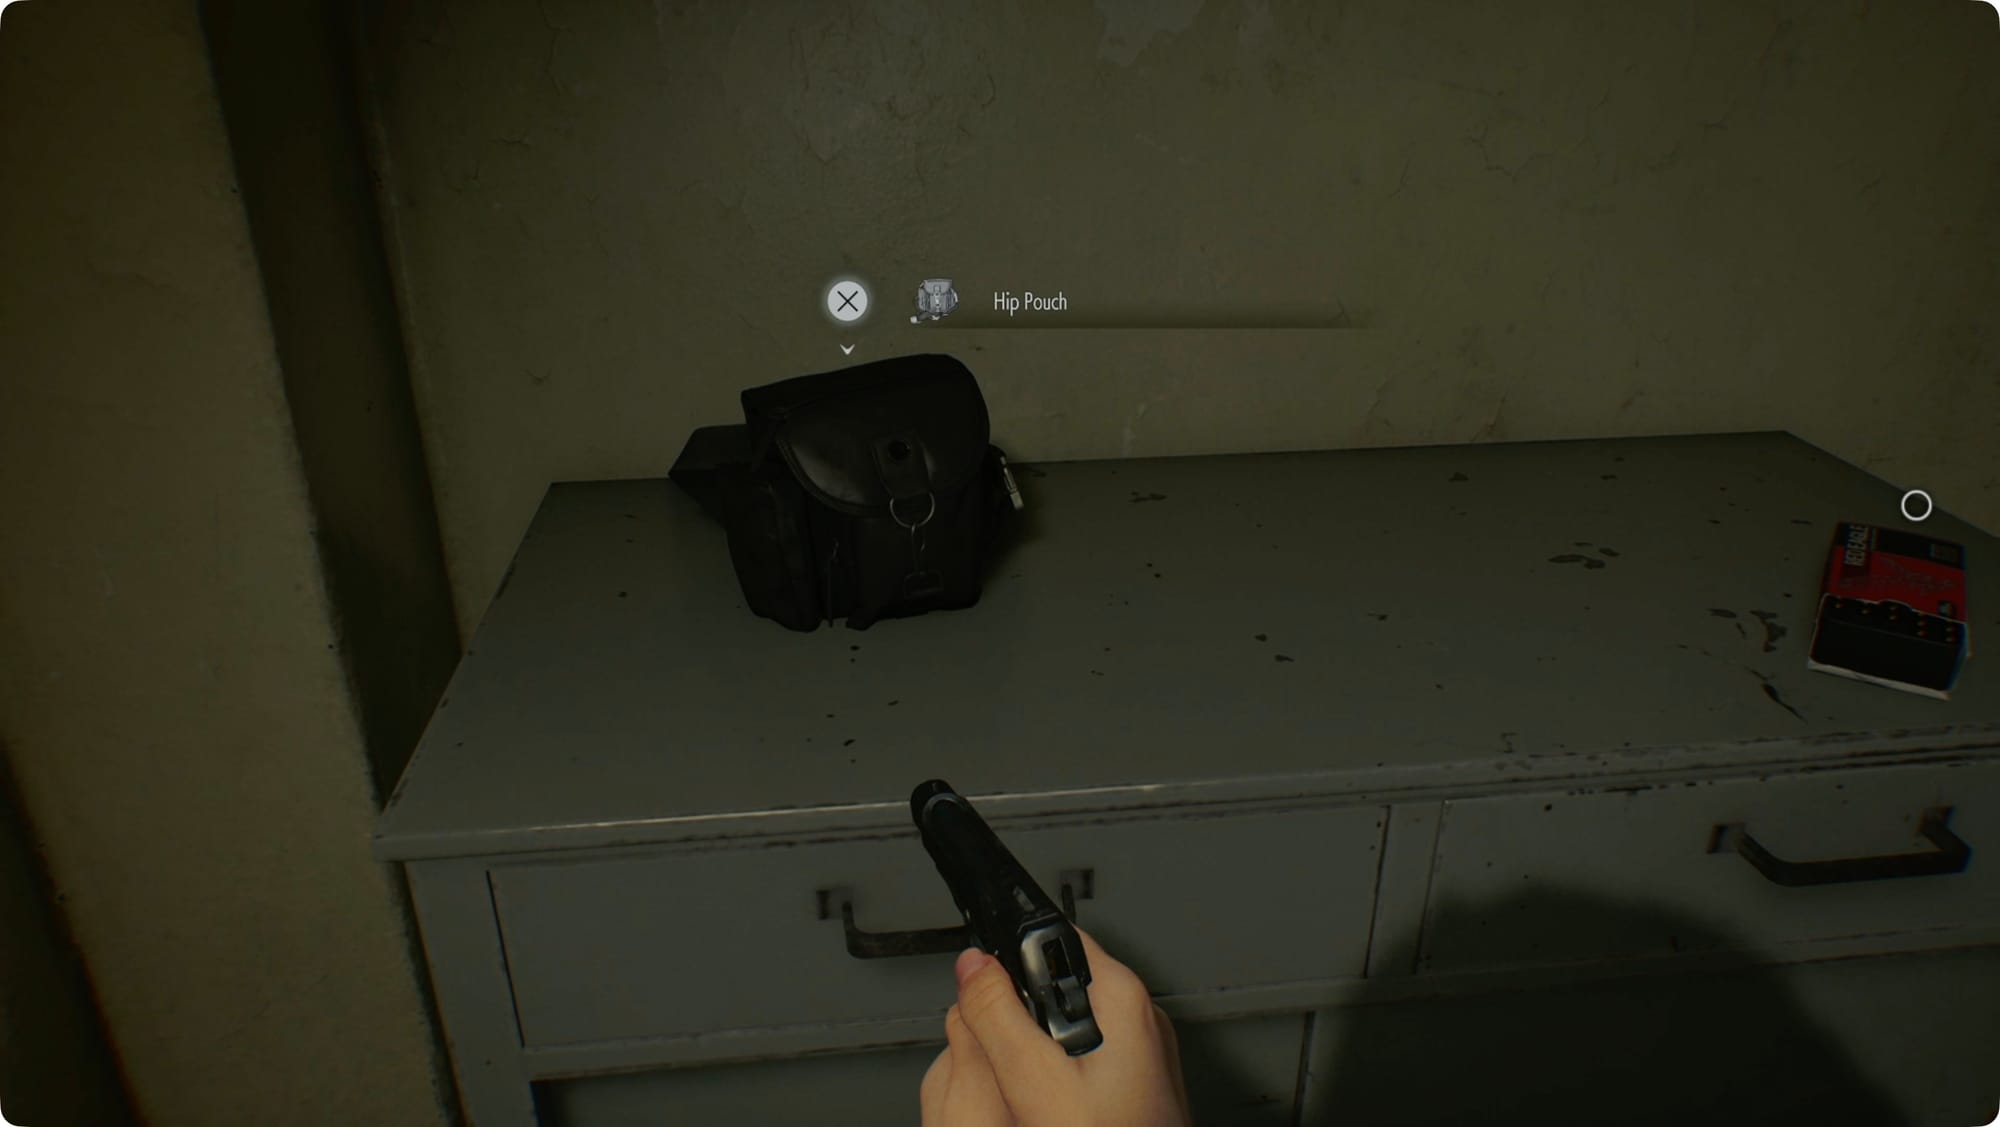
When you get there, use the ID Wristband on the door to access the back room. There’s a wardrobe we can’t open yet, but that doesn’t matter because there’s another Hip Pouch to grab. Pick up the Handgun Ammo as well.
Head back through the Dining Room again. Take a right in the hall and deal with the lights-out zombie you left there. Go to the far end to find that locked drawer from earlier. Lockpick it open for some Rare Metal.
Go back through the kitchen and out the south side. There’ll be a new zombie waiting for you. Shoot him a bunch (and top off your Blood Collector) and take a right. At the end of the hall, scan the bracelet again.
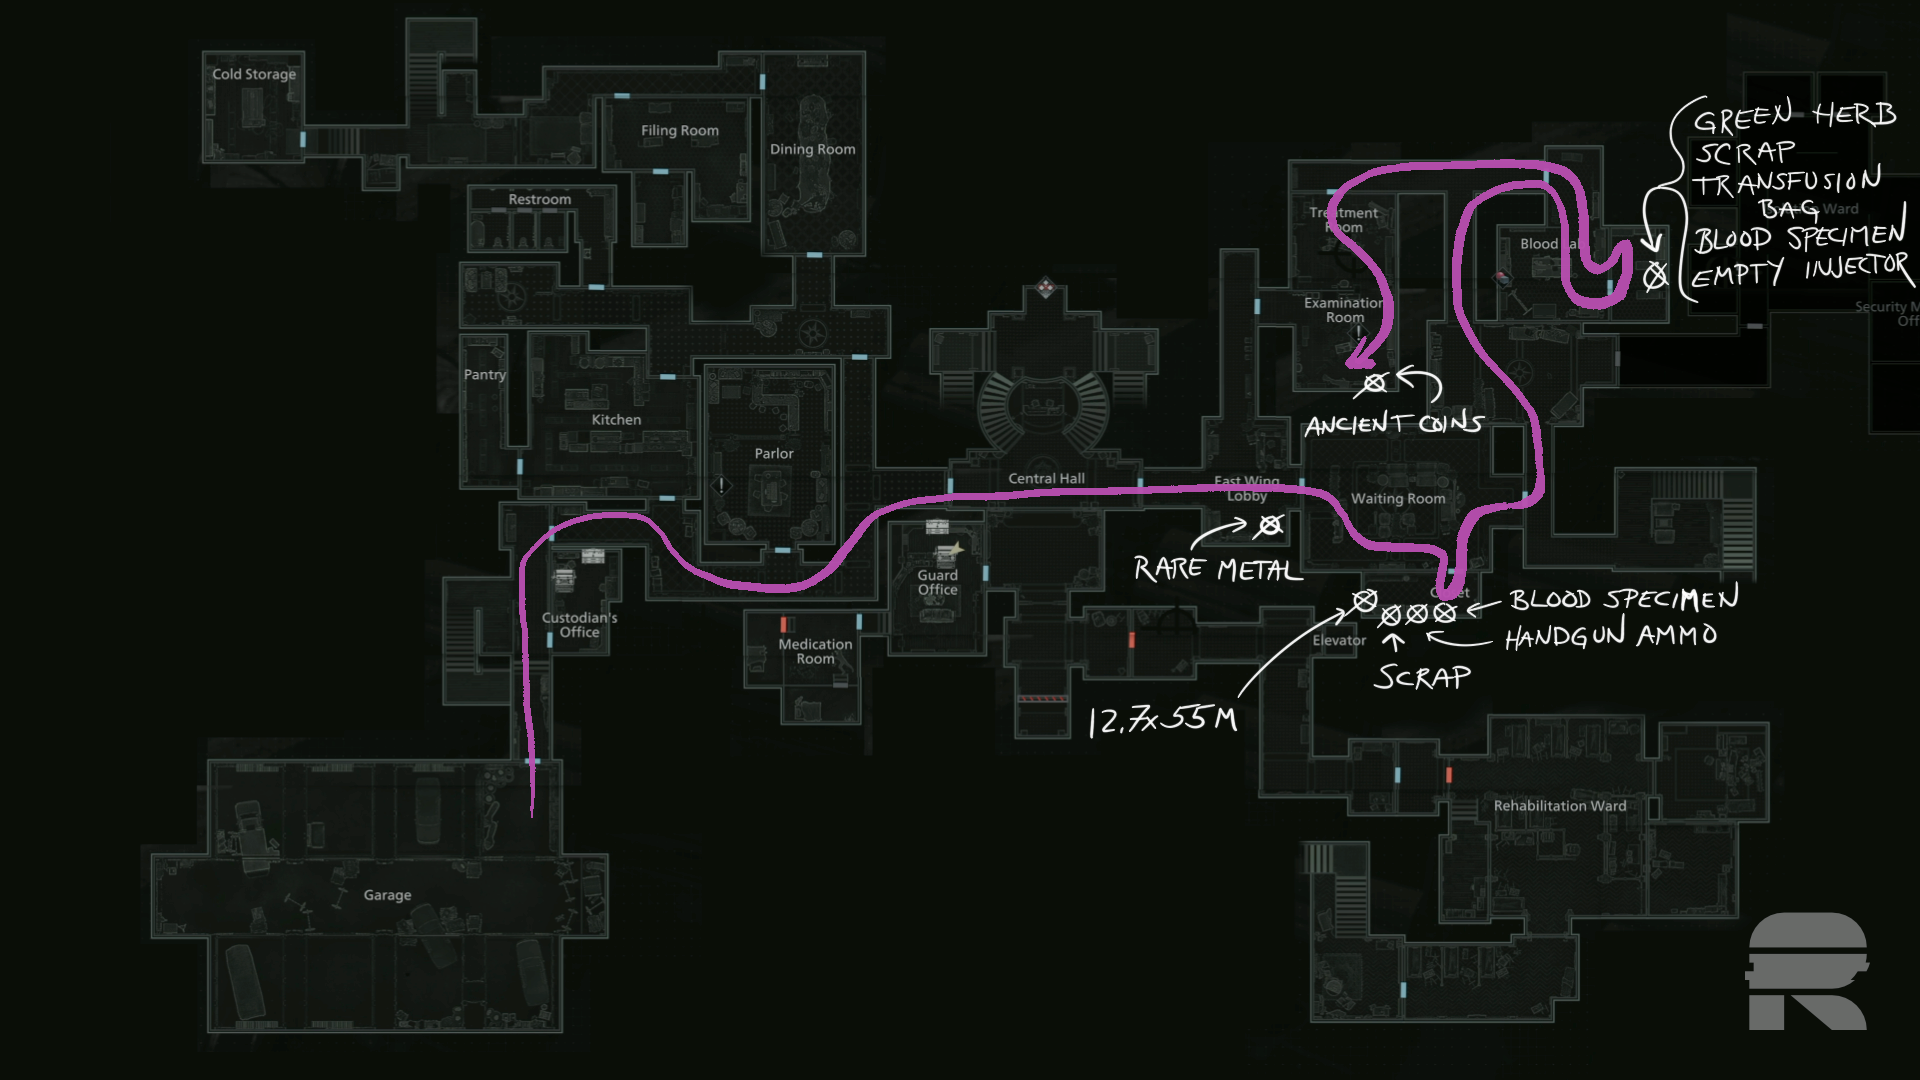
Grab the Green Herb and take a left. Ignore the stairwell on your right, watch the right wall for the Construction Notice, and go through the first door on the left to enter the Custodian’s Office. Grab the Scrap, and open the second locker for another Lockpick.
There’s an Item Box here if you want to drop anything off. Hit the save, and grab the Wrench from the desk next to the typewriter.
Office
We’re not going to the Garage yet — that sets off some other events we don’t need to deal with right now. First, head up the stairs you just passed. Smash the crate at the bottom for some Handgun Ammo. Take them up to the third floor for two more crates — one Handgun Ammo and one Scrap. I suggest making another Hemolytic Injector if you can.
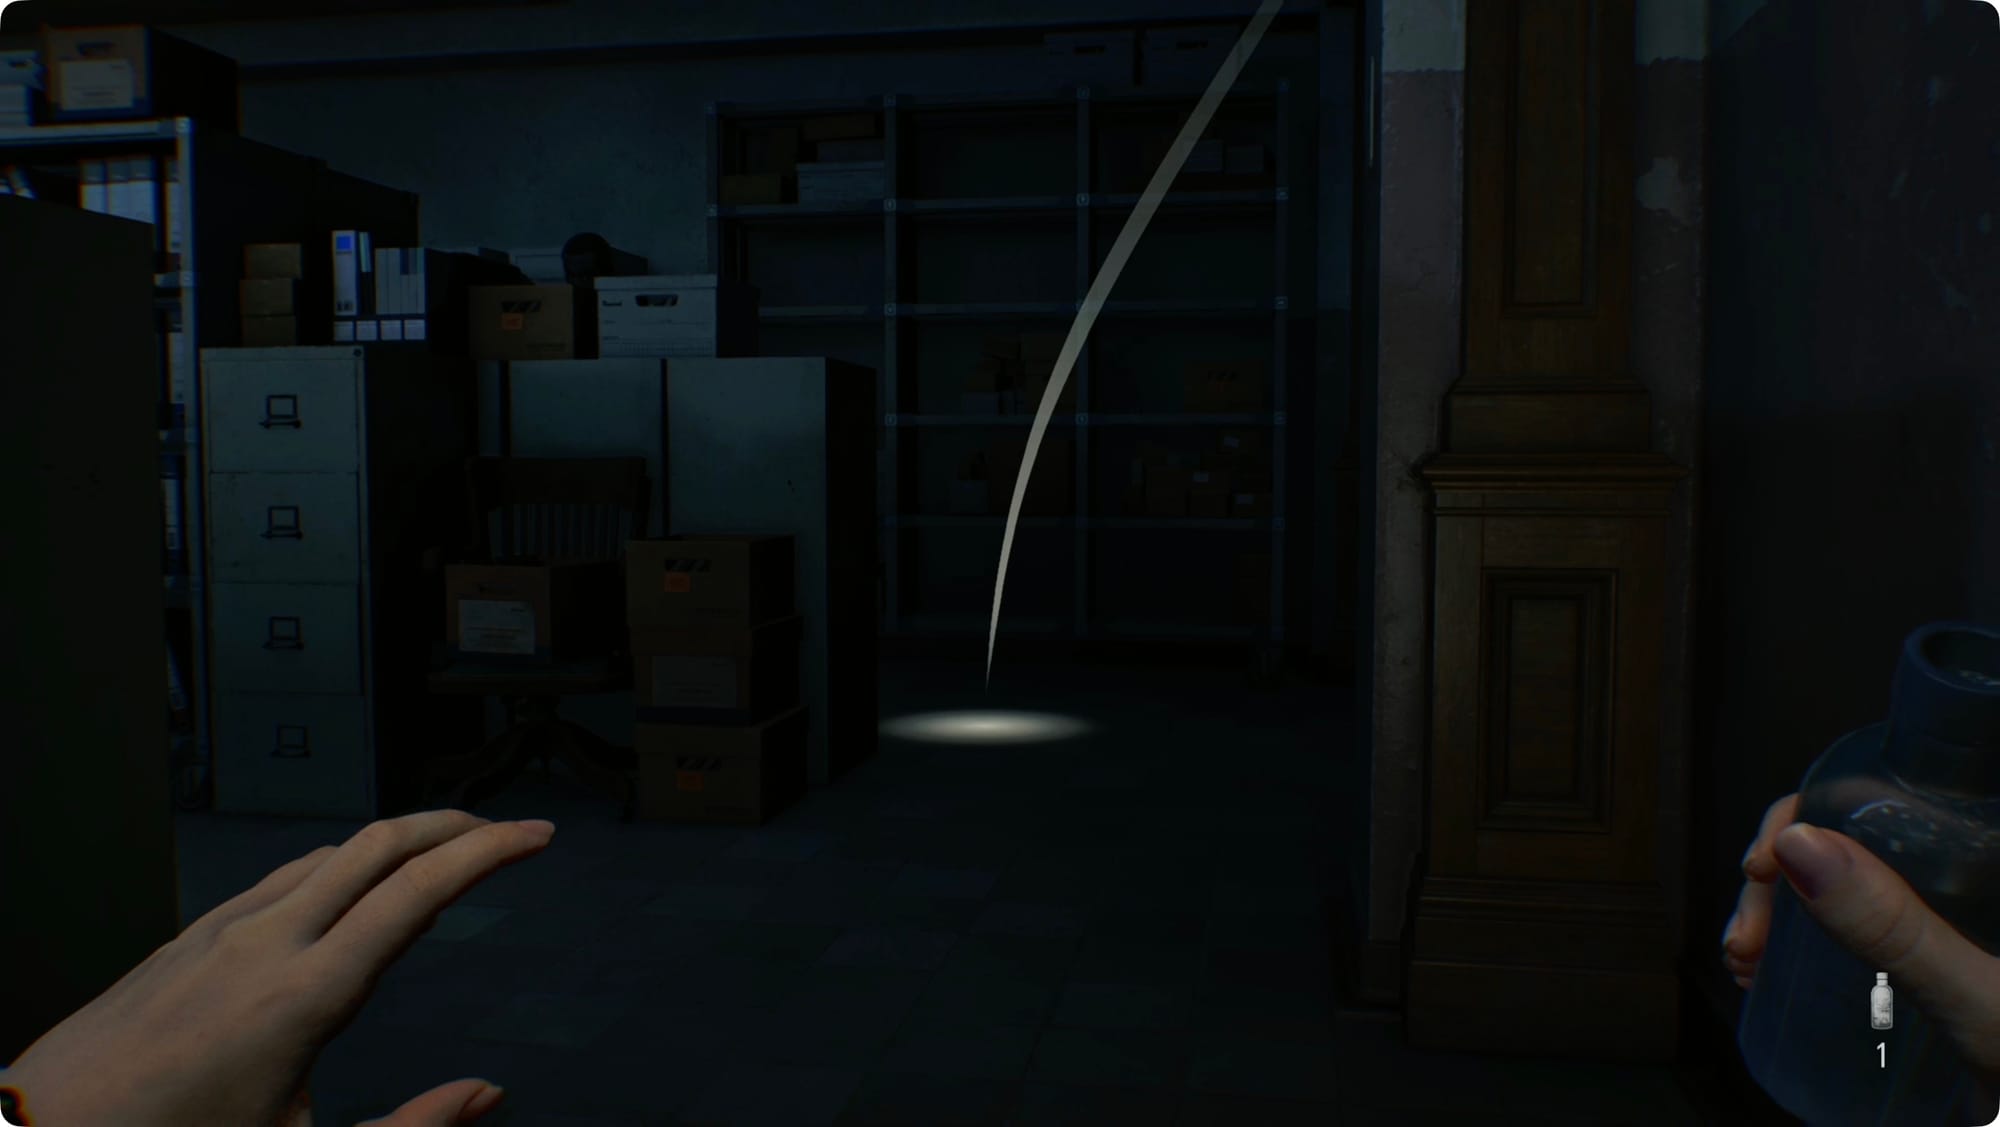
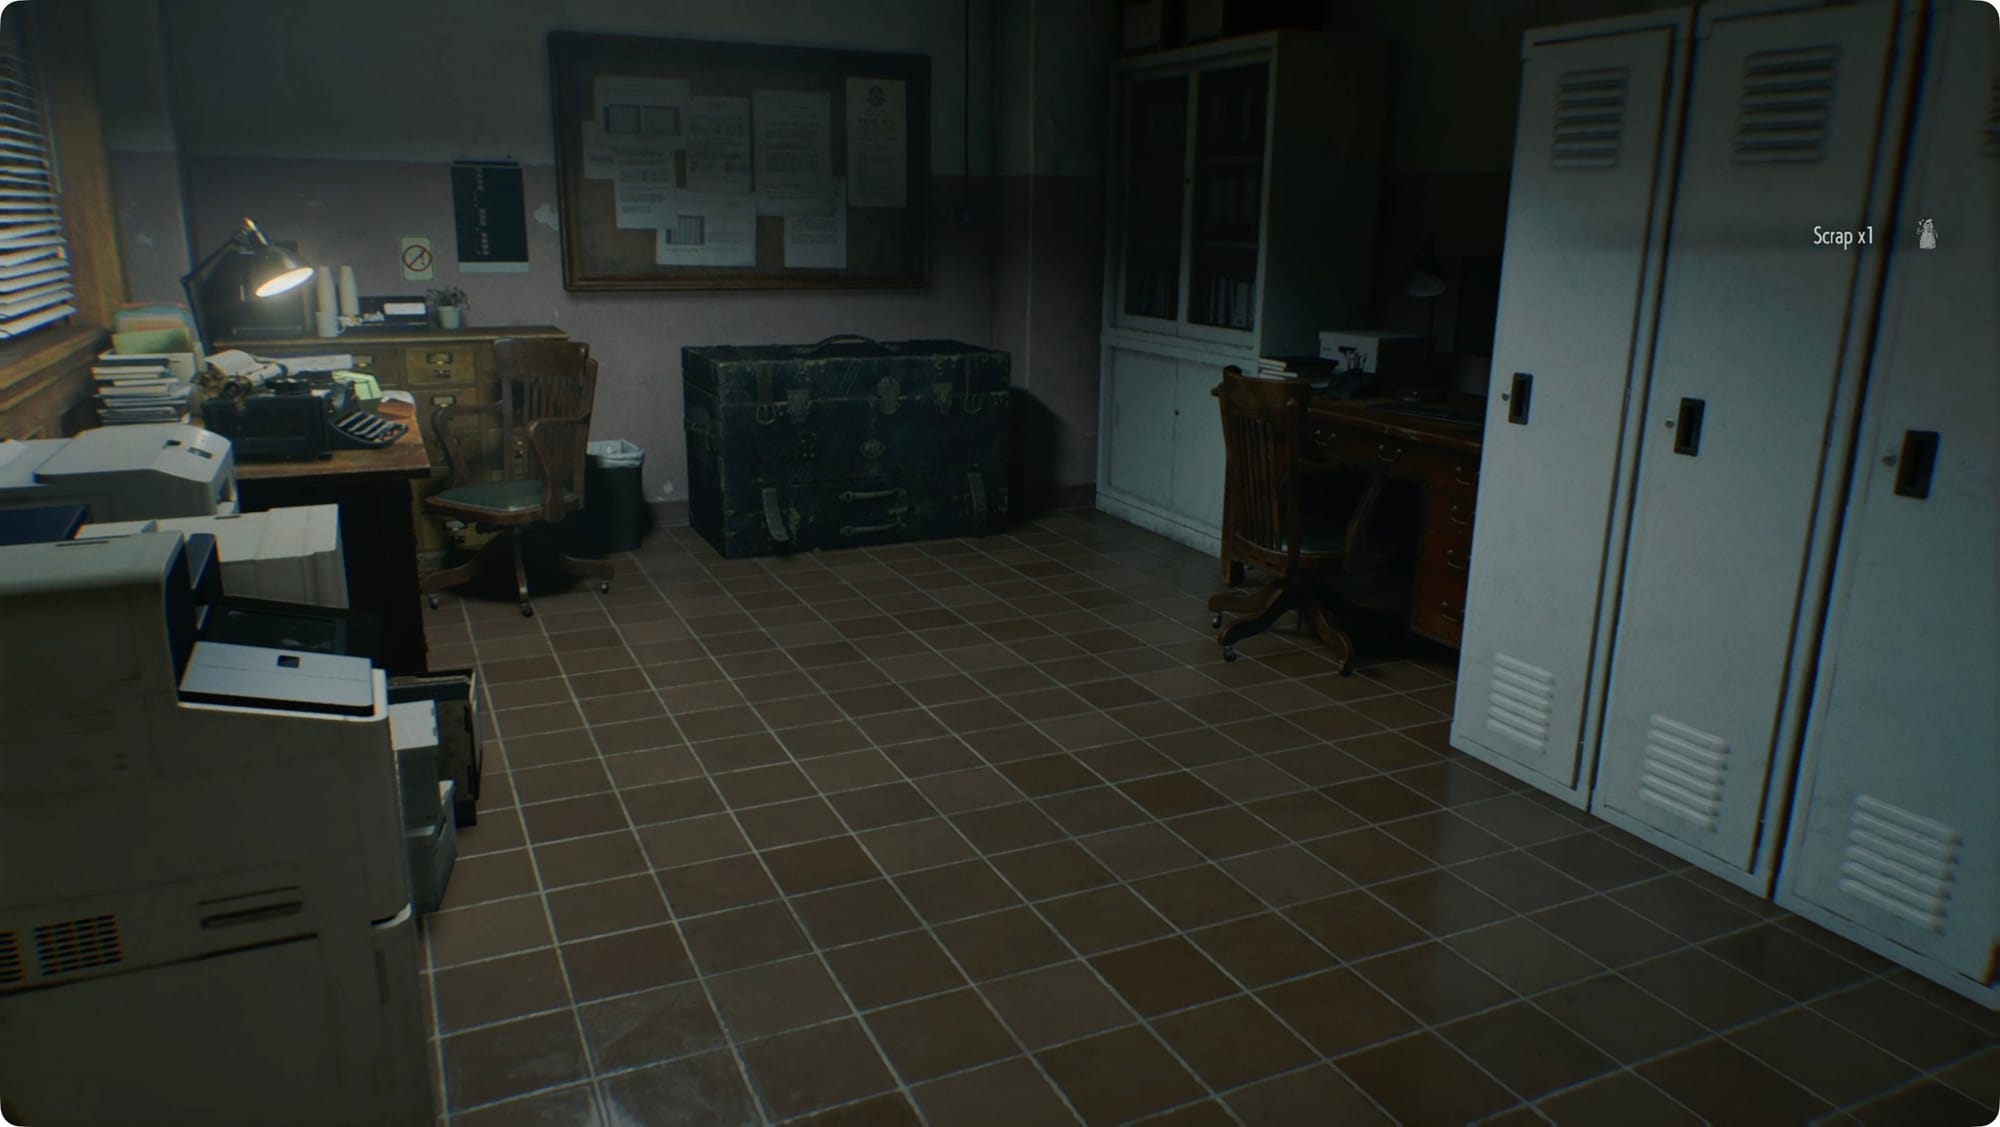
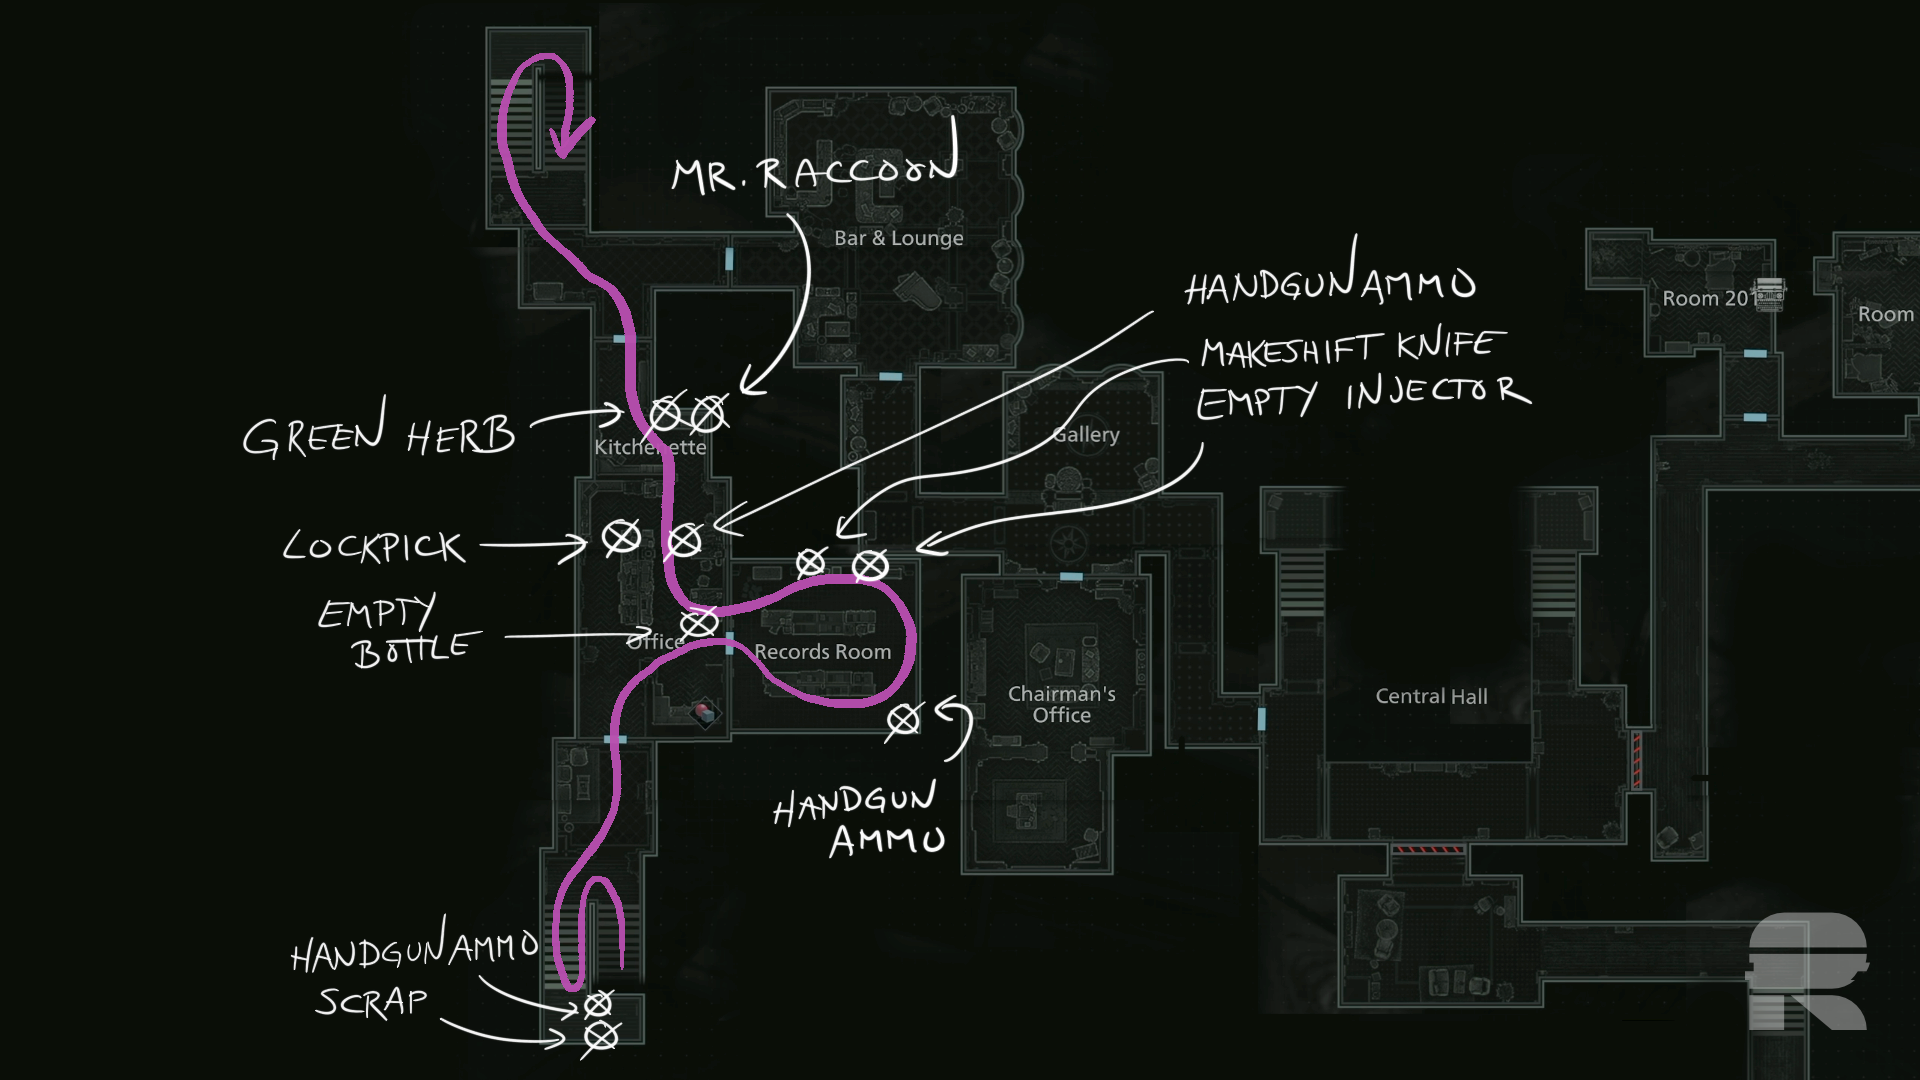
Back on the second floor, you’ll enter the Office (Jim face). Turn right. There’s another Laser Microscope to the right, but you need to focus on the zombies in the next room first. To the left of the door ahead of you, grab the Empty Bottle. We’re going to bait a too-loud zombie again. With the bottle equipped, crouch and sneak into the back room. Stick to the right and head to the back. Start crossing back across and you’ll spot the non-too-loud zombie. Toss the bottle near him to set off the other one. When he’s calmed down, sneak up on him and Hemolytic Inject him (grab his Transfusion Bag after).
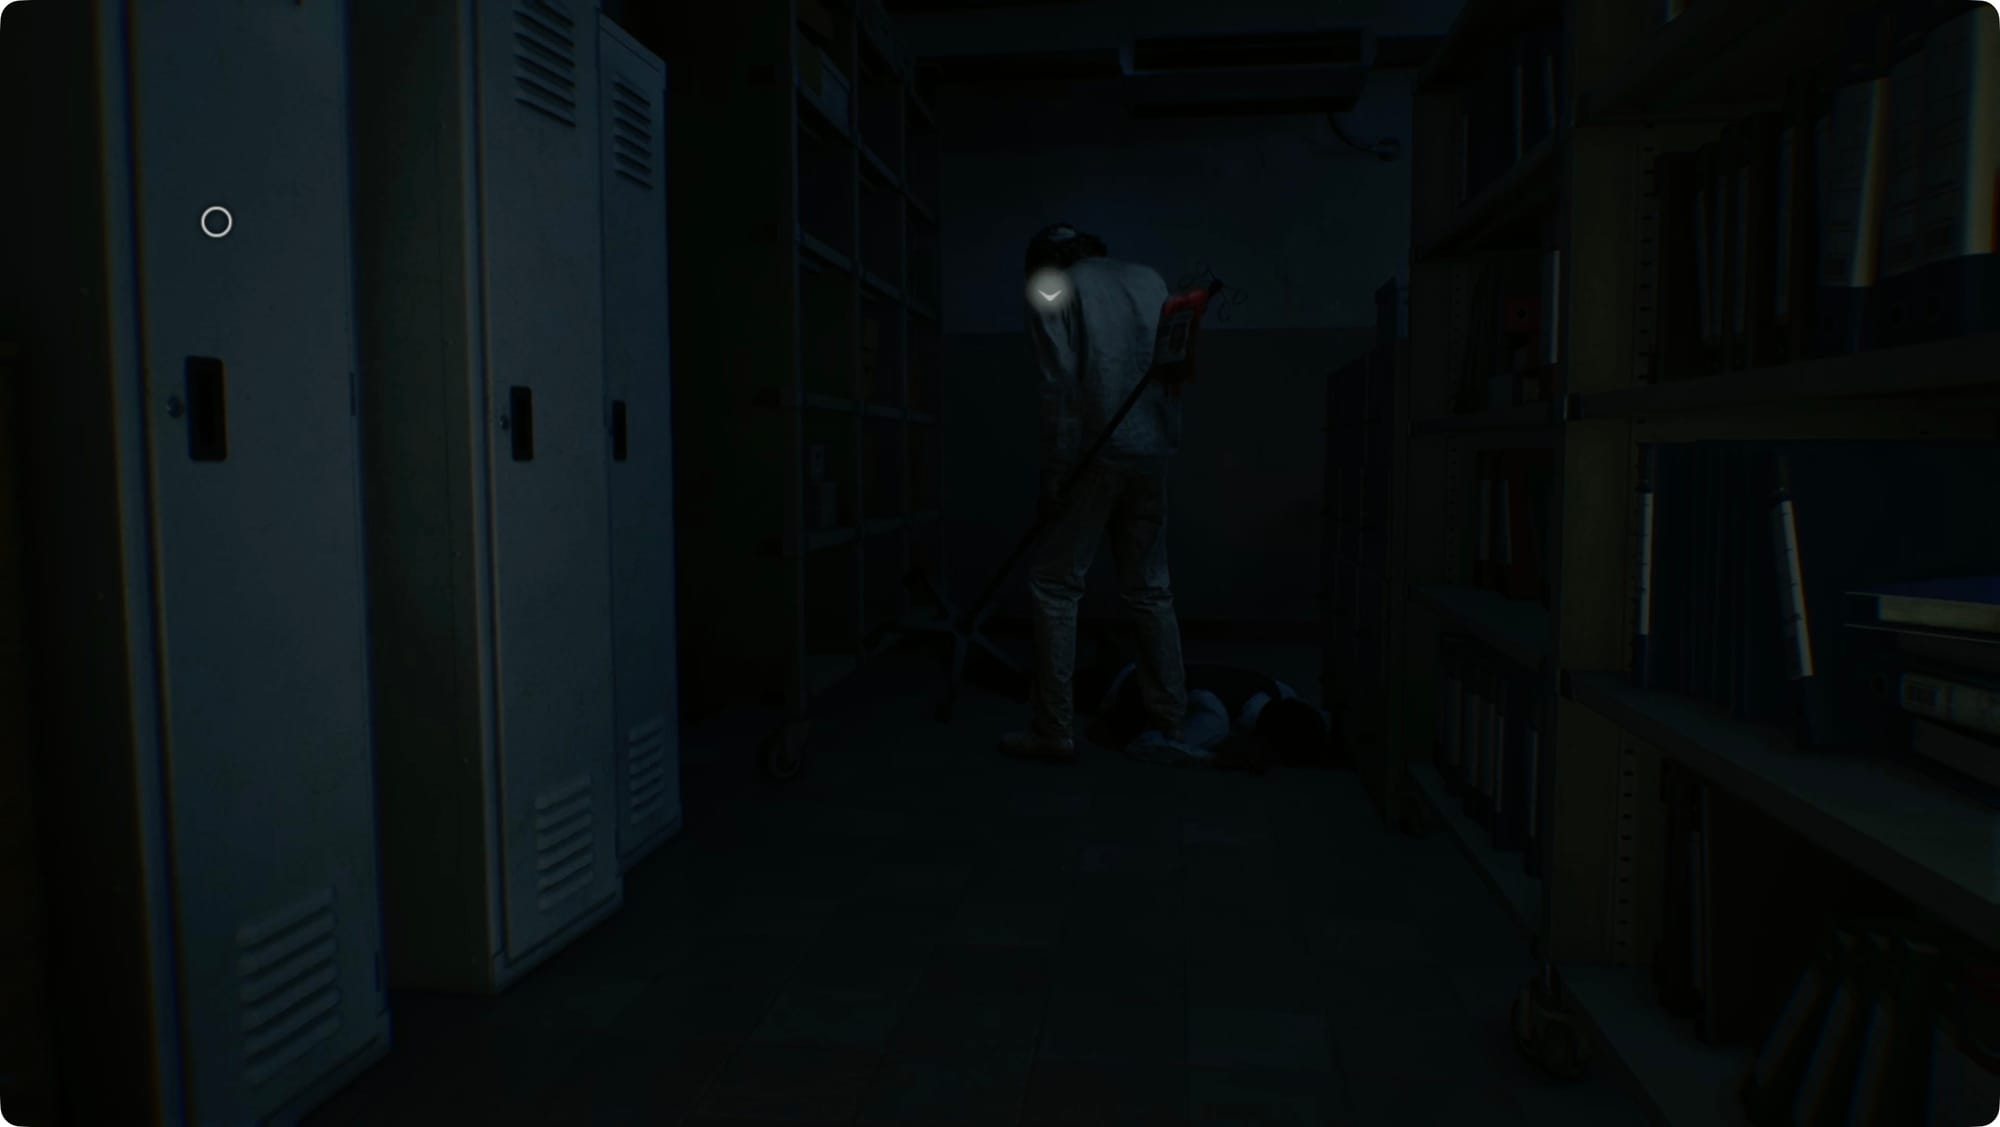
In the back right corner, there’s a Handgun Ammo crate. In the middle, read the Disposal Team Report. Along the north wall, grab the Empty Injector and open the locker for a Makeshift Knife. You can hear a Mr. Raccoon, but he must be in the wardrobe we can’t open. Back in the main room, take a right for a Handgun Ammo crate and the Background Check note. There’s another Lockpick on a desk to the left.
(Before you go too much farther, it’s probably worth dropping that Empty Injector in the Item Box to free up inventory space, especially since we can’t use it yet.)
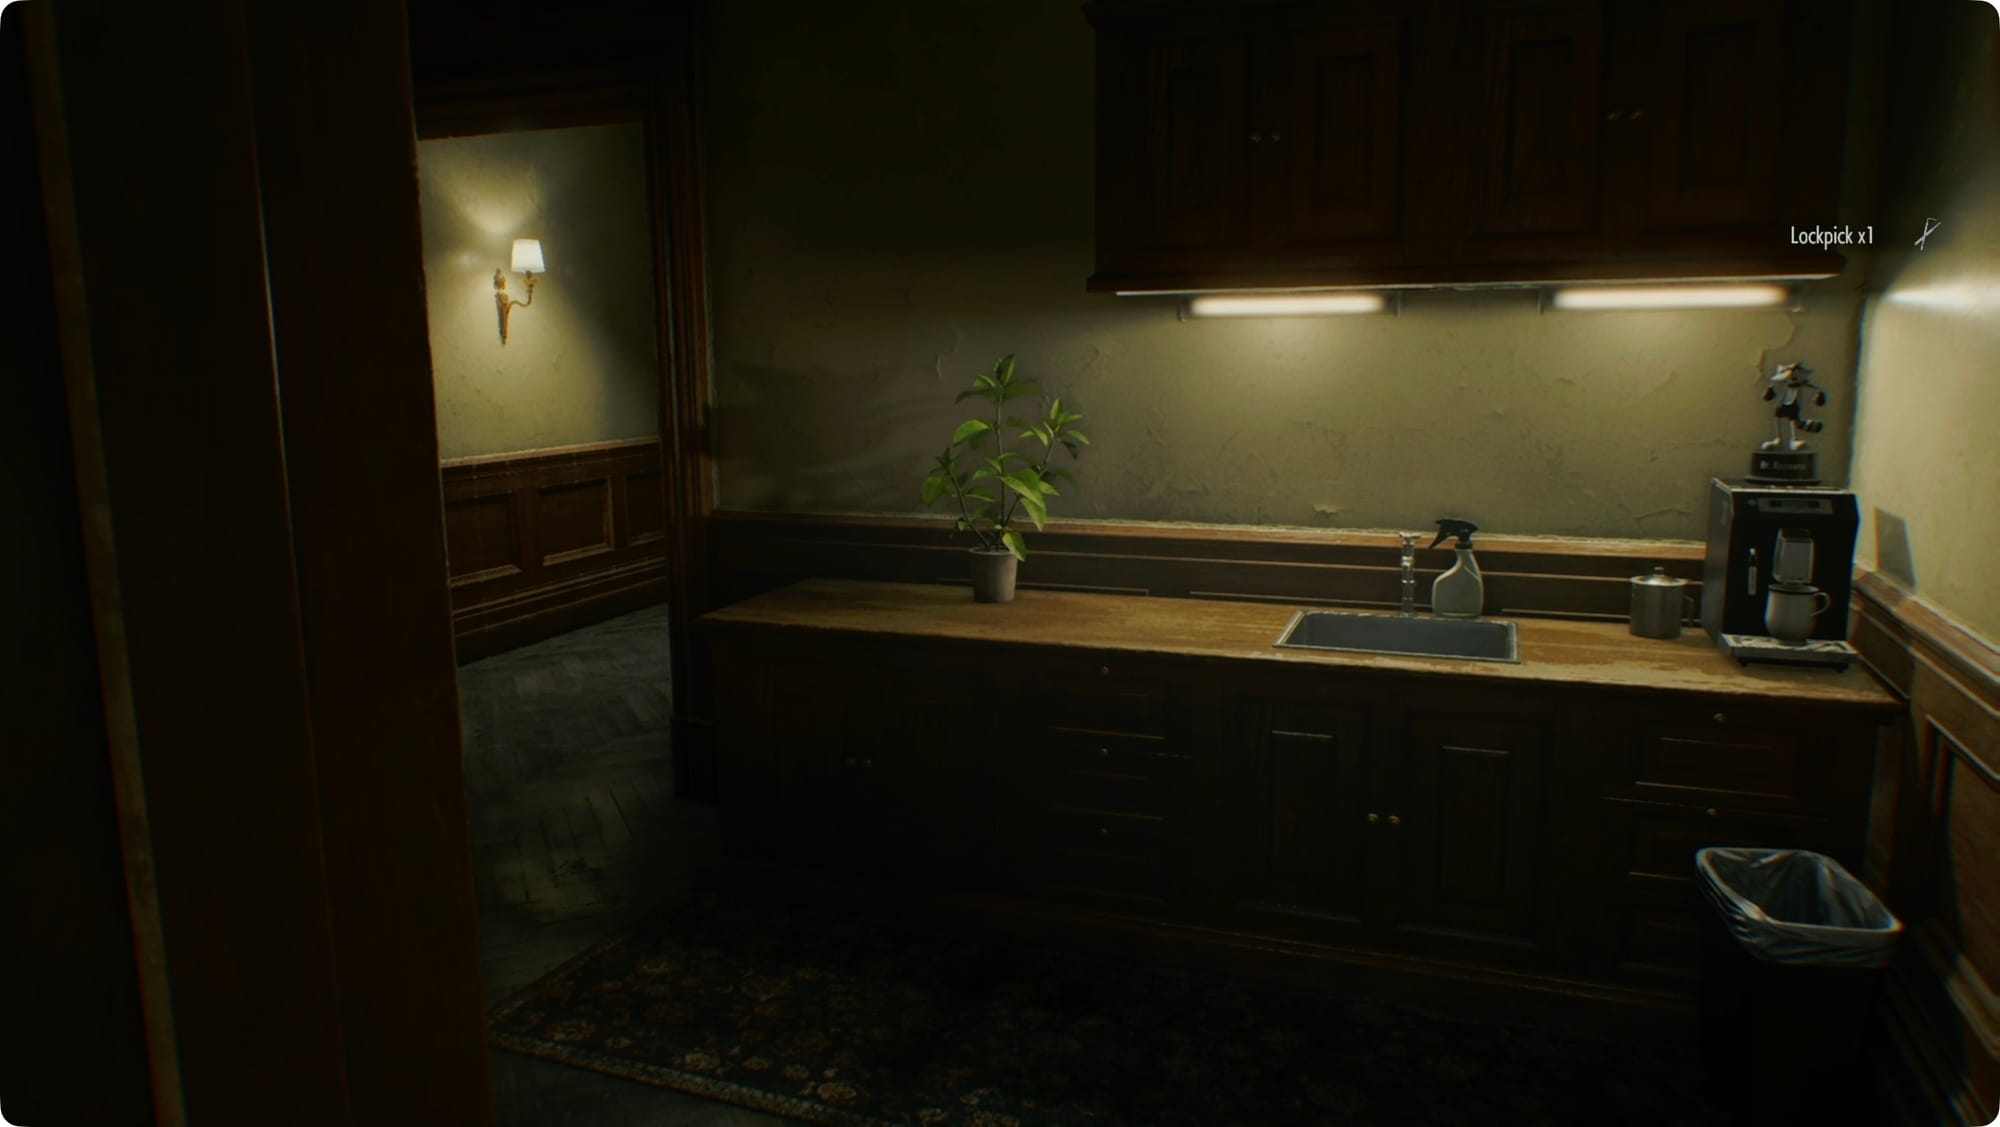
Through the door to the kitchen area, there’s a Mr. Raccoon on the coffee maker ahead of you next to a Green Herb.
Cold Storage
Unlock the door ahead of you to unblock a path from earlier. Don’t go through the door yet, though. The singer from the Bar is wandering the hall and we don’t need to deal with her right now. Wait for her to pass by heading right and then go take a left.
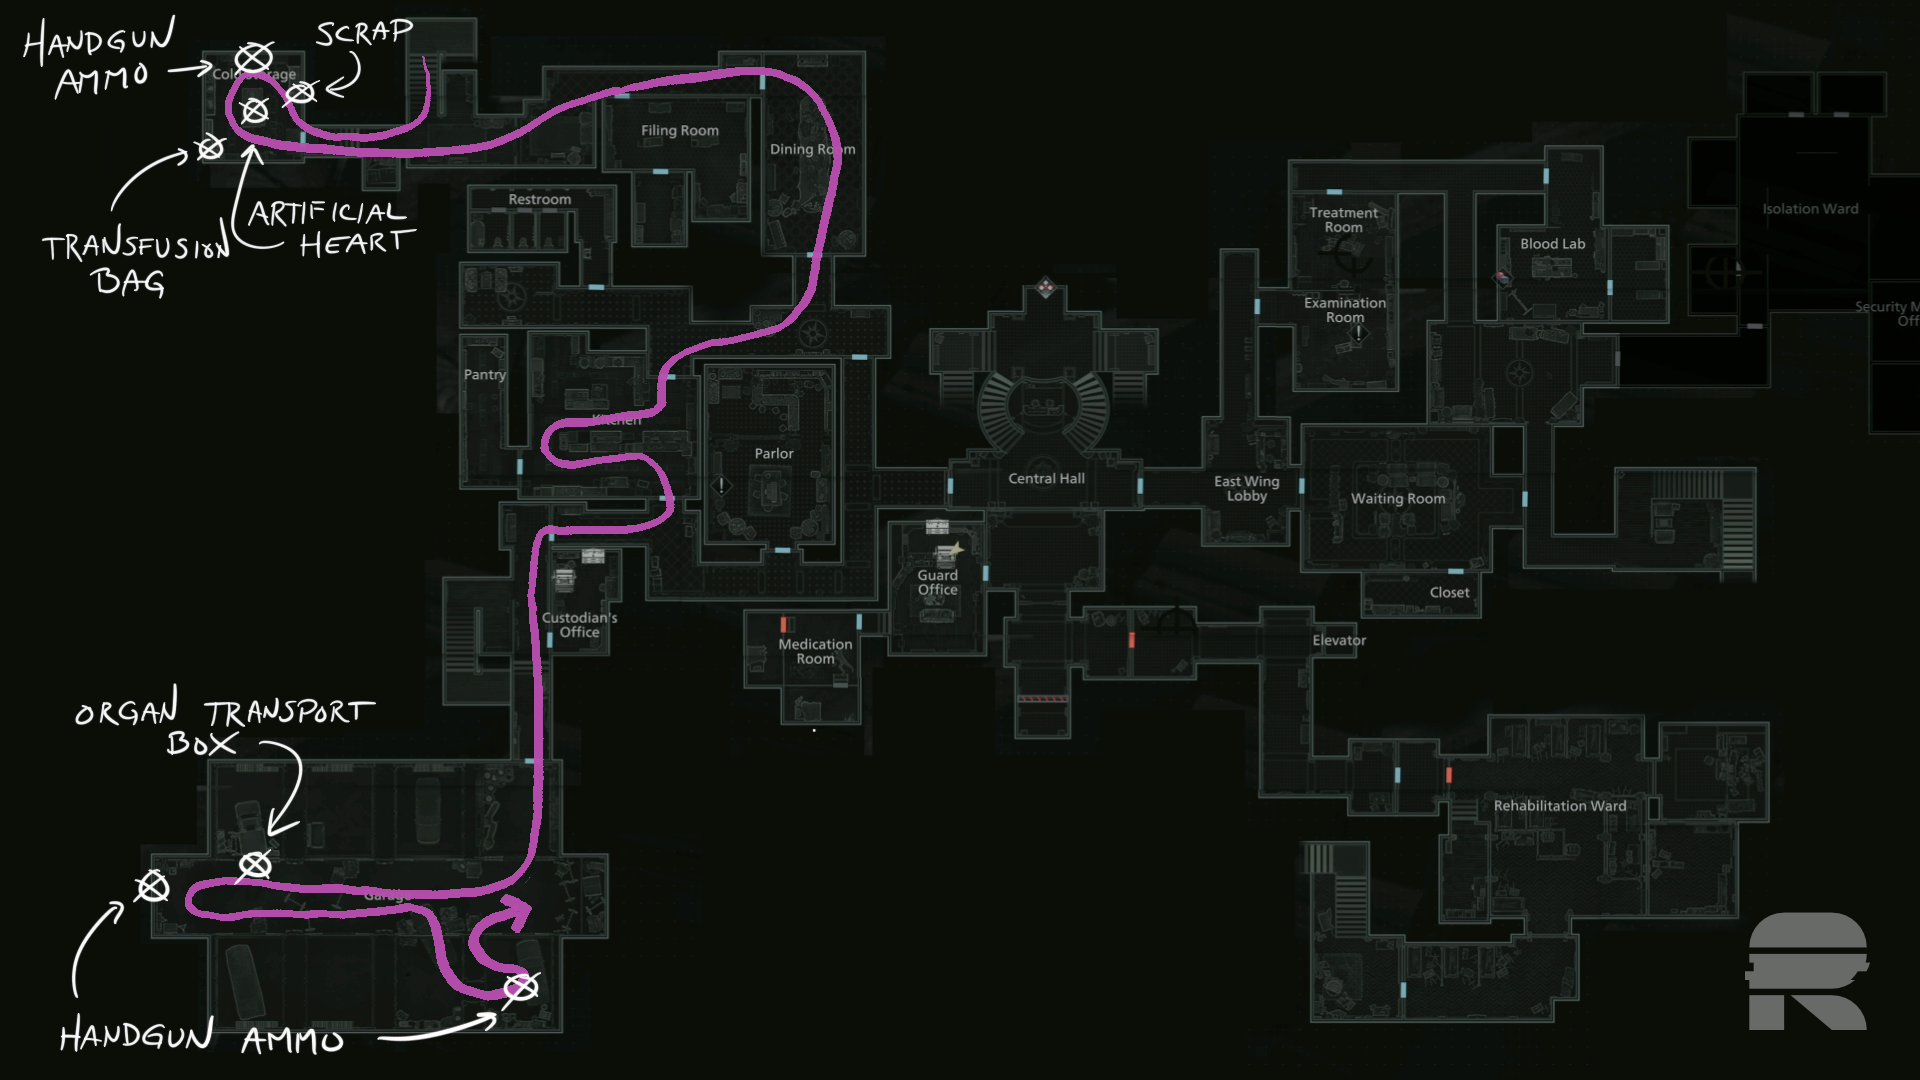
Head down the stairs. At the bottom, take a right to get to the Cold Storage door we broke earlier. Use the Wrench to open it.
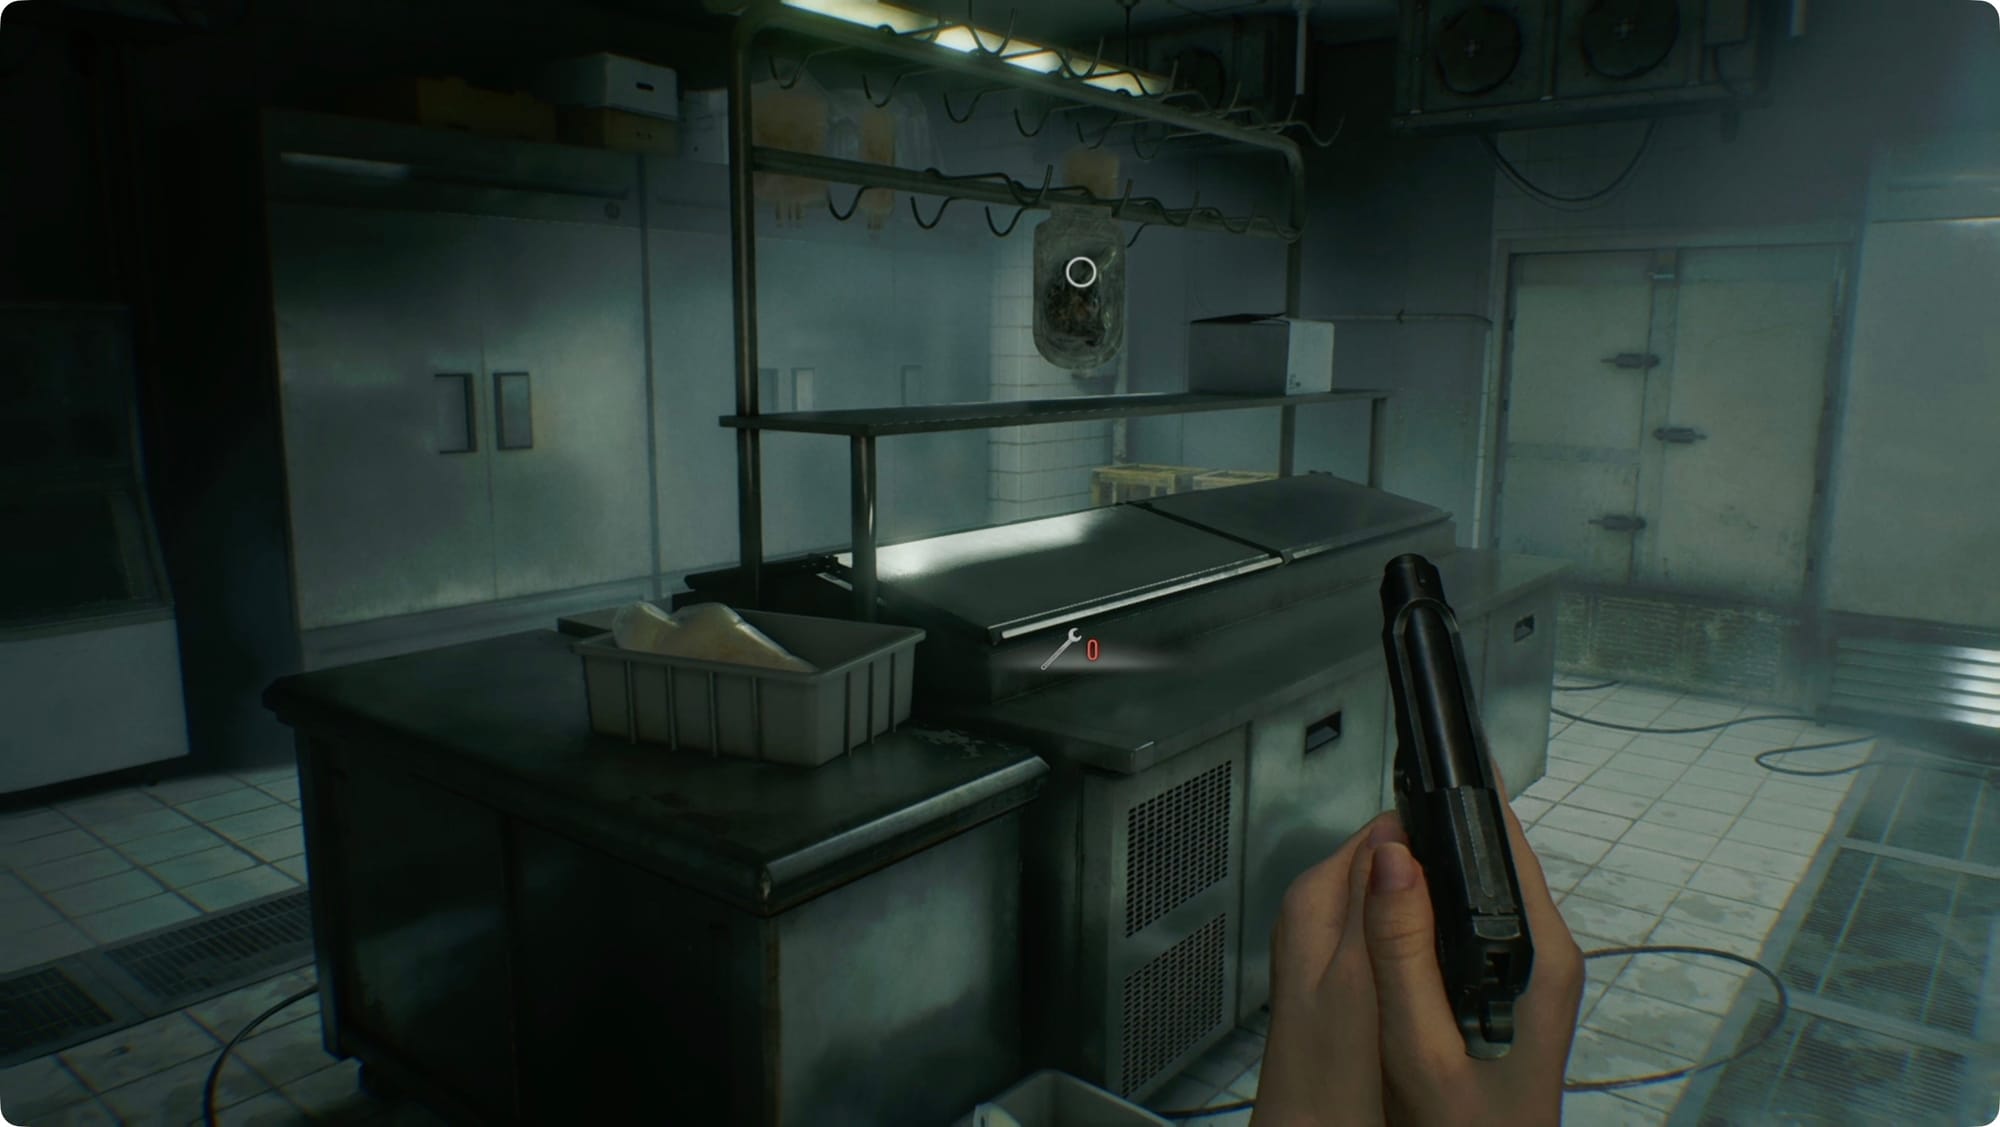
Inside, there’s a Transfusion Bag ahead of you and some Scrap to the right. Use them to make a Hemolytic Injector (you’ll need it in a sec). Smash the crates at the back for some more Handgun Ammo. Grab the Artificial Heart from the rack in the middle of the room.
When you exit, the body at the bottom of the stairs will become a Blisterhead. Kneecap him and inject him as fast as you can (they suck). Head all the way back down to the Custodian’s Office.
You’ll probably trigger another Blisterhead on the way, but just run past it.
Garage
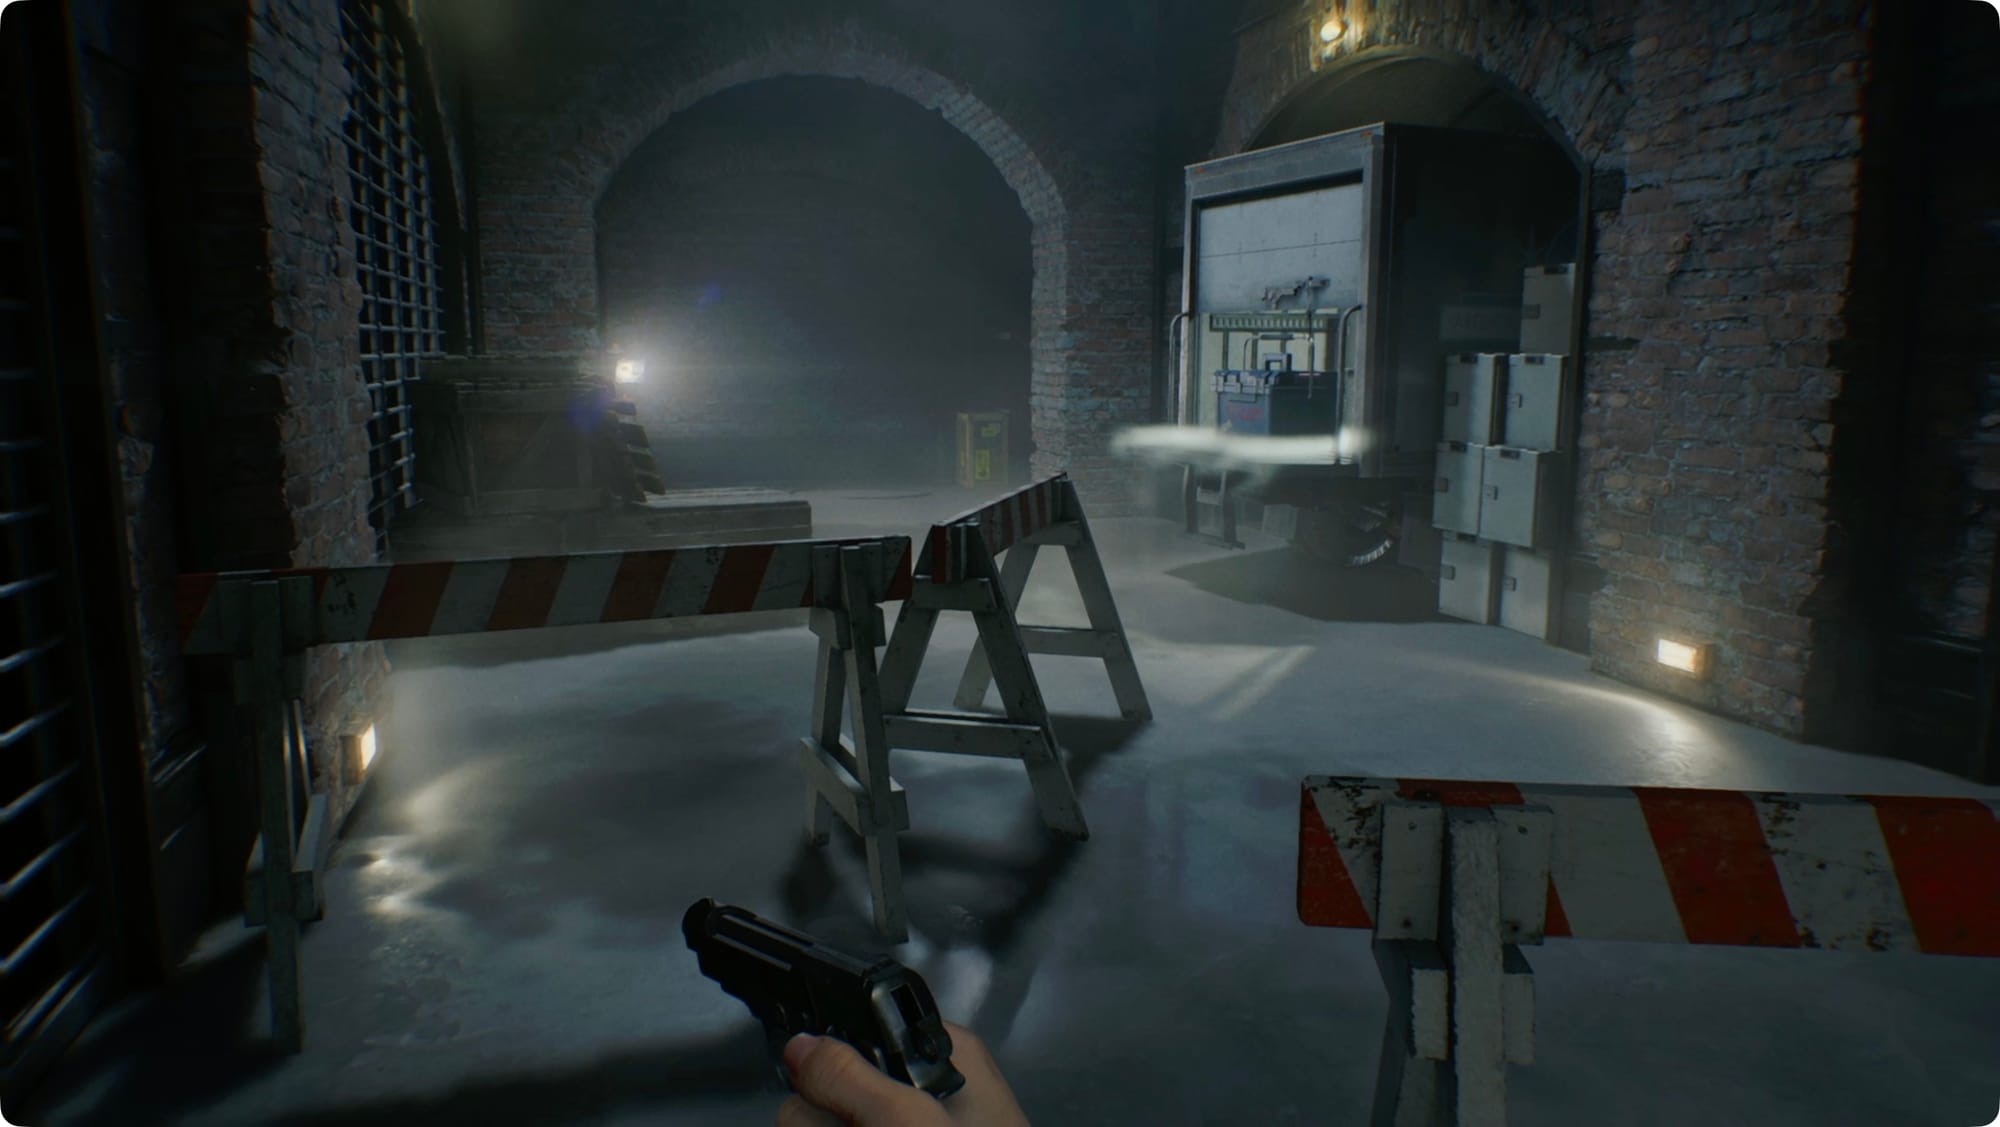
Follow the hall to the Garage. Take a right and snake past the barricades. Grab the Organ Transport Box (even though we don’t know how to open it yet) and smash the crate along the far wall for some more Handgun Ammo.
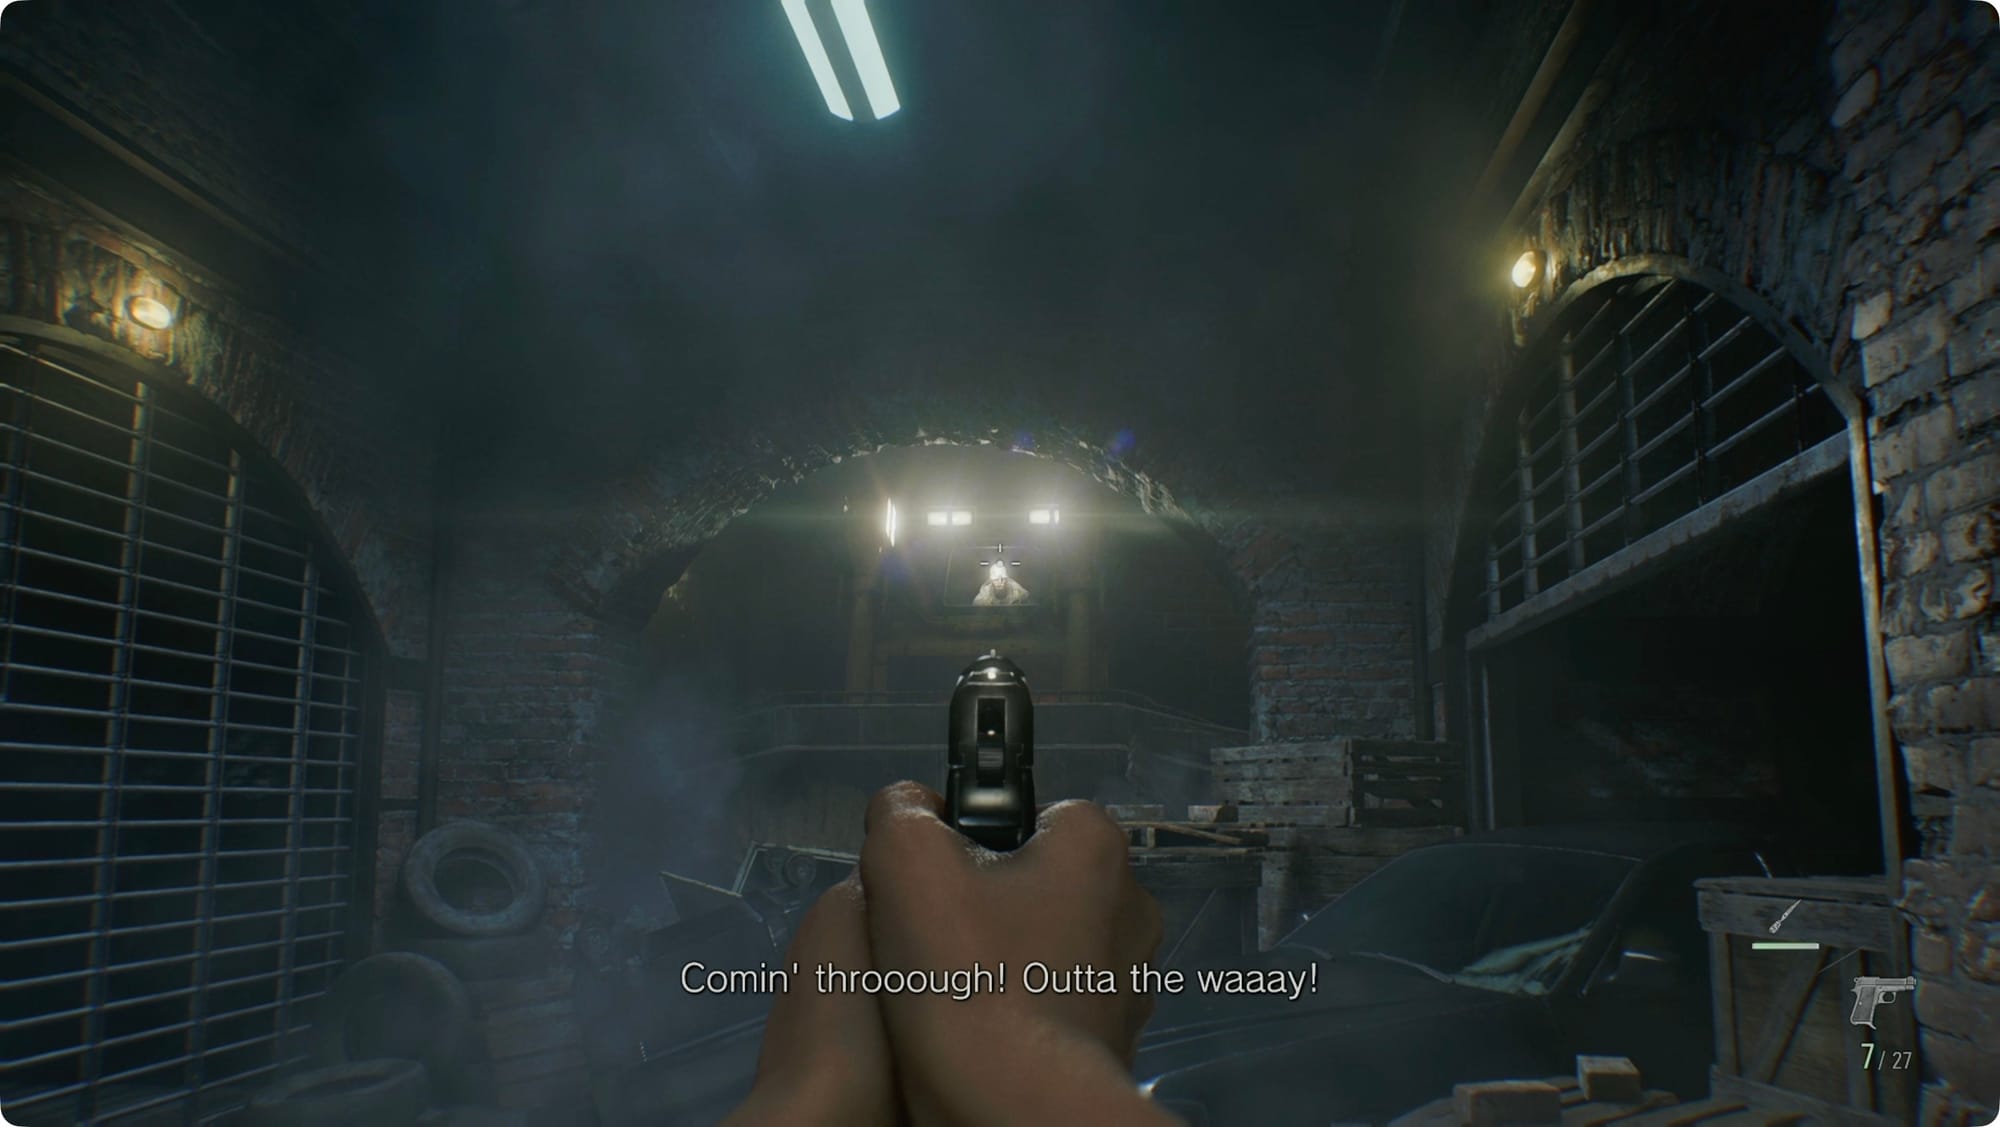
When you start back up along the Garage, a gigantic bulldozer will come at you. All you have to do is calmly put a couple bullets into the driver’s head. It’s easy to panic, but just stand still and aim carefully. Wait for the recoil to reset before you fire again.
Once he’s dead-dead, keep backing away as the bulldozer grinds to a halt. Duck under the bucket and take a right into the vehicle bays. Take a left into the other bay for two more crates and more Handgun Ammo.
Retrace your steps to the Custodian’s Office and save.
Waiting Room
Ultimately here, you’re going to run all the way back to the Lead Researcher’s Office on the second floor of the East Wing. But there’s a stop on the way.
You’ll almost definitely get jumped by a Blisterhead shortly after you leave. If you can, just run past it. Lockpick the drawer in the East Wing Lobby for some more Rare Metal.
In the Waiting Room, head to where the cleaning zombie was and open the Level 1 door there. Inside, there’s a Blood Specimen (Converged), Handgun Ammo, Scrap, and a 12.7x55m round. Load that into Requiem to free up a slot.
Blood Lab
Next, we’re heading to the Blood Lab, but there’s one quick stop before we go. From the Waiting Room, take a right and head up to the Lead Researcher’s Office.
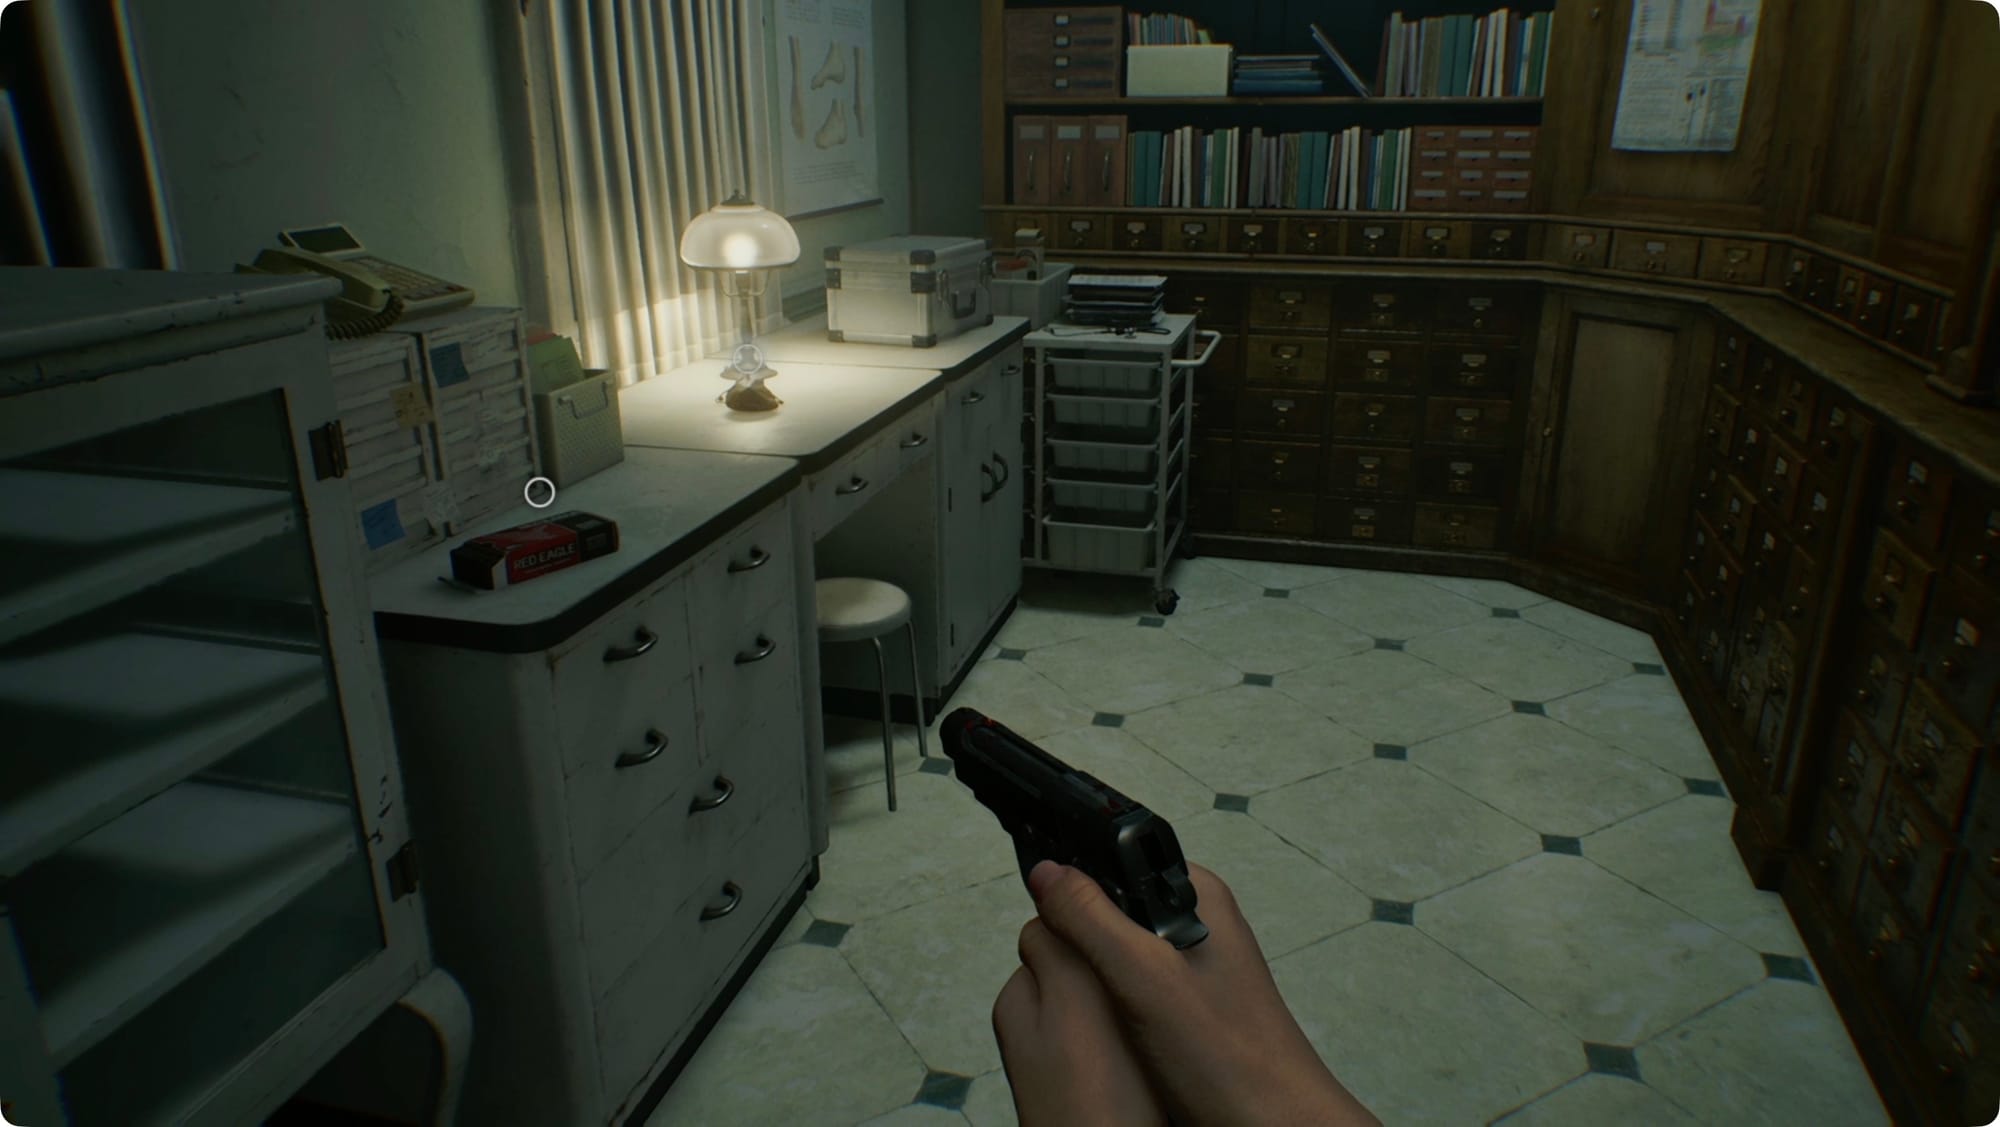
Go back to where you picked up the Level 1 bracelet. Go past the corpse and take the right. In the locker room area, smash the crate for some Handgun Ammo and open the lockers for some Scrap.
On the fallen locker, grab the Examination Room Safe Code file (that’s what we were after). Ignore the Conference Room for now and head back to the Examination Room.
As you get close, don’t forget about the lights-out zombie you left in the hall. (At this point, it’s probably easiest to just shoot him.)
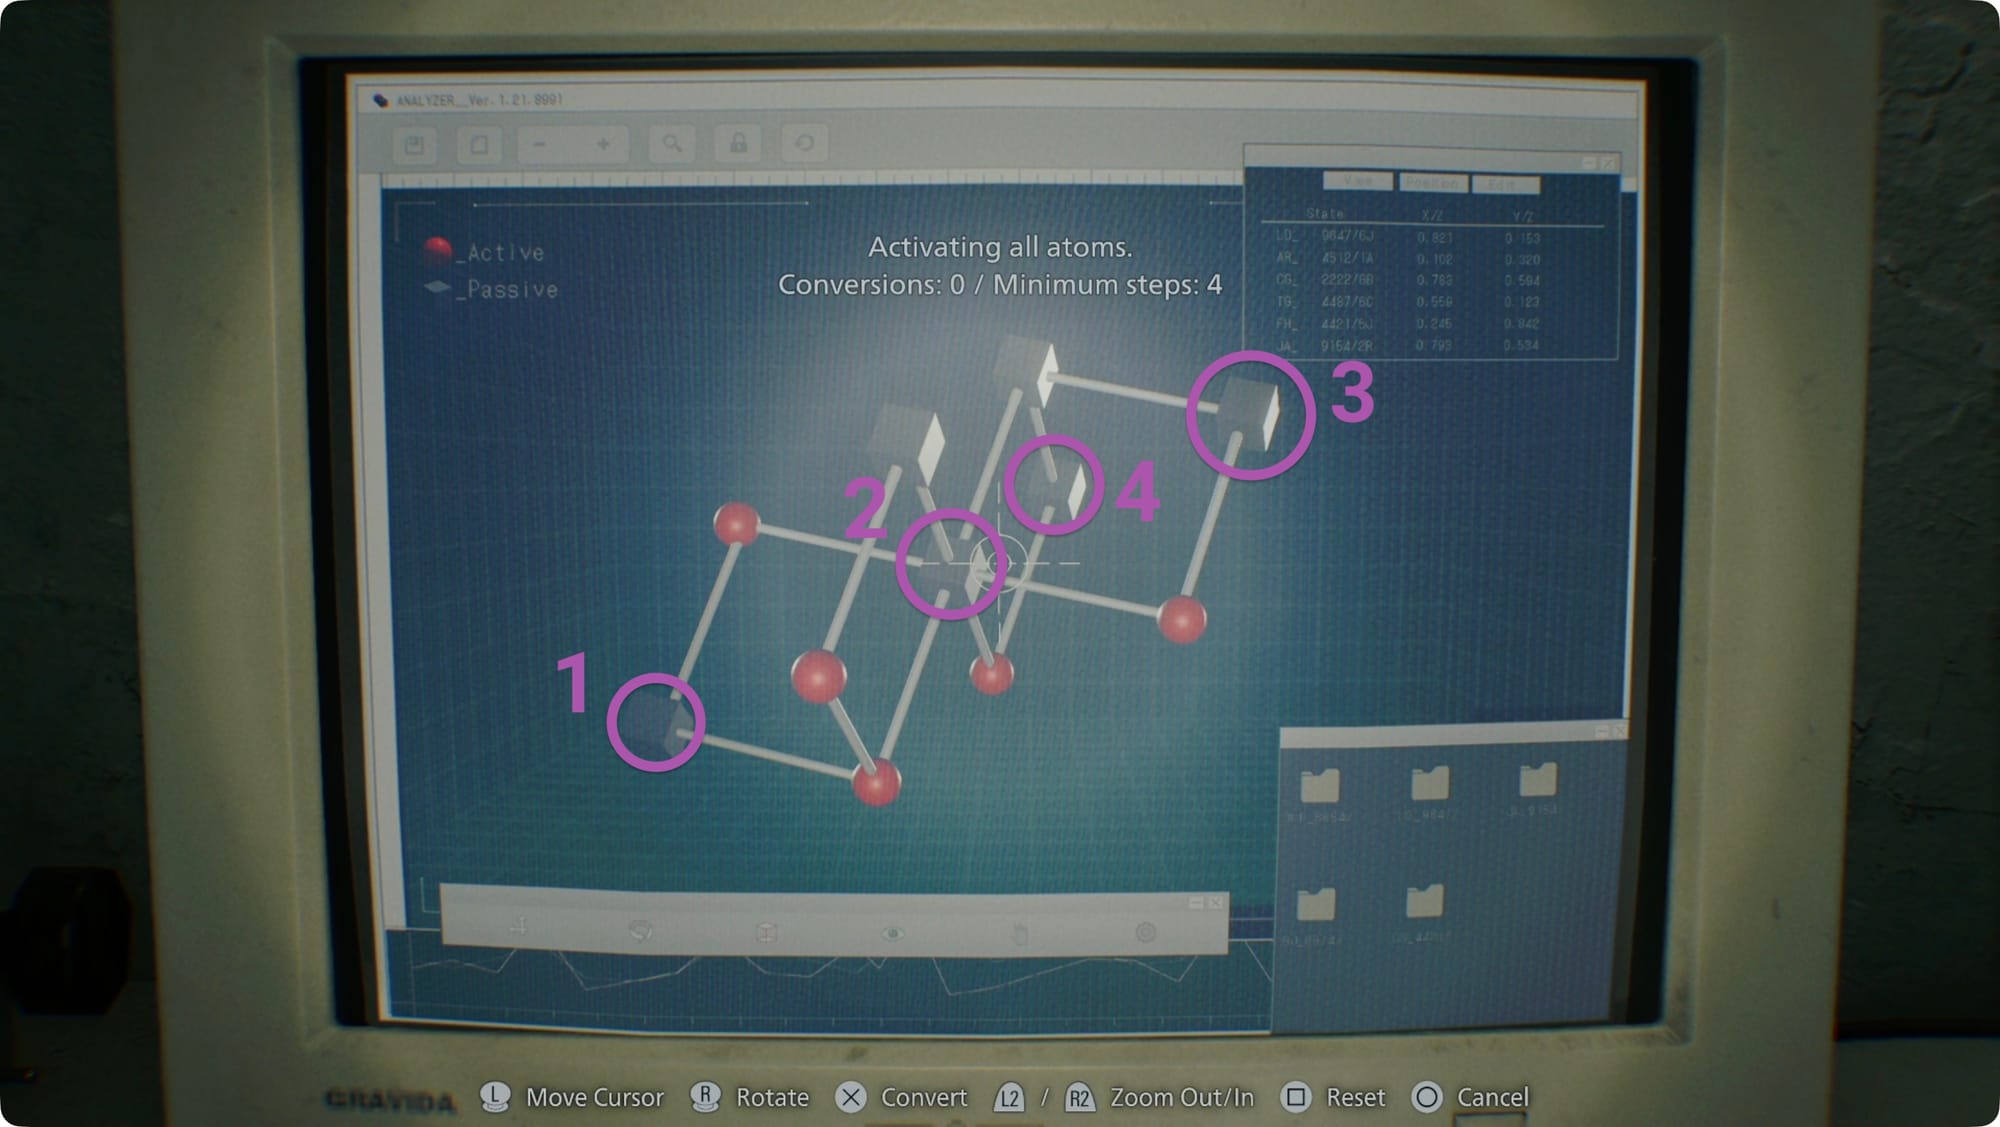
In the Blood Lab, use the Laser Microscope to scan the Converged Blood Specimen. This one’s a little harder. In the middle is a diamond shape. Click the block atom at the point of the diamond with only one atom attached (the bottom). Then, click the other point of the diamond.
Now you can make Med Injectors and Requiem ammo.
Scan the bracelet to go through the door. Grab the Green Herb, Scrap, Transfusion Bag, Blood Specimen (Reversible), and Empty Injector. Read the Victor’s Journal Entry file.
Scan the Reversible Blood Specimen while you’re here. This one is in 3D, so it’s more intimidating than it looks. Start with the bottom left point. Then, hit the very center atom. Then hit the top right point. Finally, hit the atom that’s farthest away from you. Now you can craft Steroids and Stabilizers.
Examination Room
Okay. Let’s go unlock that safe in the Examination Room. Since we’re coming in the back way, you’re going to have to deal with a Blisterhead. Kite him back into the hallway, and then kneecap and inject.
The bonesaw doctor from forever ago will be in the Examination Room. Kneecap and inject him too.
Pop the Artificial Heart in the corpse, and then we can open that safe. The code is R30, L10, R50. Remember you have to go past the number once when going left.
Grab the three Ancient Coins inside.
Steroids and Stabilizers
It’s actually worth it to run back to the Central Hall and the Guard Office to save and visit the Item Box. We’ve got two Empty Injectors and a whole lot of blood laying around, so let’s go make some drugs!
But first, run downstairs to the Medication Room for some creepy storytime and some blood to collect.
Head into the West Wing and hit the Parlor. You should have enough Ancient Coins for either the Steroid or the Stabilizer there. I went with the Steroid.
Loop through the other rooms for any blood you have on your map. When you hit 120, you can make a Steroid. When you get 130, you can make a Stabilizer. I had loose blood around the map to make one of each.
While you’re wandering, you should still have one Lockpick and there’s a locked drawer up by the Chairman’s Office on the West Wing second floor with more Rare Metal.
Conference Room
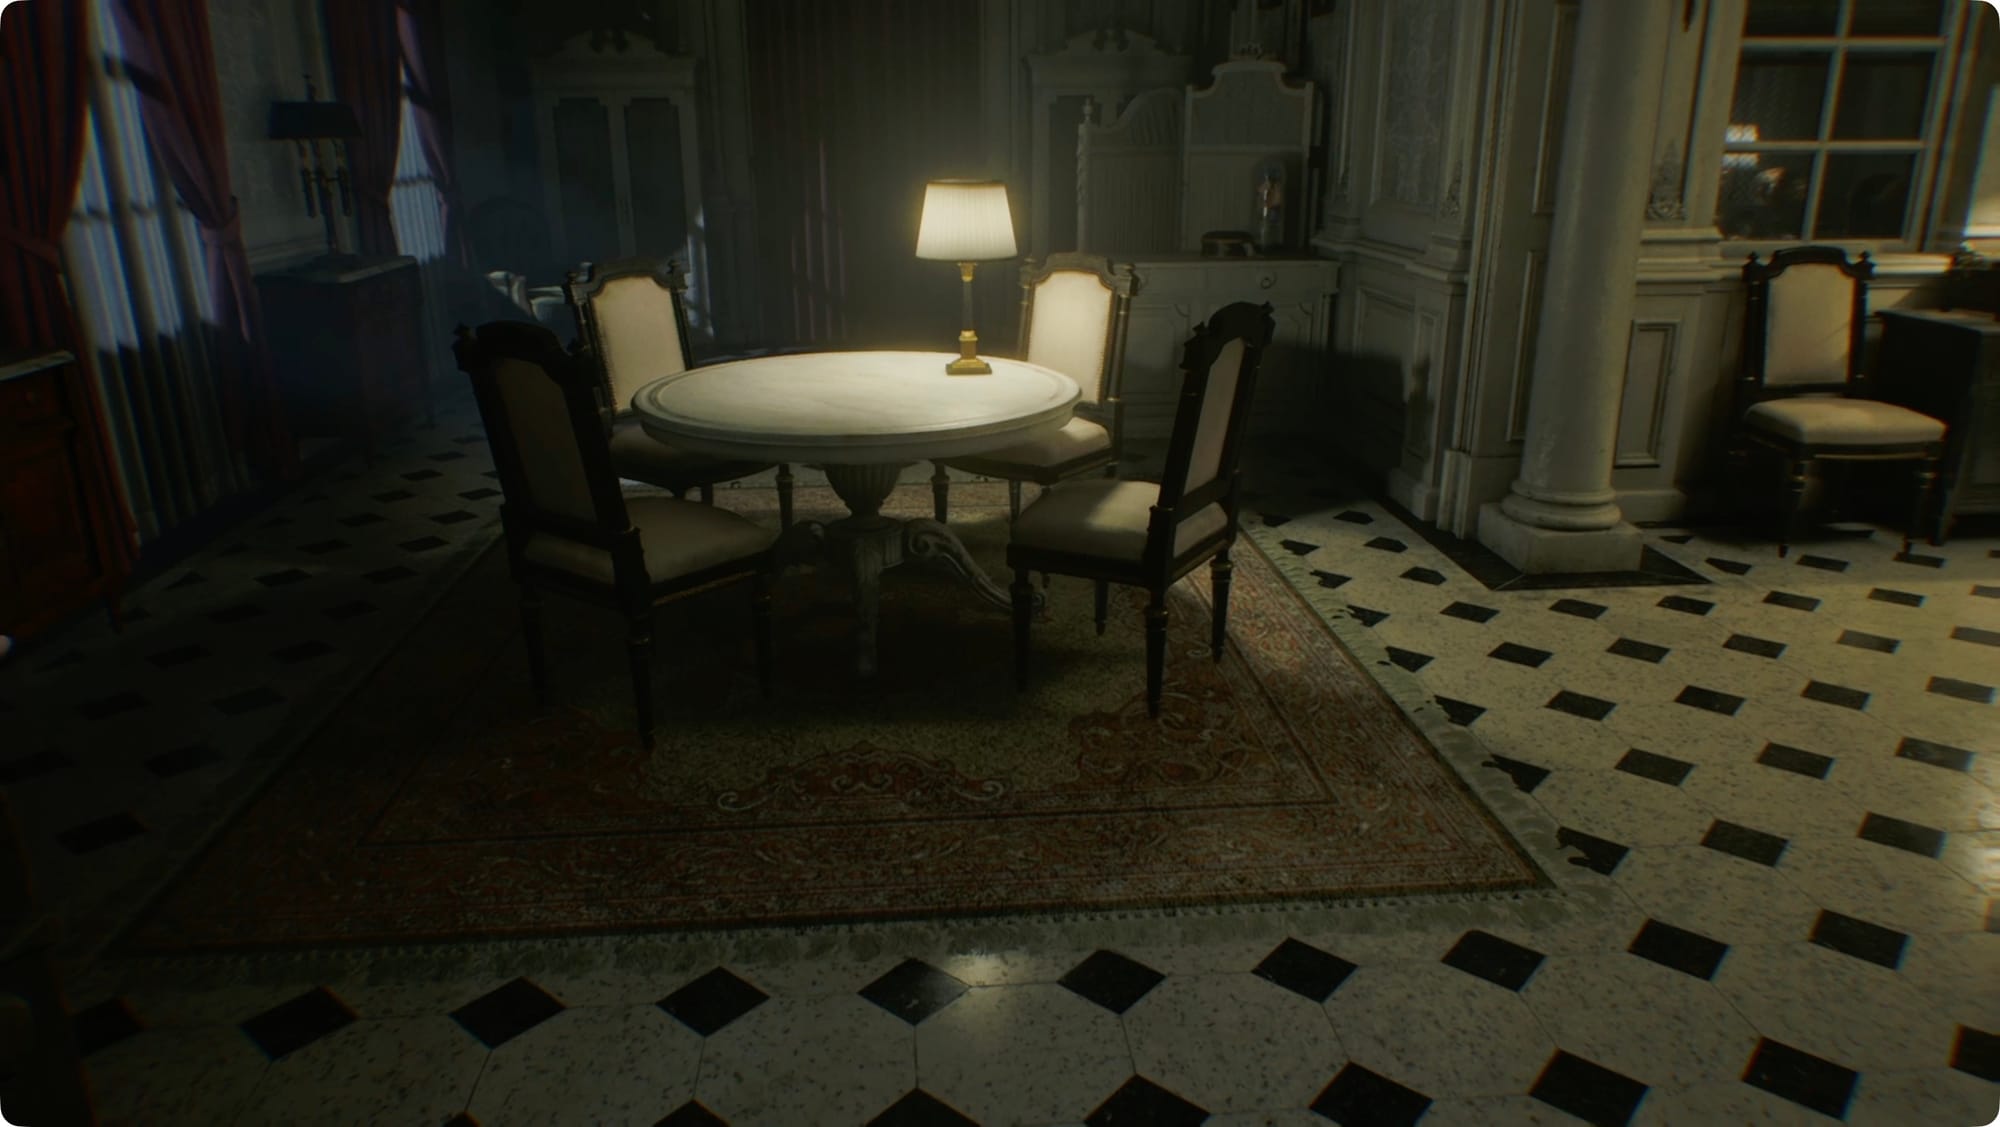
Okay. Now it’s finally time to run back up to the Lead Researcher’s Office and over to the Conference Room. When you first push through the door, there’s an Antique Coin on the right.

There are three zombies that are about to stand up and one singer zombie in the other room. She’s going to scream and shatter all of the windows. It’ll suck, but she’ll stay where she is. Deal with the other three (I recommend Requiem to make it quick). They’ll drop a Med Injector, a Hunting Knife, and some blood. Just make sure to save (or make) one Requiem round for the singer. When she's dead, she’ll drop another Antique Coin. There’s also two crates nearby that probably got broken in the scuffle. Grab the Handgun Ammo inside.
In the room with the singer, grab the Patient Medical Records and the bottle of Corrosive.
Take the Corrosive back to the Lead Researcher’s Office.
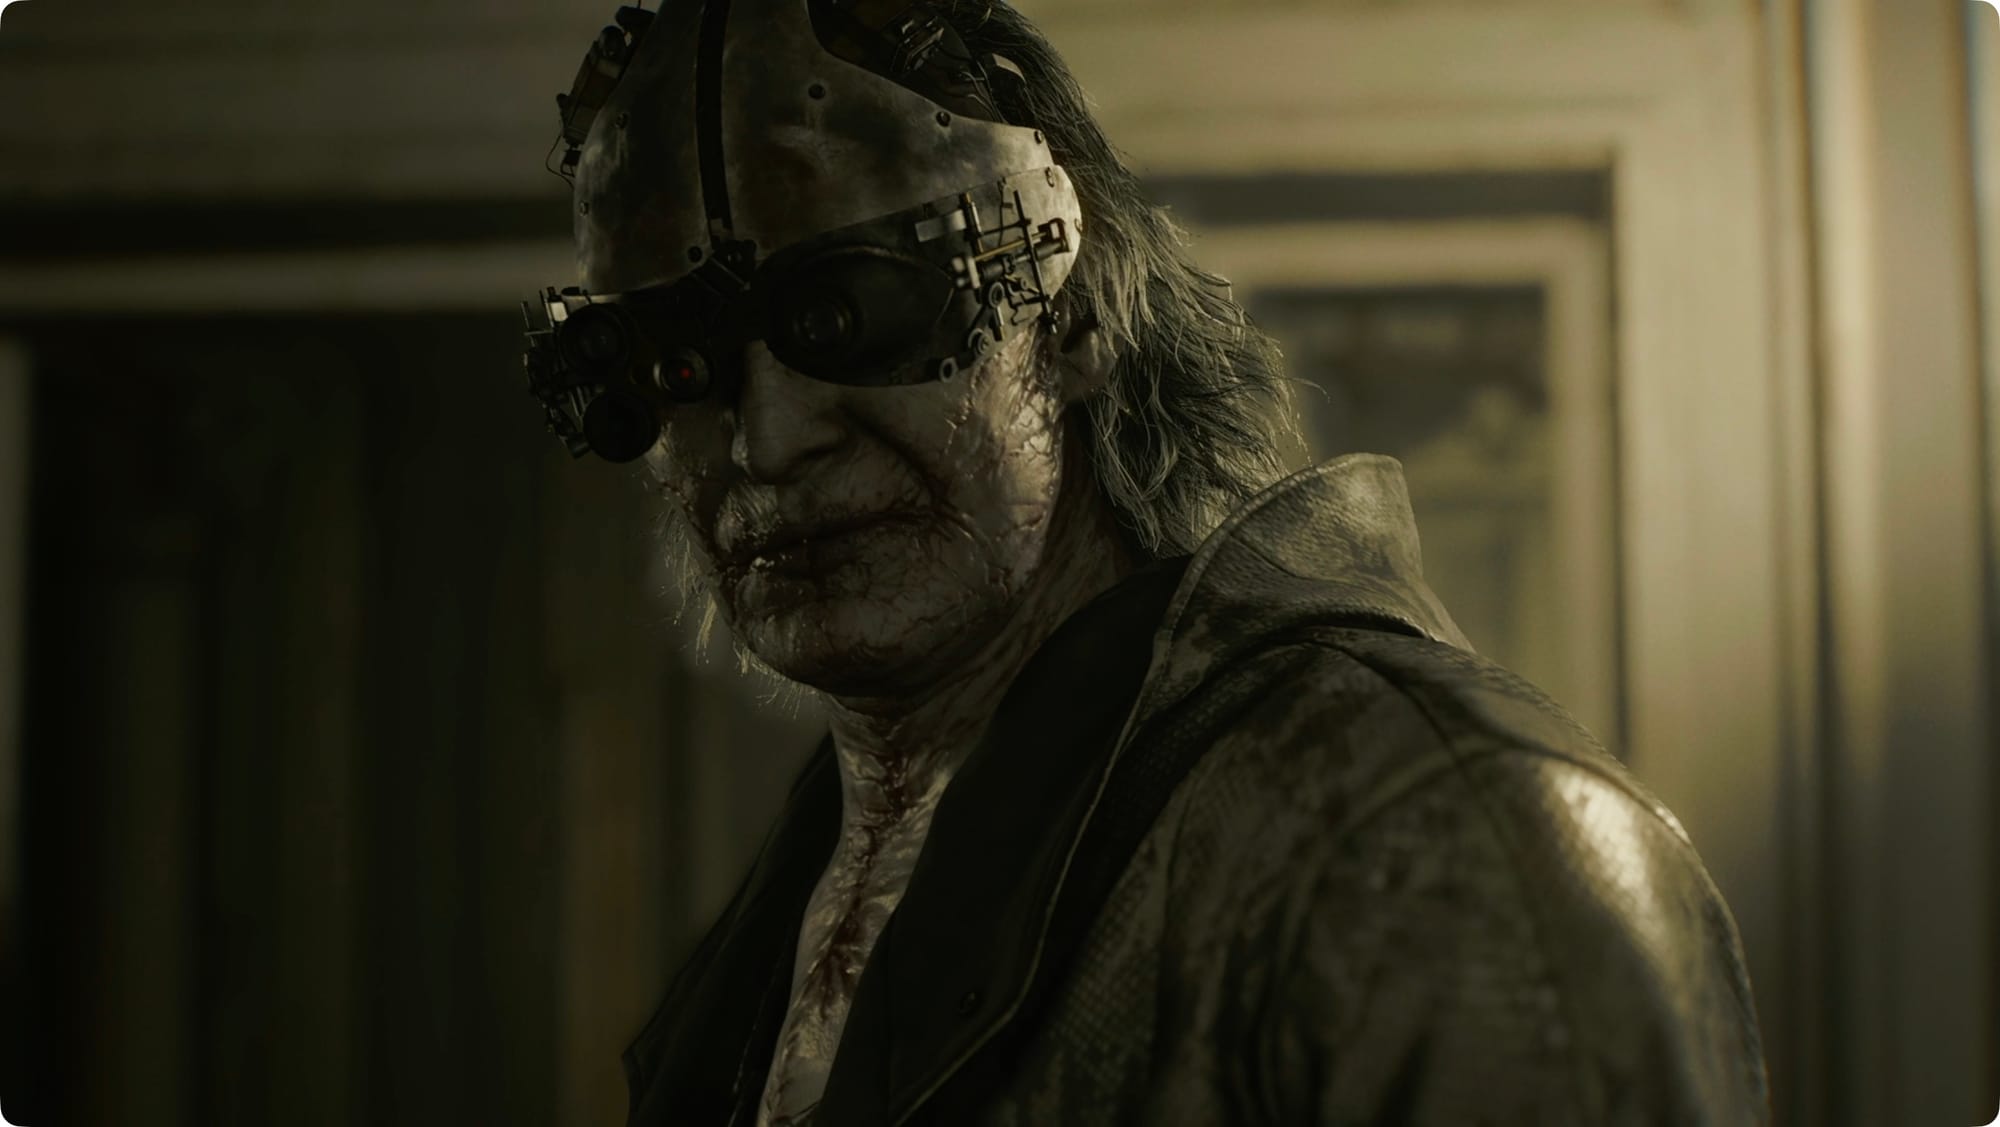
Ope, Victor jumpscare. He’ll leave on his own, but there’s fuckery afoot in the Isolation Ward.
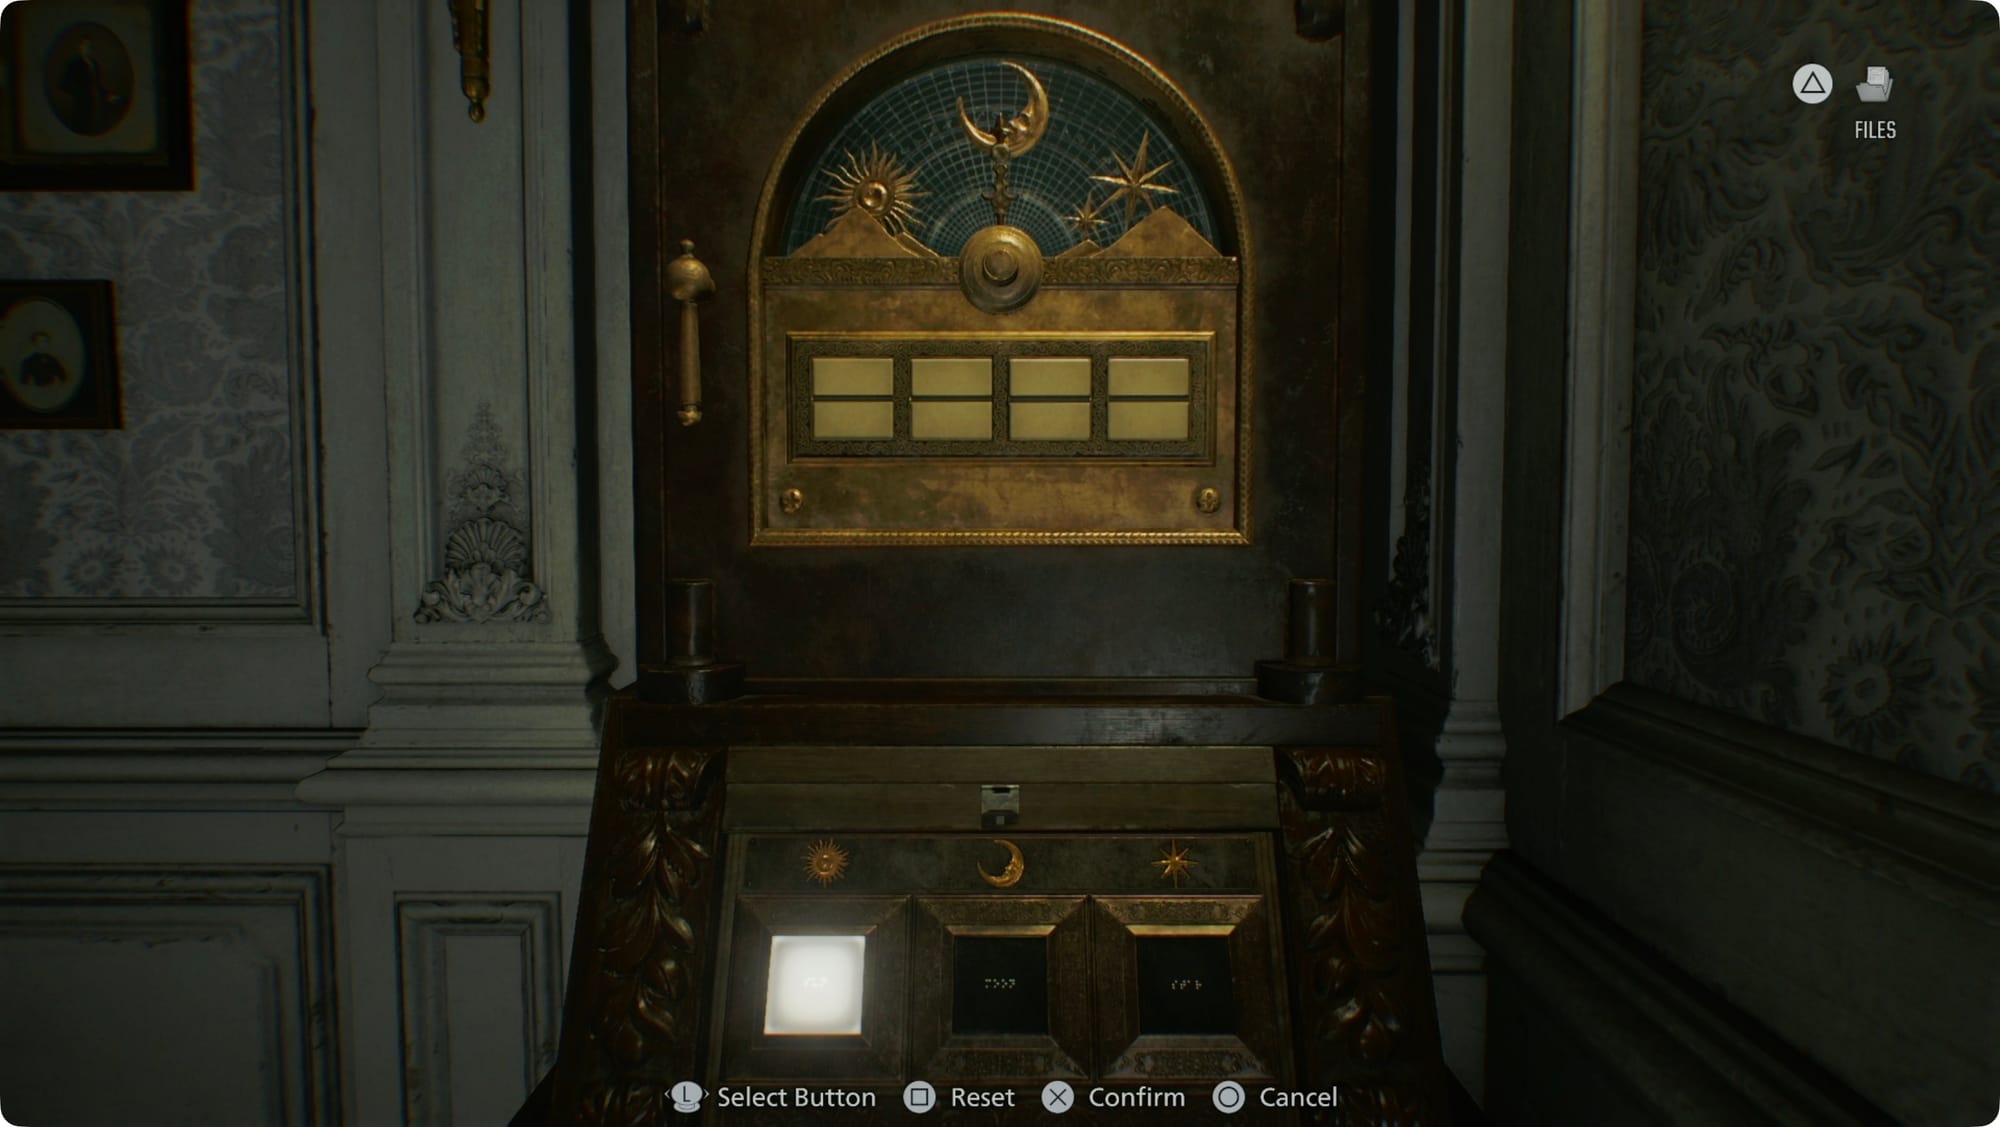
After he’s gone, go use the Corrosive on the padlock. This puzzle box’s solution comes from the photos in the room — Star, Sun, Moon, Sun.
Grab the Sun Quartz and the Leatherbound Notebook. In the notebook, you’ll get the Unlocking the Organ Transport Box file and Spencer’s Research 1.
Go put the Sun Quartz in the front door, and save in the Guard Office.
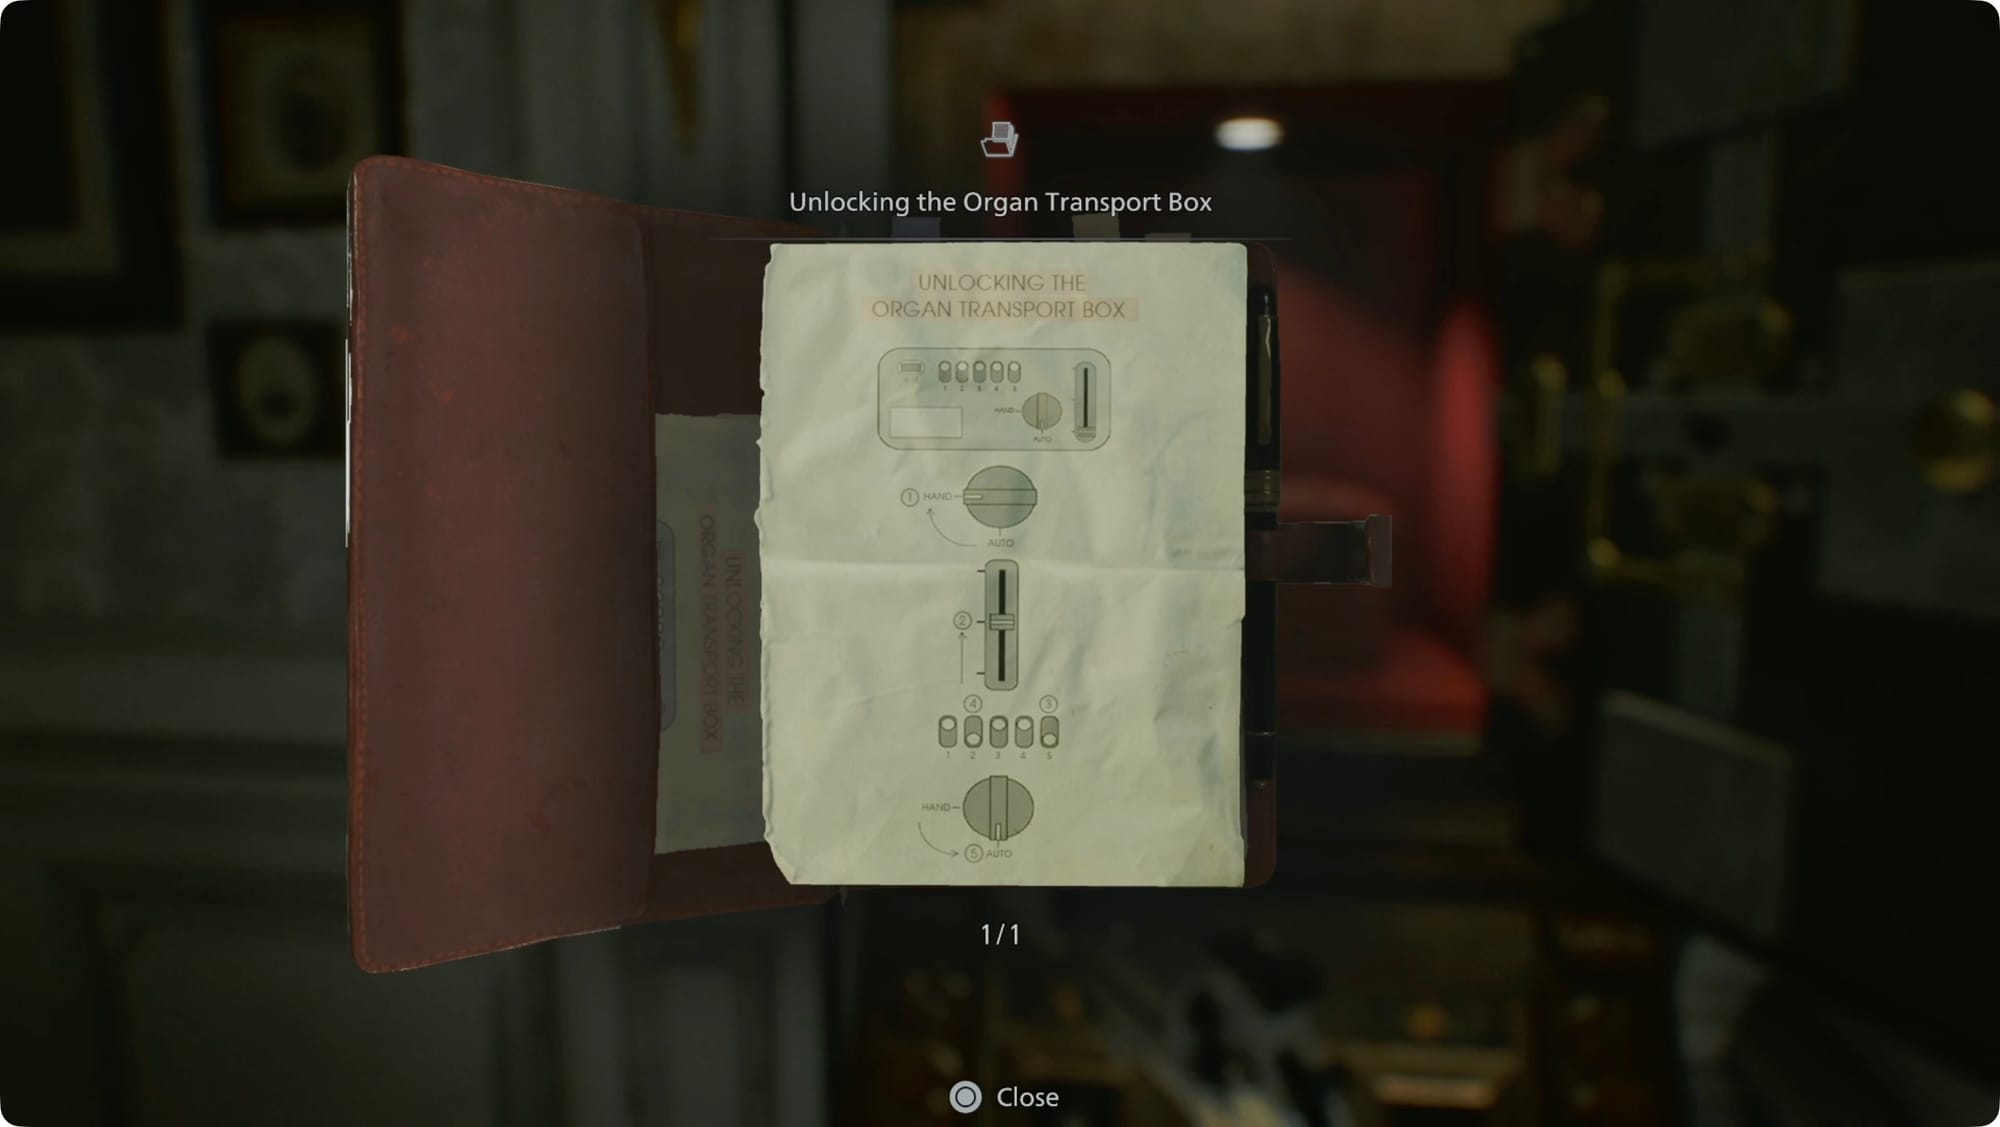
While you’re there, solve the Organ Transport Box to retrieve the Artificial Lungs.
This has been a long one, so we’ll use the lungs in the next part of our walkthrough!