

Resident Evil Requiem walkthrough, part 5
The Isolation Ward and Attic


In Part 4, we unlocked almost all the doors in the Care Center and collected a whole lot of stuff — including an Artificial Heart and some Artificial Lungs.
Let’s go put them to use.
Isolation Ward
Take the Artificial Lungs to the Examination Room and install them in the corpse. It, of course, jumps up. Put it back down to collect the ID Wristband (Level 2).
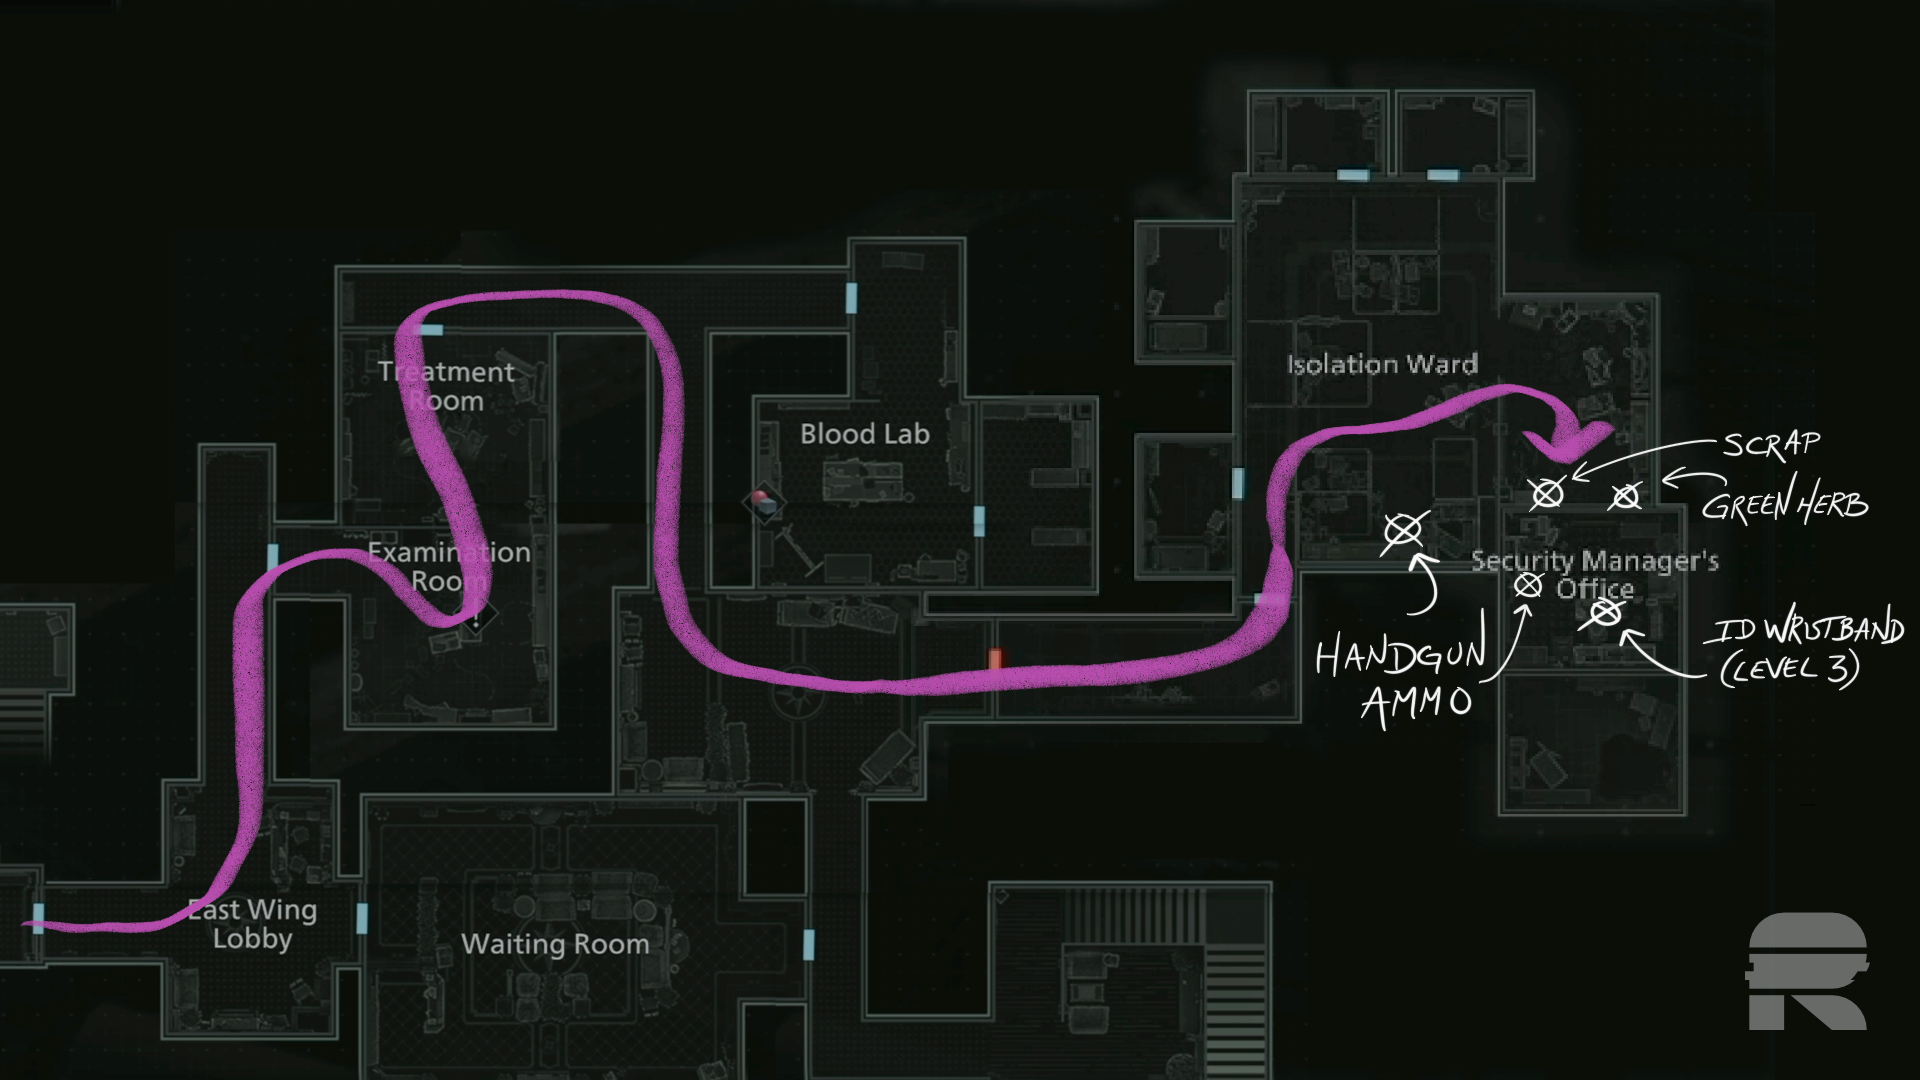
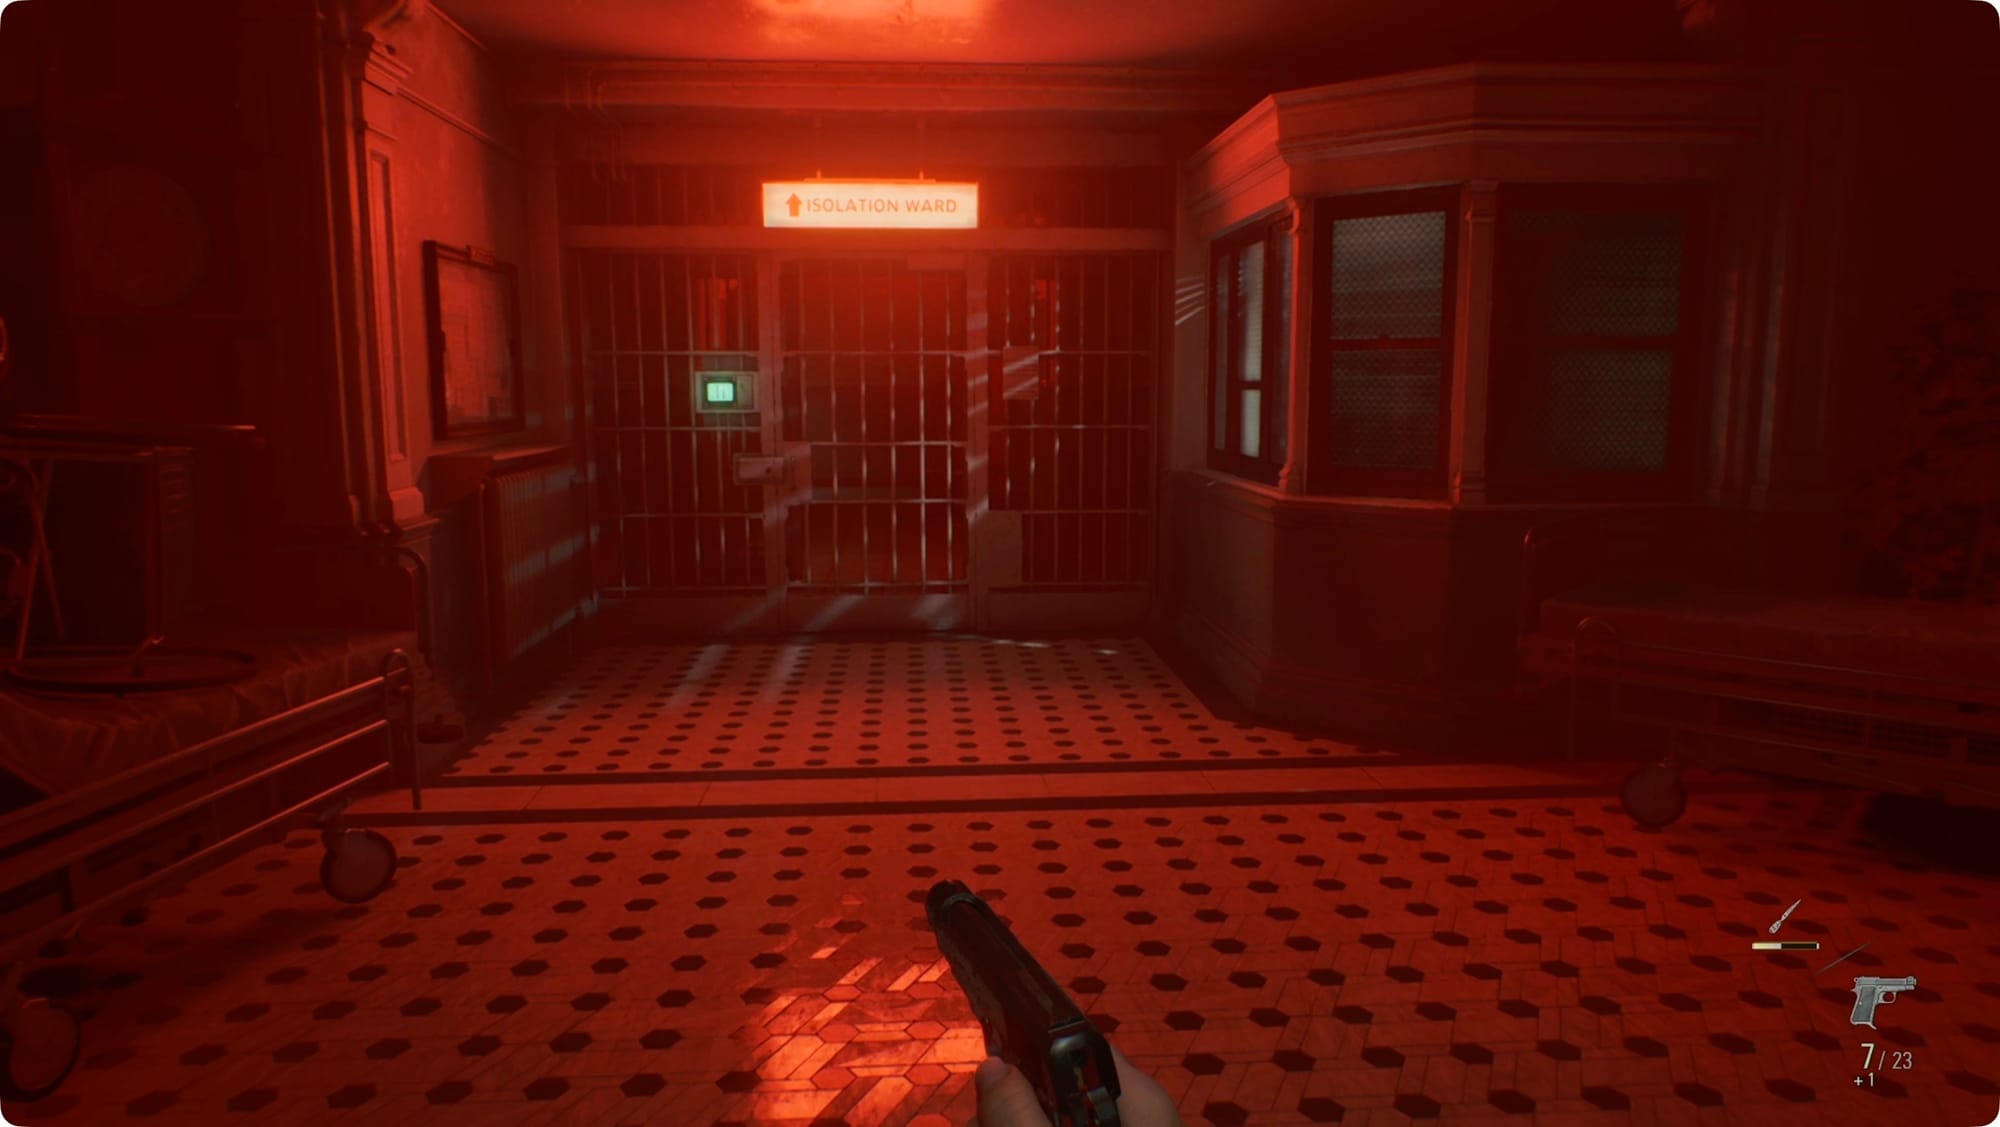
Take that to the Isolation Ward door in the room with the red light.
Take the right and into the ward itself. Just inside, there’s a bucket of blood to the left and a Handgun Ammo crate in the back right. Head into the room off of the east end of the ward.
Read the Double Mutation and Nurse’s Log files, and grab the Green Herb over to the right. There’s some Scrap to the right of the door. If you can, it’s probably worth it to whip up a Hemolytic Injector for whatever’s coming.
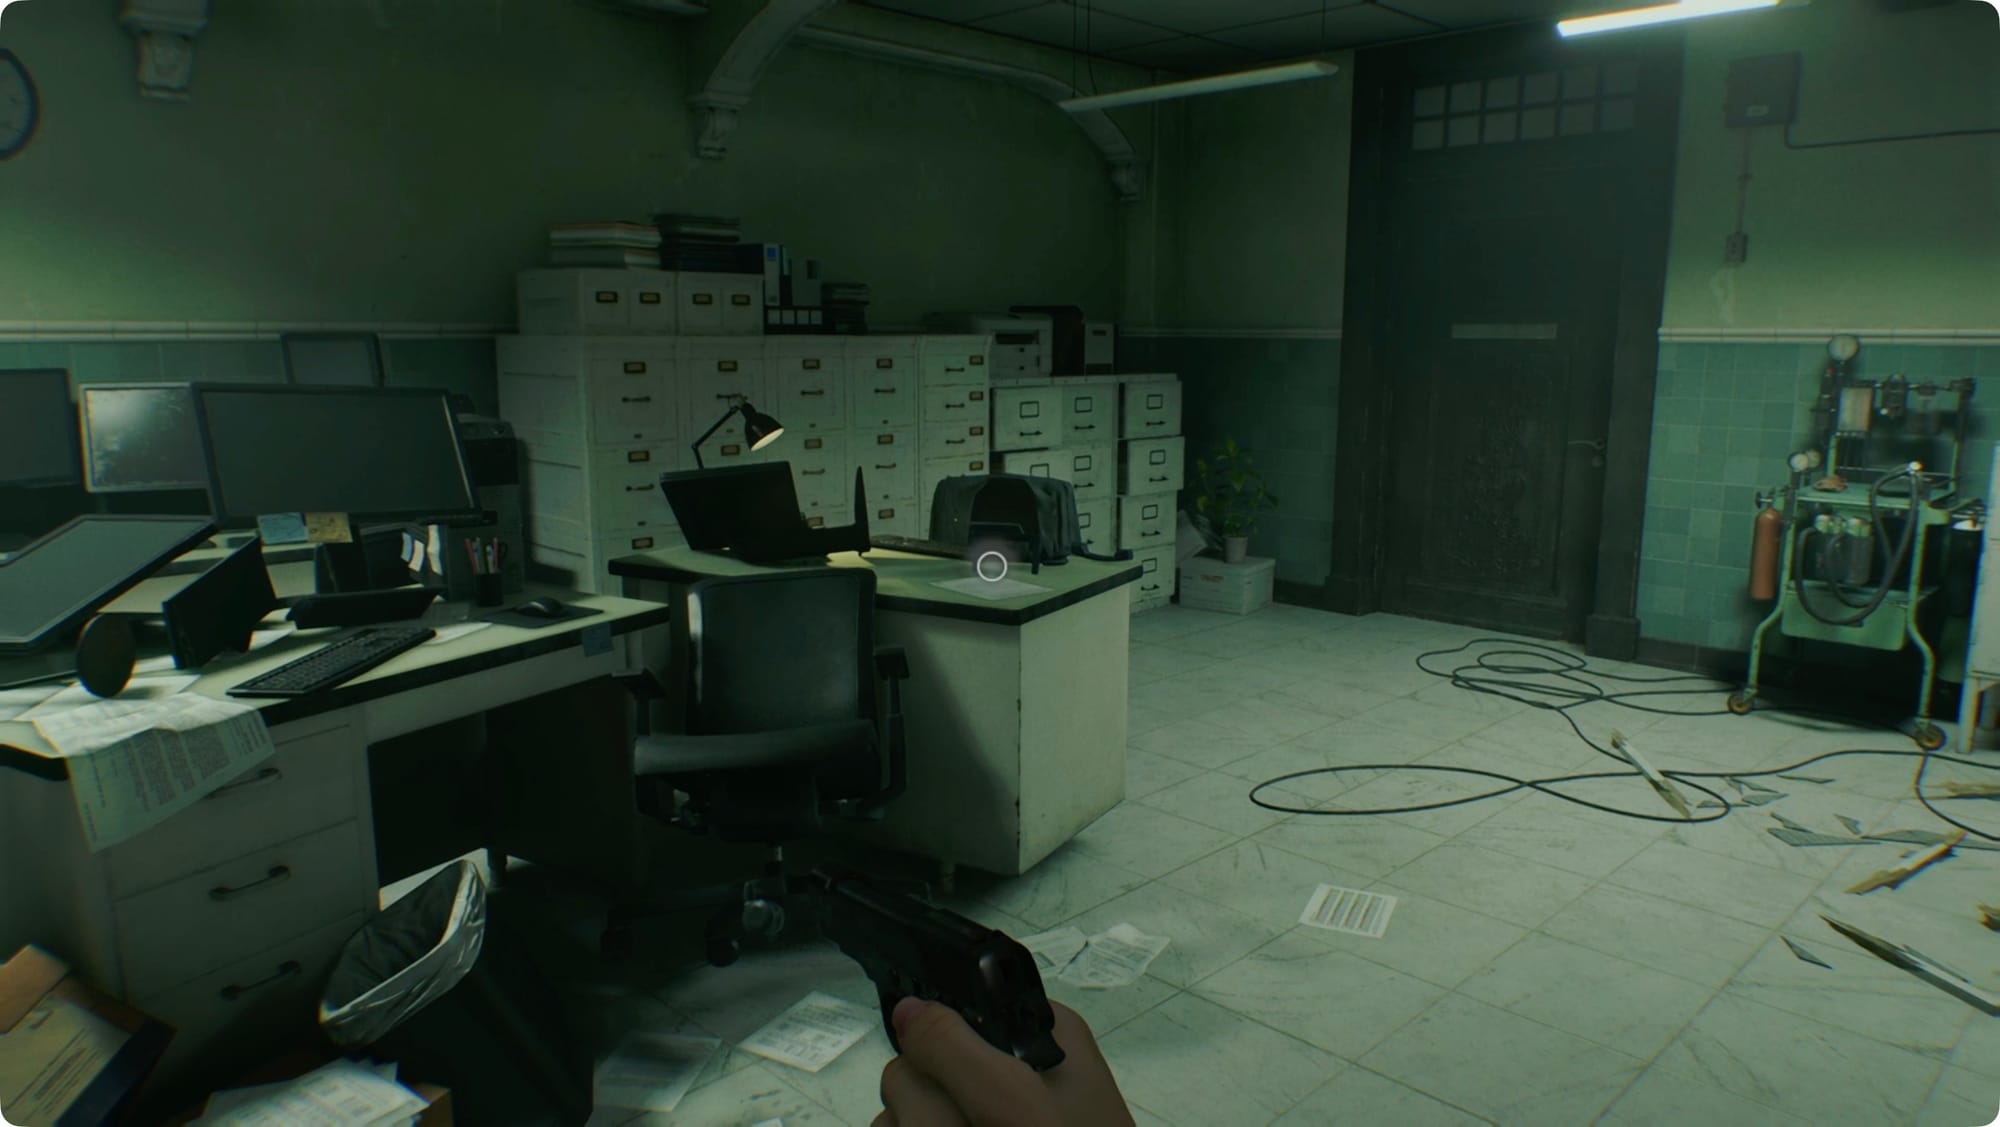
Head into the Security Manager’s Office.

Working counterclockwise, there’s Handgun Ammo on the whiteboard, a puzzle box with markings only in Braille, a dead Security Manager, and a notebook with the code to the puzzle box — Star, Star, Moon, Sun.
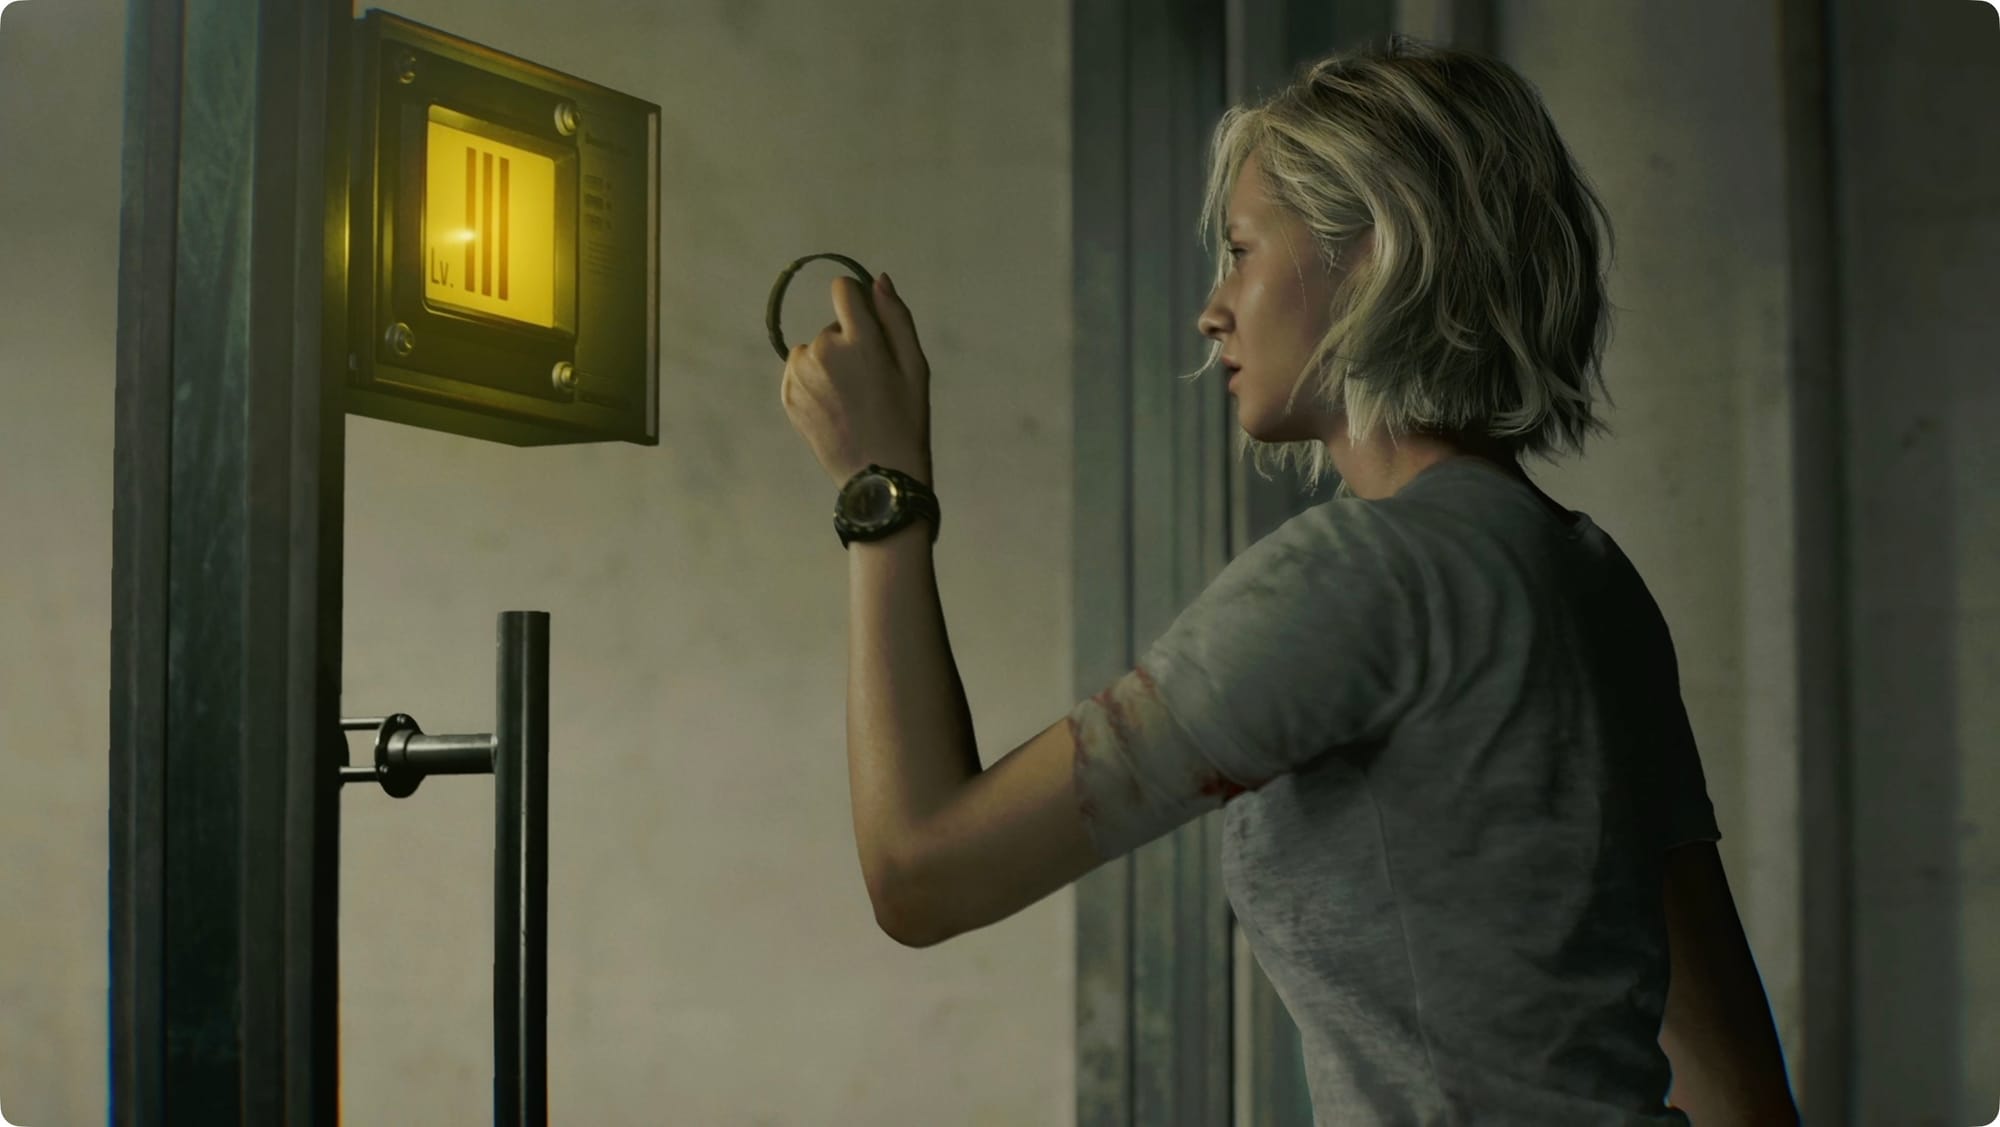
Reading it will trigger a cutscene that ends with Grace getting the ID Wristband (Level 3) and, apparently, triggers all of the zombies in the ward to wake up.
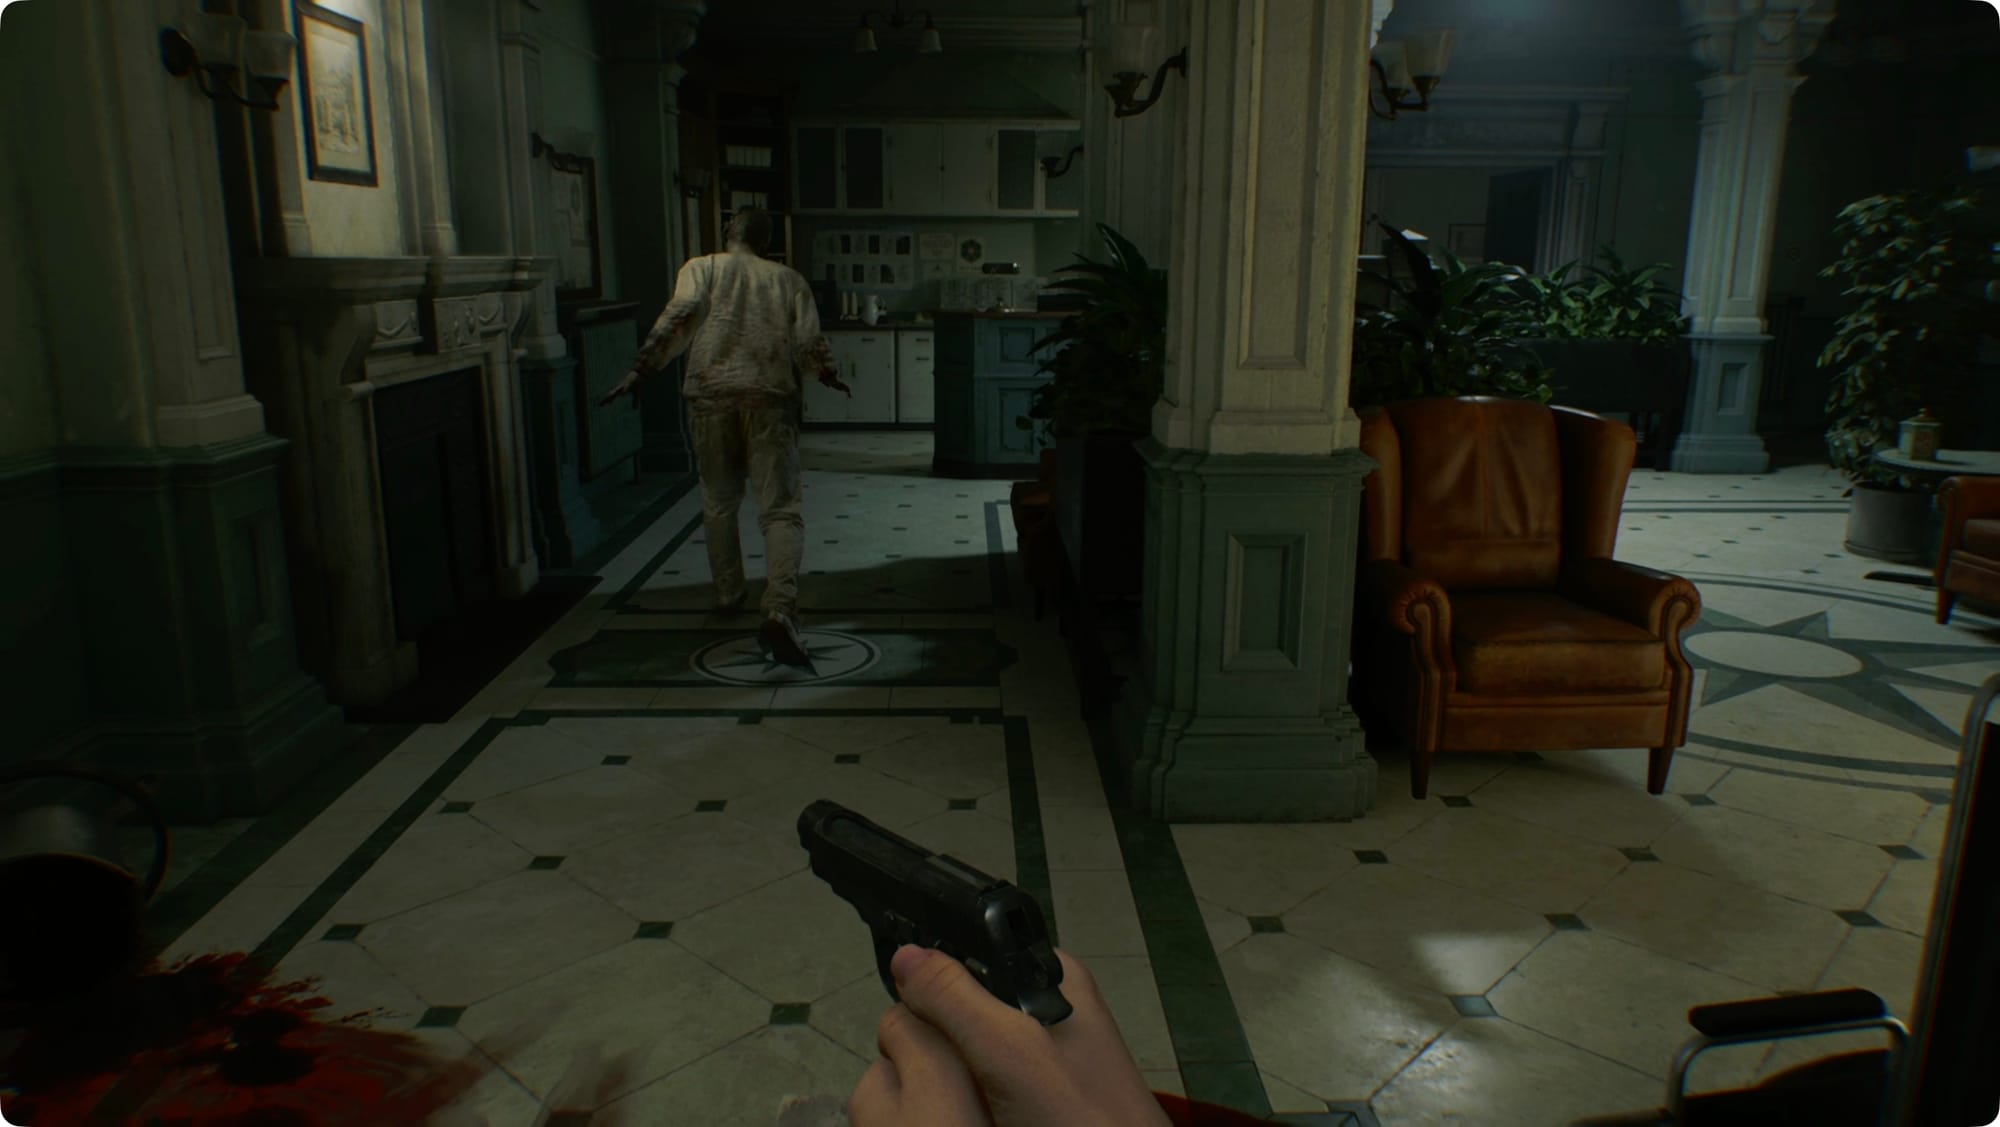
If you’re careful, you can actually mostly ignore them on the way back to the Guard Office in the Central Hall. You might have to sneak and follow them, but you can make it back without firing a shot.
Free Emily
Go back to the Medication Room and talk to Emily. Carry her upstairs, but leave her on the couch in the Guard Office.
Head into the East Wing and take the first left. Cut through the Examination and Treatment Rooms, and then take the hallway to the right. One of the zombies from earlier will be waiting there, and one more will show up shortly after.
Now you can go back and get Emily. Carry here back to the Isolation Ward door. When you go into the hallway, more zombies will show up. Run back to the hallway and wait. They’ll both head over toward the waiting room.
Head into the Security Manager’s Office and drop off Emily.
Puzzle Box
The doors along the north wall are open now, so, whee, more zombies. You’ve only got three to worry about, but they suck. Exit the office and cut to the left to get your back in a corner. One will come at you from the left and one from the right. If you’ve got Requiem ammo (or Rare Metal and blood), use that to make this quick. The third zombie is in the room on the right along the far wall (north).

Take him down and grab the Transfusion Bag. The other room has a Handgun Ammo crate and some Scrap. A third room will open in the southwest corner of the room with another Transfusion Bag inside.
When you come out, Emily will call out that she’s solved the puzzle box. Run back in for a happy reunion …
… with The Girl.
Follow her through the new hole in the wall and down into the Basement.
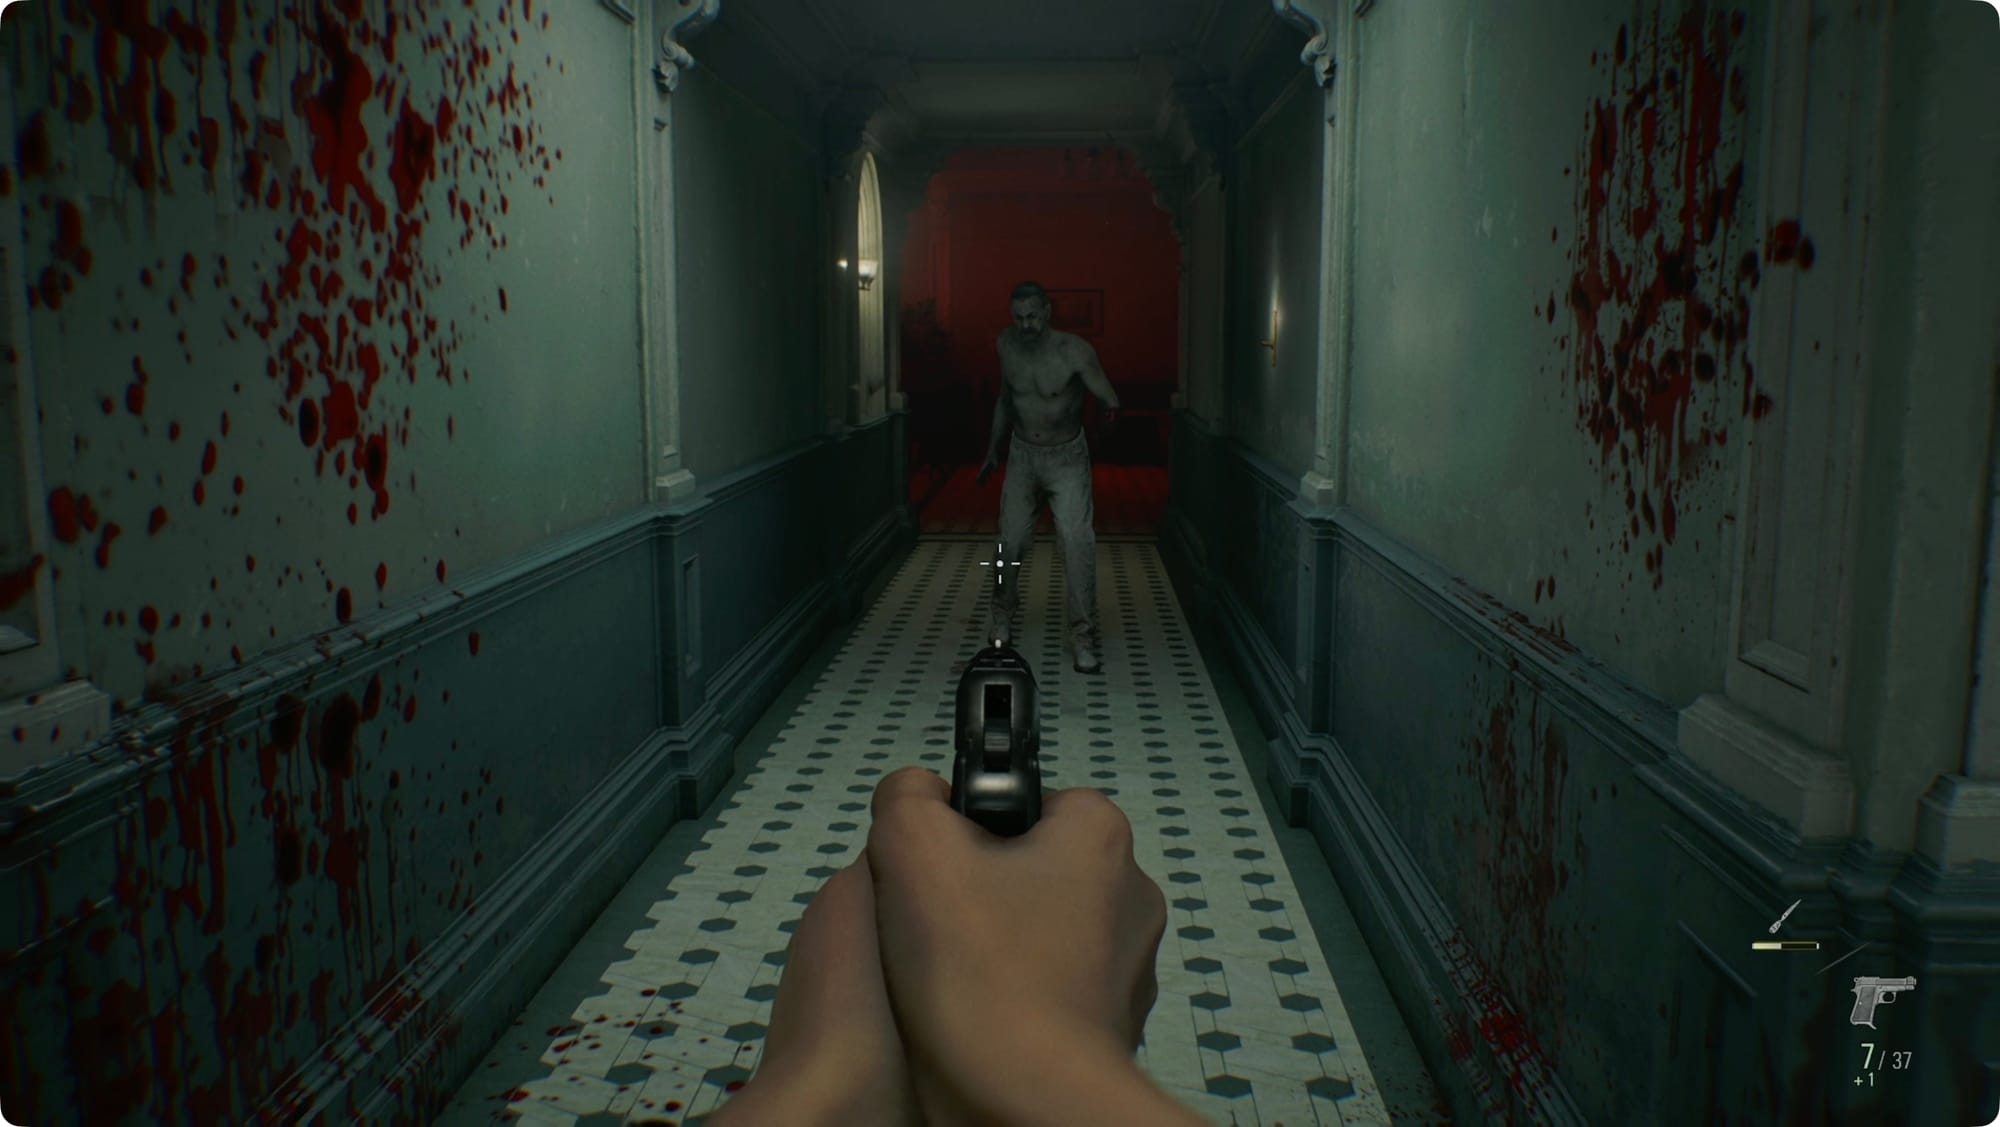
Leon — Attic
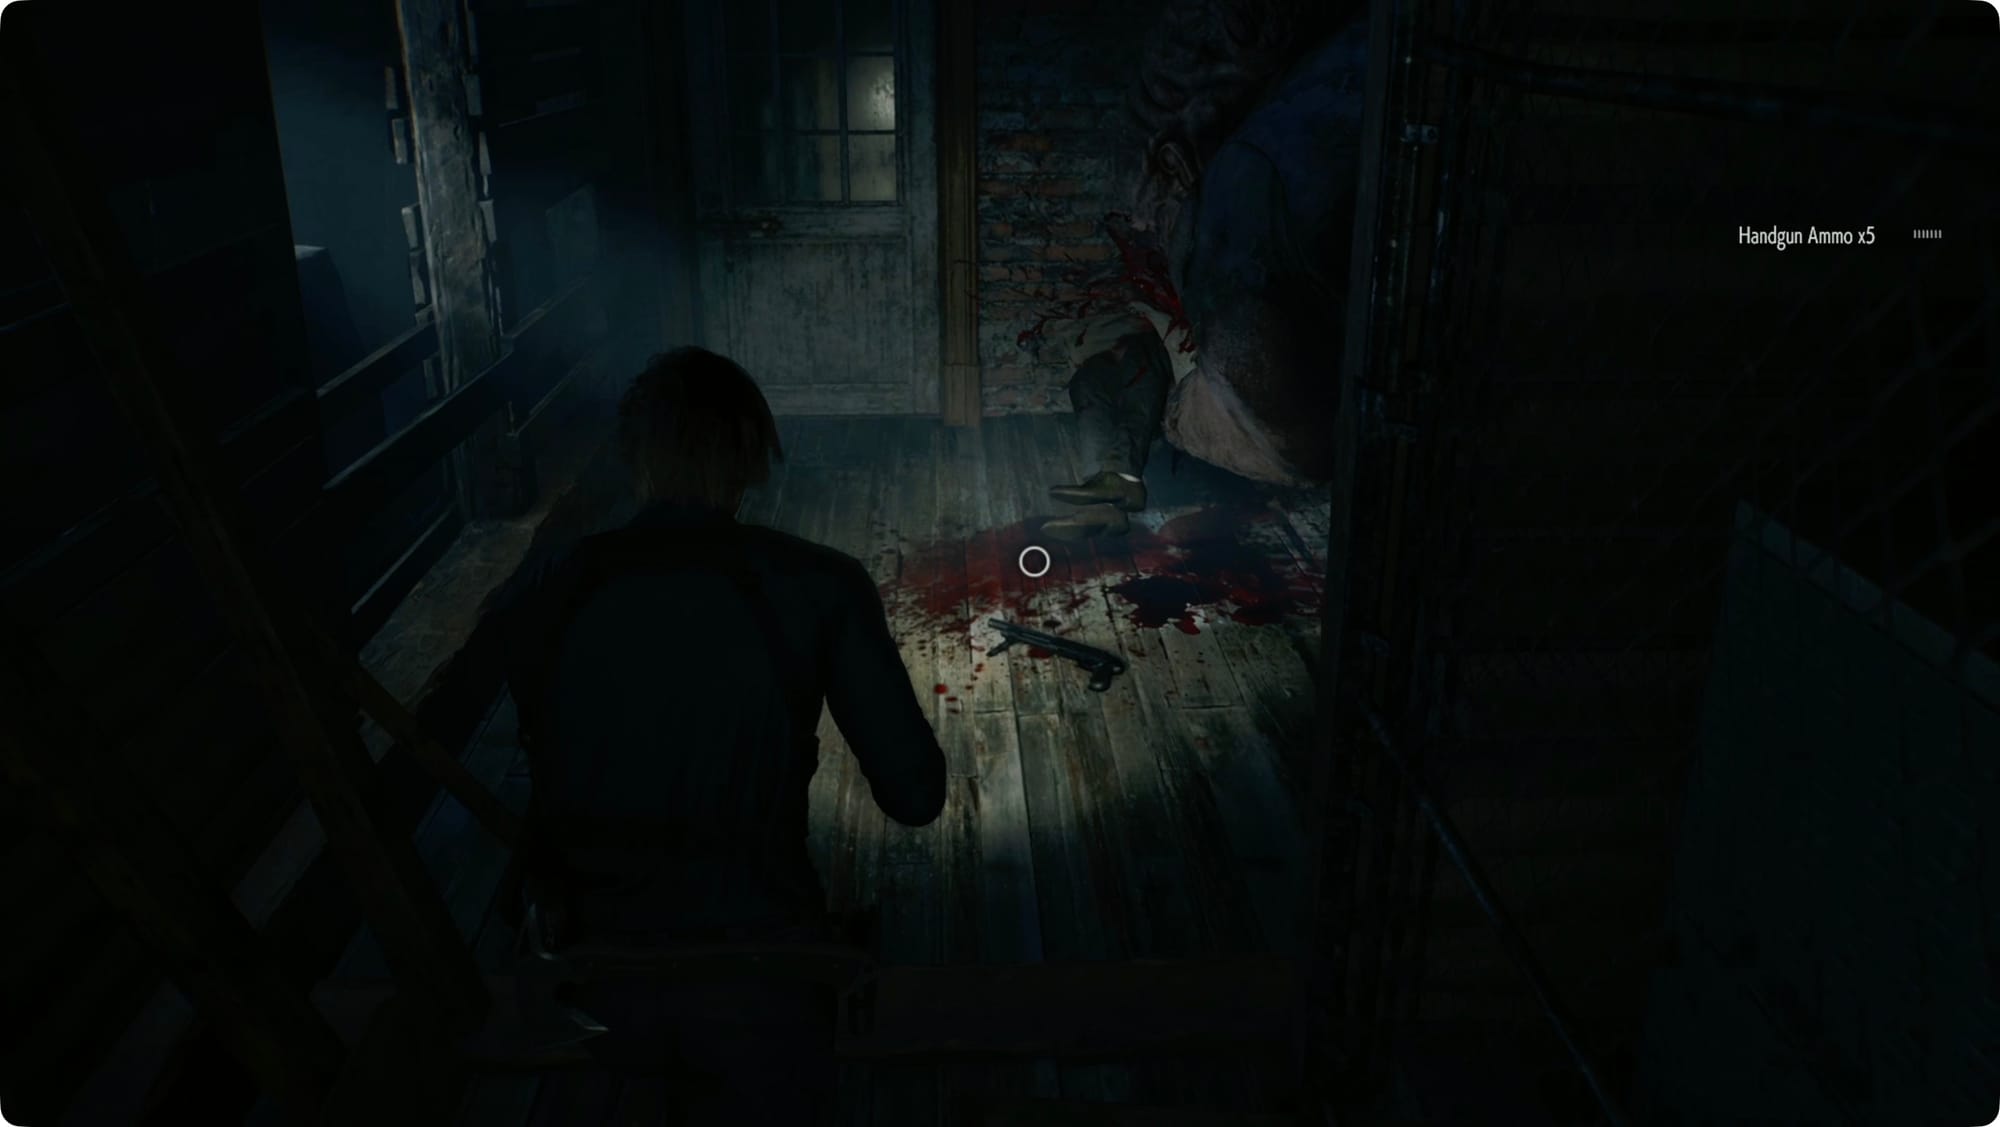
After your lovely conversation with Victor, you’ll only have one path forward. At the end of the first hall, smash the crate for some Handgun Ammo. In the next room, you’ll find a Green Herb. Before you duck under the toppled cabinet, turn left for the Satiety Suppression Medical Records.
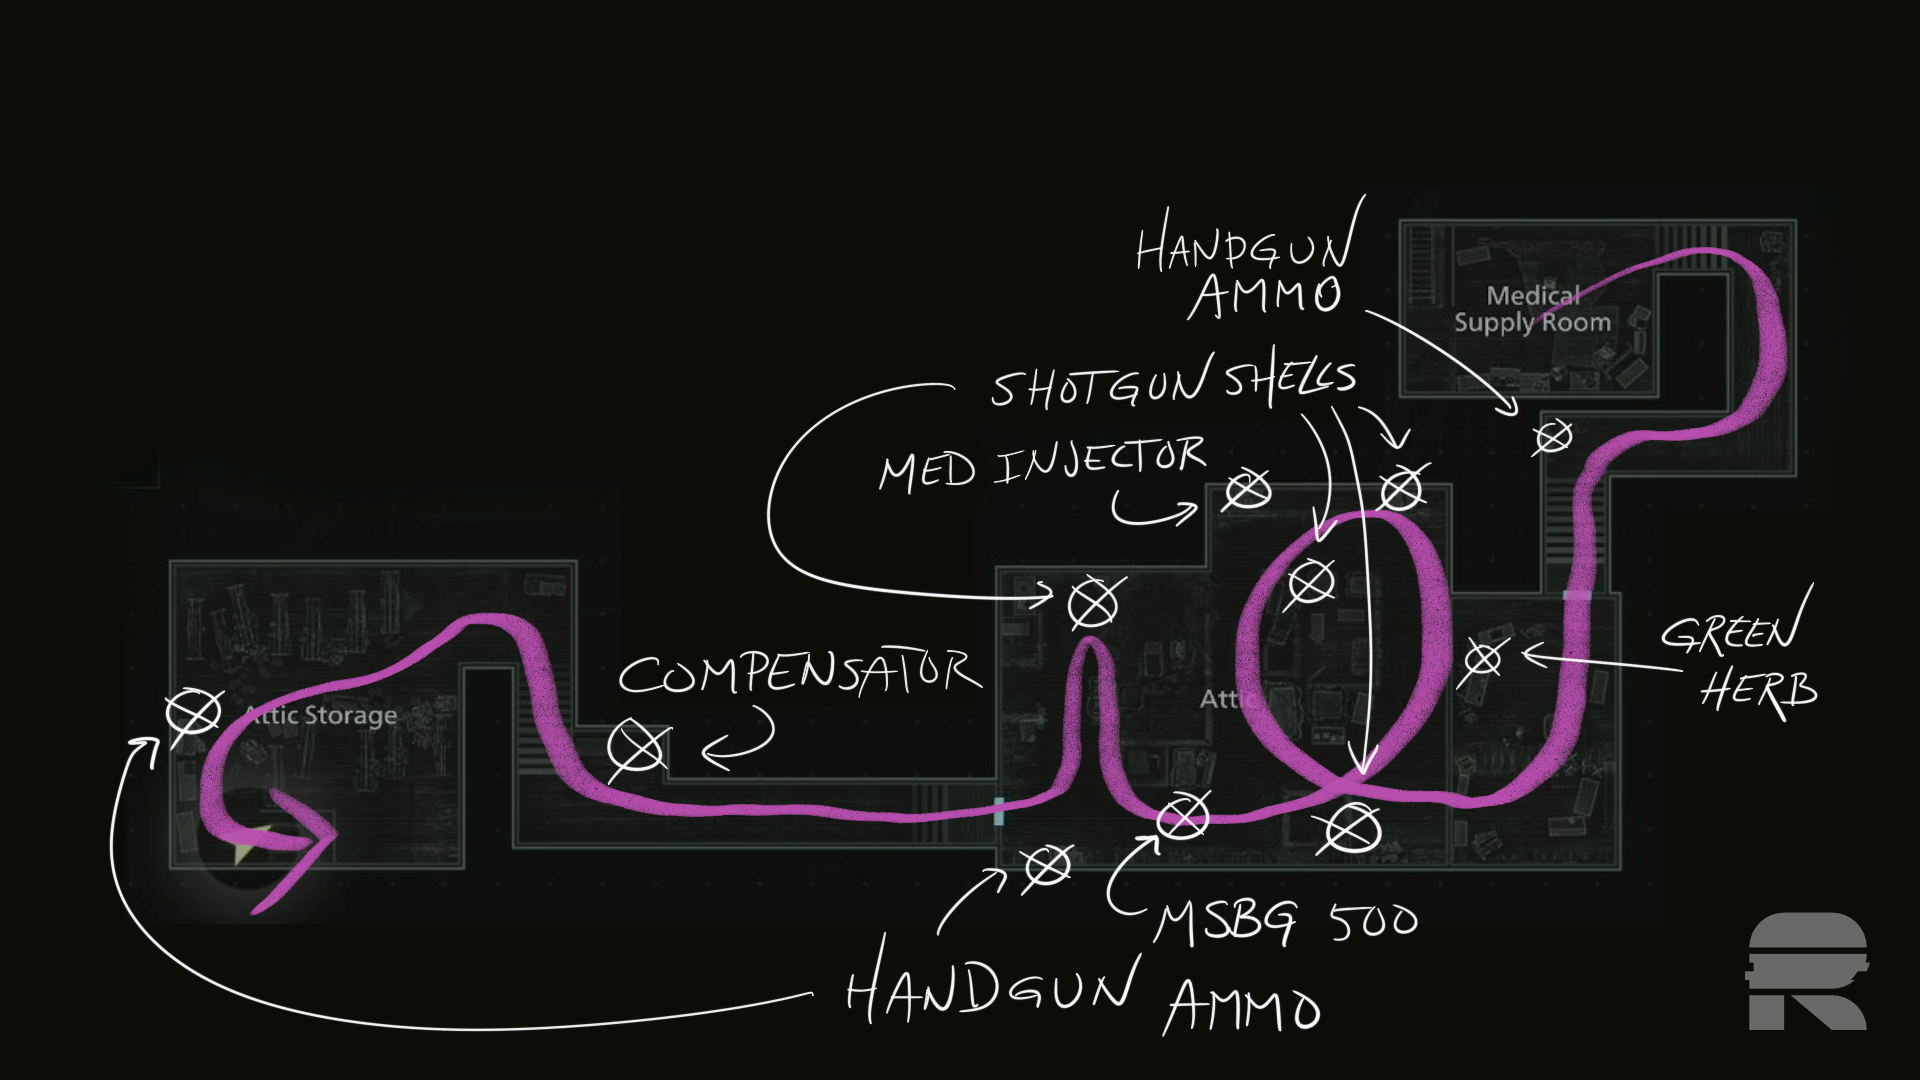
In the Attic proper, your map will show some Shotgun Shells, but you can’t get them yet. Take a right and loop around the room to grab some more Handgun Ammo.
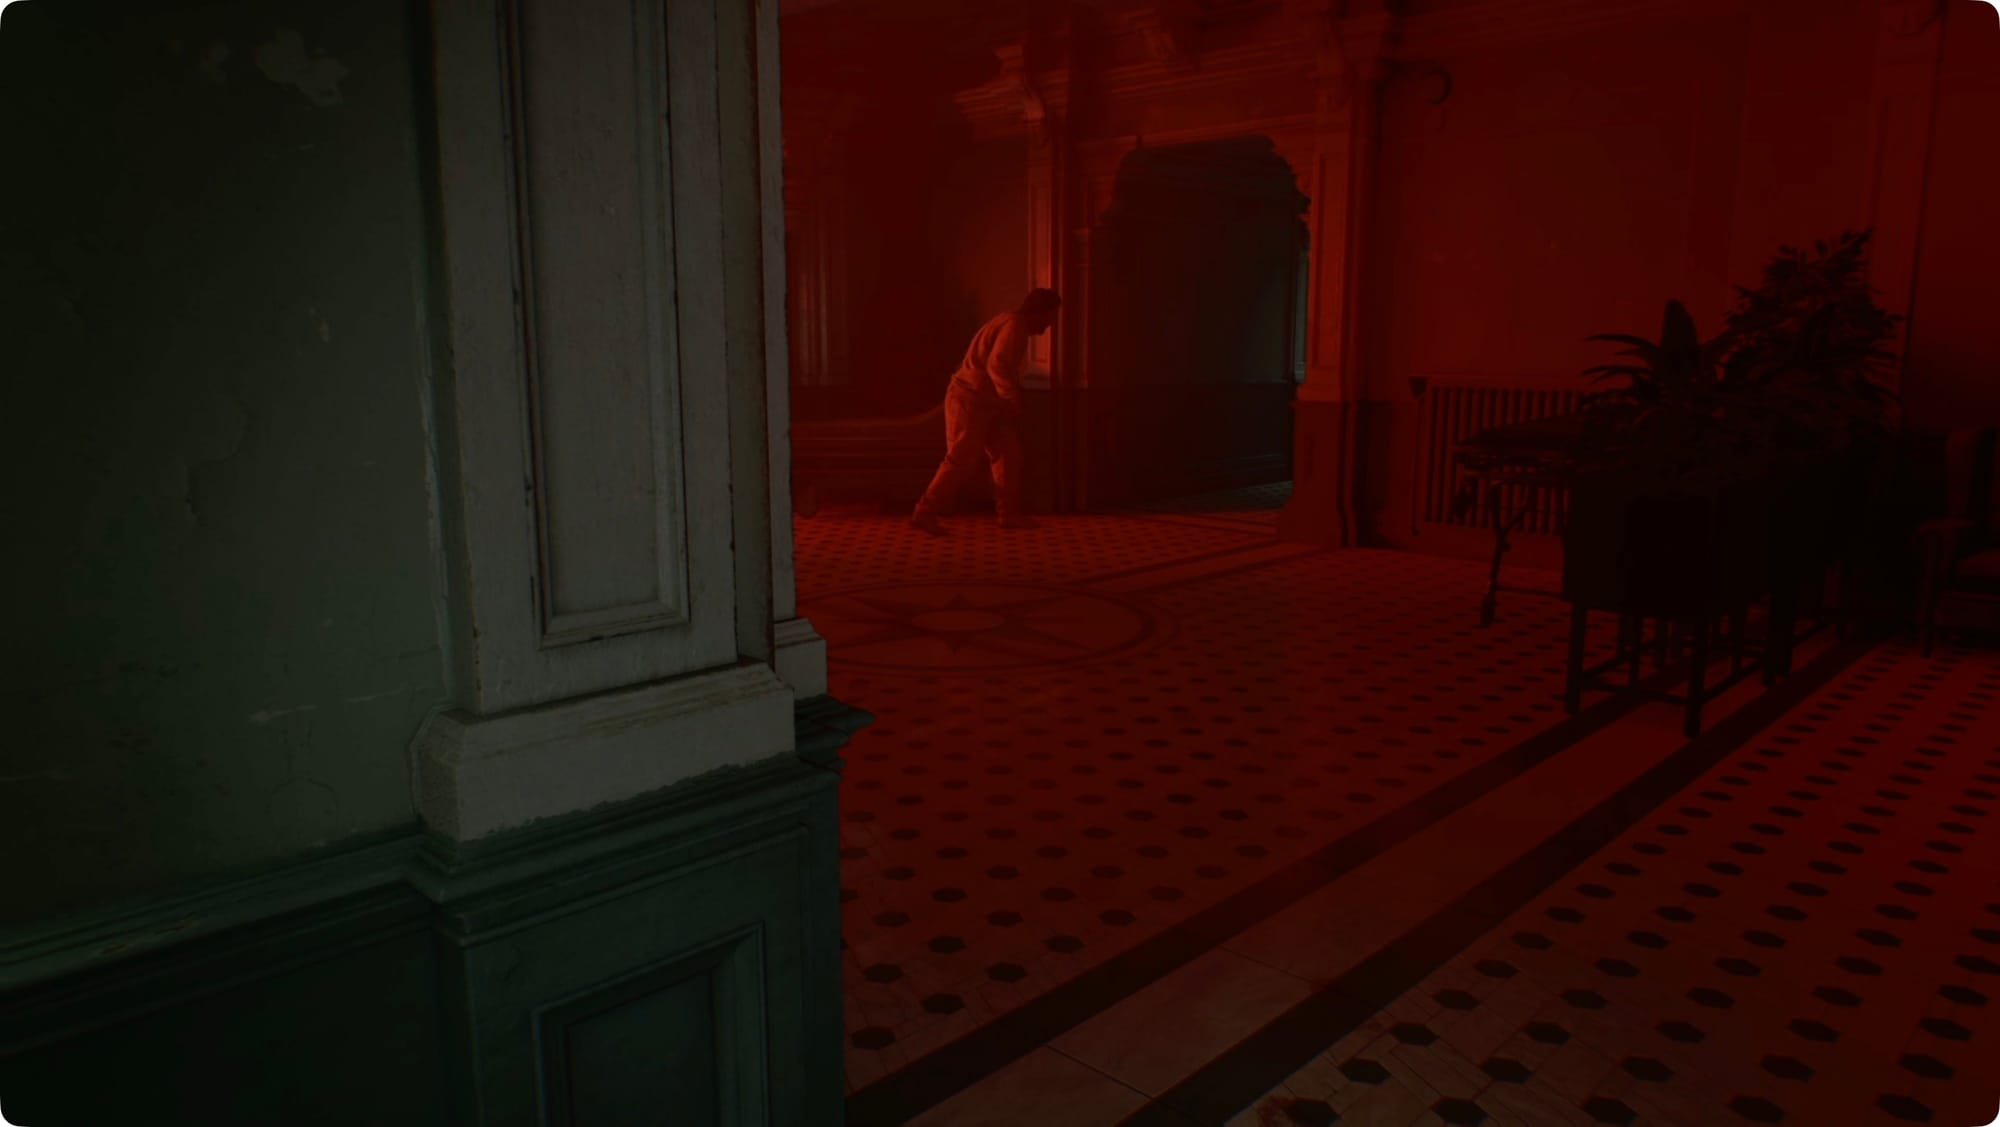
When you get to the end of your loop, there’s another Chunk off to the right. He’s distracted, so just walk up and grab the MSBG 500 shotgun.
He’s going to chase you, obviously, but his stomping around will knock loose boards all around you.
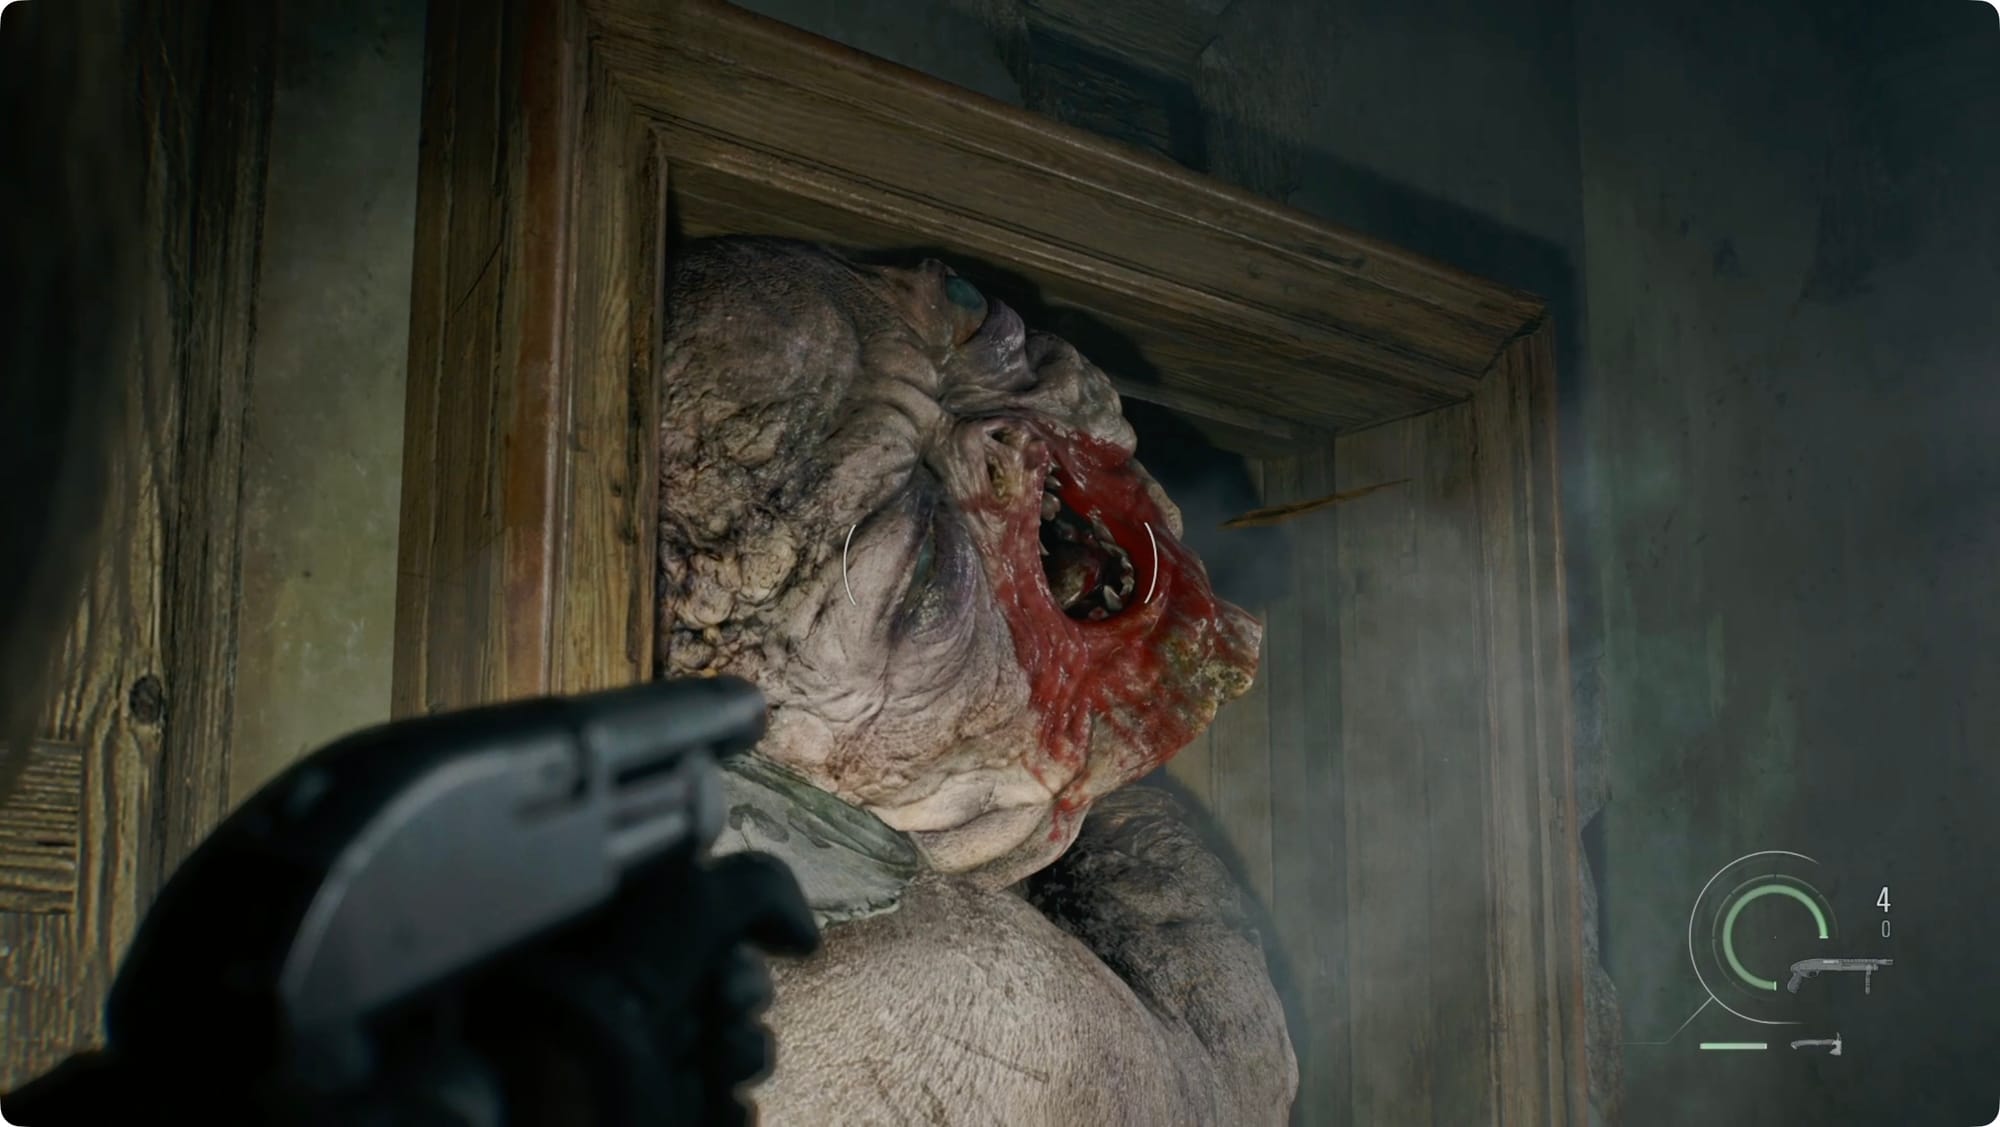
Backtrack off to the right and you’ll pass through a door he can’t (where you picked up the Handgun Ammo). While he’s stuck, pump three shotgun rounds into his face and follow it up with an axe attack when he’s stunned.
If you’re quick, you can your next two rounds and a few handgun shots into his face to get another finisher in.
Back away to the corner.
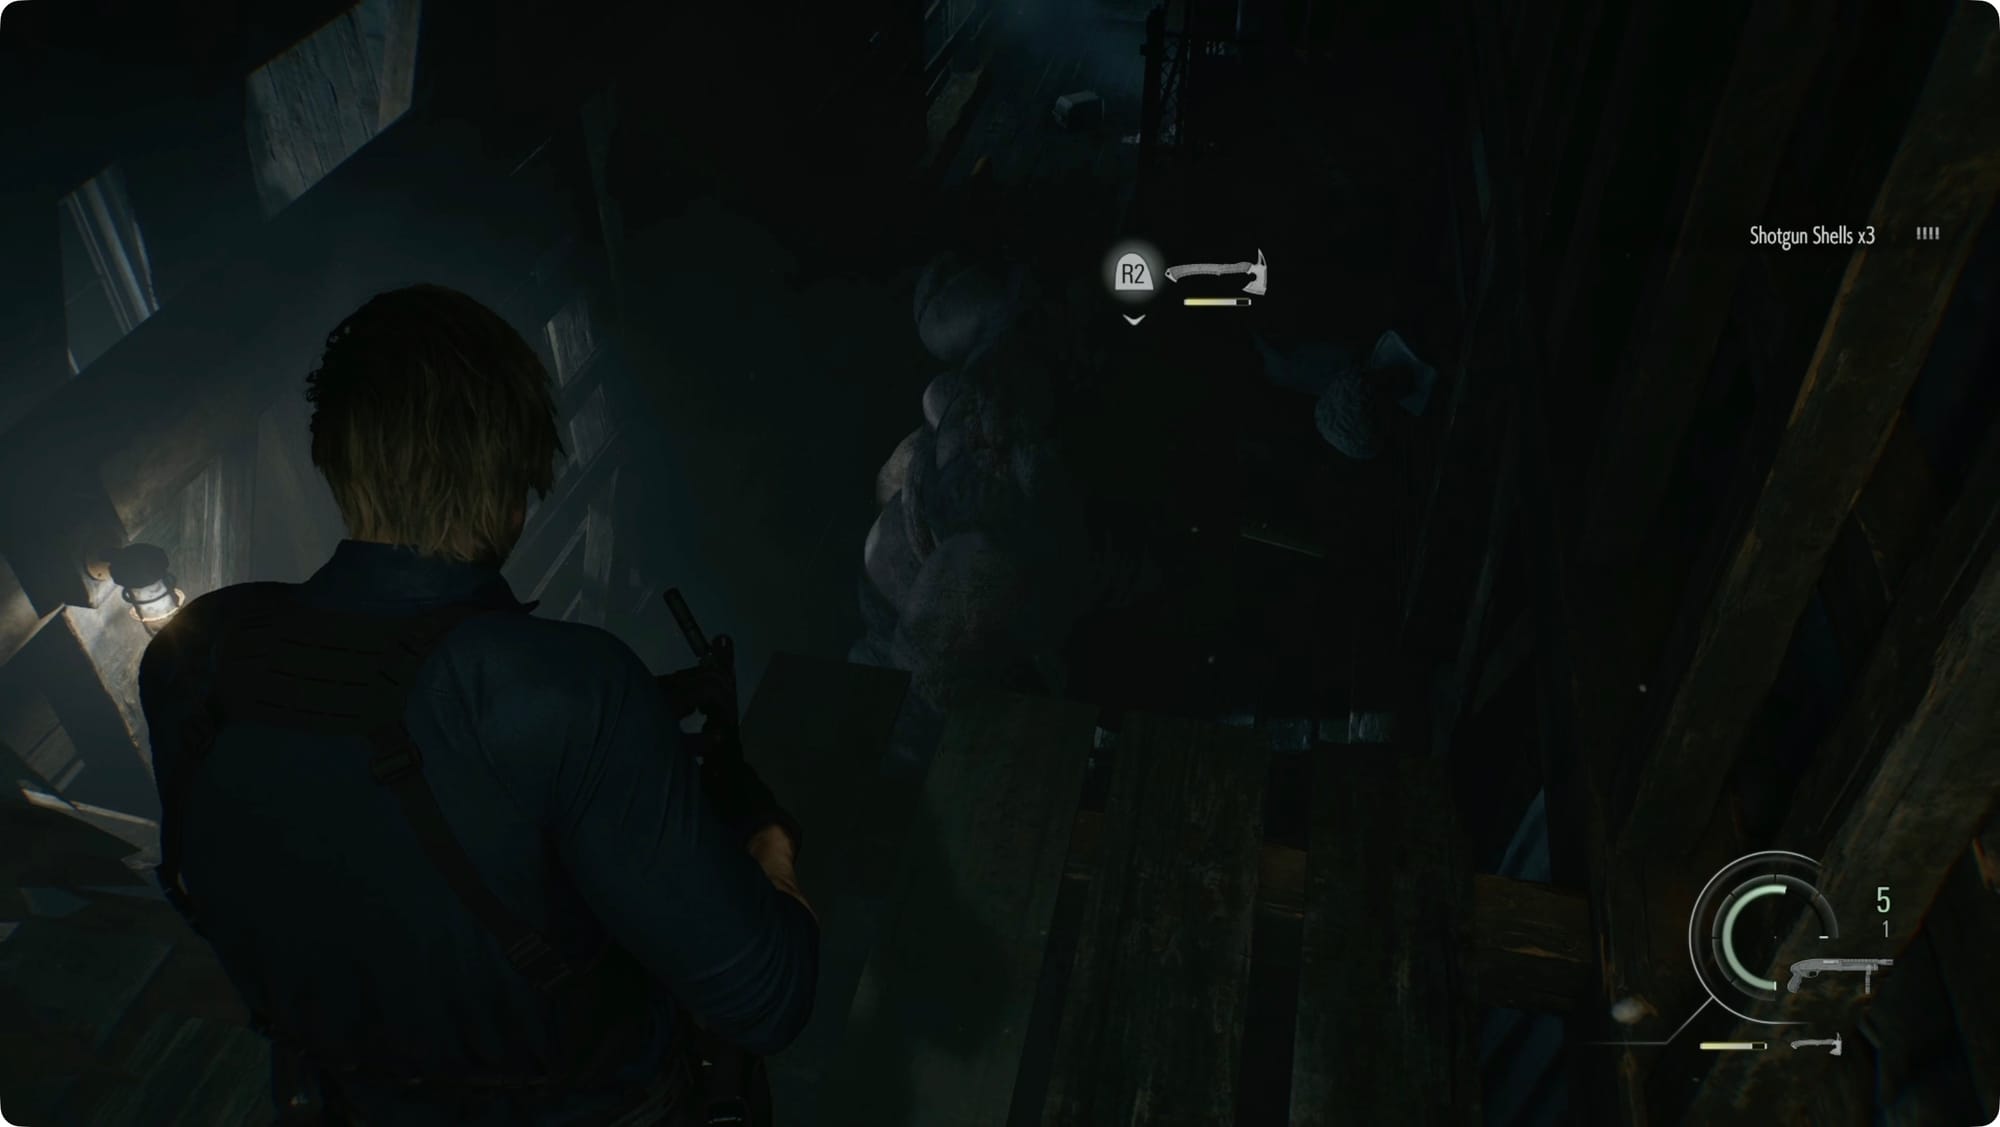
When he’s back up, he’ll be angry. Keep kiting him around the loop, letting him smash into walls and expose ammo for you, while you keep shooting him in the face. There’s at least two boxes of Shotgun Shells and a Med Injector you can find.
He’ll also expose a ladder back near where you entered. You only get to go up it once, so when you see it, do so. There’s a box of Shotgun Shells in the open and another in a crate.
When he chases you, it’s a great opportunity to shoot him in the face more and Leon gets a cool action hero finisher.
After that, it’s just back to the loop with the running and shooting. Eventually, he’ll explode and drop a couple Hand Grenades.
Before you go through the door on the far side of the room from where you entered, there’s some Handgun Ammo to the left in the window, and, if you take a right, you’ll find three more boxes of Shotgun Shells.
Unlock the door and head through.

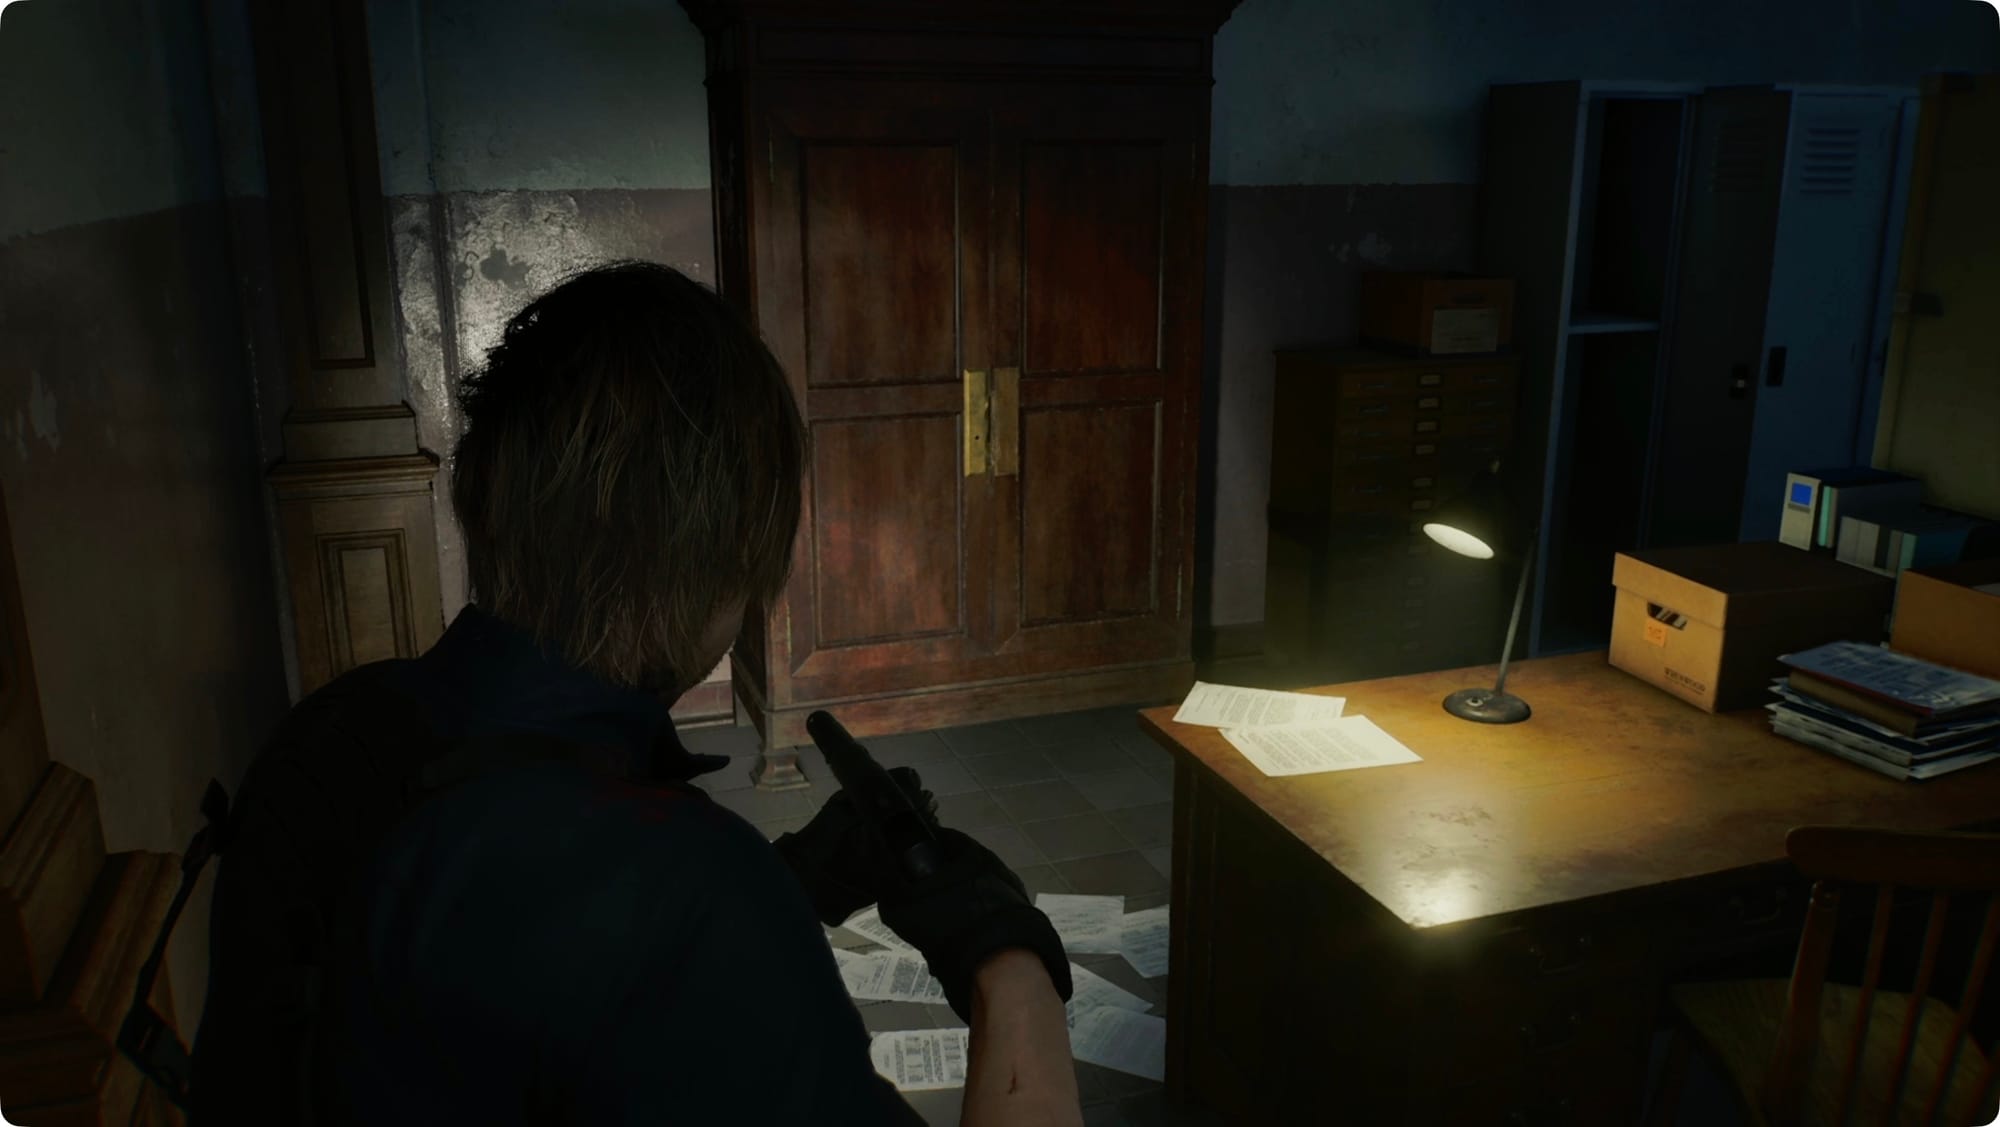
You’ll come to one of those warped-shut wardrobes, but Leon can open them with his axe! Inside this one is a Basement Safe Code file and a Compensator. Open your inventory to attach it to your Alligator Snapper(?) handgun.
Down the stairs and past the shelves is a Handgun Ammo crate.
Hit the button to lower the stairs.
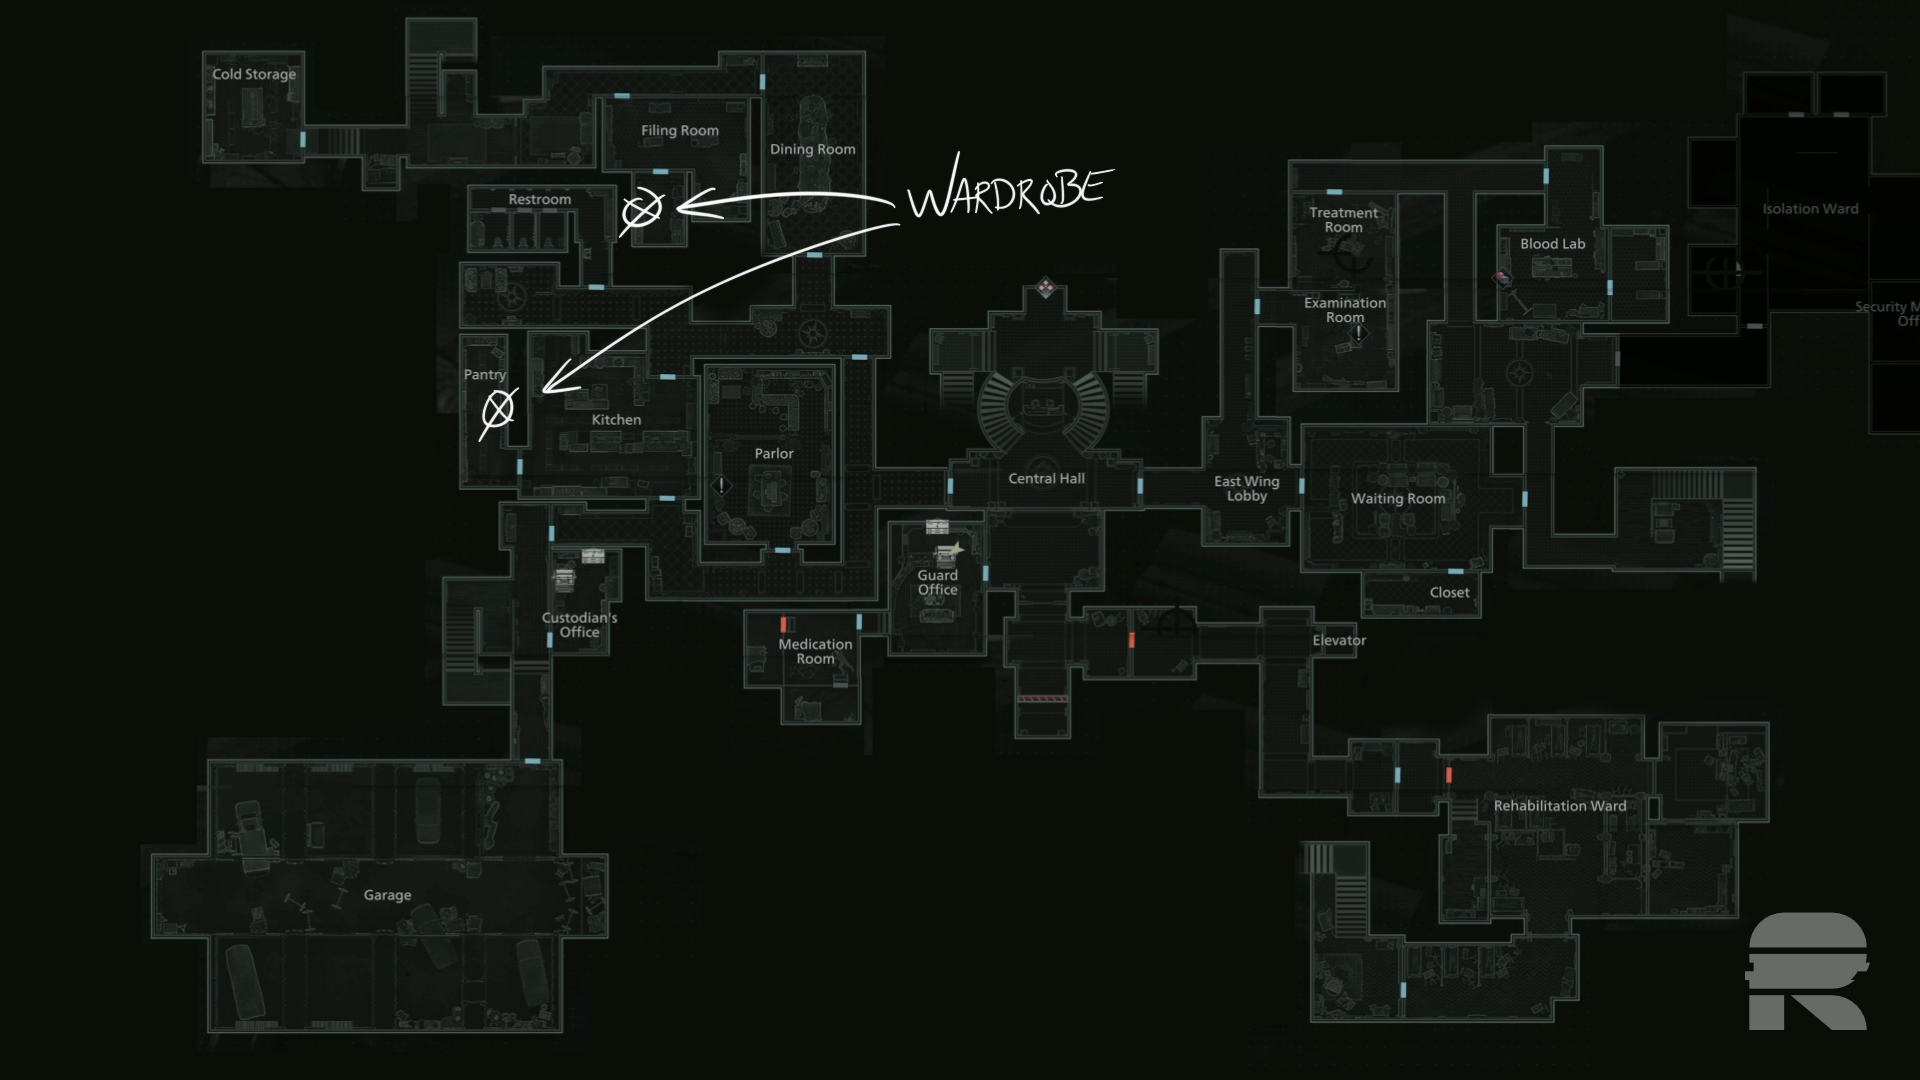
Wardrobes
If you interacted with them as Grace (or maybe even if you didn’t?), the warped wardrobes will appear on your map with diamond-shaped icons. Let’s get them open.
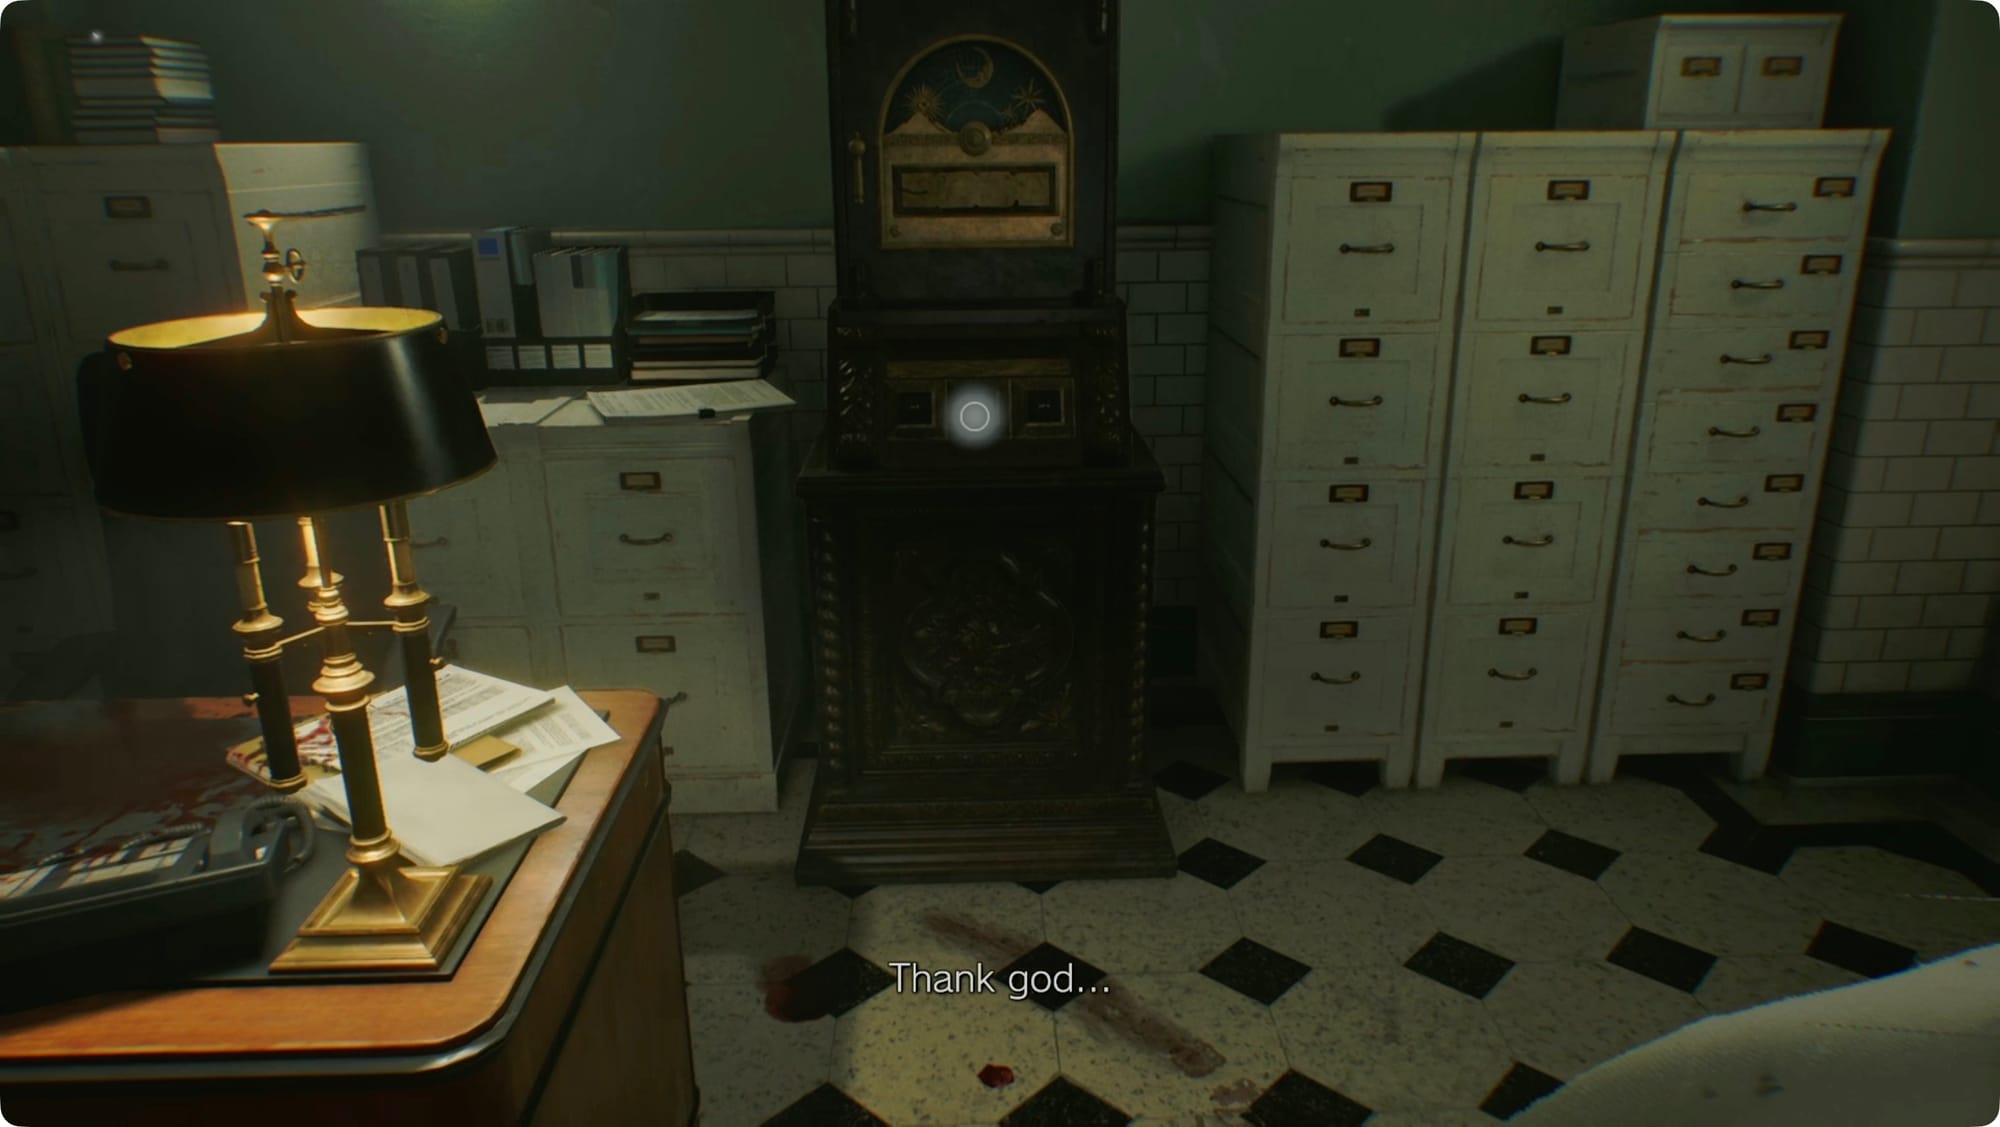
You’ll come down the ladder into the Chairman’s Office. Take a left as you exit to find the first one.
Inside are some Shotgun Shells and the Dishwasher’s Note.
Take a right and handle the trio of zombies in the Bar & Lounge. The singer will drop an Antique Coin, but Leon can’t pick it up. There’s a Green Herb on the far side.
There’s a safe behind the bar that we already know the combination to (it’s on a desk in the Office) — L10, R80, L30 — but Leon can’t (or won’t) open it.
After the Bar, take the first left to head back into the Office. Open the wardrobe in the Records Room for a Mr. Raccoon, some Handgun Ammo, and a Mixed Herb (G+G).
Head down the stairs and take a left at the bottom.

The next wardrobe is in the room attached to the Filing Room. Inside is a Med Injector and some Handgun Ammo.
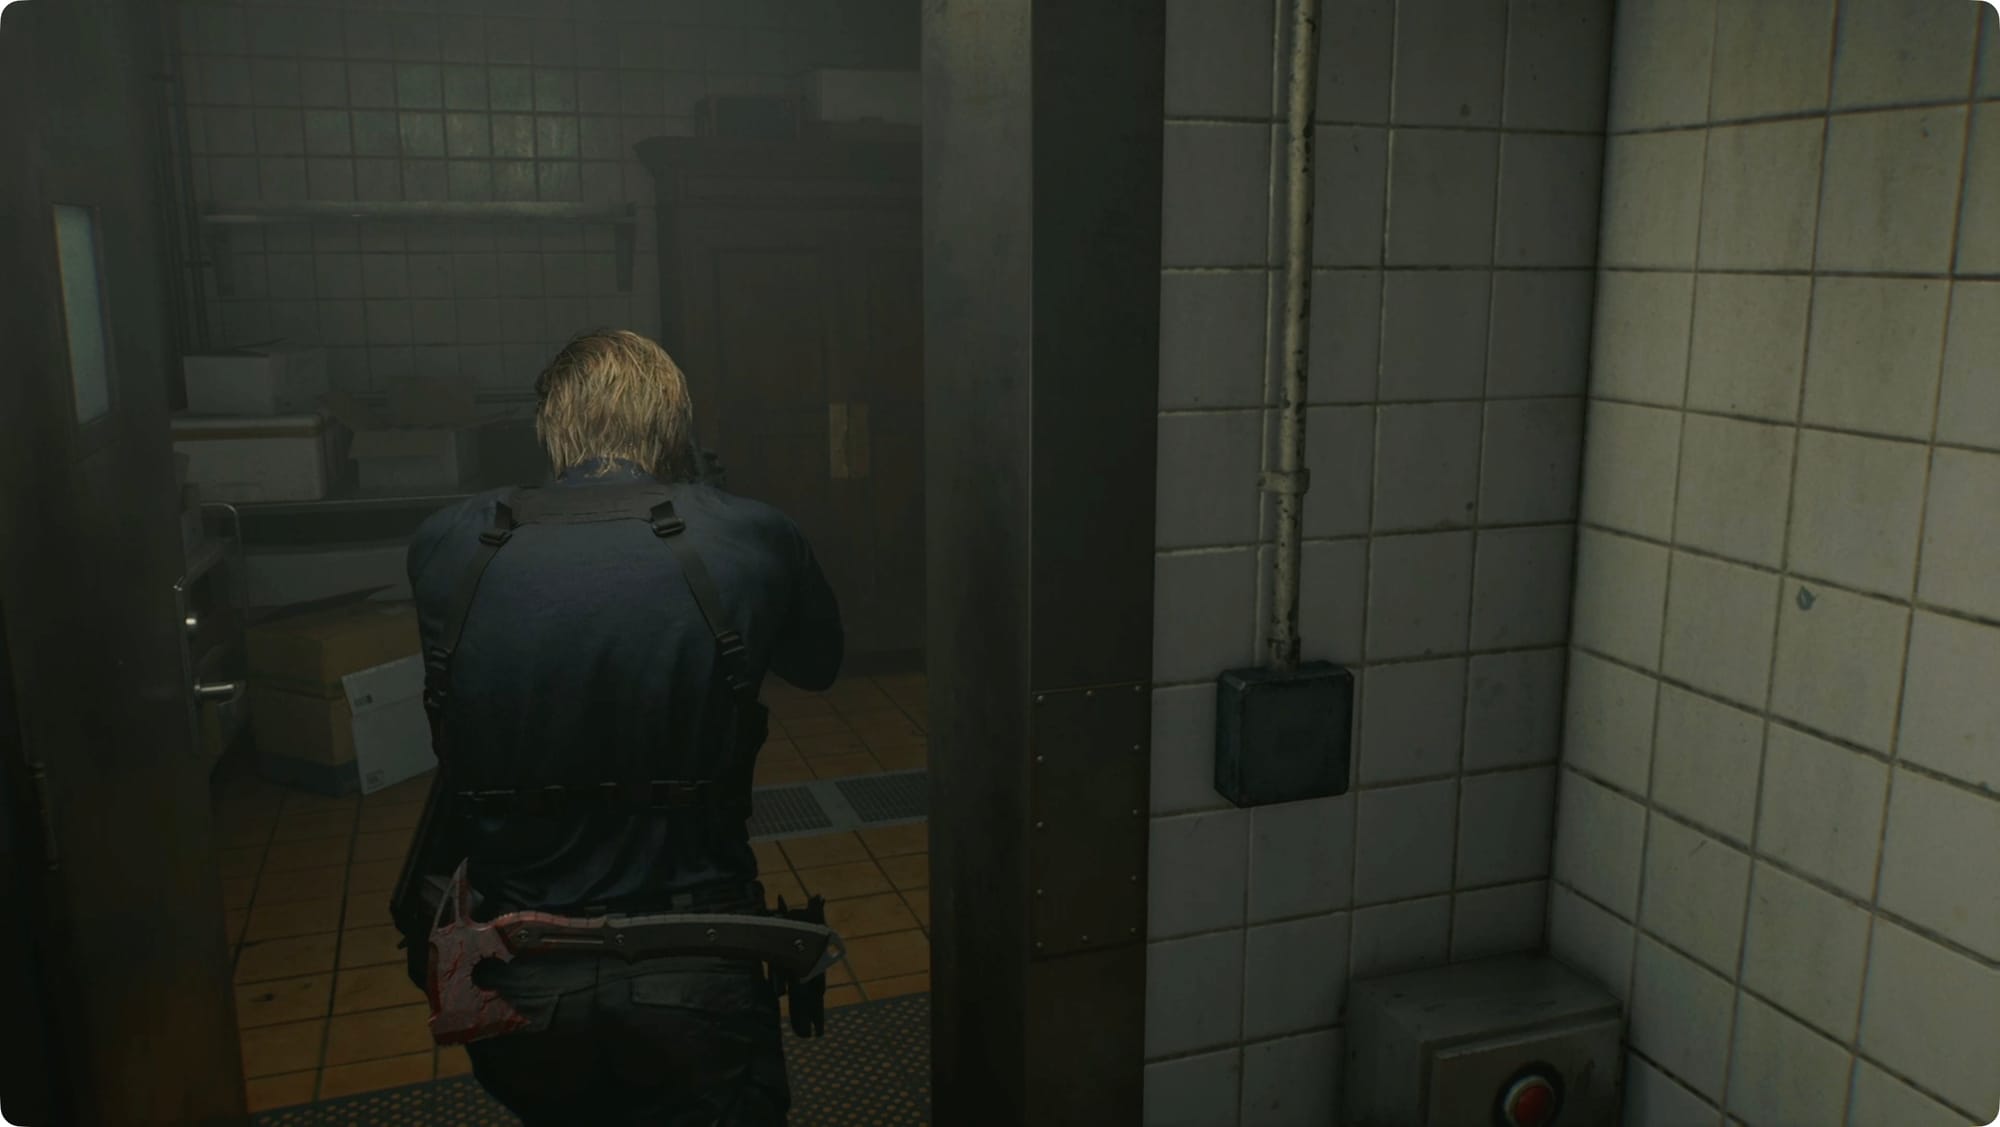
Head back through the Dining Room, into the Kitchen, and back into the Pantry. This wardrobe has a Connoisseur Charm (this one is worth attaching to your handgun).
That’s the last wardrobe on my map, so head back to the stairs in the northwest corner and up to the third floor.
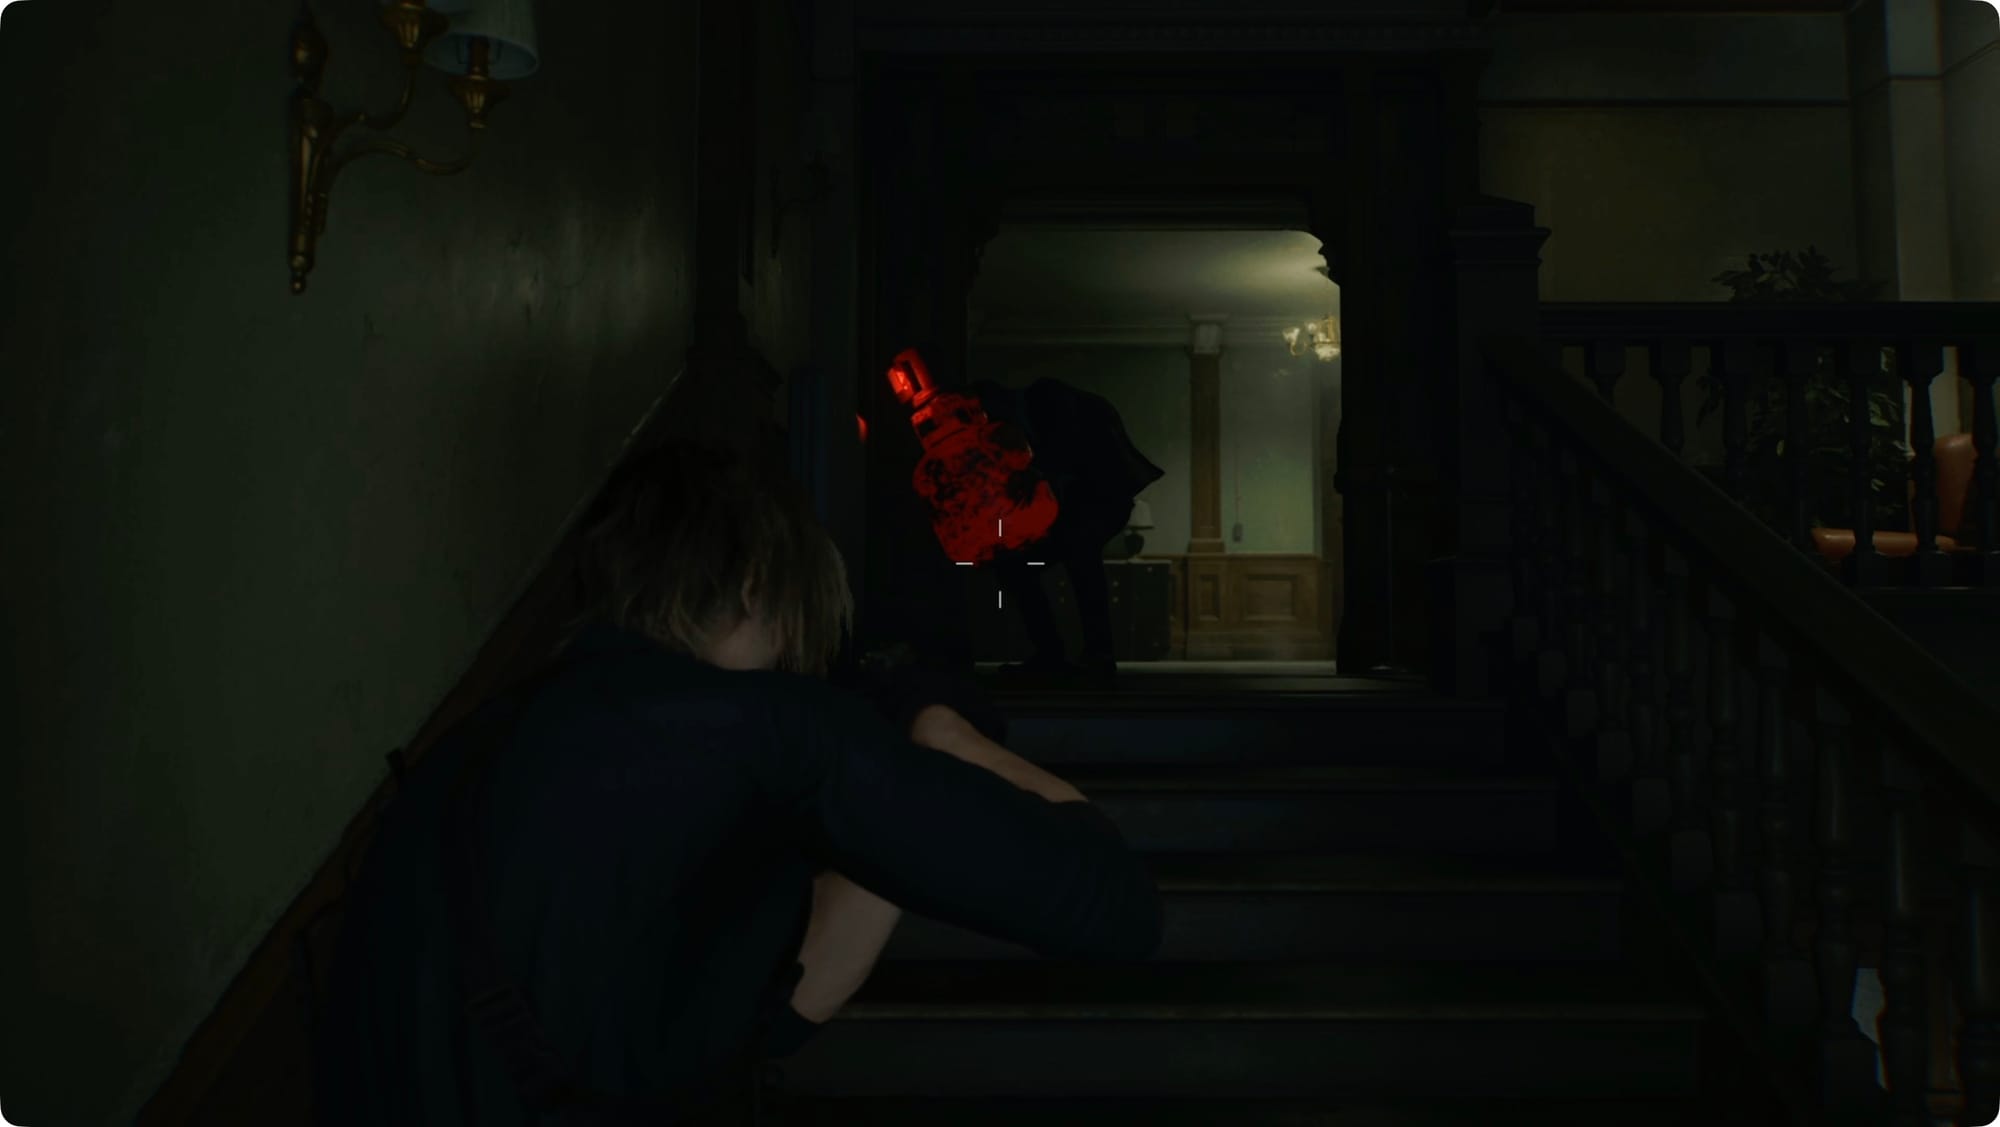
At the top, a zombie will try to bomb you. Shoot him a bunch so it explodes in his hands. Grab the Handgun Ammo he drops.
Go through the dogleg and grab some more Handgun Ammo. Break through the door to the Lounge.
Director’s Office
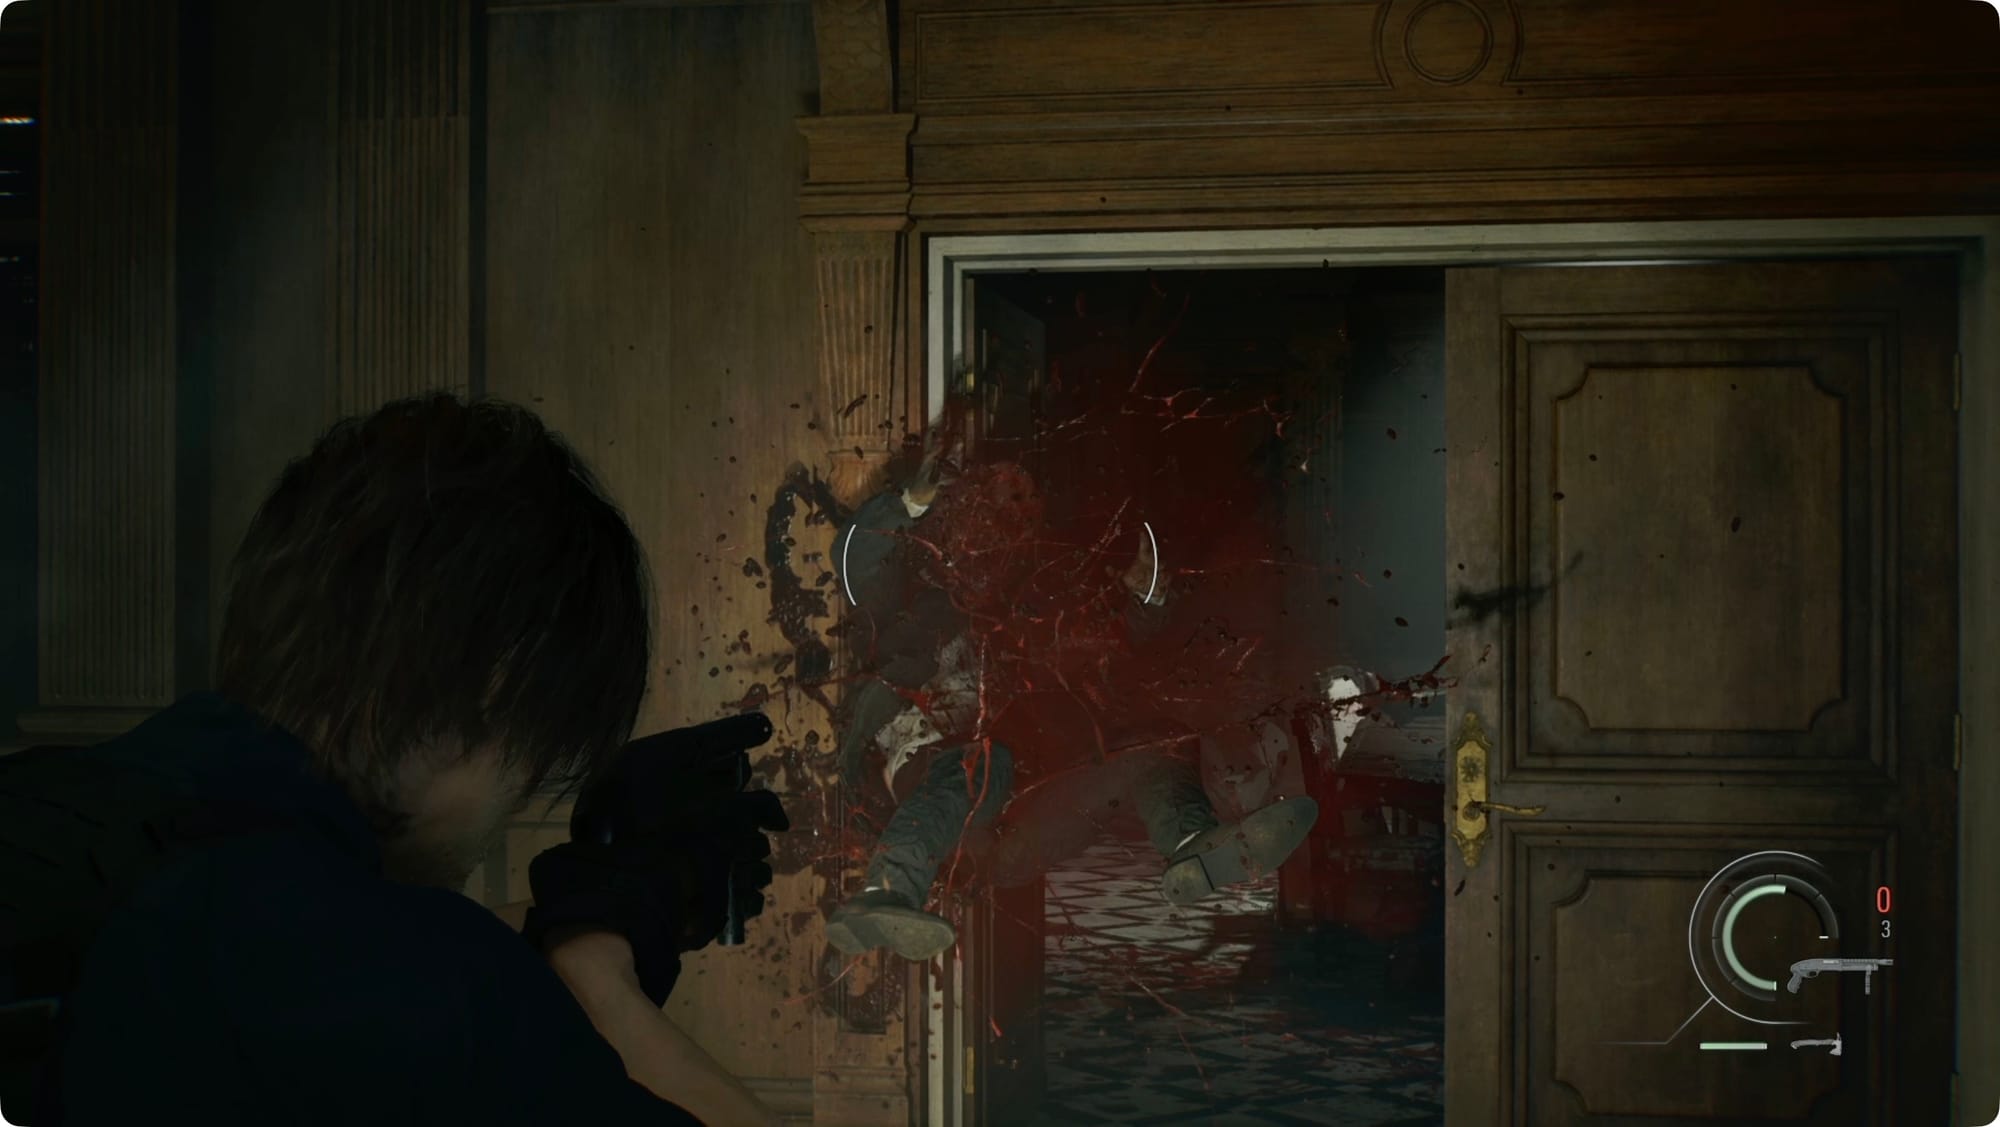
The Lounge is a bloodbath, and a Blisterhead will pop up on your left. The shotgun makes the fight easier. Two or three headshots followed by a melee will pop the blister.
Two more Blisterheads will pop out of the room on the left. Deal with them the same way.
There’s a vase with Shotgun Shells in the back right of the room, and more Shotgun Shells in the back left. Head through the door in that back left corner.
There’re more Shotgun Shells in the back left corner of the Meeting Room.
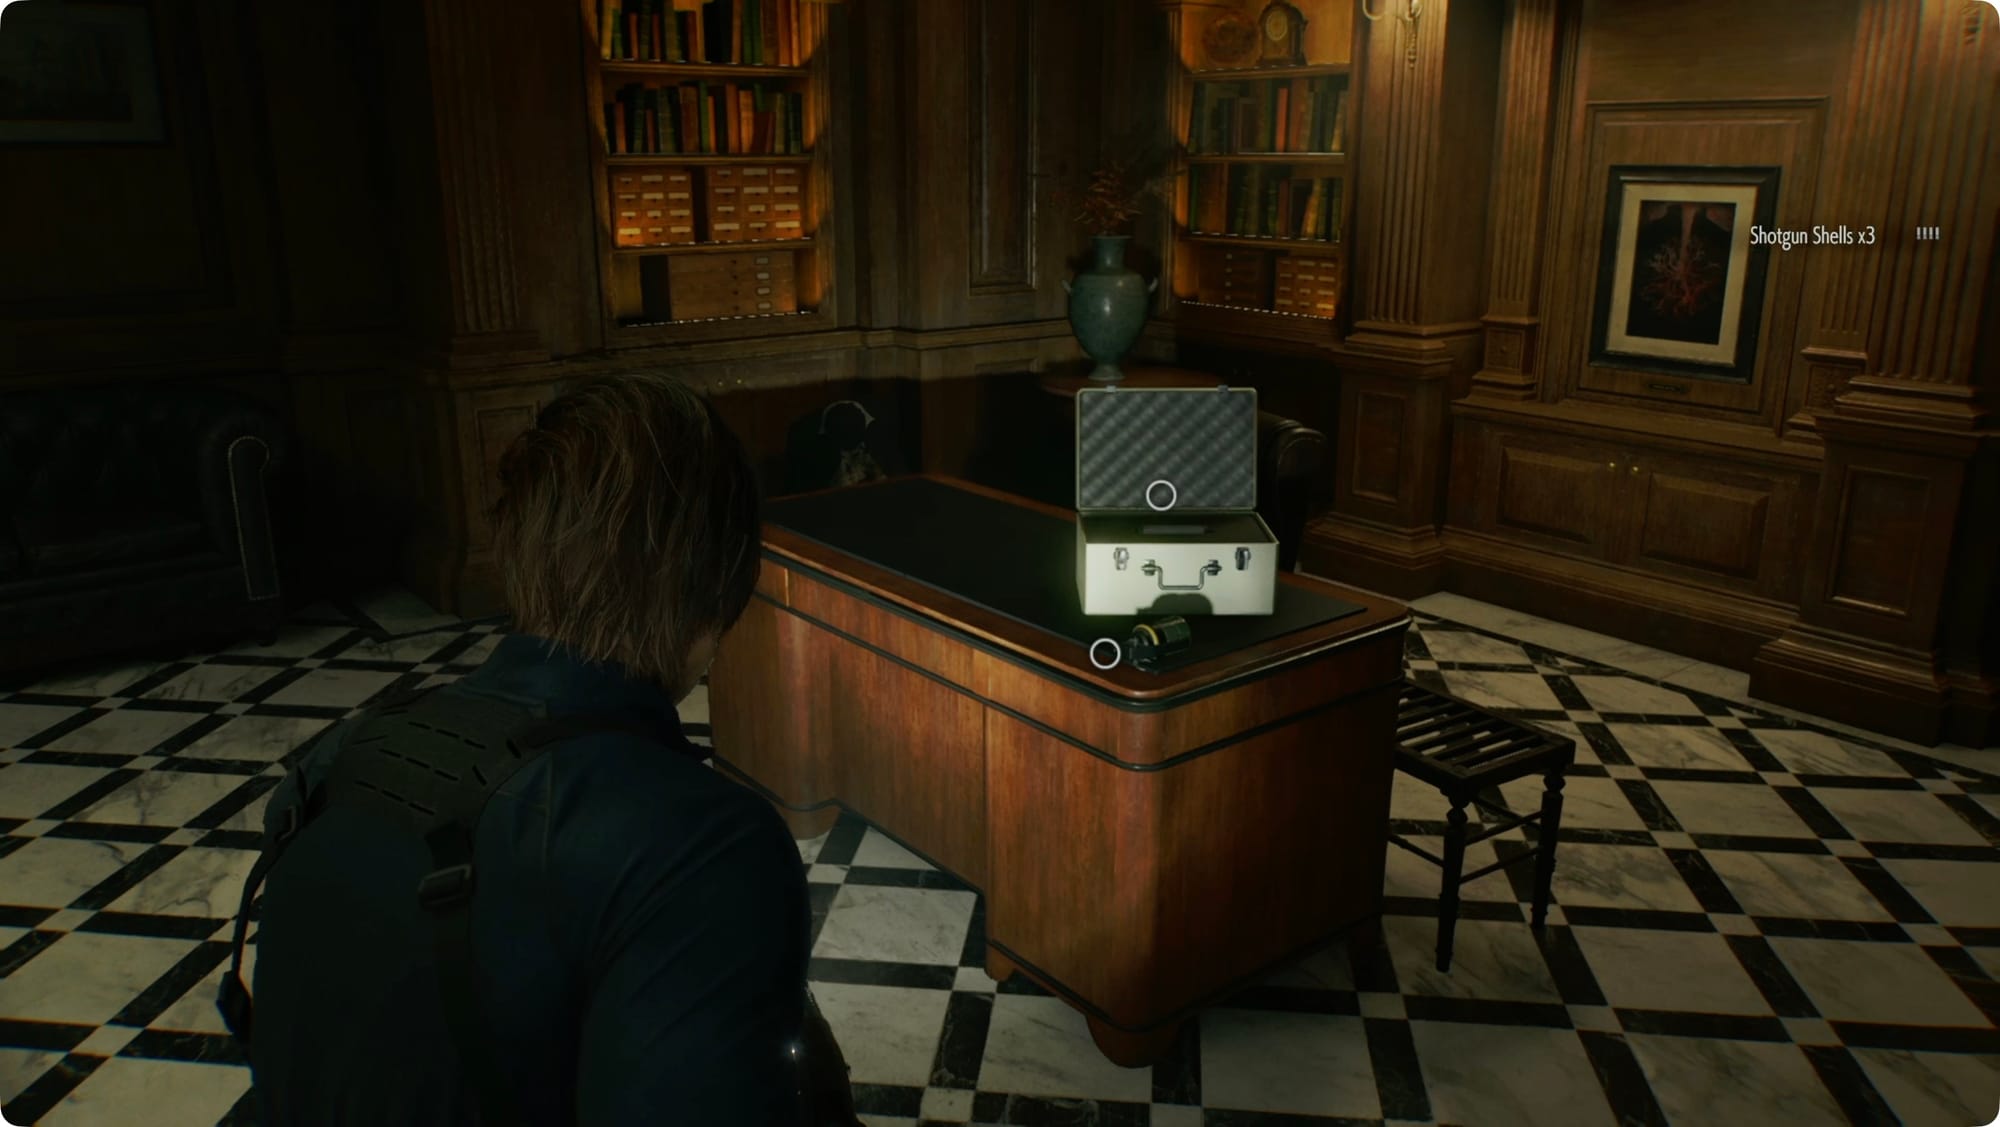
Head through the door to the Director’s Office. Grab the Shotgun Shells to the left and the Hand Grenade and Med Injector to the right.
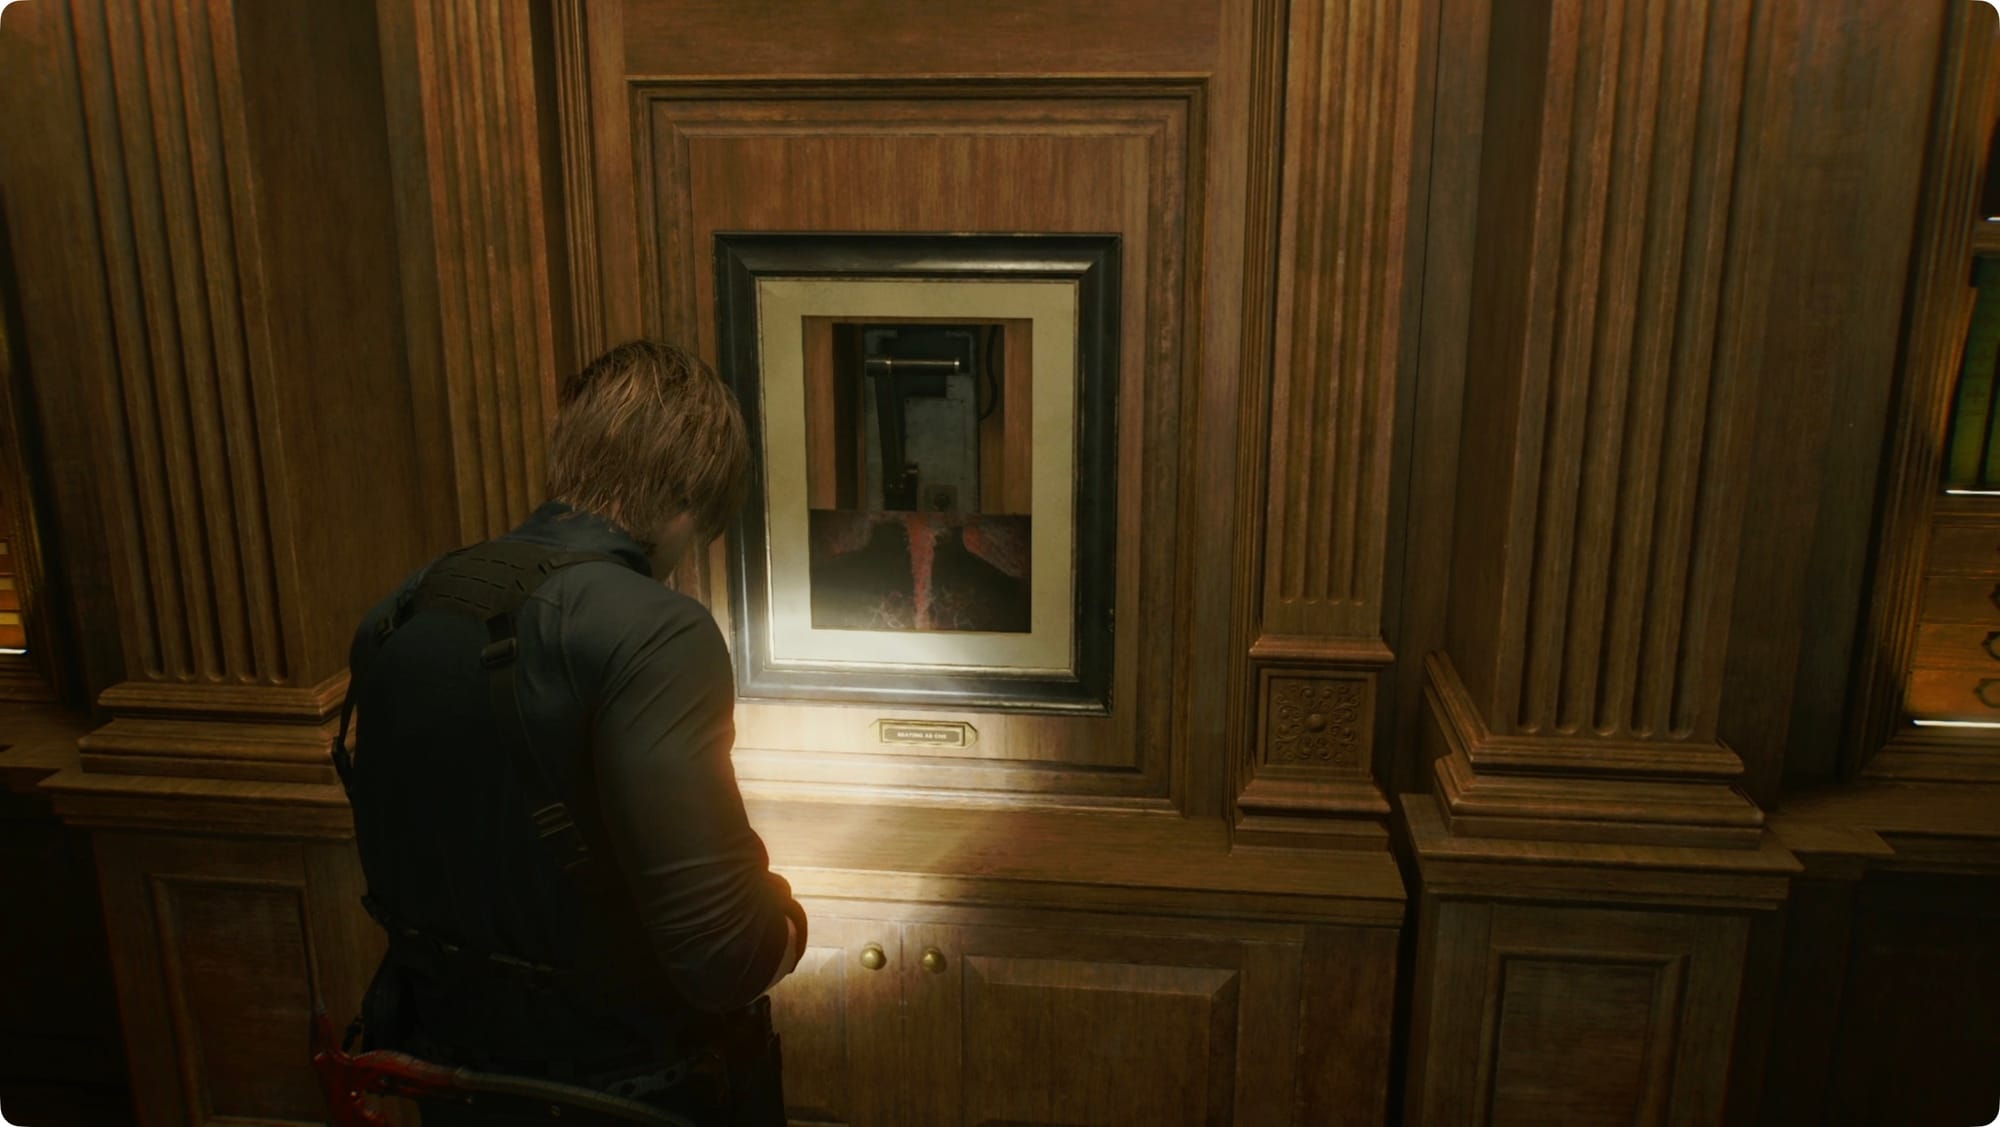
Interact with the painting behind the desk to reveal a switch. Two Blisterheads will crash through the window, and the two bodies in here with you will become zombies. Shotgun them all.
Head through the secret passage and take the elevator up to the real office.
We'll pick back up with Grace in the basement in part 6.