

Resident Evil Requiem walkthrough, part 6
Grace in the Care Center Basement

Last time, in part 5, we rescued Emily (briefly) and Leon cleared the rest of the Care Center. Now, we're back with Grace in the Basement.
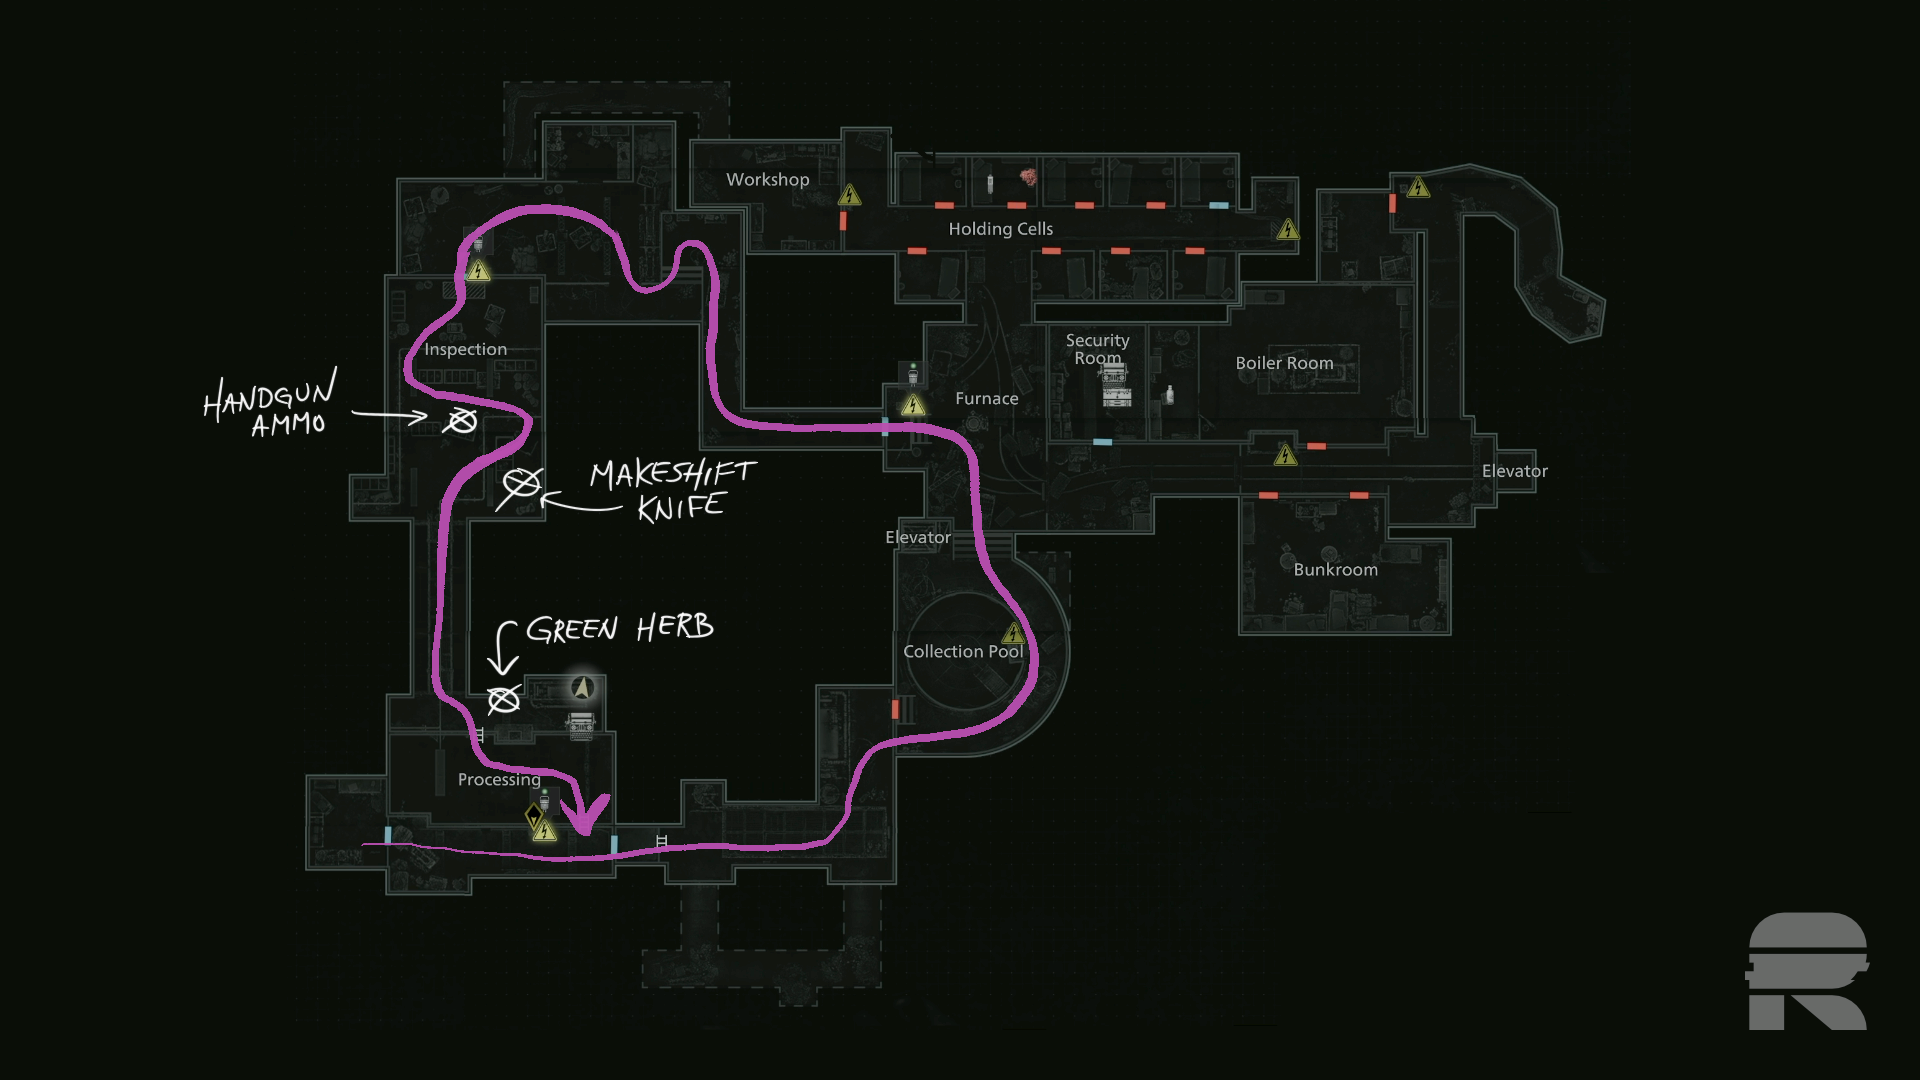
Grace — Basement
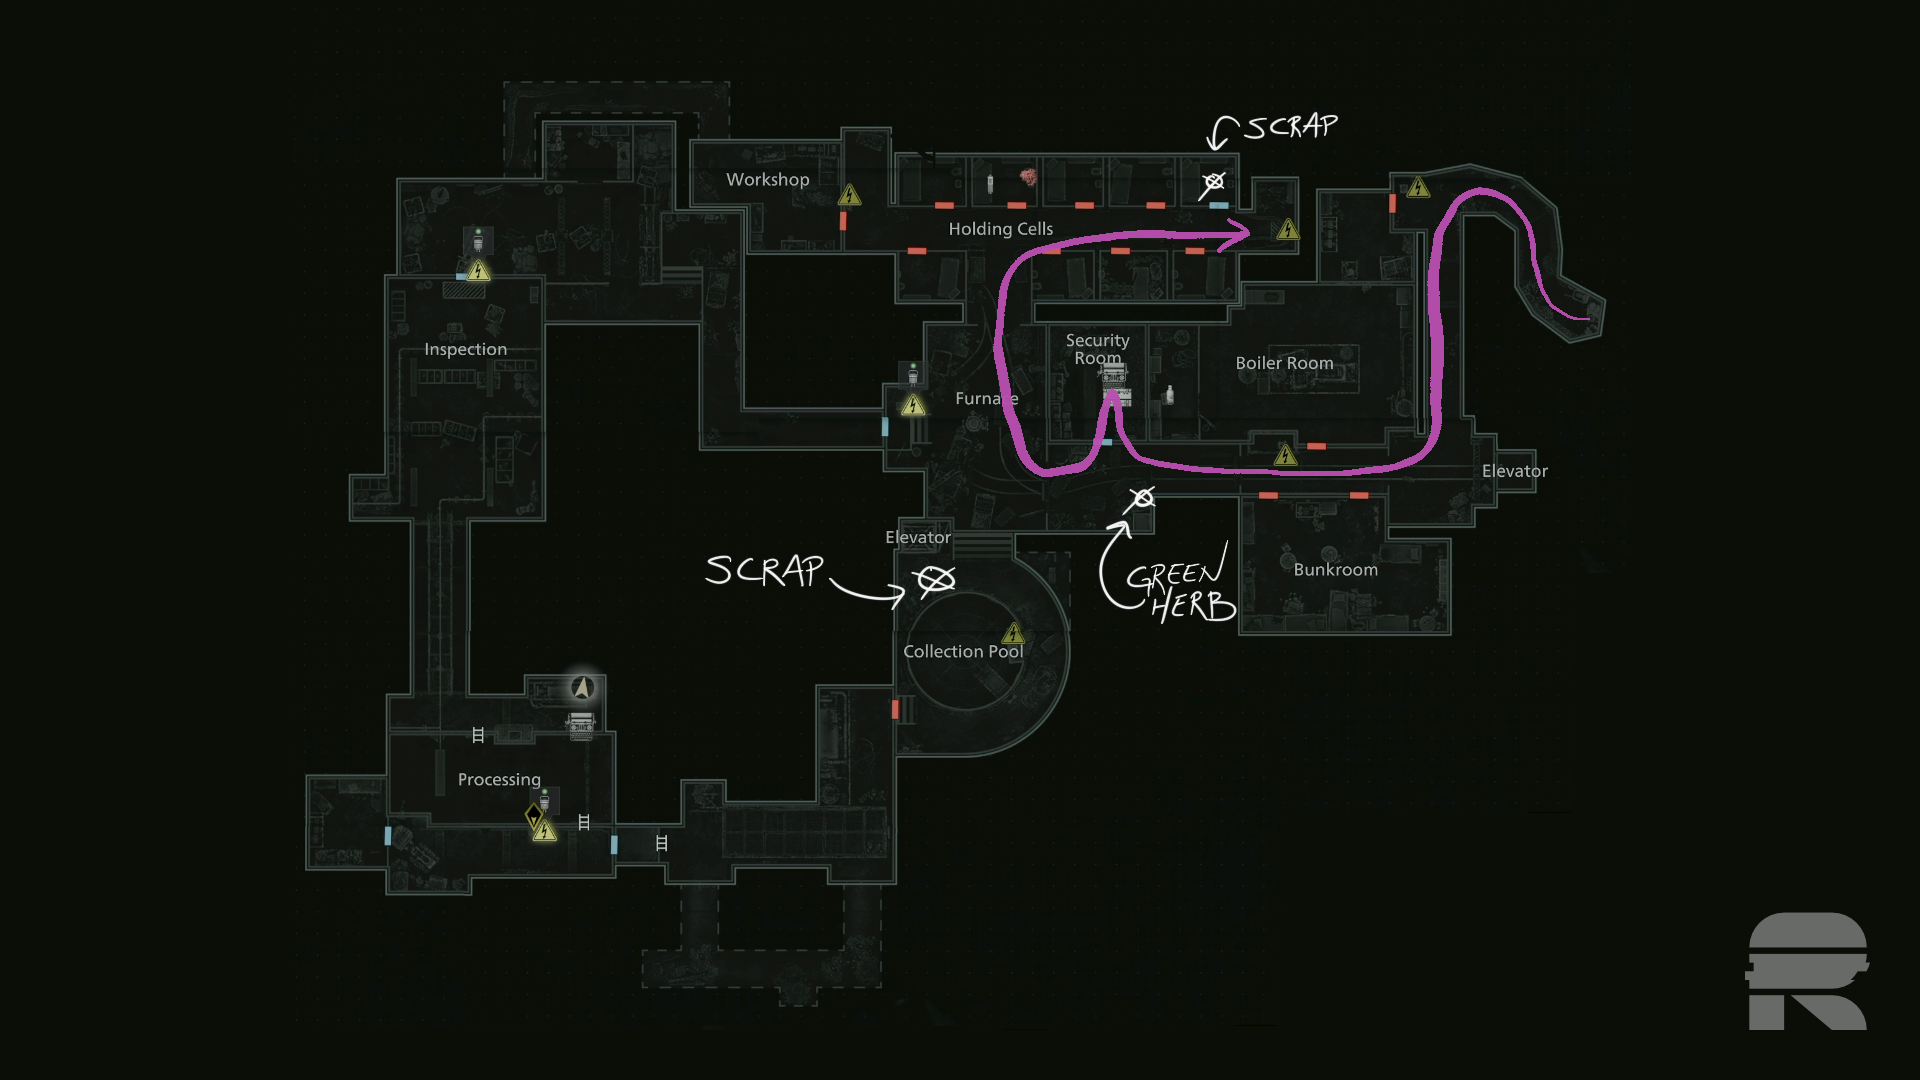
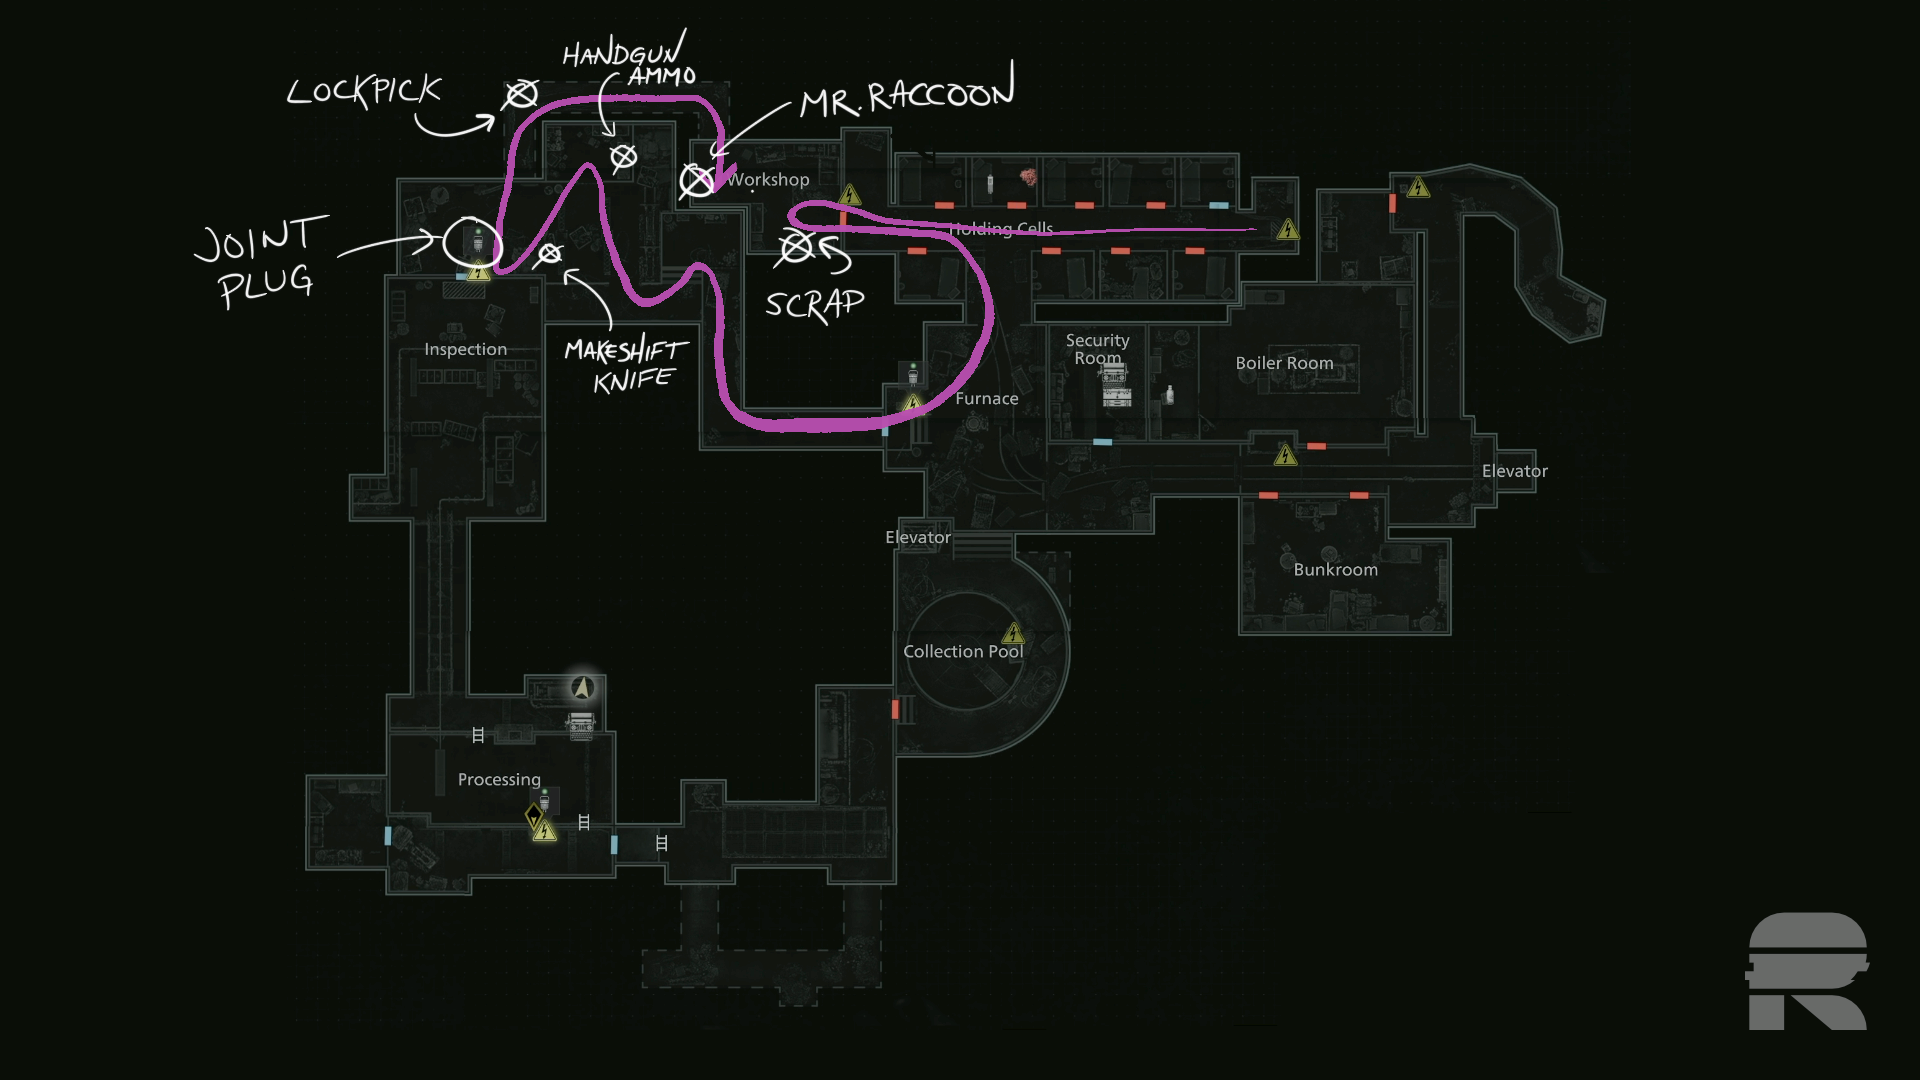
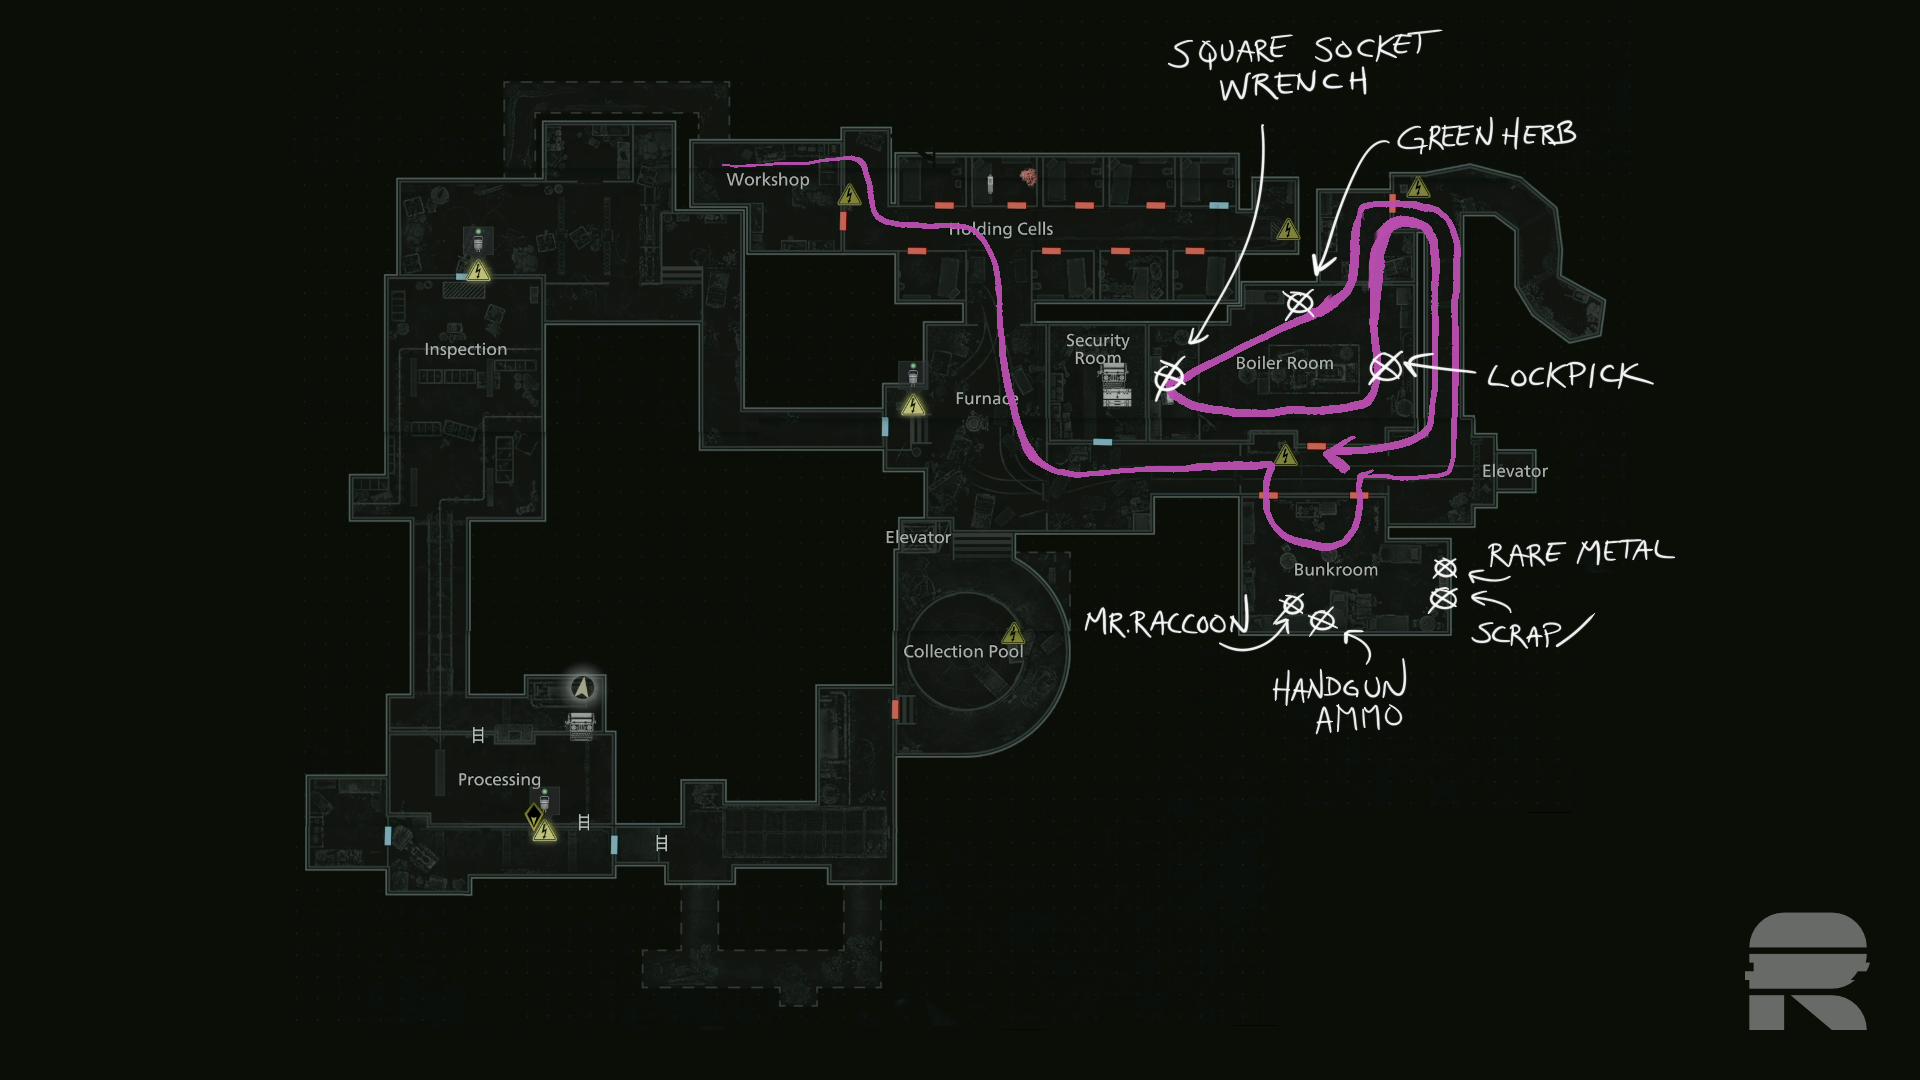
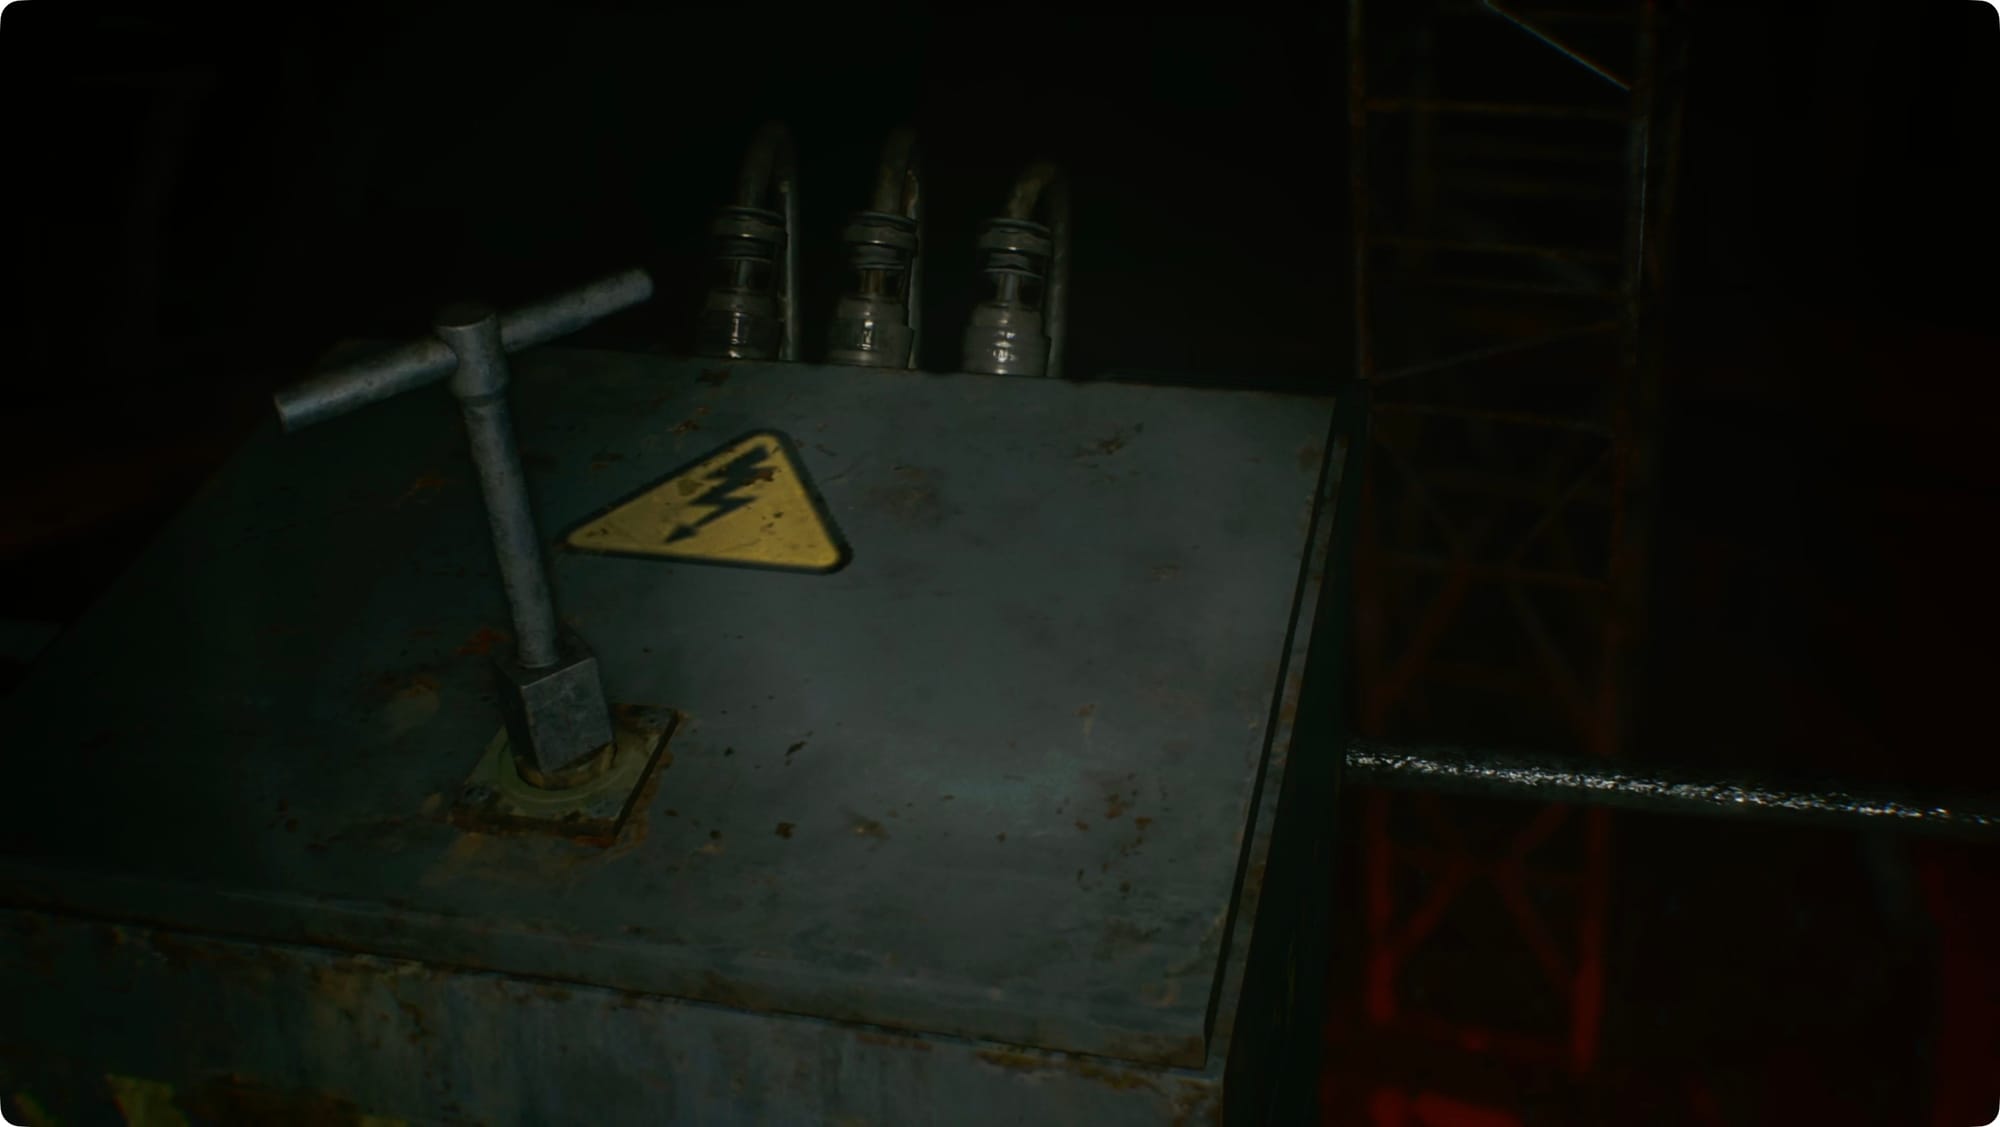
Start following the tunnel. You’ll pass the cheery Staff Member’s Last Words file on your way. At the corner, there’s a Power Distributor that doesn’t seem to have any power. Keep following the tunnel.
At the elevator, feel free to push the button, but you know damn well it won’t work.
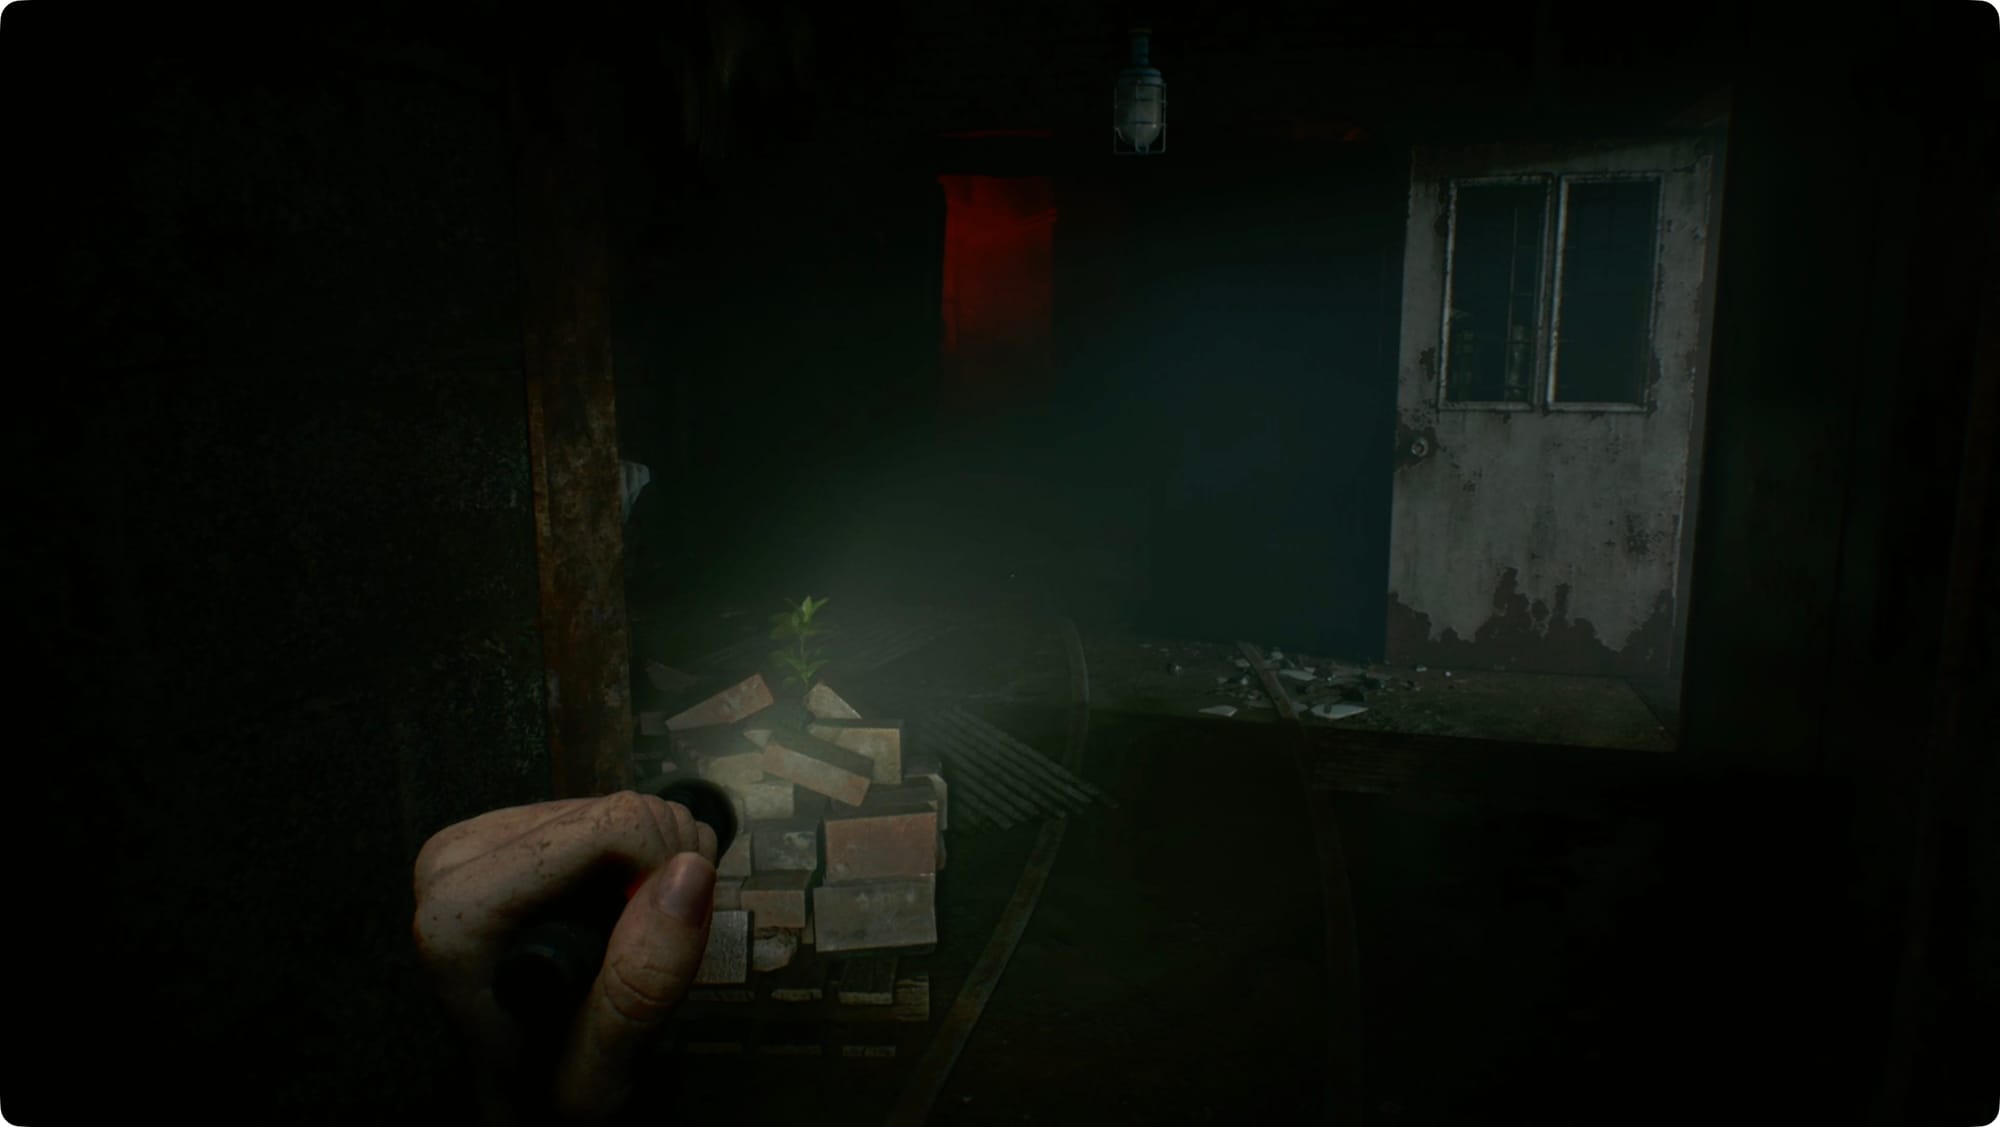
Take the right and keep following the tunnel. You’ll pass another Power Distributor. At the next room, grab the Green Herb on the left. Head into the room on the right.
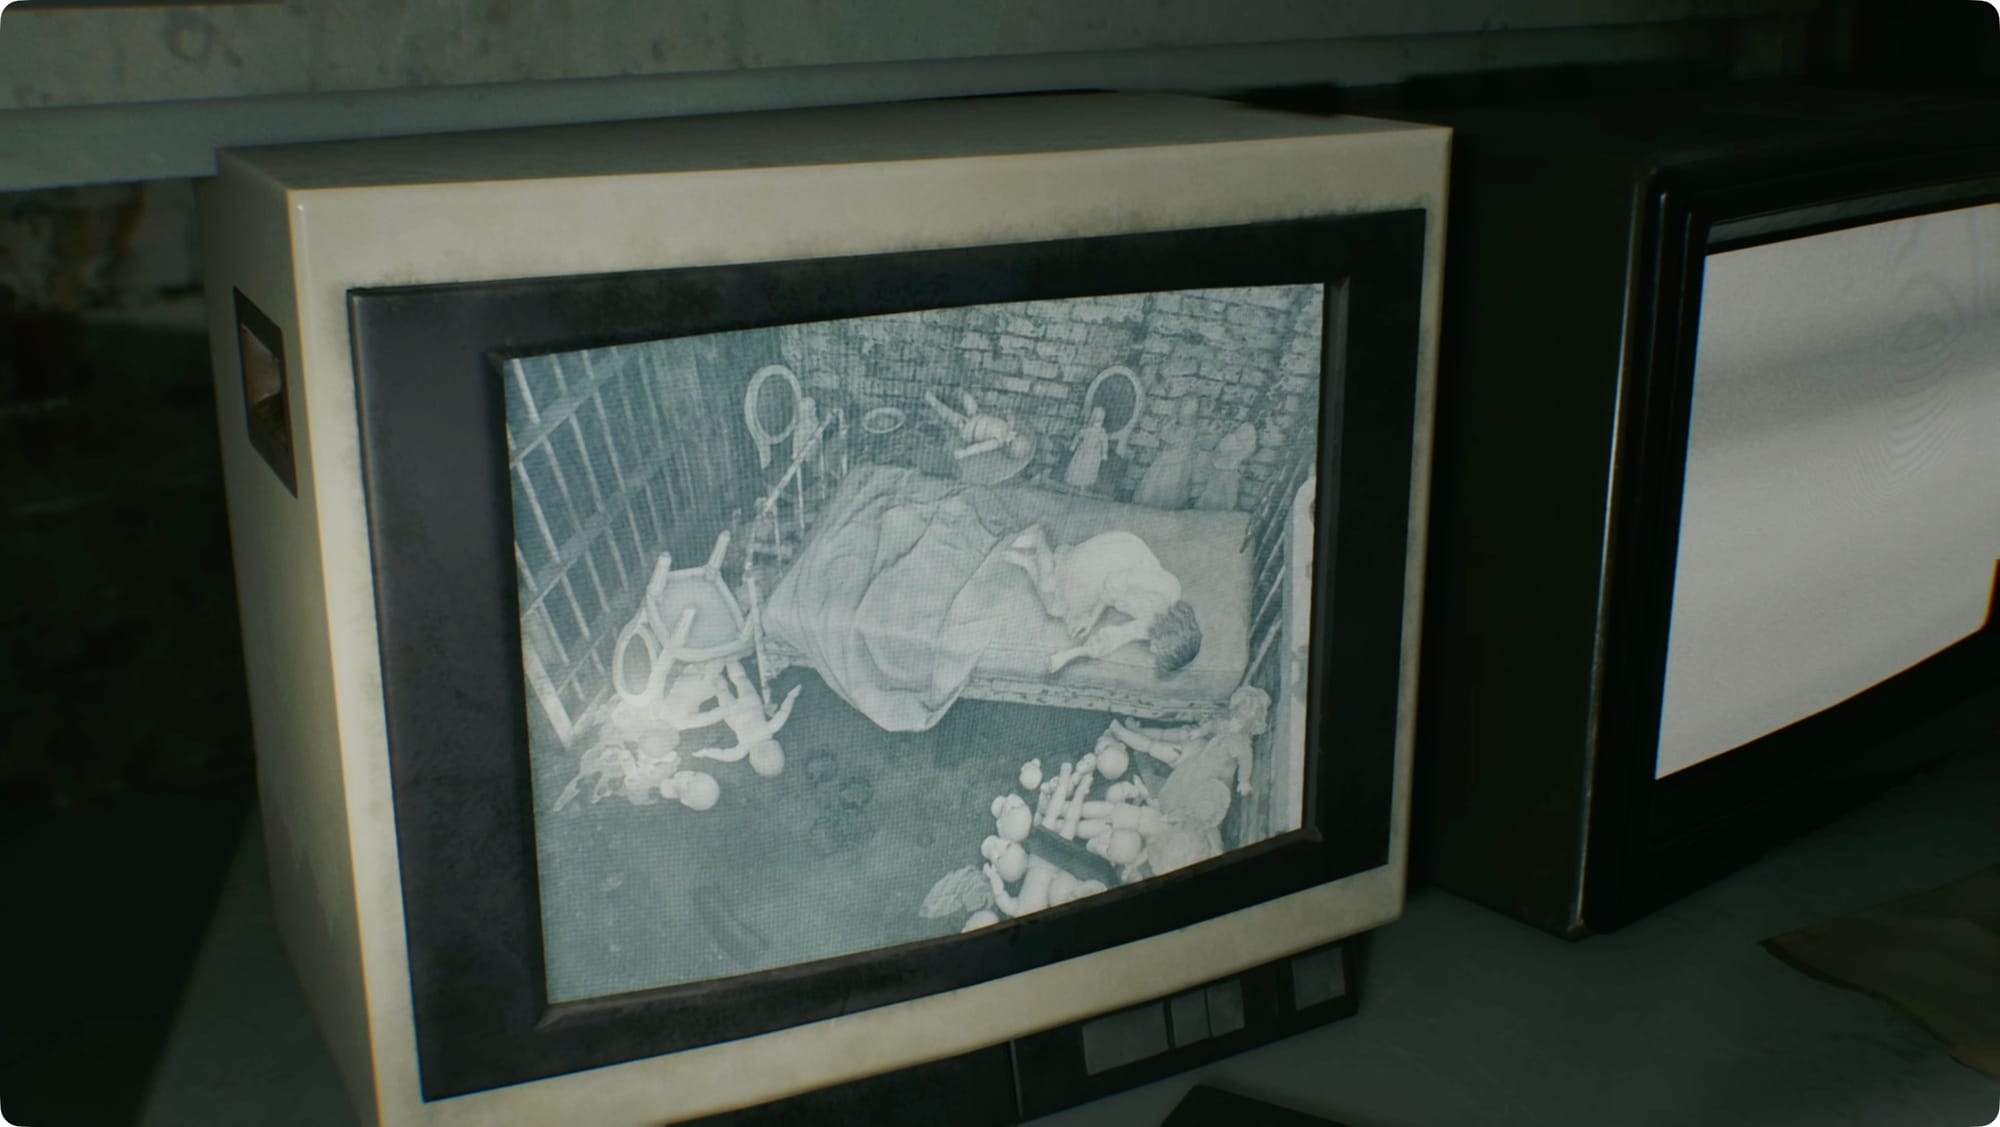
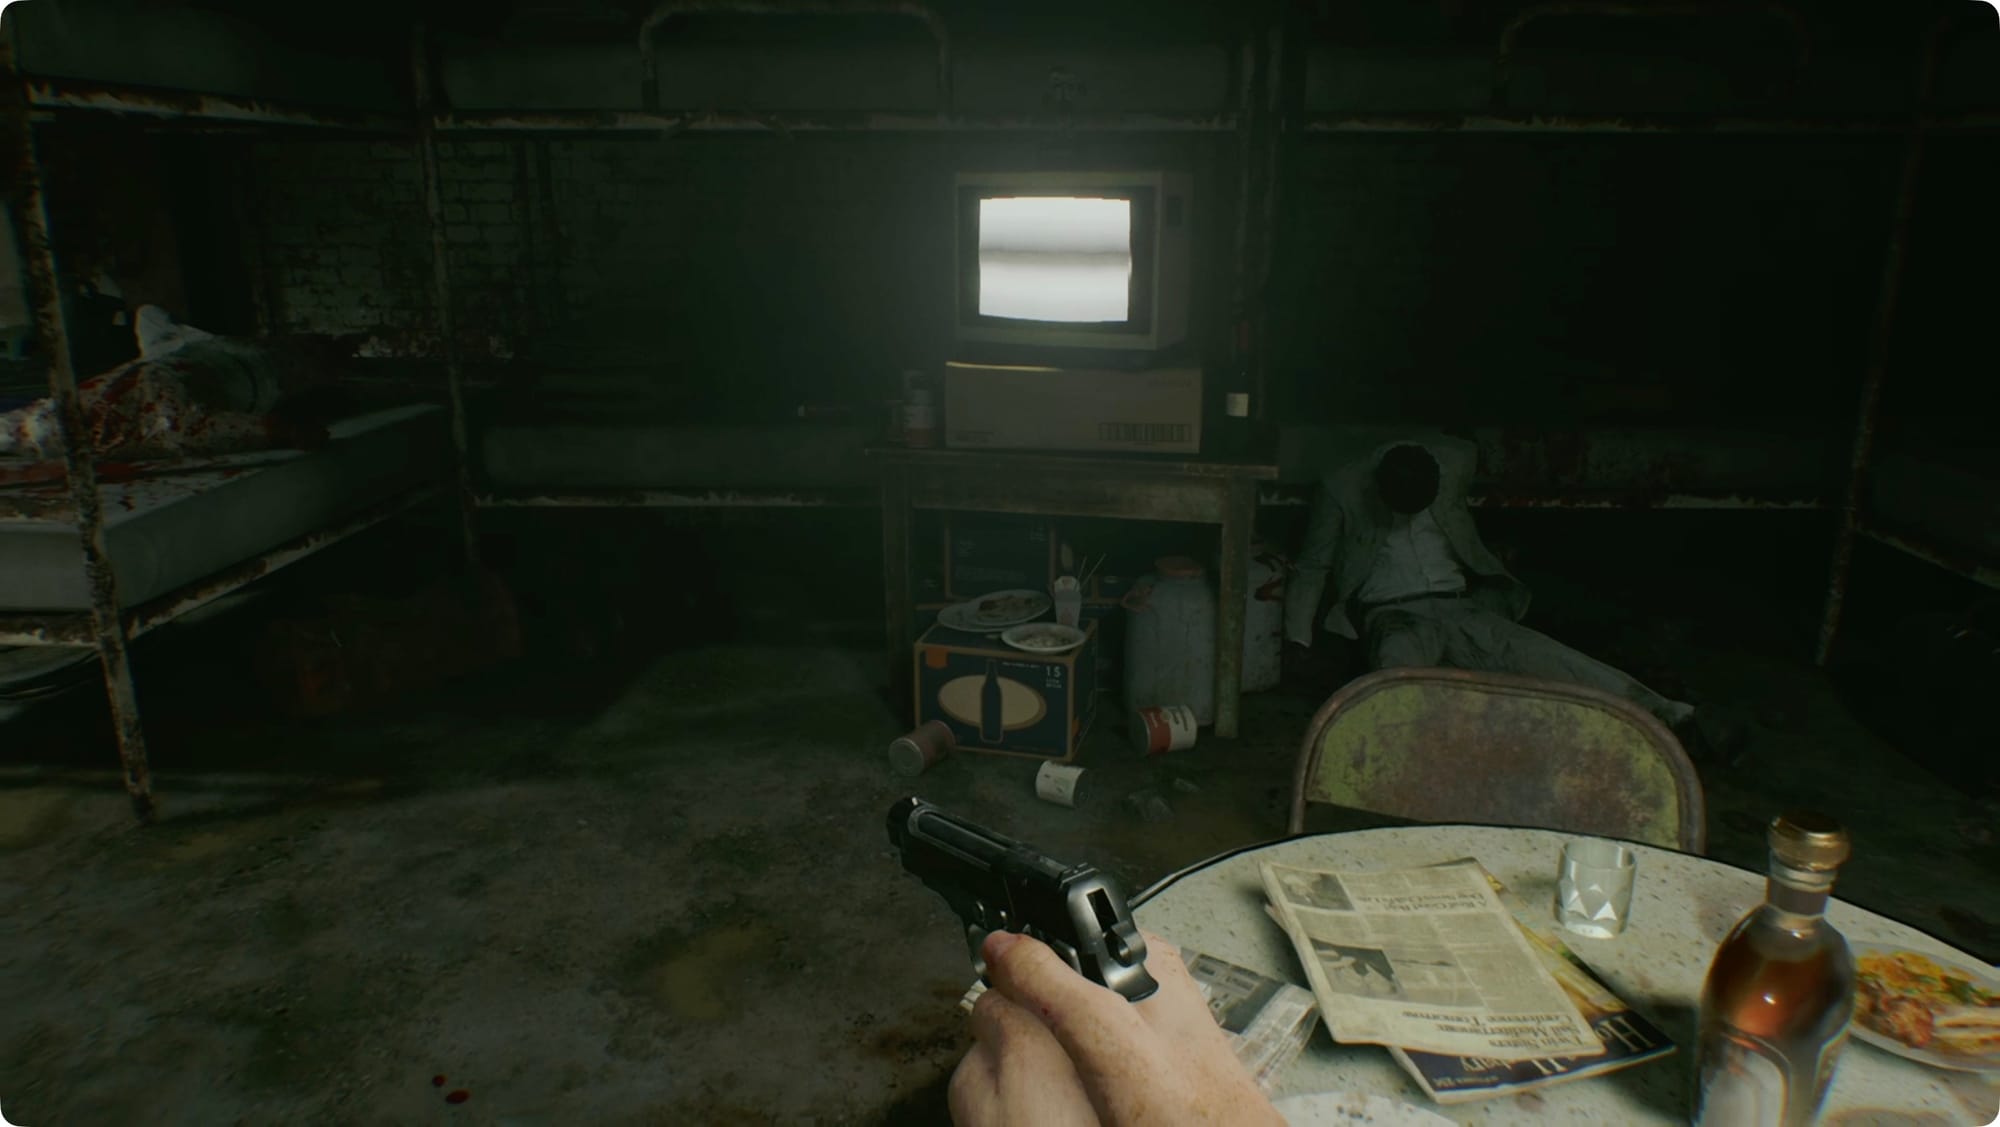
Read the Operation to Eliminate “The Girl” on the left and check the monitors to spot Emily. Hit the Item Box and typewriter.
Head out and turn right.
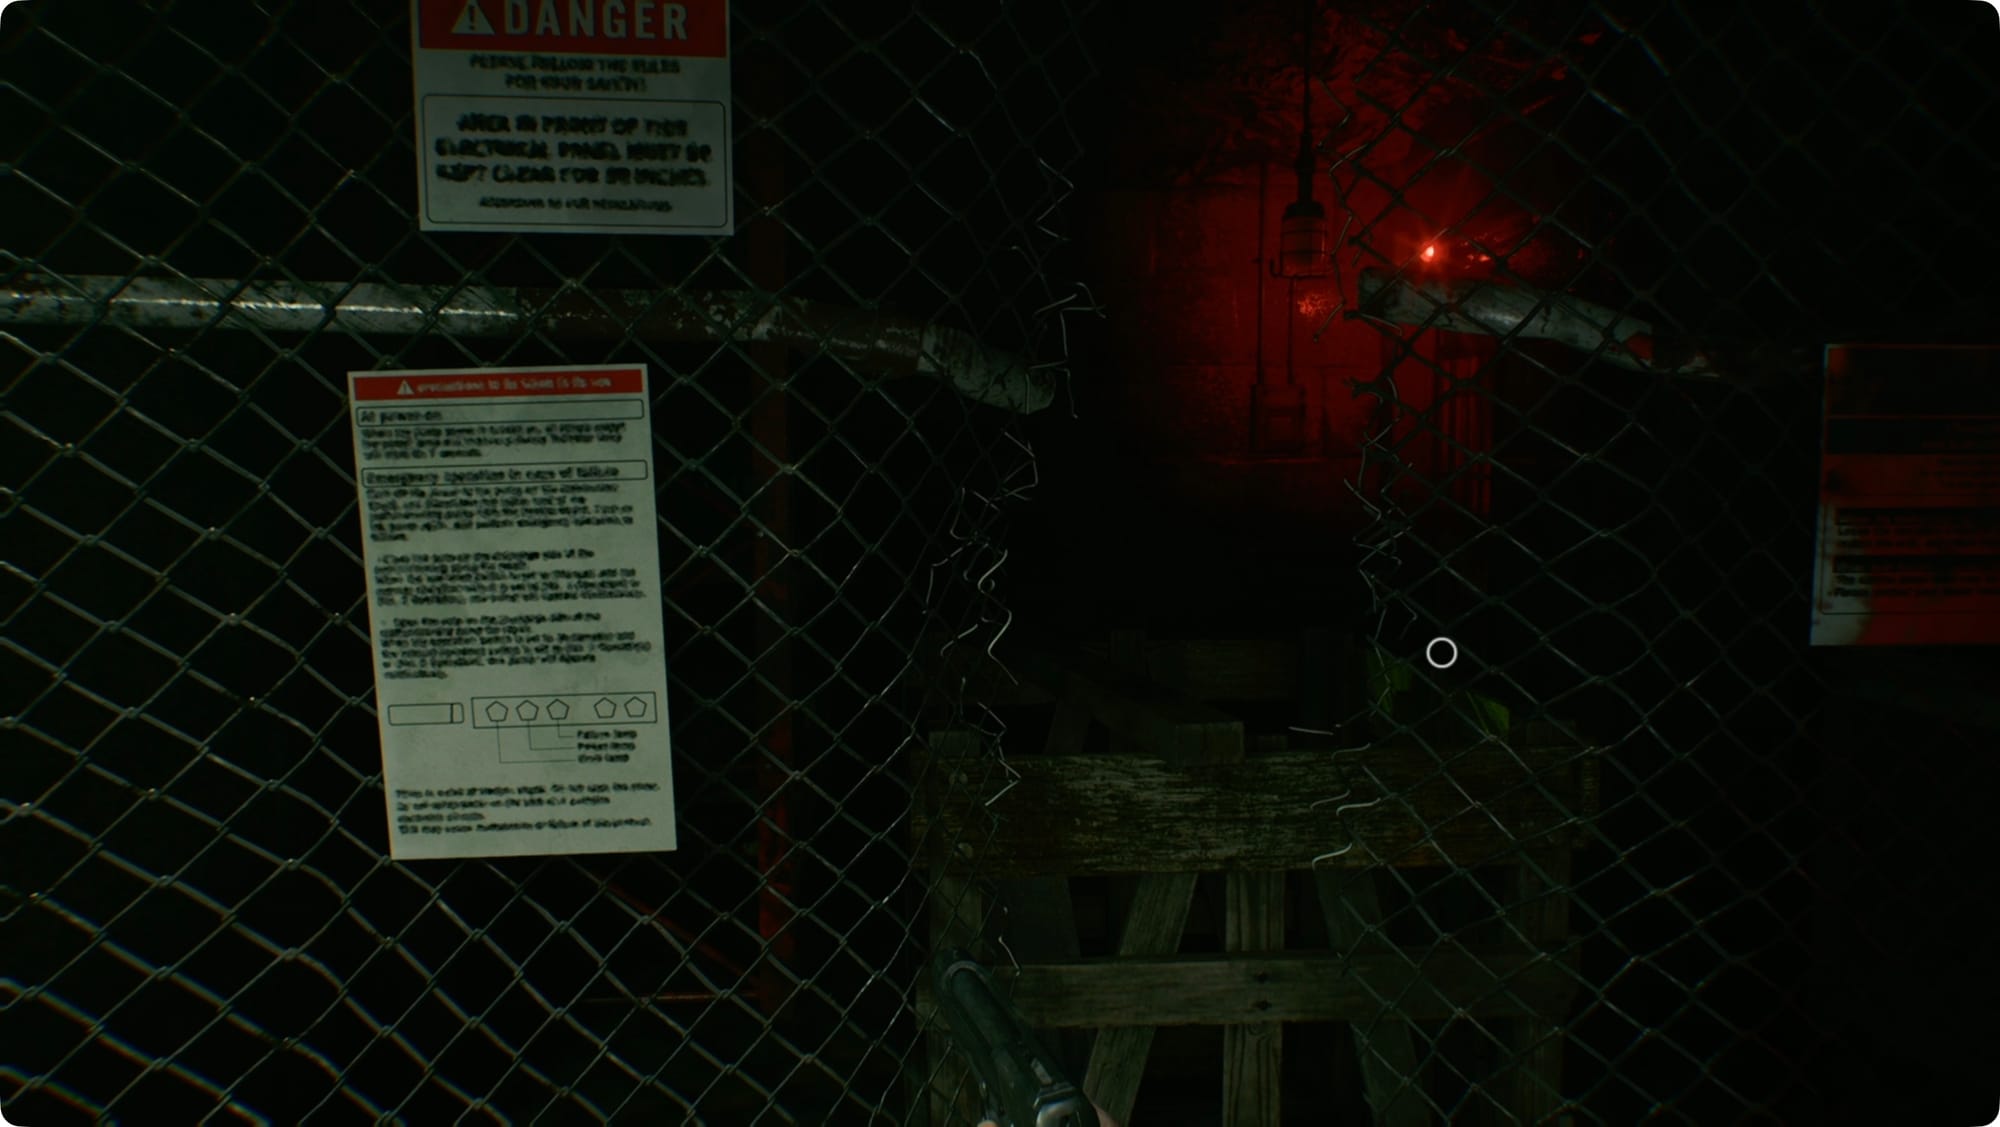
At the Furnace, head left first. There’s some Scrap to the right. Follow the walkway around to the left. There’s nothing there but a little bit of blood to collect, a Bolted Power Distributor, and a door you can’t open.

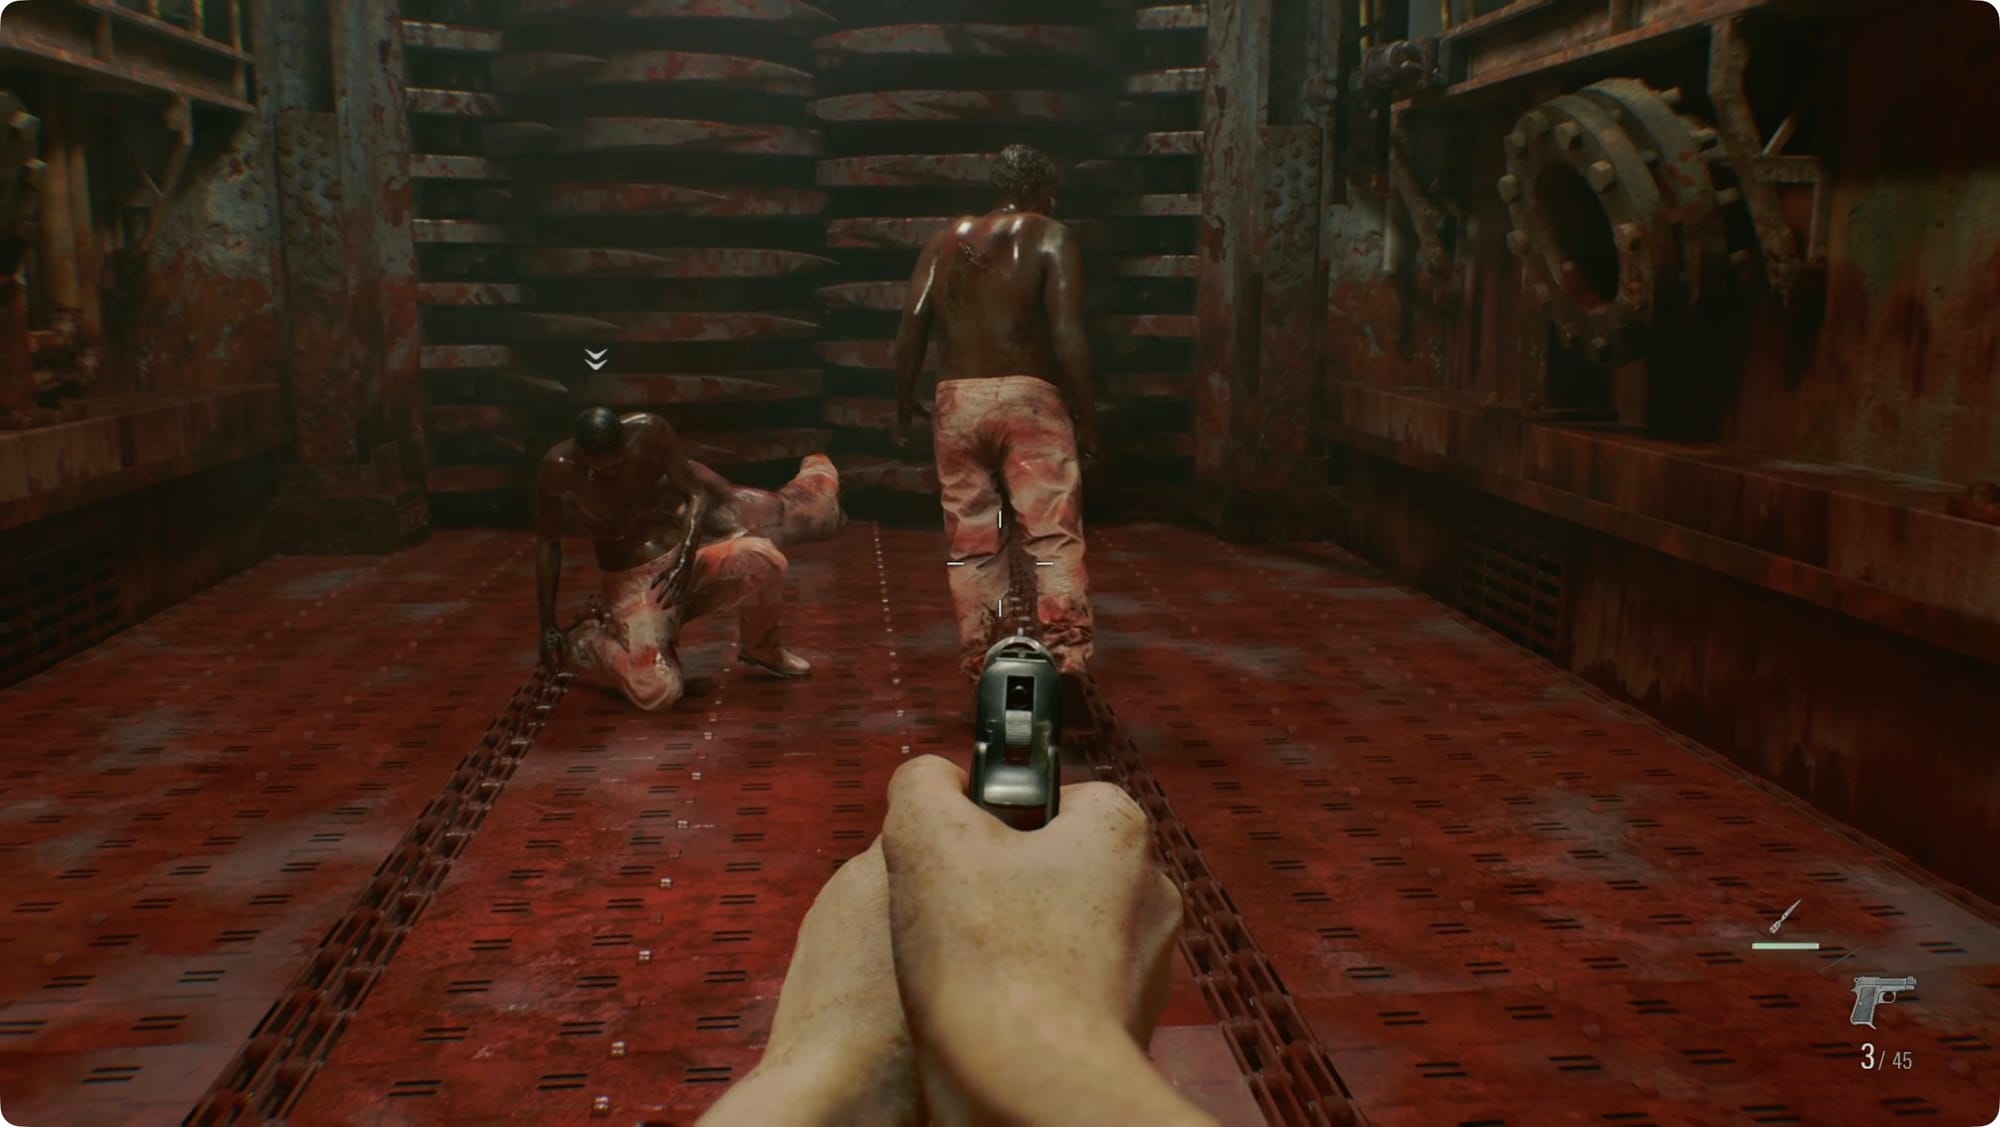
Cross back across the Furnace heading north to find the Holding Cells. There’s a zombie in the first cell you see. In fact, there are zombies in almost every cell. You can ignore them — you’re obviously going to have to run past them later, but that’s a future problem. If you've got some time to kill and tons of ammo, feel free to put them all down, but it's not necessary. The last cell on the left has some blood and Scrap inside.
At the end of the hall, read the Unlocking the Cells file to find out you need to find three Joint Plugs to open Emily’s cell. One is already here, though, so you just need to find two — one in Inspection and one in Processing. Except it's obviously not that simple.
Inspection
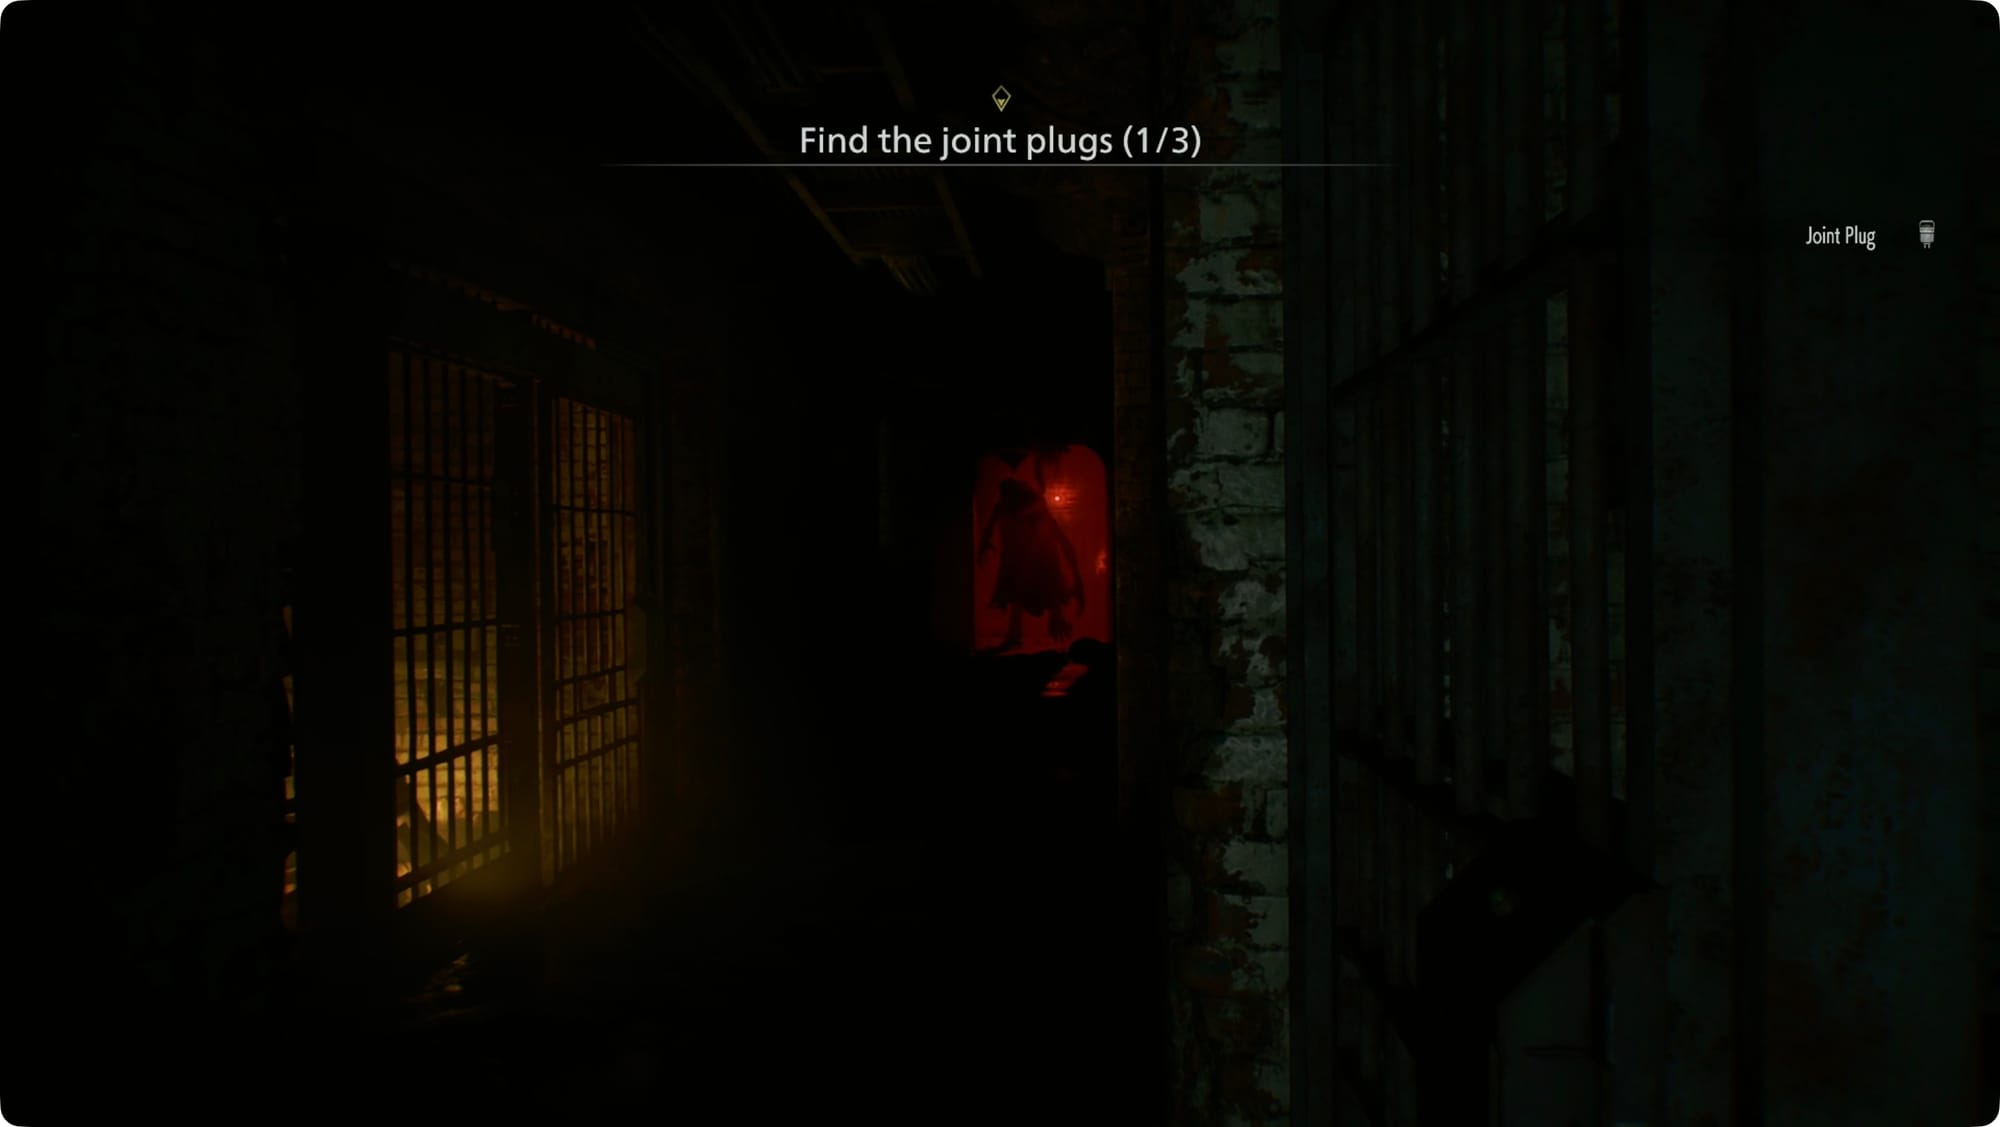
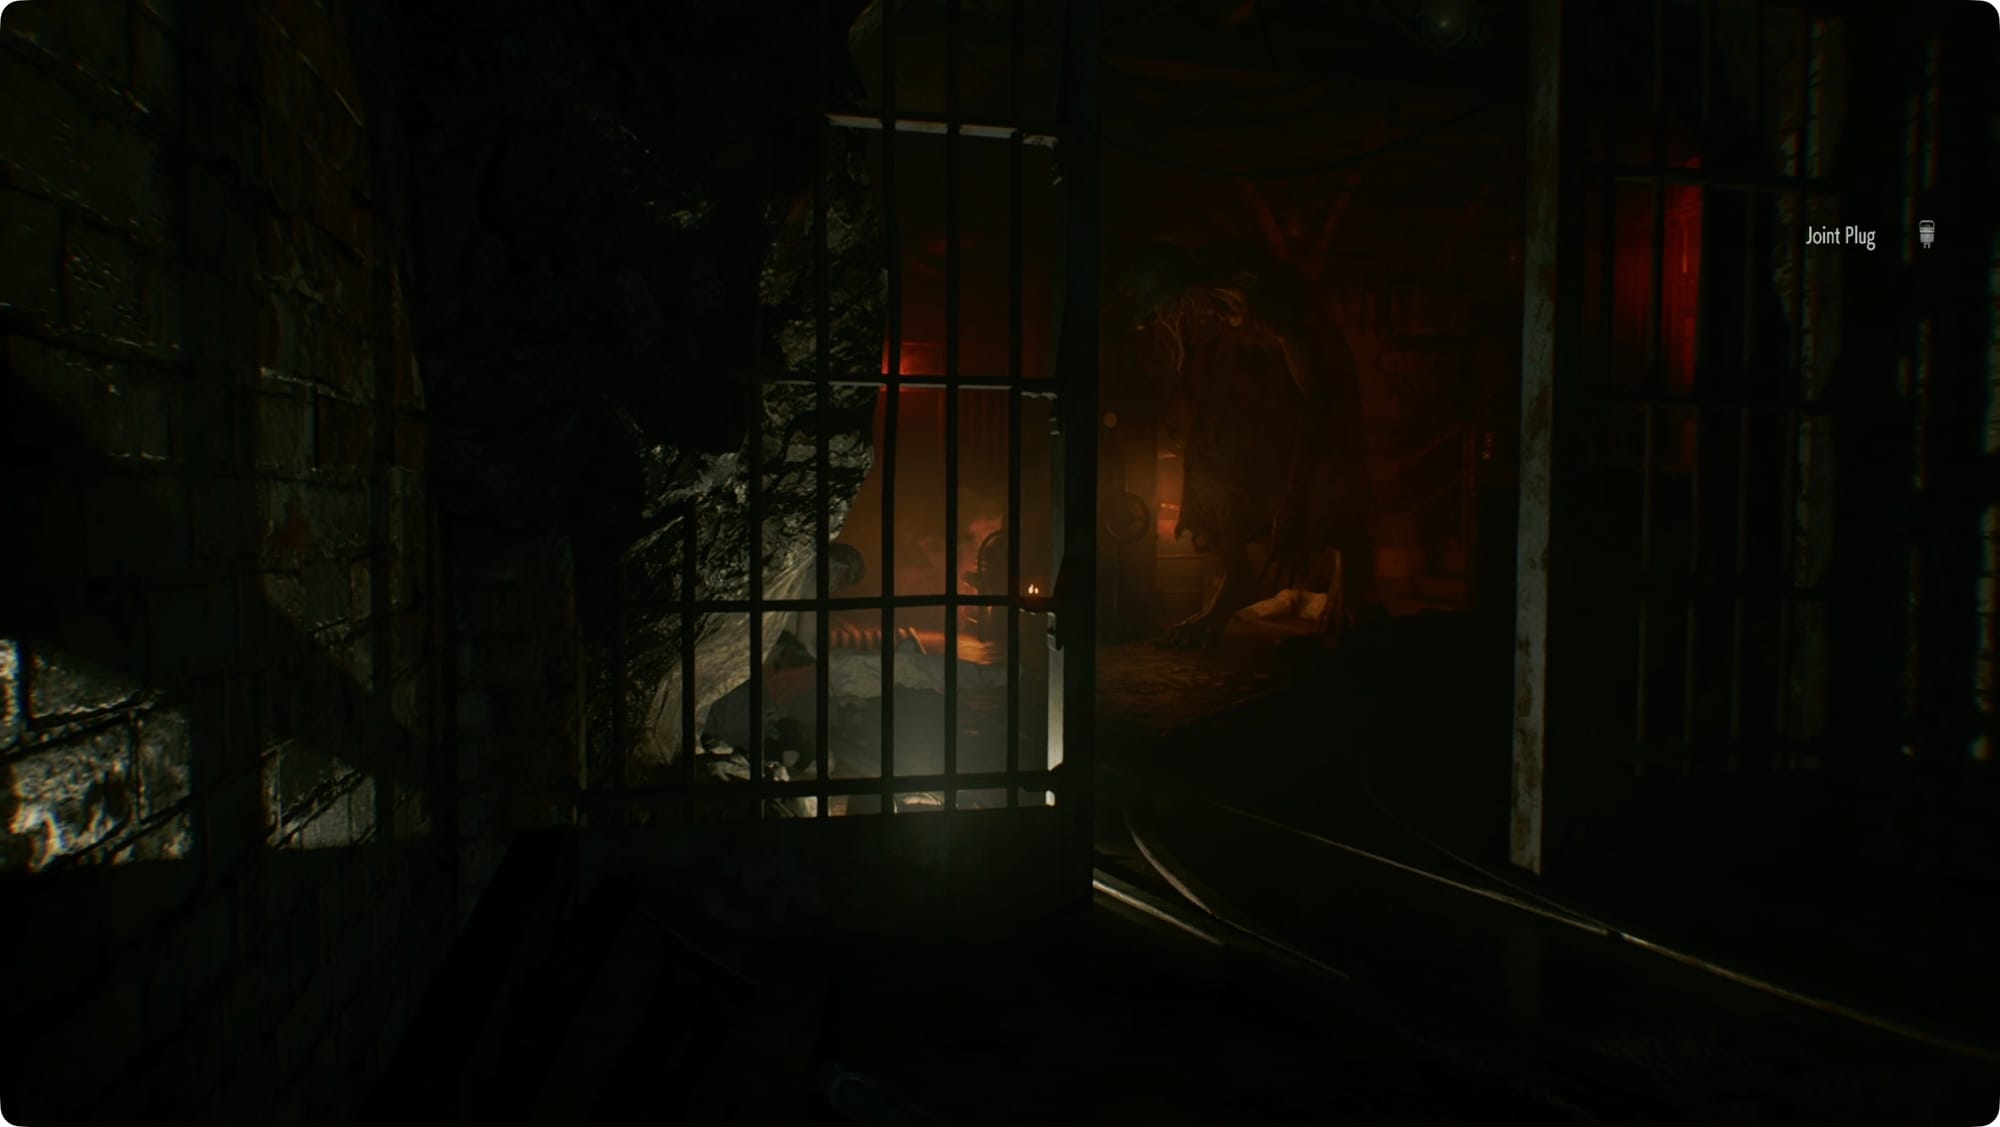
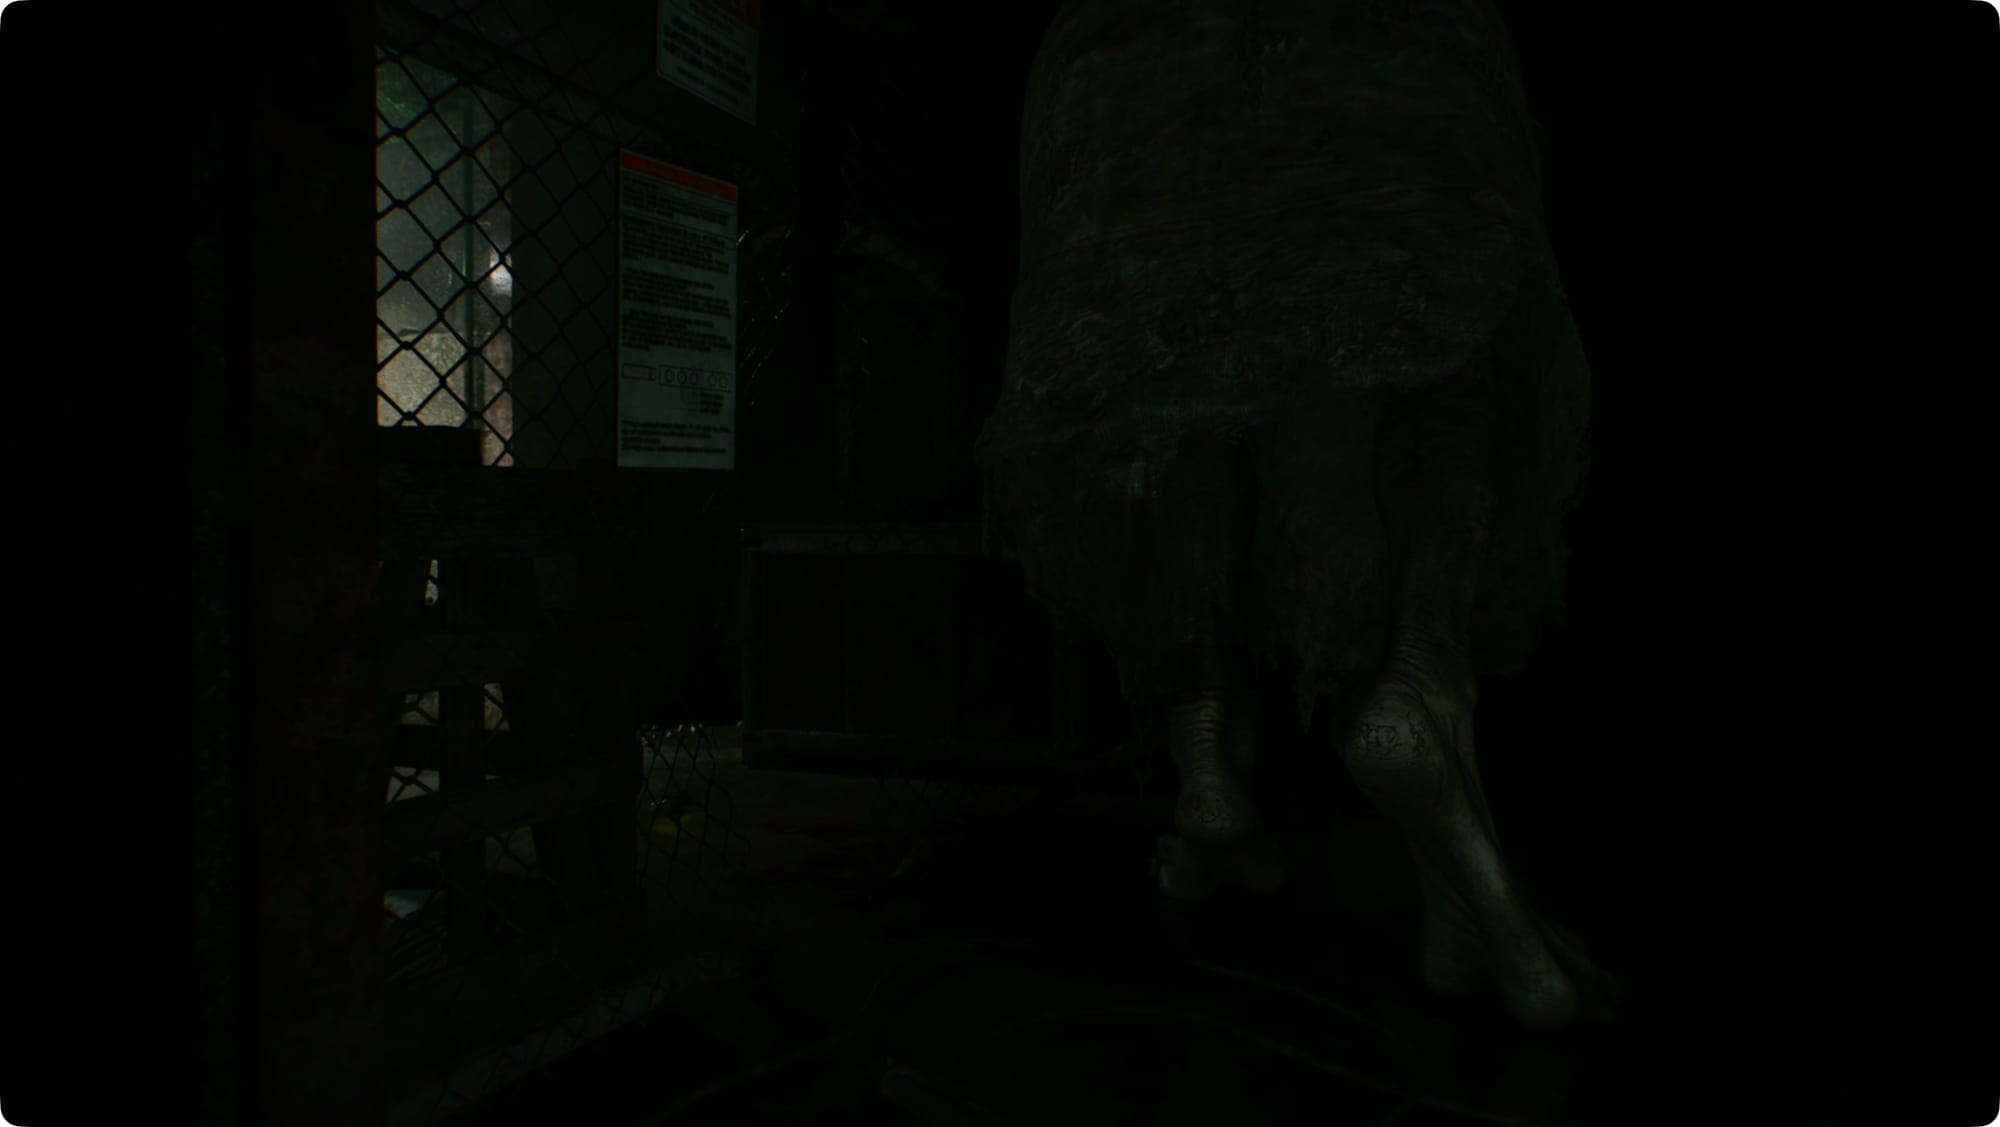
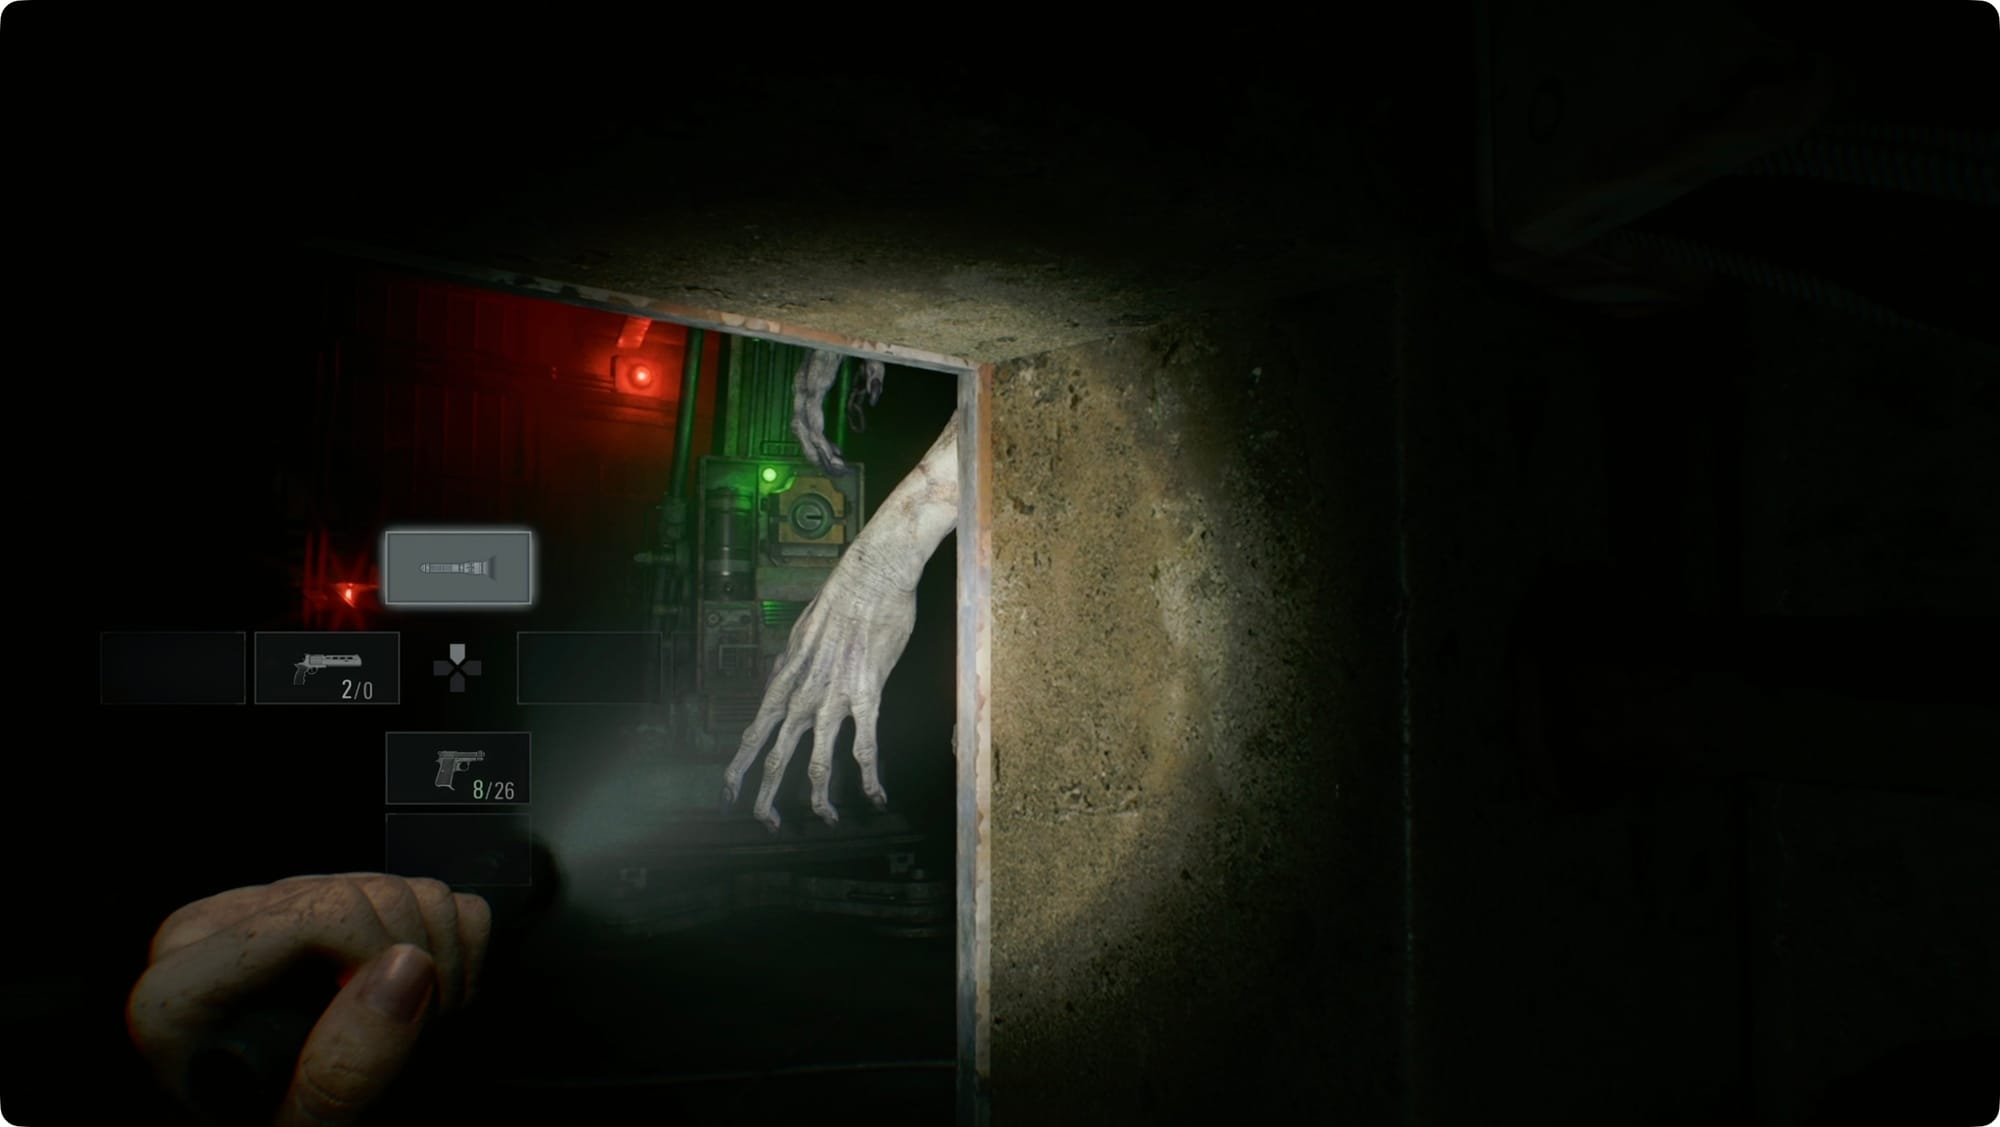
Grab the Joint Plug from the Power Distributor. As soon as you do, The Girl will drop down out of the ceiling at the far end of the hall. Immediately turn off your flashlight and duck into the last cell on the right.
Wait for her to leave — she’ll head off to the left — and take your plug all the way to the west end and unlock the door.
Inside the next room, grab the Scrap, destroy the Mr. Raccoon, and read the Technician’s Note file.
There’s a grate you can’t get through at the back of the room and a high window that’ll be useful later behind you to the right.
Head back out and grab the Joint Plug. You might have to wait for The Girl to turn her back on you, but you're about to turn the lights on, so she won't be a problem. Take it back to the Furnace and plug it into the door on the right. Head through, and you’ll be in the Inspection room.
Take a right and then an immediate left to hide from a zombie and grab a Makeshift Knife. If you’ve got one, a Hemolytic Injector is a good way to make him not a problem.
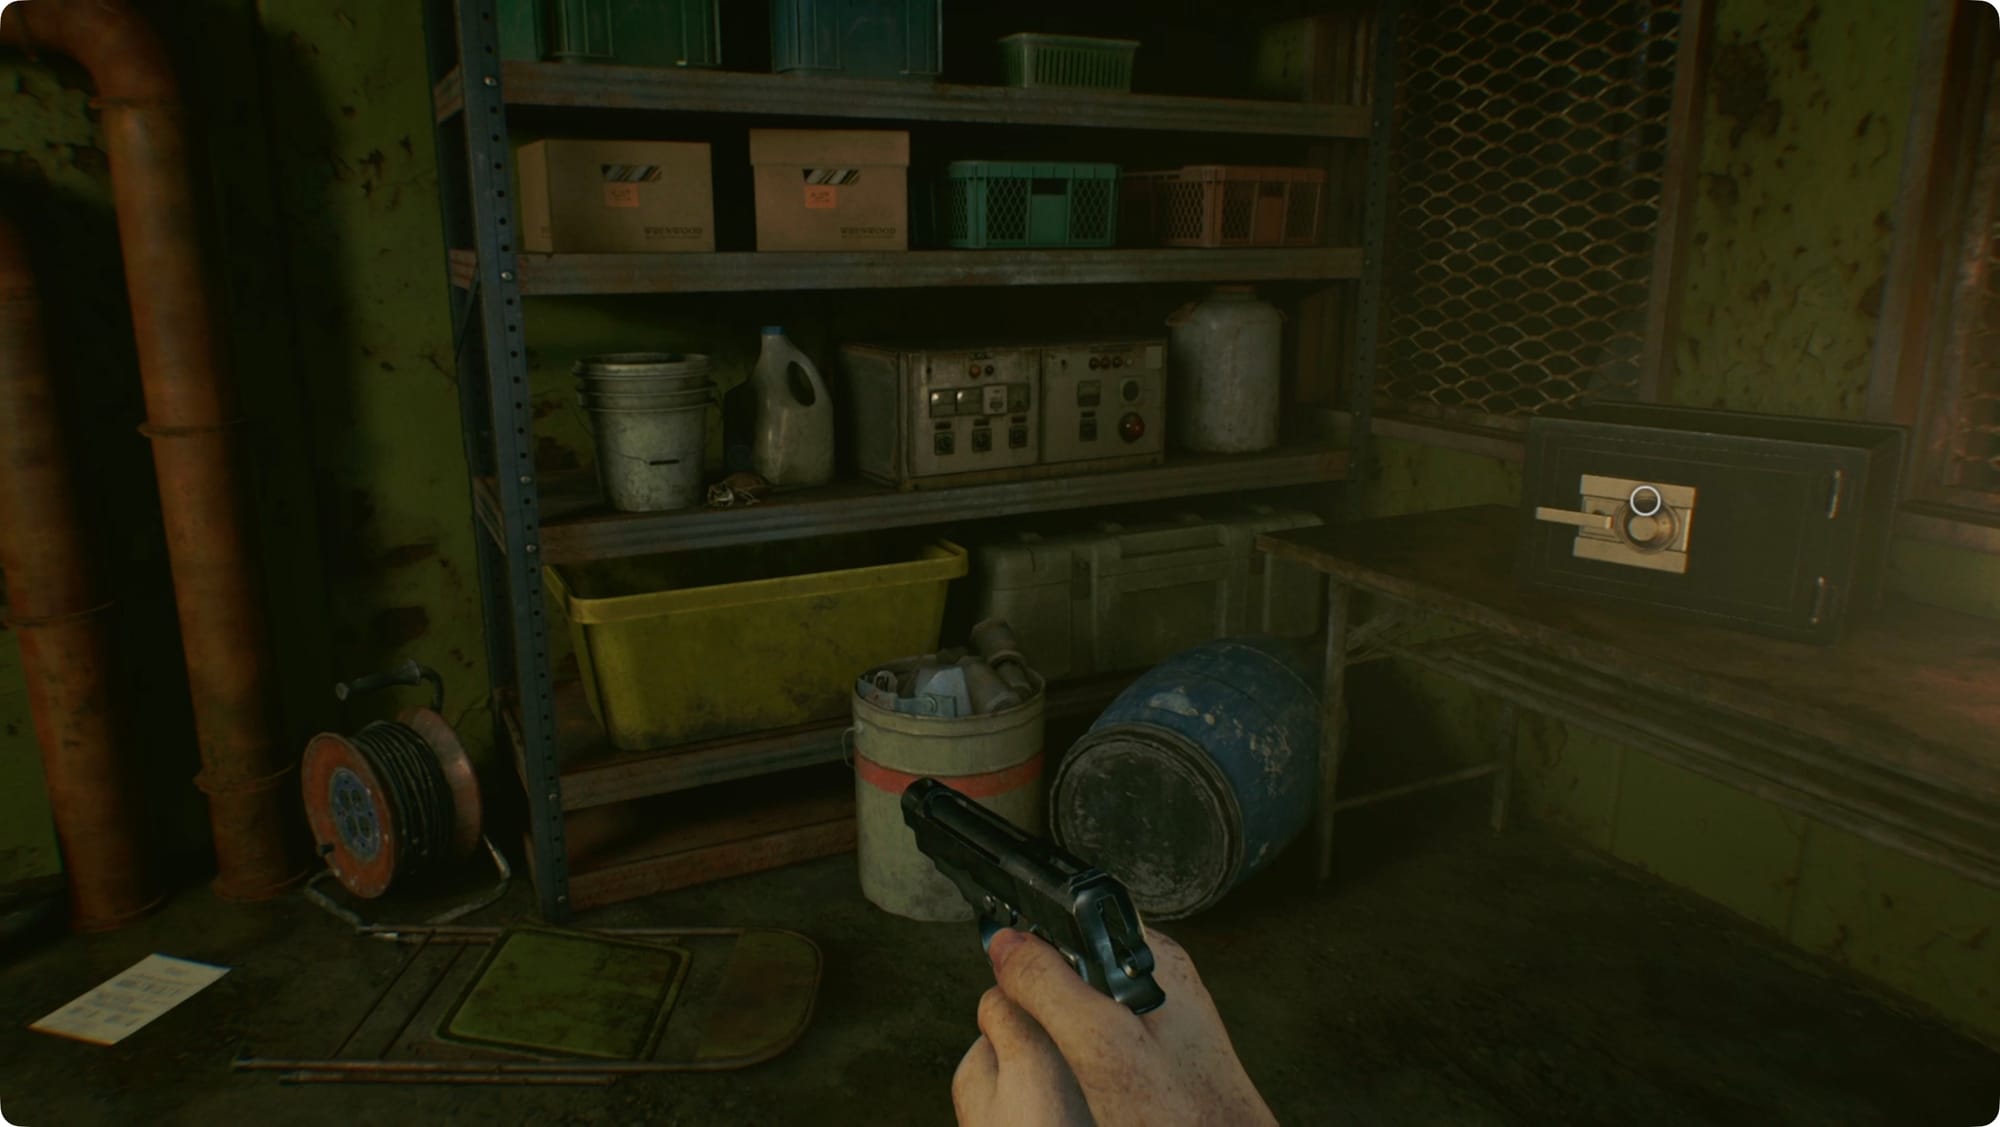
Head into the room along the north wall. Grab the scrap ahead of you and the Security Guard’s Report to the left. We actually found this safe’s code a while ago — it’s R60, L40, R 80. Inside, you’ll find some Handgun Ammo and a Raccoon Roundup Map (Rhodes Hill) that will put Mr. Raccoons on your map (I’m proud — and a little surprised — to say we haven’t missed any yet).
When you leave that room, there’s a Chekhov's forklift thing ahead of you that we can’t interact with yet. Just past it, there’s an Empty Bottle and a Power Distributor with our next Joint Plug. Grab the plug and then turn around.
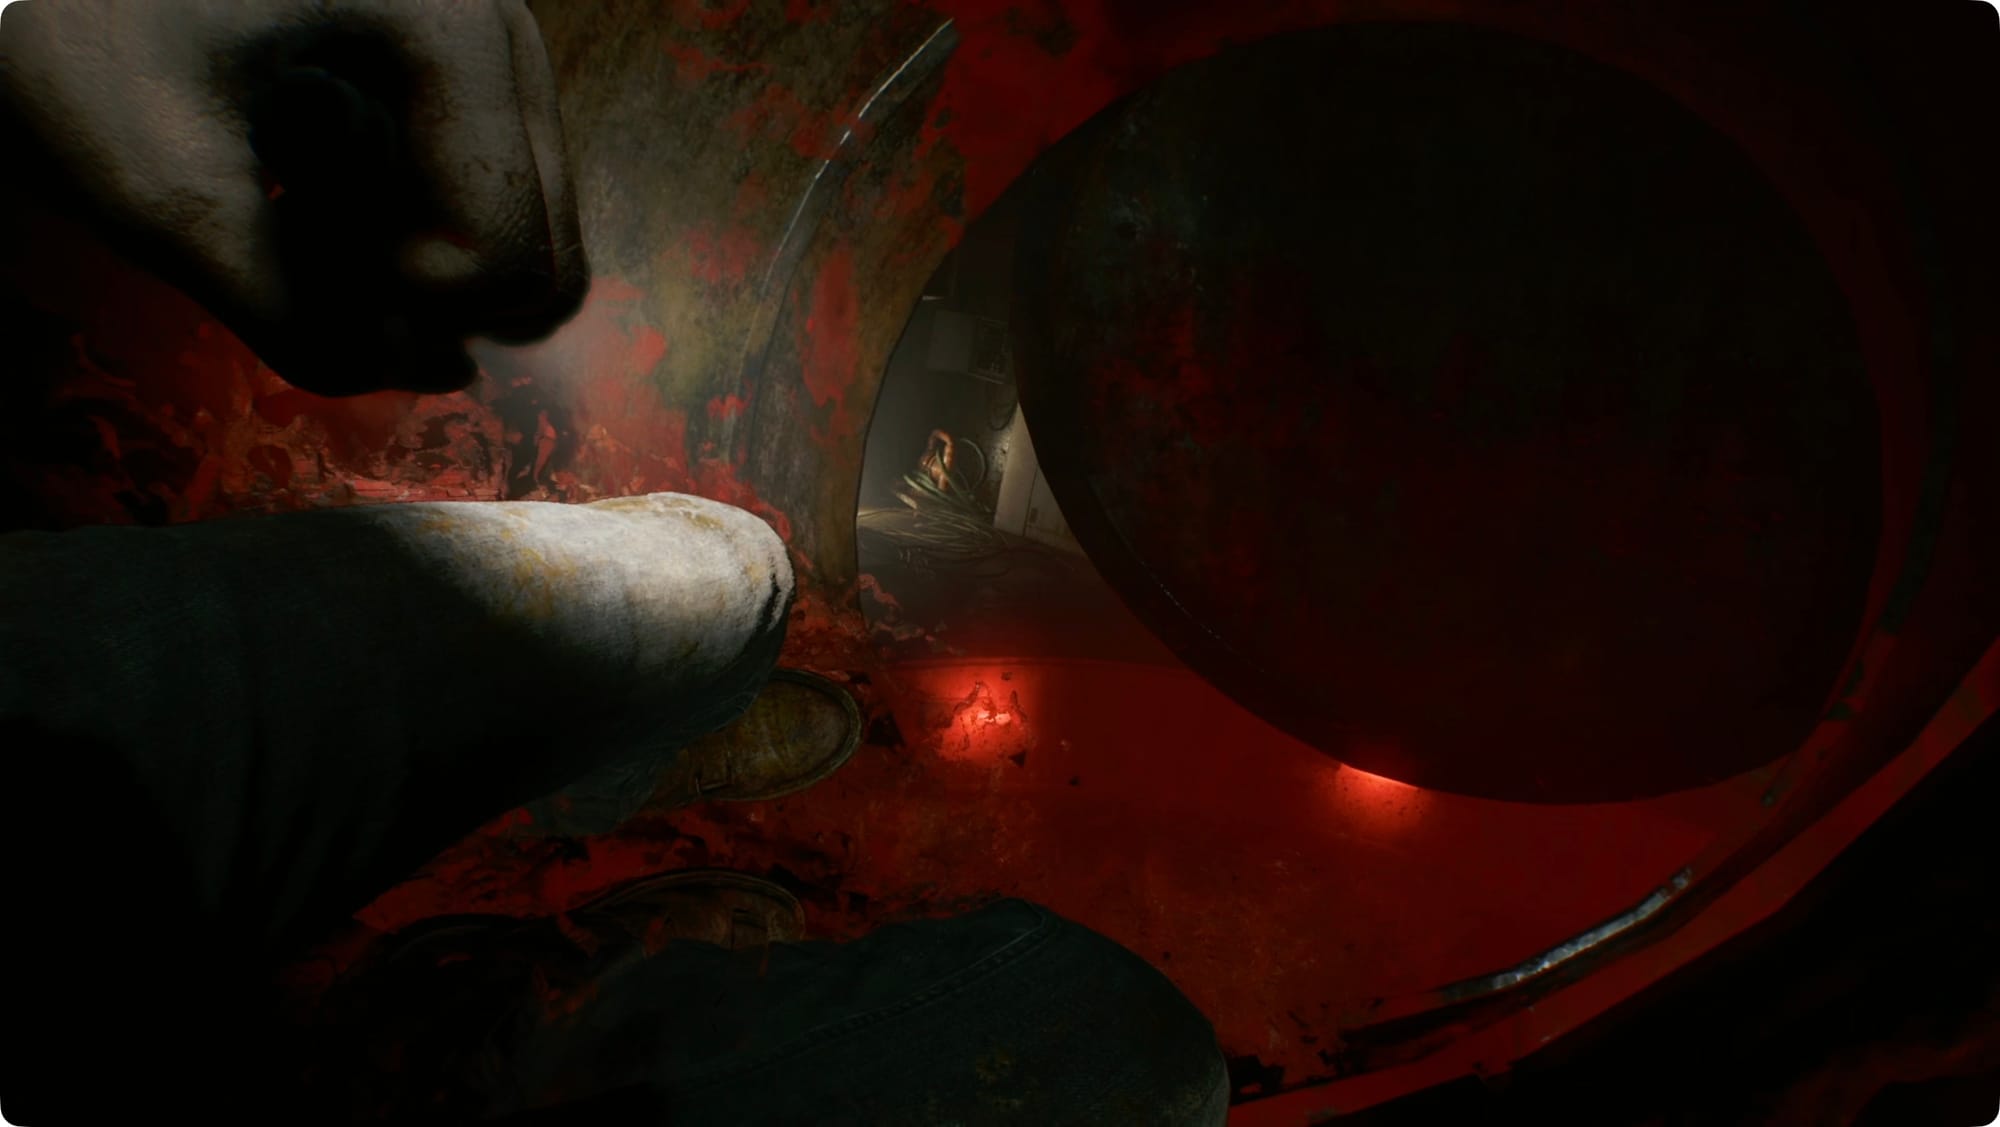
There’s a low tunnel to the left of the room you were just in. Crawl in. At the first turn, grab the Lockpick. As you continue to the right, a zombie will start toward you, but The Girl will help you out.
You’ll come out in the Workshop. Take a hard left and use the high window to get out. Immediately start running to get back to the furnace and its lights.
Boiler Room
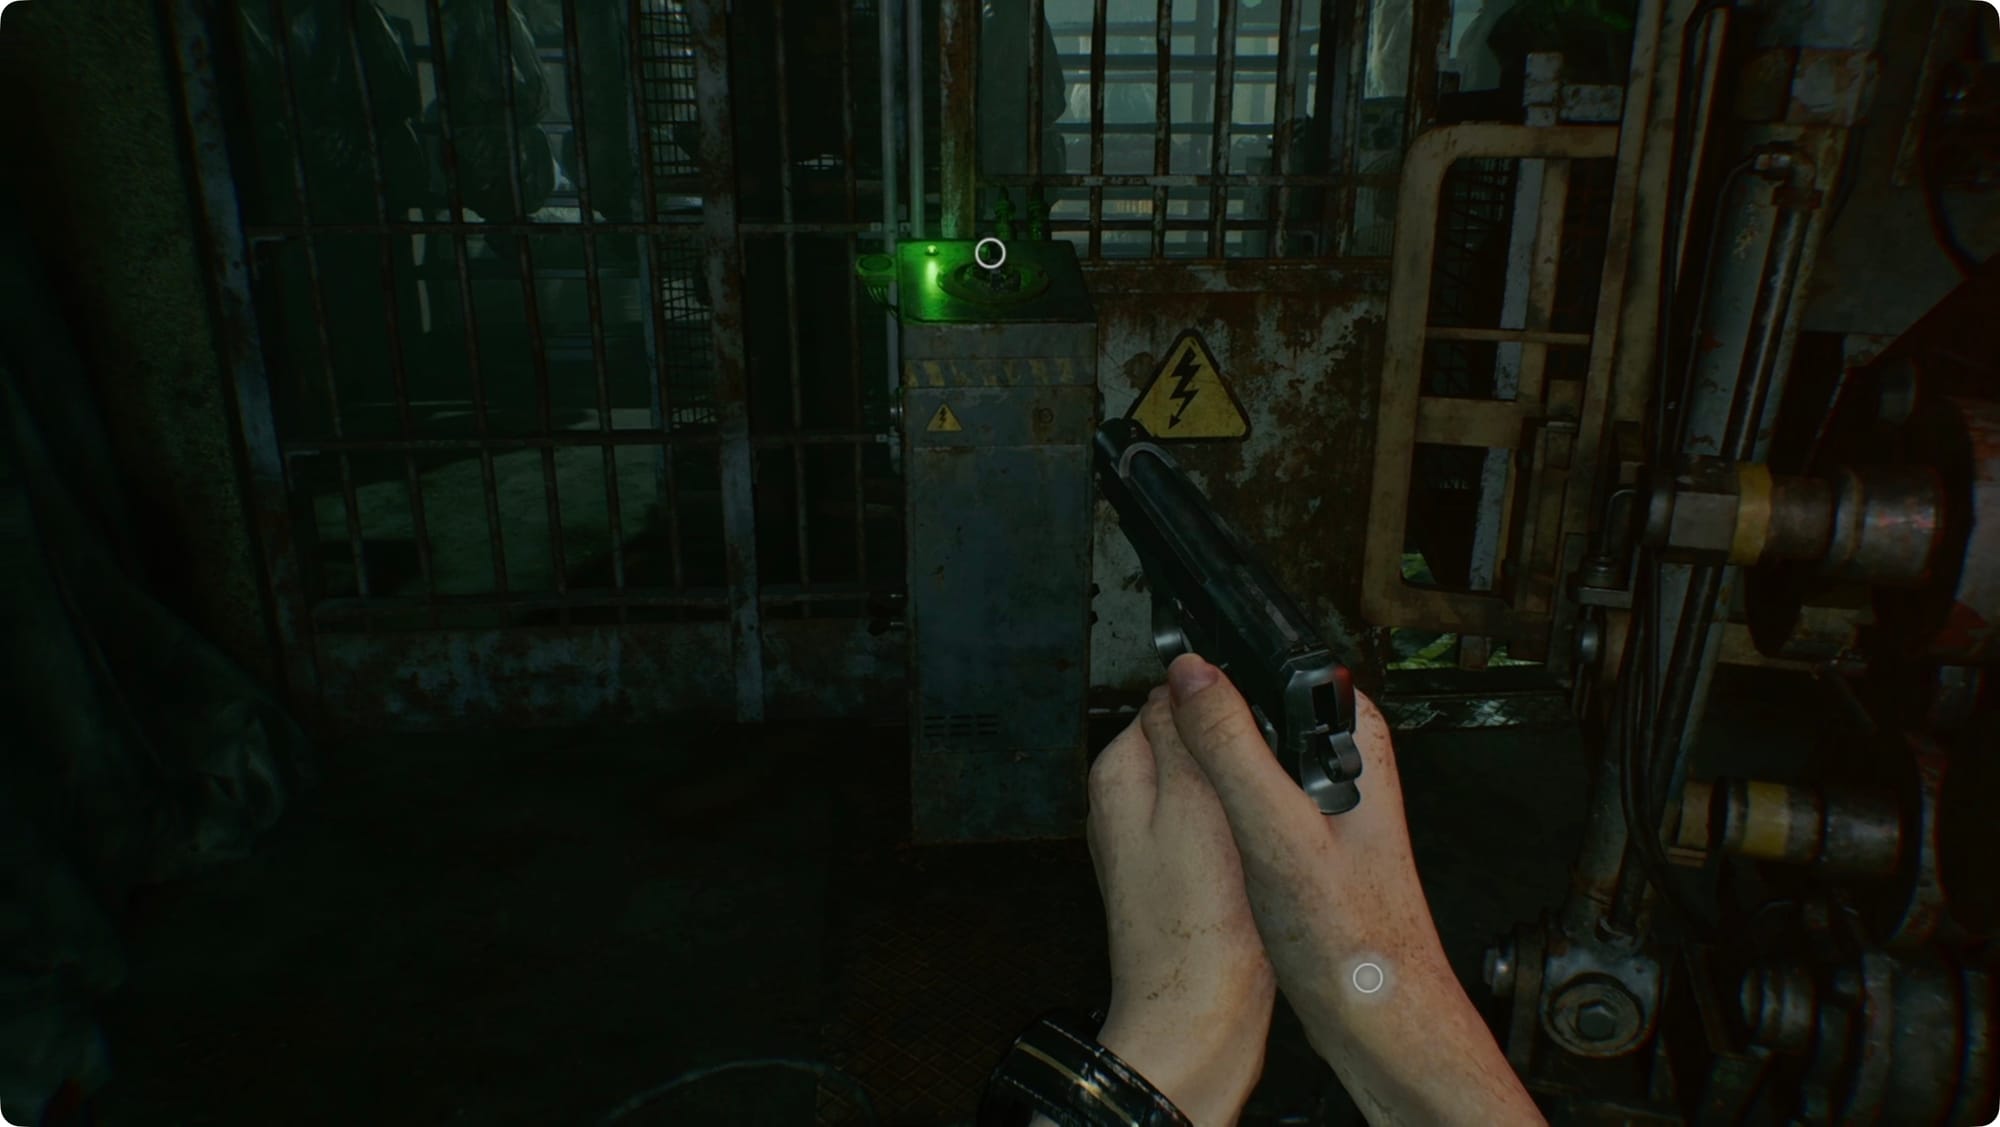
There’s one zombie awake for you to deal with (this will become a theme). Take the hall back to the left. Drop the plug into the Power Distributor on your left about halfway down the hall.
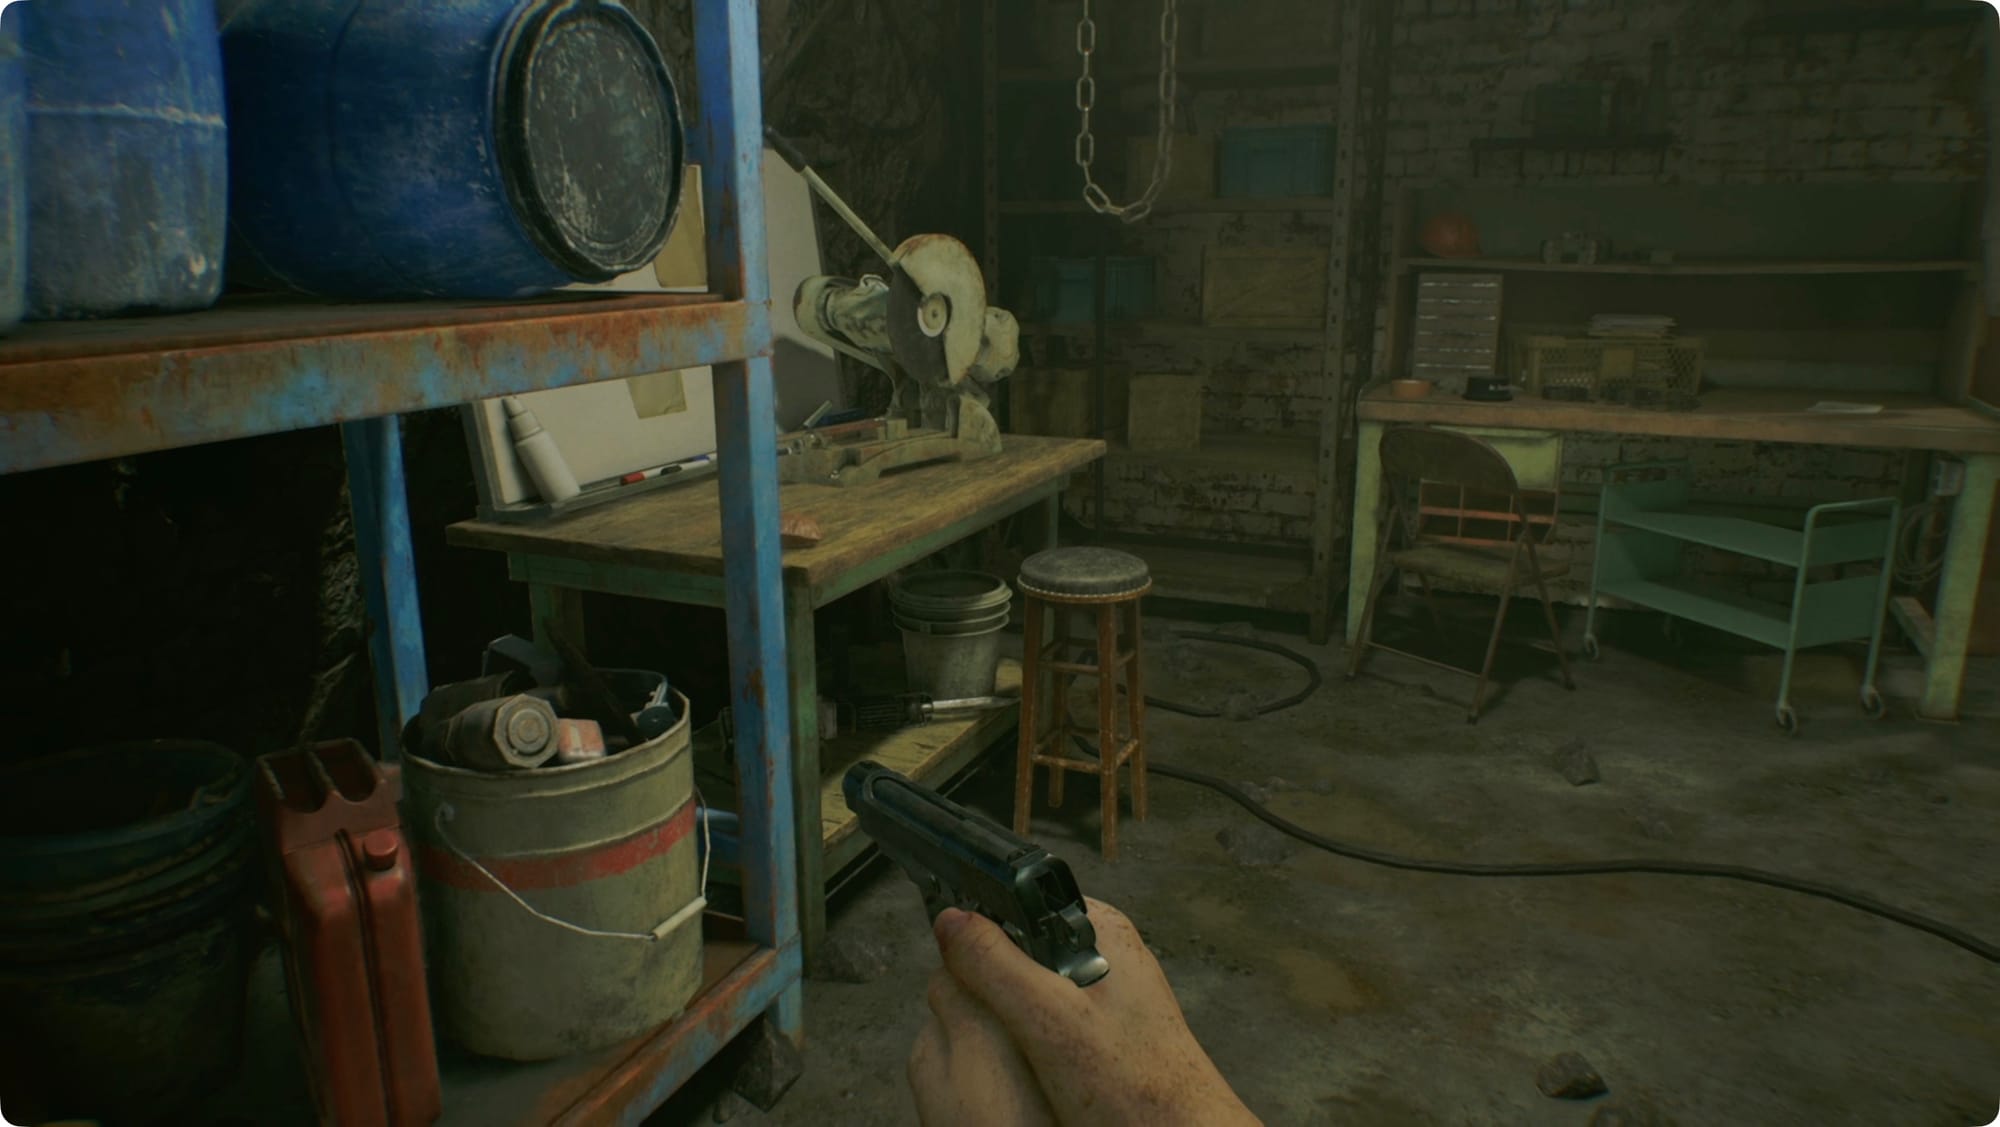
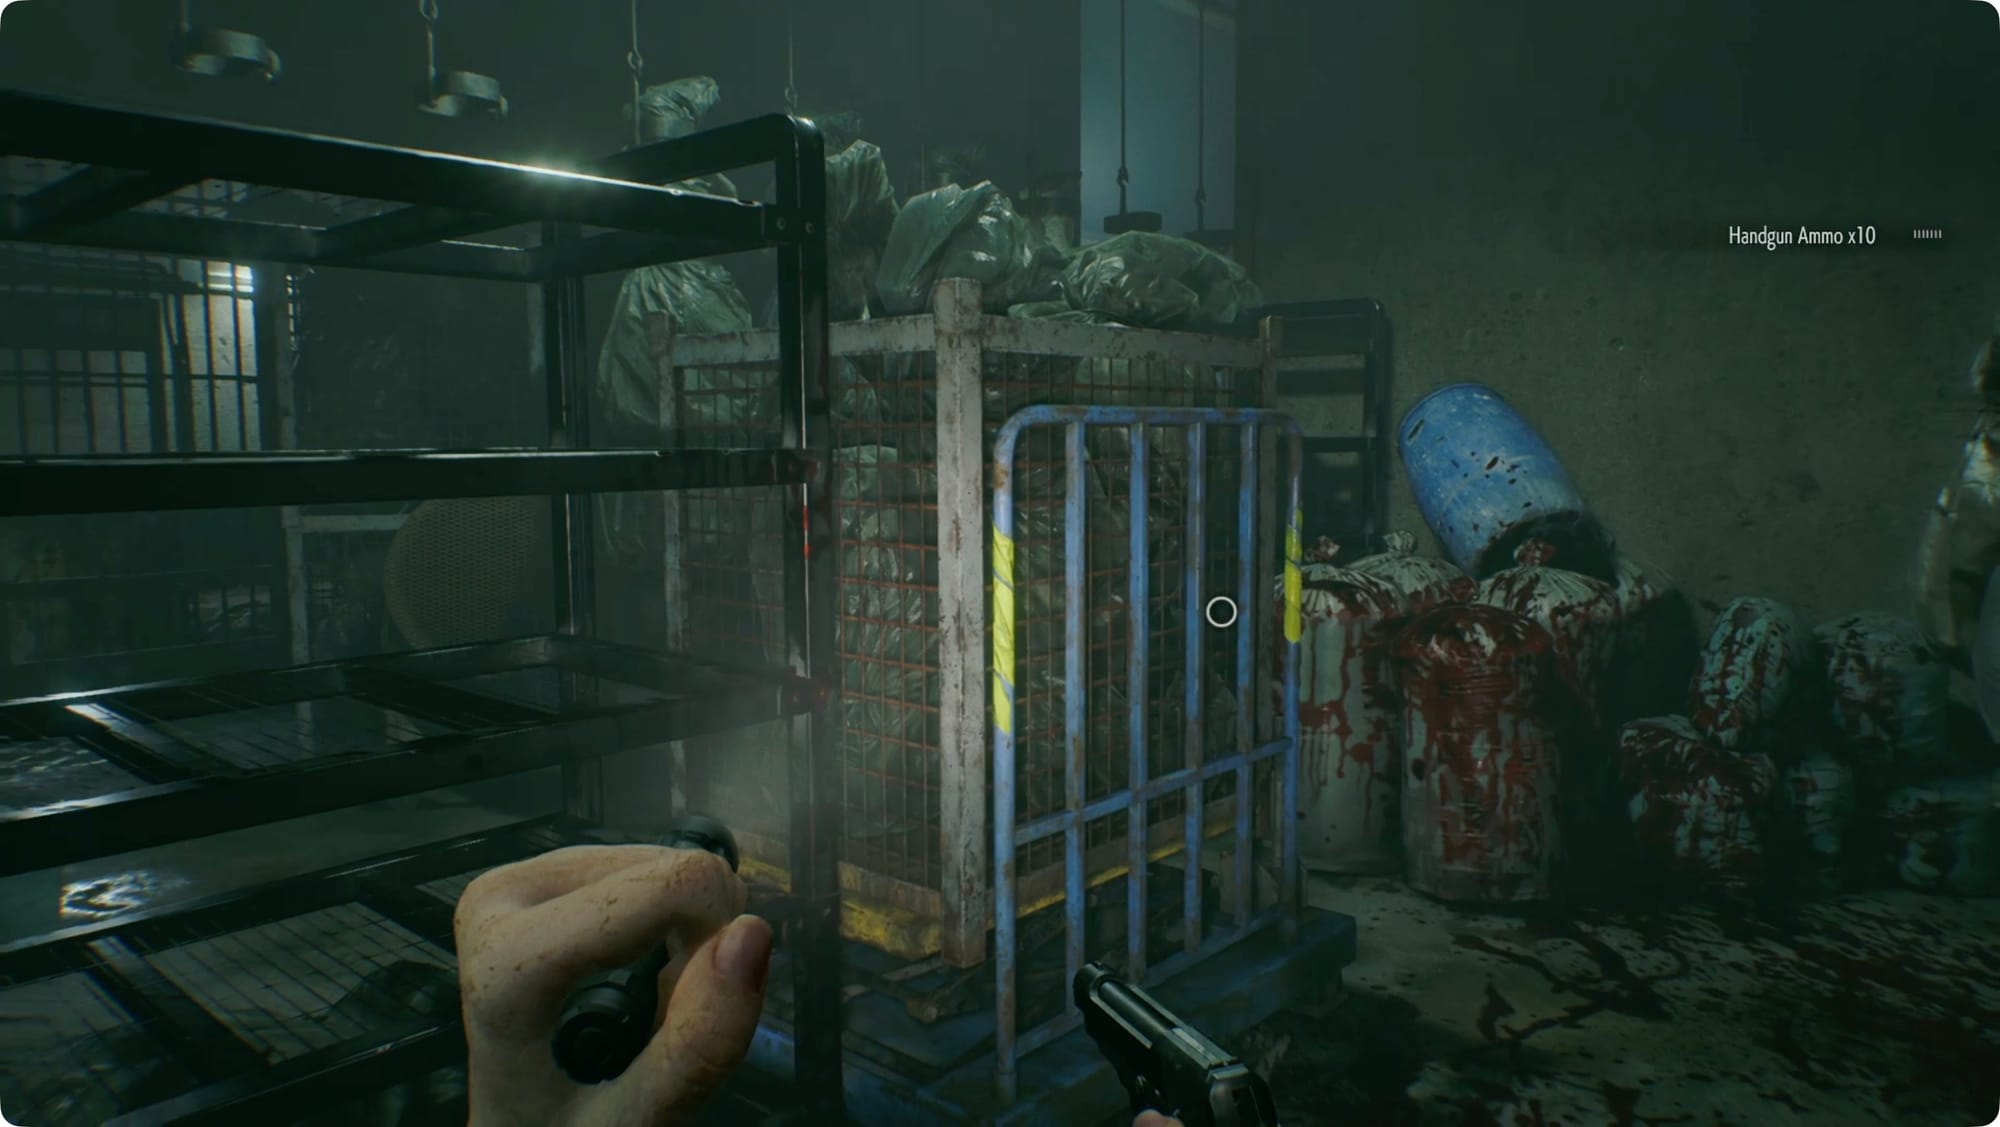
Step into the room across the hall and put down another zombie. Grab any blood you see, and then head to the left for the Crafting Recipes file. In the back by the TV, you’ll find some Handgun Ammo. There’s a Mr. Raccoon on top of it.
Open the locker on the left side for some Scrap and use that Lockpick on the other locker for some Rare Metal.
Head back into the hallway. There’s an open door to the right of the Power Distributor that leads to the Boiler Room. You can technically get into the Boiler Room now, but it’s a dead end at the moment. Instead, grab the Joint Plug and turn right. Run down the tunnel toward the right until you come to the next distributor.
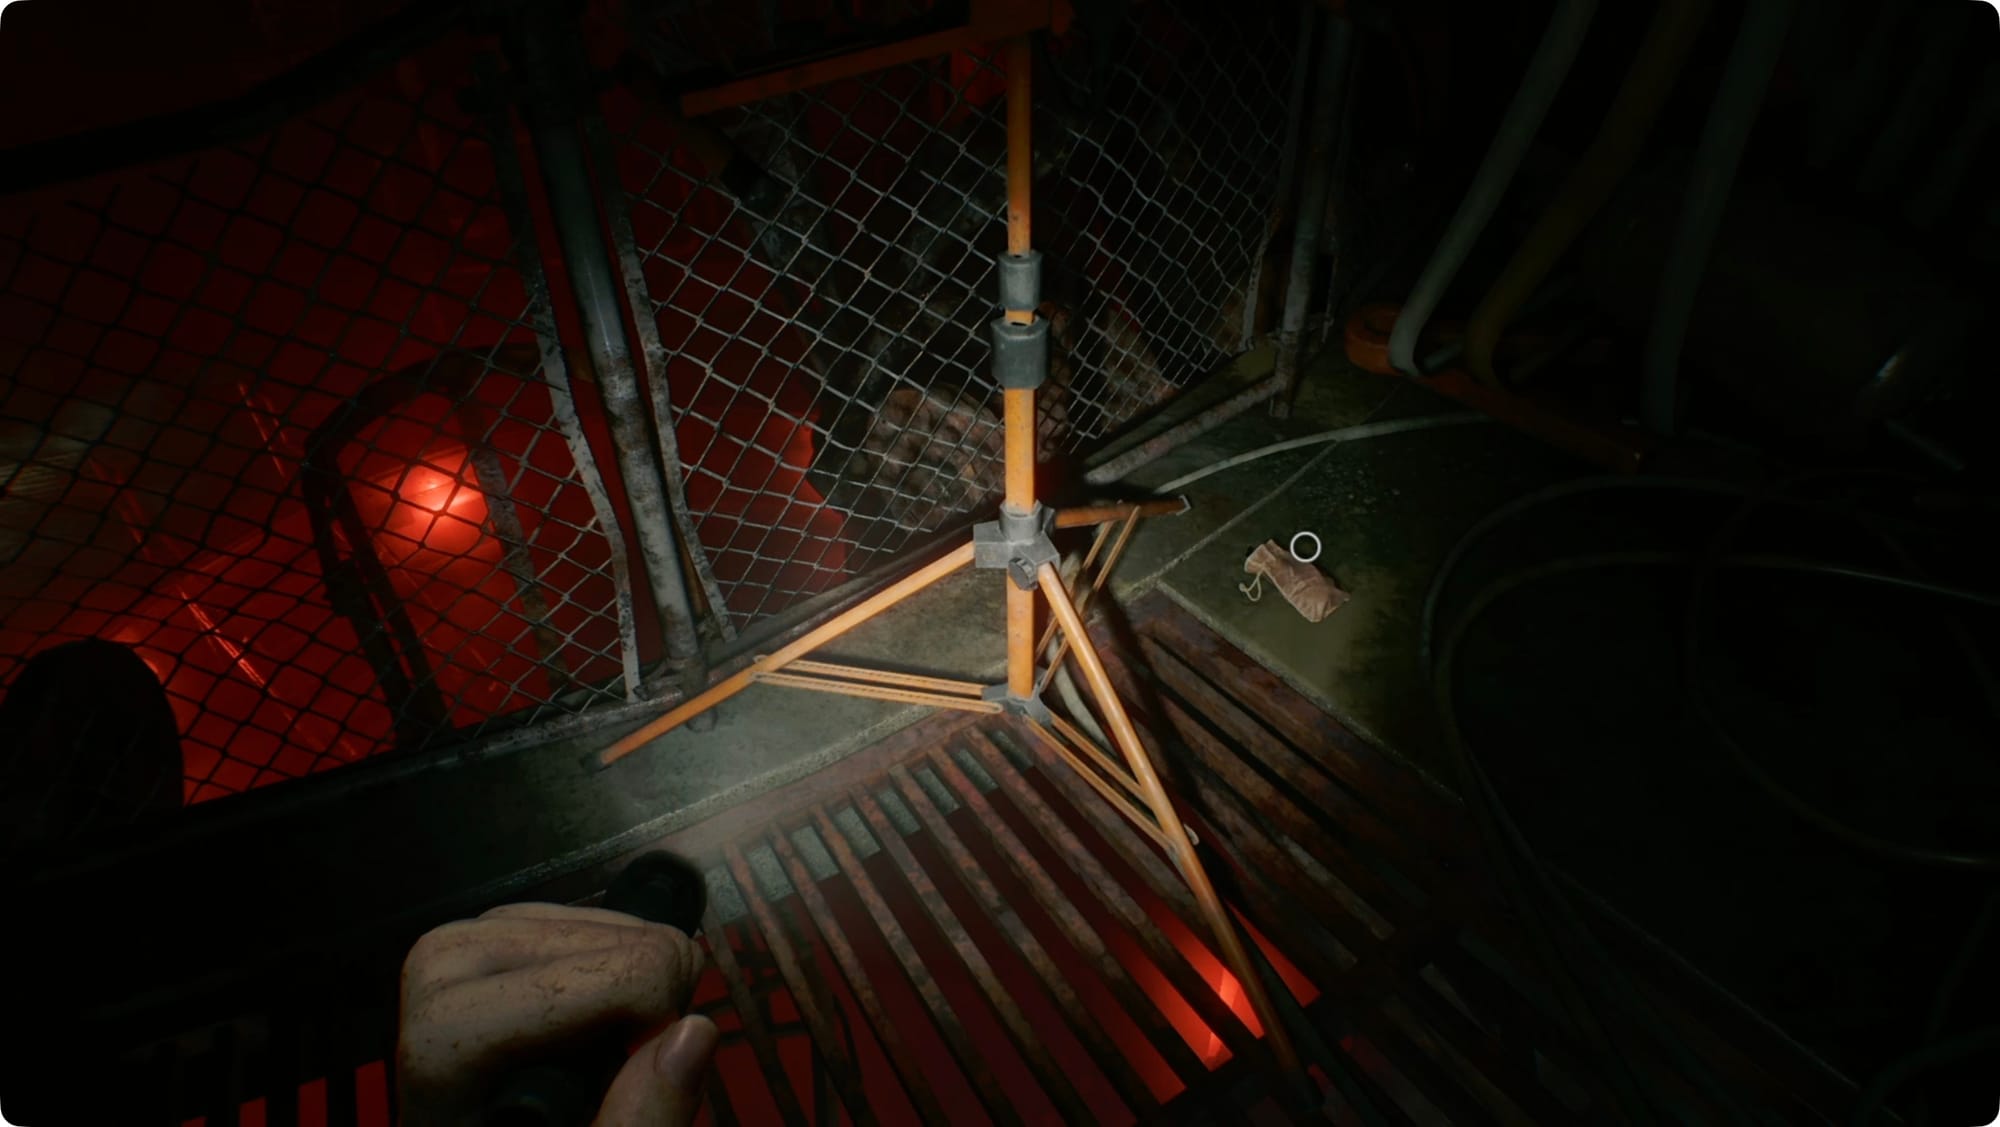
In the room you reveal, you’re only here to shove the crate out of the way. Squeeze through the chainlink fence.
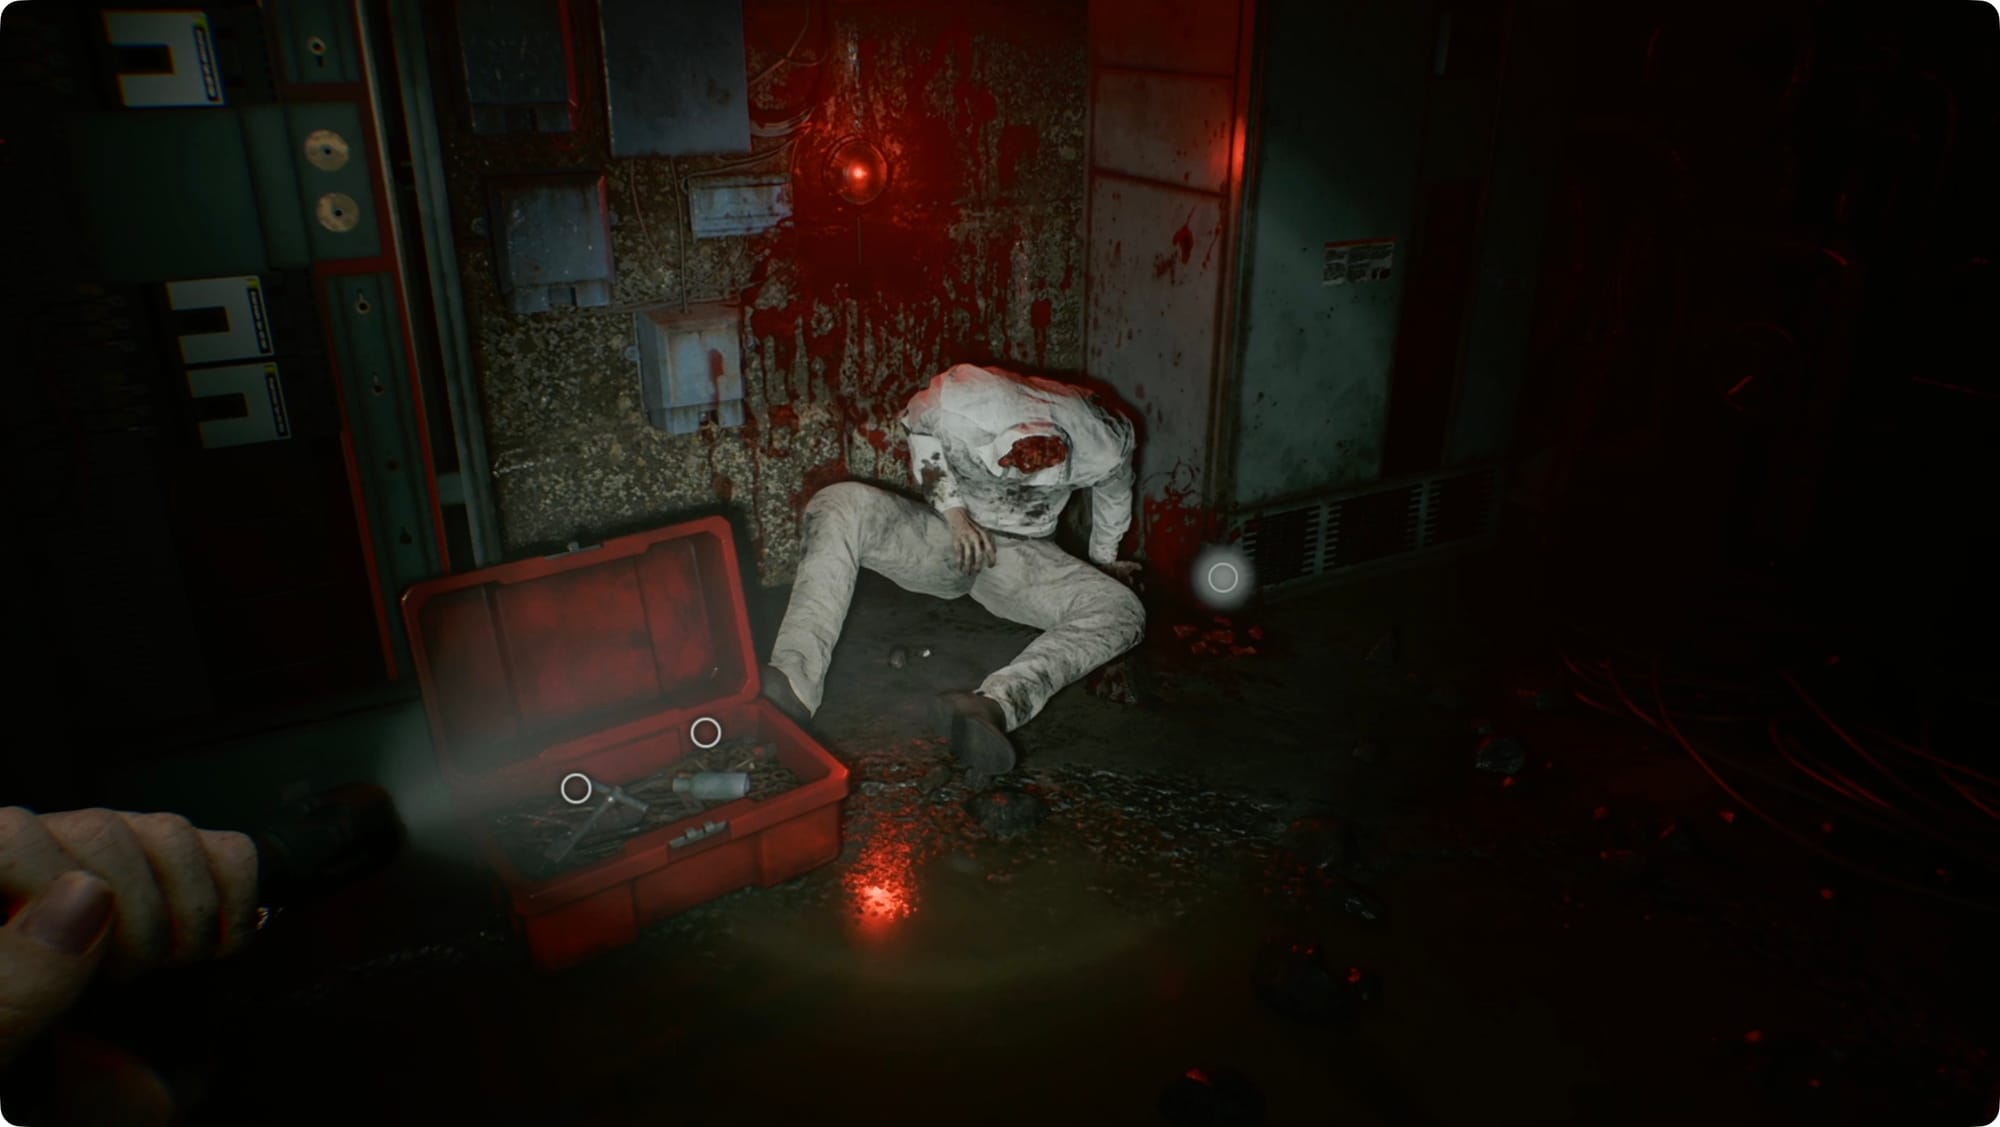
There’s a Lockpick in the puddle ahead of you and a Green Herb to your right. Keep heading that way to find the toolbox. Inside, grab the Square Socket Wrench, the Empty Bottle (that we can turn into a Molotov now), and a bunch of blood. (I’d recommend getting a bullet or two for Requiem first).
When you step back out of the toolbox area, The Girl will drop down. Turn off your flashlight and crouch.
Wait for her to finish eating (gross) and then work around the central machinery heading counterclockwise to avoid her. Squeeze back through the gap.
Grab the plug and run back down the hallway toward the Furnace. About when you get to the main Boiler Room door, The Girl will show up again.
Processing
Pop the Joint Plug into the distributor there and wait her out. You’ll have to deal with a zombie from the room across the hall while you’re here.
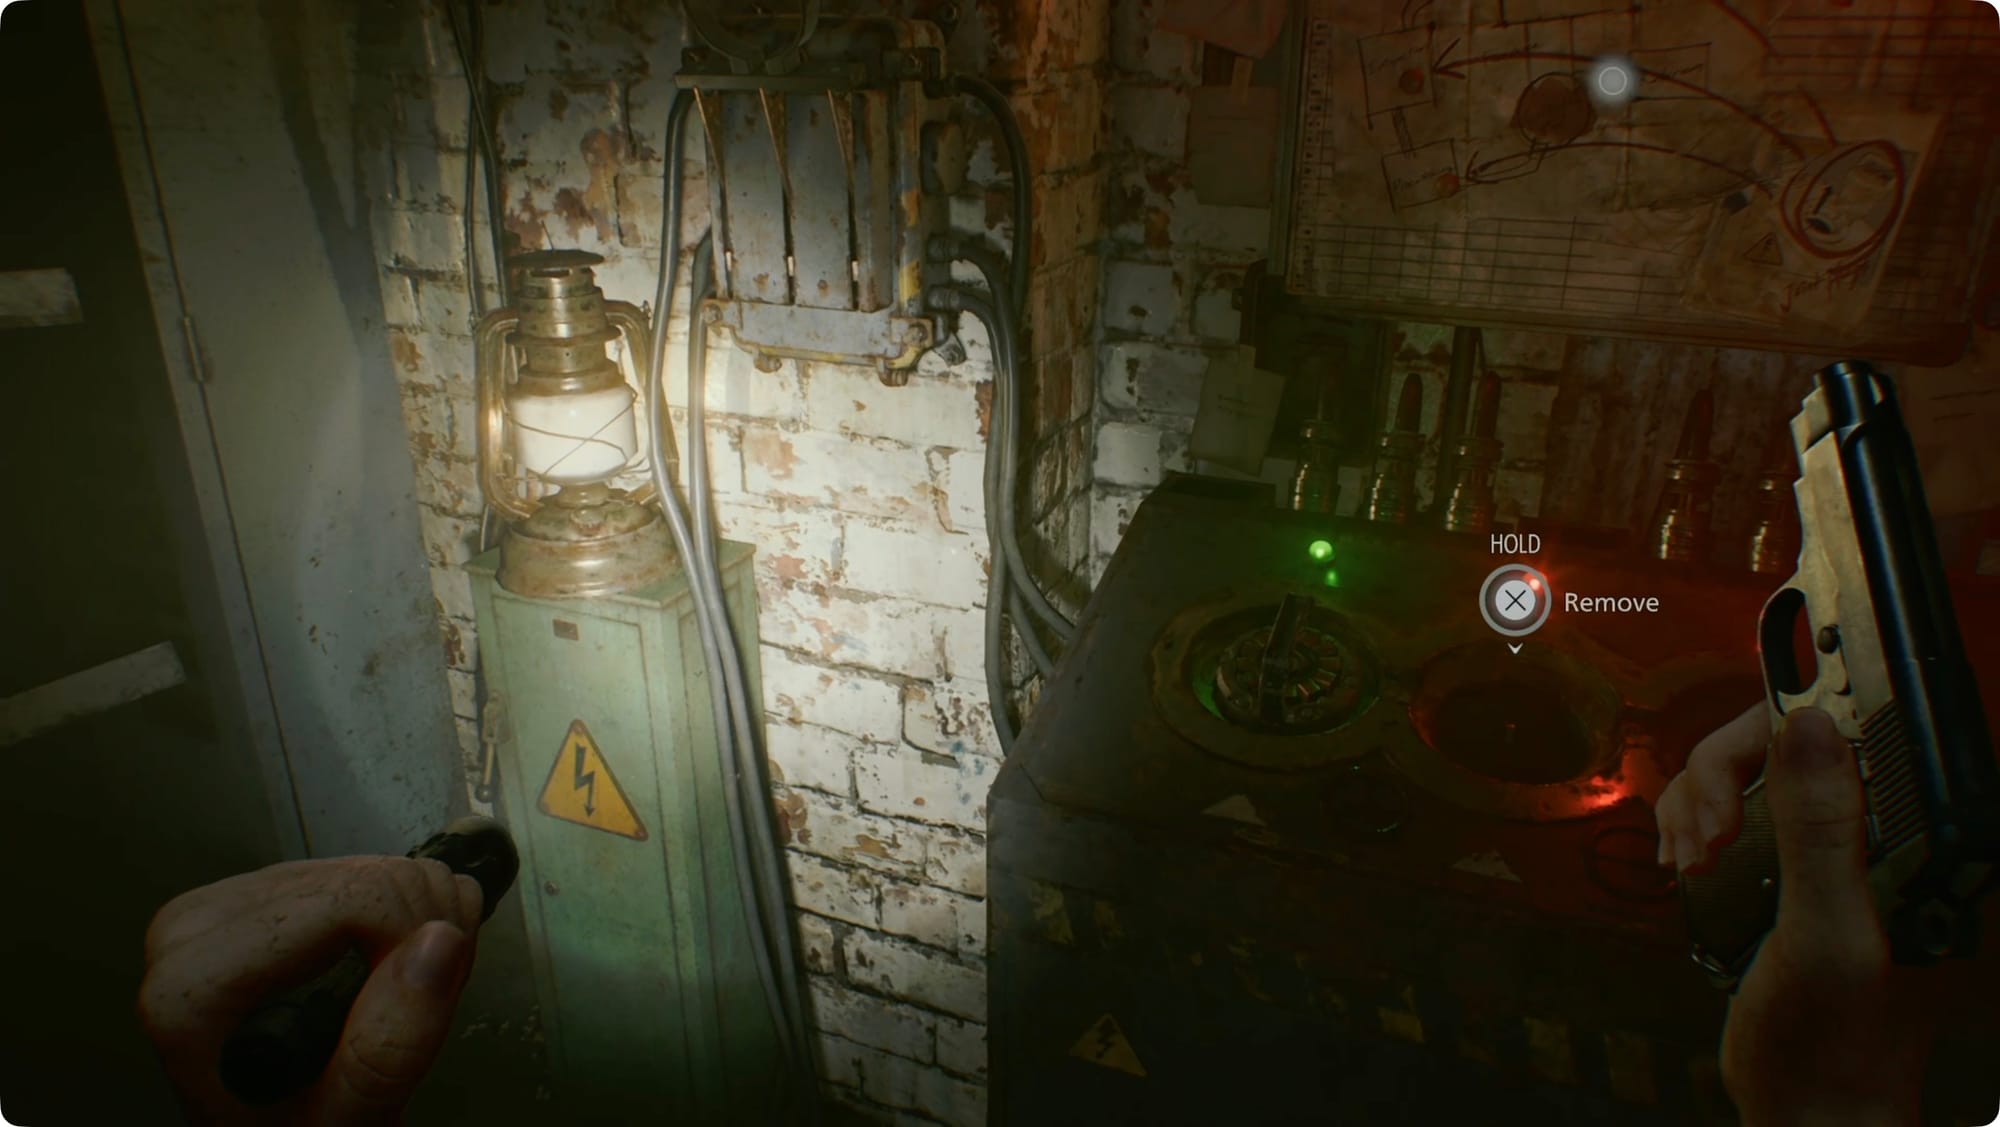
When she’s gone, grab the Joint Plug and finish the run to the Furnace. Take a left and use the wrench on the Bolted Power Distributor.
This one requires two plugs. Drop in the one you already have, and then go grab the other from the Furnace. The Girl will be there, but as long as the lights are on, she’ll just wander off.
Grab the plug and run back to the Collection Pool. Handle the zombie waiting for you and follow the path around to the right.
Haha, just kidding. Take a left and go into the ventilation shaft. There’s some Scrap at the first corner. At the far end, you’ll find a Green Herb and a ladder.
Climb said ladder. Skip past the Power Distributor and collect some blood. Continue along the walkway to the corpse on the right. Pick up the Forklift Key and then use it on the forklift.
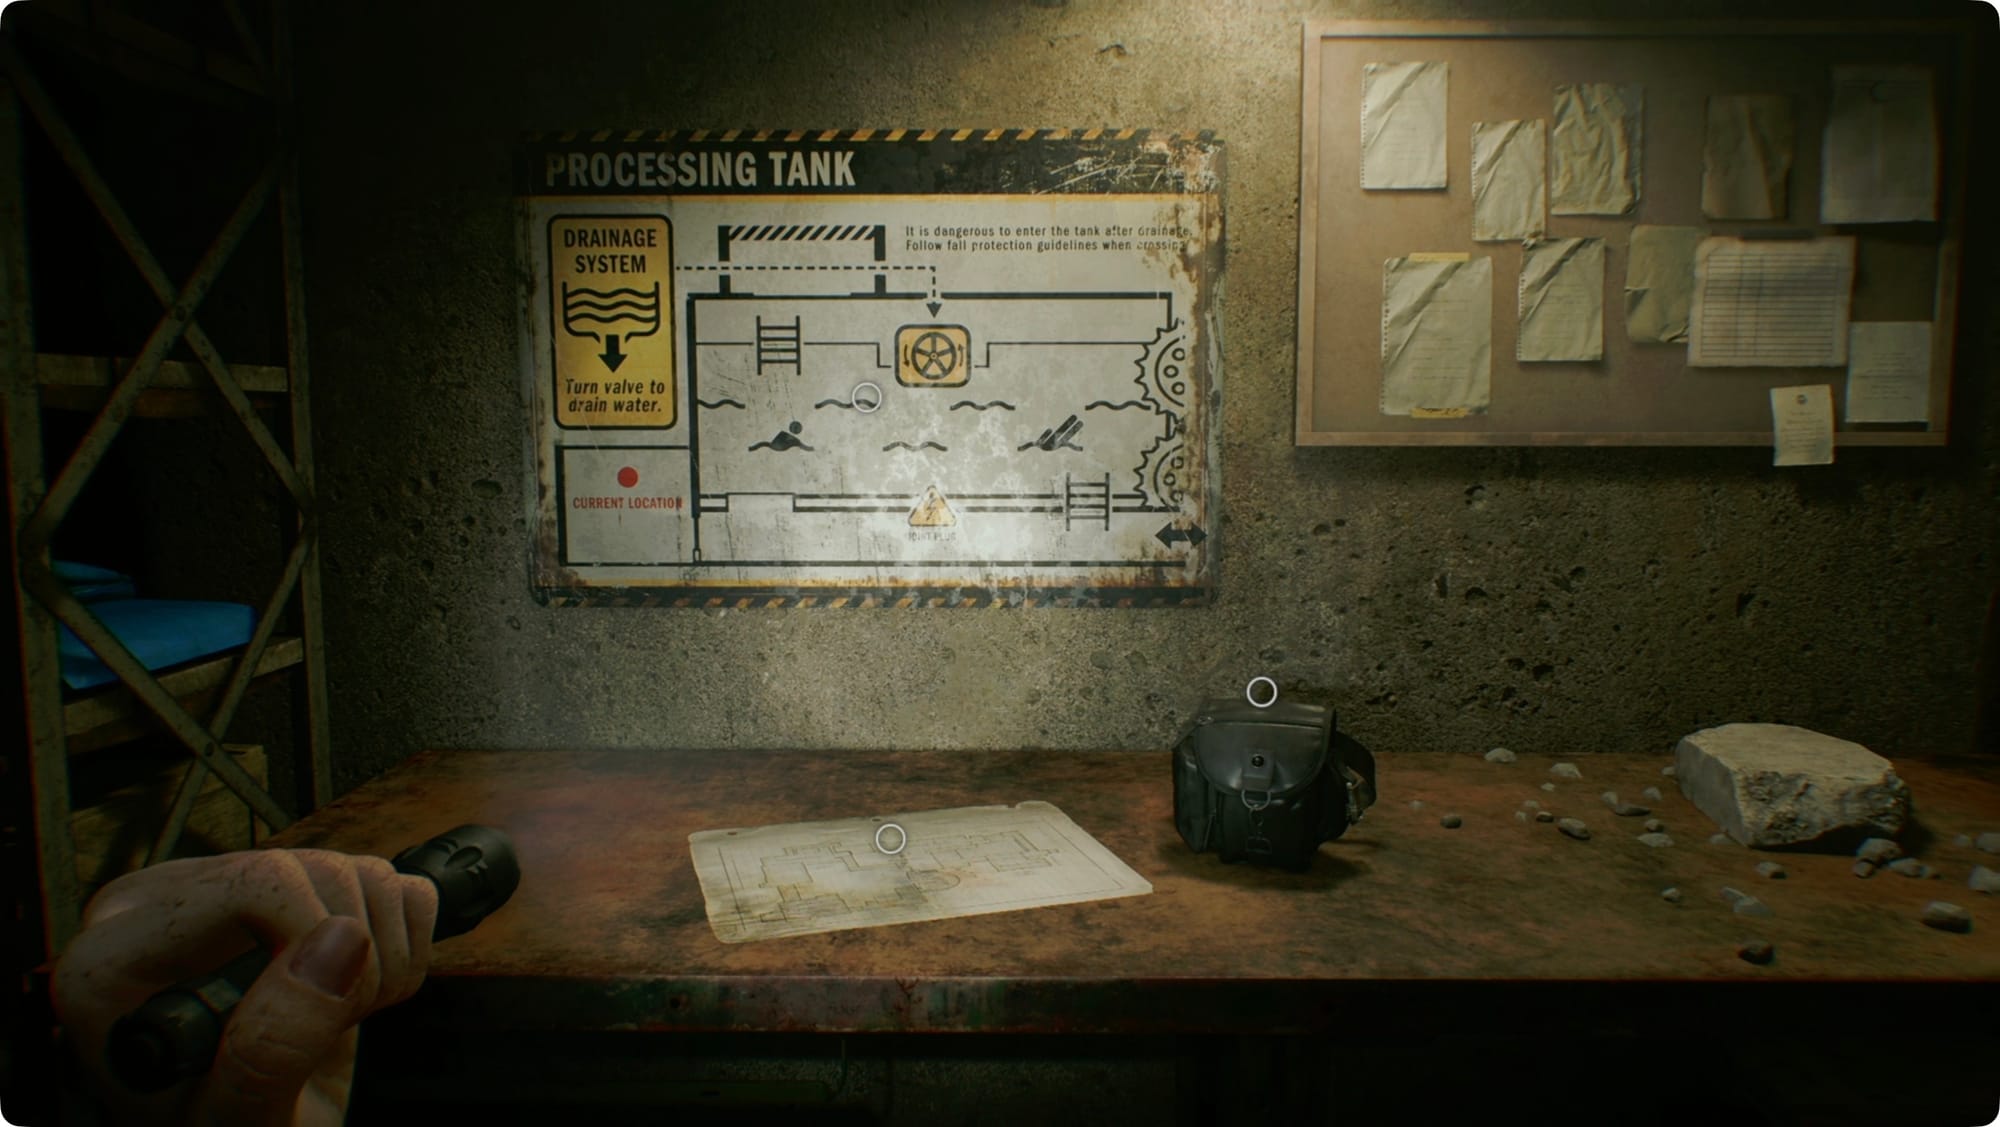
Head through the door. The room you just opened has a Hip Pouch and some Handgun Ammo, as well as the Care Center Basement Floor Plan and some instructions about the processing tank.
Inspection
Looking at the map will show you what you need to do here — go back to Inspection and use that Forklift Key. Leave the Joint Plug (it’s keeping the door open), and head back to the Collection Pool.
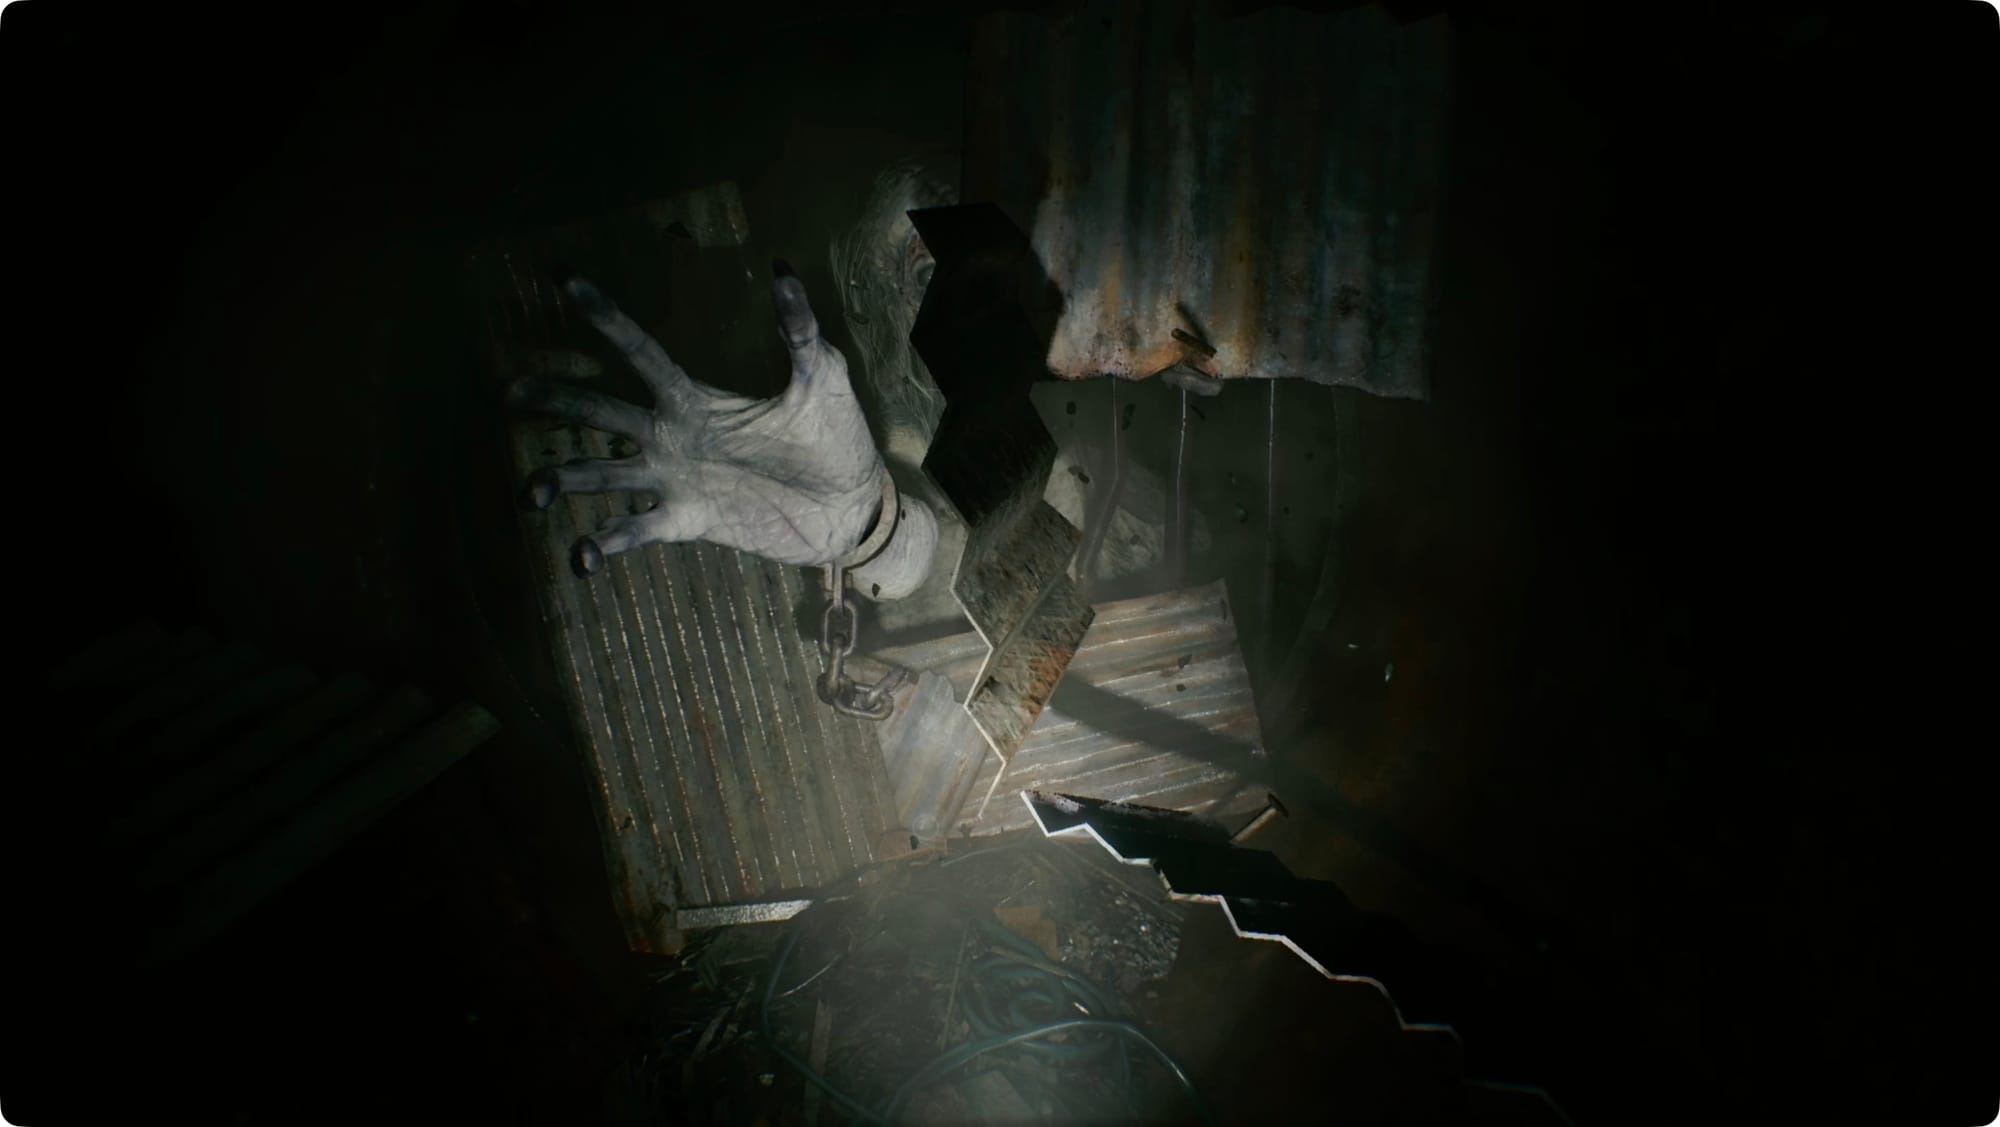
On your way back through, The Girl will jumpscare you, but she can’t reach you.
On your way back to the Furnace, grab both Joint Plugs out of the Collection Pool. Pop one into the Furnace and deal with the zombie there.
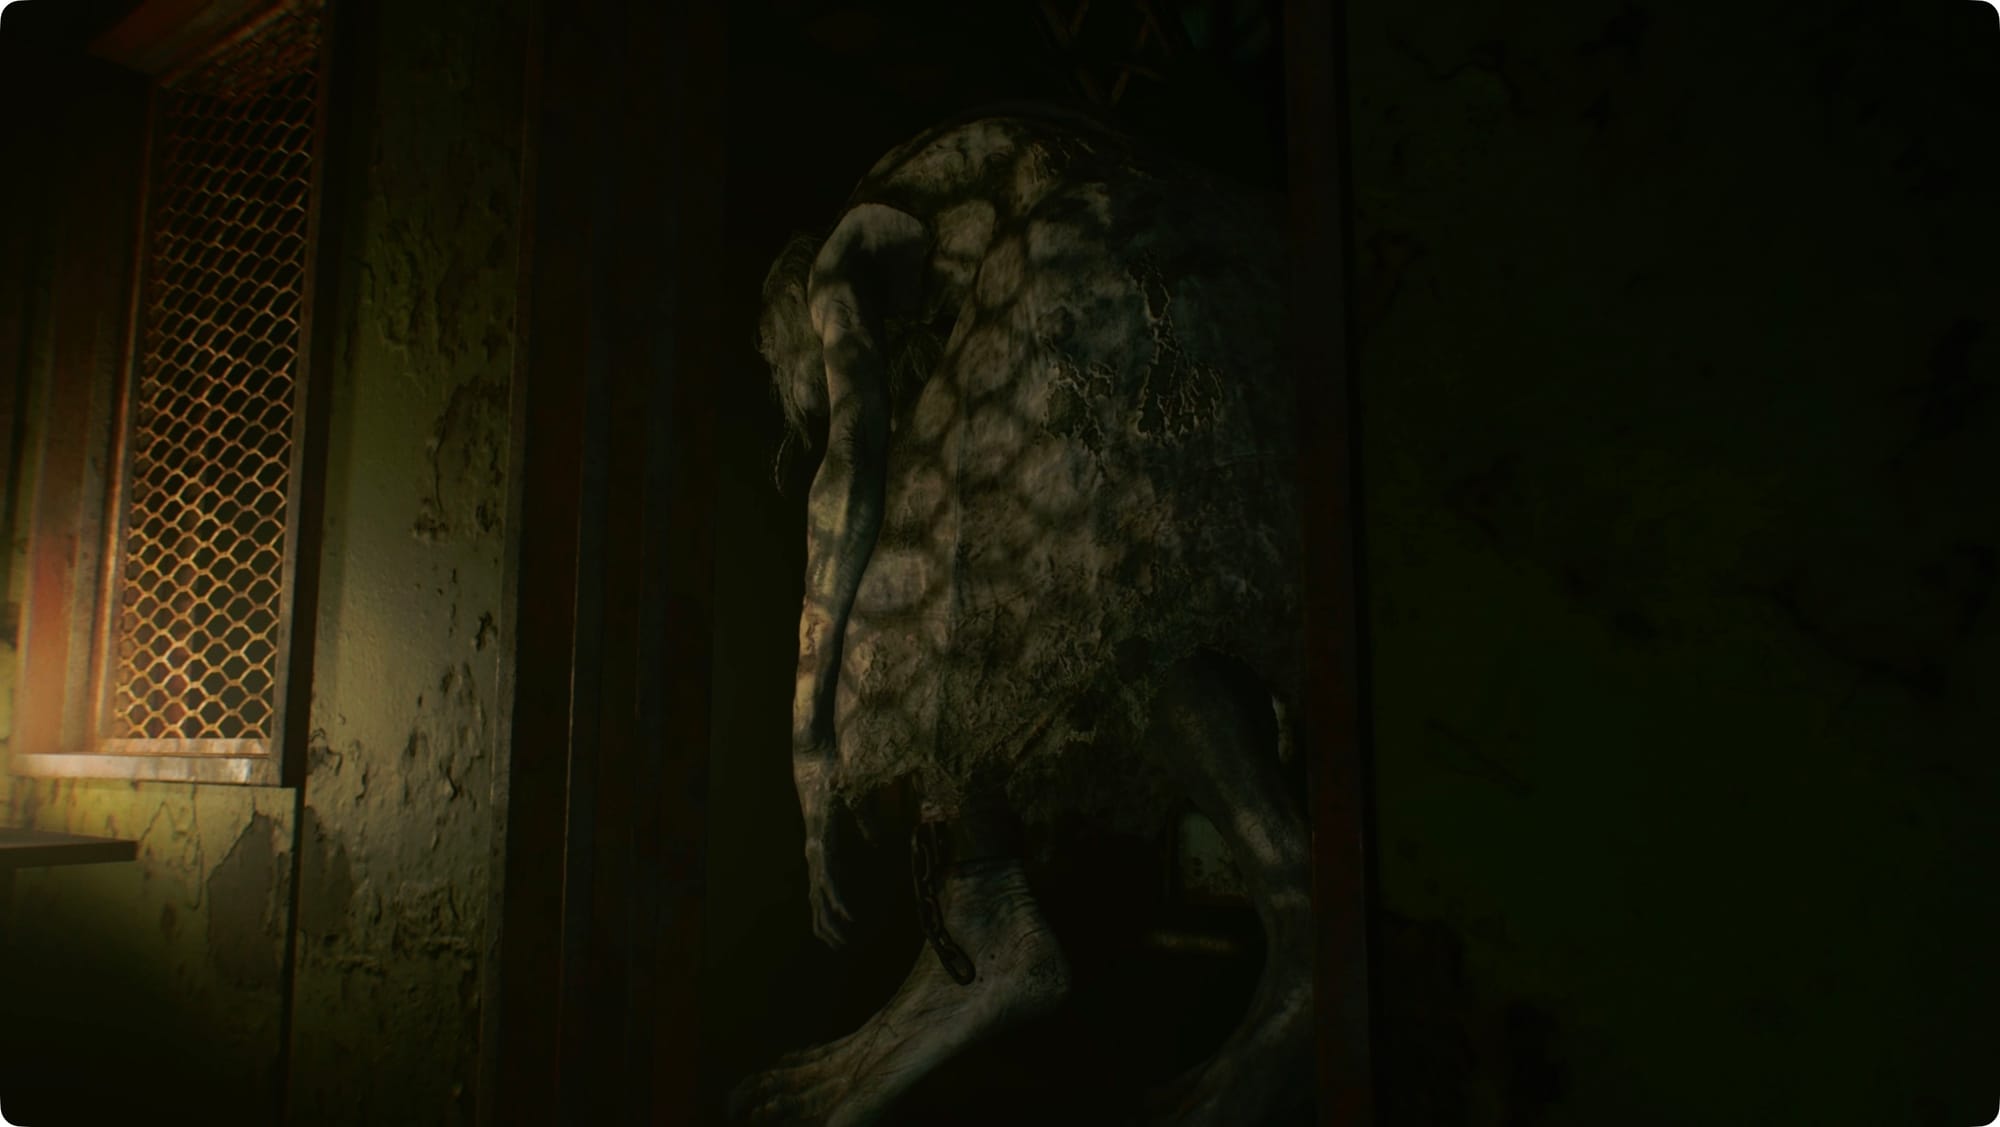
The lights will blow out on your way back into Inspection. Use your flashlight to navigate the hall, but watch for The Girl. She’ll be patrolling the Inspection anteroom(?). Make sure you turn off your flashlight when you see her. When you can, sneak behind her into the room where we opened the safe. Watch her pattern, and then sneak behind her again to put the Forklift Key in the forklift.
That’ll get her attention, so run back to that vent we went through earlier. Wait her out, and then go pop the other Joint Plug into the Power Distributor.
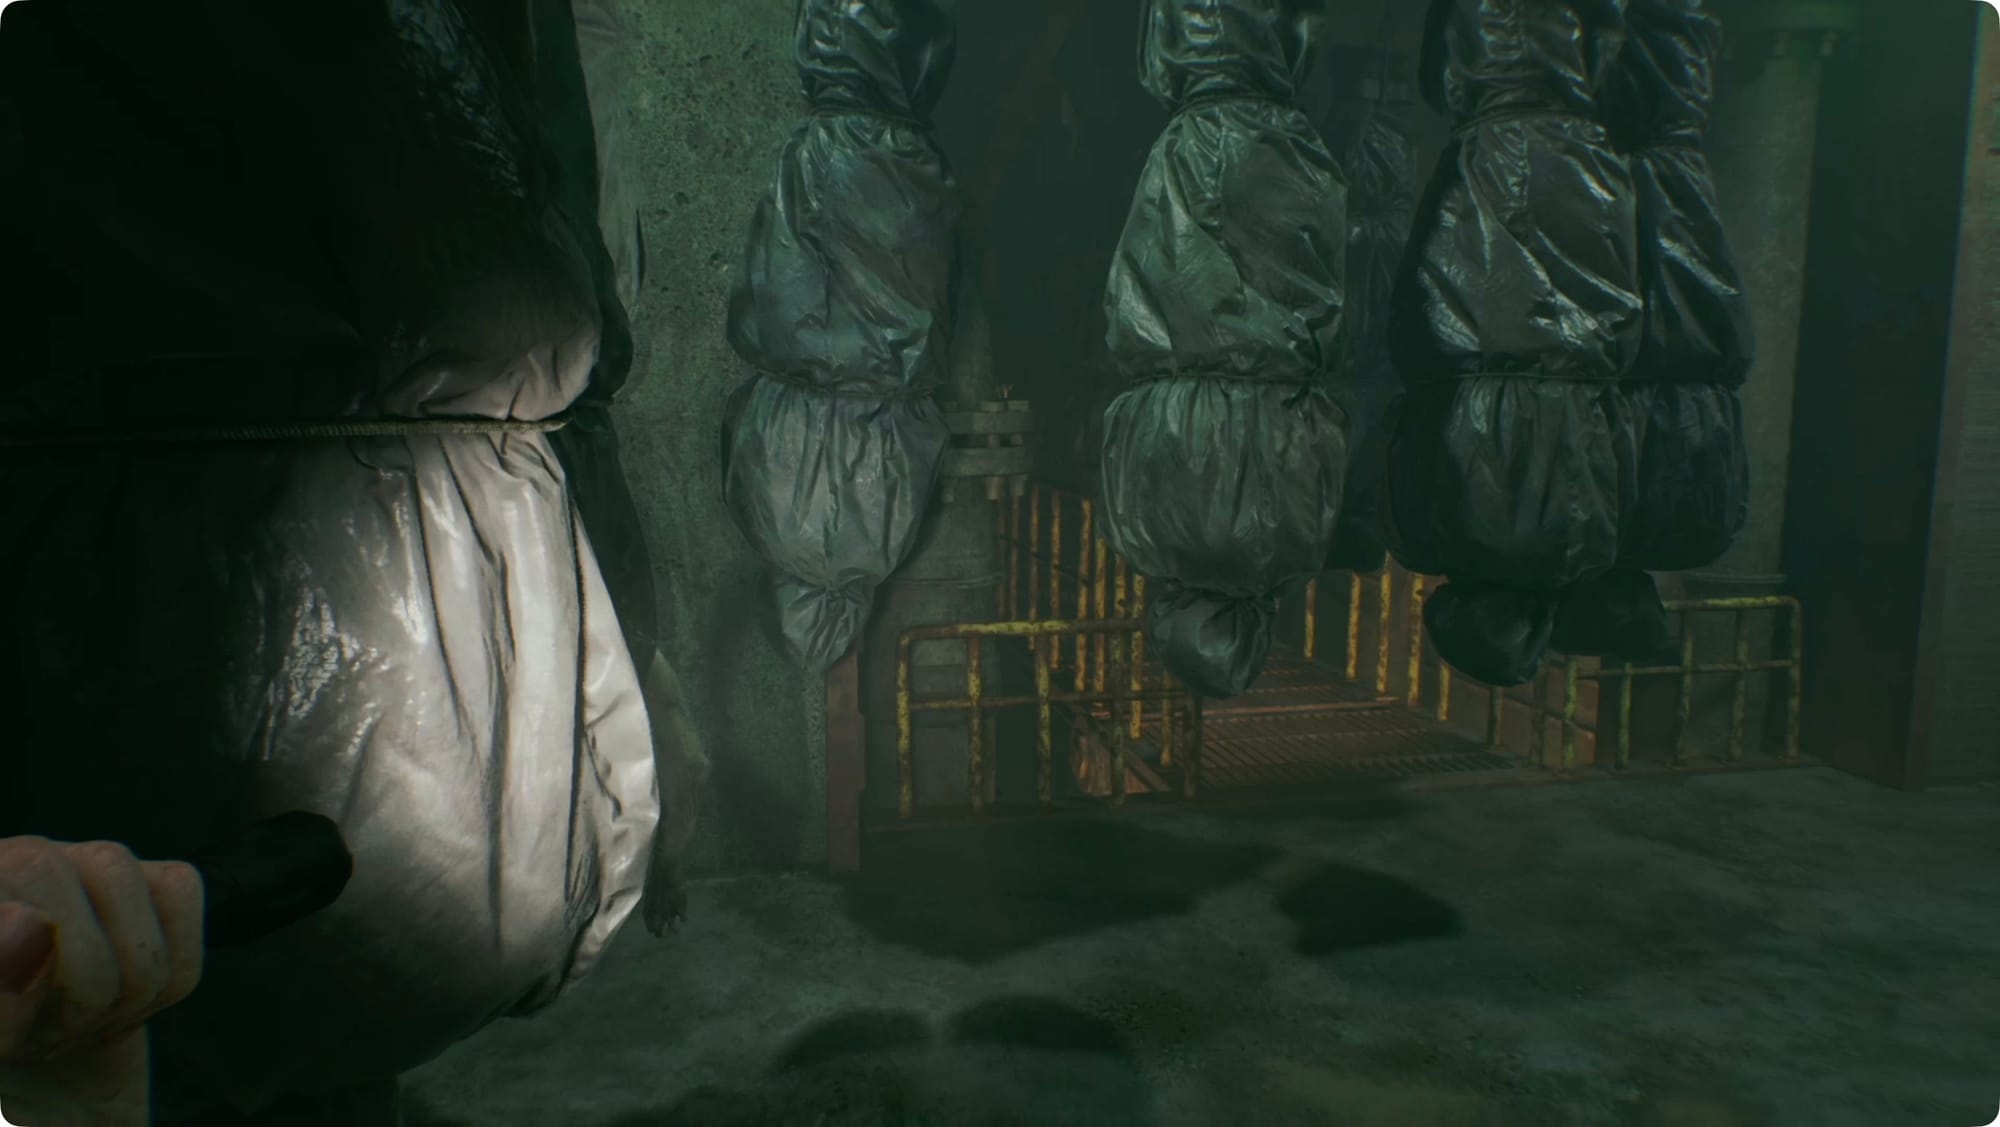
This will activate a corpse and zombie conveyor belt. Wait for a gap and then carefully follow it around to the right. Duck between the rows of shelves for some blood and Handgun Ammo. One of the zombies will fall and you’ll have to deal with it.
Off to the right, there’s a crate cart you can move. Interact with it and shove it to the right to open up a new path.
Head back to the entrance and throw the switch to switch the conveyor direction. Duck through the new gap you opened and follow the conveyor to the back of the room. Cut to the left for more blood and a Makeshift Knife. Another zombie will drop and you’ll have to deal with it.
Follow the conveyor all the way south to Processing. When you get there, take a left for a Green Herb and some more blood.
Turn the handle, and then hit the typewriter to save.
Free Emily (again)
Take the ladder down into the drained pool. Looping counterclockwise, there’s Handgun Ammo, a Molotov Cocktail, and more Handgun Ammo.
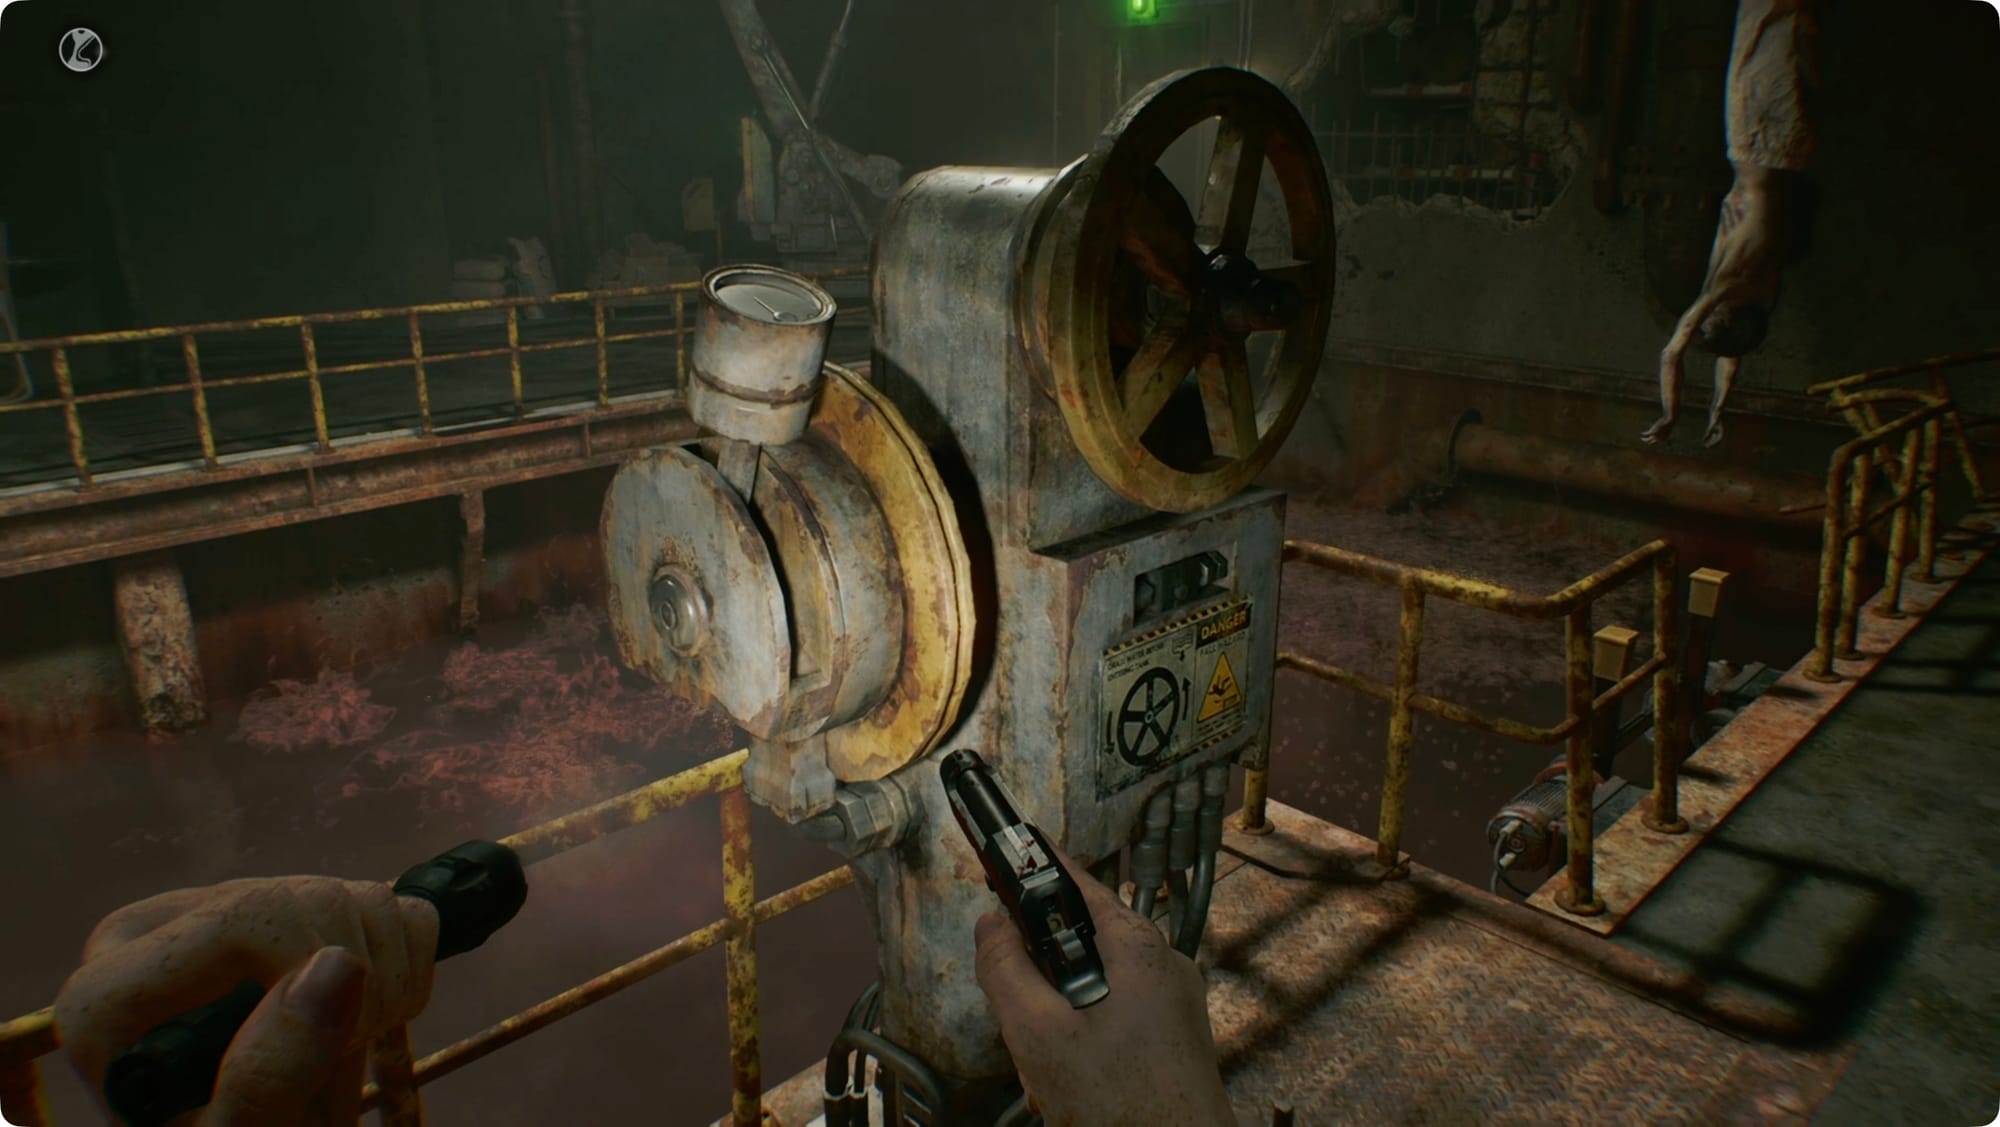
The floor will also start moving toward a giant zombie shredder, so that’s fun. Your job is just to stay away from the grinders while dodging zombies for a while. Focus on kneecapping them and let the grinder do the heavy lifting.
After a while, you’ll hear “processing complete” and the ladders will drop for you. Climb out on the other side and grab the Joint Plug.
You won’t be able to go back the way you came, so head back past the typewriter and into the air duct. After the worst waterslide in the world, you’ll land on the lower level of the Collection Pool. Climb out and grab the Green Herb there.
Start around the walkway to the right. Watch on your right for a switch. Throw it to drain the pool. Head back down the stairs to grab so, so much blood — it should be enough to fill your collector. Don’t use any of it yet, though.
Back up top, use the elevator to get back on the upper floor.
Go back through the Furnace and into the Processing anteroom. A Blisterhead will pop up — kneecap and inject him. Grab the Joint Plug and head immediately for the vent behind you. The Girl will be close behind, but she can’t get in the vent.
When you come out in the Workshop, climb through the high window again. Take the right back to the Furnace (and its protective lights). Catch your breath, and then grab the last Joint Plug. Make a break for the cells and take a right. Place all three plugs into the distributor.
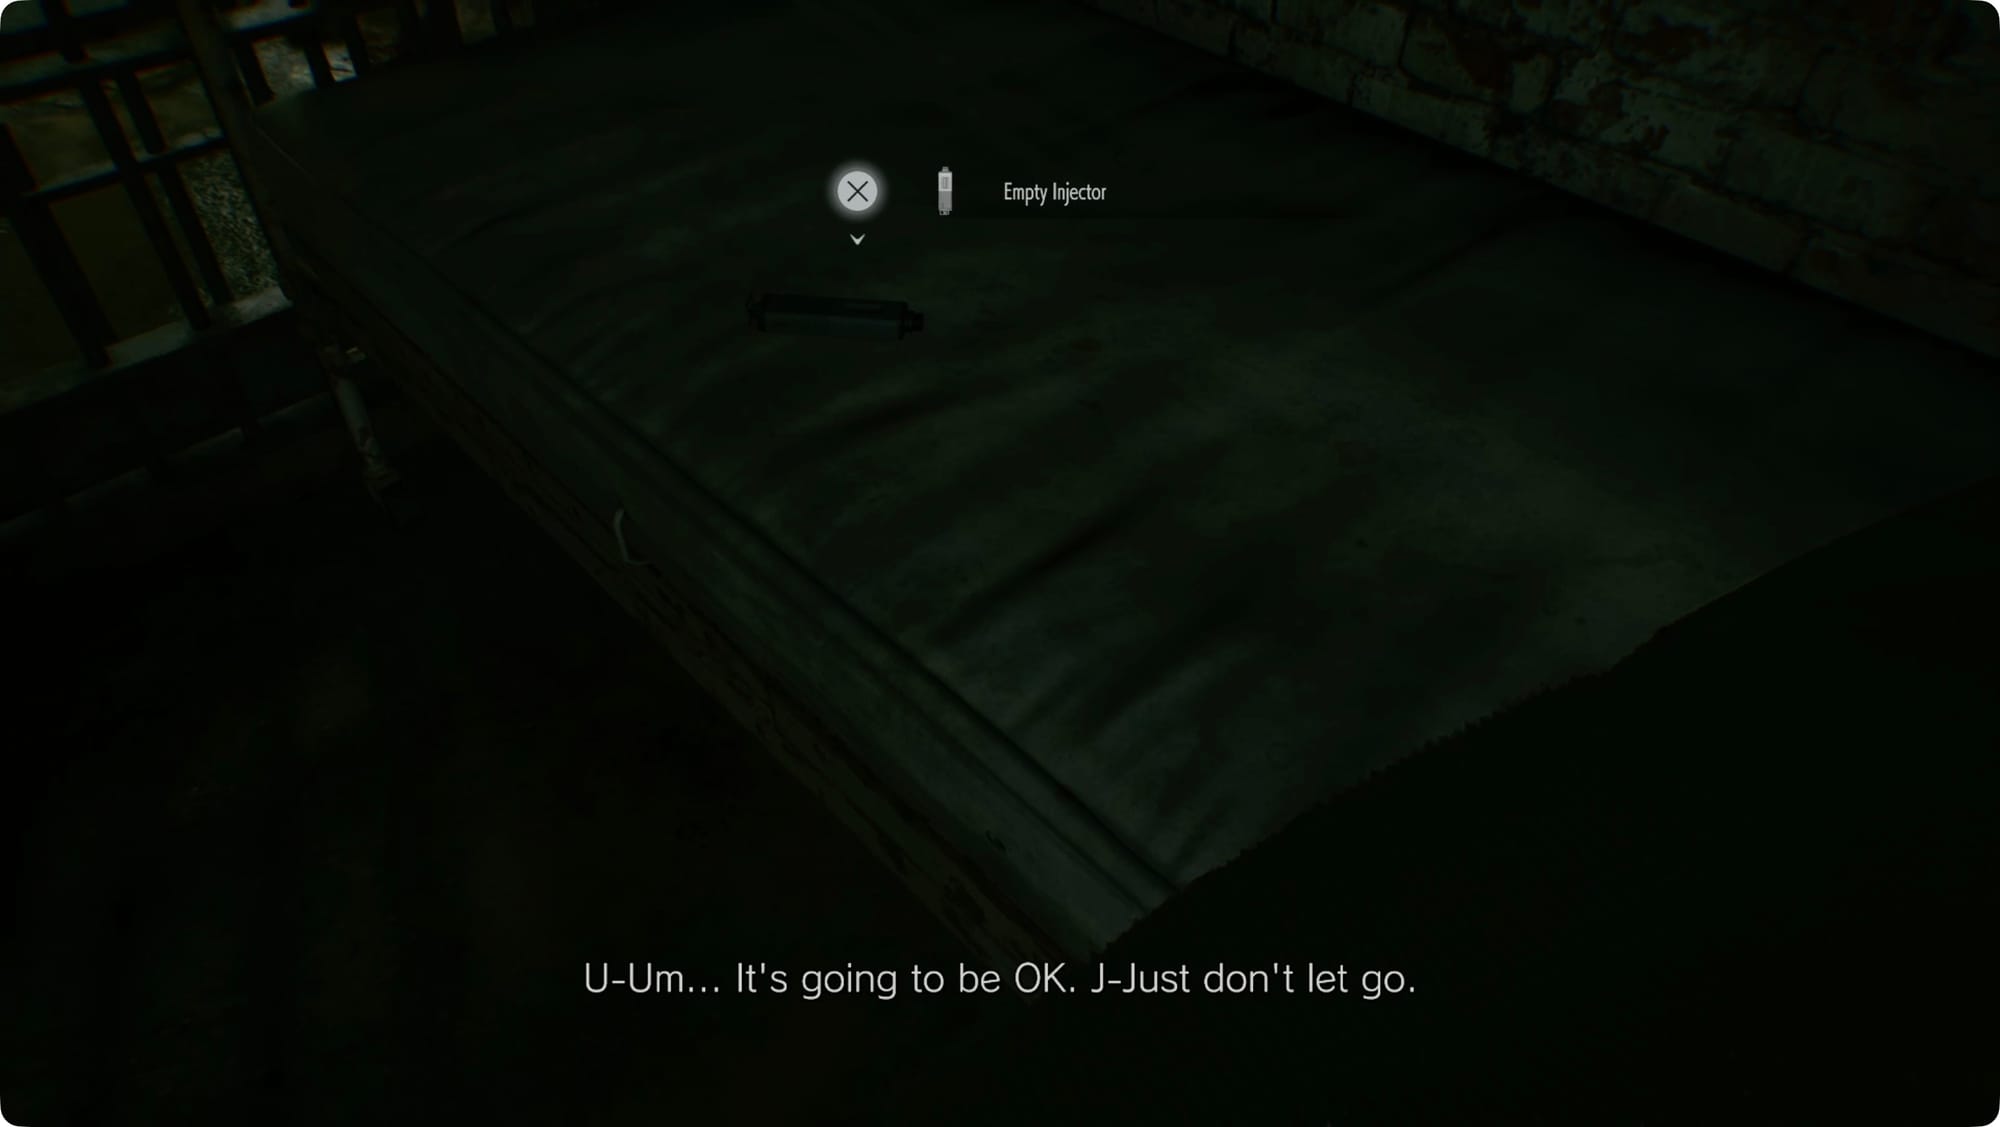
You’ll pick up Emily during the cutscene. Before you leave (and even if it costs you a bite), duck into the cell directly across from the exit for an Empty Injector (it’s the second cell on the right when you regain control). When you have that, make a break for it and just keep running until you get to the elevator.
You’ll have a couple button-mashing events to do — one to shove a pallet out of the doors and one to open the doors — but you’ll make it back up to the Care Center’s first floor.
Loose ends
Head back to the Guard Office to save, hit the Item Box, and drop off Emily on the couch. Before we open that front door, let’s clear up a few loose ends. The halls should be empty (after both Grace and Leon have been through them), so it should be an uneventful trip.
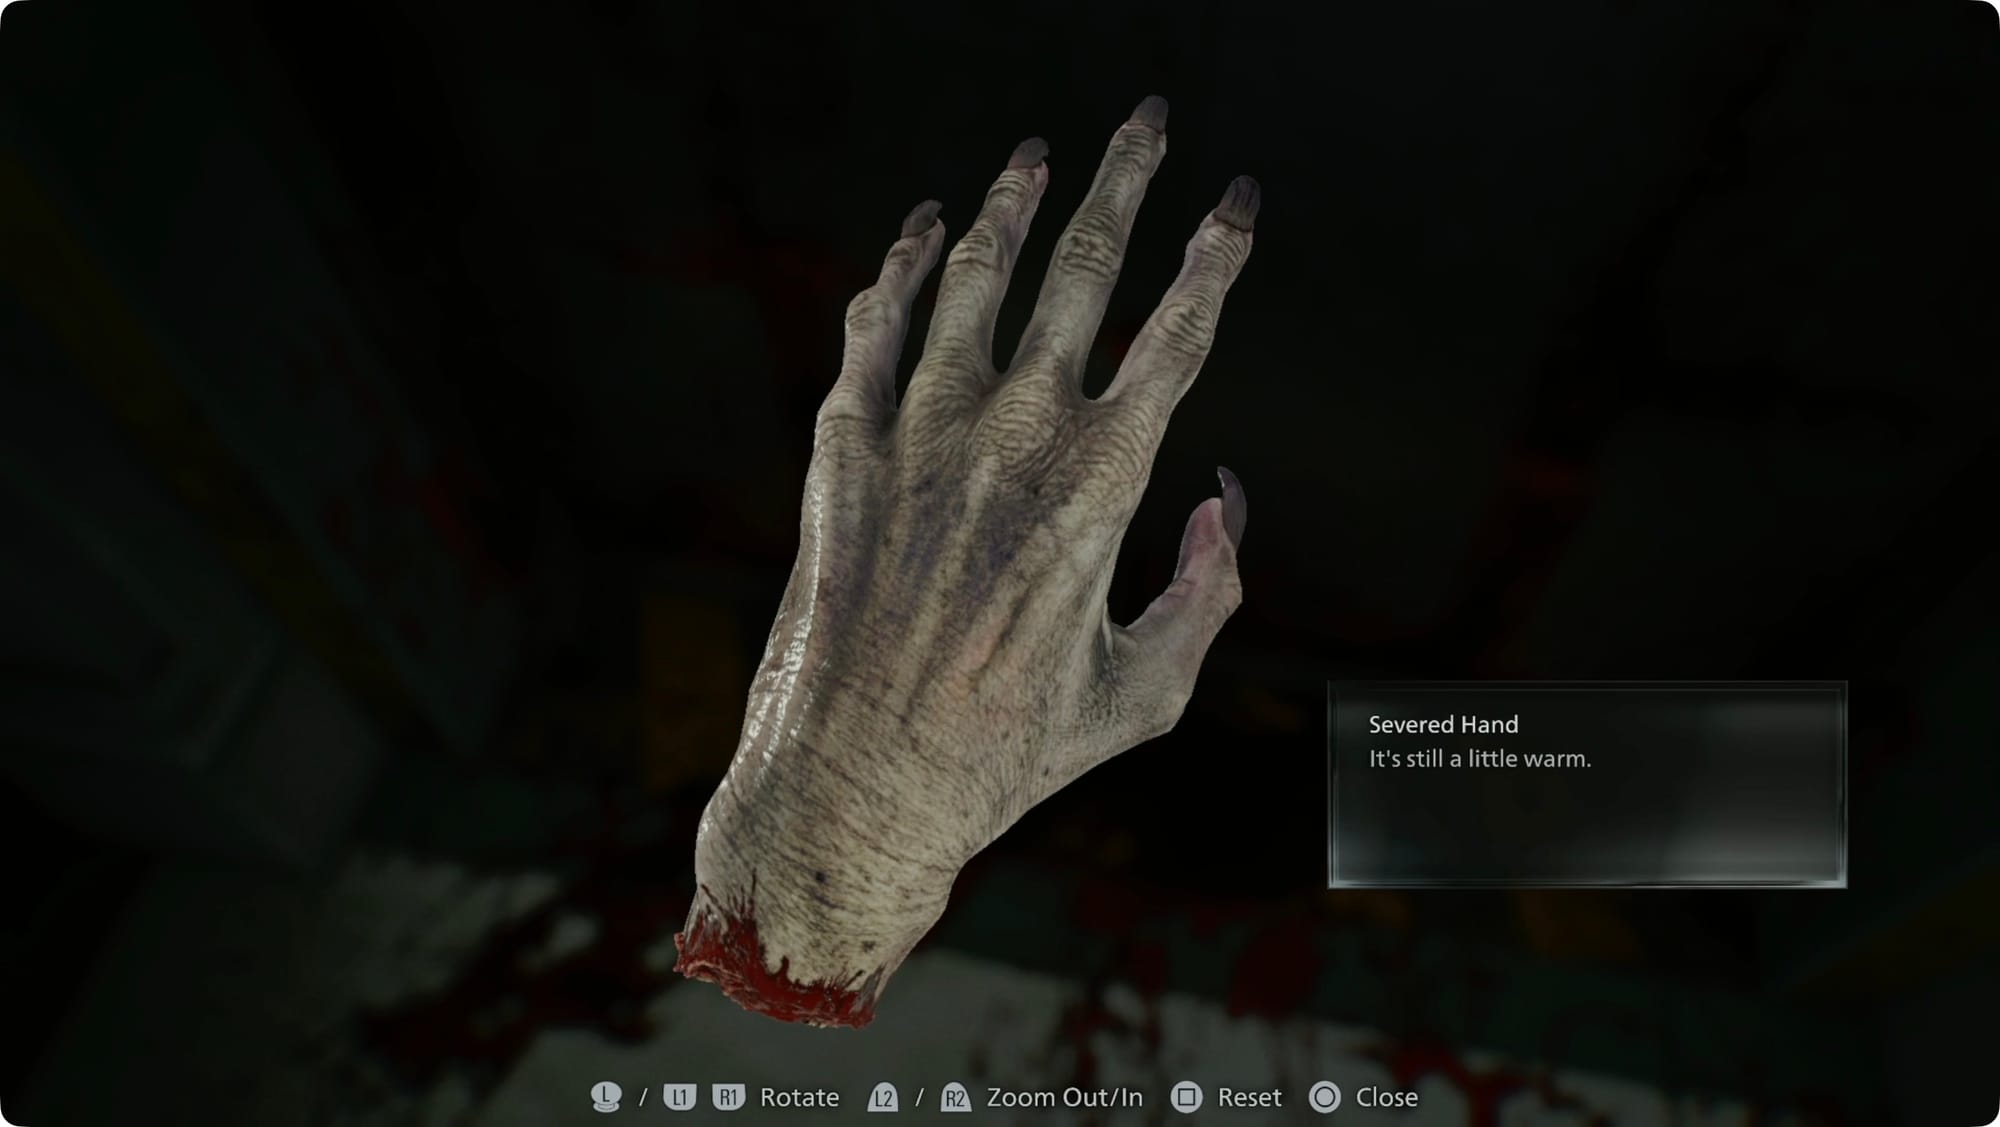
Run back to the elevator and pick up The Girl’s Severed Hand (gross).
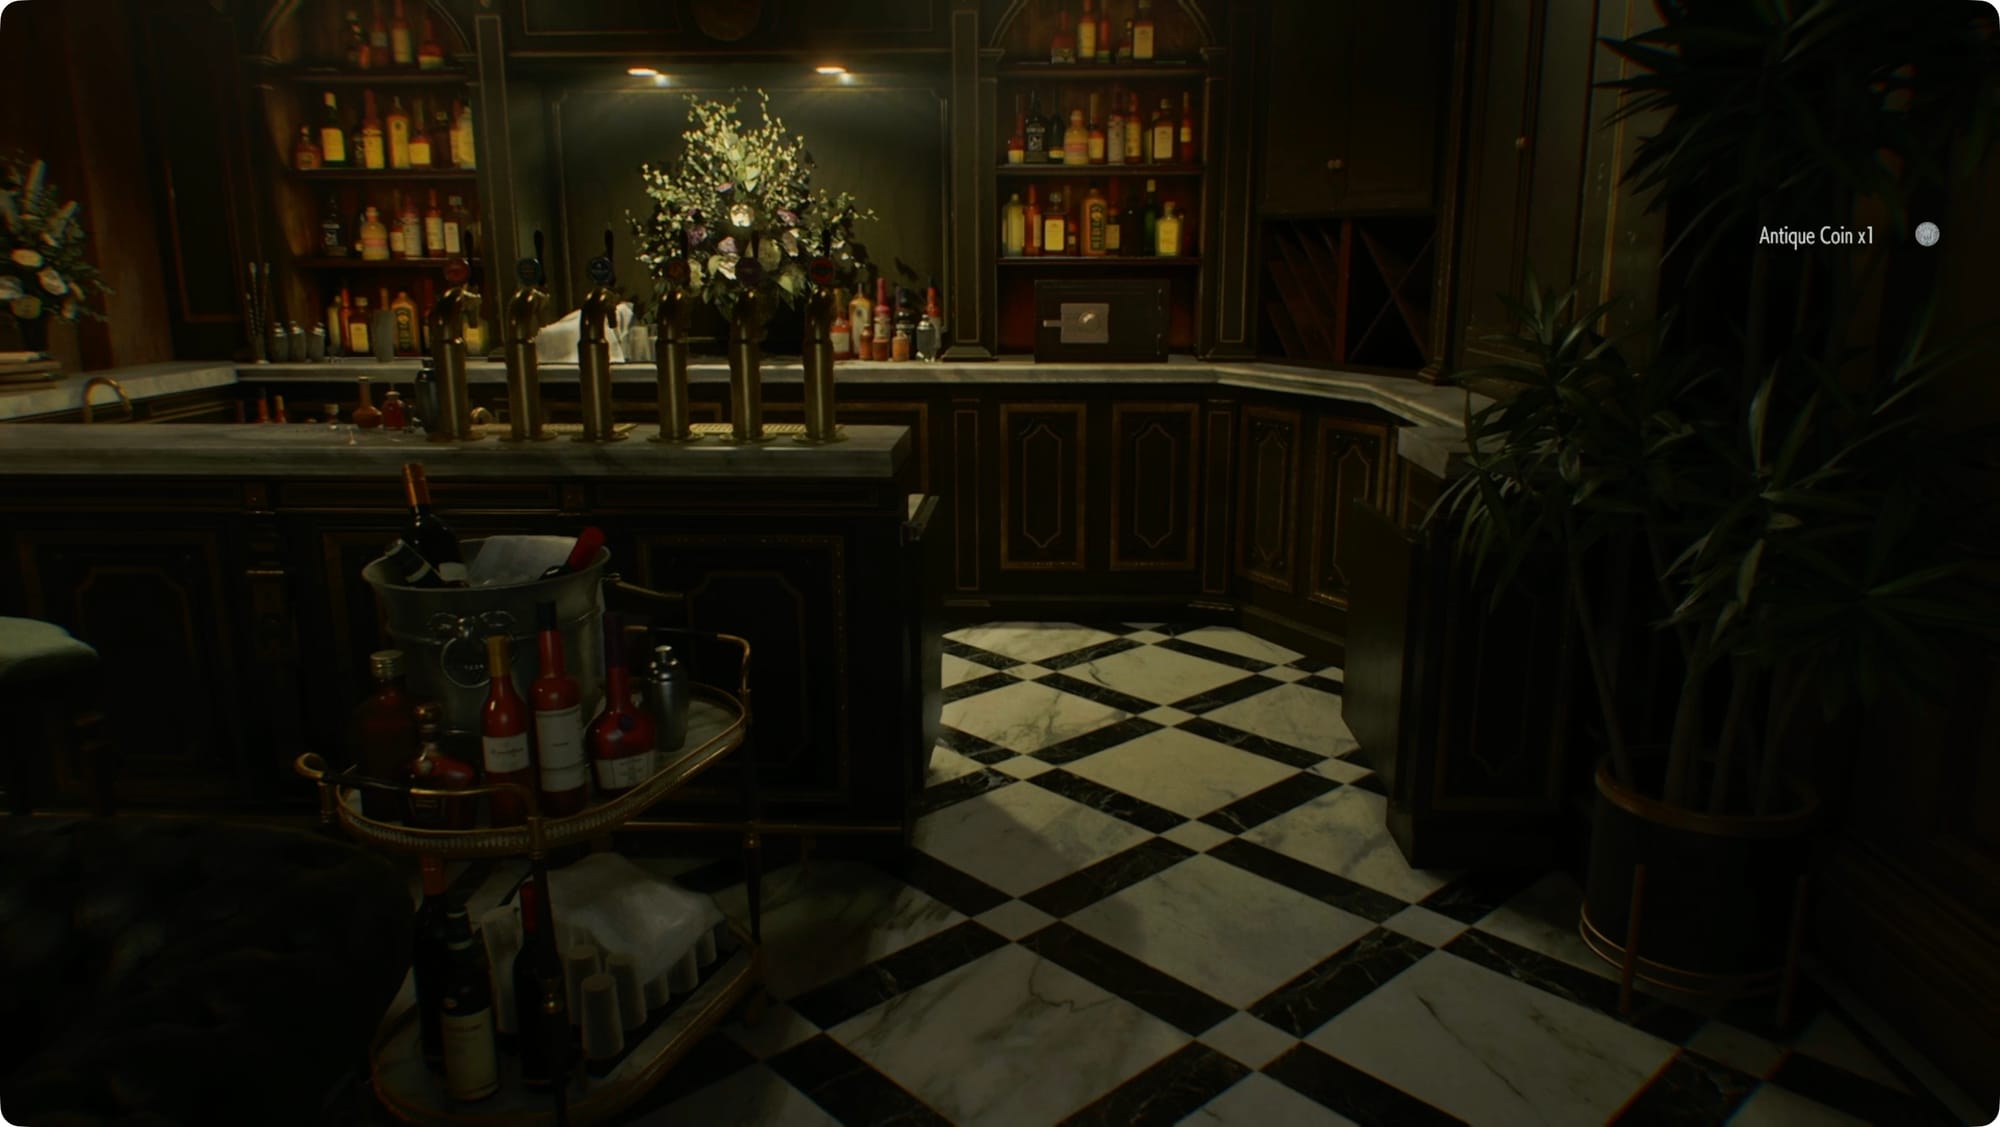
Next, head up to the Bar & Lounge on the West Wing’s second floor. When you get there, grab the Antique Coin from the singer, and then look for the safe behind the bar. The code is L30, R80, L10. Remember you have to pass the second number one time before you lock it in.
Inside, you’ll find three more Antique Coins. To your left, in the corner of the bar, you’ll find Grace’s S&S M232 which is a better gun on every stat than the one you’ve been using.
When you’re done, take whatever stairs you want down to the first floor and go back to the Parlor. Buy the last Stabilizer (or Steroid) with the four Antique Coins you just collected. You’ve also got that Empty Injector from the Basement and more than enough blood to make one more of your choice.
When you’re done, return to Emily.
Unlock the courtyard door
When you’re ready, carry her to the front door and slot in the Star Quartz. Outside, go down the stairs on the left side. At the bottom, turn around to the right to find an Antique Coin on one of the chairs.
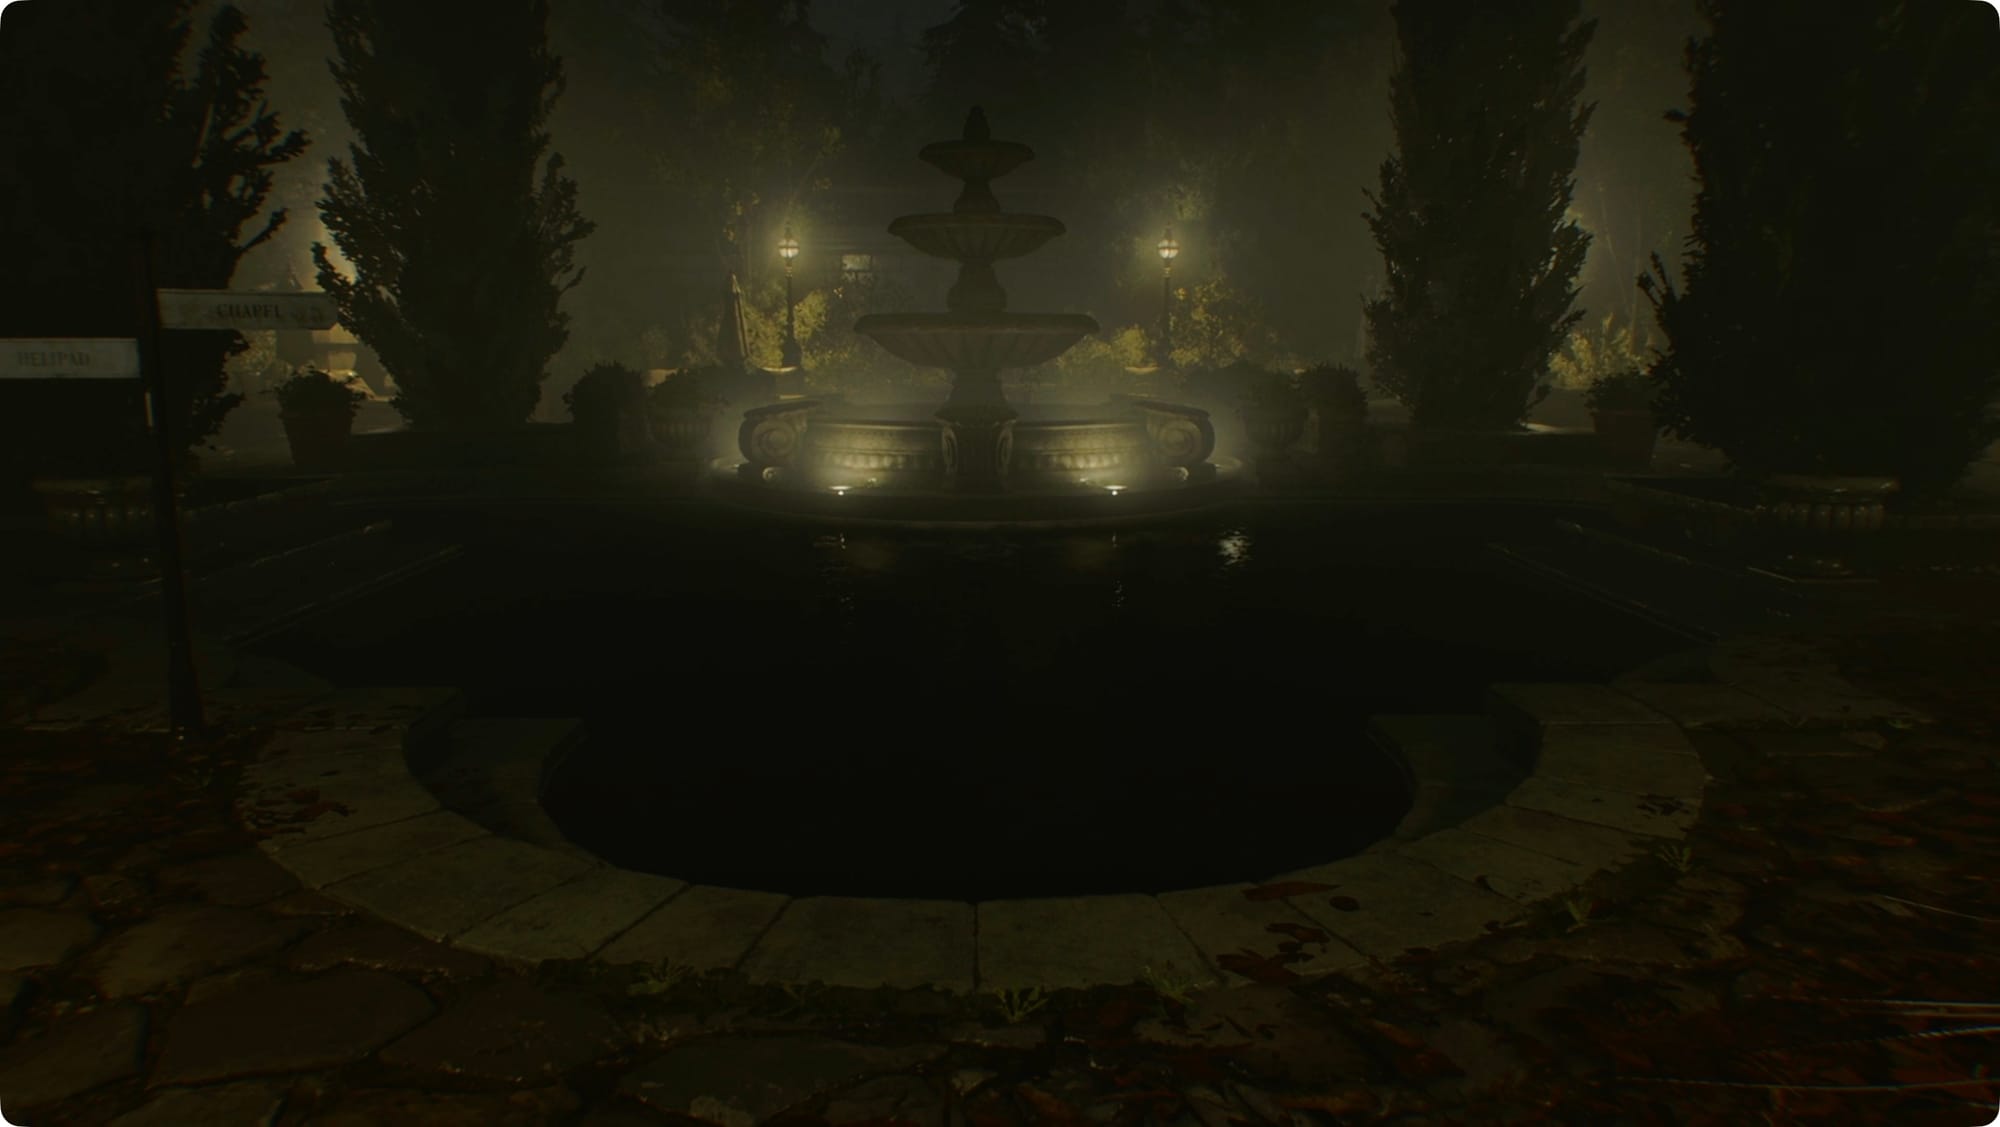
Keep heading south to the fountain. There’s a Green Herb around at the back, but that’s it. Head west to find the Helipad.
After a cutscene where Grace is far more trusting than any sane person would be, you’ll get a new task.