

Resident Evil Requiem walkthrough, part 7
Emily in the Water Treatment plant

After freeing Emily (twice) and escaping the Care Center, Grace met a new ally and got a new fetch quest.
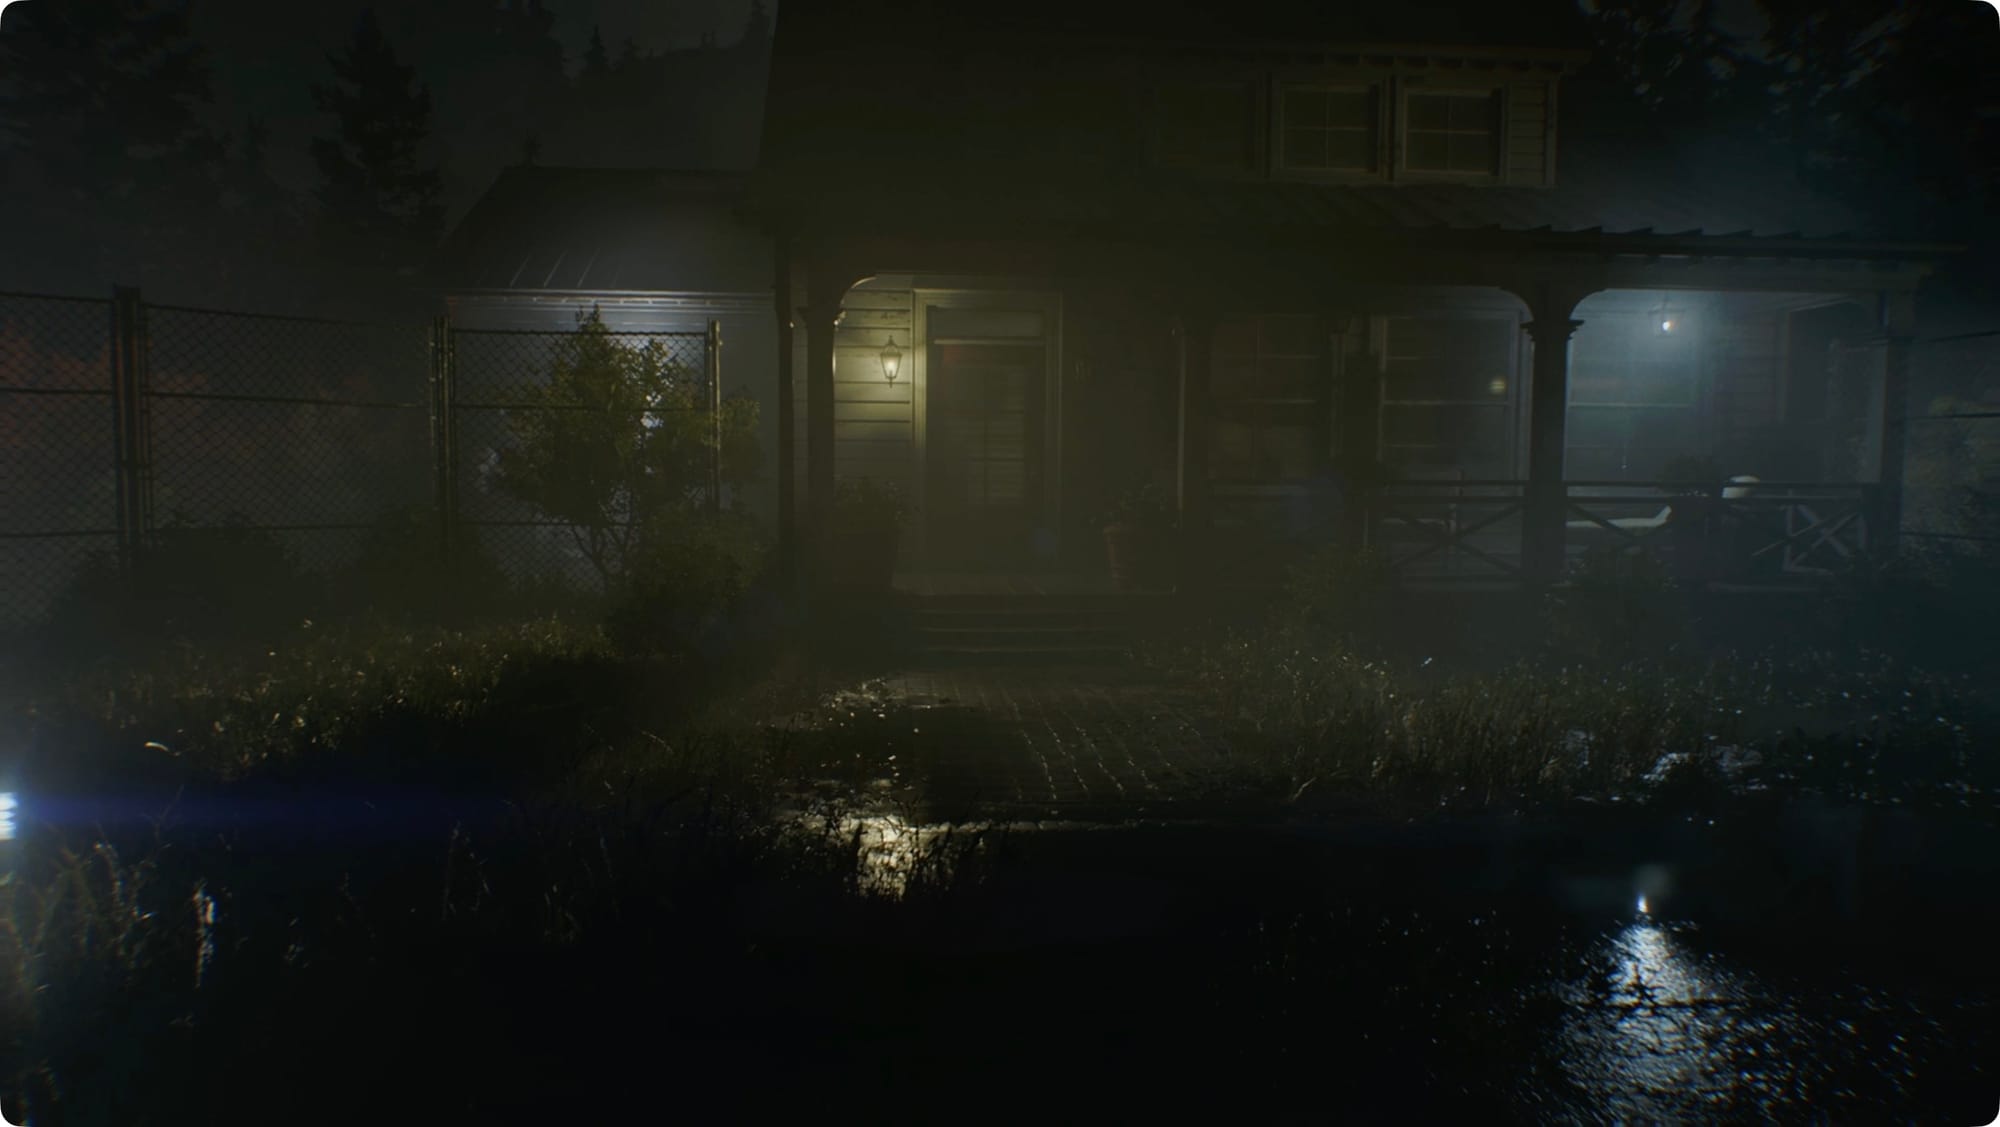
Find the helicopter key
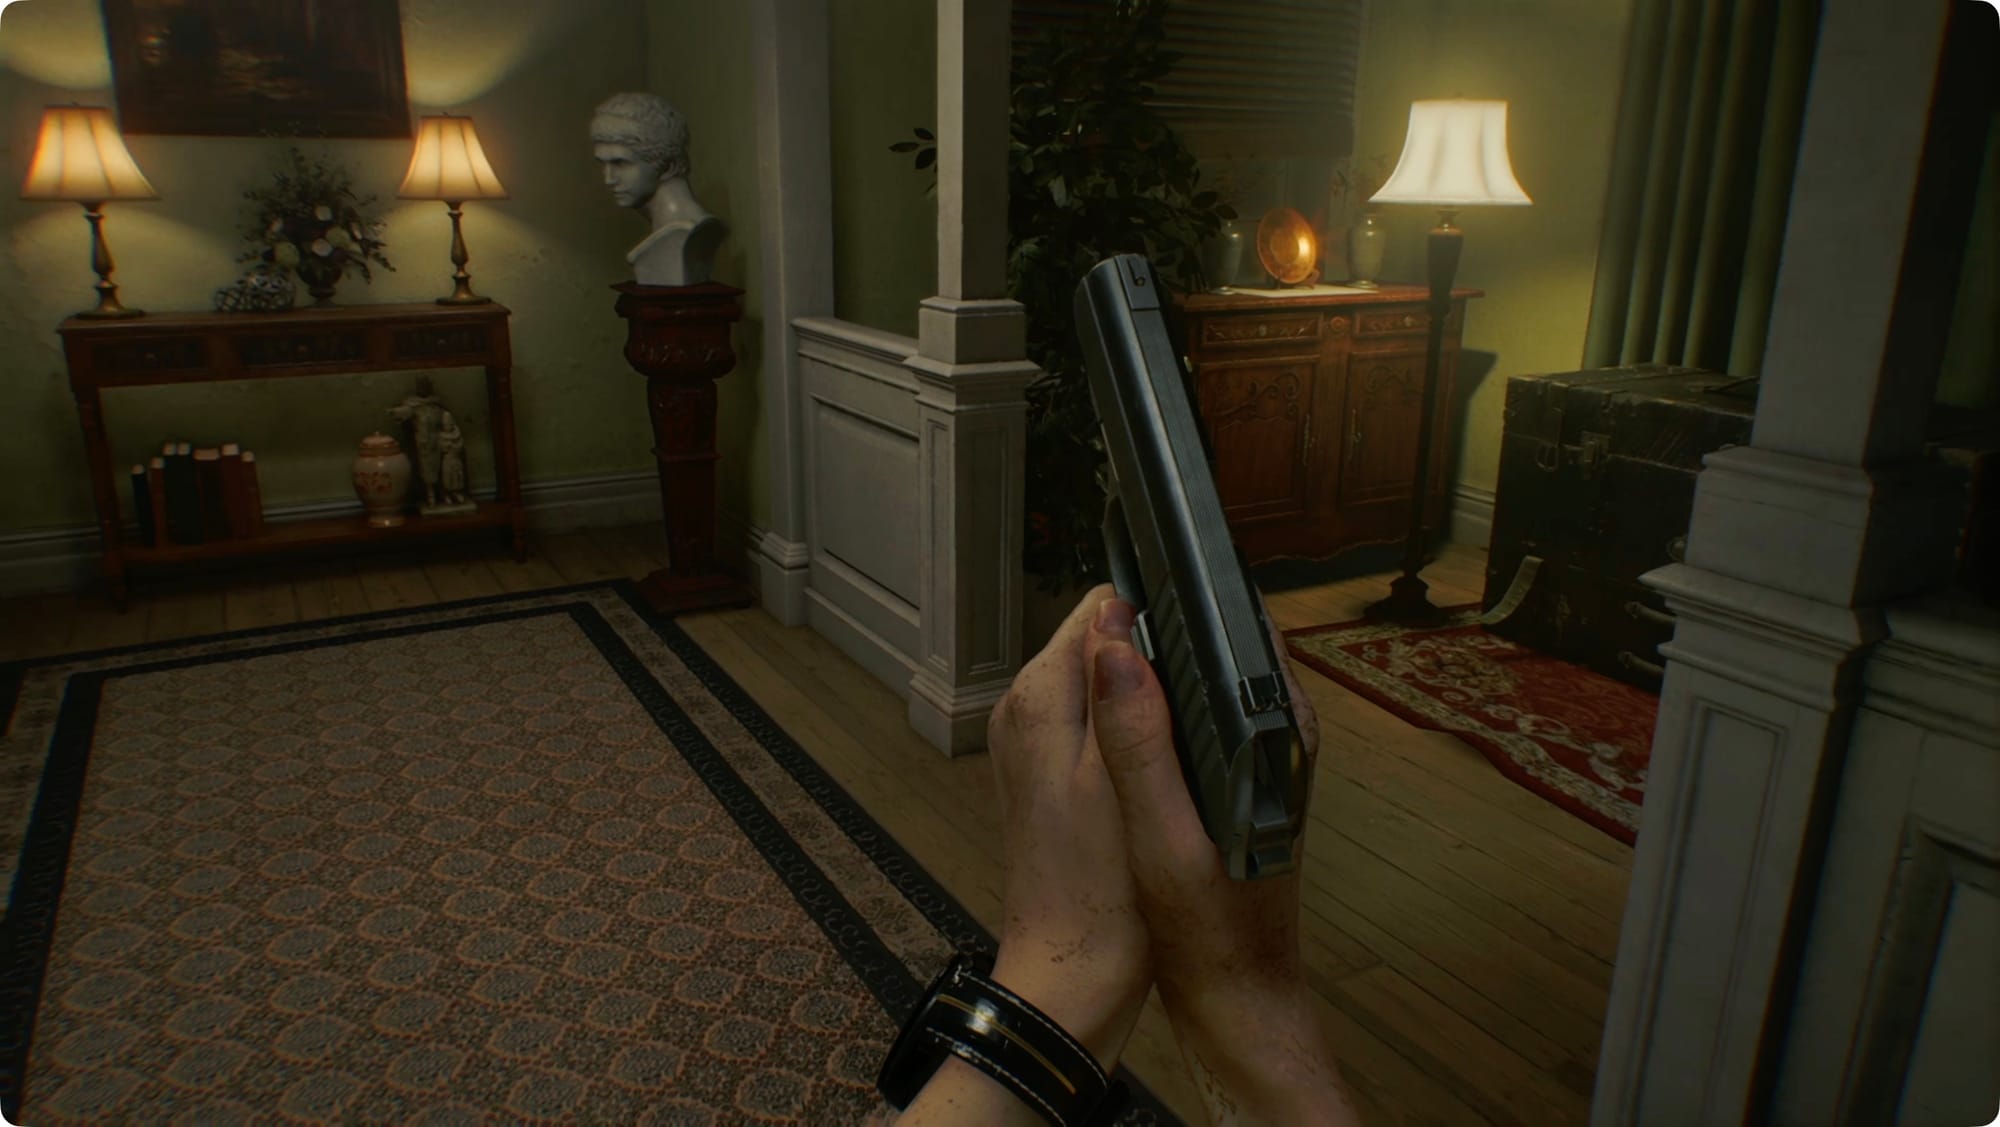
When you first enter the house, read the Visitor Record file ahead of you. Follow the hallway deeper into the house. There’s an Item Box on the right. Continue around to the VIP Suite.
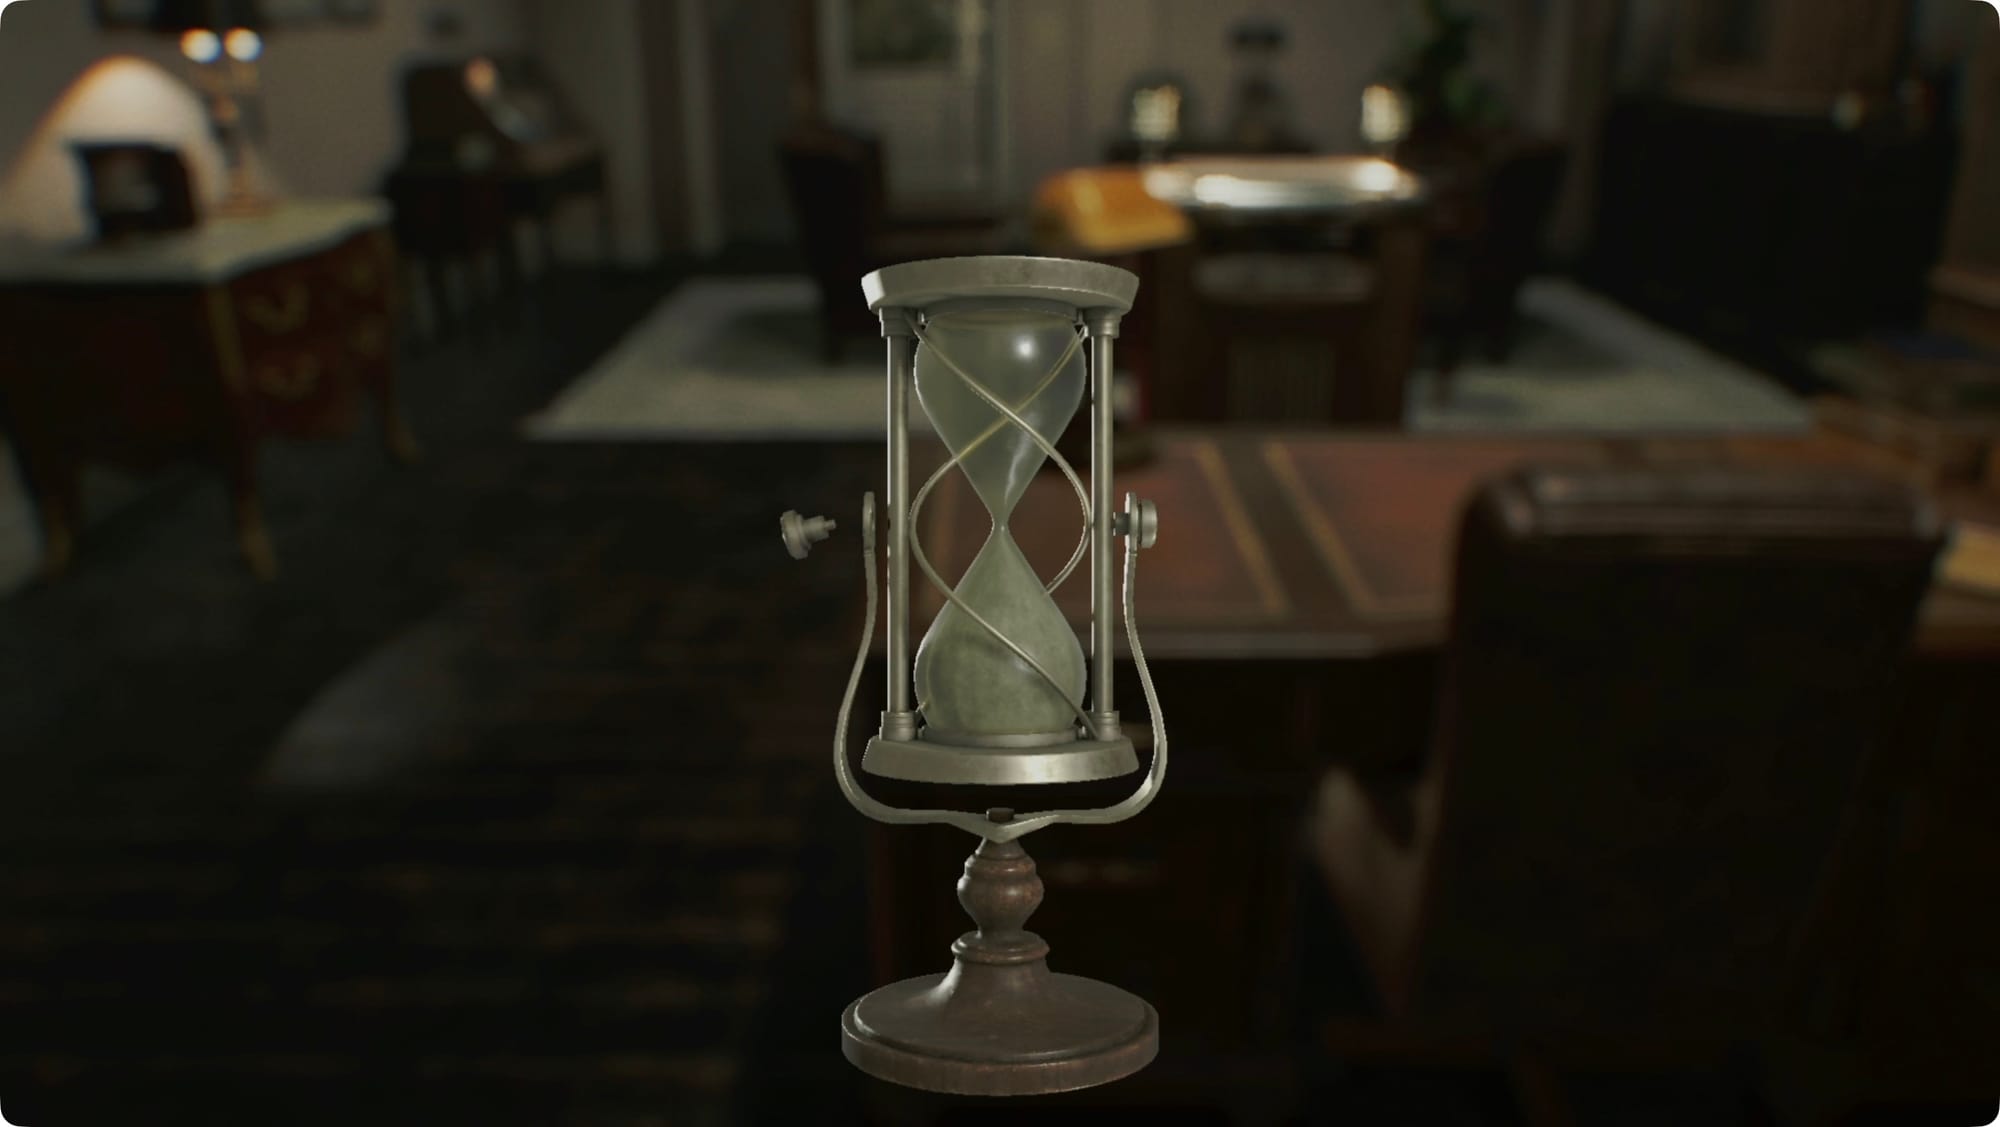
There’s lots of stuff to look at in here. On the desk, read the Note Regarding Research Results file. Pick up the Hourglass. While you’re examining it, turn it so the pivot screws are facing you, and then remove them. You’ll pick up the Hourglass item once you do.
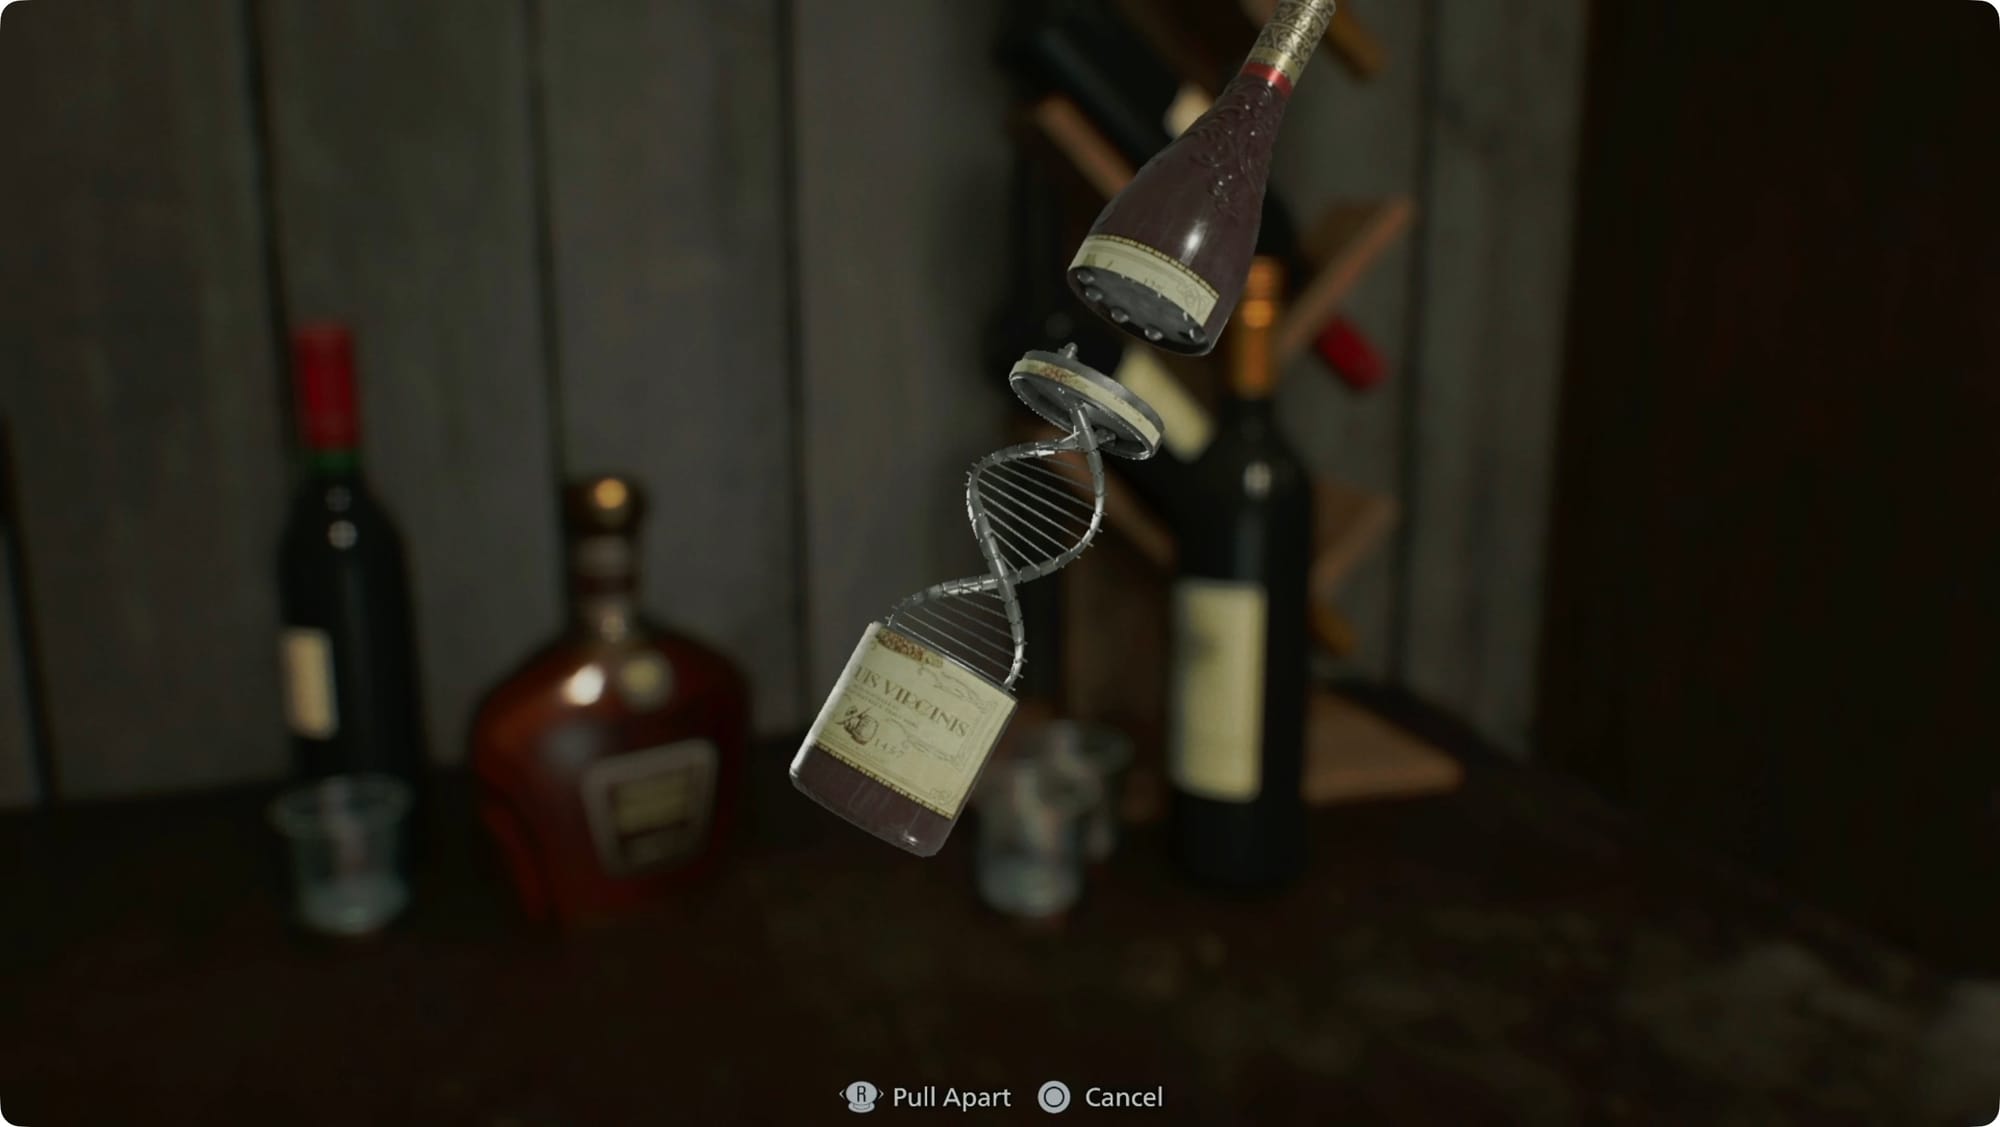
On the left side as you enter (right if you’re behind the desk), pick up the wine bottle. Examine it closer to see that it’s a puzzle. Rotate the top and open it for the Double Helix Model.

Interact with the old-timey radio in the middle of the room to open a hidden compartment. Slot in the Double Helix Model to turn the entire room into an elevator.
Reception

You’ll land in a very clean Reception. Over in the far right corner is a typewriter and an Item Box. While you’re here, open your inventory and examine the Hourglass. Flip it over to drain some of the sand, and you’ll spot a secret printed behind the glass — U = 380,000. You can drop it in the Item Box once you see it.
Hit the save and head downstairs.
Collection & Testing
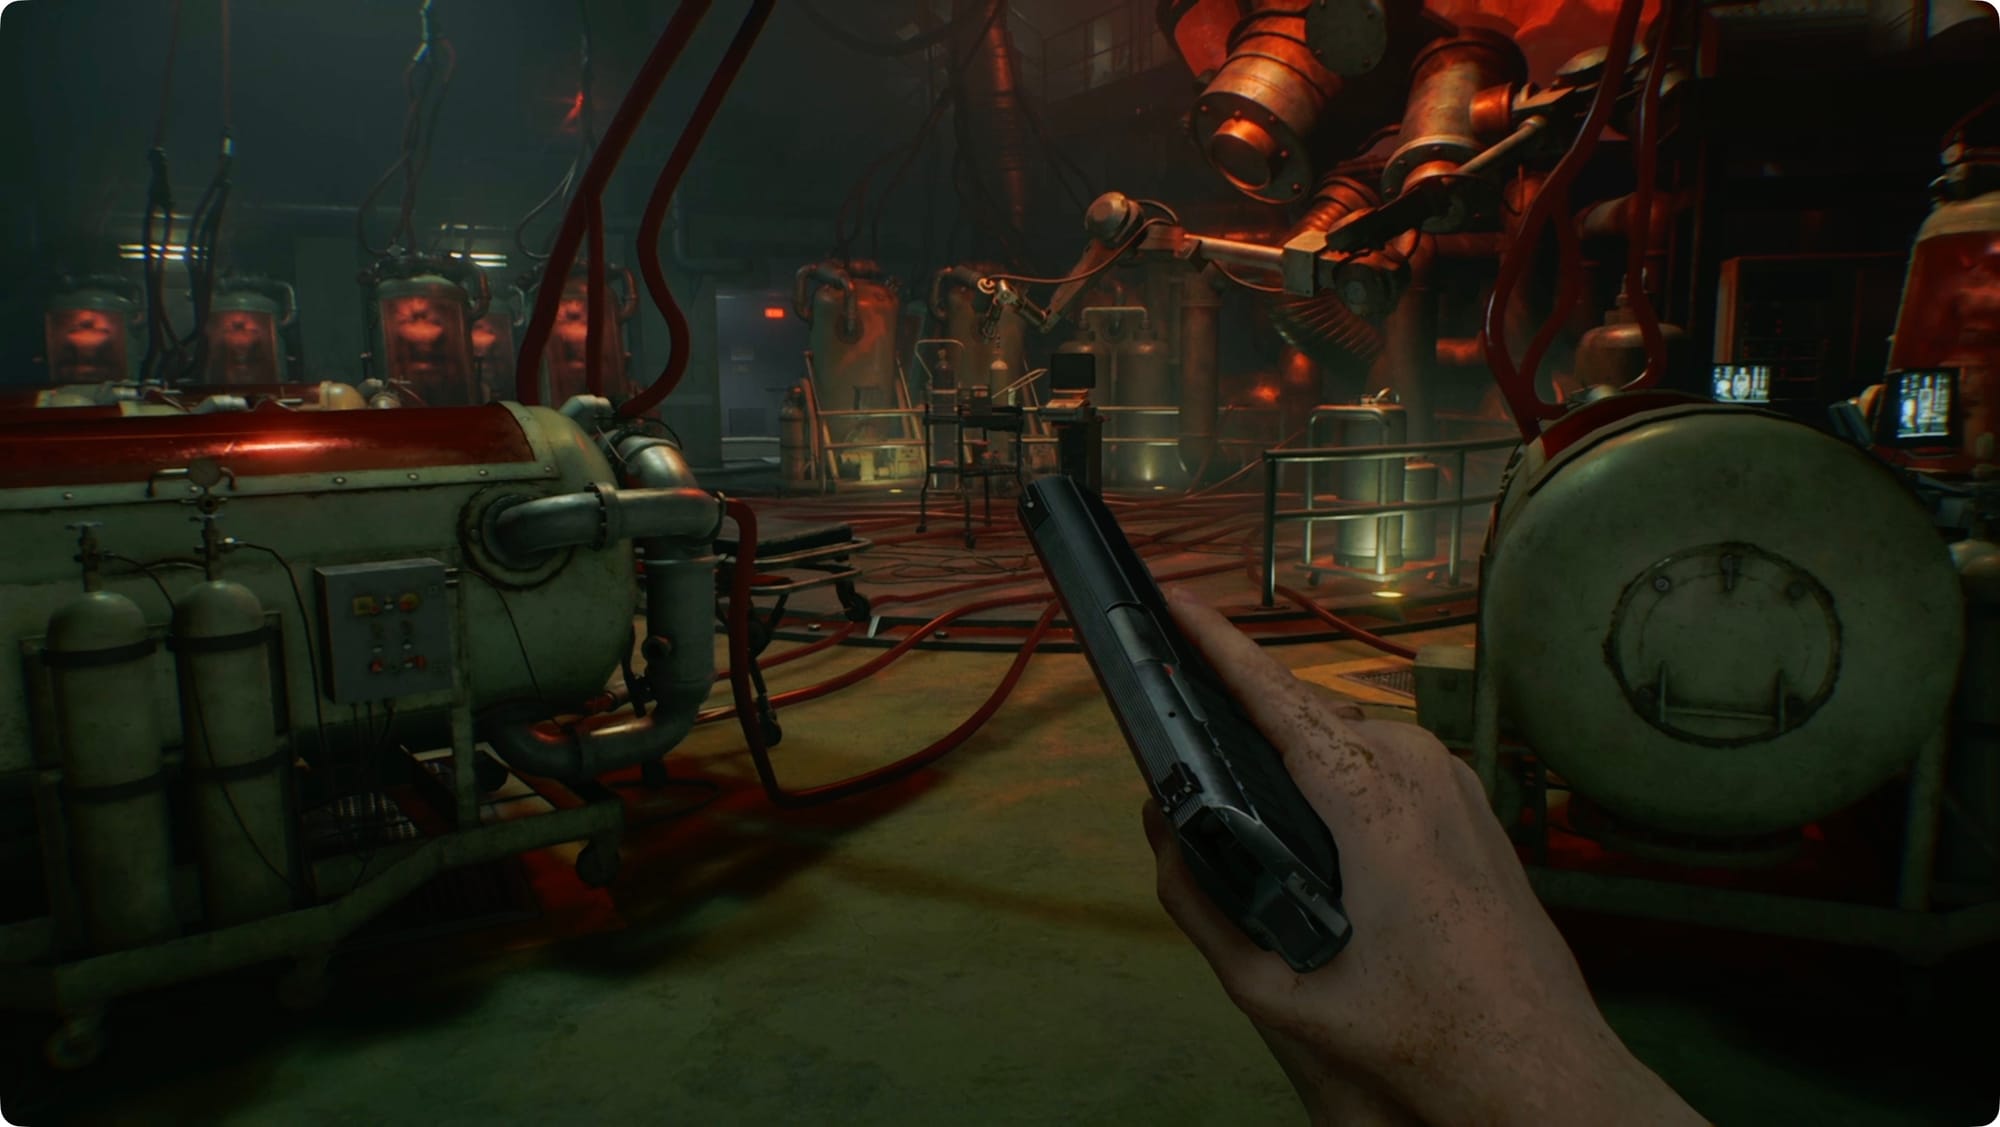
In the not-creepy-at-all lab, the first thing to note is the “Disposal Tank - For Emergency Use Only” cabinets all around the room. That is probably going to come up again soon.
The only thing to pick up is a Med Injector in a desk drawer in the far left corner.
Over in the northeast corner is another hallway. Read the Subject 170 Record and then head to the left. Grab the Research Facility Floor Guide from the wall and then head upstairs.
Development
In the next room, look to the left to find a used Disposal Tank and more than a little blood. (Foreshadowing!) There’s nothing else to pick up, so go through the next door.
Private Lab
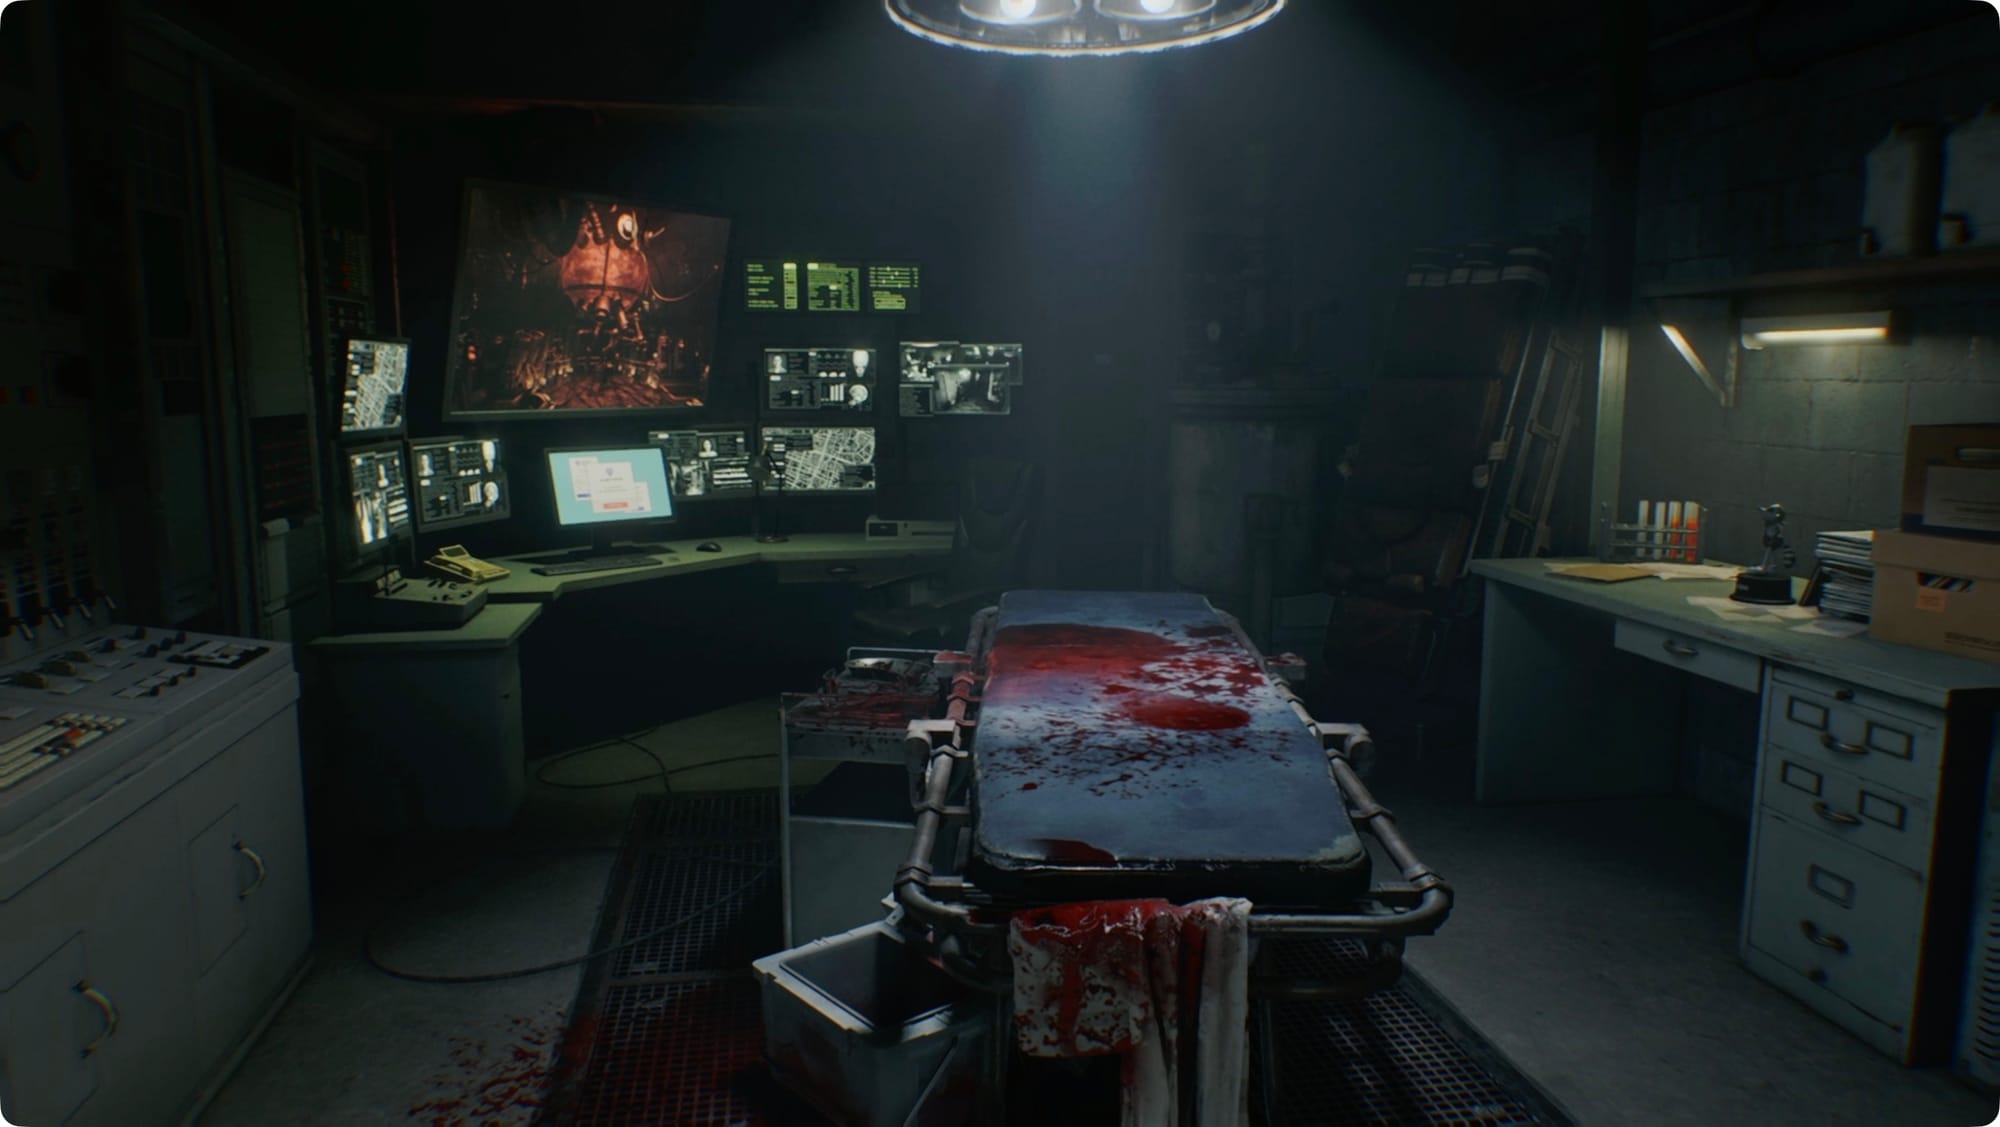
When you enter the Private Lab, head left for the Grace Ashcroft Blood Analysis Report. In the next room, there’s a Mr. Raccoon over to the right and the Helicopter Key on the desk at the back.
Use the computer to unlock the door to your left and head through.
Control Room
You’ll eavesdrop on a Victor phone call, and then everything will go to shit.
Take a right to follow Victor. He took your ride back to the surface, so run back downstairs to Collection & Testing.
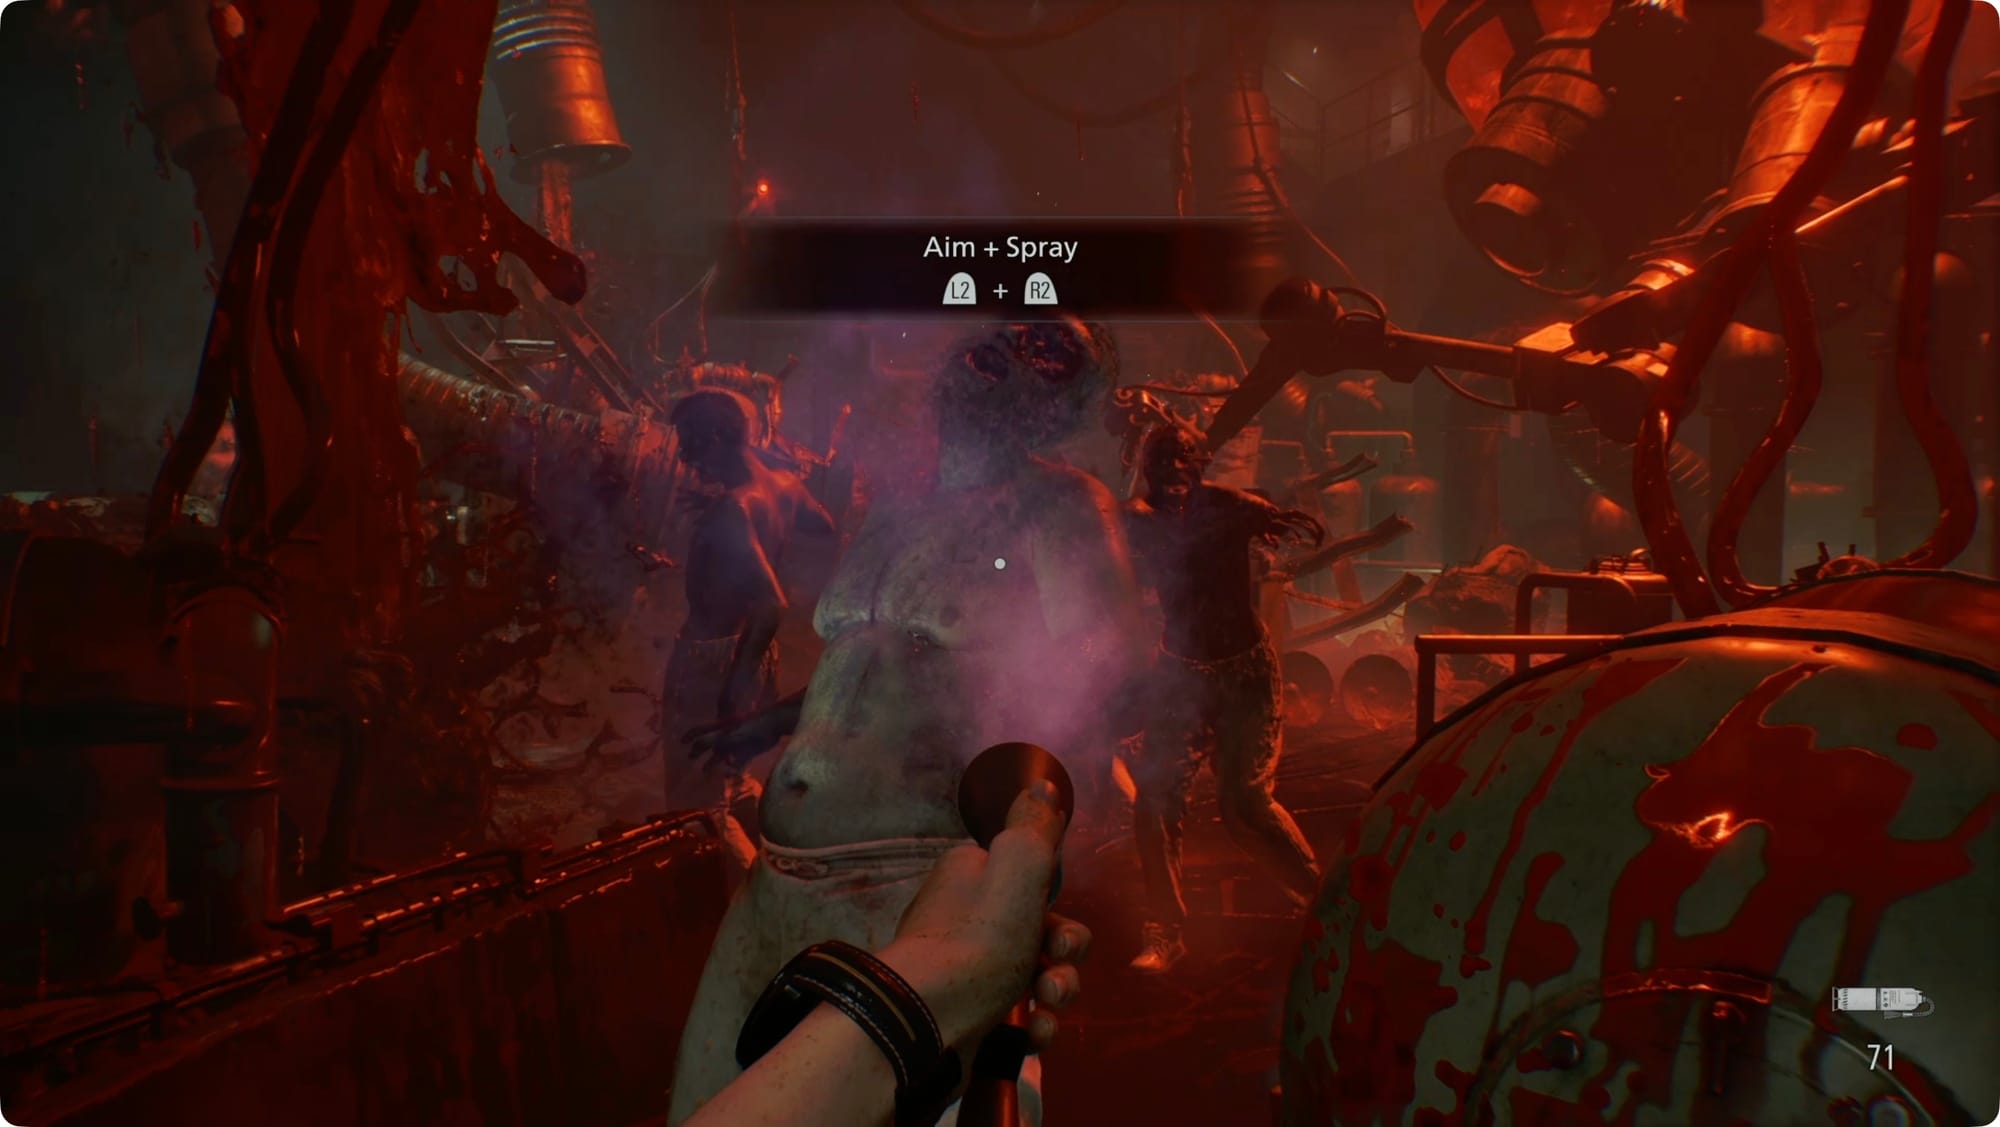
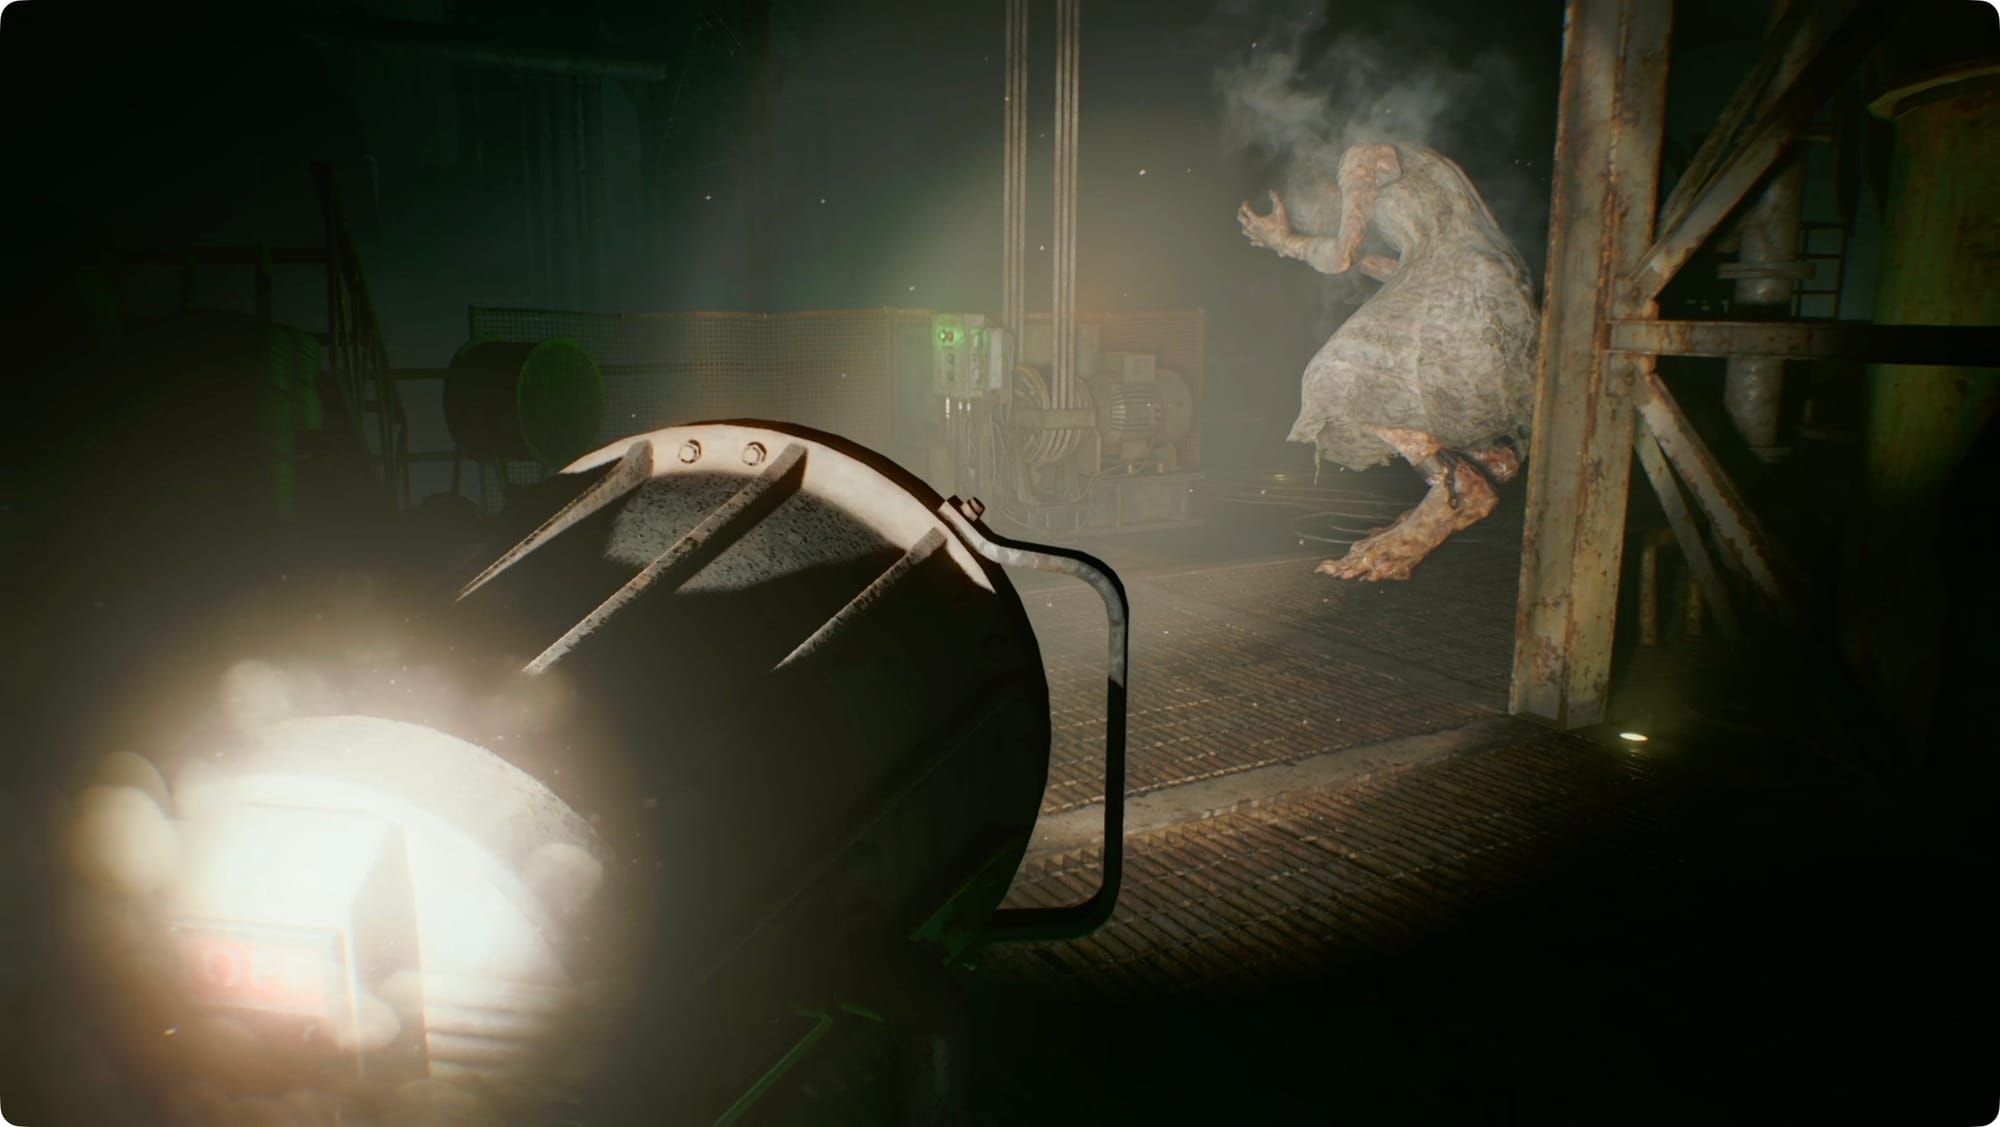
There’s a Disposal Tank on the wall to the right. Treat this like a zombie extinguisher. A little goes a long way, though, so don’t waste the charge. As soon as a zombie falls to his knees or starts twitching, he’s done for. Work your way north (left of where you entered). The next tank is along the left wall. Repeat the process to reach the next tank on the left wall.
That should bring you to the other end of the room. Cut across to the right and the Emergency Evacuation Route will be open.
You’ll come back around to the Collection room and things will get bloody. As you run through to the left, a couple of the zombies will go Blisterhead. Ignore them and just keep running. Take the stairs up and just keep running.
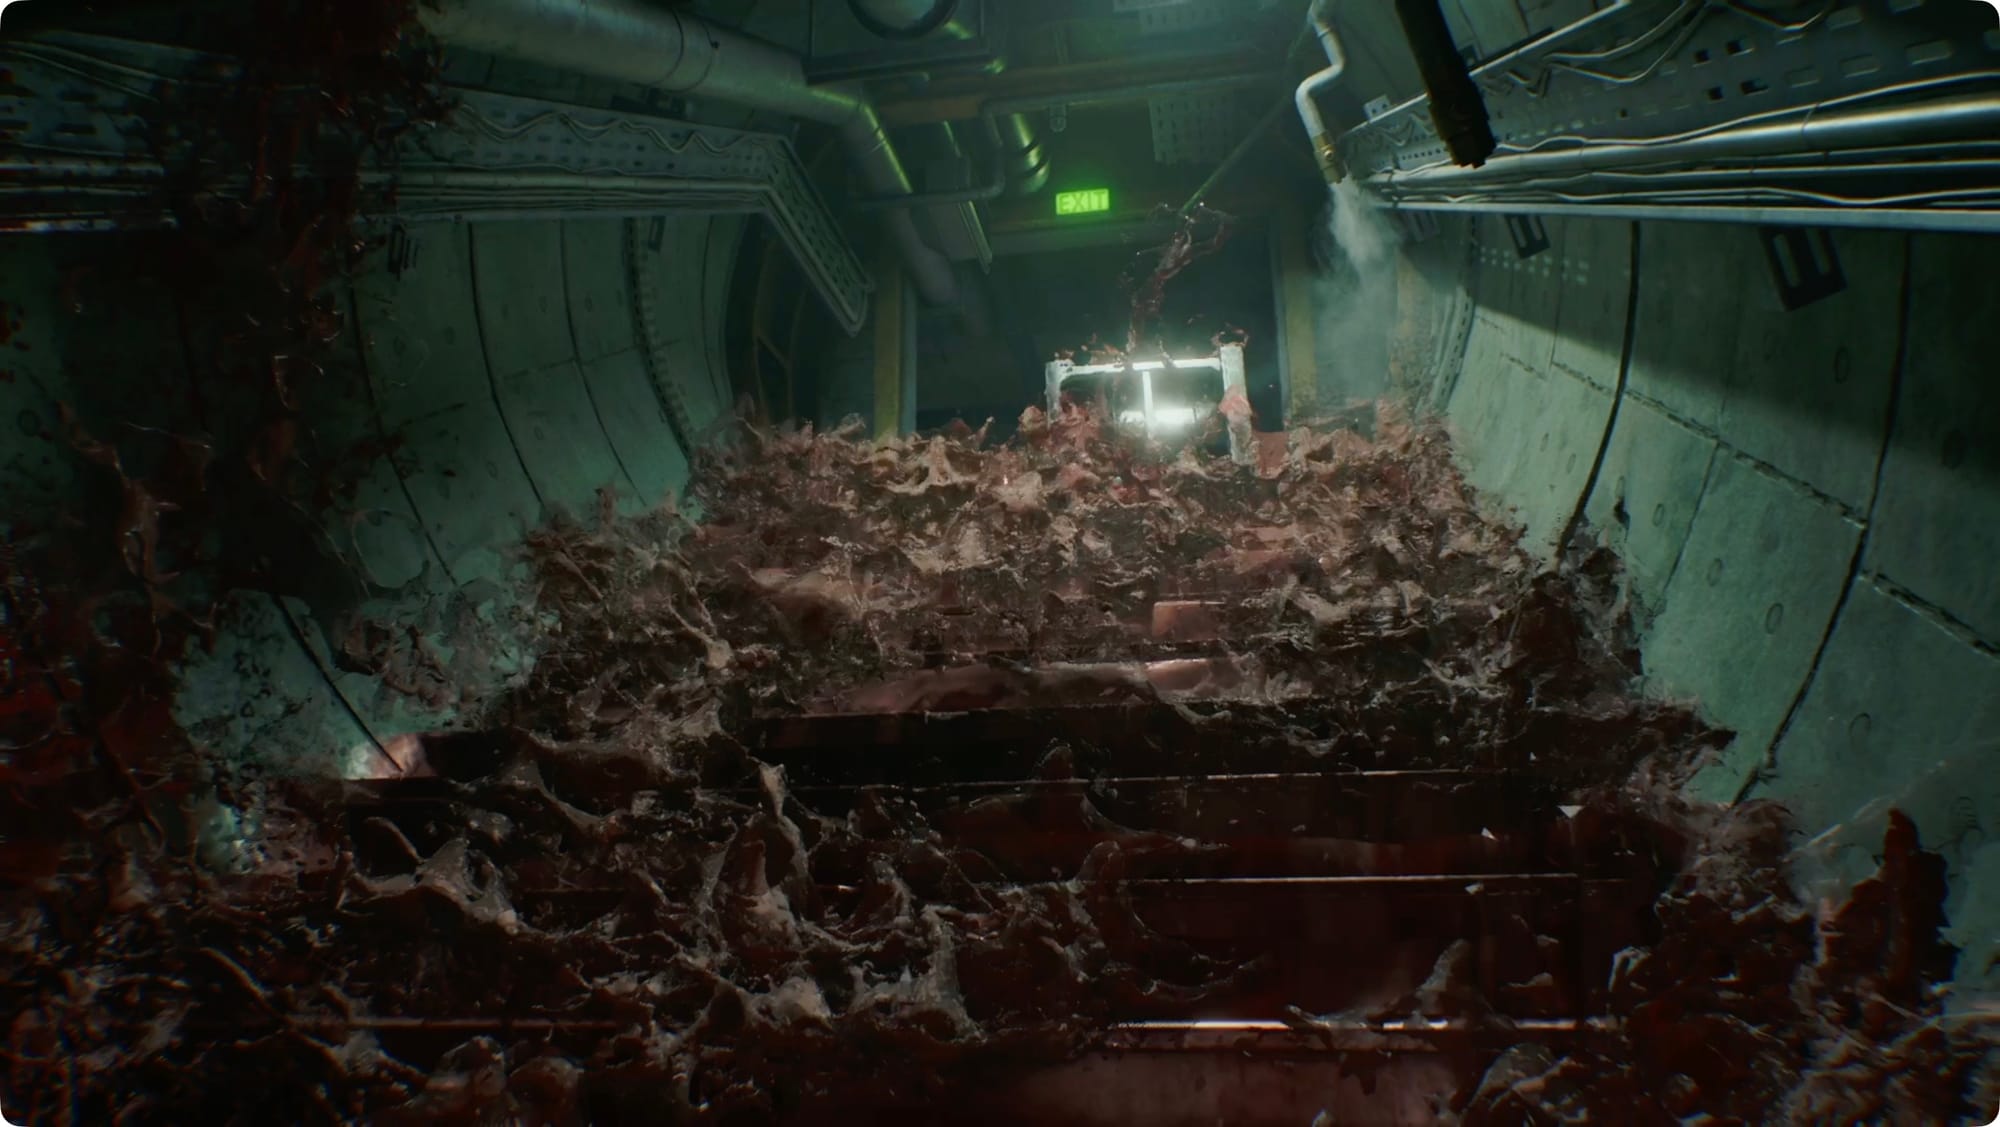
On the long staircase, watch for falling debris (this should only happen once). At the top, take the ladder up. You’ll come out of the Emergency Exit near the Helipad.
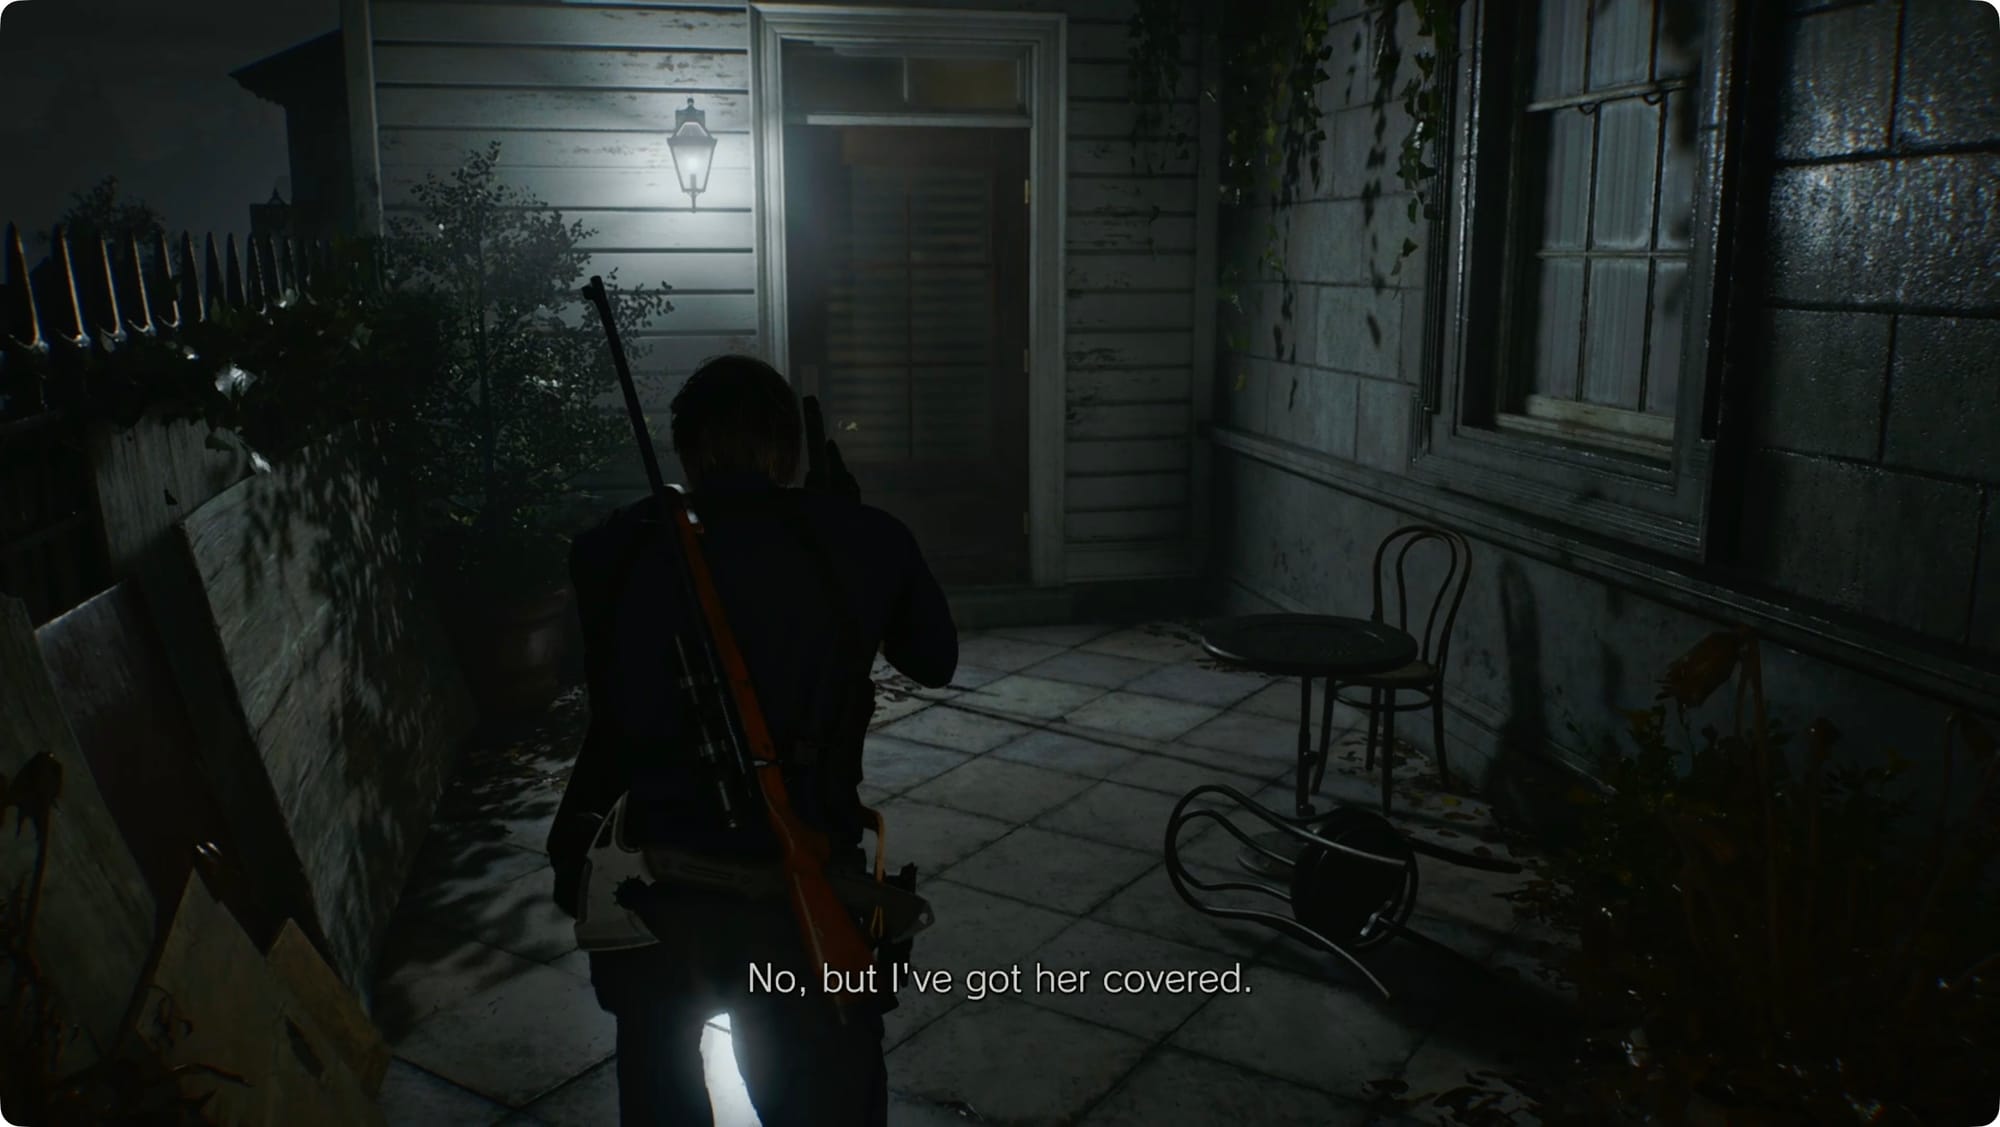
Follow the path and take out the trio of zombies that try to jump you — Grace’s gun makes things much easier. Crawl through the window into the house and out to the Helipad.

You’re never going to believe this, but things don’t go as planned.
Leon — Roof
After Leon doesn’t even try to open the window before smashing the glass, don’t waste any ammo yet. Jump through the window and follow the roof to the other end.
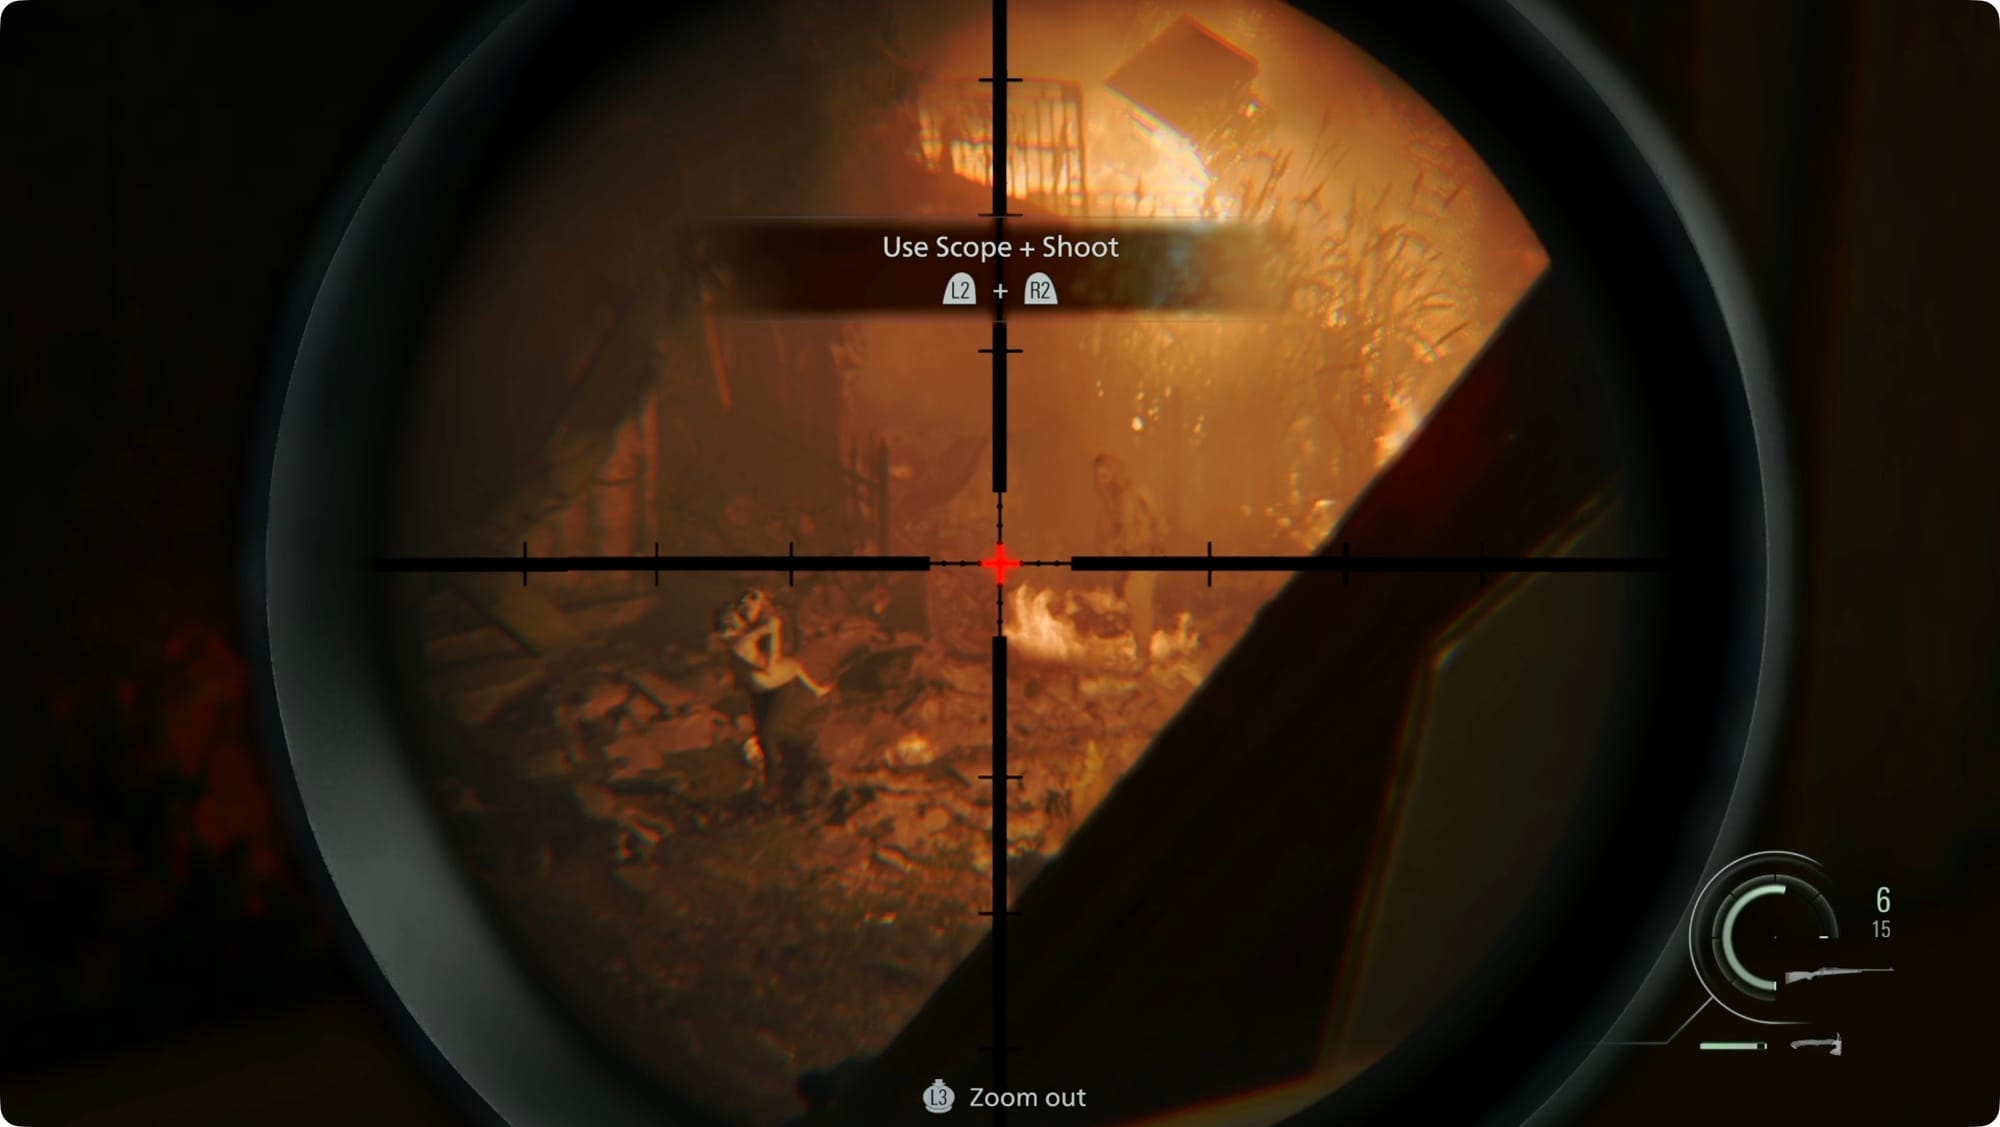
Grab the Rifle Ammo in the window. You’ll have to cover Grace by sniping zombies. She’s down and to the right (look for the flaming helicopter wreckage).
Once Grace is clear, continue right. At the next balcony, smash the crate for more Rifle Ammo. Reload, and look down and to the right again for Grace. There’s an exploding barrel near her, but save it for a minute.
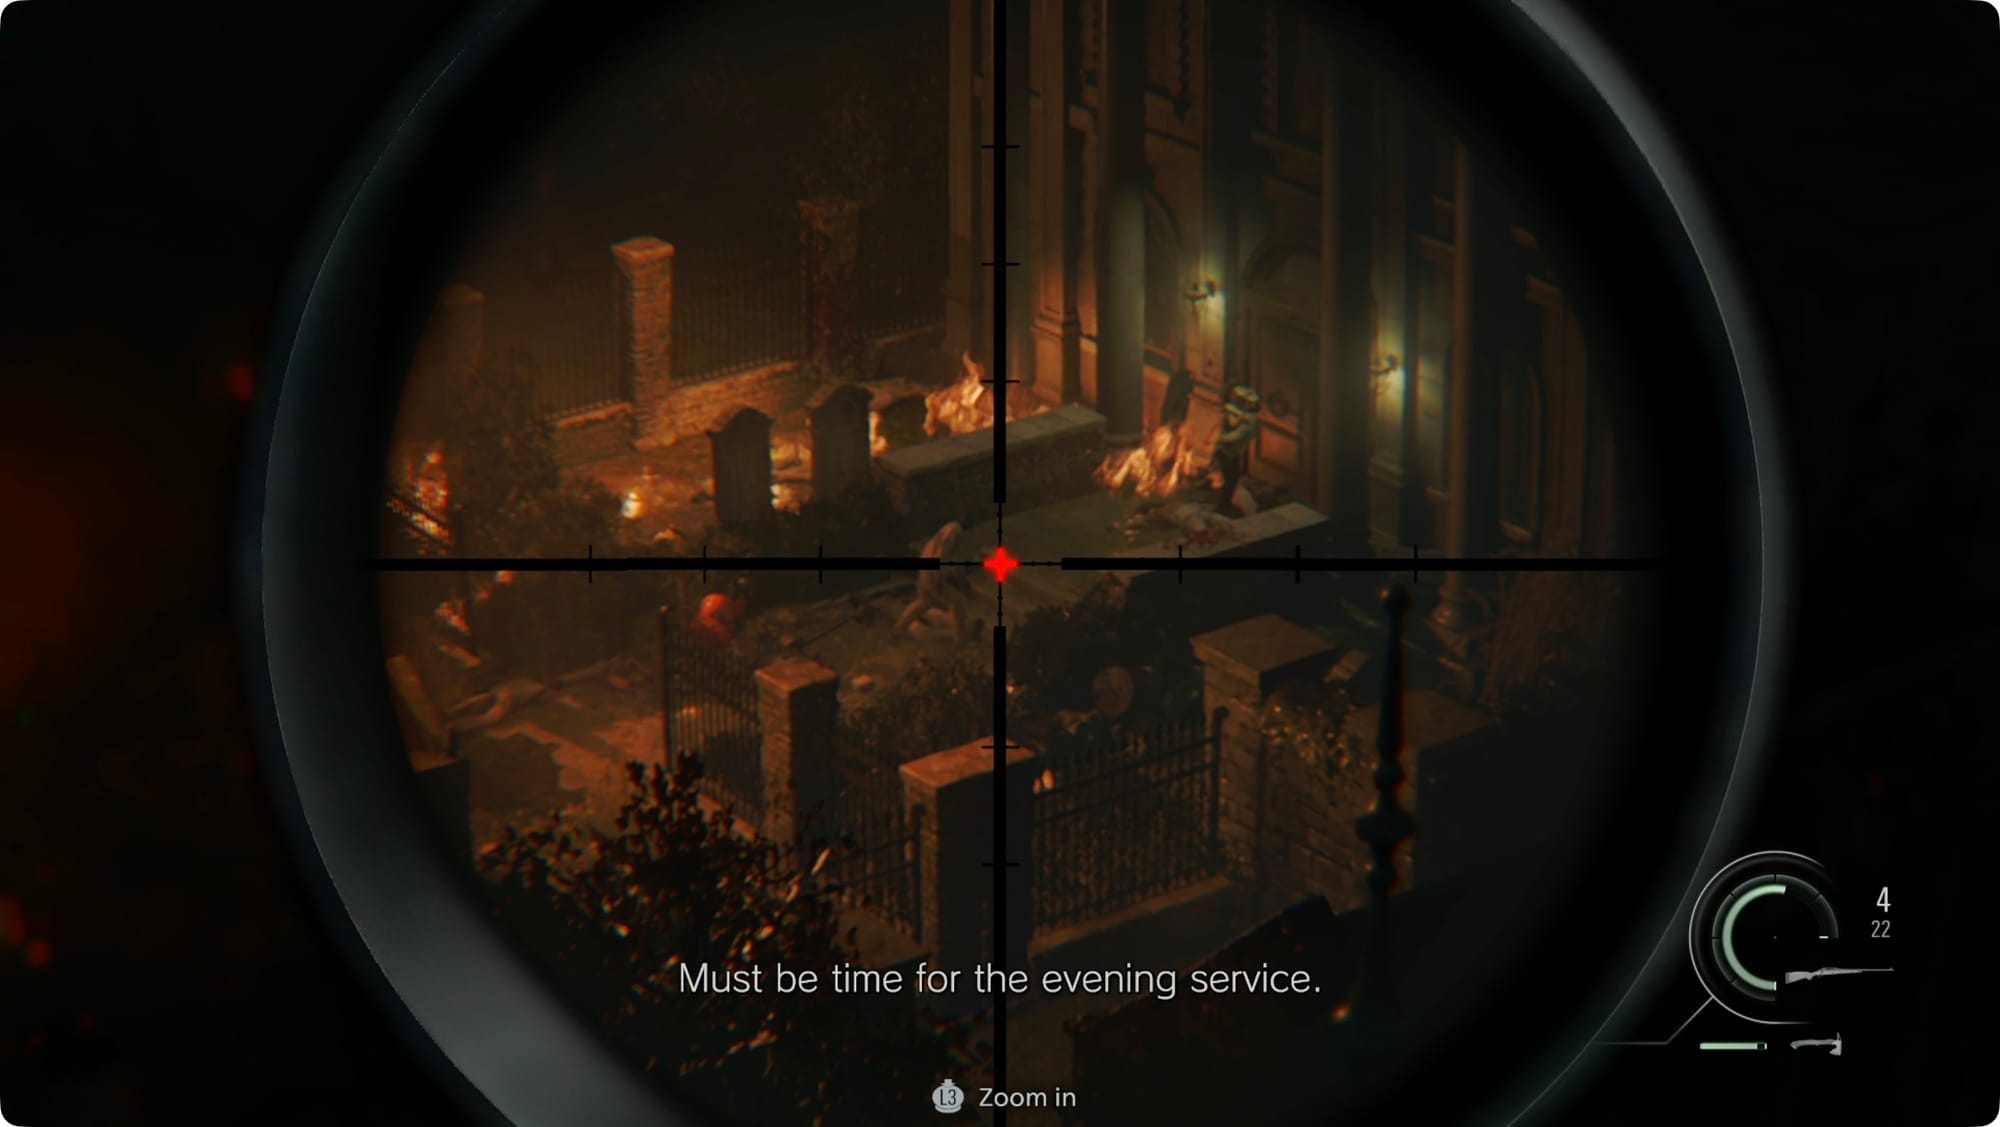
You’ll have to protect her while she tries to get into the church. Just keep watching for zombies and timing your reloads for the gaps. After a couple waves, another butcher zombie will show up. He’ll take several shots to put down, so prioritize him — Grace won’t survive if he gets close. Now is the time for that exploding barrel if you need it.
Once she’s inside, jump the railing.
Take me to church
As you approach the helicopter, grab the exploding barrel on your right and toss it at the nearby zombies. Grab the Handgun Ammo from the helicopter.
Deal with one more zombie at the chapel doors — he’ll drop Shotgun Shells — and head inside.
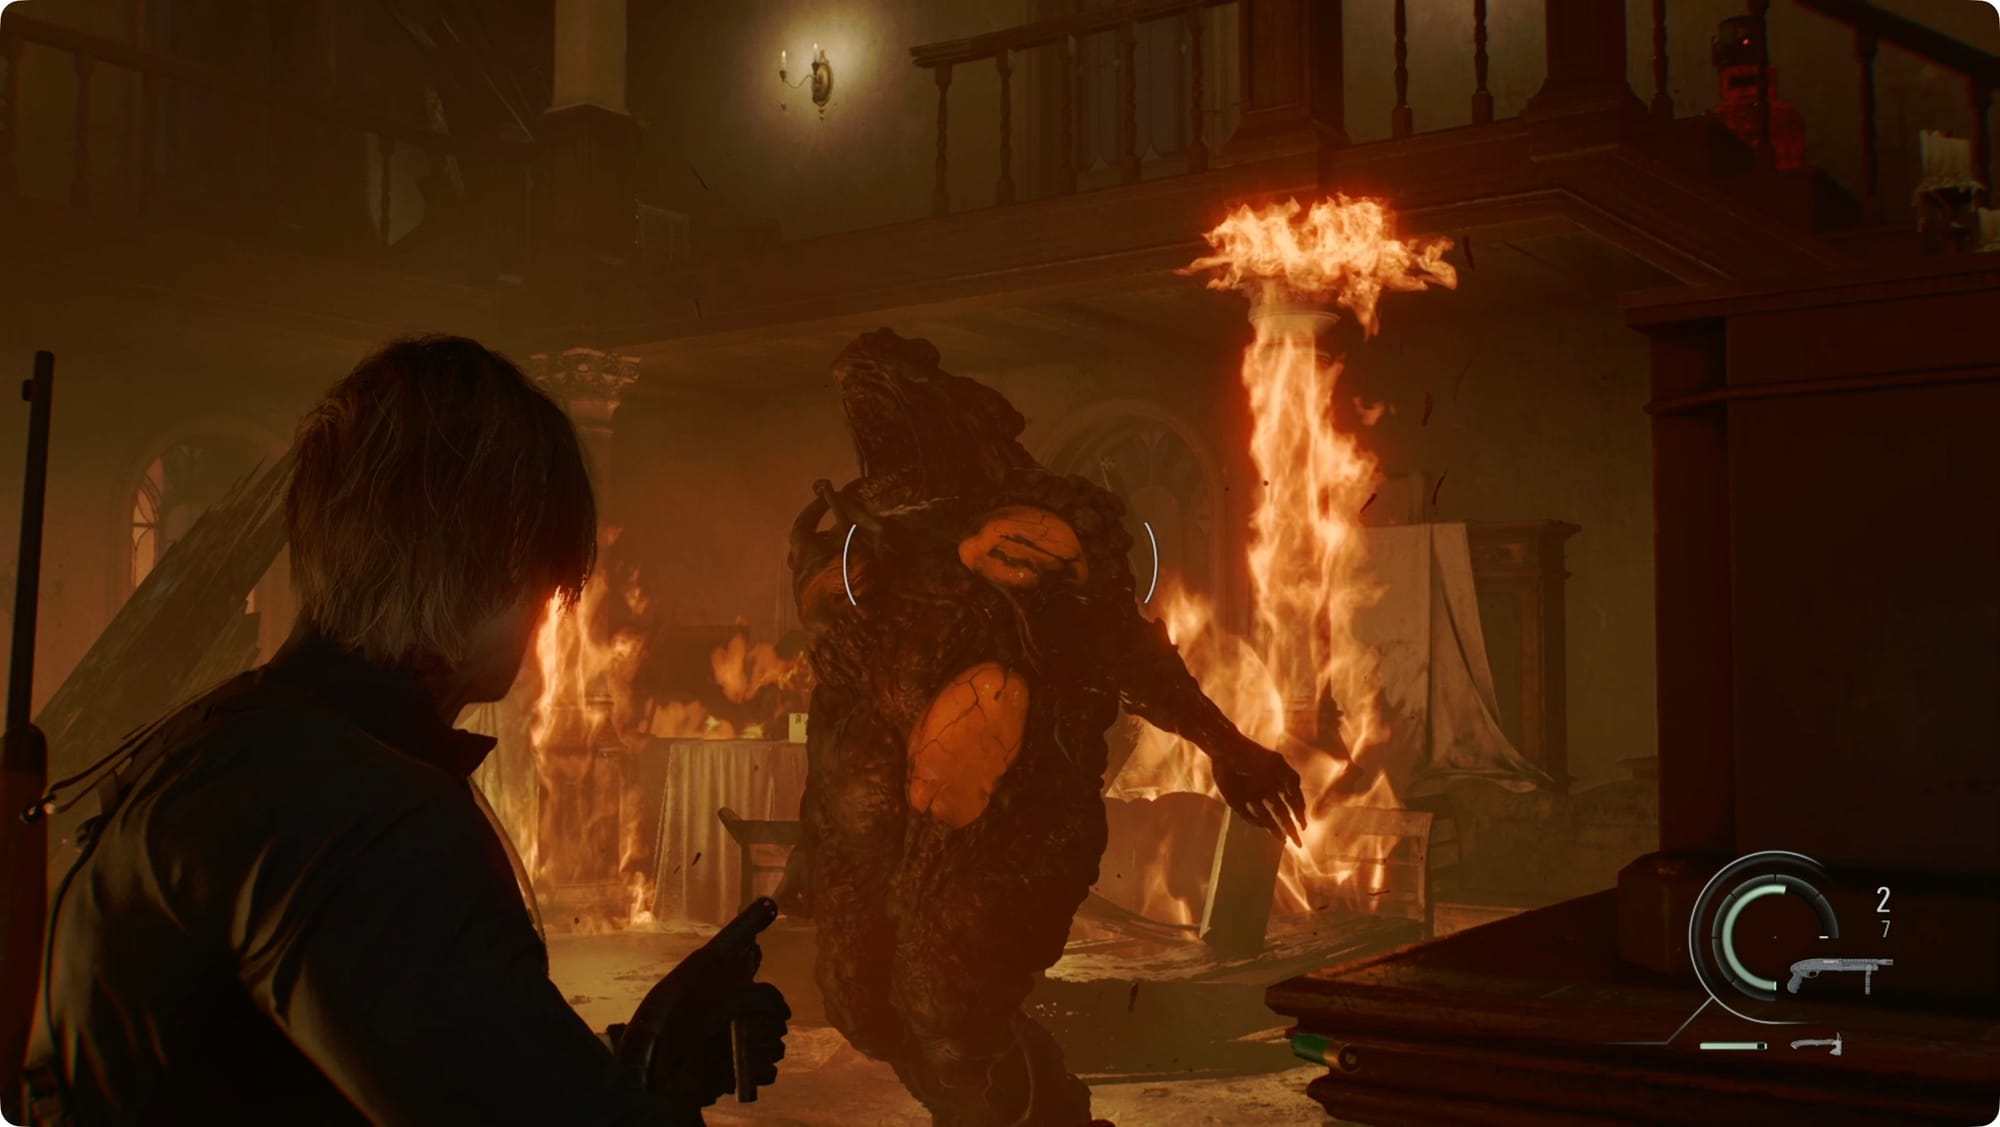
After a brief reunion, you’ll have to fight off a big, lumpy, angry zombie called a Blister Borne. You should have a few Hand Grenades. There’s also an exploding tank nearby. Those’ll help, but each time you stun and melee him, he spawns a bunch more zombies and Blisterheads. It’s a nasty fight. Use everything you can to keep popping the orange blisters all over him.
Grace — Water Treatment Plant
After Leon gazes down the stairway for an awkward amount of time, you’ll pick up as Grace. There’s nothing to pick up and only one path, so just keep going until you hit some conspicuous spotlights at the top of some stairs.
Take a right and head into the Storage Bay just as The Girl shows up. Drop off Emily, and hit the nearby Item Box and typewriter. You can leave the ID Wristband (Level 3) behind now. The desk there has some 12.7x55m ammo, a Med Injector, and a Roof Hatch Manual file.
You have to restart three power distribution units.
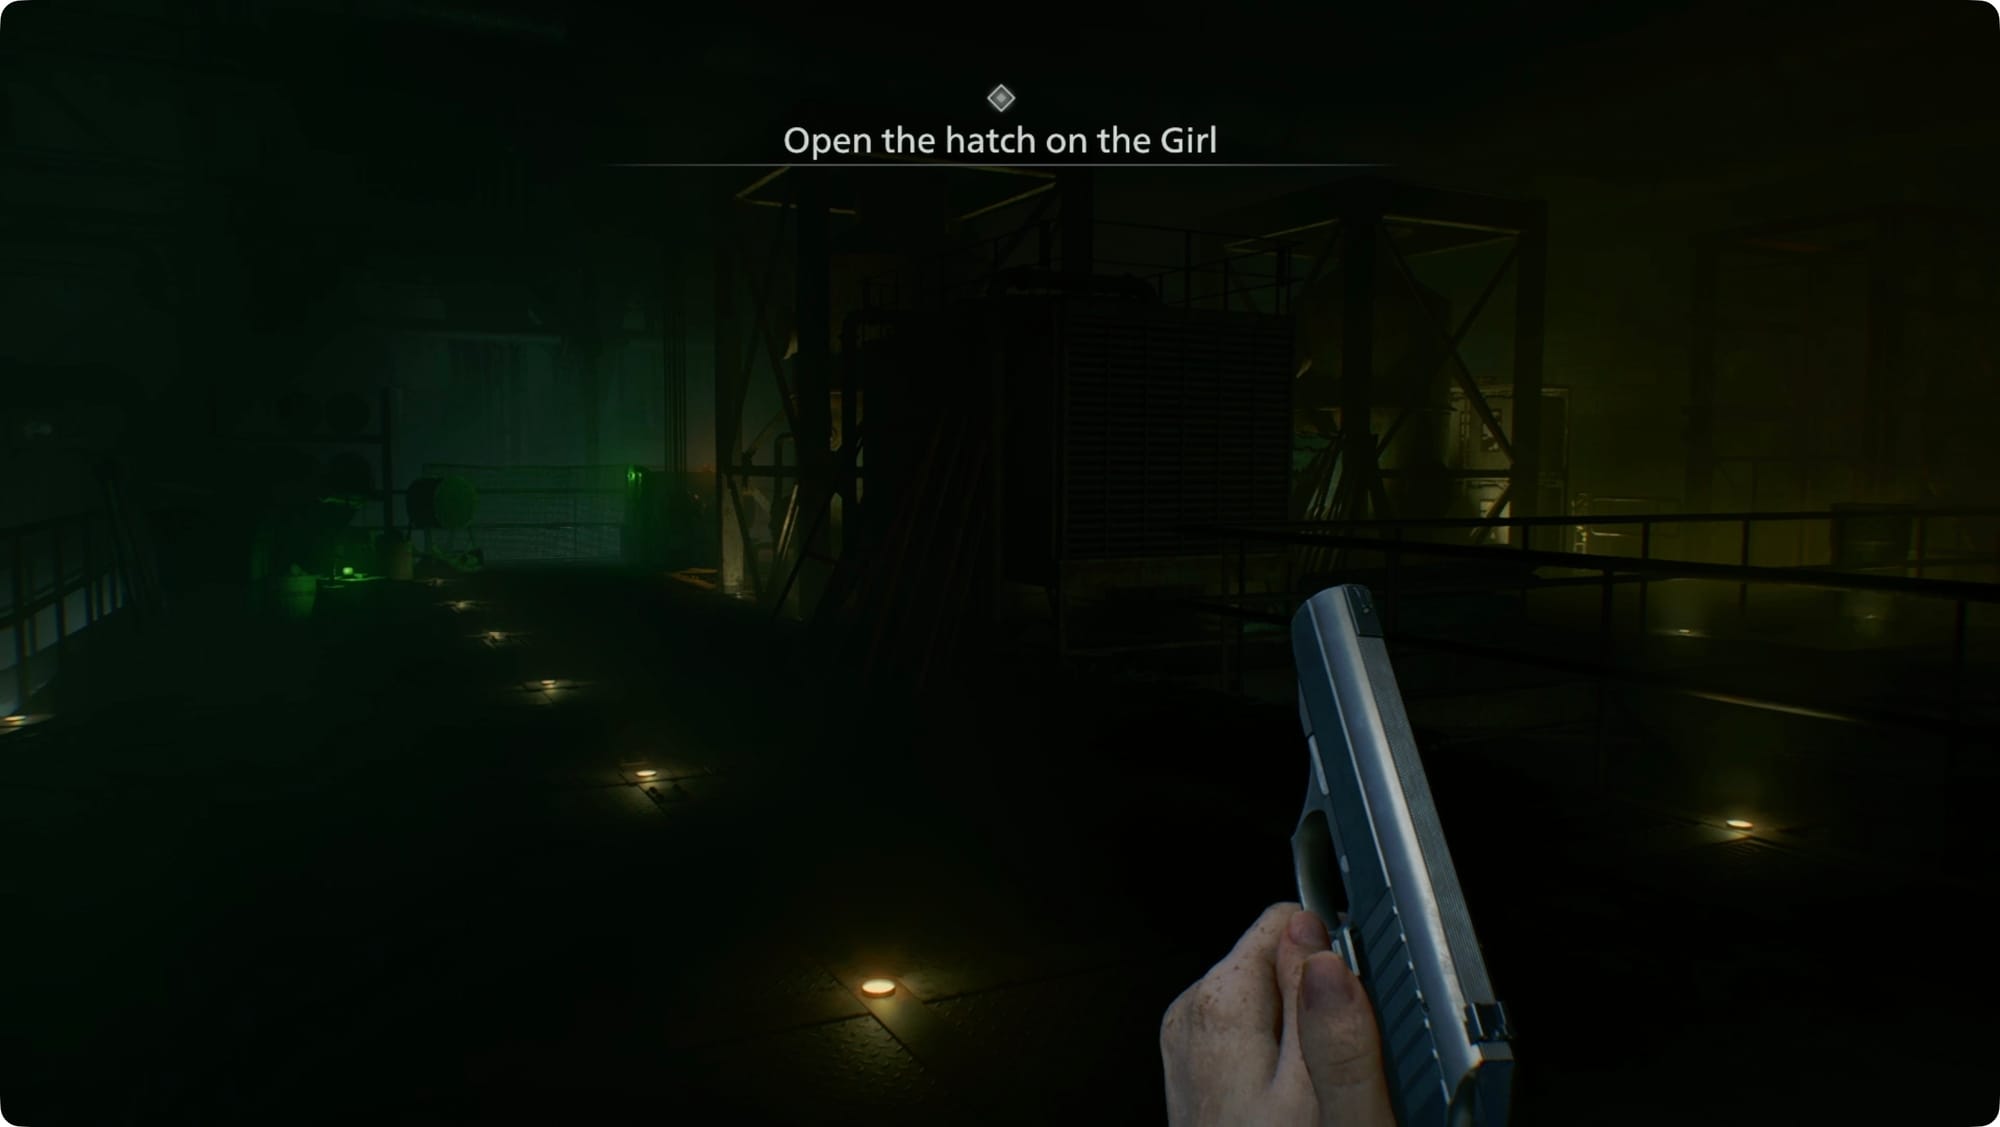
Open the hatch on The Girl
Head back out and cross all the way to the far side of the platform. On the right is a switch that will totally work (it doesn’t). Take a right.
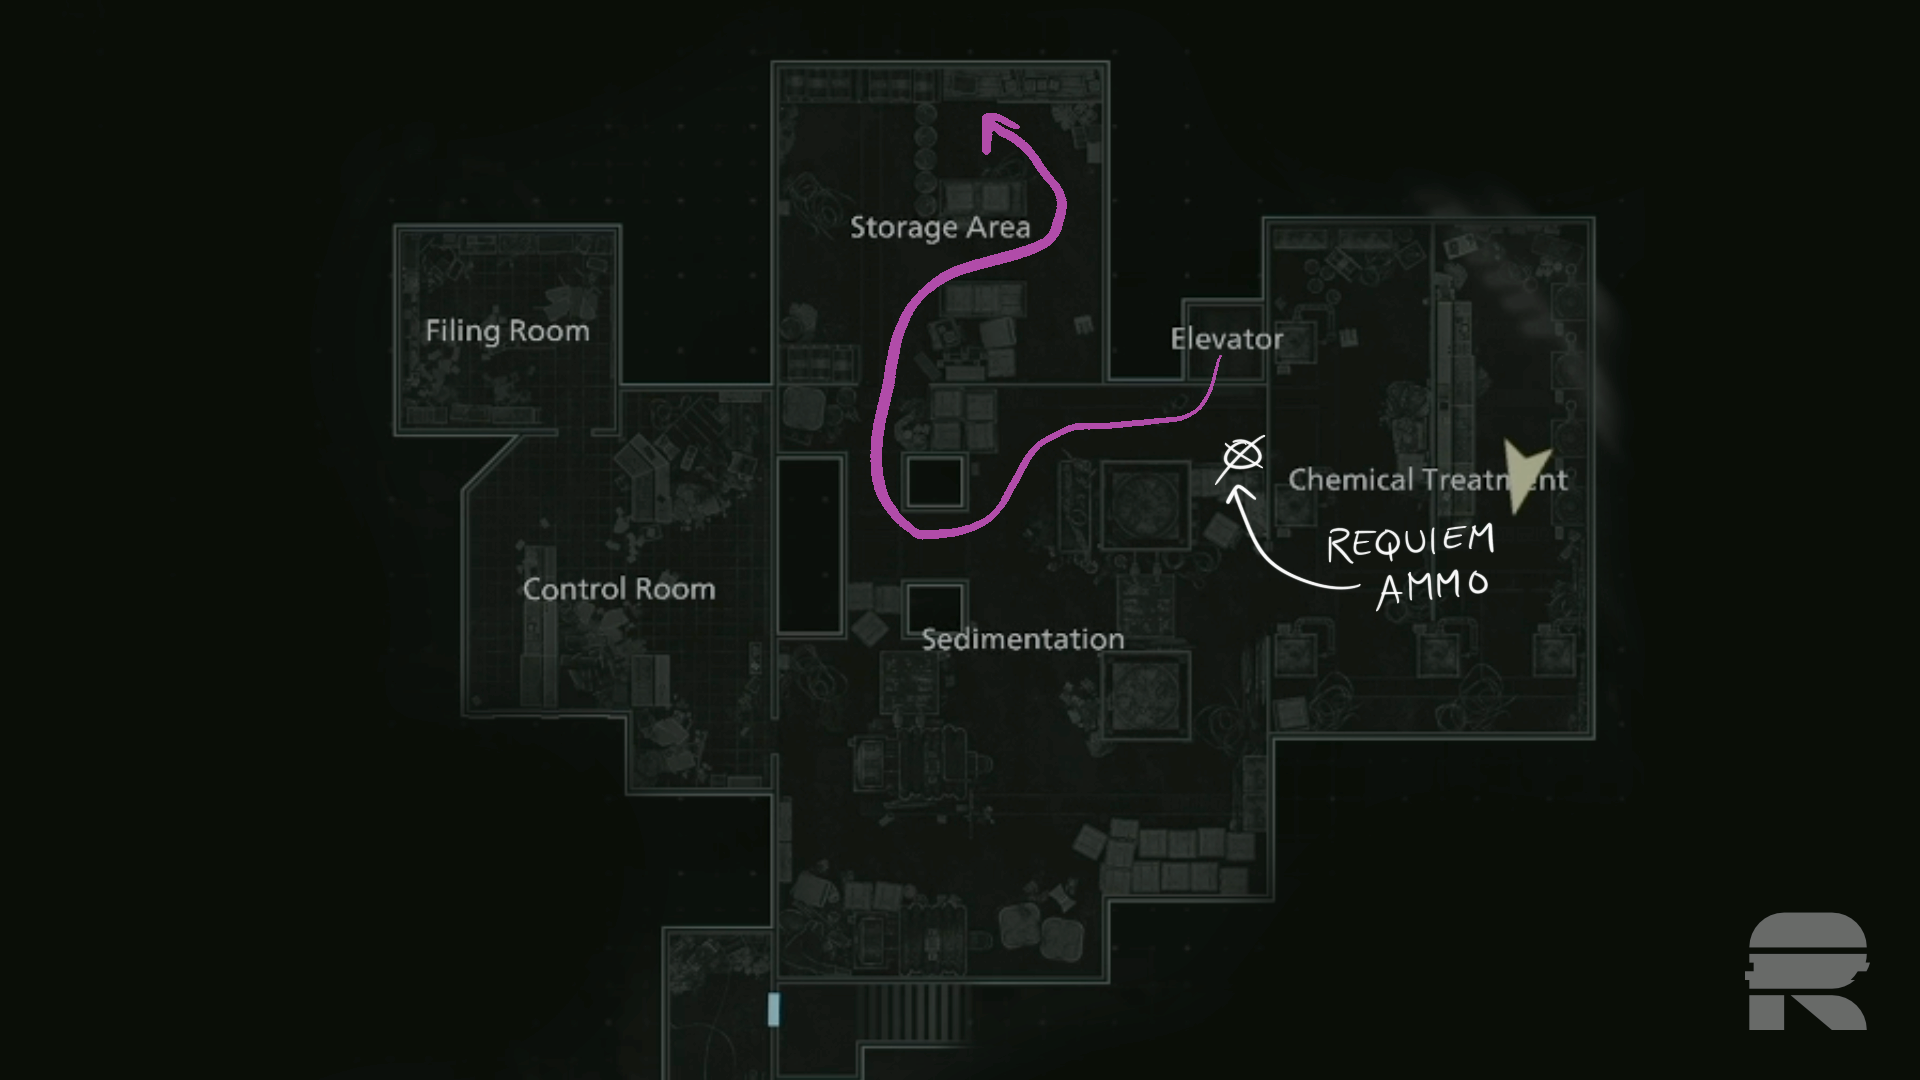
At the back of the platform, take the quick way down the elevator shaft. At the bottom, grab the 12.7x55m round.

Turn right and you’ll spot The Girl. She’s coming right for you, so don’t bother hiding. Instead, you need to stagger her (briefly) with either Requiem or a Molotov.
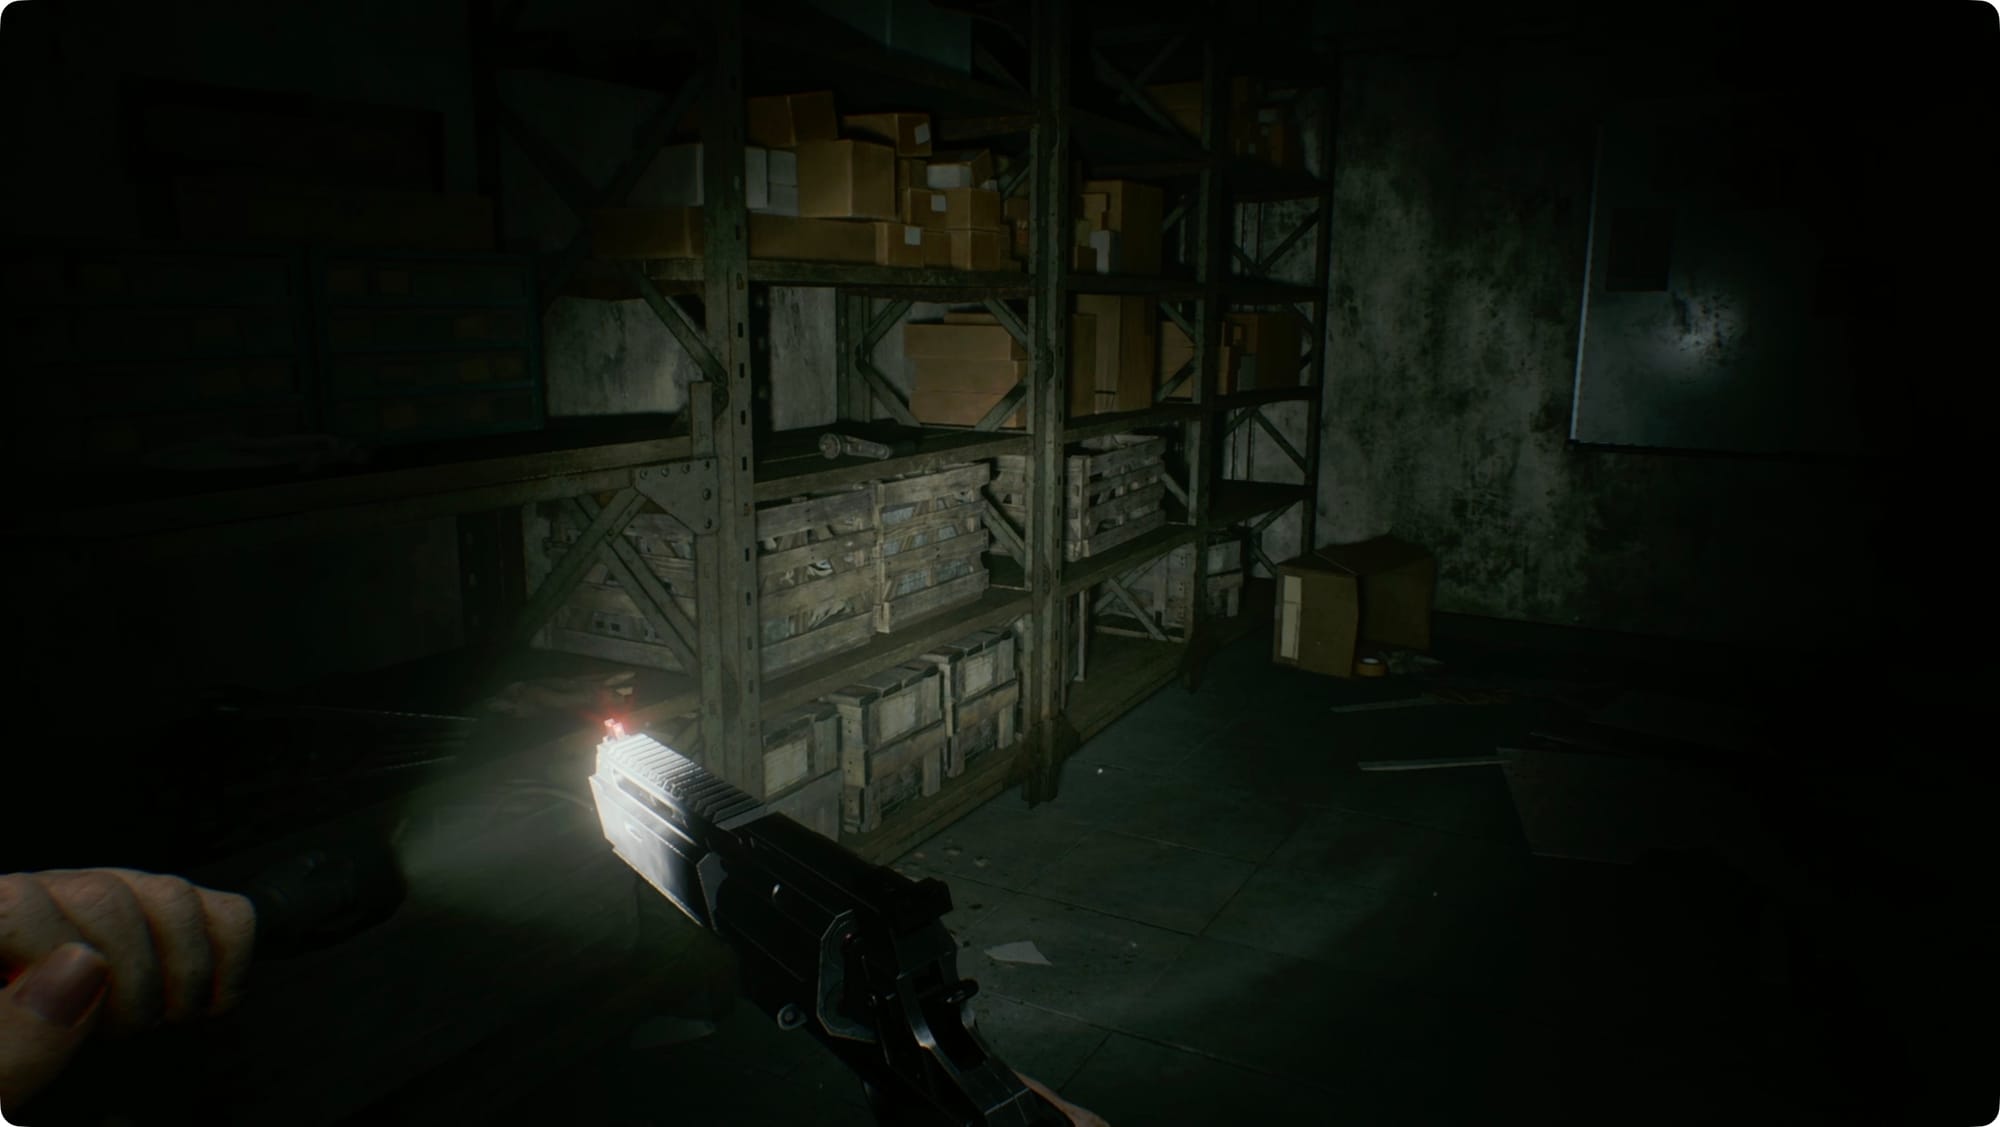
Once she’s stunned, take a right and run past her. You’ll have to snake around some crates into the Storage Area. Throw the switch along the back wall.
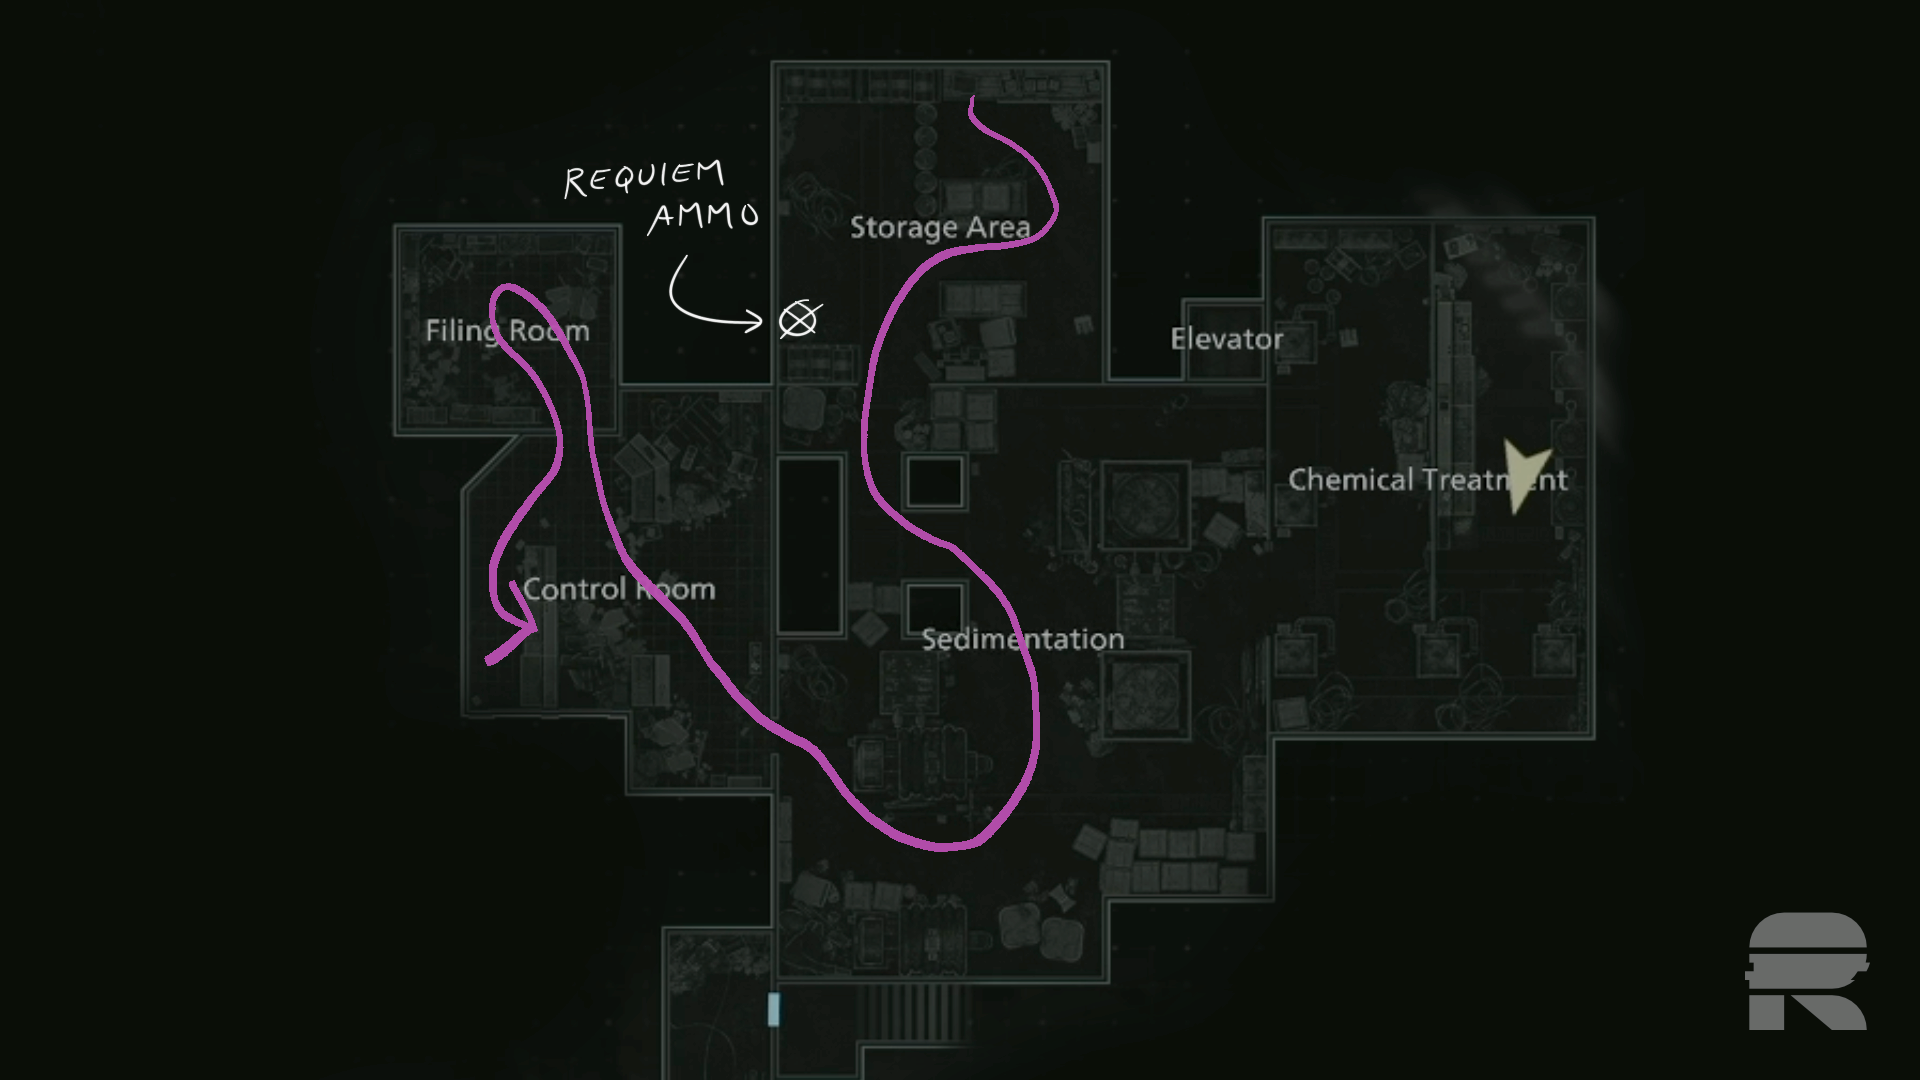
On your way back out, grab the Requiem Ammo (I’m going to call it Requiem Ammo instead of 12.7x55m every time) on the blue barrel along the west wall.
Head south through Sedimentation to the other end and take another right. In the Control Room, you can find the switch, but there’s no lever. Duck into the Filing Room to the north. The Crank Lever is against the back wall.

When you go to use it, The Girl will grab you. Shoot her again, and then go use the lever. You’ll have enough time to get around her, install it, and use it before she can get to you. When the lights come back on, she’ll run away.
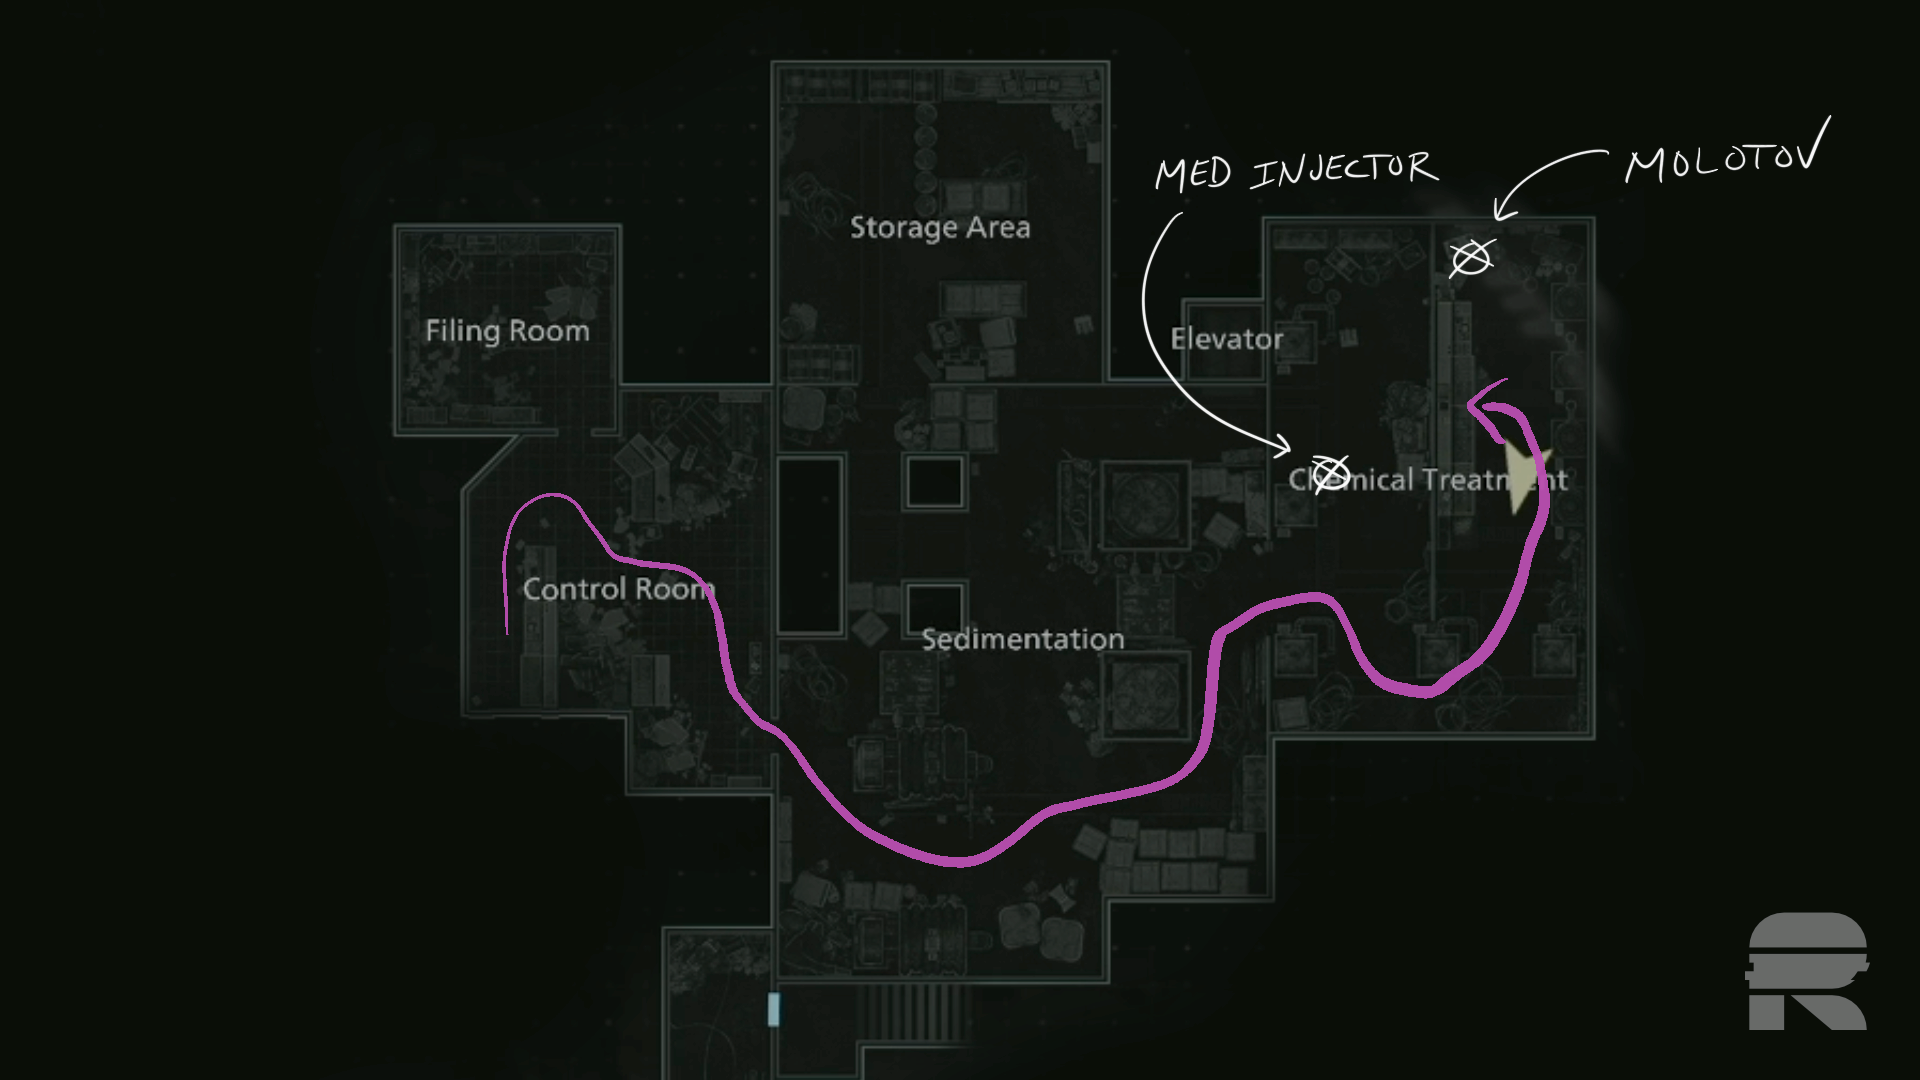
Follow The Girl out and start across Sedimentation heading east. She’ll jump you again. Stun her, and continue into Chemical Treatment.

Take a right and snake back to the switch. This one’s stuck. Before you try to force it, look to your left and stun The Girl again. There’s a Molotov on the cart to your right. You should have enough time to unstick the lever. The lights will make her run.
On your way back out, just before you exit Chemical Treatment, there’s a Med Injector on the barrels to the right.
Run back around to the elevator and take it up. At the top, The Girl will show up again. Skip the hatch button and go turn on the spotlight first. With The Girl stunned, you’ll have enough time to push the button.
Shoot her one last time to finish the fight. Go check on Emily.
Leon — Water Treatment

Leon shows up to broodily save the day after the cutscene. Just keep shooting.
You’ll get a Grace cutscene featuring a man that is not, but should totally be, Cody Rhodes. Save your game, and watch the Porsche-heavy Leon cutscene.
We’ll pick up in Raccoon City in the next part.