

Resident Evil Requiem walkthrough, part 9
Leon returns to where it all began

After Leon's adventures in East Raccoon City, you'll have a quick action sequence. (I'm not going to guide the dirt bike chase because the answer at every step is “use your submachine gun to shoot a lot.”). Leon will continue through to Raccoon City Center.
Leon — Raccoon City Center
When you get control, follow the alley and the only path you can until you hit the RCPD.
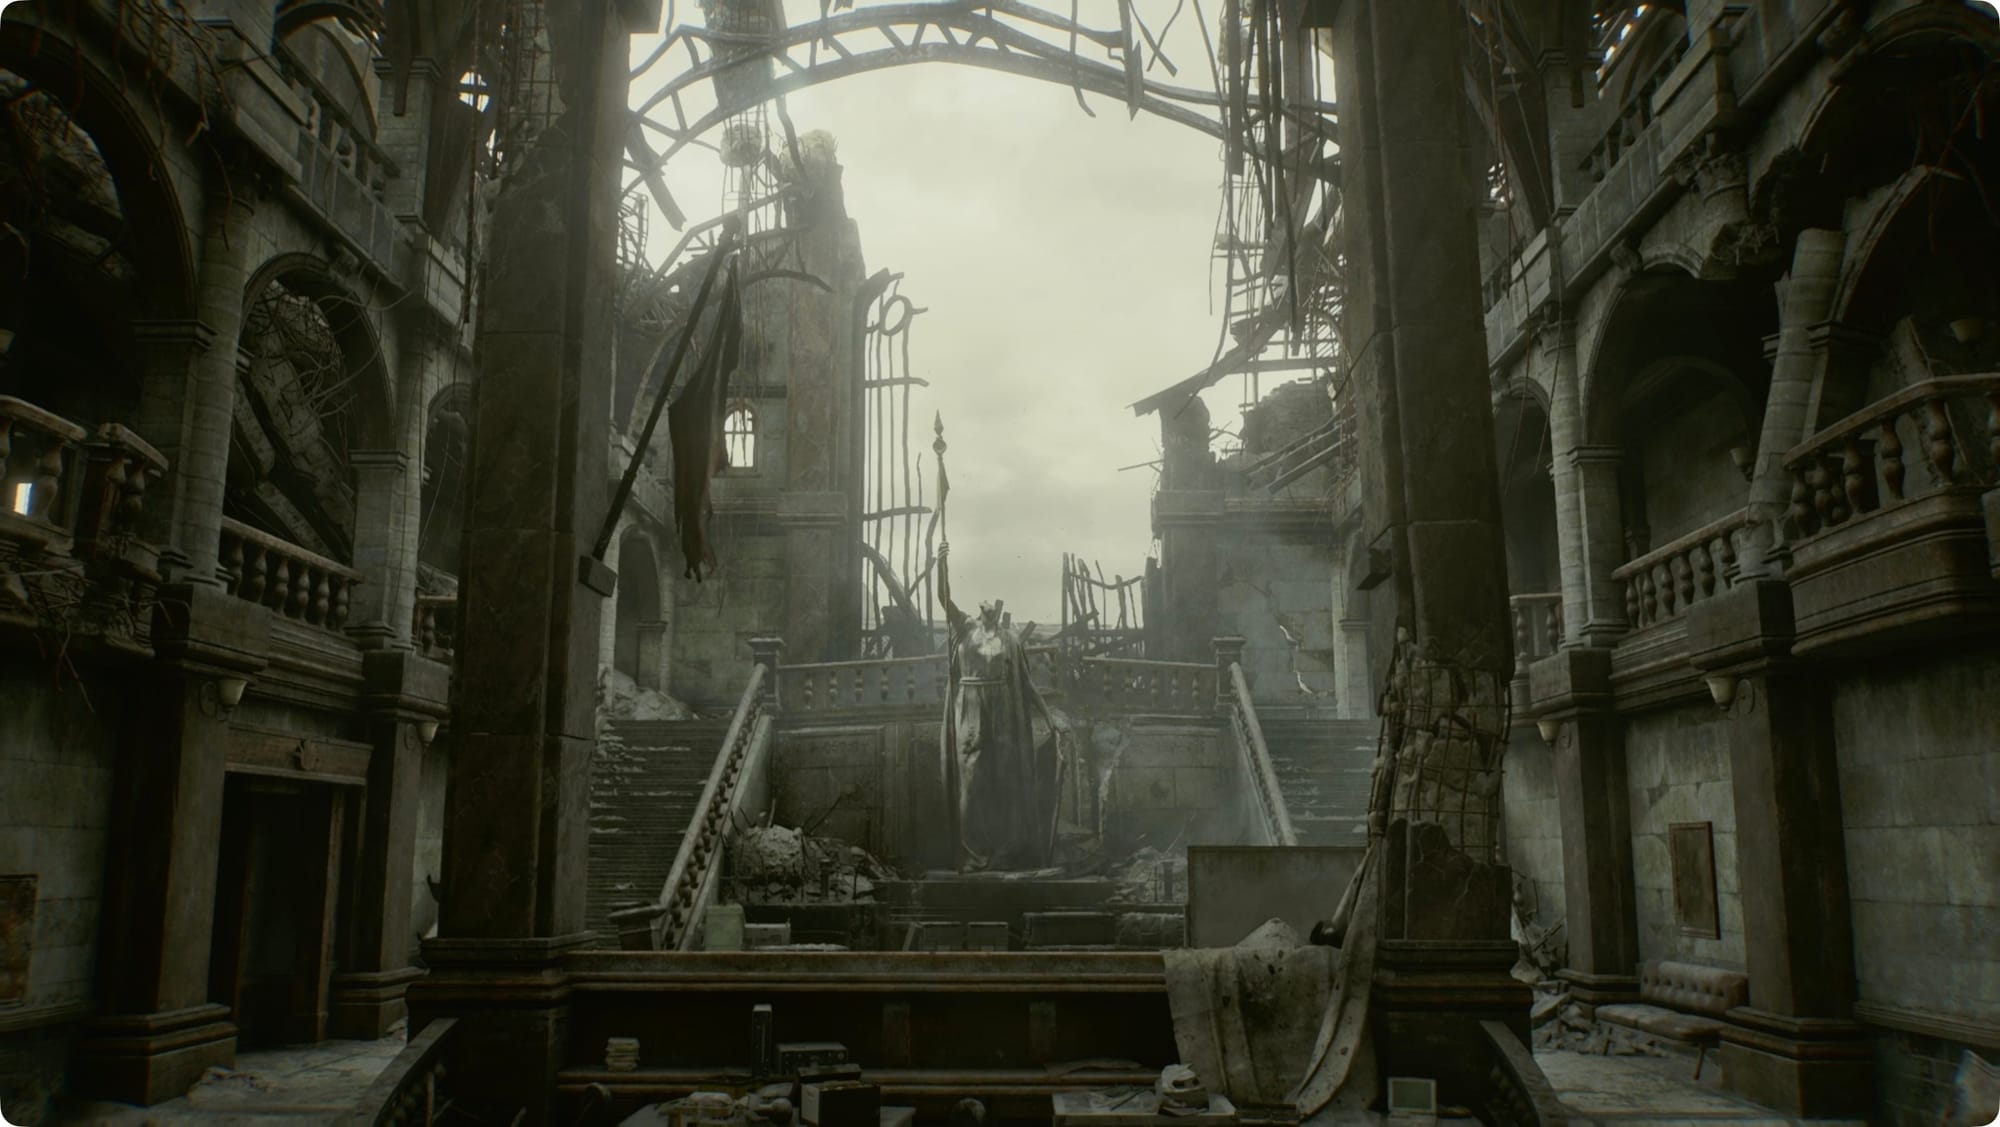
Operations Room
You can’t open the gates to the right or left, so go forward until you trigger a cutscene. After, hit the Supply Box and save.
Go through the door on the left side of the Main Hall and into the West Office. Check the desks for the Top Secret Operation file. There’s a locked locker we need a key for along the back wall. Go through the door in the back right corner and take a left. Go straight at the intersection and take a right into the Operations Room. Grab the Handgun Ammo on the desk in the corner.

Check the blackboard for the Record of Events file, and then look along the wall on the left for a gap that lets you see outside. To the right of the gap and down near the ground, you’ll spot a Mr. Raccoon behind a breakable board.
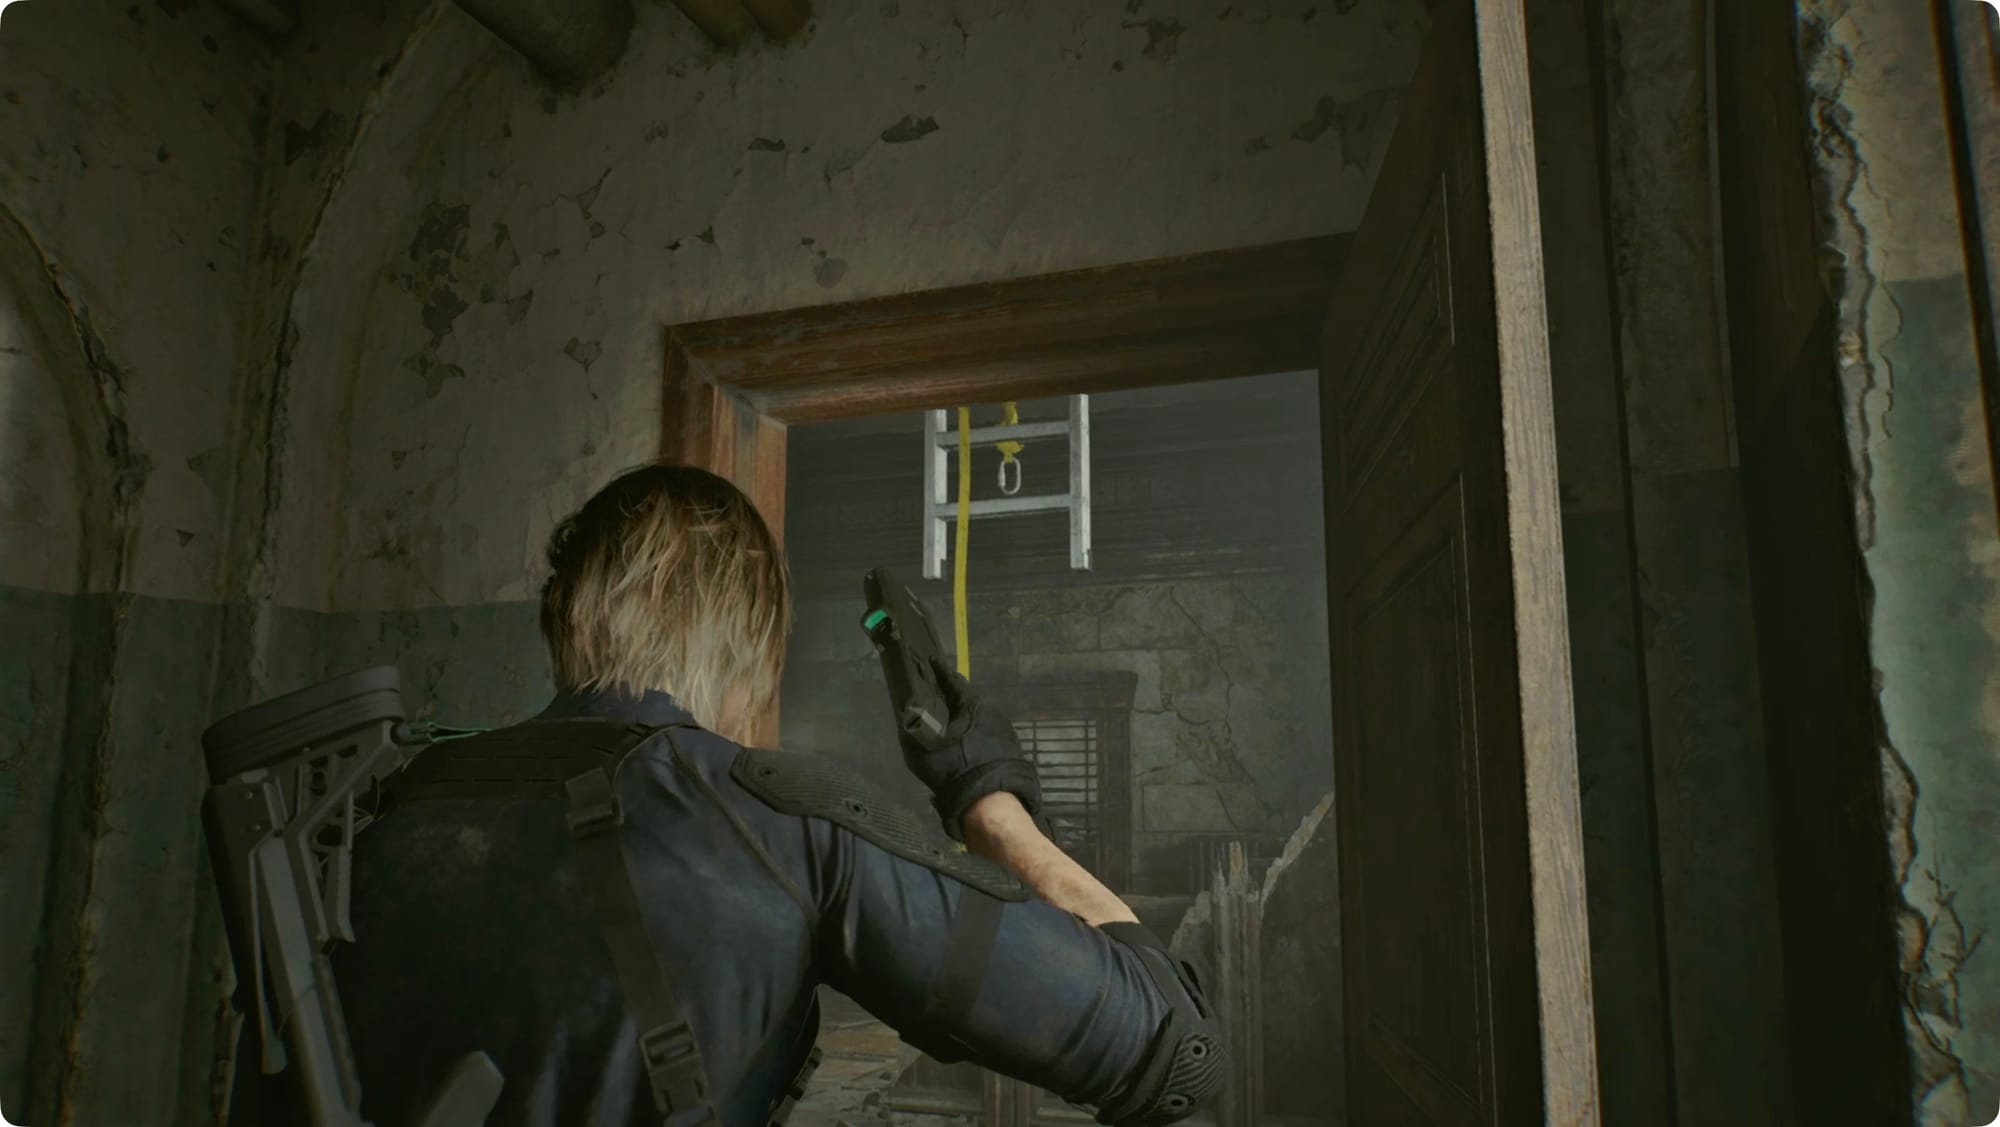
Head back to the hallway and take it south. Take a left at the end, and shoot down the ladder in the next room. Grab the Handgun Ammo and then climb up.
STARS Office

Push through the door leading west, and follow the hall around to the STARS Office. Straight ahead against the east wall, check the leather coat pocket for the Scavenger Hunt - Clue 1.
Immediately to the right of the door (left as you’re leaving), check the locker for the Scavenger Hunt - Clue 2.

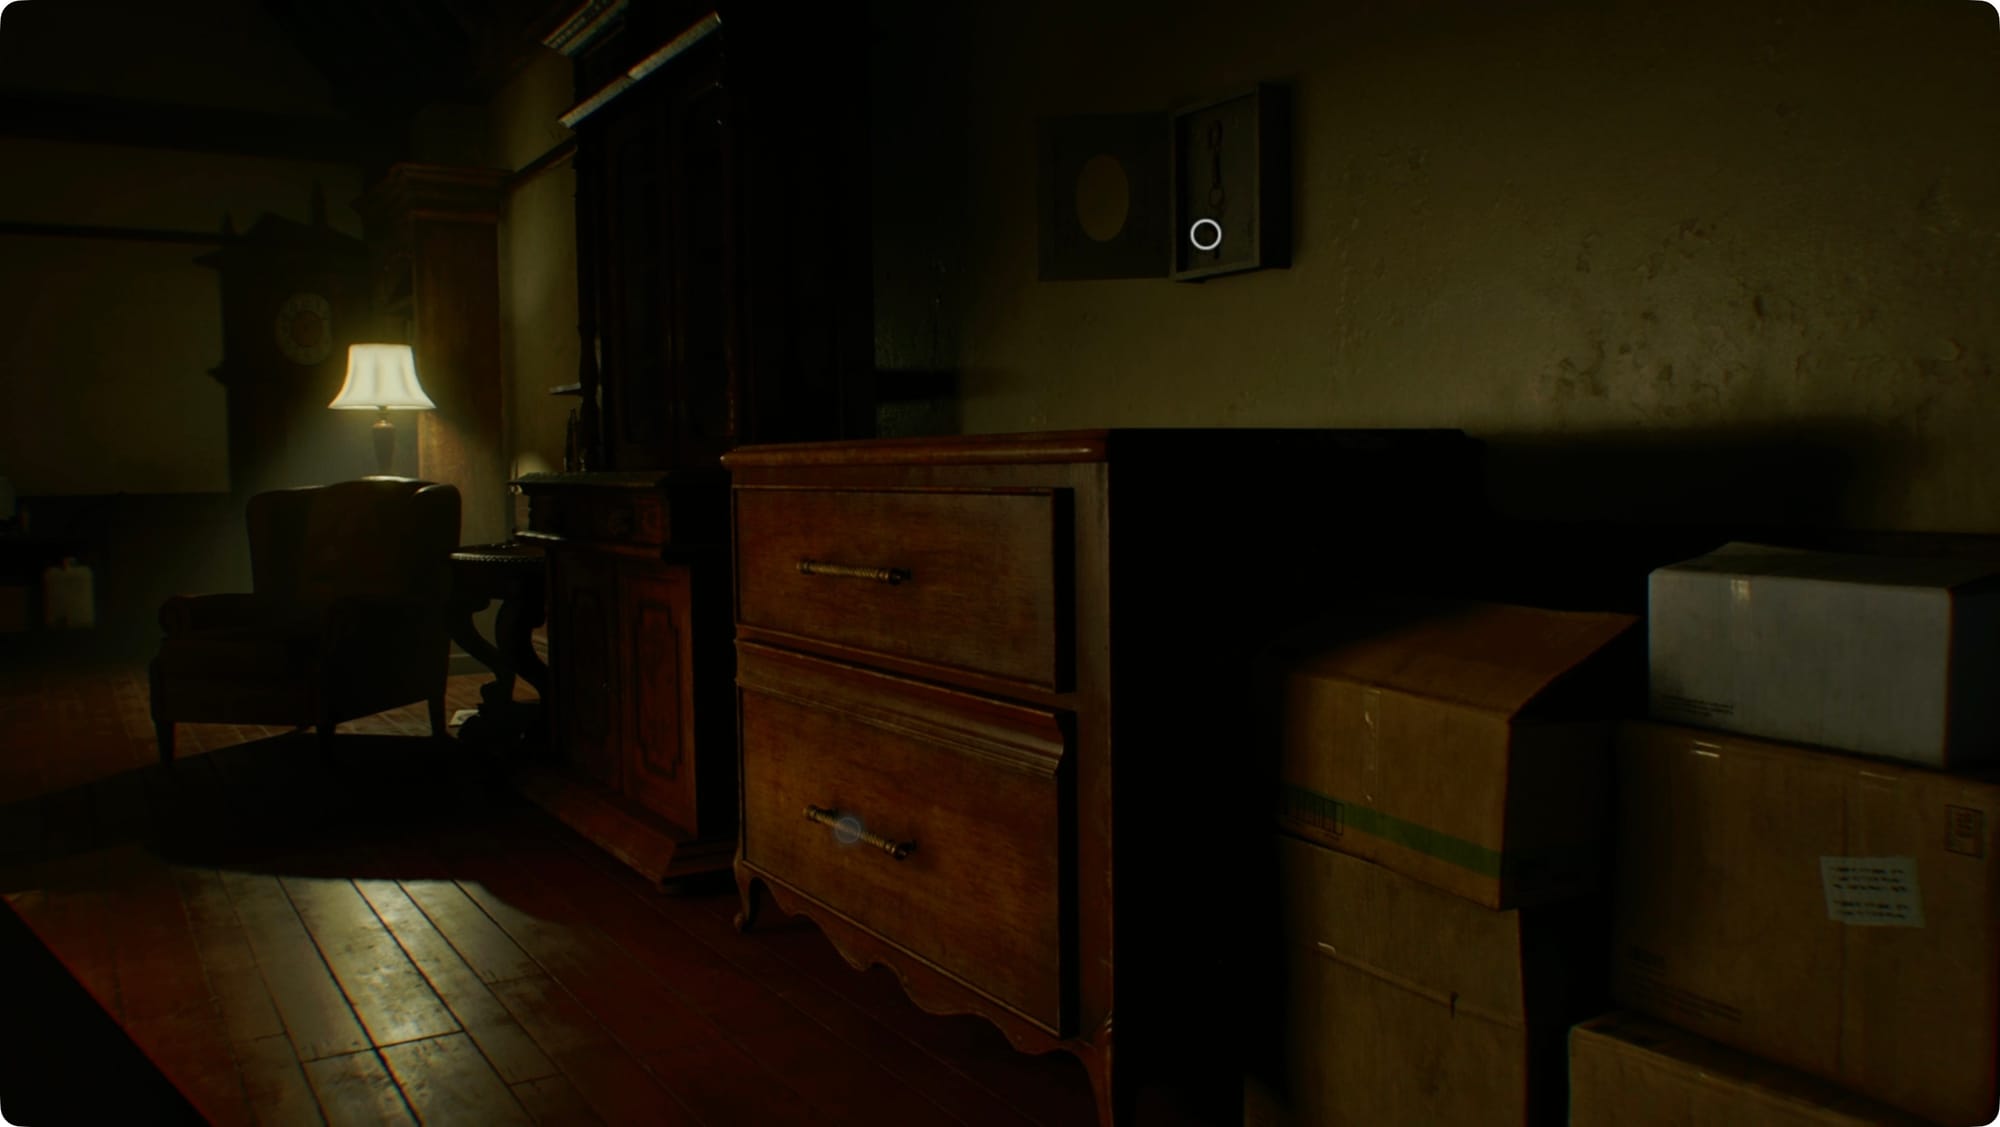
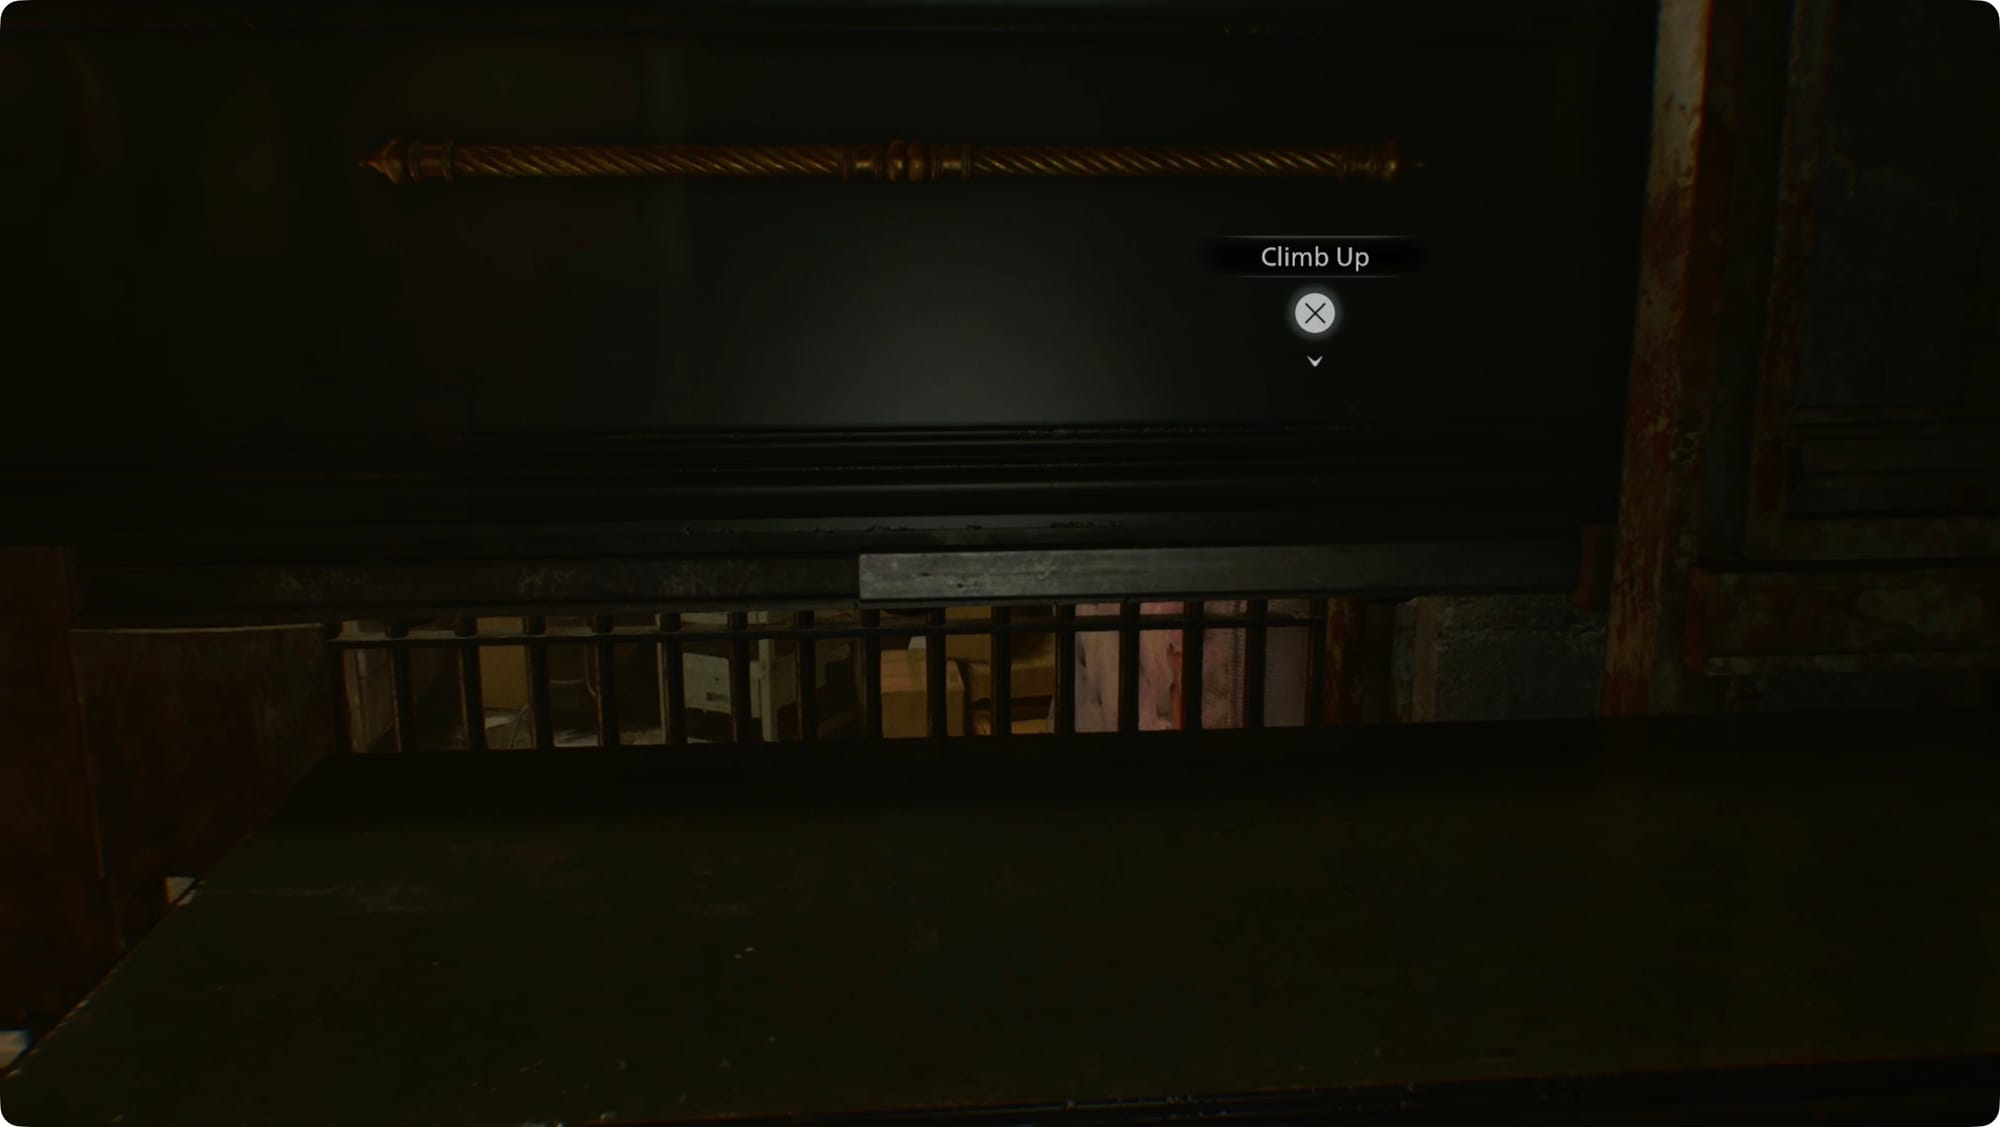
Those clues are pointing back to the Operations Room. Head back down and stand in the southeast corner a few feet from the blackboard. Above you is a TV. Look at it, and you'll get a prompt to climb up. Grab the Locker Key.
Head back to the West Office and open the locker for the STARS Emblem Charm.

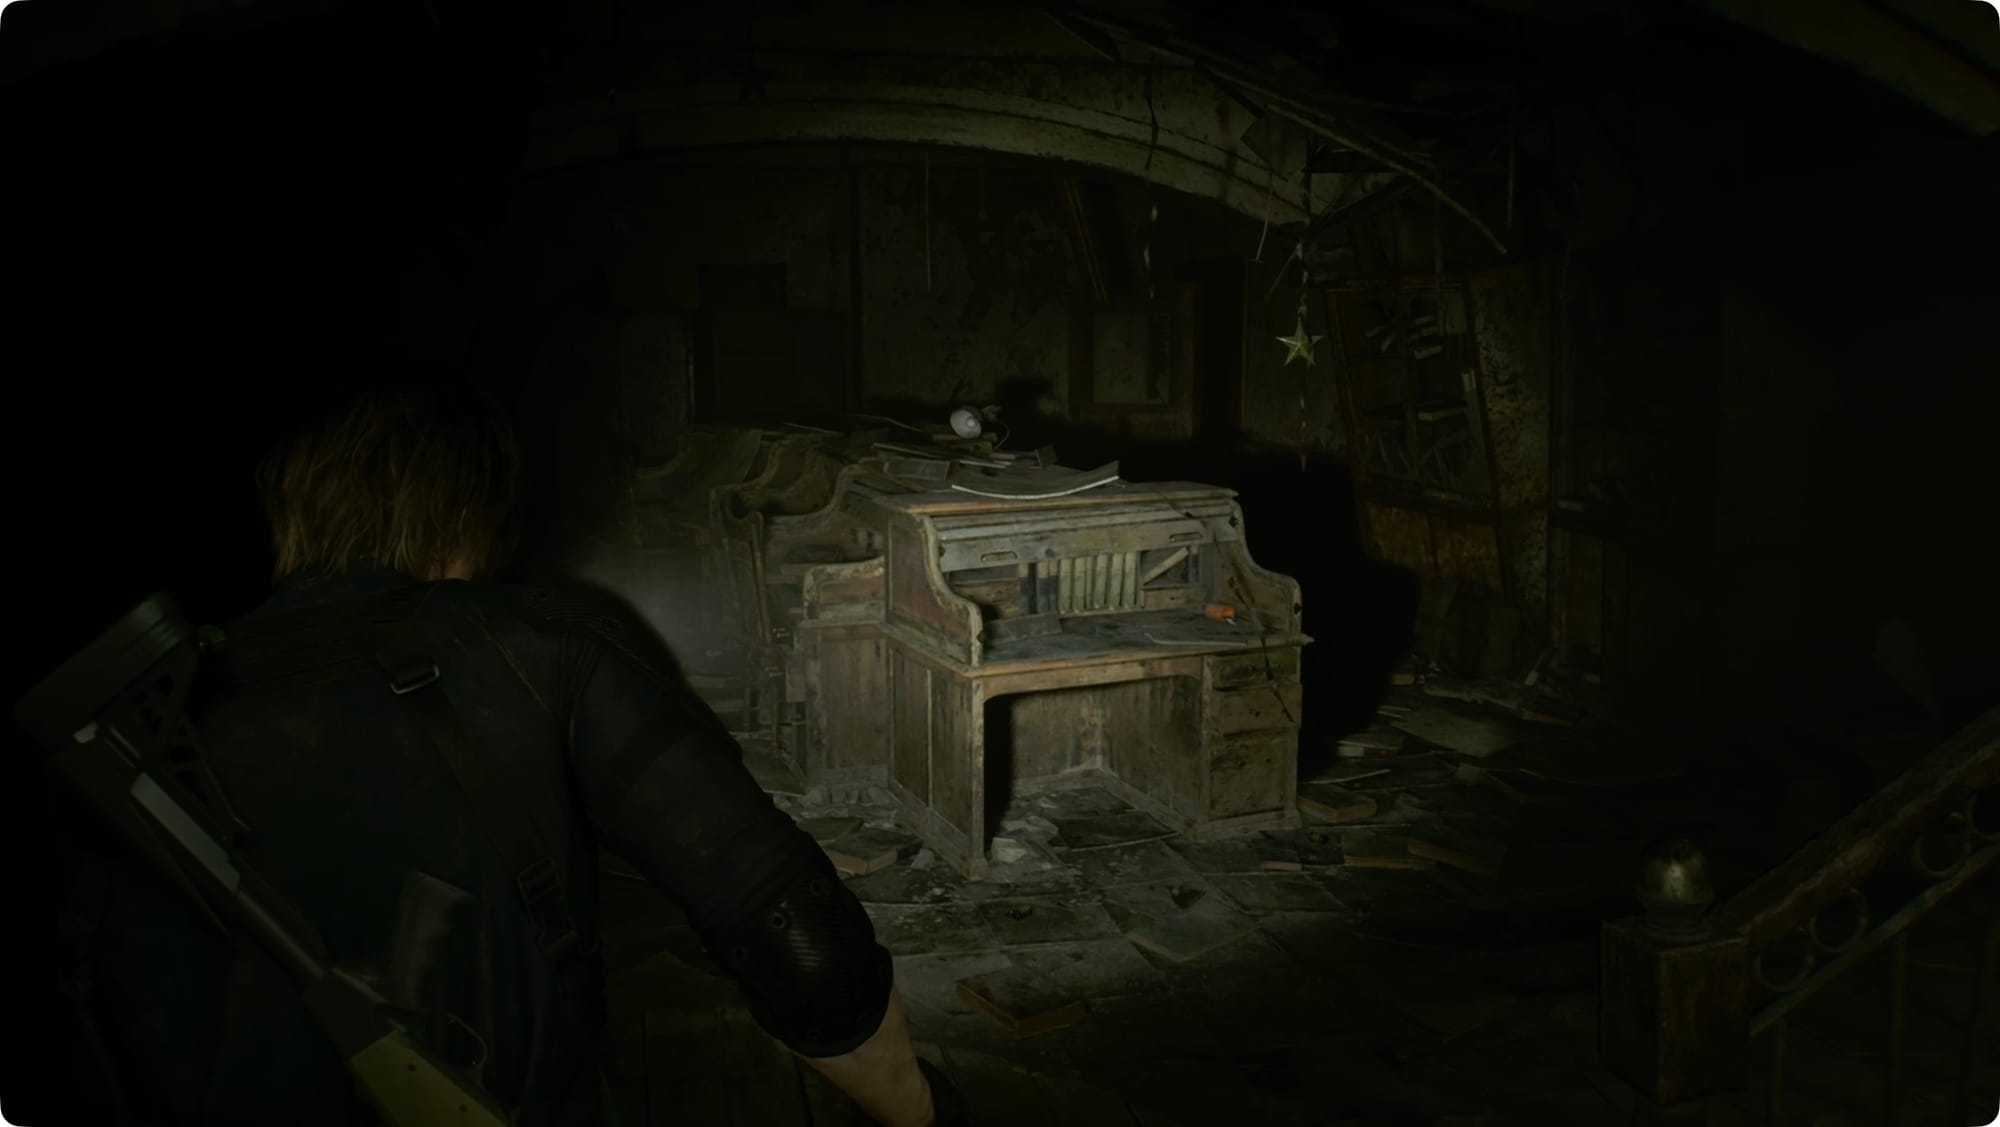
Go back up to the STARS Office. There's a weird sequence of mini-quests we need to do to open a case in the armory to the north. Check the desk in the back left for Barry's T0 Do List. One of the items will be to "Find that missing library book."
Head back toward the door and take the right into the captain's office. Open the desk drawer, and then click the interact button again (you won't have a prompt). This will reveal the Library Card.
Library

Head back through the lounge and go north the door to find the Library. Head straight north to find a Mechanic Jack.

Back at the door you came through, take the stairs up. Follow the walkway around to the left and cross the catwalk. At the other end, look to the right for a book you can interact with. Rotate and open it to find a Photograph with "Rising Rookie Rebecca" written on the back.
Backtrack to the STARS Office and head to the left (north) to go into the armory. The case code is what you found on that photograph — RRR. Open it for the Power Shades Charm.

Head back to the Main Hall and use the jack on the shutter on the west side to open a shortcut (that you don't really need).
Go use the jack on the other shutter to the west.
East Wing
Follow the hall around until you start hearing Grace and Cody Rhodes talking. Keep going until you hit a cutscene.
Grace — Orphanage

When you get control of Grace, head out to the hall and then go down to the Nursery. After the cutscene, run back to your room and hide under the bed.
Wait them out until they get distracted.
Go back through the Nursery and out the other side.

Downstairs, the door out will be locked and the creepy kids will be banging on a window ahead of you. Go hide under the table across from the door.
Wait them out again, and then go through the door they opened for you.

Follow the hall to the left. At the second corner, a pair of the kids will be waiting. You might have to backtrack to the Main Hall to trigger them to move.
When they’re gone, continue through to the Director’s Room.
Snake through to the northwest corner. Turn on the light, and then open the drawer on your left. Climb up to find the Hatch Key.

Take it to the south. When you get close to the hatch, a couple of the kids will show up. Run back to the north and hide behind the boxes there. Wait them out one more time.
Run to the south, unlock the hatch and climb down the ladder.
At the bottom, head down the stairs. At the bottom, follow the toy firetruck deeper. Keep going until you hit the Underground Chapel.

As you approach the altar, doors with the Umbrella Corp. logo will open behind it. Go through and then turn around. Throw the switch on the right side to turn on the lights and open a gate along the left (north) side of the chapel.
Push open the coffin to find a Toe Tag.
Head to the left. When you hit the locked gate, look to your right. Pull out the coffin along the bottom row. Climb on top and use the coffins to your left as stairs to vault over the fence.
On the other side, grab the Fire Poker and unlock the gate. When you get through the cutscene, just run for the ladder.

At the top, follow the hall around and take the first door on the right. In the Research Lab, read the Series 60 Results and the New Researcher’s Notebook.
Go out the other door and follow the hall. In the room with the projector, go grab the remote and flip through the slides. You’ll get a cutscene when you hit the last one.
Leon

After a reunion with an old friend, you’ll be back with Leon. Start running down the hall until Mr. X smashes through the wall. Turn around and backtrack the other way until he smashes through the wall again.

Kite him around in a loop until you can reach the stairs along the east side of the Press Room.
At the top, follow the hall to the left and take the first right you come to. A pole will smash through the wall. Turn around.
Go back through the hall heading north and into the Chief’s Office. Mr. X will show up again. Turn around one more time and head through the hall south.

Your path will be blocked, but a new way will be open on the right. Take an immediate left and go around the bear statue. After the Waiting Room, you’ll be on the upper floor of the Main Hall. There’s a new hole in the wall leading north. Head through it.
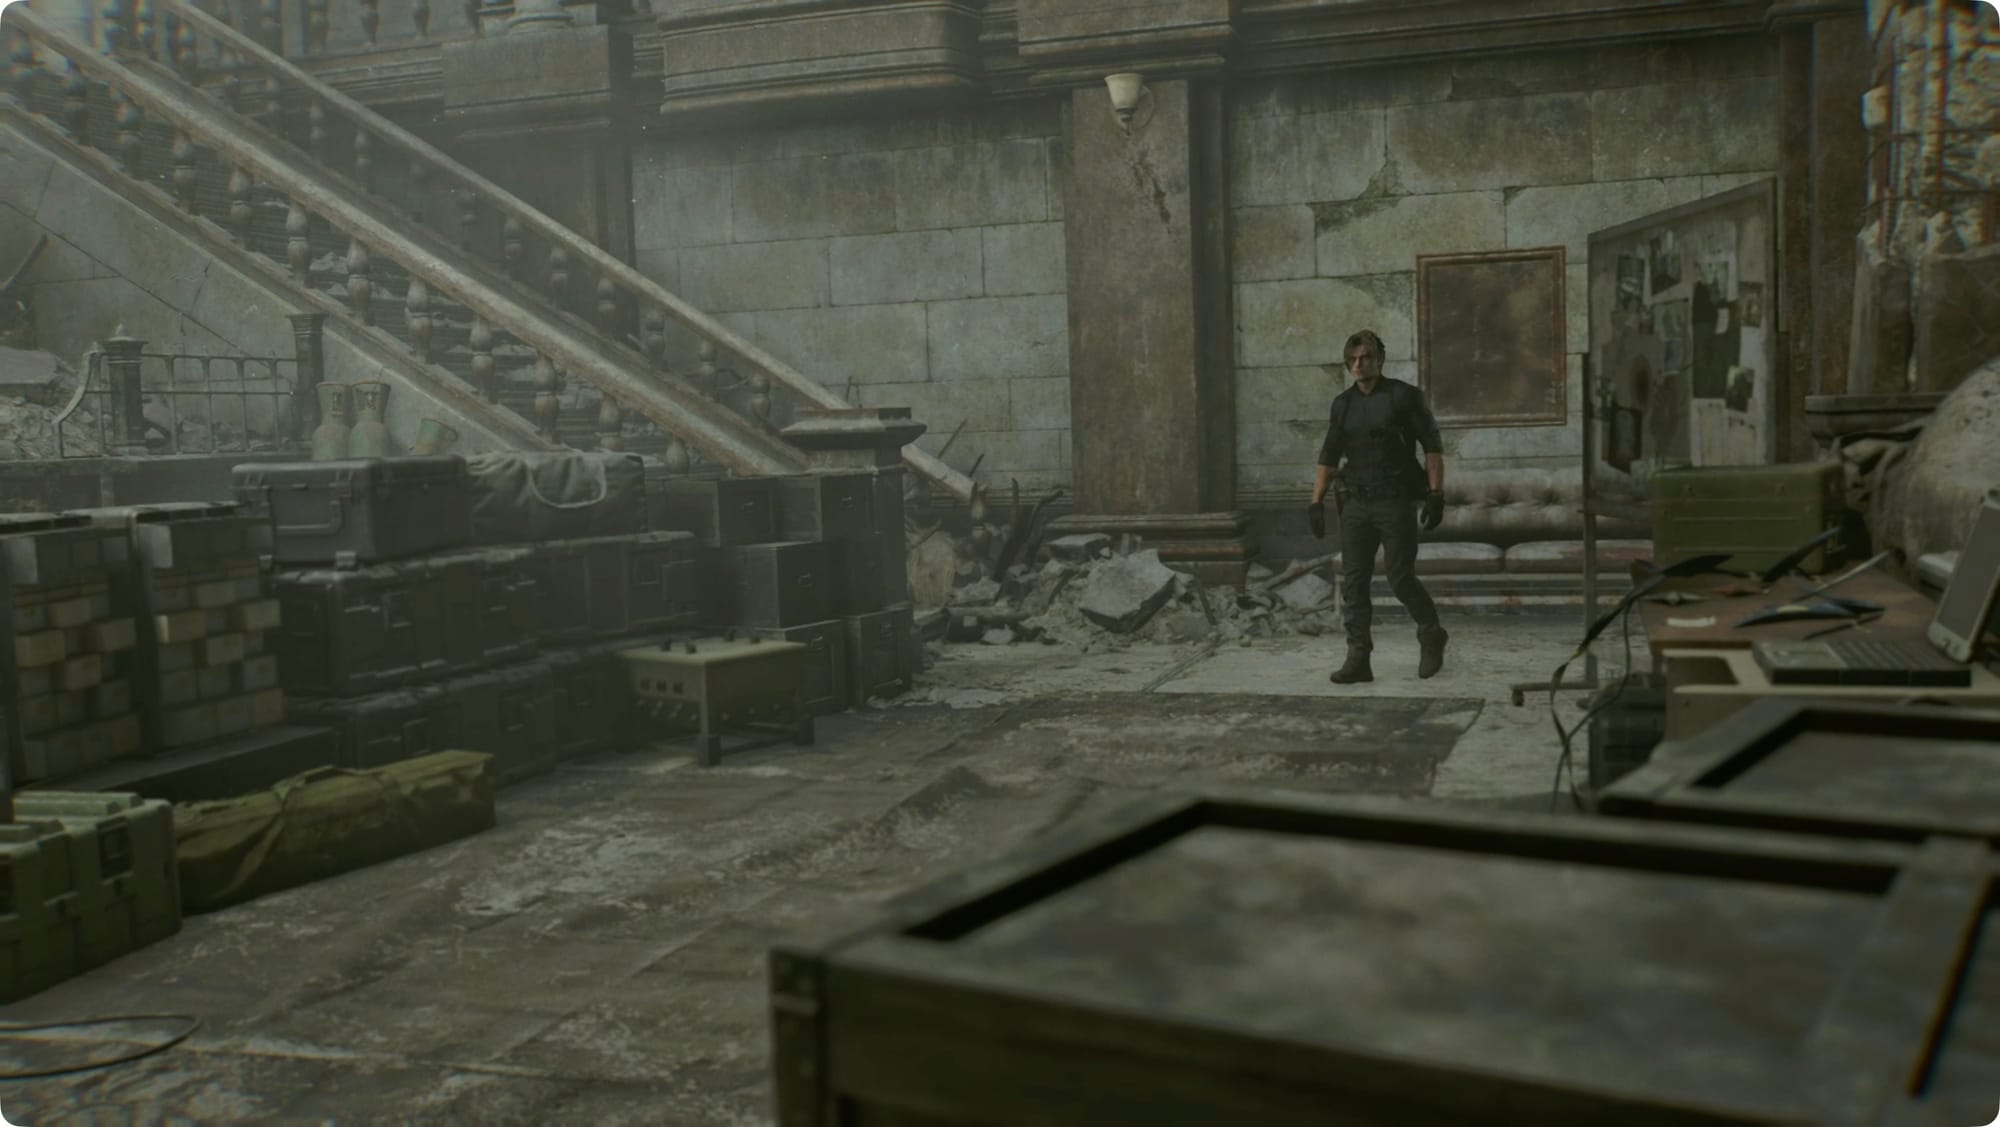
Parking Garage

When you hit the street, hook around to the left to go down into the parking garage. At the bottom of the ramp, cut to the left for a Shotgun Shell crate. On the far side, you’ll find a BSAA container. There’s a Med Injector on the left as you walk up, and a Tracking Module (Common) on the right. Inside the container, grab the Handgun Ammo and the Silver Finish Scope.
You’ll immediately have to deal with a few zombies, though.

Back up on the street, head northeast to Gun Shop Kendo. Head into the back room for a cutscene.

Before you leave, grab the W870 Police shotgun from the shelf behind the door.
Super Tyrant
Outside, grab the Rifle Ammo and Shotgun Shells from the table on the left and the Handgun Ammo and Med Injector from the crate on the right as you enter the container.

Hit the save and the Supply Box.
As you head north, Mr. X will show up for a final fight.

Your job is to parry whenever you can, and then, while he regroups, to shoot him in the exposed heart with whatever you have loaded.
After enough damage, he’ll drop to a knee. Melee him when he does. You’ll need to do that twice to kill him.
You’ll have to cut through the Basketball Court to the right to get back to the save point. Do that and smash the crate for some Handgun Ammo on the way.
When you’re ready, go back through the Basketball Court and back to the street leading north. If you haven’t yet, smash the crate to the left for some Rifle Ammo.
Orphanage

You’ll walk right through the door to the orphanage. Inside, head down, to the right, and through the hole in the floor to reach a tunnel.
Follow it to the left and through the door, and then vault the grate.
There’s only one path to follow all the way to Blackthorn Station. At the top of the stairs, run past for a Gunpowder (Large) on the bench. Go downstairs.

When you hit the edge of the crater, grab the Green Herb on the right.
Run through the subway cars until you get jumped by a flower. Shoot it in its flowerface a bunch until you trigger a cutscene that carries you down to the bottom of the crater.
Blackthorn Station Platform
Keep heading down. At the bottom of the slide, take an immediate left for a Blackpowder (Small). Climb into the subway car and follow it to the other end. Climb out on the right and into the next car.
Head right for a Green Herb and then head the other way to find the exit. Duck under the beam and open the crate you find for Handgun Ammo, Shotgun Shells, and Rifle Ammo.

Head down the rope when you’re ready.
In the new tunnels, follow the only path you can. Right after the first flower-monster, shoot down the case for some Handgun Ammo. Take the next right to find a crate with more Handgun Ammo.
When you get attacked by a pair of flowers, take a left. There’s some Scrap in a pipe. Keep following that path up and to the left until you hit another flower.

Past that, you’ll find a case with Requiem Ammo, Rifle Ammo, and a Med Injector.
Back on the main path, take a right when you hit the water for a Handgun Ammo crate.
Keep going around shooting flowers as they pop up. Take the next right onto a ledge for a Gunpowder (Large) crate.
In the next tunnel, you’ll get attacked by two more Plant 43 seedlings. Grab the Green Herb on the right and Handgun Ammo on the left.

When the tunnel opens up, smash the two crates for Machine Gun Ammo and Shotgun Shells.
Plant 43
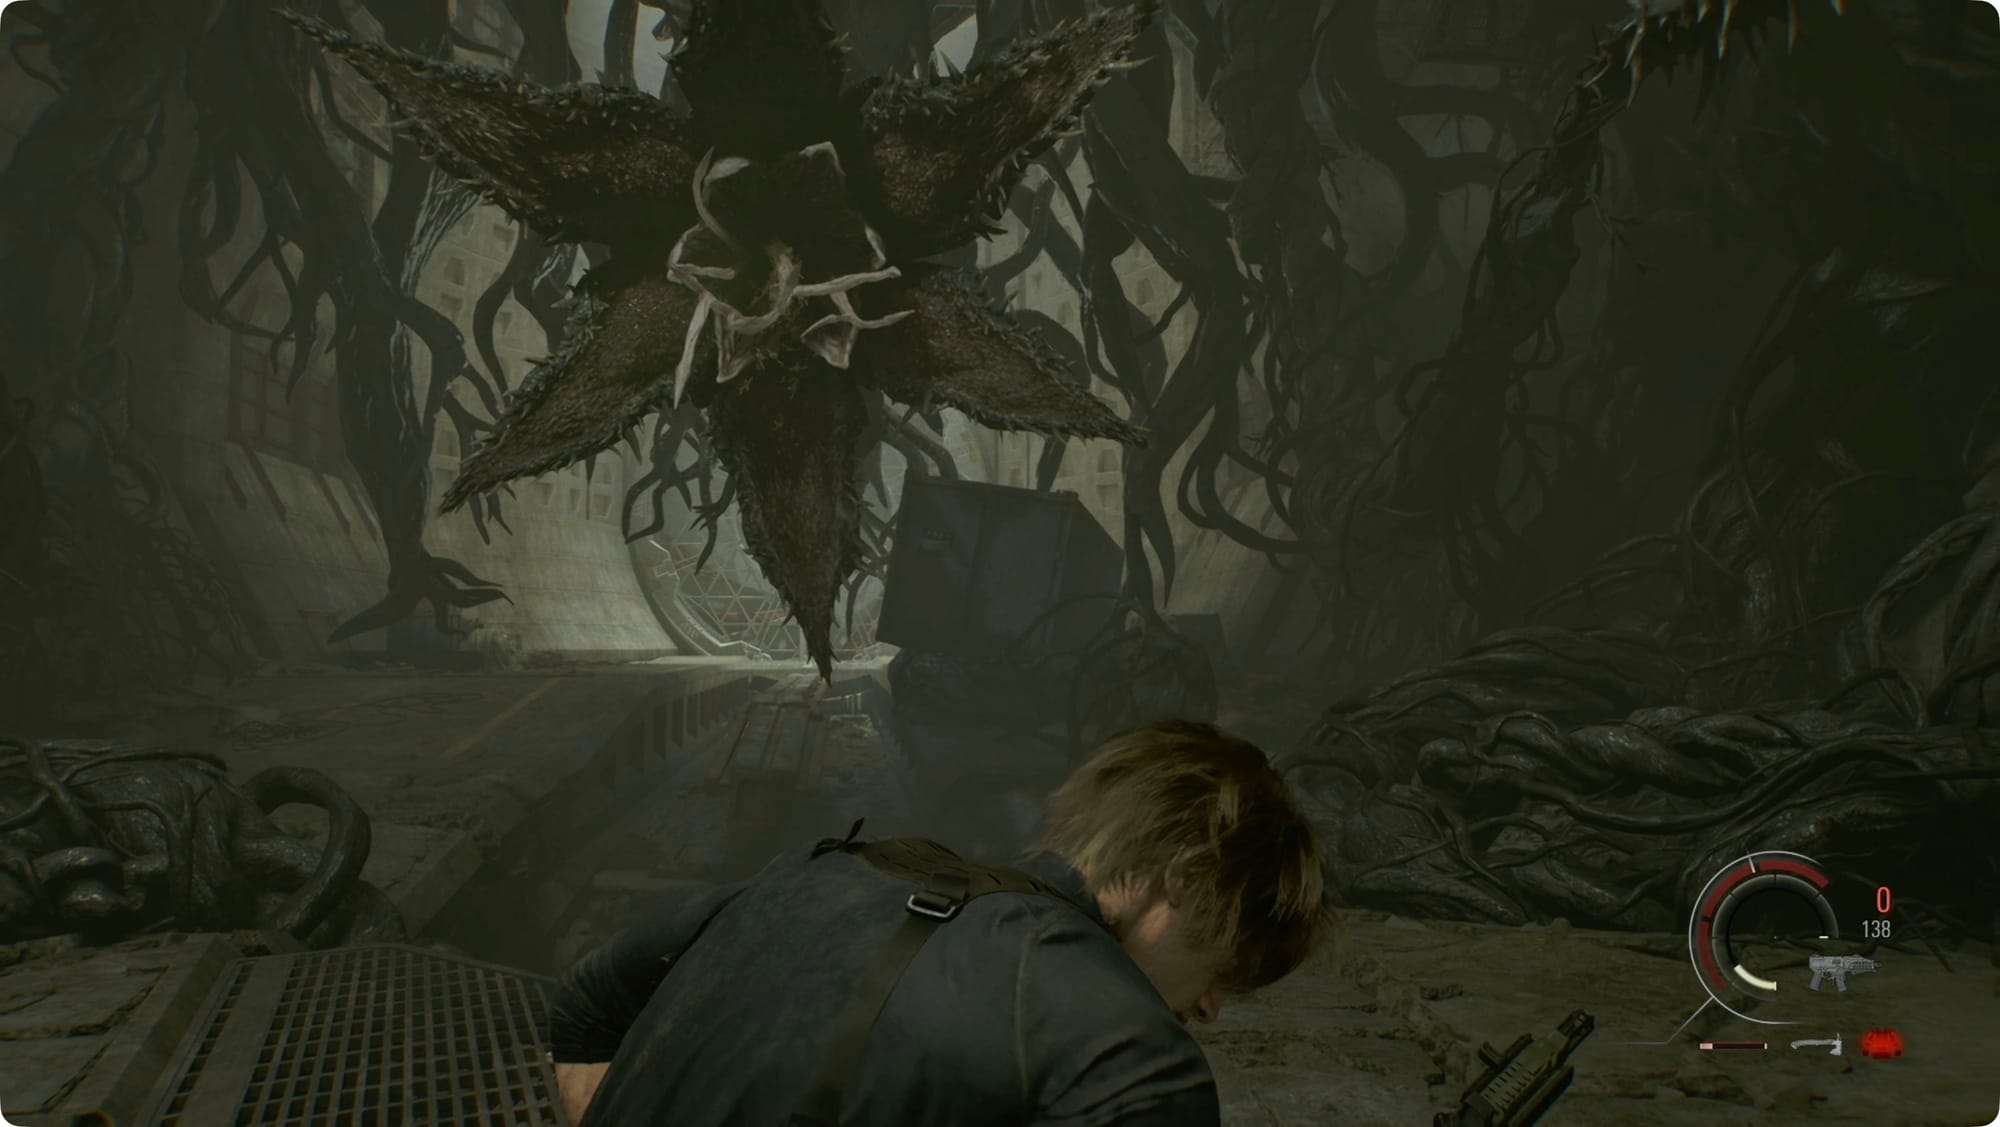
Eventually, Plant 43 (as it’s apparently called) will stop you. For the fight, just run back and forth to avoid the slam attacks while shooting it in the face a lot. You can even parry the slams.
When the crate of explosive tanks drops, shoot one to finish the fight.
Smash the crates after the fight for some Shotgun Shells and a Med Injector.
Go throw the lever on the giant Umbrella door.